Amazing Grace sign | Old Bed
As an Amazon Associate, I earn from qualifying purchases.
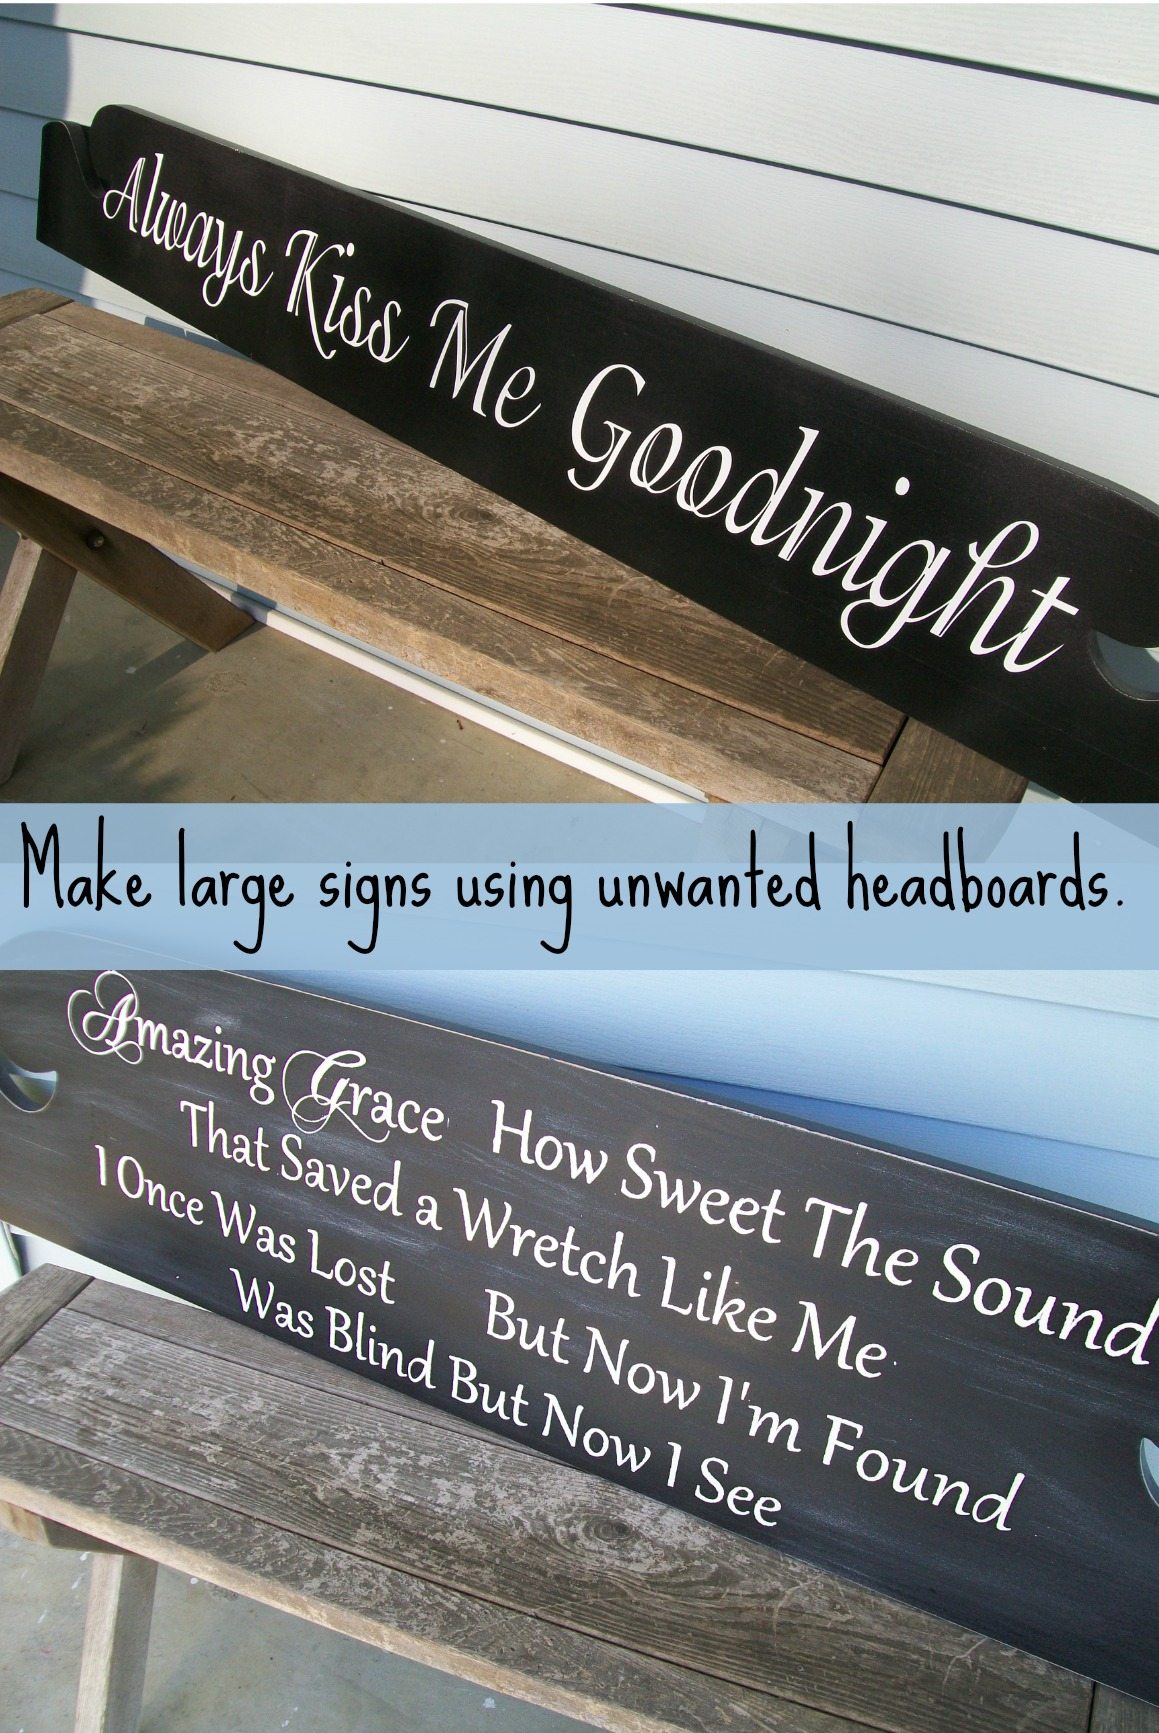
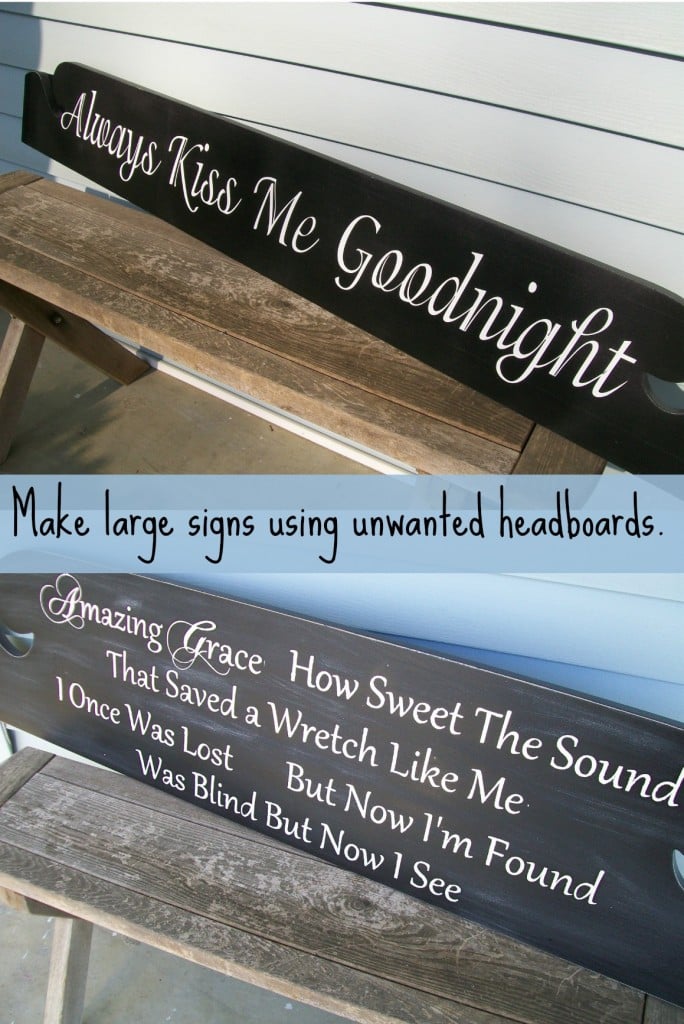
I can’t wait to share this Amazing Grace sign I made out of an old bed!
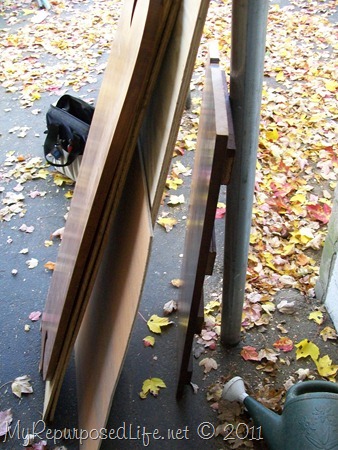
Let’s recap a little. I got this pile of stuff last fall from some very good friends. 
I showed you yesterday that I made a sign out of the foot board sign Always Kiss Me Goodnight.
Old Bed Sign Always Kiss Me Goodnight

Today, I’m showing you the sign I made out of the headboard.
Dismantle Headboard for Sign

I used my compound miter saw to cut the end pieces of on either end of the headboard.
Paint Headboard Pieces

You can see here where I cut it and that I painted it with primer.
Black Bed Pieces to Make Signs

After the primer dried I used my Paint Sprayer that I got at Harbor Freight to paint it black.
Amazing Grace Sign on Silhouette

I designed my words in my Silhouette program. I love that you can make it as long as you want it. This was almost 4 feet long I believe. I used a different font for the A in amazing and the G in grace. I used contact paper for this stencil because I didn’t want to waste my premium vinyl. You can see my settings. Speed=4 Thickness=3
Contact Paper Stencil on Silhouette

This is the polka dotted contact paper I used. I got it on clearance.
Lay Out Stencils for Amazing Grace Sign

After laying it out, I decided it wasn’t going to work in three lines as I have it here.

I cut the phrases apart and made it four lines instead.
Use Painter’s Tape to Lay Out DIY Stencil

Notice that since I am using this as a stencil, I have peeled away the “positive” and left the negative.

I used my handy self centering tape measure…. LOVE IT!

Still trying to get it all laid out.

I used some Scotch Blue painters tape where the letters were really close to the edge so that I wouldn’t accidentally paint the board.
Painting Contact Paper Stencil | Amazing Grace Sign

I used a stencil brush… for the first coat. I wasn’t really thrilled with how it was going.

So I switched to a sponge.

This is after I peeled away most of the stencil.
Amazing Grace Sign made from an Old Bed

Here it is after the paint dried.

Lightly Distress Sign

I decided to distress it a little. I think this would be great in a foyer or over a double doorway. Possibly even over a picture window? I would love to keep it, but so far I haven’t found a place to put it.
Save & Share this project on Pinterest here.
gail
Pin It
Linking to:


Oh what a joy to see this just at Easter….its beautiful. Gail you have outdone yourself on this one.Blessing Trish
That looks so good! The painted letters are so crisp, it’s like you used vinyl.
I’m glad you weathered the storm OK. We don’t get bad storms here often, but I’ll bet they’re really scary.
Oh, I love this! I would love to buy this from you if you decide you can’t use it. Amazing Grace is my husband’s favorite hymn, we celebrate 12 years together this year! email me if you decide to sell- lydia@strongsignals.net
That looks great Gail! The Silhouette did a great job and made it so easy. I wish I could swing one but I will wait and see if they do anymore giveaways. Maybe I’ll get lucky.
Amazing Grace; one of the most beautiful songs EVER. Just seeing this sign makes me break out in song (in my head where I can actually sing!)
BEAUTIFUL!
You’re right, I do LOVE it! 🙂 I think I like this one better than the first one! :0)I LOVE the fact that your silhouette machine can cut long pieces of vinyl..my cricut can only do up to 24″..but I still enjoy it…but it would be nice if it would cut longer pieces. oh well!Glad we both survived those nasty storms! We did end up with a tornado warning..roofs blown off, barns down, horses missing, trailer turned over and trees down, but no one hurt. We didn’t sustain any damage..just my wicker getting blown around, but that’s nothing. :)Love ya girl!Missy
Just Beautiful. Great saying!
Glad you weathered the storm! LOVE LOVE LOVE this one! I’d love it above my door… I need to search for a headboard!
I can hear El Divo singing it right now… love, love, love that song. Another great idea Gail. Good thinking on the contact paper too… I have been using it for the transfer paper but it was a bit too sticky so I broke down and bought the real deal.
Hopefully you weathered the storms last night… I came into a flooded office this morning and a boss in a very bad mood…one way to get them to clean… lol
Have to run… have a great day.
Hugs, Deb
that looks terrific.. love that song. And now its stuck in my head,, thanks,, lol. Have a good one.
Yes, Definately Amazing! I want one of tose SIlhouettes now!!!
Love it! It turned out amazing! If you can’t find a place for it, I’m sure you could find someone to buy it!
Holly