Hopkins 2×4 Farmhouse Bench
As an Amazon Associate, I earn from qualifying purchases.
Making easy projects out of 2×4 boards is so much fun. I have the easiest 2×4 farmhouse bench project tutorial for you, perfect for beginners!
*this post contains affiliate links, you can read more here. *
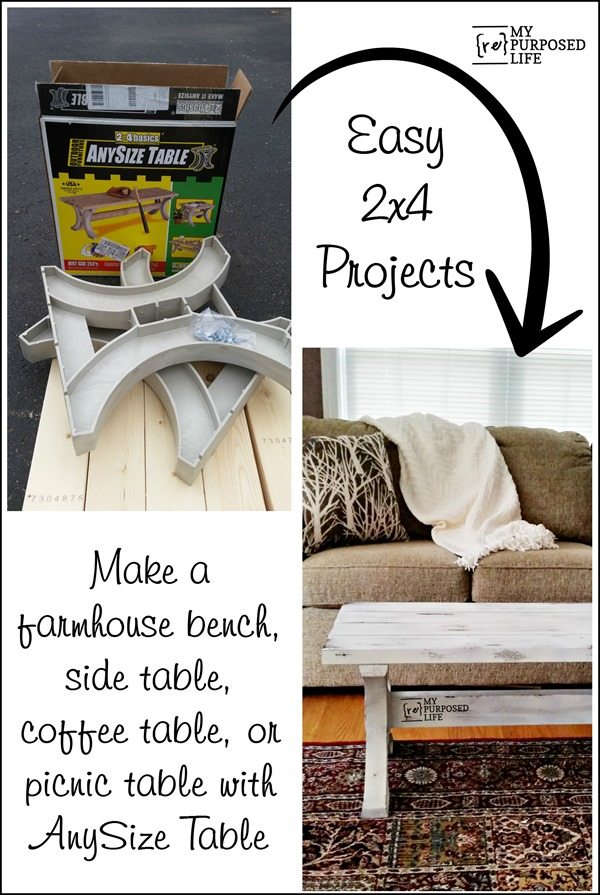
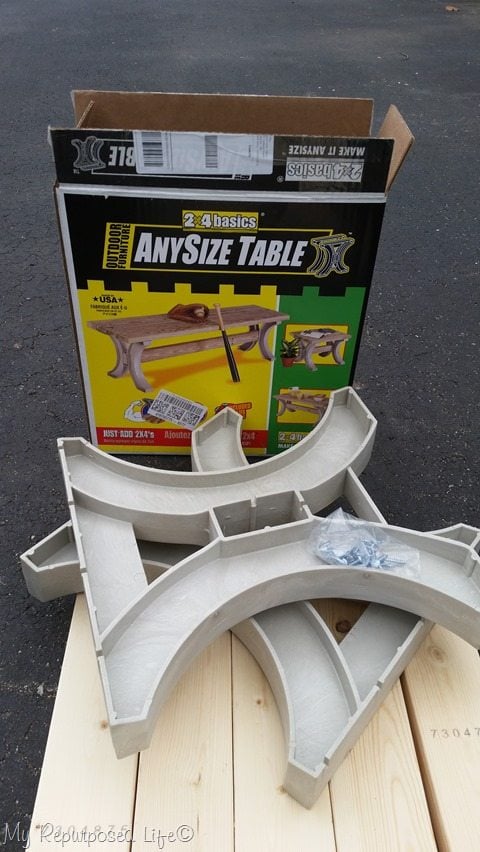 This project starts with this awesome product called 2×4 basics any sized table. I’ll share more details about the various options below.
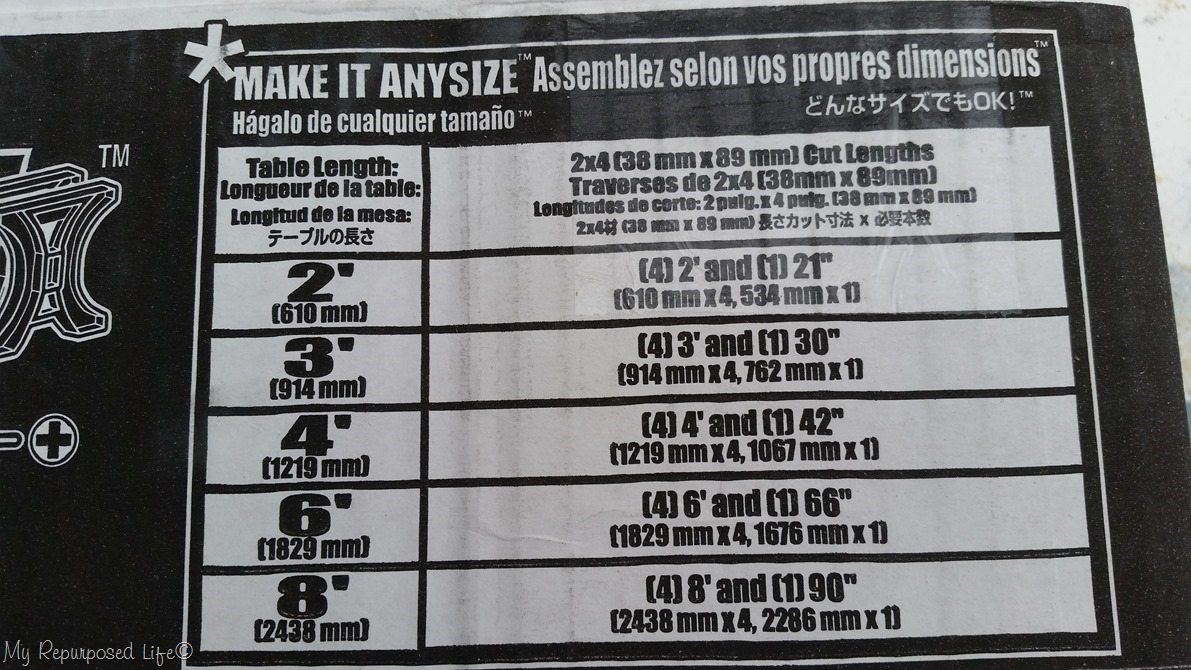
When it says any sized table, that is exactly what it means. All you need to purchase is the 2×4’s you prefer and any paint or stain to finish the table/bench the way you want. You can find your “cut list” right on the box. I chose a 4’ bench, so I needed (4) 4’ 2×4’s and (1) 42” 2×4 (for the brace). Easy peasy folks!
I purchased (3) 8’ 2×4’s and cut two of them in half, one at 42”, which gave me an extra 2×4 for another project!
Not shown—I sanded all of the 2×4’s with my orbital sander after I cut them to size.
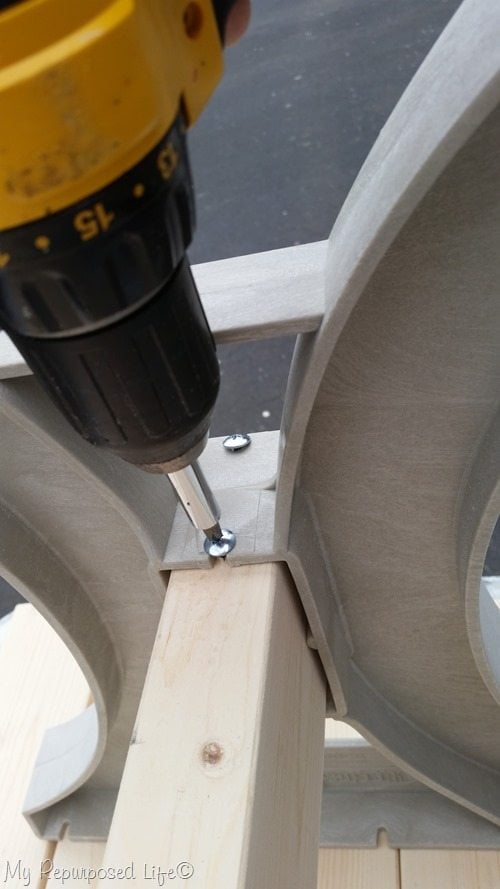 Using your drill simply secure the 2×4’s with the included screws. 2×4 stock is very soft—no need to pre-drill any pilot holes. I started with securing 1 screw in each end of the brace 2×4, then proceeded with the other brace screws.
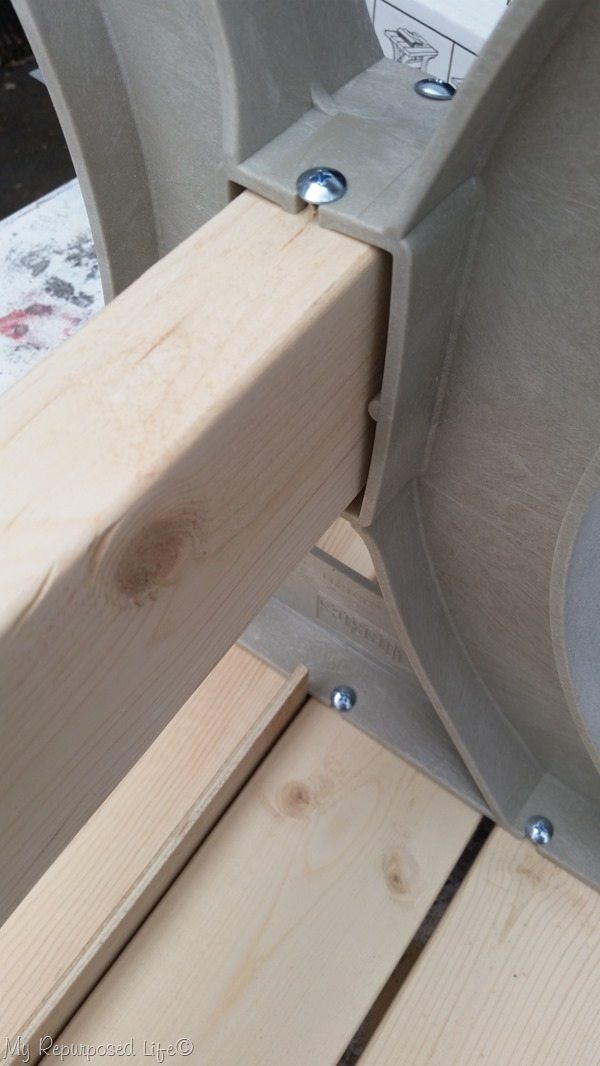 I used a scrap piece of ripped material to space the 2×4’s as I was attaching them to the legs. I chose to put the branding of the legs on the inside of my bench so it won’t be seen.
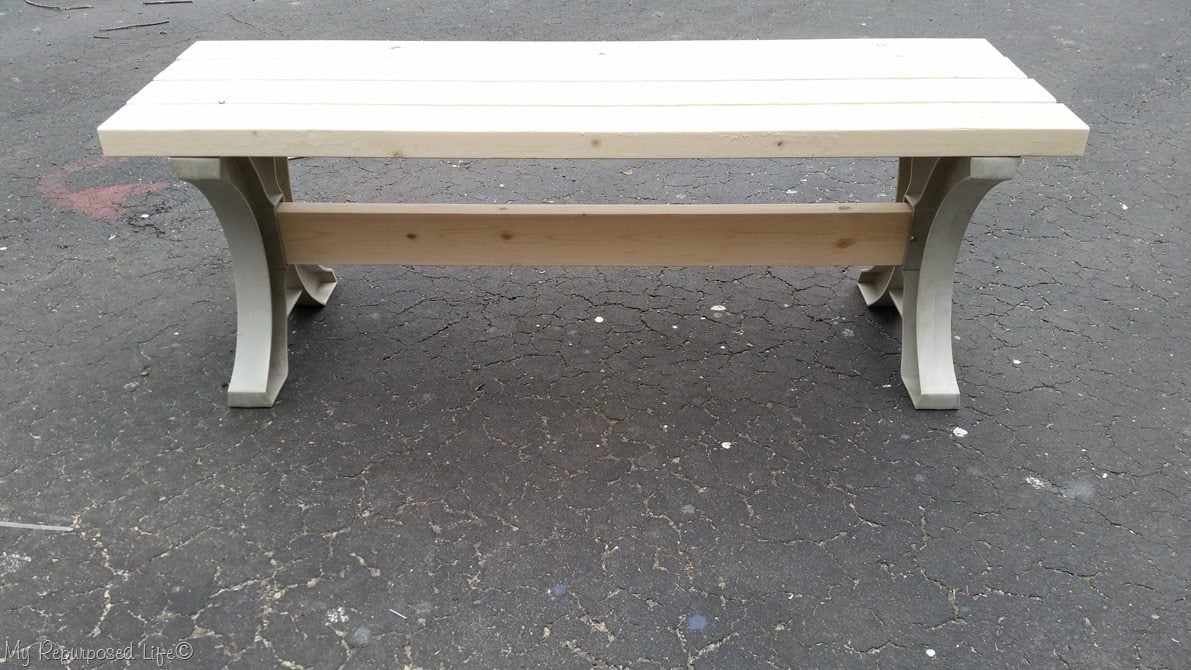 As hard as I tried, there was a little shifting when I attached the 4 2×4’s for the bench seat. Rodney mentioned that I should have used a carpenter’s square to accomplish this.
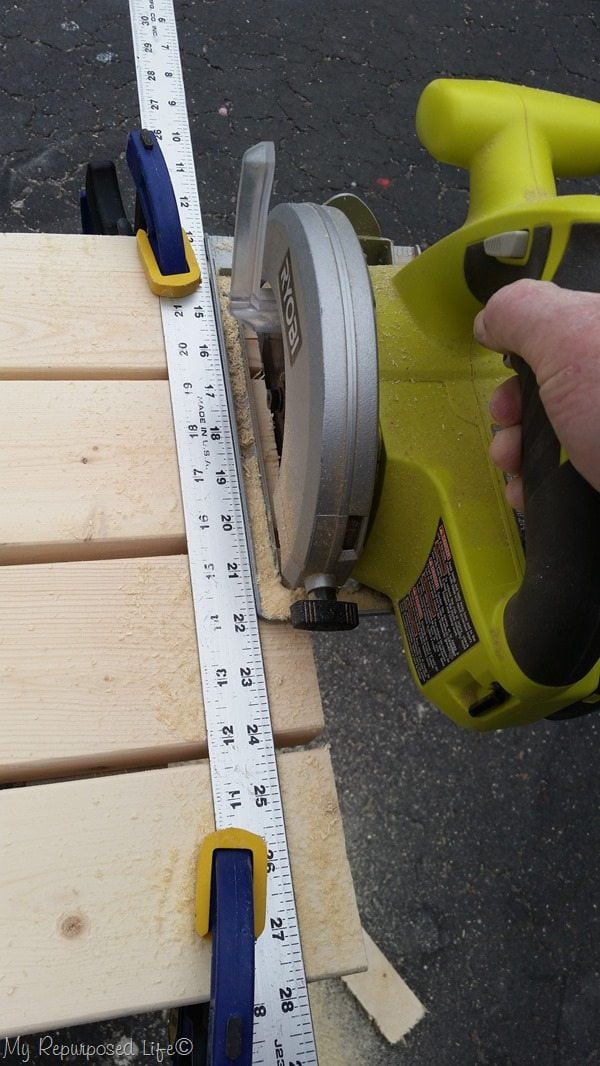 To trim a little of the edge, I used some Irwin quick clamps and a metal yardstick as a straight edge to guide my circular saw. I’ve had this yardstick for so many years, I used it every day in my former career as a pre-k teacher. Who knew it would still get so much work in my “shop”.
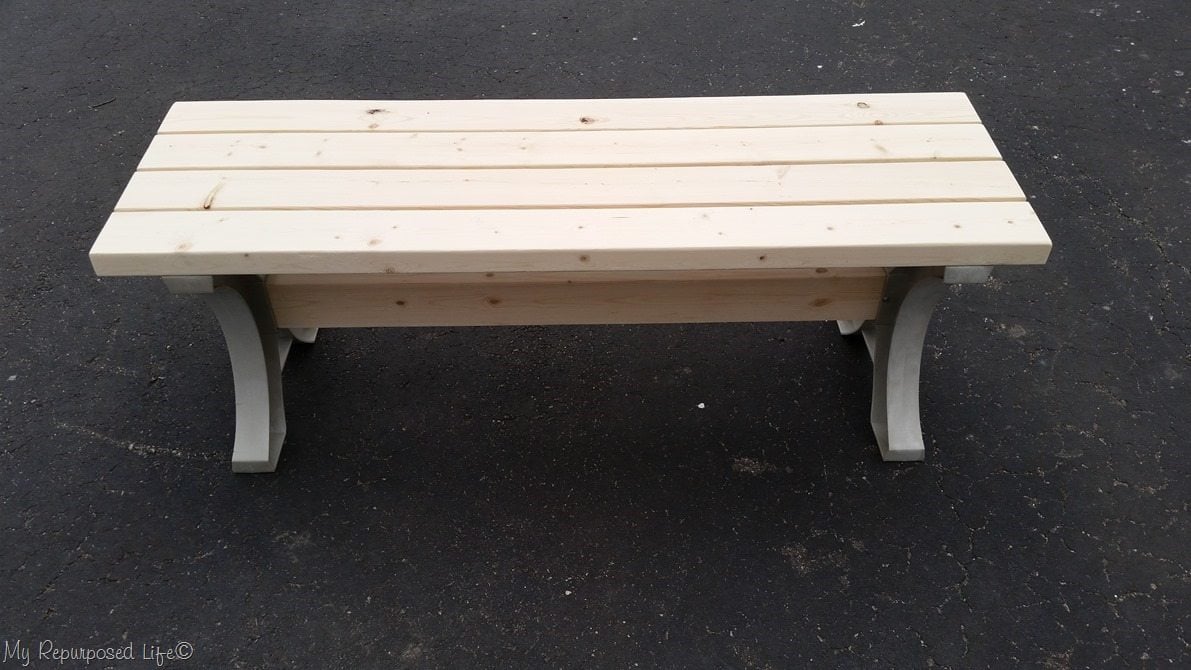 This is how nice it looks after I trimmed up both sides. I LOVE it!
time to paint!
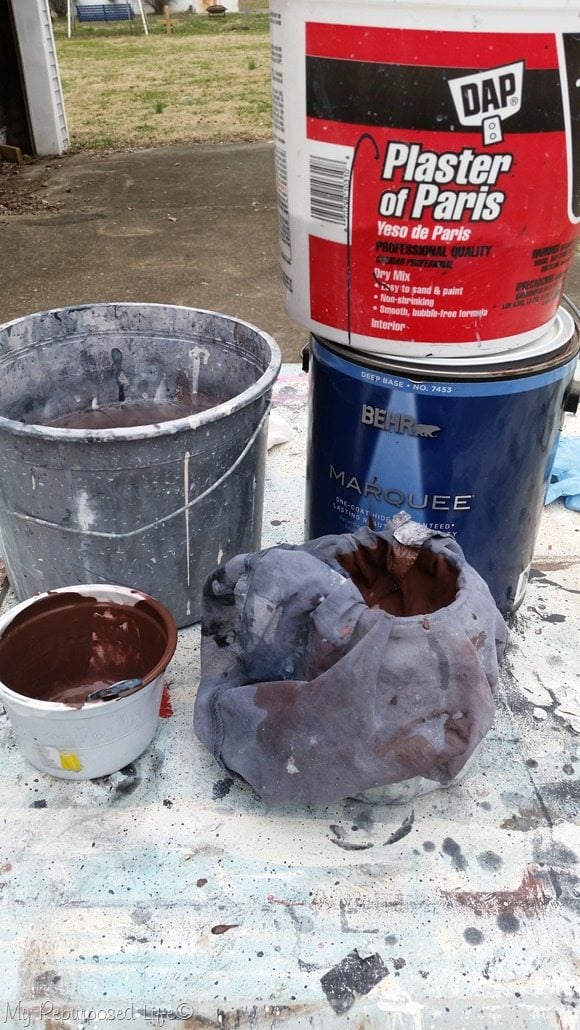 My favorite way to paint is using my Homeright Finish Max and my own diy chalky paint primer. In this case I used Behr Marquee brown paint with Plaster Of Paris. Because the plaster can be a little lumpy, I always use a mesh paint strainer to insure I don’t get any clogs in the sprayer. I few extra steps really will make for a better paint job.
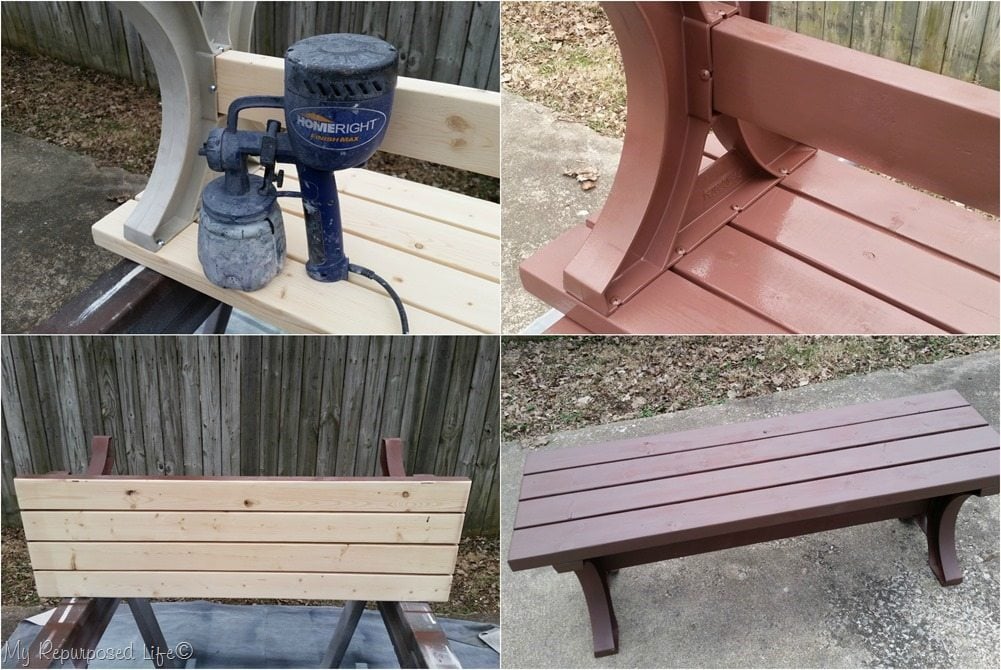 I like to begin with my projects upside down when I’m using the paint sprayer. It was a little tricky getting between all of the boards, and in every nook and cranny. If you’re staining your 2×4’s you might want to stain them before you put your project together. Raising the project off the ground onto my easy diy sawhorses makes it easier on my back. I painted two light coats of the diy chalky paint primer. If I were not doing the brown as a base coat, I would have finished it off with a regular coat of the brown (out of the can) to seal this project.
However I was looking for more of a farmhouse look.
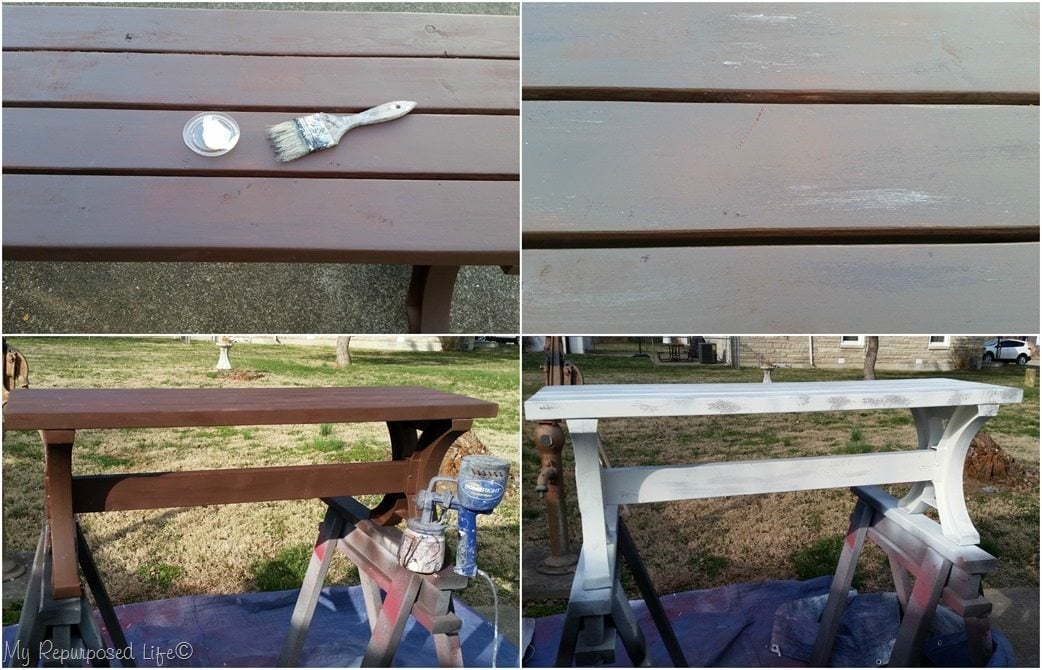 A simple way to distress is using vaseline. I generally keep a tub in the shop, but it was getting old, so I put a little onto a lid and used a cheap chip brush to apply the vaseline. I typically use my finger or a q-tip, but I really thought using the brush did a much better job. After I applied the vaseline where I though a bench would normally receive wear and tear, I proceeded to paint a topcoat of Behr Polished Pearl (I used satin, but you could use whatever sheen you have) The distressing was immediately obvious.
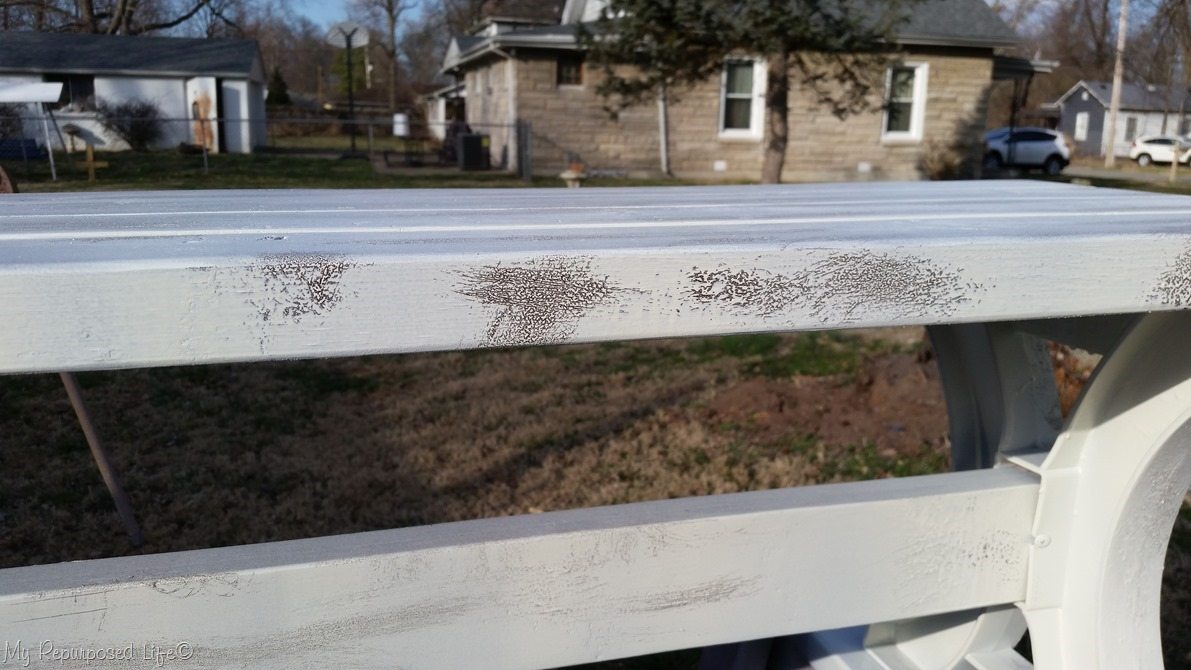 Of course you could use sandpaper to get a similar result, but I’m really loving how natural this looks! To make sure that all the distressing showed through, I rubbed the bench down with a rough rag.
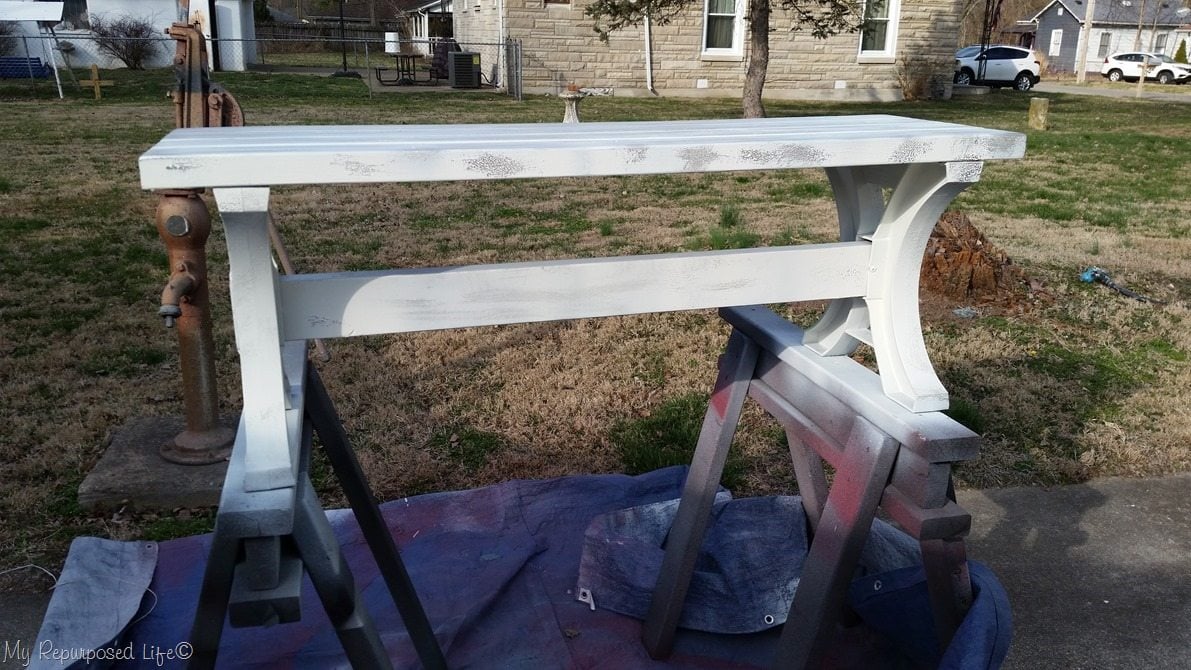 After the paint dried, I used Rustoleum Clear Sealer to protect the finish.
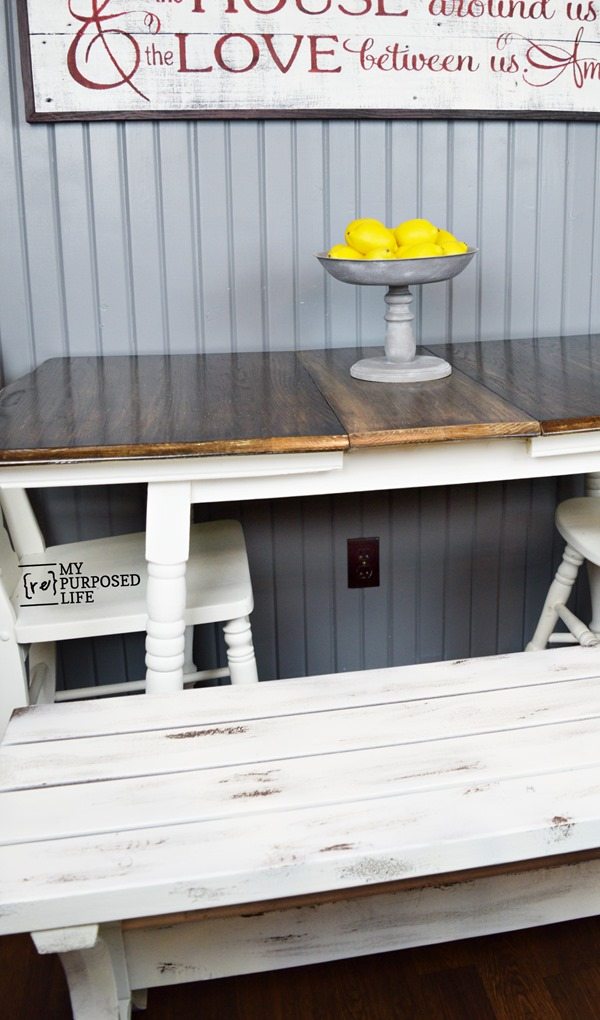 Here is the bench in my kitchen.
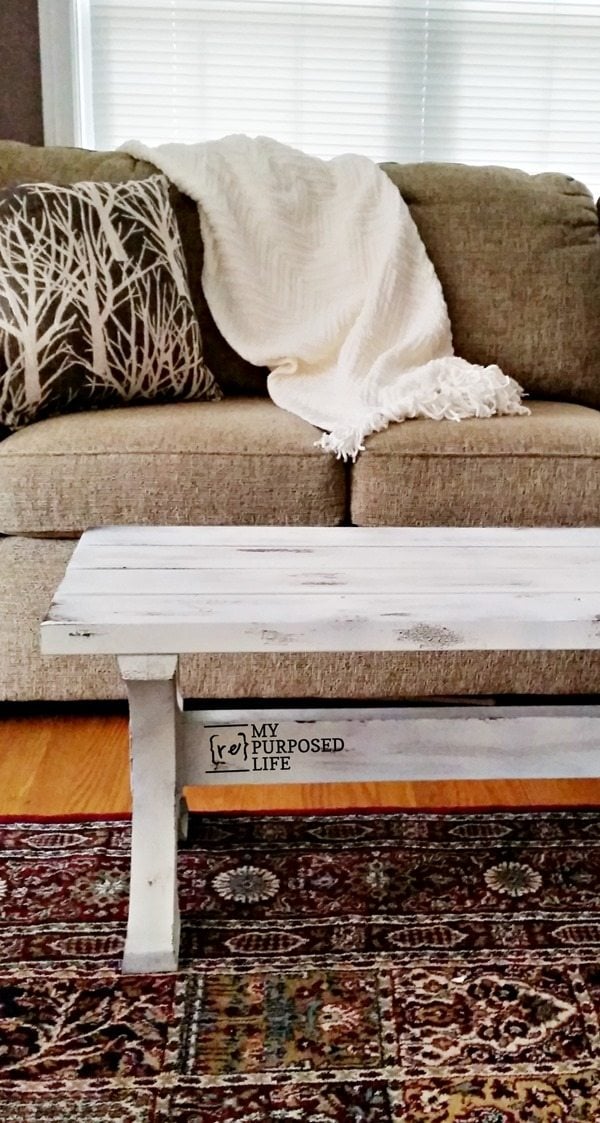 After staging the bench in the kitchen, the weather turned ugly and instead of moving it back outside to the garage, it found it’s way into the living room. Jamie was visiting for my 60th birthday celebration and used it as a coffee table/footstool while she was here. It was quite handy!
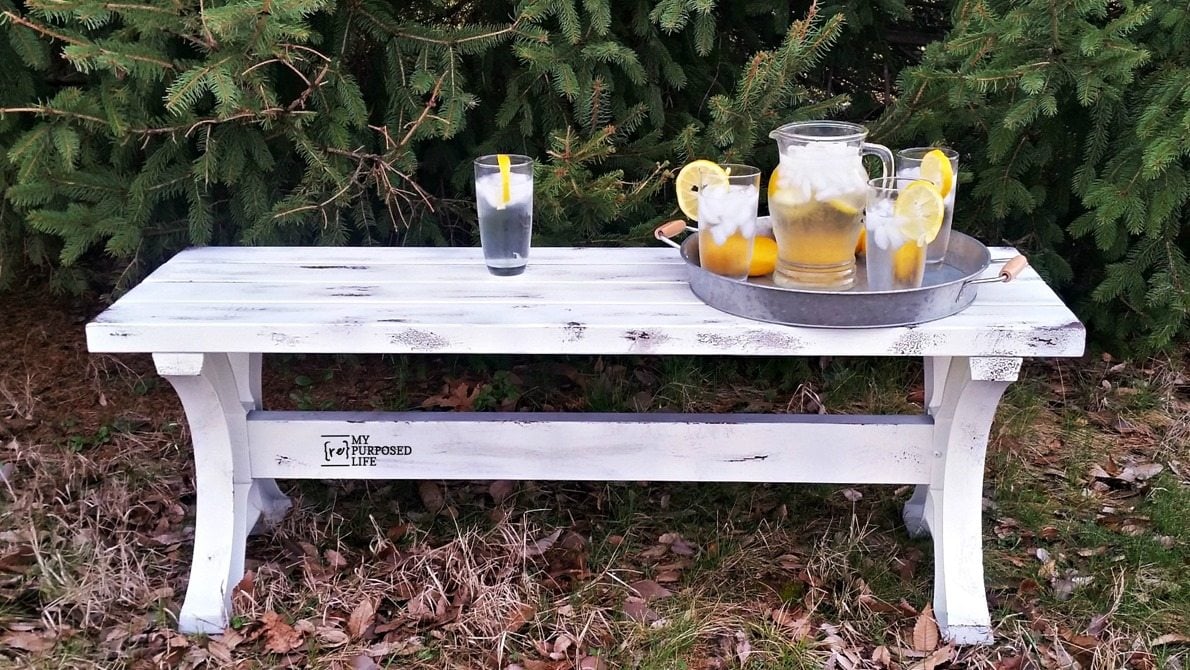 This bench is very sturdy. I’m so happy with how it turned out. It really can be used in so many ways.
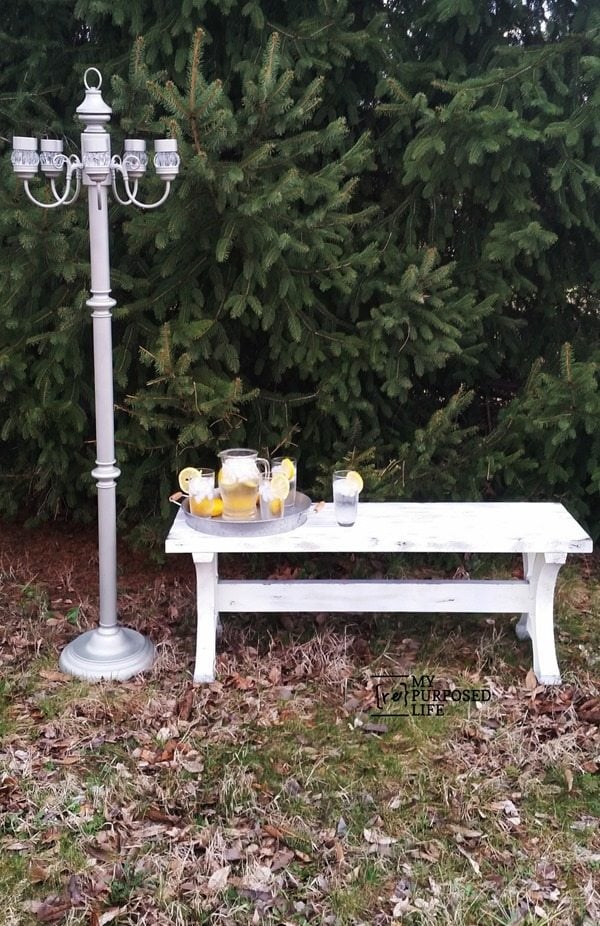 Here it is with my latest outdoor lighting feature, a repurposed lamp and chandelier.
I’m wondering, how would you use this bench? Indoors? Outdoors?
gail
Shop the products used for this post using the Amazon Affiliate Links Below:



gail i am pretty sure my old butt could make this, how cool xx
What a cool product! You ALWAYS find the funnest gadgets! This is perfect for a new tool user. Love that the base is so flexible and makes so many different items. Smart! Pinned too 🙂
I love this! It is gorgeous!!
i would probably use it indoors, but like the fact you can take it outside!
love it!!!