How I Painted My Vinyl Floor
As an Amazon Associate, I earn from qualifying purchases.
 Pin it!
Painted Vinyl Floor
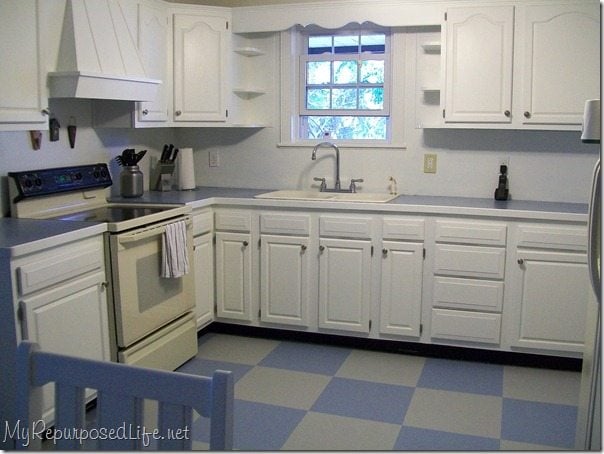
Let me explain that my vinyl floor is about 15-20 years old. If I ruin it I don’t have much to lose.
I mopped the floor with a little dish soap, Mr. Clean and warm water. I rinsed the floor until the water was clean and soap free. This took about 6 moppings.
After the floor dried, I wiped it down with TSP (Trisodium phosphate). The TSP helps to clean, degrease, and dull the finish of the floor. (I also used TSP when I painted shellacked baseboard and knotty pine
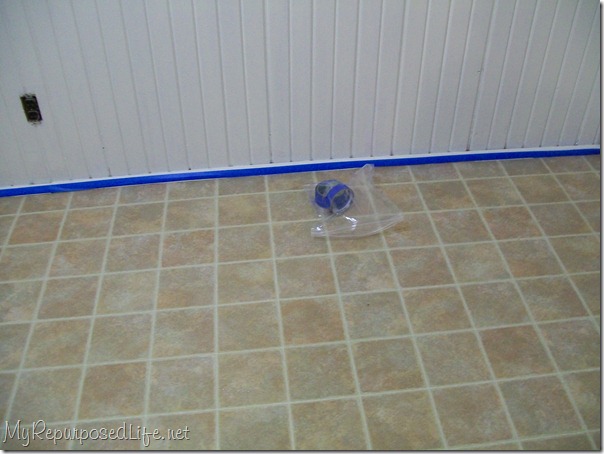 After the floor was dry from all the cleaning, I started taping off the baseboard with Scotch Blue painter’s tape.
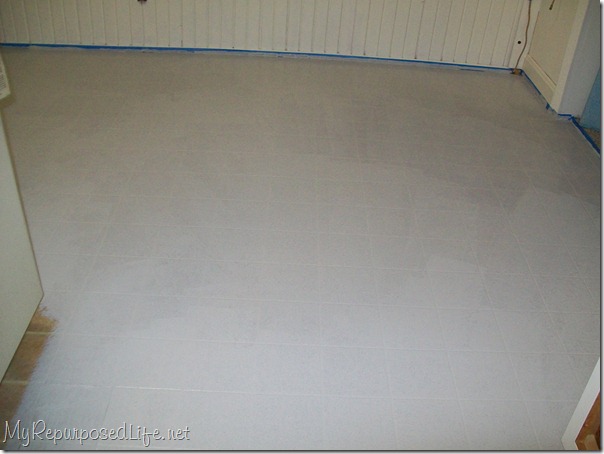 The fridge and stove had been moved to the center of the room temporarily. I used an oops gray primer.
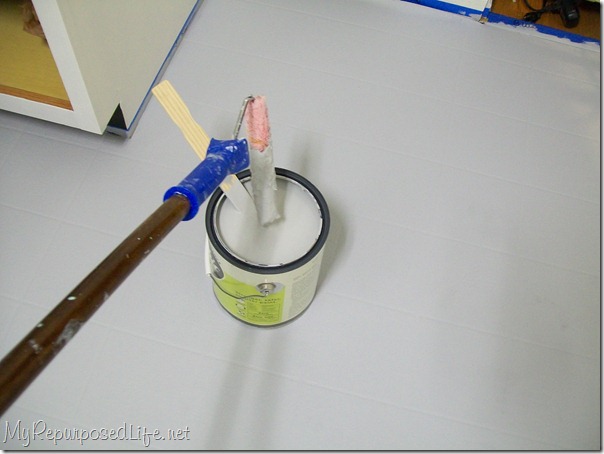 I like to use these skinny rollers. They allow you to get closer to the edge.
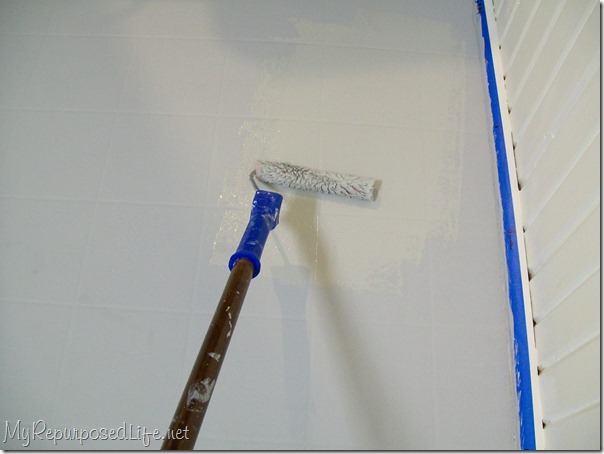 In my opinion they also waste less paint during clean up.
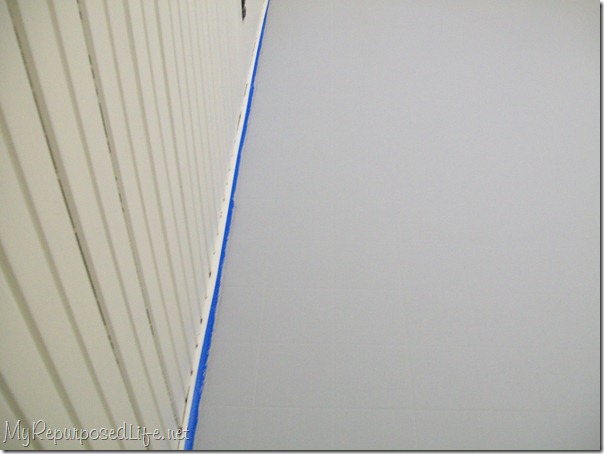 After I painted two coats of primer, I painted a coat of Mythic Exterior (satin). Hindsight, I should have painted two coats of gray at this time.
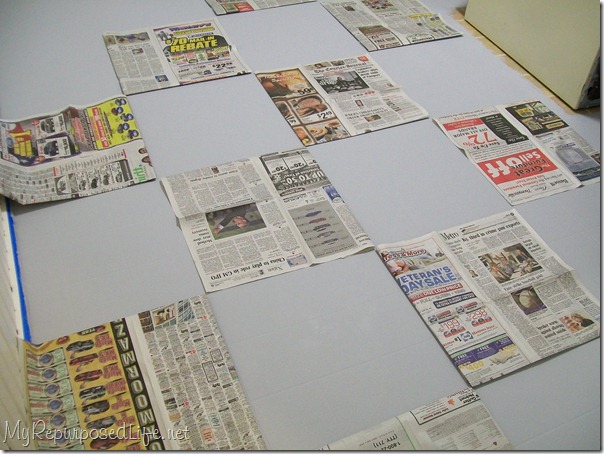 I decided that I wanted my squares to be made up of 9 of the little squares of my original floor. That made my large squares about 18×18 inches. I folded some newspapers to be that size and laid them out on the floor to see how the squares were going to land and to see a pattern for the painted vinyl floor.
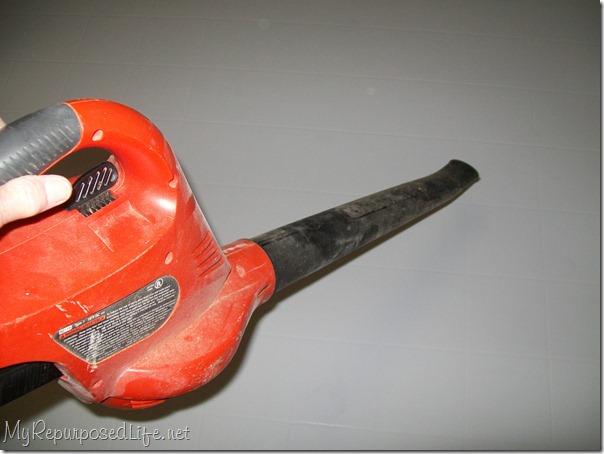 Because I have three cute little furbabies and I didn’t want any little hairs mixing in with my paint, I got creative with my leaf blower. The floor did not have any dirt on it, and no visible pet hair, but I wanted to make sure.
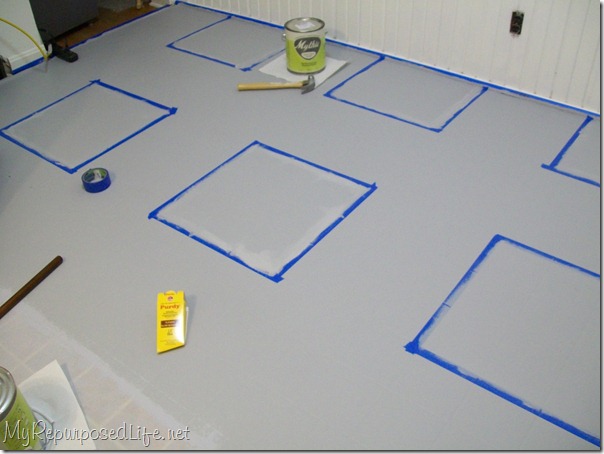 I taped off the squares and cut in the base coat (gray) to get a clean line.
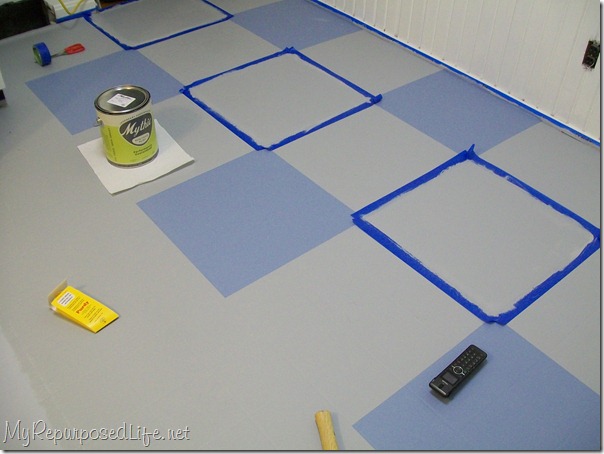 After the first blue squares dried, I taped and painted their “neighbors”. The Scotch Blue tape I used during this process was for “delicate” surfaces since my paint was not cured entirely. It worked fabulously! I will definitely use this tape a LOT.
disclaimer: I did receive my tape for free, but I would never say I love it if I don’t
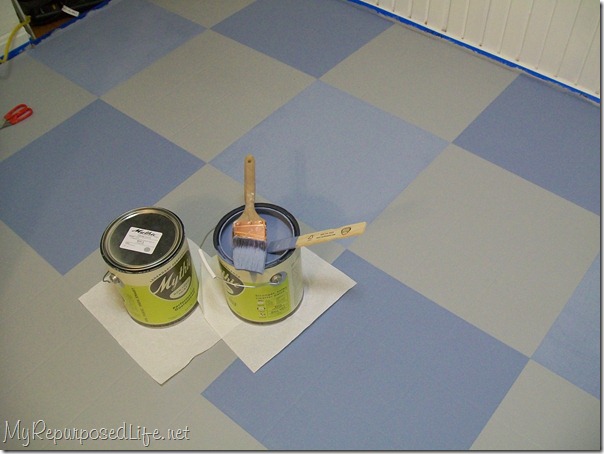 I didn’t roll the blue squares, I used a nice wide Purdy paint brush. I highly recommend something to kneel on. I used my garden kneeler. (after the third day!)
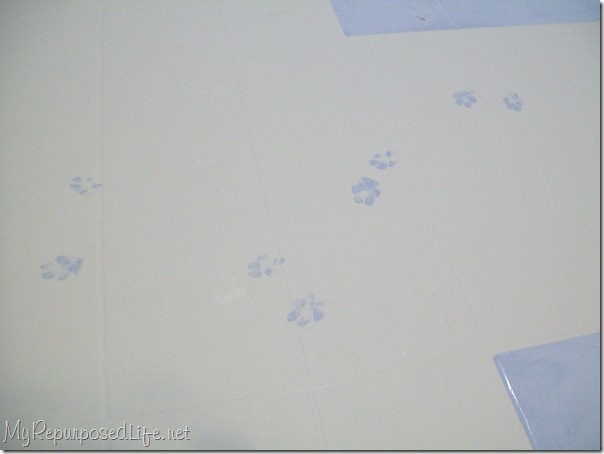 Throwing this photo in just in case you missed it the first time around. That would be Louie’s (grand-dog) cute little blue foot prints!
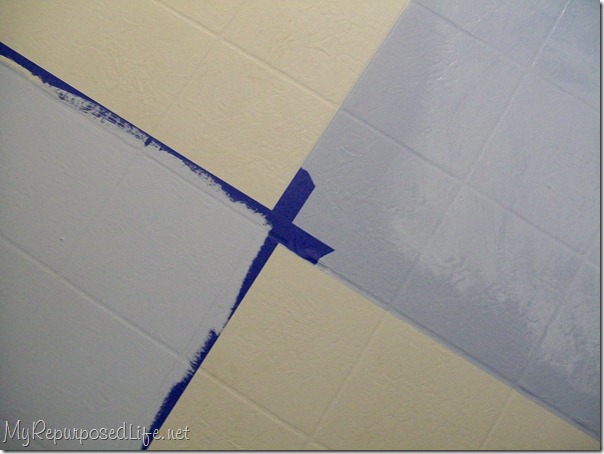 To get my blue squares to match up, I extended my tape to the edge of the neighbor square. The part you see on the right is where I touched up, that’s why it’s wet.
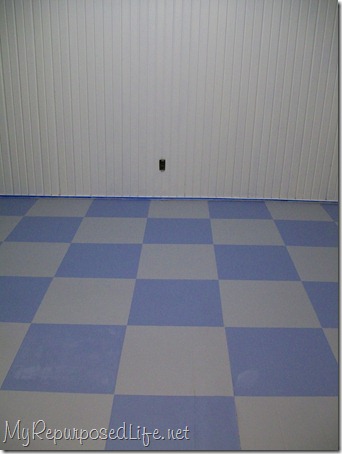 This is when the paint is still slightly damp. I ended up doing a second coat on the blue, by painting very close to the edge, but not taping. After I did that, I decided the gray also would be better with a second coat.
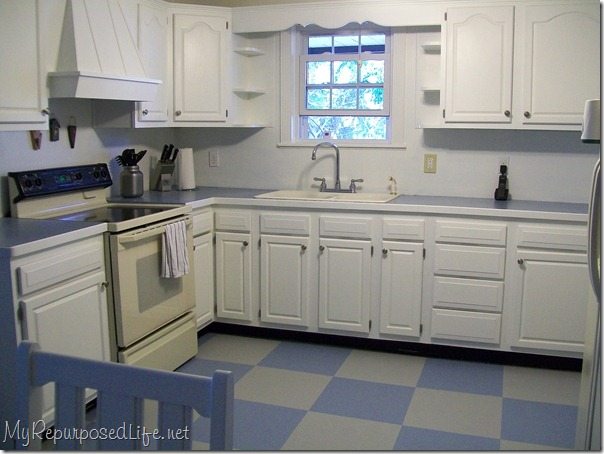
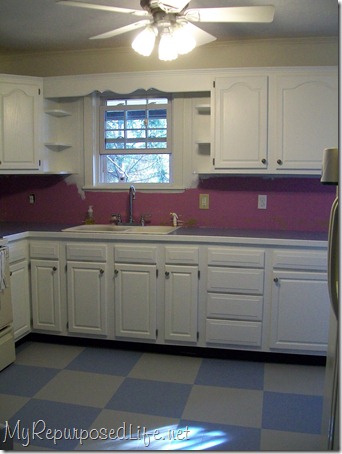 This is how it looks in the kitchen that is not quite finished at this point. If you’re interested in knowing how I prepped and painted my oak cabinets, click on one of those links.
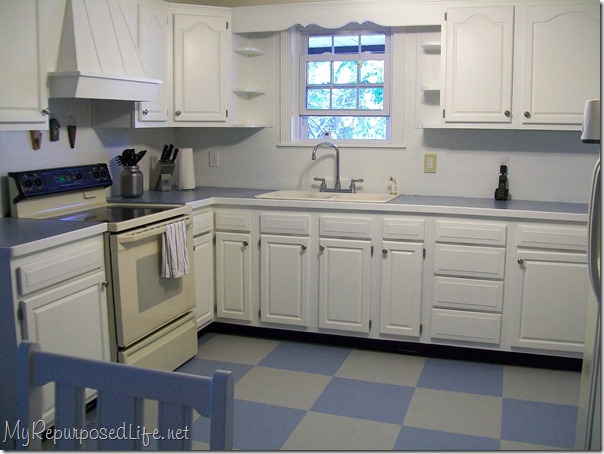 I painted the backsplash area as a temporary fix until I install a backsplash. At this time, I am not sure what kind of backsplash I will install. EDITED TO ADD: Would you like to see my board and batten back splash?
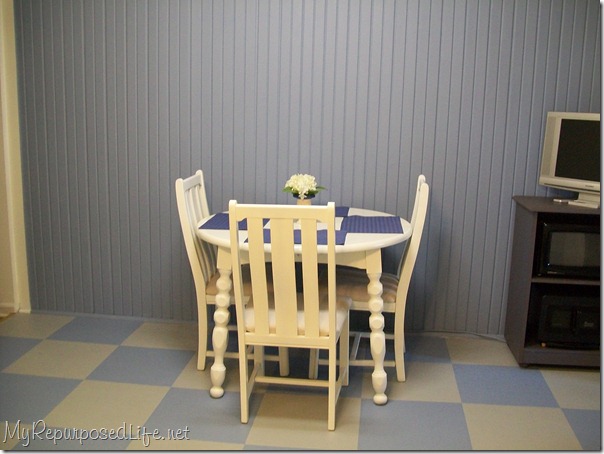
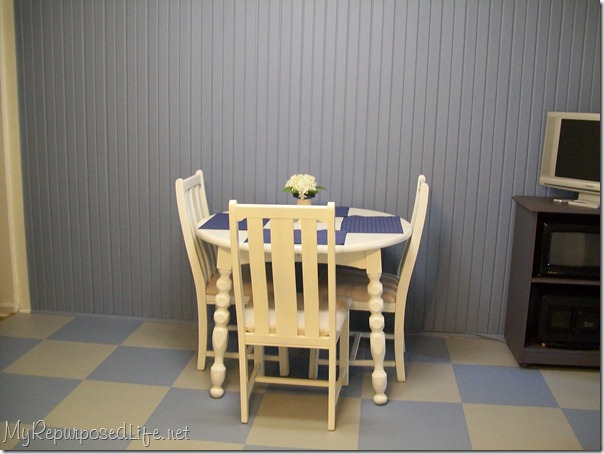 If you scroll up, you’ll see that this wall was white. I didn’t like the way the kitchen table looked against the white wall, so I painted it the same blue as the floor.
I won two gallons of Mythic Paint from the DIY Club monthly contest. Mythic Paint has not compensated me in any way for this post otherwise. In my honest opinion this paint is fantabulous! I love the way it glides on. From their website:
Mythic® paint is a non-toxic, ultra low odor paint that provides the durability and coverage you expect from a premium paint without the off-gassing VOC’s and cancer-causing toxins that emit years after drying. Stronger, safer, smarter paint®. Now that’s a breath of fresh air.
Being a non-toxic paint isn’t generally that important to me, but after EVERY one of the three furbabies walked through the paint I was glad to know that the paint was safe. I also enjoyed the ultra low odor, I seriously smelled NOTHING. I also noticed that this paint did not gunk up my paint brush. The process took about 5 days. After each coat, I placed my paint brush in a baggie. When I did the next coat, the brush was like I just started with a clean brush. When I was finished, the paint cleaned up really easily from the paint brush and roller.
I probably should have gotten a semi-gloss sheen since I was painting a floor, but the satin sheen is the LOOK I was going for. I have not sealed this floor. Granted, it’s only been painted about a week, but so far so good. It does seem to get dirty pretty easily, but it mops up nicely. I had quite a bit of traffic in the first week, due to Thanksgiving, and the floor did not scratch, or knick. Because I did everything by the book, I guess I’ll never know if it was the prep, the paint, or both.
The downside of this paint would be the cost. Being an unemployed junker, and DIY maven, I would never have been able to afford this paint. However, if you can afford it, or if you have a special need to use it due to it’s non-toxicity (if you’re pregnant, or have small children) I highly recommend Mythic paint.
Just a couple of more pictures for the WOW factor!
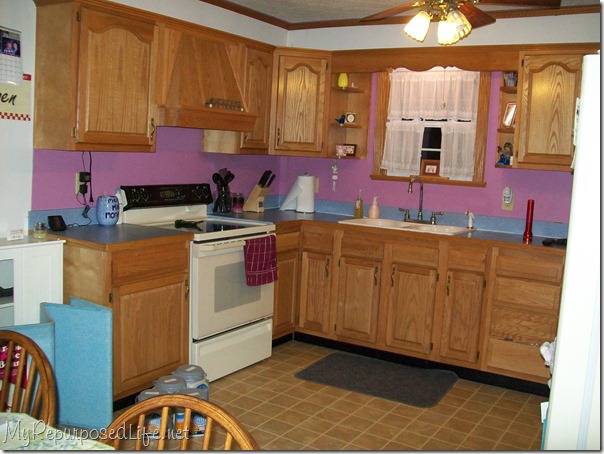 BEFORE
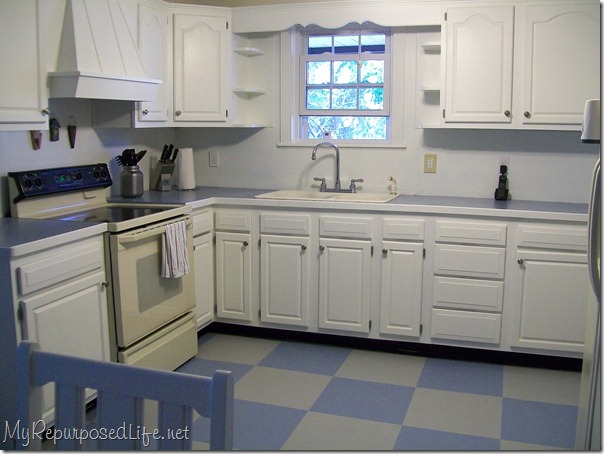
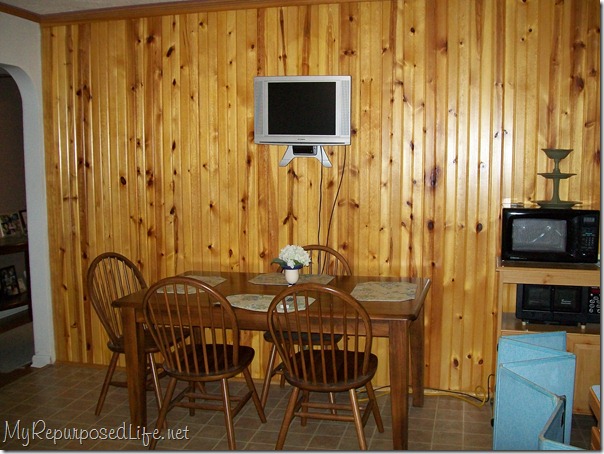
Please let me know if you paint your floor! If you have any questions, leave a comment, or shoot me an email. I’ll try to help.
EDITED TO ADD October 7, 2011 It’s been almost a year and my floor is holding up so well. There are a few spots that have some paint where I was crafting in the kitchen. I am unable to scrape the paint off, but it’s really easy to touch up those spots with the blue or gray that I used.
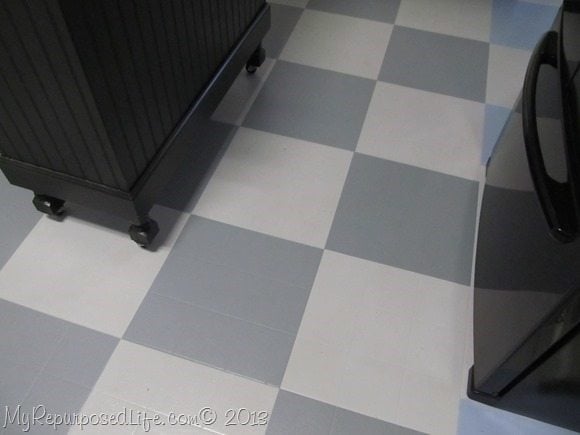
Edited to add: After over 2 years the floor was still holding up great, but I decided to change up the blue squares to a dark gray. LOVE it!
gail
Pin It

Looks pretty amazing to me!
Real good job girl!
Lovely greetings…
Wow! It looks great. I am super impressed!
That looks amazing! Your whole kitchen has turned out so well.
Congratulations on becoming a resident blogger! They’re lucky to have someone as talented as you.
That’s an amazing transformation!
Gail that is stunning! What a transformation. You are making my brain spin with ideas on what I could do with my linoleum floor that I hate.
wow the kitchen re do look AMAZING!! I should save these pics and show my husband.. I have been trying to get him to let me paint out cabinets white.. they are ugly and old and brown.. but still pretty solid. So I asked if we could paint them white.. I thought it would look so nice.. but he looked at me like I was crazy… UGH! haha Maybe if he saw how nice yours look he would get it! LOL
I LOVE this. As I commented before, I am using your before and after pictures as inspiration for my mothers kitchen. I am currently writing a plan for the kitchen, but I already posted some before pictures. Take a look if you have a second and maybe give me some ideas:
http://aburlock.blogspot.com/2010/11/moms-kitchen.html
Wow, what a big change! You might want to look into appliance paint to get a true white on the stove. For the backsplash, I think blue glass tiles in different shades would be great…wonder what junking stuff could substitute? marbles? broken glass chunks?
AMAZING transformation! Just AMAZING!!!!
Carmen and the Primcats
I was so excited to see the final results, and I wasn’t disappointed. The whole kitchen looks so fresh and bright! It cracked me up that you found another use for the blower. I know this was a huge undertaking for you, but really Gail, you out did yourself, it looks fantastic!
I LOVE what you did with the floor. And the before and after shots? WOW! What a transformation.
It turned out GREAT Gail!!