How to make a Drop Cloth Hammock
As an Amazon Associate, I earn from qualifying purchases.
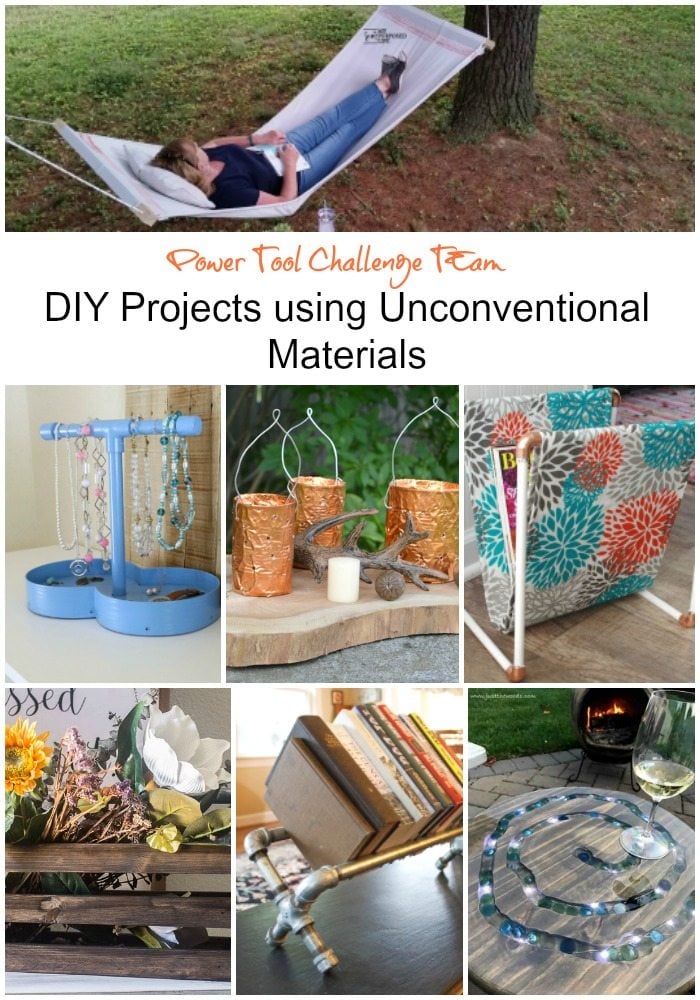
Crafting a DIY drop cloth hammock is an excellent choice if you’re seeking a budget-friendly and creative way to enhance your outdoor relaxation space. Gail Wilson from My Repurposed Life shares her experience transforming a simple 6×9 drop cloth into a cozy hammock, utilizing basic materials like heavy-duty upholstery thread, braided nylon rope, and 2×2 wooden supports. Despite not being an avid sewer, Gail embraced the DIY Power Tool challenge, demonstrating that anyone can create a comfortable and stylish backyard hammock with effort and the right tools.
Yes, you’re in the right place. This month’s Power Tool Challenge was to use unconventional items. For me, that is FABRIC. I made a DIY Drop Cloth Hammock! I can sew when necessary, but it’s not how I prefer to spend my time.
The rules were we had to use at least one power tool. ![]()
How to Make a Drop Cloth Hammock
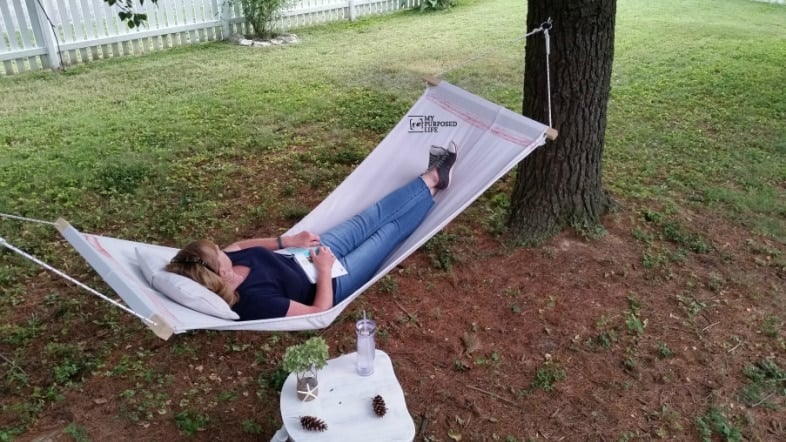
Luckily, I have the perfect place to hang a drop-cloth hammock, and I can admire my DIY picket fence while lounging!
I have tons of pinecones if you have ideas for me.
Materials Needed to Make a DIY Hammock Out of a Drop Cloth:
- Drop Cloth (mine was 6×9)
- Heavy Duty Upholstery Thread (I used 2 small spools)
- Braided Nylon Rope (I bought 50 ft and had plenty left over)
- Metal Rings 2” (2)
- Heavy-duty metal hooks (2)
- 2×2 (6 ft)
- Duct Tape (optional)
- Paint (optional)
- Stencil (optional)
- IOD Roller Stamp
Tools:
- Saw (I used a miter saw, but you could use a jigsaw or even a hand saw)
- Drill
Fold Drop Cloth to Have a Stronger Hammock
This is where I tell you “do as I say, not as I do”. I’m not a seamstress by any means. I wanted to double my drop cloth, so I sewed the two long ends together to place on the bottom of the hammock. Because I sewed the two hems together, it created a SPINE on the hammock. I think it would have worked better had I cut the hems off and then sewed the two ends together. I believe because the hems are so strong, they don’t give as much as the fabric does.
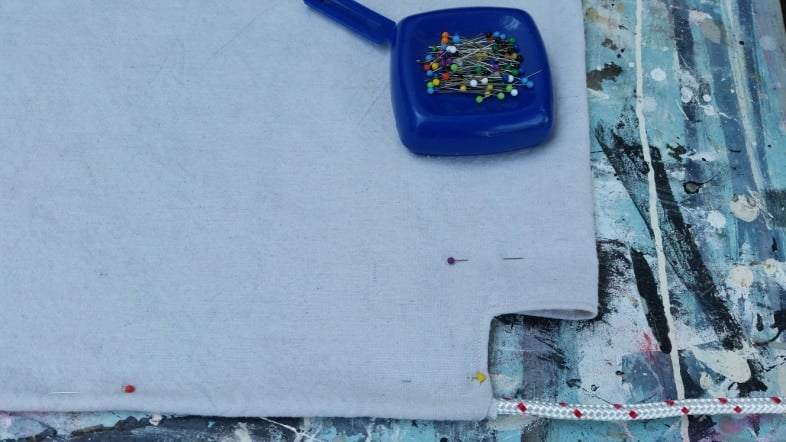
Pin All Steps Before Sewing
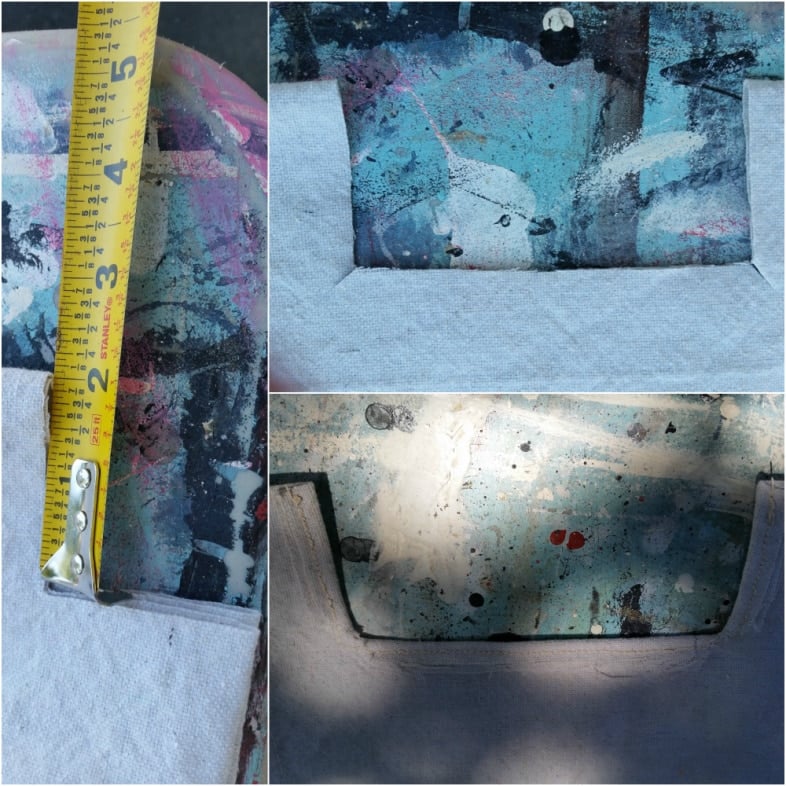
Each end of the hammock was folded under about 5 inches so I could HEM the pocket. Before sewing, I cut out a 2×2 square and hemmed it. Again, this is where I tell you don’t do as I do. When I went to slide my rope into the side, the side was sewed shut. I had to rip out a small section in all four corners. Those of you who sew can figure this out. For those who don’t, you can pin the pieces and do all the steps before you sew anything.
Mark, Pin, and Sew the Pocket to Hold Your 2×2

At this point, I haven’t ripped the seams yet. I folded the hem about 5” and sewed it at 4.5 inches. I hemmed one end, then ran out of thread, so I was on hold. Who needs a hem guide when you have a Kreg multi-mark tool?
NOTE: I had trouble erasing the pencil marks. Note to self—buy an eraser.
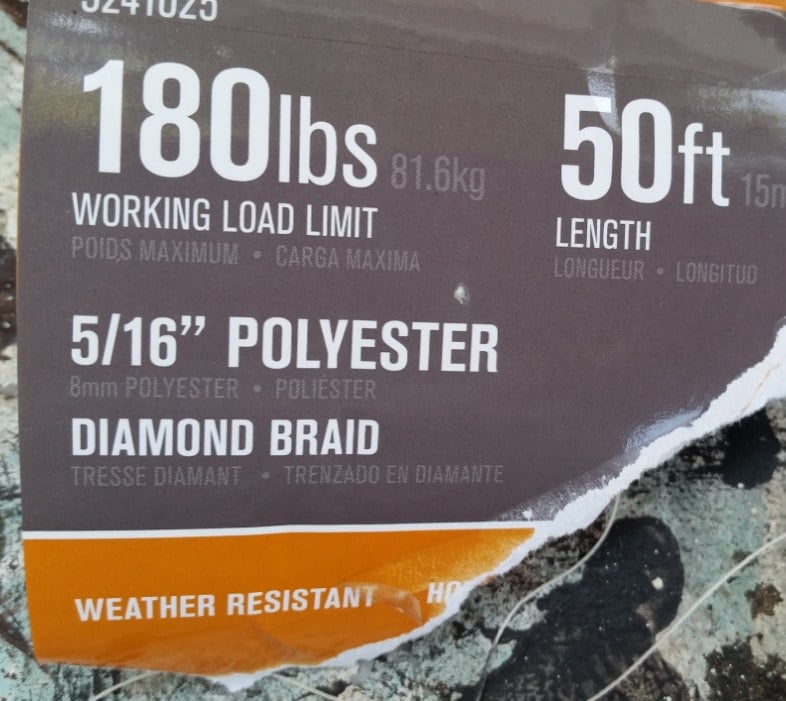
This is the rope I used; you can pick up something similar at your local hardware store.
Insert the Rope on Each Side of the Drop Cloth Hammock
In this picture, you can see where I had to rip out the stitching. Because I only had one end hemmed at this point, I was able to use my entire arm to thread the rope through each side. I pinned everything in place, then hemmed the other end.
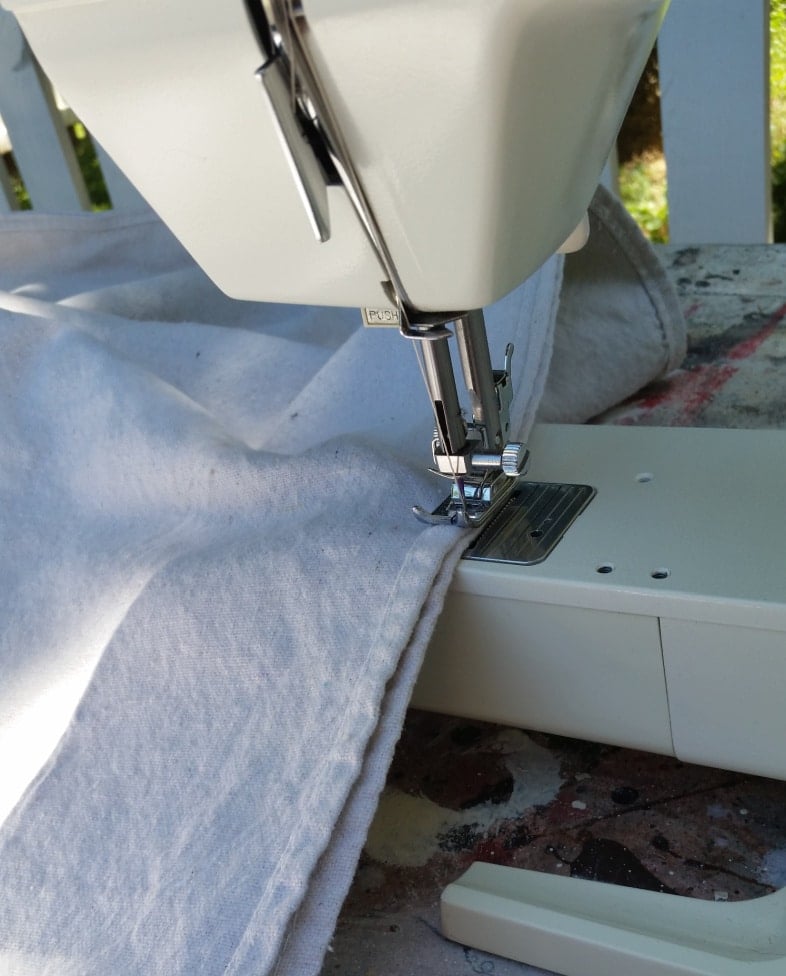
Sew the Entire Length of the DIY Hammock to Encase the Rope
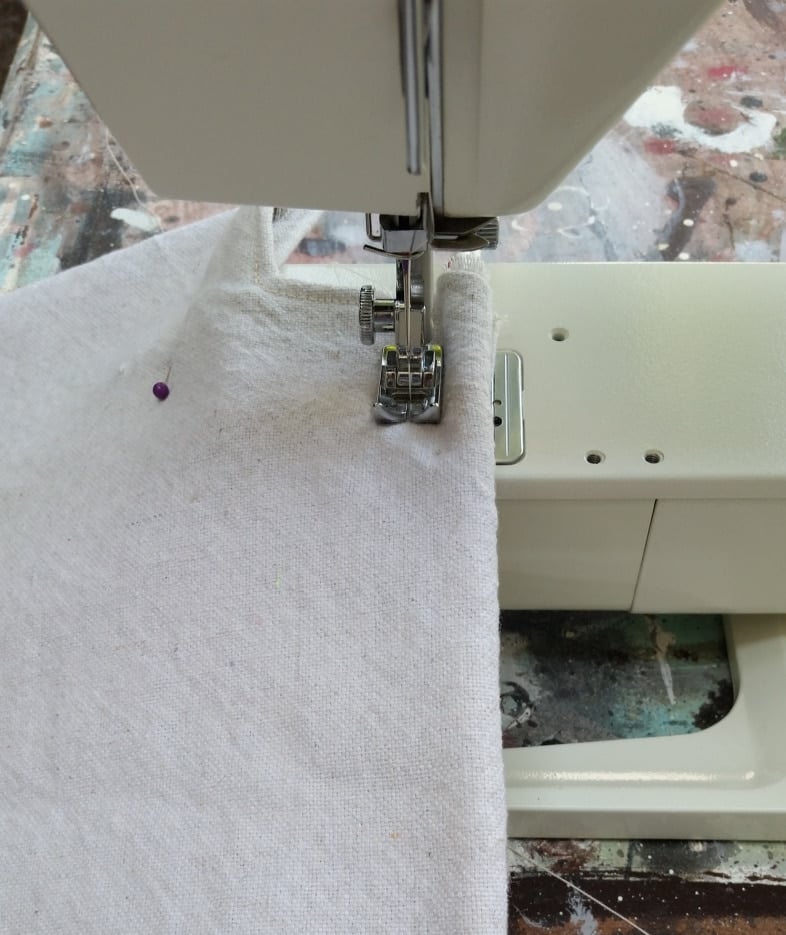
I sewed the entire hammock length, letting the rope be my guide.
Cut 2×2’s to Size

After measuring my hammock’s width, I cut my 2×2 to size on the miter saw. Note that you could use a jigsaw or a handsaw here.
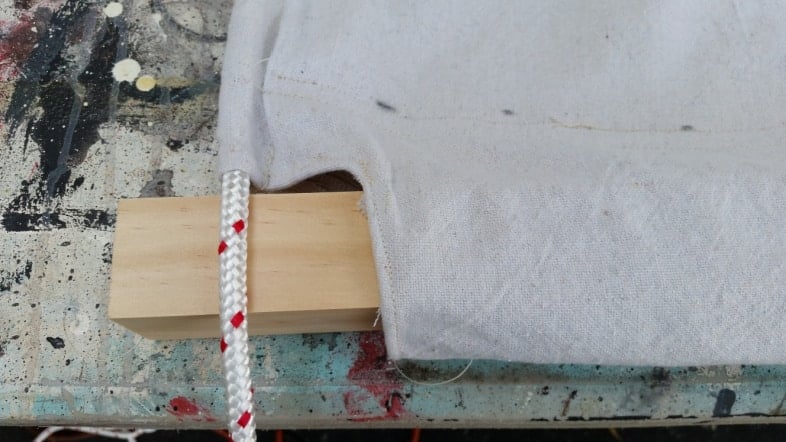
It’s important to line your rope up so it naturally falls where you drill your hole.
The Flow of the Rope Will Determine Where You Drill the Holes

After inserting the 2×2 into the hem of the hammock, I marked the center of the board for drilling.
Drill Holes
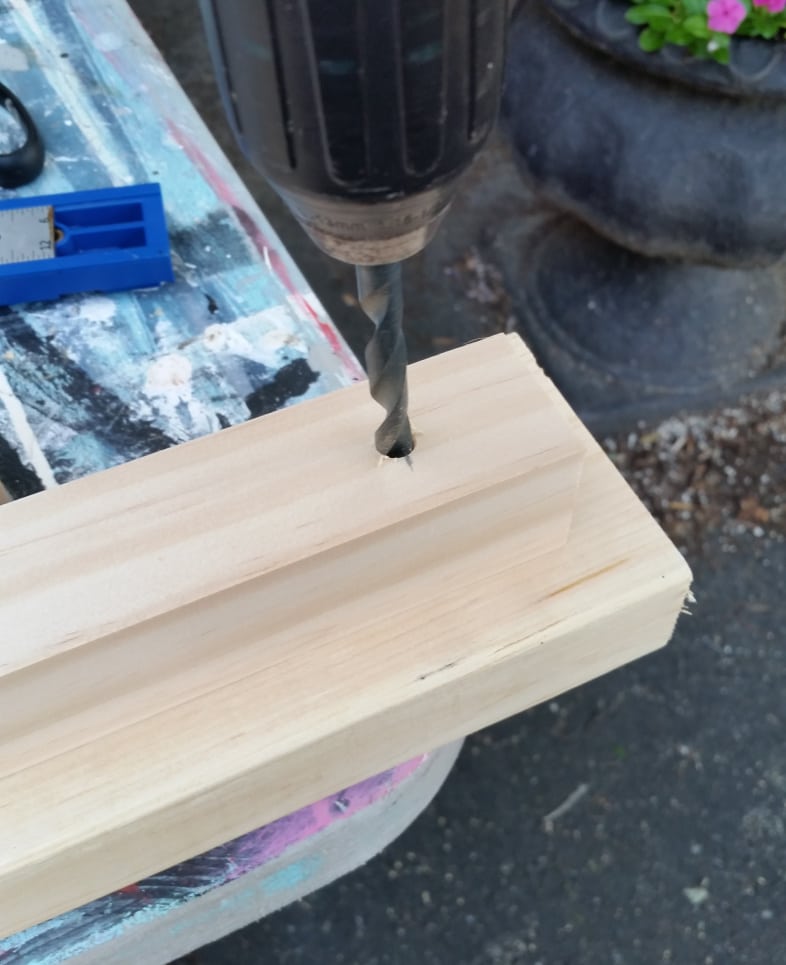
I drilled the hole for the rope, placing a scrap board underneath to keep from having tear out on the wood being drilled.
Painter’s Tape Aids in Pulling Rope Through Drilled Holes
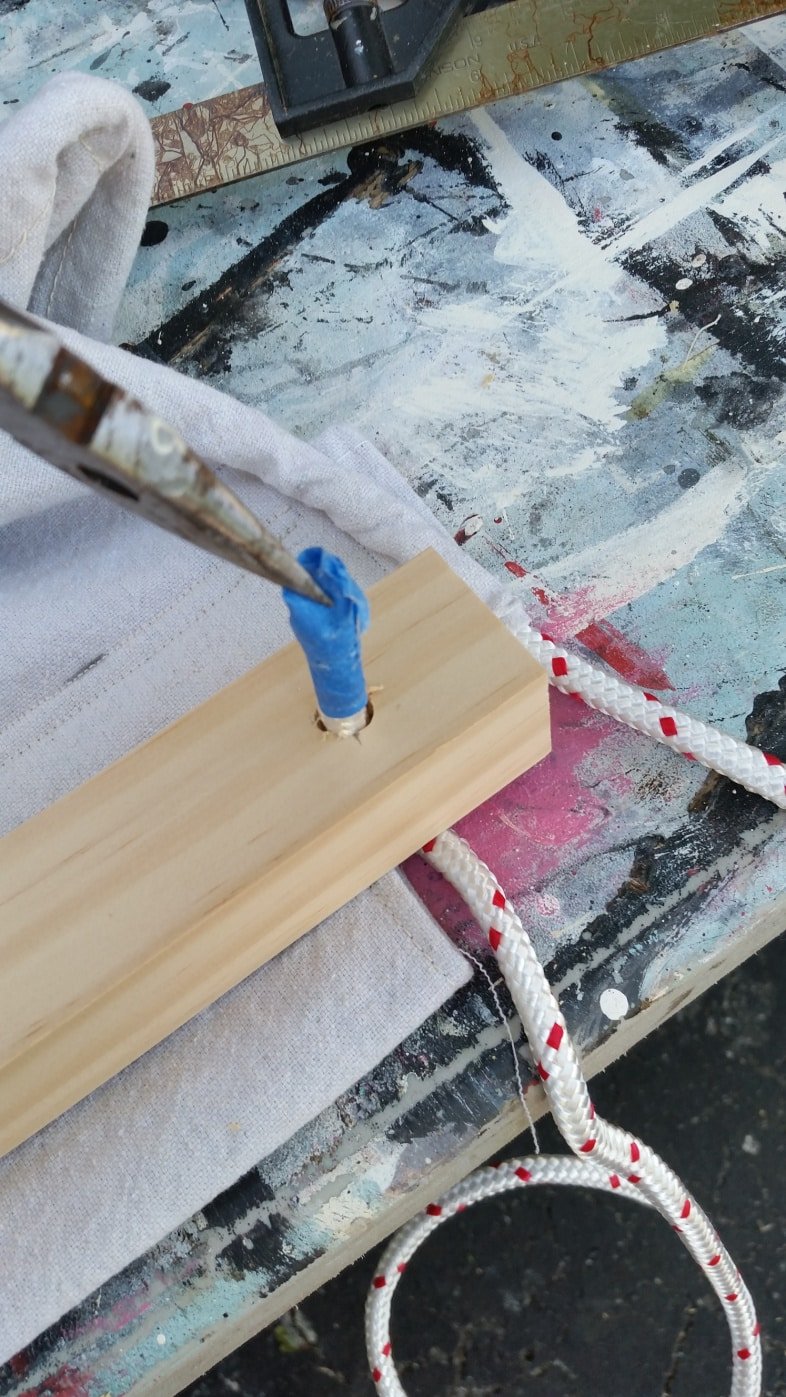
I taped the ends of the rope to feed them through the holes in the wooden support bar.
Tie Knots on Metal Rings to Hang the DIY Hammock
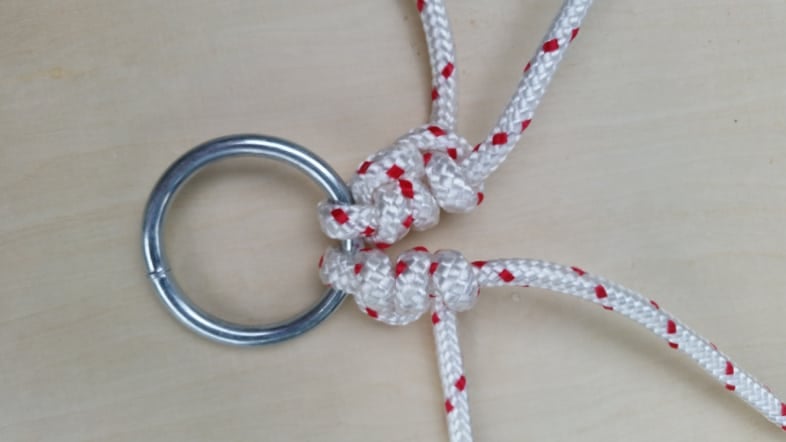
My neighbor Rodney helped me tie the knots onto the metal rings. The length of my rope from the ring to the support bar was 24”. Your length may vary depending on how your trees are set up.
Burn Ends of Rope to Prevent Fraying
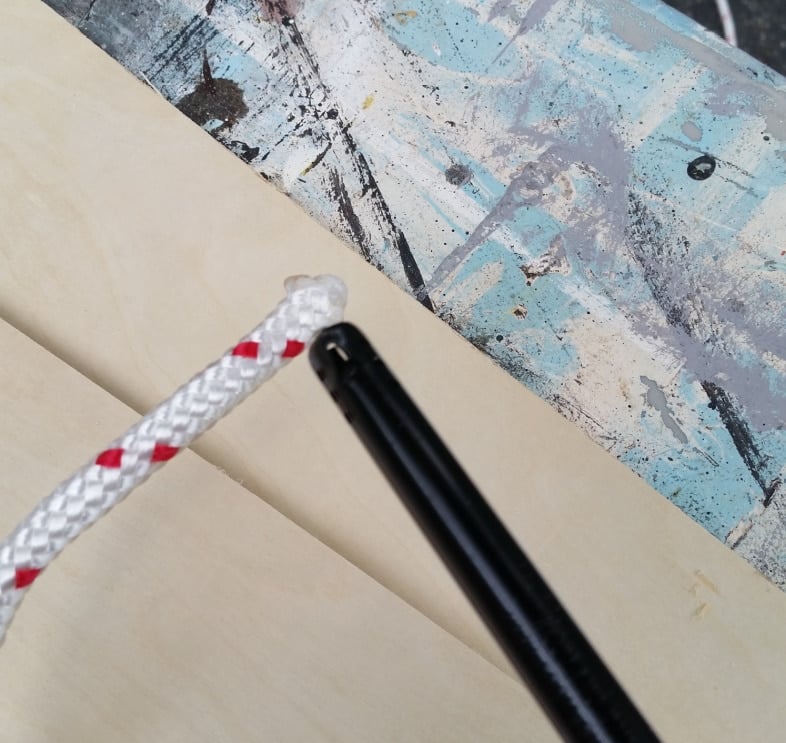
The ends of the ropes were trimmed and burnt with a lighter.
Secure the Ends of the Rope With Duct Tape
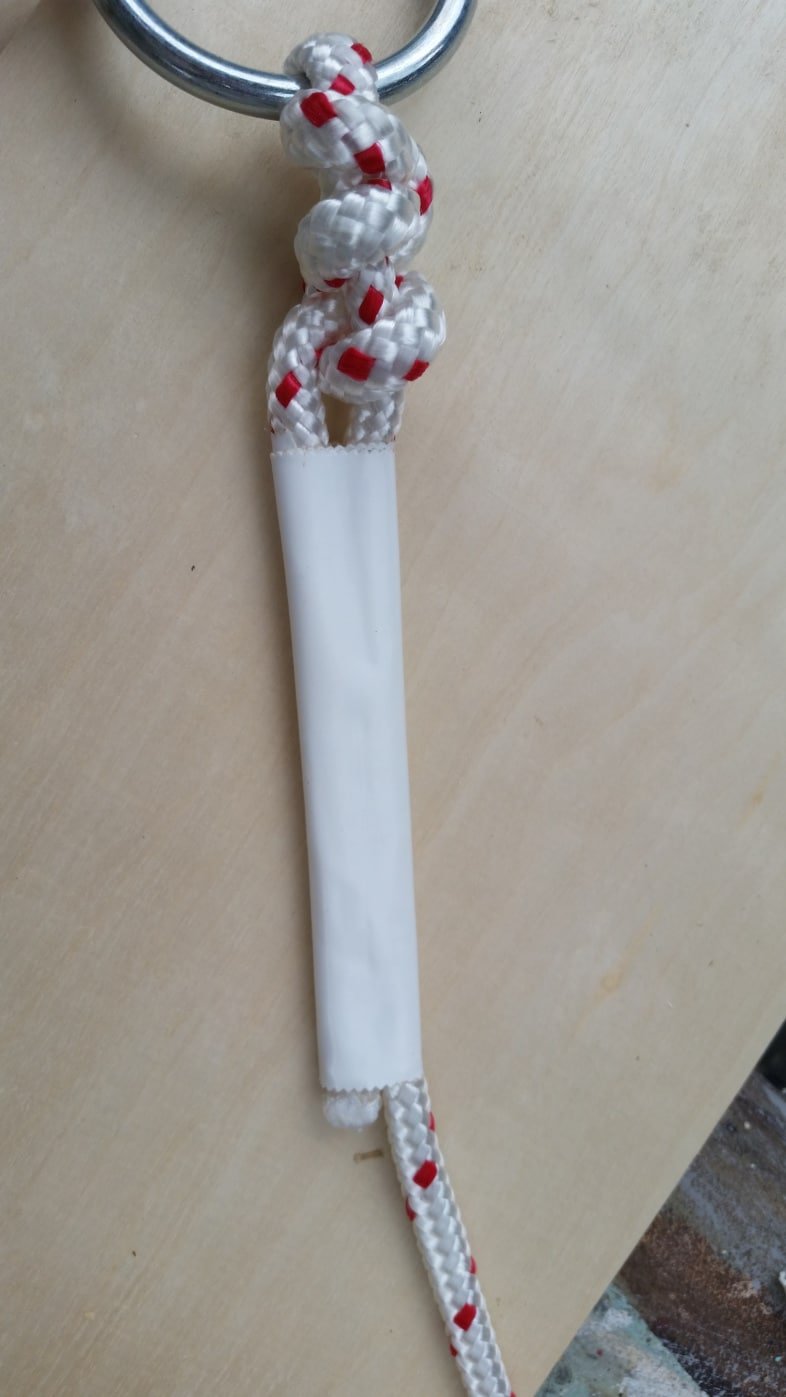
White duct tape was used to bring the ropes together on the four pieces.
Attach Drop Cloth Hammock to Tree

To add the hooks to the trees, I first drilled a pilot hole, then used a small pry bar to aid in screwing the hook into said tree. A large screwdriver would also be helpful for this step.
Optional: Embellish DIY Hammock With Paint
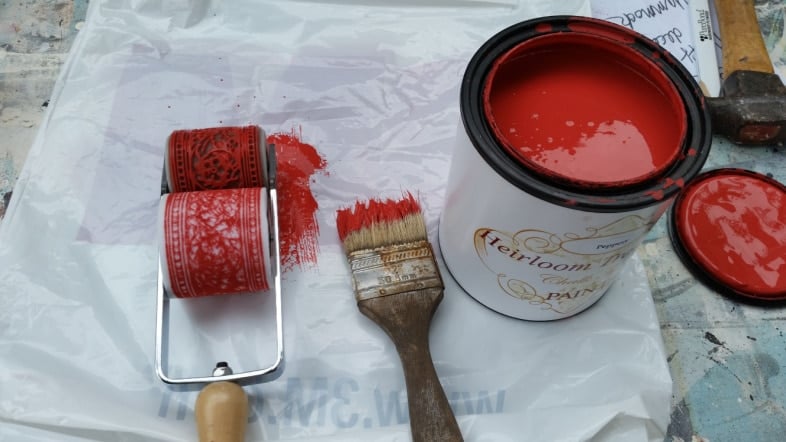
I wanted to embellish the ends of my DIY drop cloth hammock. So, I chose some Heirloom Traditions Peppery and my IOD Roller Stamp. I applied just a little paint to a plastic bag with a cheap chip brush.
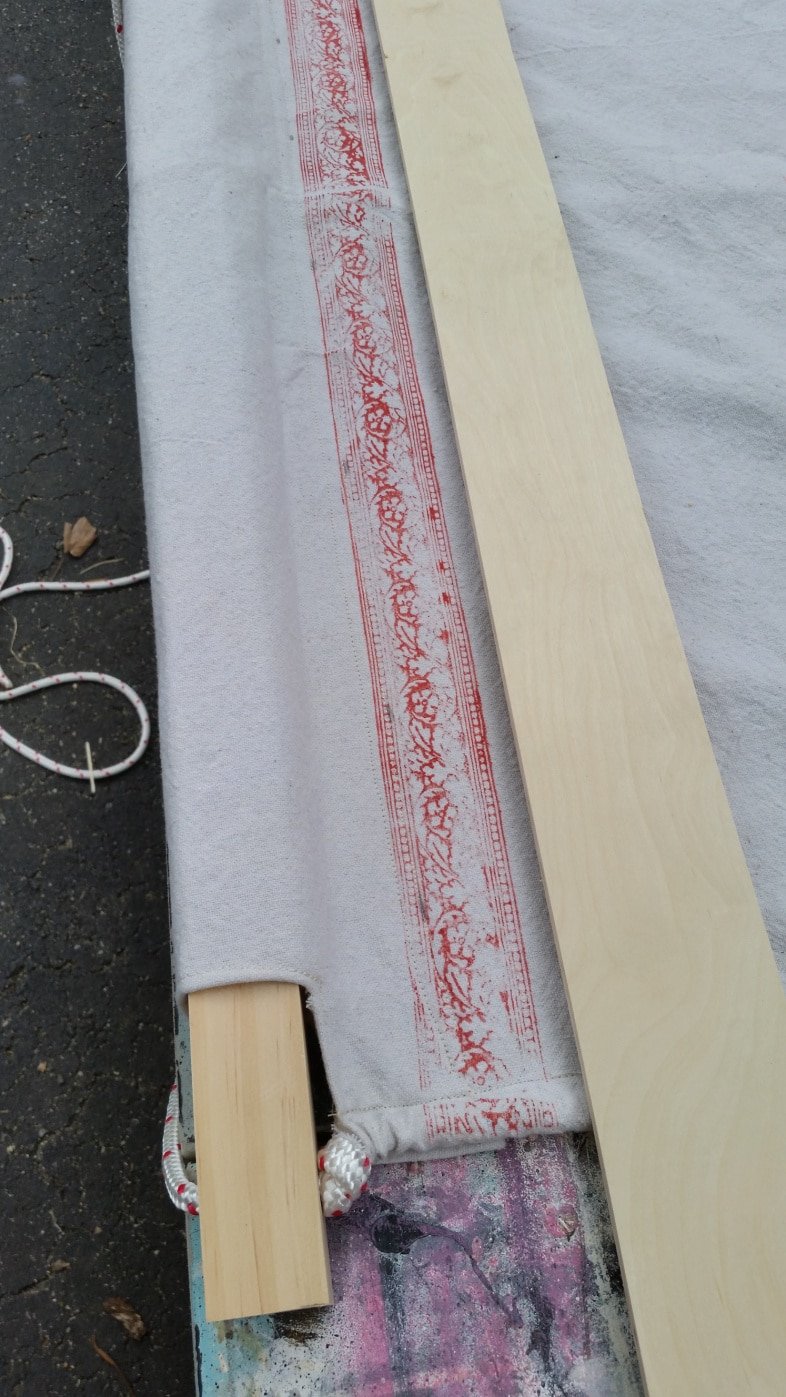
A scrap length of board was used to try to keep me on a straight line. The paint transfer isn’t perfect, but I love the little touch of color it adds. You can see I tied a knot on the underside of the support bar.
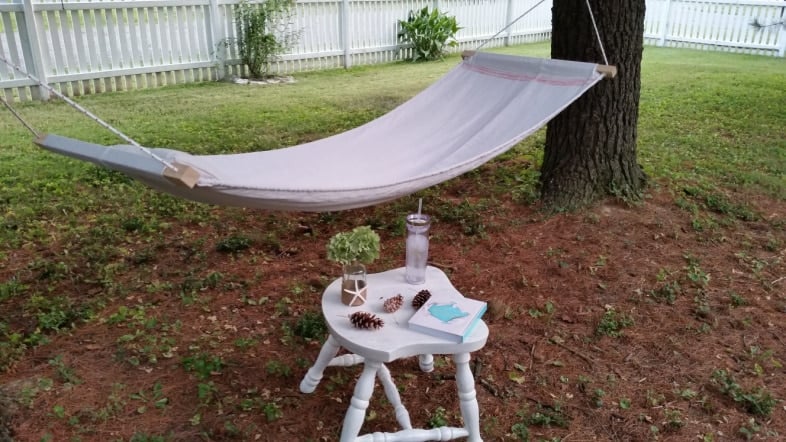
You can see the “hem” showing through the bottom of the hammock. It doesn’t interfere with the way the hammock works or feels. It’s very comfortable and I’ve enjoyed lounging in it. The sweet vase and tumbler are available from my friend Leen. The book is So Close To Amazing from my good friend Karianne of Thistlewood Farms! I’ve only read a few chapters, but if you LOVE Karianne’s stories, you’ll love this book. At the end of each chapter, she gives you the details for a DIY project!
Enjoy Your Afternoon Hanging Out in a DIY Drop Cloth Hammock
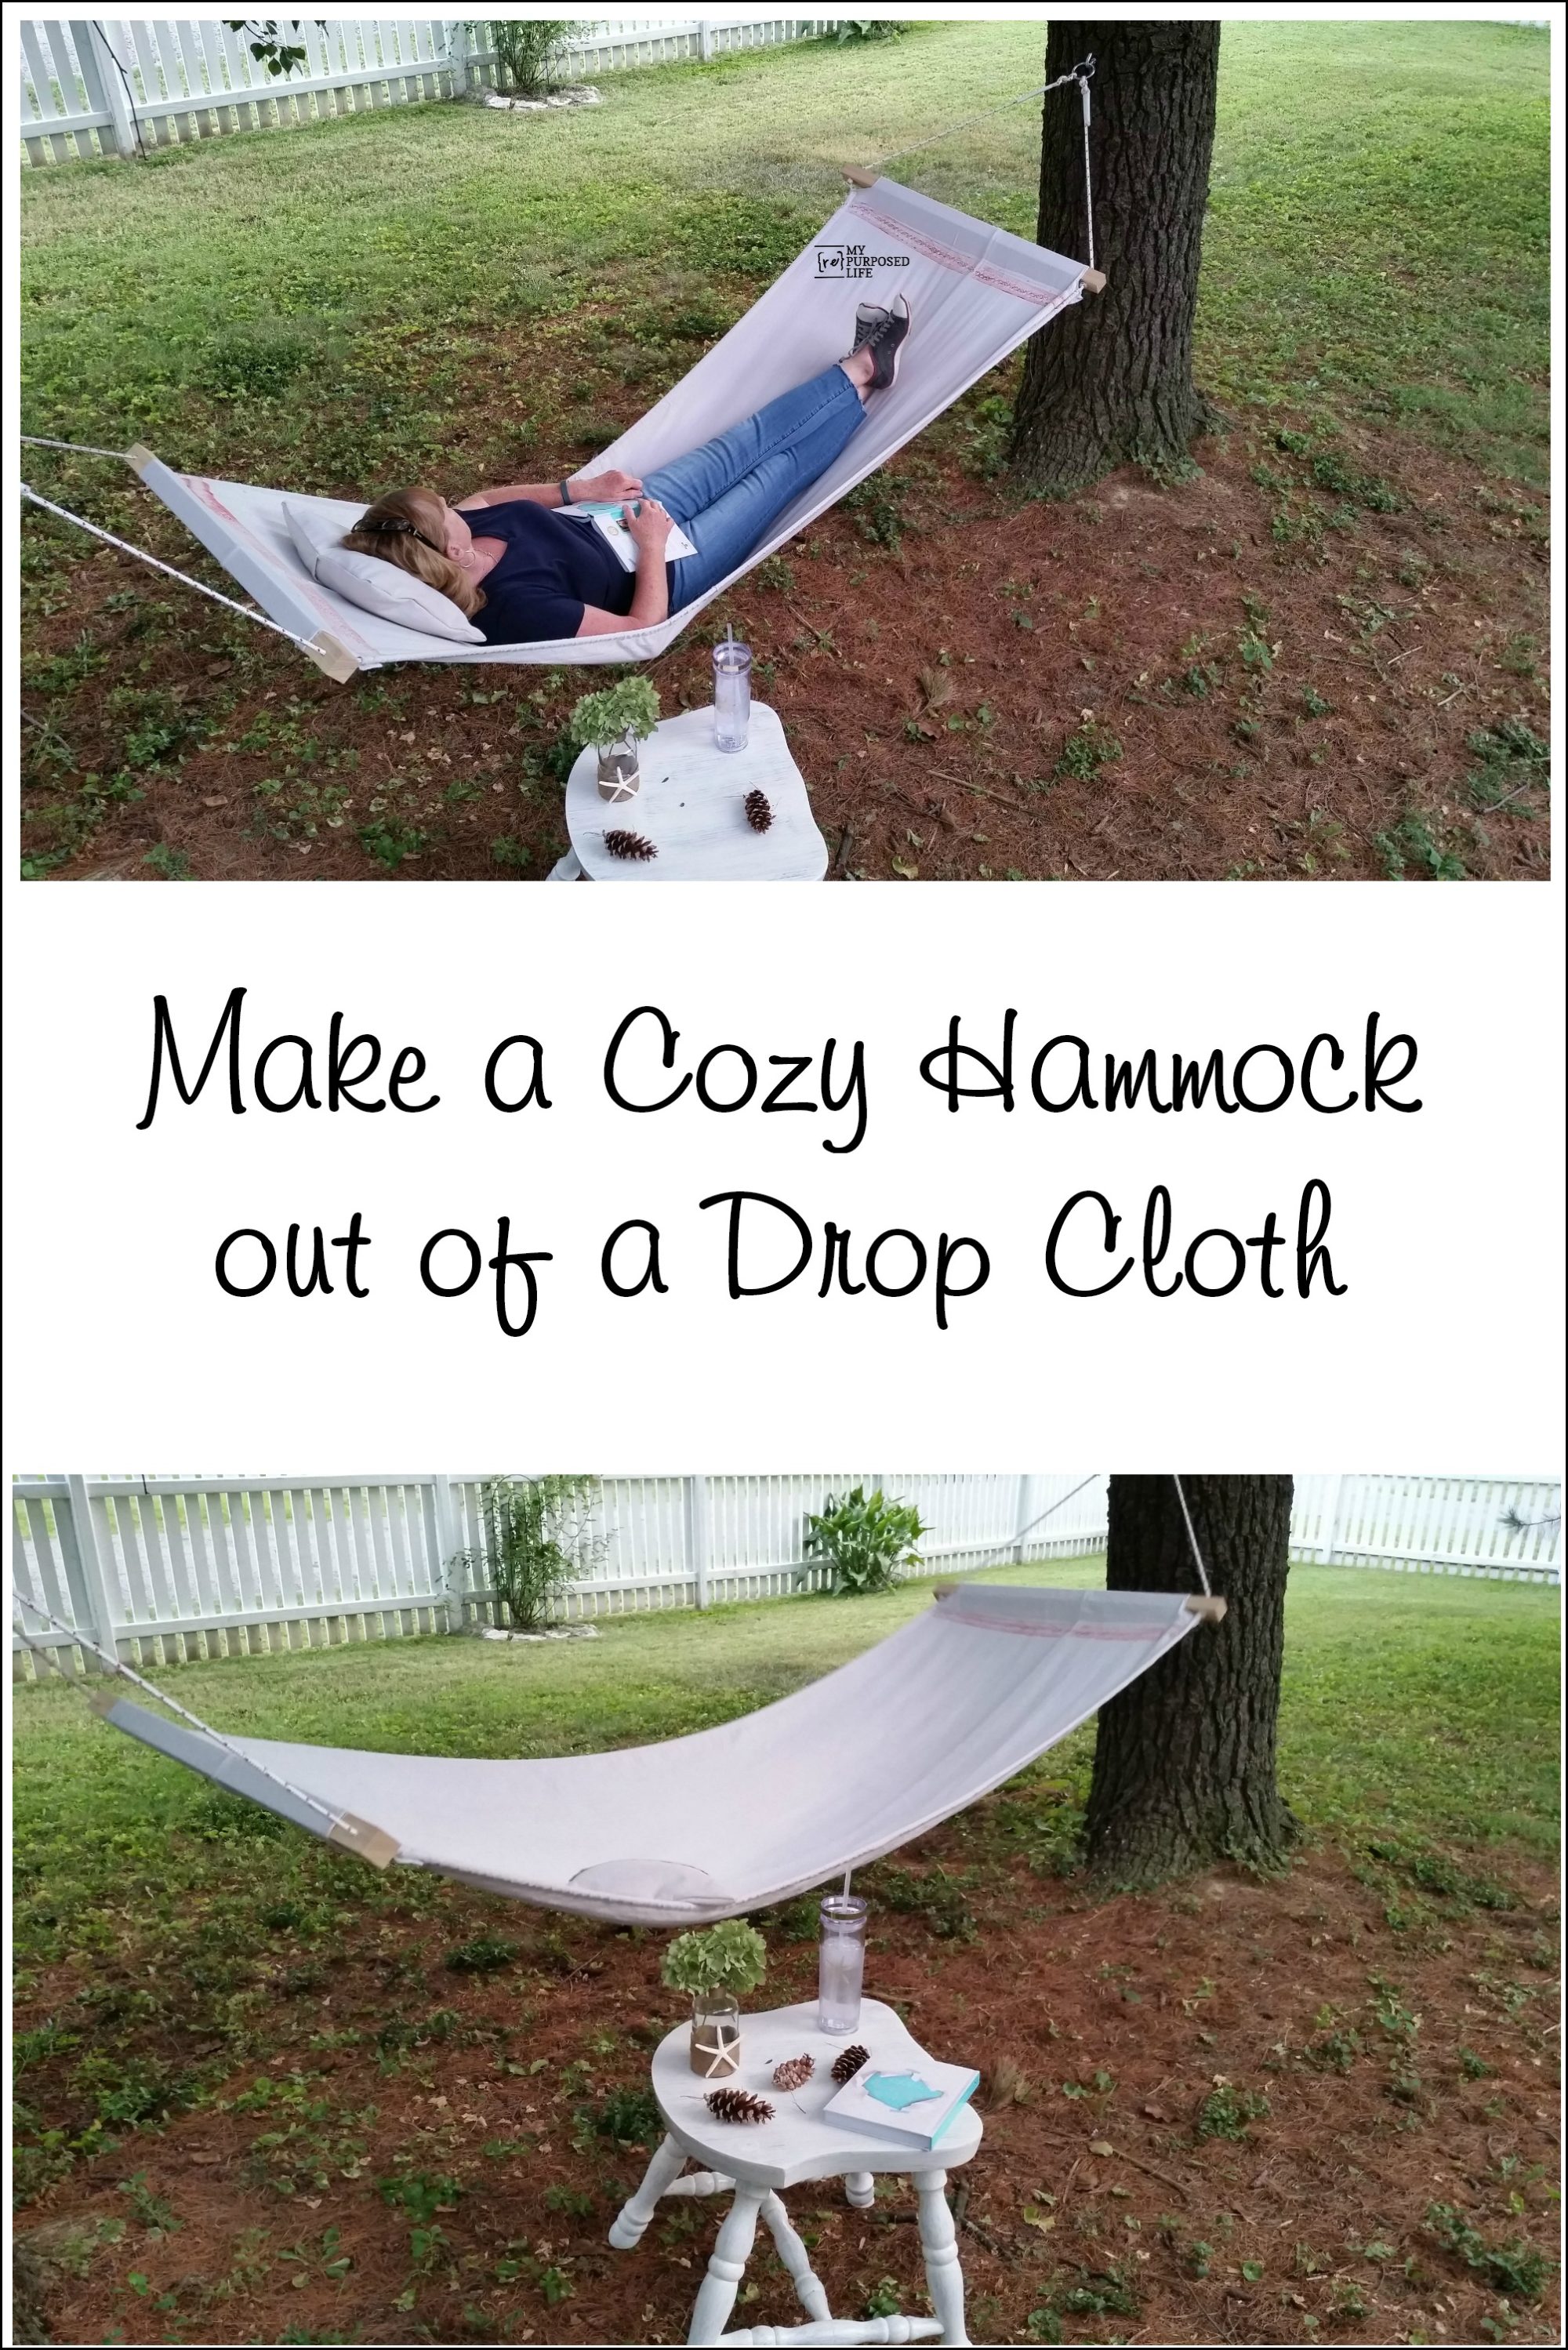
Please PIN IT!

My new diy drop cloth hammock is the perfect place to enjoy a cold drink and a great book, or play a game on my phone. ![]() Stop by tomorrow and I’ll show you the details on my sweet new side table!
Stop by tomorrow and I’ll show you the details on my sweet new side table!
But till then, it’s time to check out the other projects from the Power Tool Team!
My Repurposed Life How To Make A Drop Cloth Hammock (you are here)
My Love 2 Create How to Make A Jewelry Holder
H2OBungalow DIY Copper Tin Can Candle Holders
Create and Babble Copper and Wood Magazine Holder
Domestically Speaking DIY Wood Tool Box
Virginia Sweet Pea DIY Industrial Pipe Bookshelf
Just The Woods DIY LED Wood Mosaic Table
Sharing here: Inspiration Monday
Creative mind is a compliment that i would love to give you Gail. Fabolous Hammock. I really like the paint embellishment. I have a place in my home where i can install a Hammock, thanks for sharing this, i will make one and will share it with you.
Hannah!
That makes me smile! I’m so glad that you are inspired by my drop cloth hammock. I am sure yours will be fabulous! Please do share, and I’ll share it with my friends.
gail
I love this — and I love that you are secure enough in your work to lay in it hahaha! I wouldn’t trust MY skills like that. That little chair table is so cute too – great idea. I’ve been collecting the short ‘squatty’ pine cones to make ‘zinnias’ with. If you turn them upside down, they look just like zinnias so you can paint them bright colors or fall colors or whatever. You just cut them off so you have the ‘flower’ part left.
I love zinnias, so I think I should definitely make some of those. How do you clean your pine cones? Mine are a mess! One more question, how do you display them?
gail
I soak mine in the sink for half an hour with a cup of white vinegar in the water. Then I put them in a 200 degree oven for 15-20 minutes. I have giant ones that I sprayed silver for Christmas but I display them with hedge apples in baskets in the Fall.
awesome, thanks!
gail
Gail, your hammock is a really creative and excellent idea. I was thinking about how well it would wash in the machine and how sturdy it will be and then it occurred to me that I bet it could even be scotch-guarded! ~Ginene
Great idea to scotch guard the drop cloth hammock. I’m sure I’ll just hose it off and hang it to dry should it get dirty. I’m still enjoying it much more than I ever thought I would.
gail
How fun Gail!! What a great project!
This is amazing! I wish I had a couple trees to attach a hammock too. Now I’m thinking about what else I could attach the ends to 😉 Pinned!
Wow! This is so darn creative! I hope you get to take some time to rest and enjoy that awesome hammock! Love the rolled trim with the IOD roller. I brought one of mine to VT so I could do projects here with it too! Pinning and sharing your awesome project!
very cool!! we have a hammock upstate that is falling apart. I love this idea
Thank you kandice!
This is so fun Gail! I think I could use one of these, great tips on how to hang it…that is the part I would be worried about! Also, I am so glad I am not the only one that sews seams shut when I was supposed to leave them open! hee hee!
Pinned!
Thanks for pinning Mindi! for me, I love to sAw not sEw 🙂
Really like it, especially the painted embellishments !!!
Thanks Nova-I never thought I’d enjoy a hammock so much!
gail
I love hammocks and yours is fabulous Gail! What a great place to kick back and relax after a long day of DIYs!
Exactly Jeanie! I have taken several “breaks” in it already.
thanks for stopping by!
gail
You are so smart to think of a way to make your own hammock and it looks like you have a great place to relax in one. I like the paint embellishment you gave it and I look forward to seeing how you made your stool when you share it tomorrow.
Thanks Paula-I never, ever thought of buying a hammock. That’s what I love about these challenges, they make me think out of my regular box. 😉
gail