How To Make a Large Display Easel
As an Amazon Associate, I earn from qualifying purchases.

My cousin Terry was with me when I bought this plastic dresser mirror. As we were loading it in the car, she remarked that I should make an easel for it. I thought about it off and on since then. Somewhere along the line someone else mentioned it. I can’t remember if it was on Facebook, or a comment on the original post.
I decided to give it a go. I looked for a tutorial online and couldn’t find much. So, I’m here to tell you how to DIY your own display easel that is very versatile, and customizable.
I ripped some cull bin 2×4’s in half to make them squareish. I ended up cutting them all to about 46 inches. You could buy 2×2’s from The Home Depot.
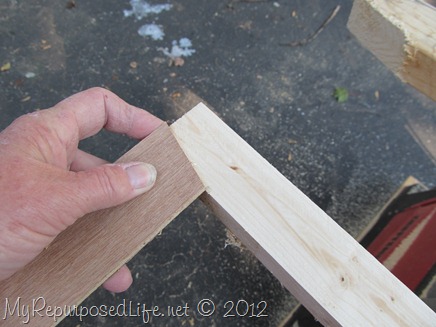 What I did find online is that the side pieces needed to have a 15° angle. I didn’t know how to do that so I figured out a way. I cut that little piece of luan on the miter saw with a 15° angle.
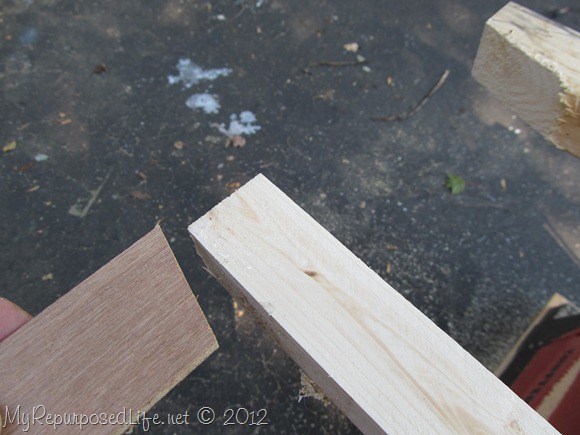 I put the board on my piece of lumber and drew a line.
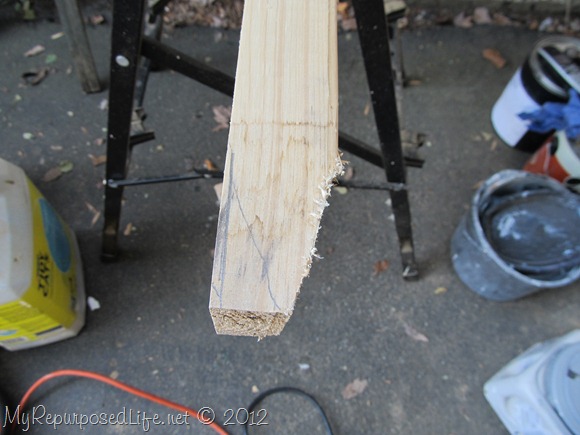 I used my jigsaw to cut the angle. It was a little crude, but if you don’t have a miter saw this is a good option.
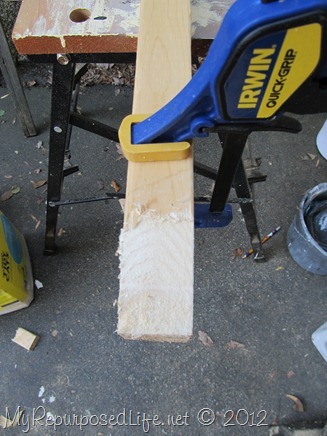 Here, I am ready to drill a hole for my bolt.
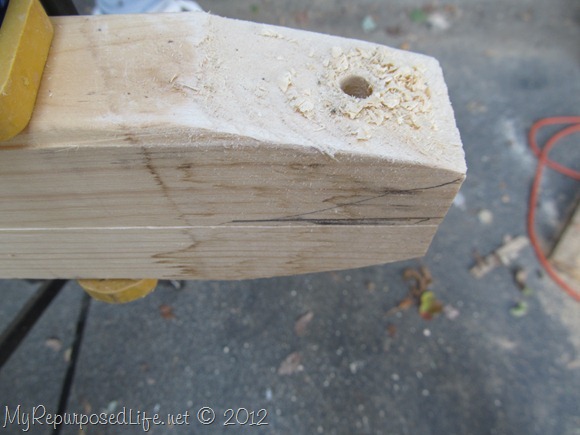 I drilled both sides at the same time to make sure the holes lined up. This worked, but I’m not really sure why. I used a 5/16 bit. See the end of this post for another way to do this to make sure it works.
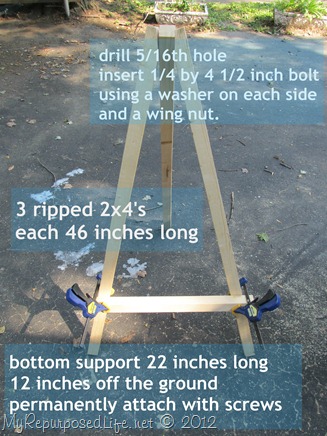 This is a dry fit. I have a screw in the top, and the bottom piece clamped on to see if it’s really going to work. I was trying to figure out how far to separate the side legs.
 After inserting a 1/4 inch by 4 1/2 inch long bolt and screwing the bottom piece on, I test to make sure it’s going to hold my chalkboard. This bottom piece is 22 inches wide, and it’s about 12 inches from the ground.

I painted it black.
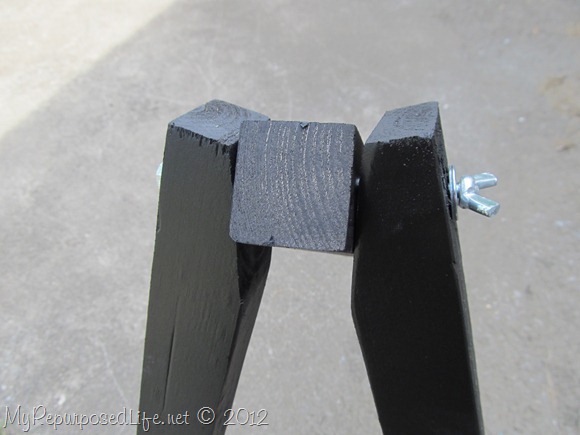 This is a close-up of the angled pieces and the center piece. After making my prototype, I decided to make a couple more.
My niece Marie and her husband Tom stopped by and I talked to Tom about how he would cut the angle. He showed me that I could do it this way:
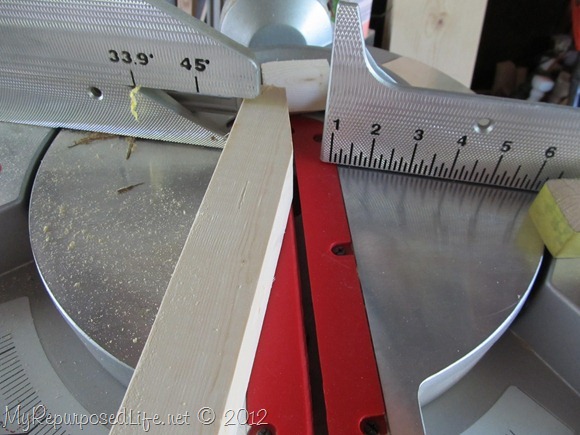 I’ve never cut lumber like this before and I was a little nervous about kickback, but Tom assured me it would be okay. It was. 😉
I do NOT recommend cutting lumber this way. As always I must remind you that using power tools is very dangerous and you should not attempt to do something just because I did. Be safe folks, and always wear eye/ear protection.
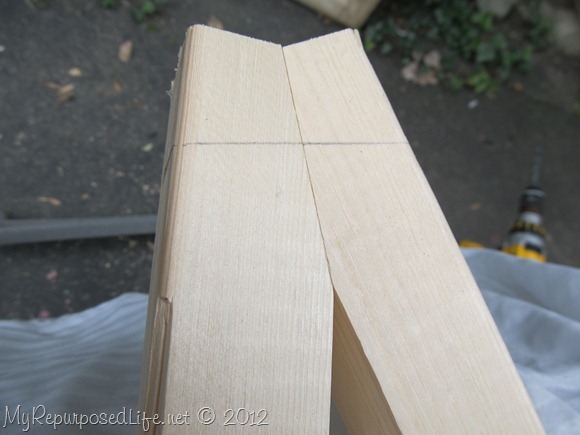 This is the way I drilled the holes that I think worked better. I drew the line, then turned the piece over, and drilled a straight hole, but at an angle. (not pictured)
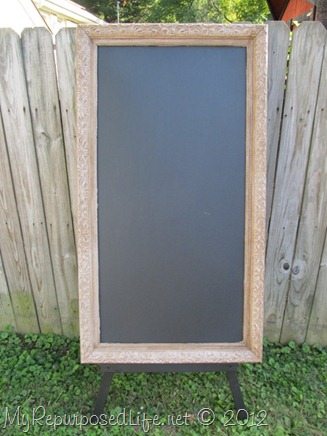 I will be using these display easels at my craft show next month.
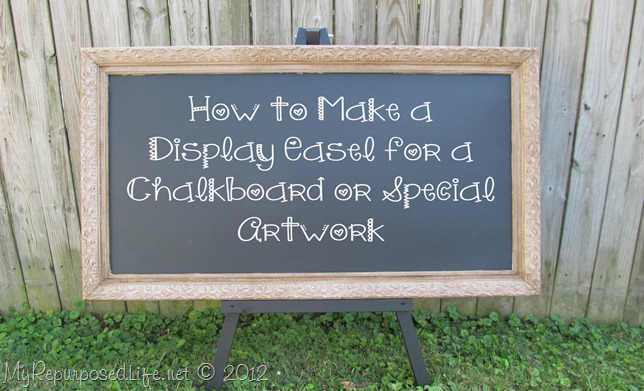 I have made three, but have only fully assembled this one. I was so anxious to show you, that I didn’t want to wait till I get the other two finished.
 I know you want to make one, what will YOU display on your DIY easel?
gail


Thanks very much for sharing this! I needed to make a stand for a tall mirror for my gf who is doing a sale tomorrow and needs people to be able to stand in front of a mirror. Had to do it with bits and scraps I had lying around, and I didn’t have a long bolt suitable for the hinge so I just used an old door hinge. Worked fine. Not a piece of art but very functional and doesn’t look bad.
That’s sooo awesome. I’m very happy you found this idea on my site. Hoping your girlfriend had an awesome sale!
gail
I like the way you dilled it the first time. It seems so simple. Why did it not work as well? I mean, it seems like maybe it wouldn’t work, but that way I could just throw it on a drill press with the middle piece. Not sure if the holes would line up once you flip it around though. Was this the issue?
Kory,
A drill press would probably make this task easier and more fool proof! If you make some, please let me know how they turn out. I still use mine each year at my craft show.
gail
I added holes in the sides and then used some dowels to put in them so I could put things higher if wanted. I had to create two to hold a display that was wide rather than tall. I also added a chain to keep the back leg from going back farther than wanted.
Great tips to change up the large display easel Paul!!
thanks for sharing.
gail
I am ultra-impressed, and have pinned to look at more closely later. And…kickback scares the daylights out of me, too!
Very cool!