• Skip to primary navigation
  • Skip to main content
  • Skip to primary sidebar
  • Start Here
  • Shop Favorites
  • About
    • Welcome To My Repurposed Life Home of Repurposed Furniture
    • More About Gail
    • Disclosure
    • Privacy Information
  • Gallery
    • Repurposed Furniture
  • Repurposed Items
    • Building Supplies
    • Miscellaneous Household Items
    • Picture Frame/Chalk Board
  • DIY
    • Home Reno
    • outdoor living
    • Painting
    • Shop Talk
    • Tips for Around the House
    • Build It
      • Furniture
      • Home Decor
      • Storage
    • Crafts
      • Dollar Store
      • Easy
      • Holidays Seasonal
  • Furniture
    • Chair
    • Desk
    • Dresser/Chest
    • Headboard | Bed Parts | Cribs
    • Kids Furniture
    • Table
    • Kids Furniture
My Repurposed Life® Rescue Re-imagine Repeat
menu icon
go to homepage
subscribe
search icon
Homepage link
  • About
  • Start Here
  • Project Index
  • Furniture
  • Subscribe
    • Email
    • Facebook
    • Instagram
    • Pinterest
    • RSS
    • Twitter
  • ×

    Home » DIY » Build It » How to Make Small Display Easels

    How to Make Small Display Easels

    Published by Gail | Published May 9, 2013 | Updated April 9, 2019
    As an Amazon Associate I earn from qualifying purchases.

    Pin
    Share
    Tweet

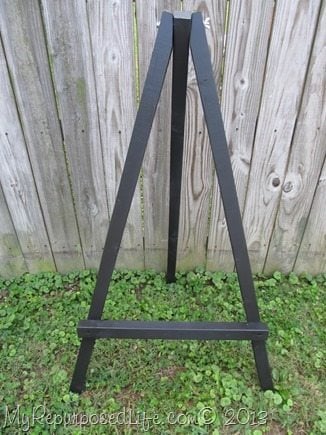
    large display easelLast fall I made several large display easels
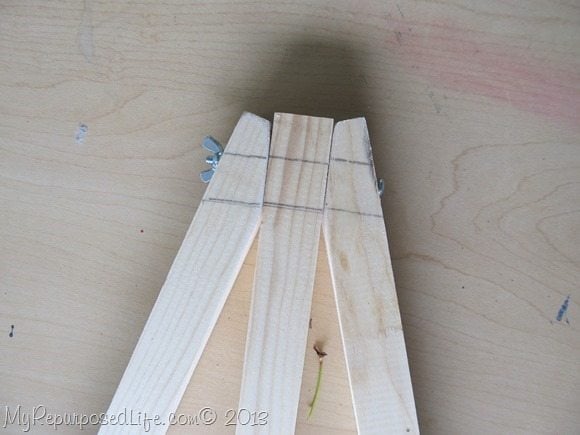
    small easelI don’t have pictures, but I’ll tell you that I clamped the left and right pieces together, drew a slanted line, and used my jigsaw to cut the angle. I then held the three pieces together to draw the line to drill my holes. You can see from the lines that you don’t drill exactly “straight” through the boards. (I ripped some 1x's, so my small boards are about ¾ x ¾)  You can get these kinds of small boards in the lumber dept at Home Depot.
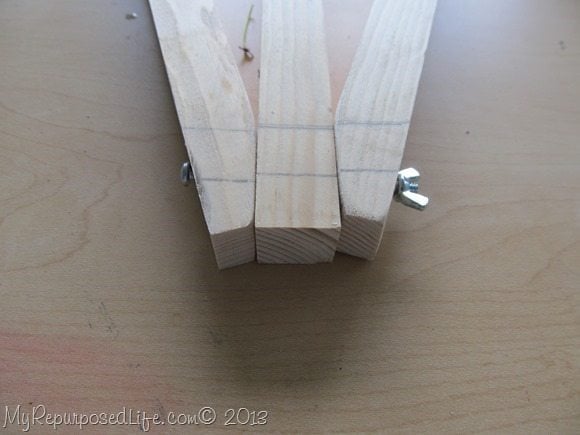
     

    diy easelI purchased small screws and wing nuts to allow the easel to fold and extend.
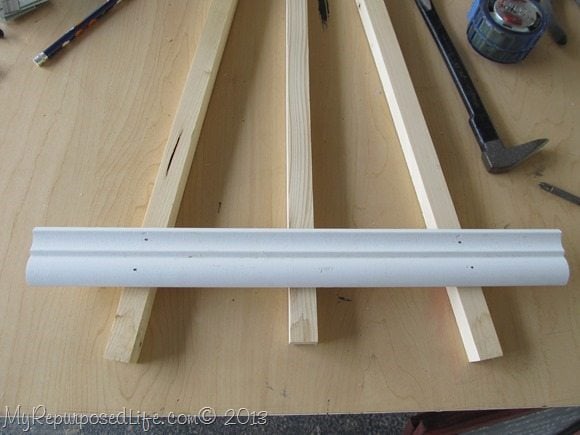
     

    diy chalkboard easelI used a piece of trim for the cross piece, attaching it with my brad nailer.
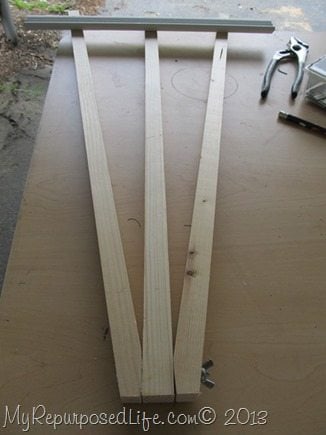
     

    DIY chalkboard easelFrom this angle, it looks sooooo long. Smile  But I wanted to show you that I very, very carefully put it back on the compound miter saw to even out the ends. I do not recommend that you do this.
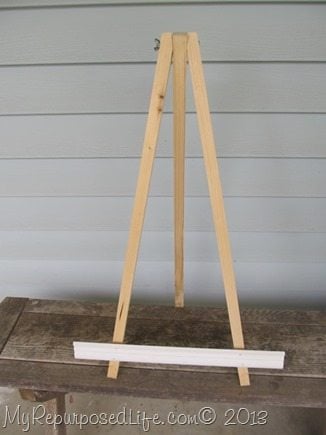
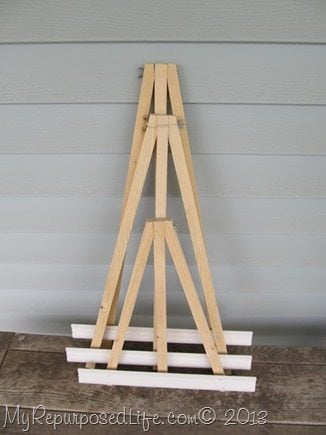
     

    diy easel


    chalkboard easelsI made three sizes. The outside pieces measure 16, 22.5, 25 with the bottom cross piece measuring  15, 16, 16     I made the back leg 1 inch shorter on each of them.
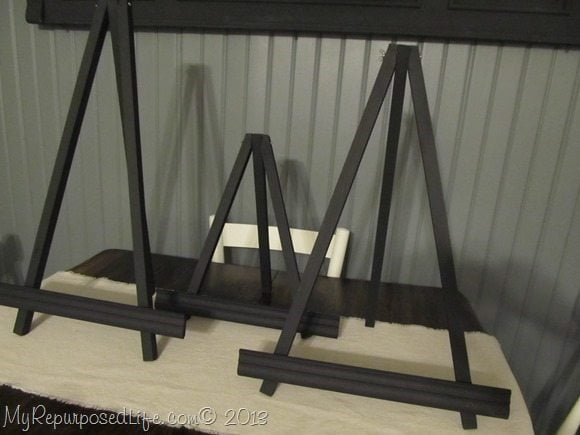
     

    small black easelsI painted them black.


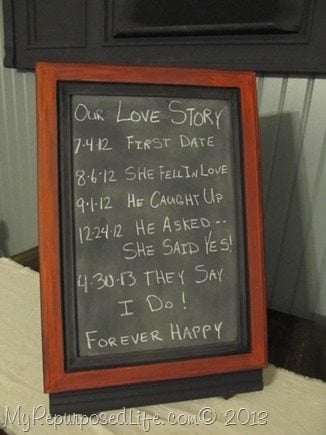
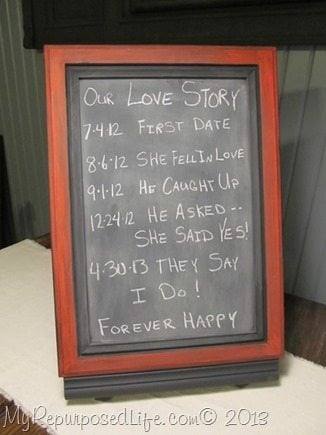
    chalkboard on an easelHere is one of the medium sized chalkboards on it.
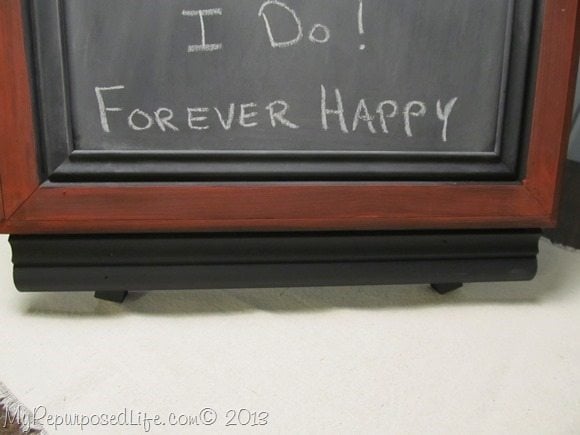
     

    chalkboard easelclose-up


    chalkboard frame easelI think any chalkboard would look super on one of these easels.
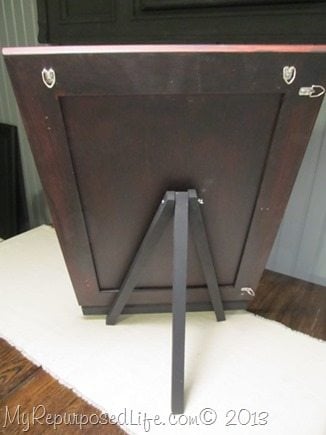
     

    diy easelFrom the back—you can see that I’ve added the d-rings so that my chalkboards will hang either horizontally or vertically. Generally it only takes 3 rings, I make the one on the top right swing either way…. but this door had a joint right there, and I couldn’t screw the d-ring into the crack.
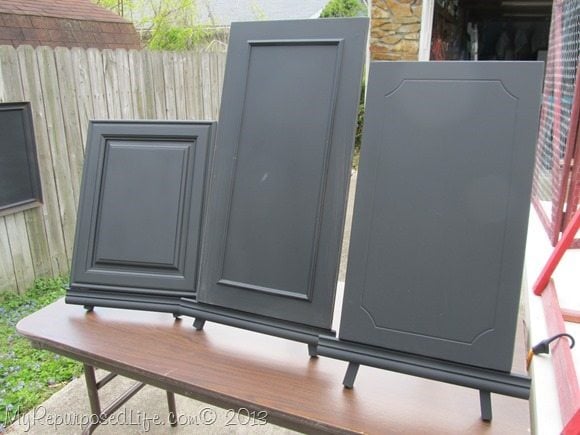
     

    chalkboard easelsI played around recently with a couple of tables and my displays to see how I’m going to set up at my upcoming show.

    The easels are pretty easy to make, but painting them is a little time consuming.


    gail
    See other great chalkboard ideas here

    Print Friendly, PDF & Email
    Pin
    Share
    Tweet

    Related Content:

    • DIY Chalkboard Speech Bubbles
      DIY Chalkboard Speech Bubbles
    • Bench Made From a Door
      Bench Made From a Door
    • Hello Fall Rustic Pumpkin Sign
      Hello Fall Rustic Pumpkin Sign
    • Tips for using a jigsaw | DIY Cutting Board
      Tips for using a jigsaw | DIY Cutting Board
    • Repurposed Headboard into a Flower Bed
      Repurposed Headboard into a Flower Bed
    • Craft Show Display Easel
      Craft Show Display Easel

    Reader Interactions

    Comments

      See comments Cancel reply

      Your email address will not be published. Required fields are marked *

      This site uses Akismet to reduce spam. Learn how your comment data is processed.

    1. Howard Lippin

      June 30, 2016 at 12:44 pm

      This is a wonderful tutorial, thank you. I am wondering how to make the same type of easel that will fold flat for carrying. I imagine the trick is at the top, where the legs all attach. Do you have any suggestions? Thank you!

      Reply
      • gail@myrepurposedlife.com

        June 30, 2016 at 8:07 pm

        They sort of "lay" flat-or at least as flat as possilbe. I tried to explain it the best I could with the pictures. I'm not sure how else to tell you what to do.

        thanks for stopping by

        gail

    2. Wendi @ H2OBungalow

      June 20, 2016 at 7:40 am

      I love these easels! I need a few of these around my house:) Seriously, I wish I could just come raid your storage shed that's full of awesome projects:)

      Reply
      • gail@myrepurposedlife.com

        June 20, 2016 at 8:53 am

        Thank you Wendi for your sweet comment. I use these small easels and larger ones for my shows, they fold up and are real workhorses, holding heavy stuff with no problem.

        gail

    3. Amanda

      January 16, 2016 at 11:49 pm

      Will one of these work best for holding a 20" canvas while painting? Or will the larger easel be better? I'm not sure what your finished sizes are. Thanks!

      Reply
      • gail@myrepurposedlife.com

        January 17, 2016 at 3:47 pm

        Amanda,

        My guess is you would want the medium sized easel. What you would want to be sure of, is that the "leg" (middle) doesn't protrude into your canvas, causing a bump or dent.

        thanks for stopping by!

        gail

    4. Sherry Ramsey

      August 15, 2013 at 7:03 pm

      I never realized that it was so easy to make easels! Now I will have to get busy and make some before my son burns all my extra wood. He just loves to burn useful stuff.

      Reply
    5. Katie @ Upcycled Treasures

      July 22, 2013 at 12:07 pm

      Love this - thank you so much for the tutorial!
      ~Katie

      Reply
    6. Sharon @ Elizabeth & Co.

      May 09, 2013 at 9:28 pm

      Great idea Gail! I can see all kinds of display possibilities!

      Reply
    7. Shirley

      May 09, 2013 at 8:51 pm

      Do you think that if you painted the wood first before you put it together it would be easier. Love any thing you do.

      Reply
      • gail@myrepurposedlife.net

        May 09, 2013 at 10:12 pm

        Shirley.... I put it together, took it apart, painted and then reassembled it. I plan to make more, and paint them while being suspended on a wire or something. 🙂 Thanks so much for your input!

        gail

    8. Laurel Stephens

      May 09, 2013 at 6:20 pm

      Thanks for sharing your easels, Gail. I pinned them for my daughter's wedding.

      Reply
    9. Holly

      May 09, 2013 at 5:53 pm

      Your easels look great! I like them in black!

      Reply
    10. Mindi

      May 09, 2013 at 11:52 am

      Such cute easels! I love that you put decorative moulding as the base! Pinning!

      Reply
    11. Catherine

      May 09, 2013 at 11:19 am

      Well this was definitely a well timed post--I'm going to need a bUnch of these for display purposes!
      I usually can visualize exactly what to do, how, and why---but now I don't have to spend time "thinking it through" first. I can just get on with it---luv,luv, luv ya!
      Catherine

      Reply
    12. Cher @ Designs by Studio C

      May 09, 2013 at 8:47 am

      They are really cool! I might make a couple for two canvas chalkboards I have and use them at my son't graduation party! I love the chalkboards, too!

      Reply
    13. nova c.

      May 09, 2013 at 8:43 am

      The easels look really good!!

      Reply
    14. Inspire Me Heather

      May 09, 2013 at 6:58 am

      Your easels look great Gail, I like them in black!

      Reply

    Primary Sidebar

    Hi, there! I’m Gail Wilson, the author and mastermind behind My Repurposed Life. I’m obsessed with finding potential in unexpected places and believe that with a little hard work and imagination, any old thing can be made useful again—myself included! I hope you’ll enjoy the journey and pick up a few tools along the way… literally!

    More about me →

    Join Our Mailing List

    ​

      Click the topics you're interested in below:

      Subscribing above means you agree to our Privacy Policy​

      Footer

      ↑ back to top

      SEEN ON

      Might I Suggest

      • Start Here
      • Furniture Makeovers

      Newsletter

      • Sign Up! for emails and updates

      About

      • Gail's Favorites on Amazon
      • About

      As an Amazon Associate I earn from qualifying purchases.

      Copyright © 2023 My Repurposed Life · Privacy Policy · Disclosure