How to replace a storm door
As an Amazon Associate, I earn from qualifying purchases.

Are you sometimes intimidated by DIY projects? Some I tackle without a thought, but others that I’ve never done before do give me pause. Replacing a storm door is one of those DIY tasks that sort of scares me, or at least it did. No more! I did it!
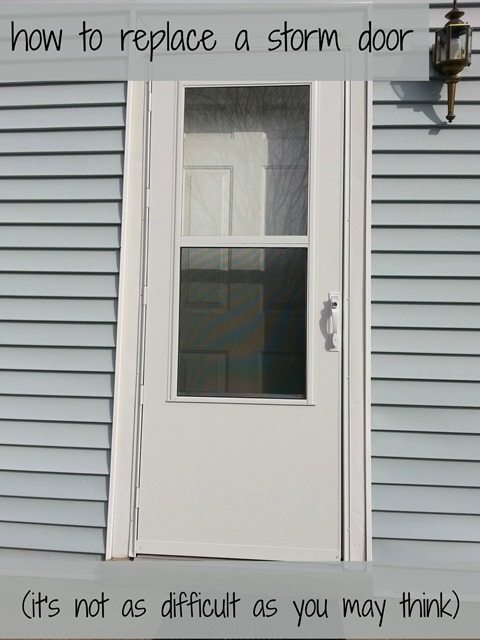

I picked up the Larson Storm Door a couple of weeks ago at Keith’s True Value after they special ordered it for me.
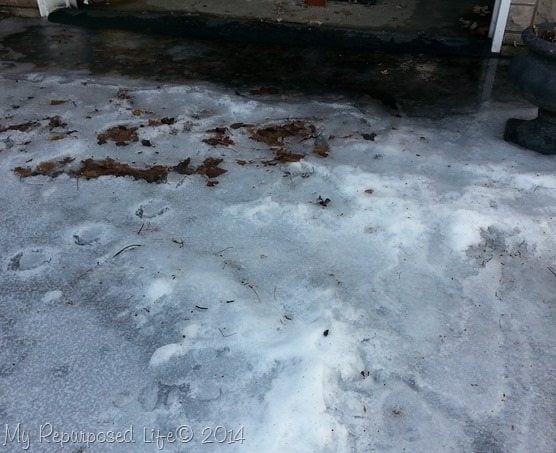 Then, we got some ice and snow. I can never remember a winter like this one. We rarely get so much snow, and it never stays on the ground like it has this time. We finally got a break in the weather, but I still have a solid sheet of ice outside the garage. It may look like water, but believe me, it’s very slippery.
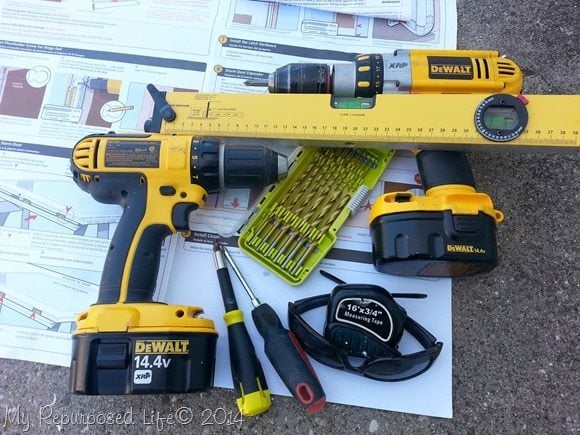
Gather these tools:
- Assorted drill bits for pilot holes
- Flat head and phillips screwdrivers
- Level
- Tape Measure
- Pliers
- Safety Goggles
- Cordless Drill (I prefer using 2, one with the drill bit, the other with the screw bit)
- Step Stool
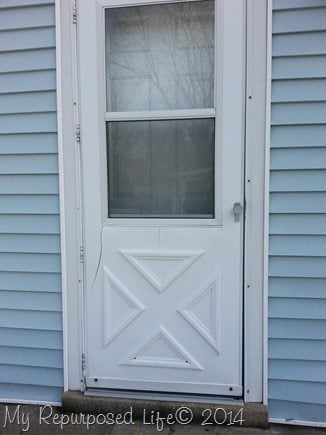 This is the door that will be replaced. Luckily it is in a sunny area, and the snow and ice are melted.
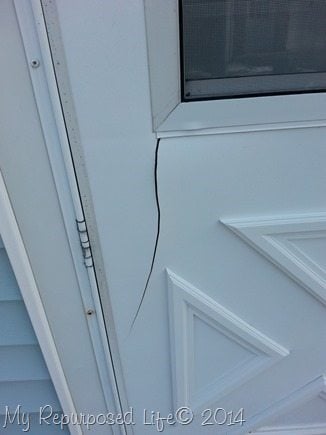 You can see that there is a huge crack in the door. Removing the door, was pretty simple—I removed all of the screws around the outside. You can see a screw there by the hinge.
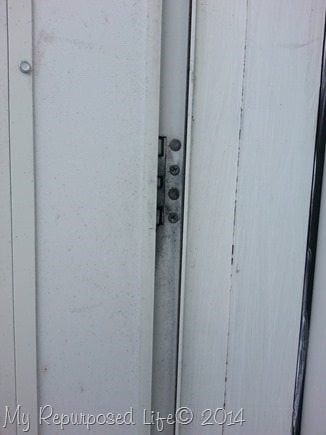 After removing all the screws around the outside, I removed the screws on the jamb.
TIP: Remove the top screws and bottom screws first, saving the middle for last.
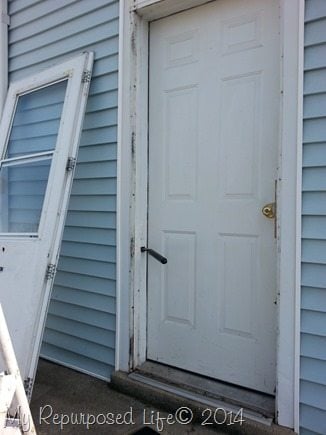 Removing the door and hanging the new door are really a two person job. Well, I guess it’s a one person job in you’re a big, strong guy. The old storm door was extremely heavy.
A very important step is fitting the hinge rail to the jamb and drilling a pilot hole and adding one screw (to the top).
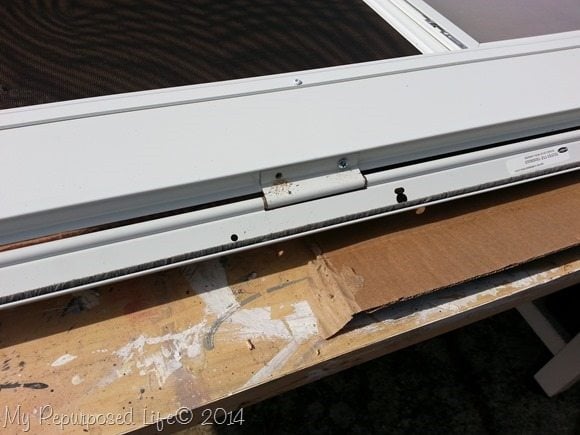 After that, it’s time to attach the hinge rail to the door. This door could be right or left hinged, this installation is left hinged.
TIP On each step the first phase is to drill pilot holes. Don’t skip this step.
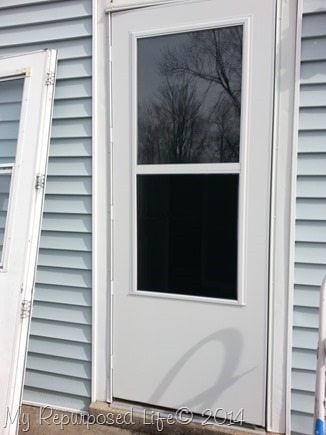 Here, the door is hanging by the one screw, and checked to make sure it will fit before drilling pilot holes and securing the other screws in the jamb. After that, the hinge rail is attached around the outside (left) jamb.
Install the drip cap (top) and the latch rail (right) both were very easy and textbook.
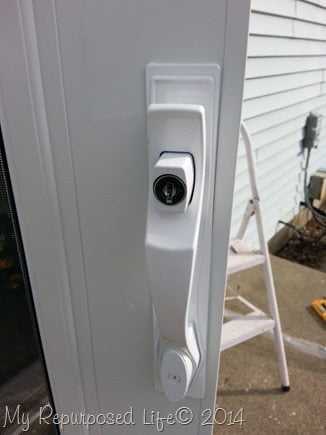 I was a little nervous when I saw that the handle had to be totally installed by the user. I shouldn’t have been, it really was easy. When it comes to building and sawing, nothing scares me, but the mechanical stuff challenges me sometimes.
 ![]()
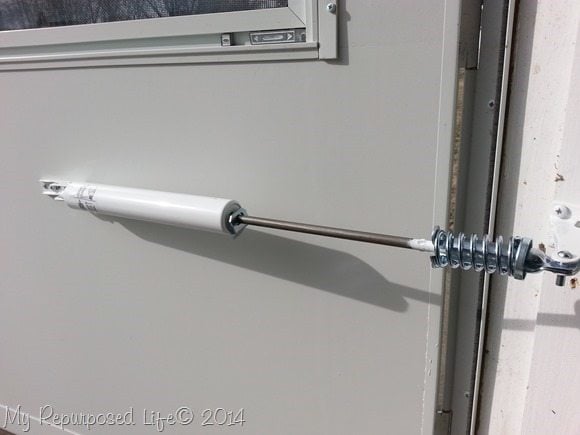 Speaking of mechanical—I did have a little trouble getting the closer to work properly. It was definitely operator error. Well, that and the fact that the bracket wouldn’t fit where it was suppose to on the jamb. It would pull the door, but not close it all the way. After a few minor adjustments on the closer screw all was well.
Not shown: attaching the storm door expander with the rubber sweep (across the bottom of the door)
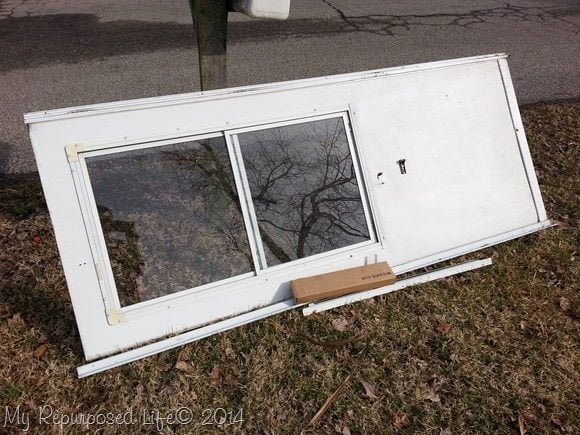 The old door and all the parts were placed at the curb in hopes that someone would need it, and indeed it was gone within 24 hours.
Now, let’s see the new door!
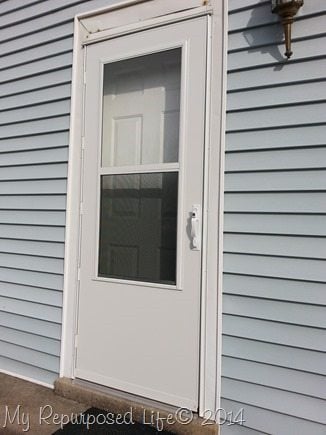 Voila! A new storm door! One more DIY task checked off my list! Have you ever replaced a storm door? Is it always this easy or was it beginner’s luck?
For more project ideas to update your home’s exterior, visit StartRightStartHere.com or follow True
Value on Pinterest
.
gail
I was one of the bloggers selected by True Value to work on the DIY Squad. I have been compensated for my time commitment to the program as well as writing about my experience. I have also been compensated for the materials needed for my DIY project. However, my opinions are entirely my own and I have not been paid to publish positive comments.

Hey Gail! Just found your blog today. I’m 68 years old and just bought a mobile home. First time ever to own the roof over my head! I bought it “as is” and find I’m not as fast as I once was, but I’ve replaced floors and will tackle window replacement and storm door replacement. You give me confidence in doing it myself! Thank you so much for your blog!
Laura,
My oh my!!! First, let me congratulate you on such an awesome achievement of owning your first home! I’m thrilled for you. It may take us a little longer than it use to, but if we put our minds to it we can do it, right?
Wishing you all the luck. Thank you so much for stopping by and taking the time to leave a comment.
gail
After removing the old door do the screw holes need to be filled?
If you have visible screw holes, feel free to fill them if you desire.
gail
Honey is there anything you can’t do? Loved you post!
God Bless
I would be intimidated by this project, but you make it look easy! Our back storm door could be replaced…Thanks for all the tips Gail!
Your new door looks great Gail. I can’t really imagine a project that would intimidate you! … And what’s up with linky tools?
And to think I hire that work out! LOL……Girl you got more get up and go than I do. I would love to tackle some of what you do but my issue is getting into it and not being able to finish. I am finally having to own up to the fact that I can’t do what I use to do and with fibromyalgia doing everyday things have gotten hard. But I love looking at the stuff you turn out.
Never done that yet. You did a great job; and the step by step will help if i ever need to replace the storm door. thnx!
Wow, I would be intimidated for sure! Looks so good, what a difference it makes. I bet it feels good to have that checked off our list.
That’s one thing I’ve never done. You make it look easy.
Great job Gail! My dad and I replaced one on the back porch and installed a new one on my front porch a few years ago. I was definitely a two person job lifting the door in place. 🙂