Installing Real Carriage Barn Door
As an Amazon Associate, I earn from qualifying purchases.
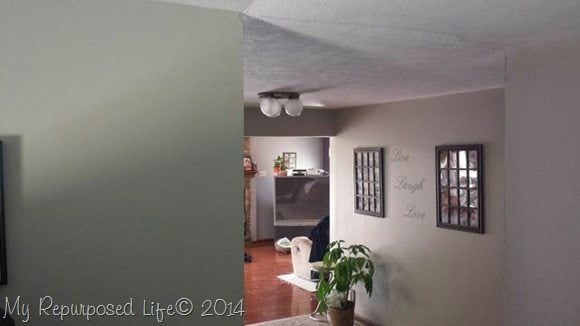 When you want to install a barn door between two rooms . . .
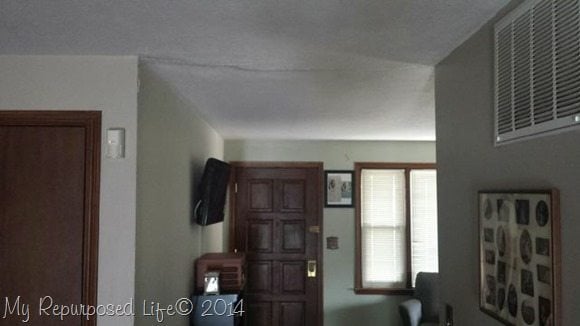 where there isn’t a header . . .
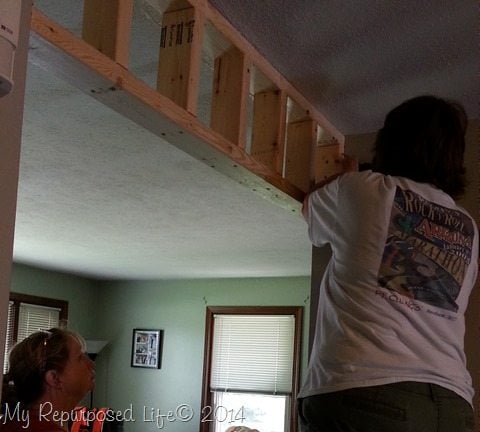 . . . you call your cousin Terry and build one.
 ![]()
You may think that is a little overkill, but we knew this barn door was going to be very heavy, and we had some extra 2×4’s…. hahahaha
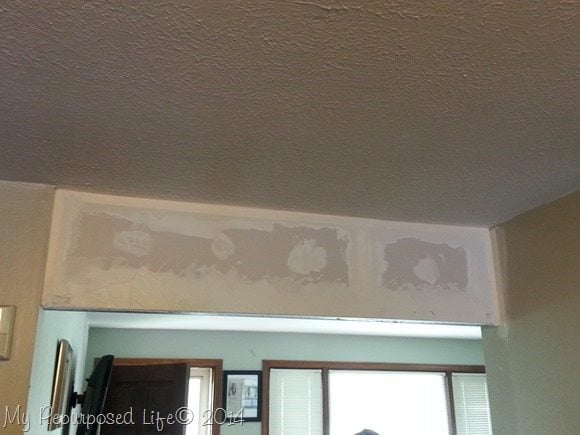 After some drywall, and a lot of mud . . .
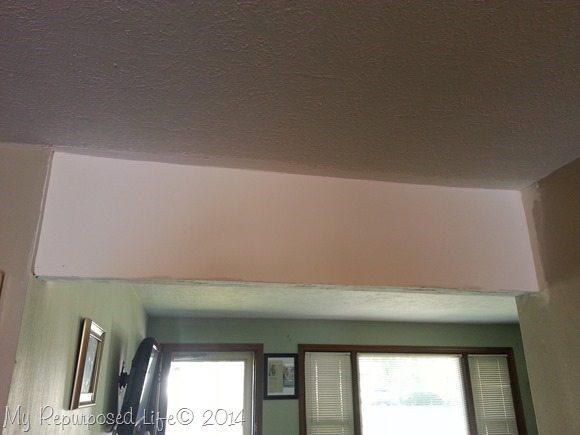 . . . and some more mud
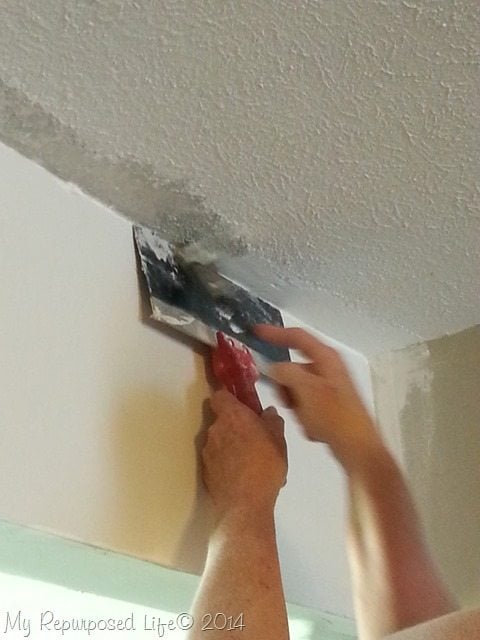 with a little bit of patching
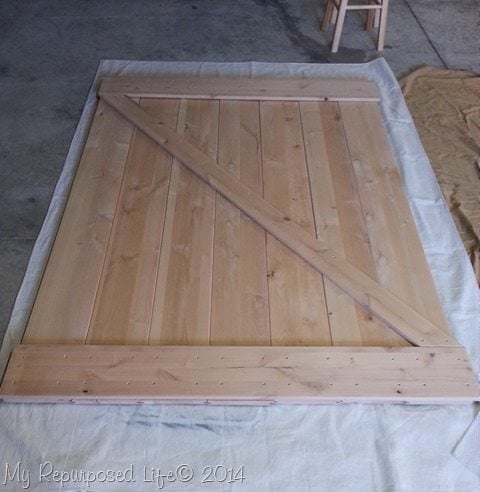 Fast forward a week or so, and it’s time to work on the barn door from Real Carriage Barn Door Company. This is a dry fit, just to make sure everything is there. Leann chose the Z Brace (unfinished).
 I took several Minwax stains to Leann, and she decided on this Golden Oak.
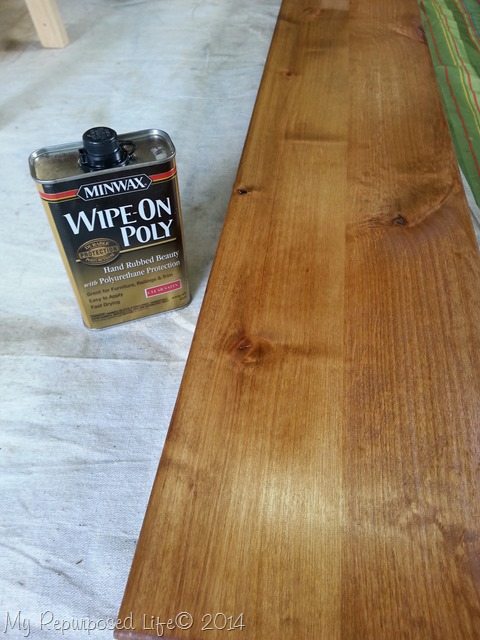 She’s not a high gloss girl, so we went with Wipe-On Poly in a clear satin. The Wipe-On Poly dries really quickly with no stickiness, curing really well.
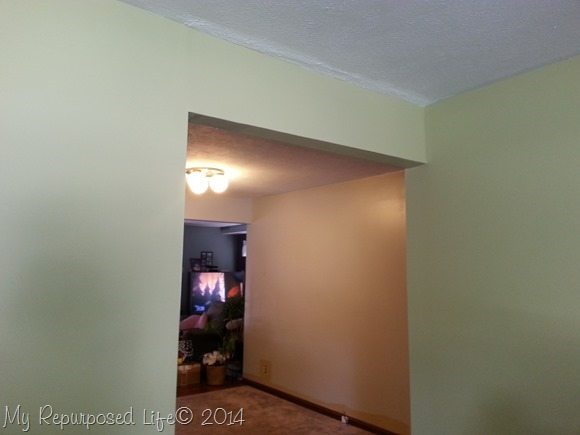 Leann changed up the colors in her living room/office and the large hallway room.
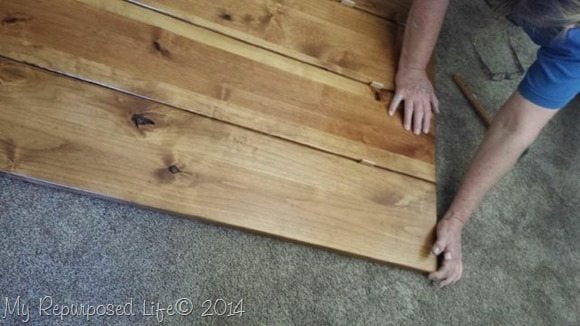 We started putting the barn door together following the instructions. There were some small planks that go into the grooves of the doors. To get the proper spacing, we used the spacers supplied. (they’re the small tiles in between each board)
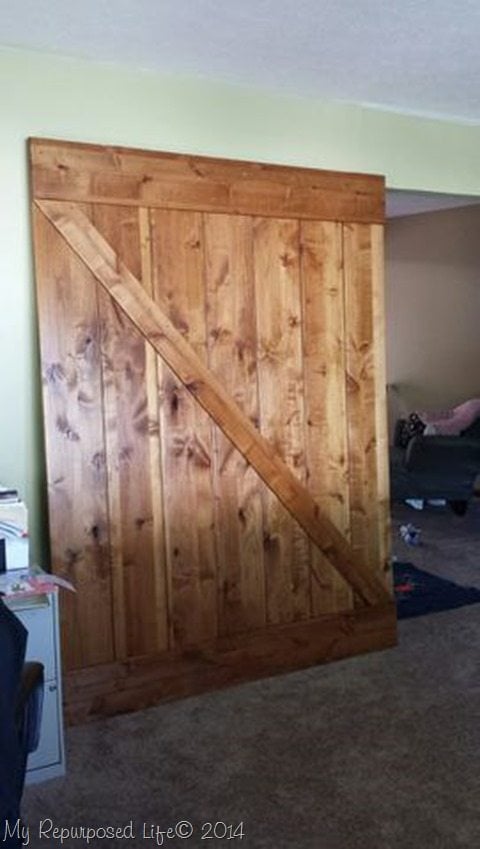 Although it was time consuming drilling pilot holes and securing all the flat head screws by hand, the building of the door was really quite simple. We were very excited to lean it up against the wall to see how it was going to look.
Then we hit a snag. Real Carriage Hardware suggests a 1” thick piece of hardwood (head casing not included) to install the rails. Since a 1×5 at Home Depot is really only 3/4” thick, we had to special order a board from 84 Lumber (a local lumber yard)
It took almost a week to get it, Leann had to paint it, then cousin Terry was out of town, so what seemed like weeks later, we were finally ready to hang the barn door.
.
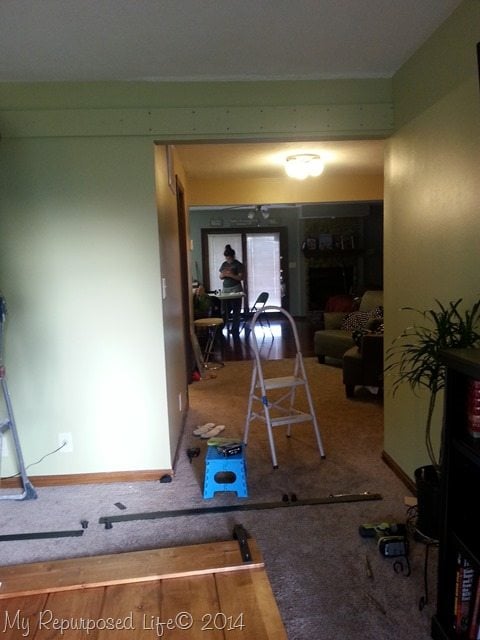 We used wood screws to secure the 1×6 to the wall using the new studs and the existing studs to the left of the new header.
Now, here is a bit of advice. When you’re work site is away from home, remember to take all the pertinent tools. We had to do some workarounds, because I only took the tools that were listed in the directions.
In addition to those tools, helpful items would have been a speed square, and a countersink bit for the head casing.
From this angle the doorway doesn’t look as wide as it is—which is FIVE feet.
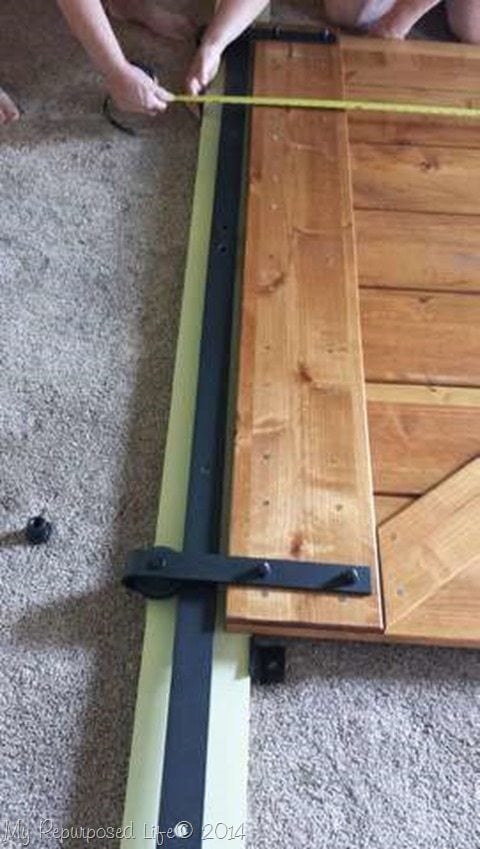 Not a pretty picture, but I wanted you to get a feel for how we worked it all out in our heads. We laid everything out on the floor to measure and figure out where we needed to install the head casing in order for the door to hang leaving the correct clearance from the floor.
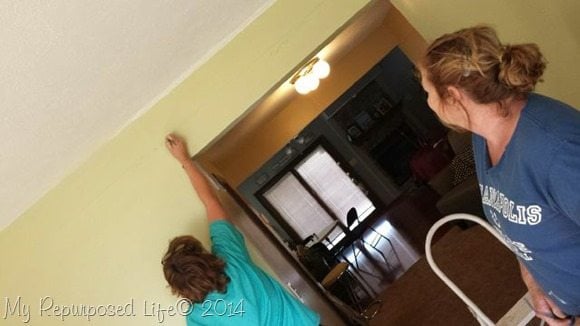 Before we installed the head casing, we wrote some messages on the wall for posterity.
 ![]()
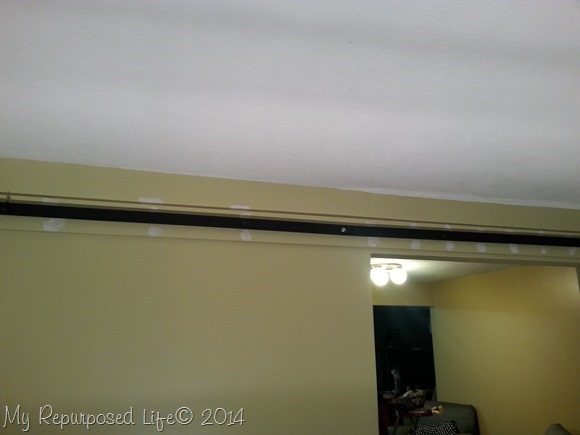 The head casing and Real Sliding Hardware rail are in place. I took a few extra minutes to patch the countersink holes.
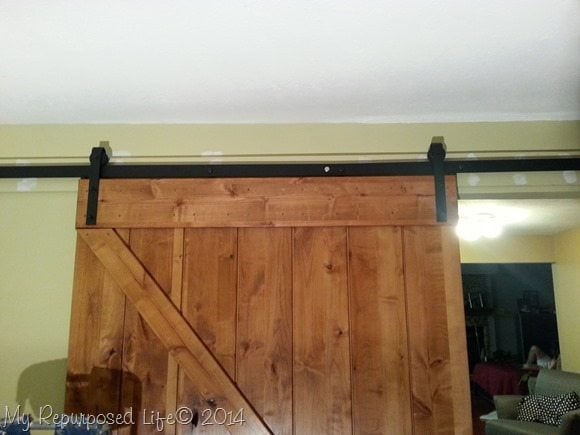 It took four of us to lift the door into place, while placing it into the “guide” I installed on the floor.
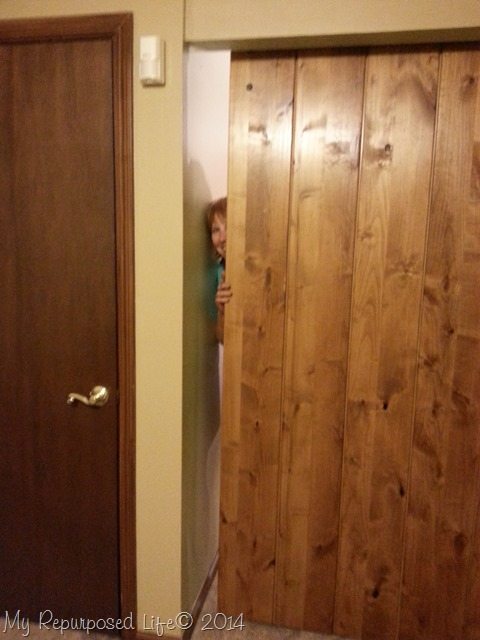 It was getting late, and I have to admit we were a little tired, and some silliness set in. Terry making some silly faces from the other side of the newly installed barn door.
Now for some after pictures—after Leann painted the head casing:
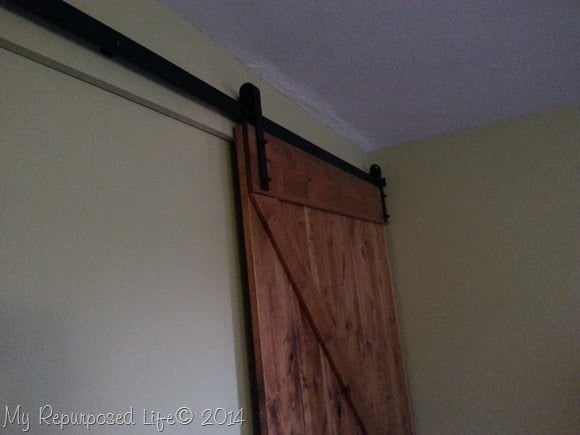
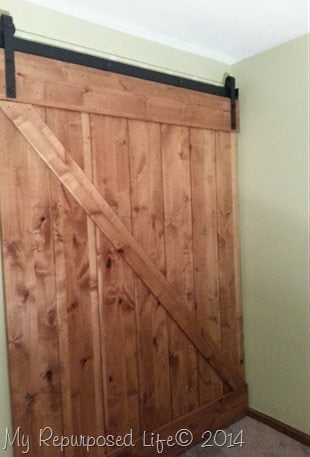
Leann hasn’t installed a handle yet. Plus, she already wants to change the paint color of her living room/office. I’ll update the post with new pics when I get them.
She is positively giddy with her new door. Working at home with kids and pups and lots of chaos has been a challenge for Leann when school is out. Now she’ll have a way to shut out all of the noise, plus she told me recently that using a little heater at her desk keeps the living room/office warm and toasty now.
Where would you put a barn door?
gail
disclosure: Real Carriage Door Company supplied Leann with the door and hardware for this project. I was not compensated for this post. All thoughts, opinions and such are my own. You can always trust me to be honest and up front with you on any blog post.


It turned out great! Just wonderful! No place for a barn door in my house but I do have several of them on the barn! 🙂
Oh wow, what a wonderful idea! It looks amazing! Great job and a great tutorial. I’d put a door like this between my dining room and kitchen. Love it.
looks great! i would have to put one in the basement area.
Where we would put a barn door has been a topic several times around here. We narrowed it down to two possible areas, and I’m not ruling out having two of those doors someday!
I love the look! Wish I had a spot in my house for a barn door!
I was just reading an article -written by a man- about how DIY’ers are on a big decline because MEN are too soft to do the work anymore. He went on to say men are becoming more like their mothers than fathers, which is why they don’t know how to do that kind of stuff anymore.
I left HIM a comment that he OBVIOUSLY doesn’t follow along with any of the MANY design and DIY blogs written my MASTERFUL WOMEN.
IDIOT.
GooD JoB–GiRL Power!!!
Catherine
Great job….I love it.
I had totally forgotten about you doing that door it has taken so long 🙂 It looks awesome, you guys make a good team. What color is she thinking now for the office? I bet it is pretty sound proof for when she works in there, I love it!
So happy you finally got it installed! It is beautiful, I love it! Seeing it makes me wish so bad I had a place to hang one, which I don’t. Great job!
WOW!!! Gail!!! Your cousin Terry is handy and smart. You’ll did a great job.
Ohhh I love it! I want to do this so bad in our home but we don’t have anywhere where a bane door would work. Our next house for sure!
that is awesome!!!! love it, gail! want to come make one for me?
It looks great .
Thank you Gail!!! This was an absolutely amazing project!! I can’t thank you and Real enough!! It has created such a fabulous work space and even doubles as a spare bedroom when family stays on the weekend!!! Thank you cousin Terry for your help and wand shared laughs with this project as well!!! 🙂
We are looking at installing a barn door on our outbuilding (where my husband has his workshop). Right now huge doors that swing open, which is terribly inconvenient. Your instructions are great, and we may be able to accomplish this ourselves.