Jenny Lind Bed Bench pt 2
As an Amazon Associate, I earn from qualifying purchases.
Yesterday I showed you how I used parts from several beds to raise up this foot board to make a bench.You can see that post here: Jenny Lind Bed Bench Since I only had the foot board, I didn’t have anything to use as sides to make armrests.
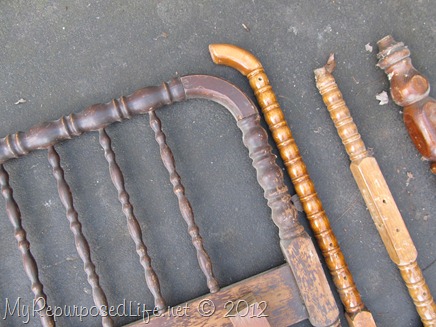 When I gathered my parts for this bench, I started looking for a way to mimic the bed so that I could make armrests.
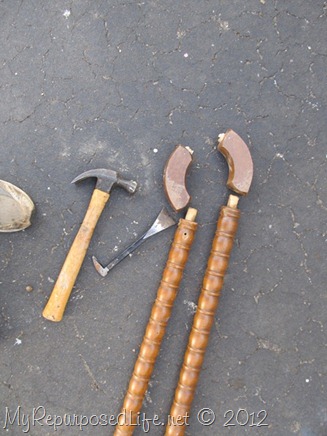
I dismantled some crib parts.
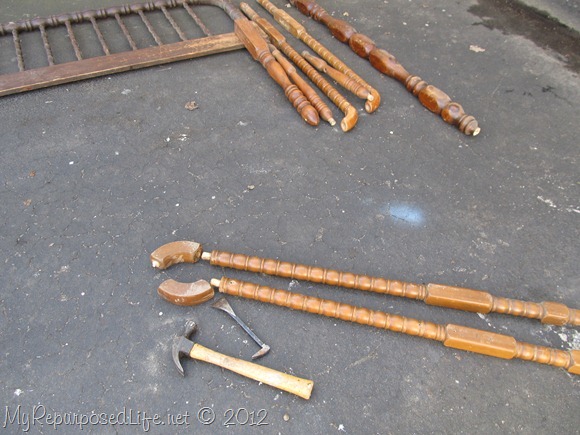 I also looked for something to use for the front legs.
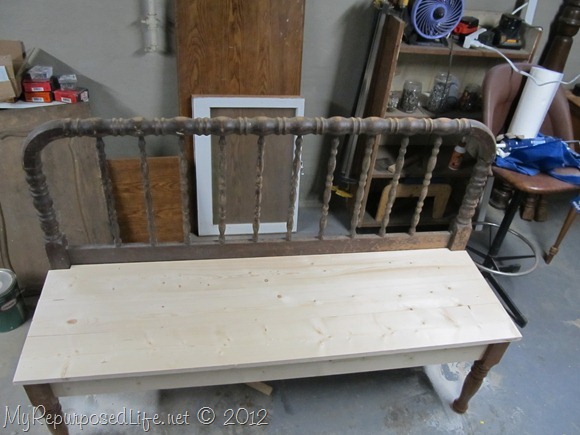 Here we have the finished bench. It looks okay, but I think it would look better with armrests.
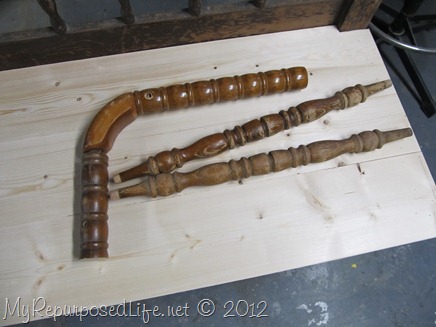 I cut the crib parts to the the actual armrest, and found some random chair spindles to help support the armrest.
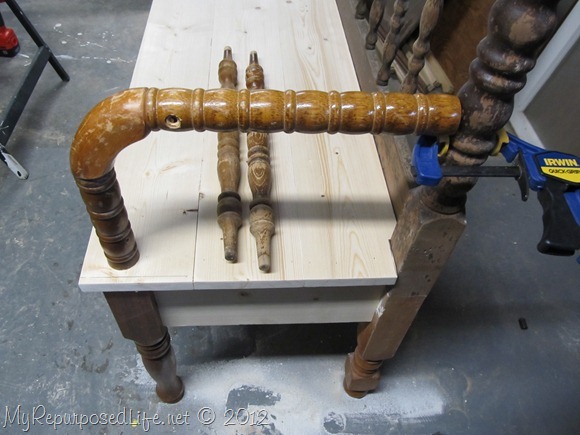 During this “dry fit” I use a clamp to hold the armrest in place.
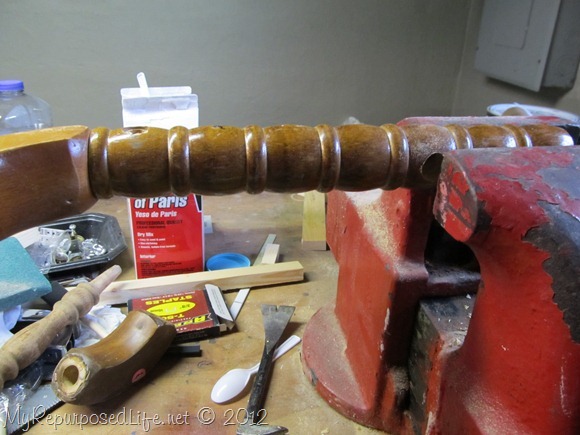 The armrest needed a couple of holes drilled into it to hold the chair spindles.
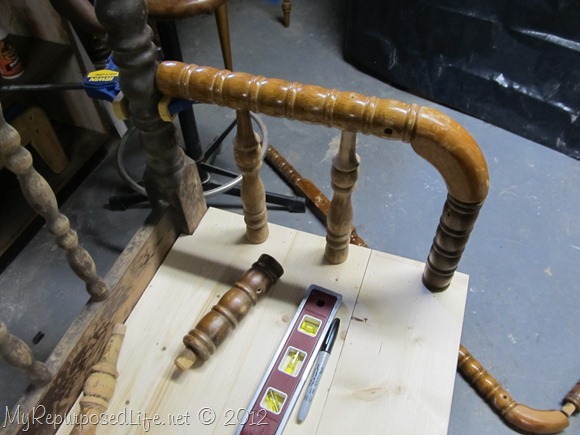 Still dry fitting them to see if it’s all going to line up and work. Do ya see my new level? I won’t be stepping on this one and breaking it.
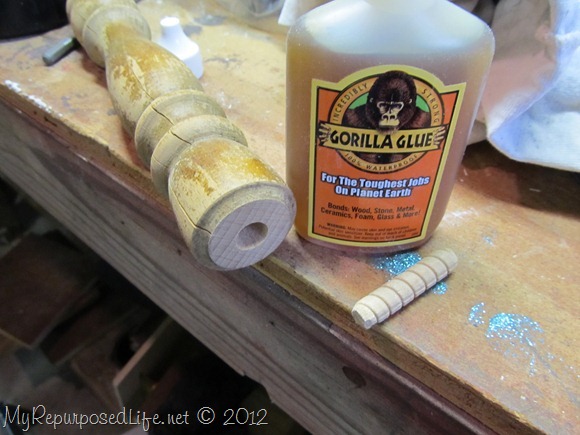 This is the cut off end of the chair spindle. I drilled a hole for that small dowel.
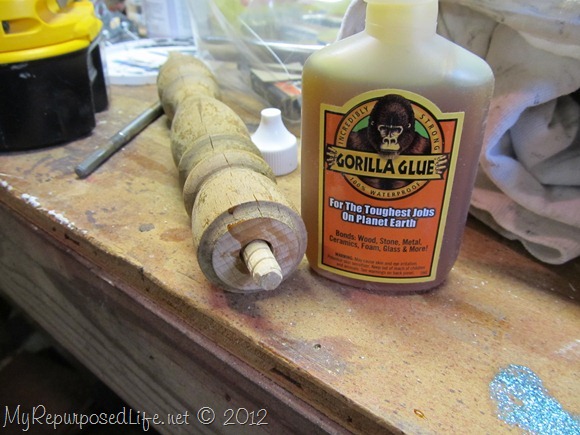 Because my dowel doesn’t fit quite snug enough, I used Gorilla Glue to secure it. This glue expands and will fill that hole nicely.
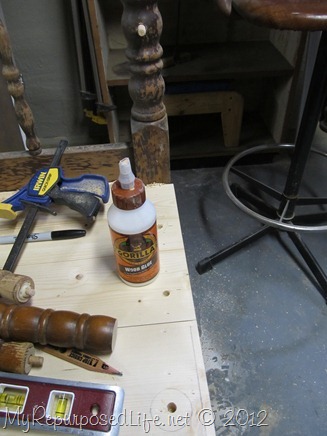 I drilled three holes in the seat, two for the chair spindles and one for the armrest. I used Gorilla Wood Glue for this step.
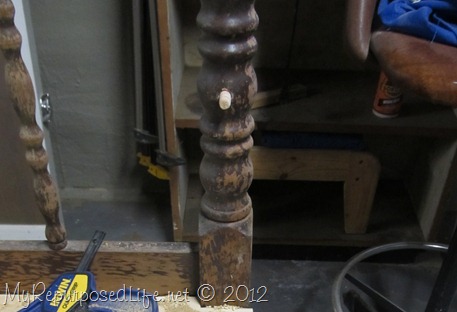 In order to get all the dowels in place I drilled this hole all the way through the back of the bed. (In this picture I’m testing the dowel to make sure it’s snug)
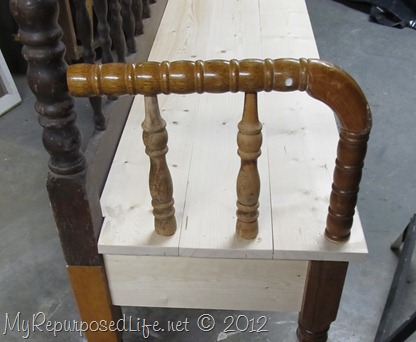
To clear things up:
- I glued the chair spindles (top) into the armrests.
- I glued the dowels into the seat.
- On the far right there is a third dowel connecting the armrest to the seat.
- After I got all of that glued and situated I inserted (from the back) a dowel into the top of the armrest.
- I used an extra dowel to hammer it in so that it was in place in the armrest. I used the Gorilla Wood Glue on all of these joints.
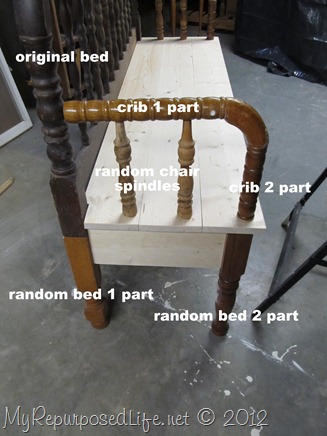
This bench is made up of 3 beds, 2 cribs and a chair.
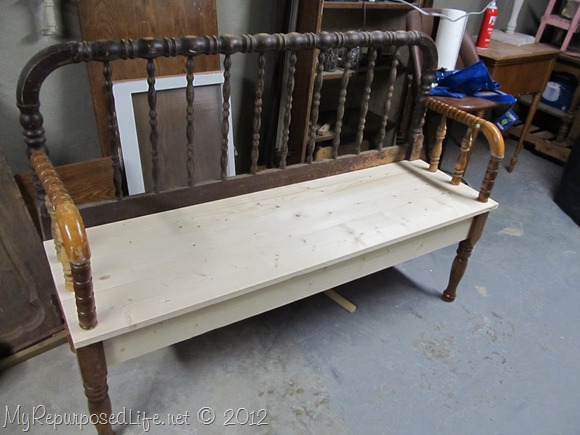
Hopefully, tomorrow I’ll be able to show you the finished bench (painted).
You can see the finished bench in the post Final Installment of the Jenny Lind Headboard Bench
gail

I wonder if I have my kids crib left? This is great!
It’s probably a good thing that you don’t live near me, otherwise I’d be trying to buy all of your creations.
You’re right. The armrests just complete it! It amazes me how many different parts have come together in this bench, and they all look like they belong.
Girl your mind goes in places that scare me! lol I don’t think I would have thought of putting all those pieces together like that…then again maybe I would have, my brain has a tendency to be scary too! lol :-DThanks for the anniversary wishes! I enjoyed hearing that you remembered that snowfall…it was a BIG one…not fun on your wedding day…or your kids Val day party! lol (but it must have been ok, cause we’ve made it 27 years and Jaimie turned out great!) :)Hope you have a wonderful Valentines Day…even if you do give it an umph! 😉 Love ya lots girlie!MissyPS…tell Jaimie I feel for her with the moldy bread! 🙂
Yep, it does sound like a big puzzle! You’re amazing.
Gail, that bench is the best by far. I love it with the armrests. They just finished it off nicely.
Can’t wait to see what colour you chose to paint it. It will look spectacular no matter what you do.
Loving the use of the pieces and thanks for such a detailed tut… you make it look soooo easy.
Fabulous job.
Hugs, Deb
Great post. You did a great job explaining it all. It’s like a big puzzle that you have to take your time to put together. Things like is are always my favorite to do. Knowing you can figure it all out and build it. Happy Valentine’s Day! It’s not my favorite either.
Holly
Wow! That is so cool!! I can’t wait to see what it looks like when it’s all done!!
<3 Michelle
You are amazing, that bench looks great! Can’t wait to see it painted!
How you figure all this out is truly mind boggling to me…your brain must never turn off! I am faced with a small “design” dilemma right now…I should run it by you, I am sure you can come up with a solution, lol!
This is looking truly amazing…I can’t wait to see her all painted out! (I can totally see something “stenciled” on the seat…just sayin’, lol)
Shirley said:
This is beautiful and I can’t wait to see the finished product. Thanks for posting.
Wow, that was really complicated! Great job with the dowels, that will really make it sturdy.
Can’t wait to see what color you paint it. This is going to be one beautiful bench!