Jenny Lind Bed Bench
As an Amazon Associate, I earn from qualifying purchases.
Do you know why it’s a Jenny Lind bed?
From Apartment Therapy-Jenny Lind-Cottage-style spindled furniture bore her name after she reportedly slept in a bed with turned spindle posts. The name stuck and so has this style of furniture.
This is a VERY long and picture heavy post. If you don’t need the tutorial, skip reading the long tutorial, and just look at the pictures.
It’s funny how you remember exactly where you got certain things. In the Spring of 2010 I went to a yard sale and bought several items.
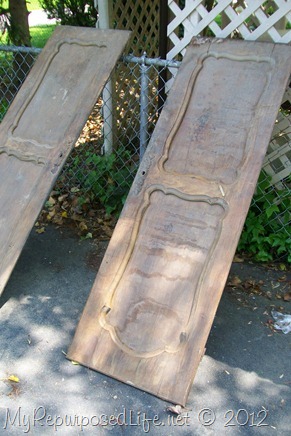 I picked up these antique armoire doors that I made into a headboard.
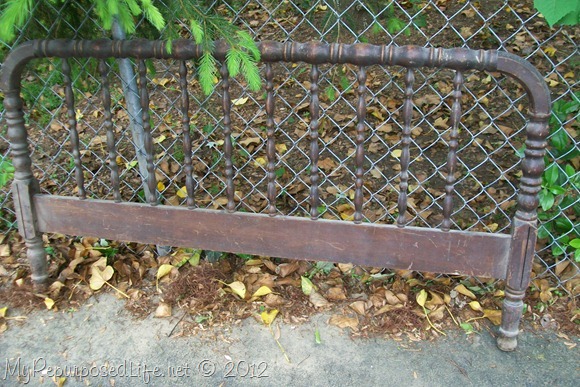 I also got this foot board. It was a great deal at only $5.00. I put it in the shed, and there it waited patiently. After I designated part of the basement as my workshop in the fall, I gathered several items on a warm day and carried them to the basement. If we had cold weather and/or snow I wanted to make sure there was sufficient inventory in the basement to work on.
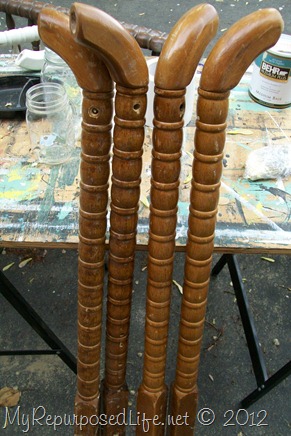 These crib parts have also been waiting around since the Spring of 2010.
Because this bench will be made from a foot board and not a headboard, it needs a little re-design. If I left it as it was, it would only sit high enough for a child’s bench.
Move miter saw to the floor
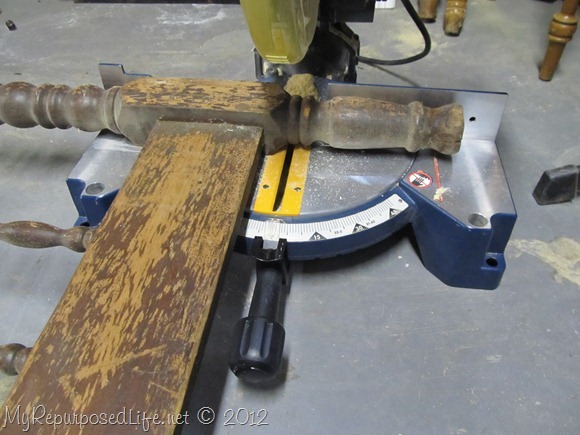 To make it taller, I needed to cut the legs off.
Hint: when cutting something large or cumbersome move your compound miter saw to the floor.
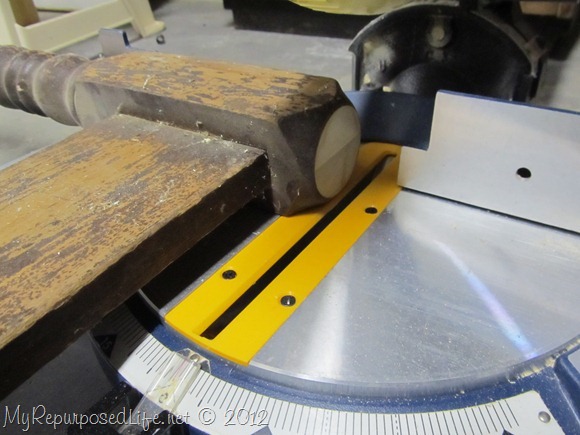 I decide that if I’m going to piece it together, I need to shave a little more off.
 I take it all the way down to the “square” post of the bed.
Using spare bed parts
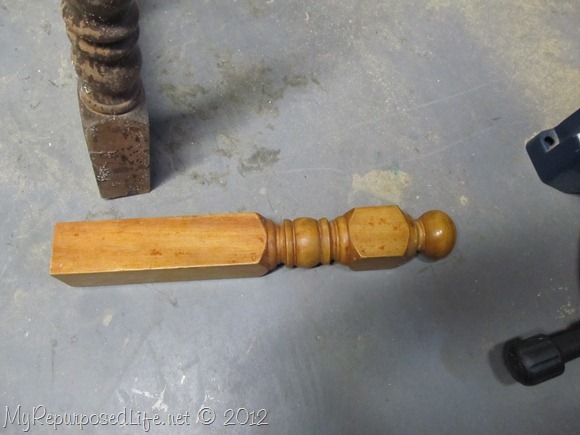 A random part of a bed was found in the garage. Its post is the same size as the post on the original bed. Because it is/was a bed post, the ball is rounded.
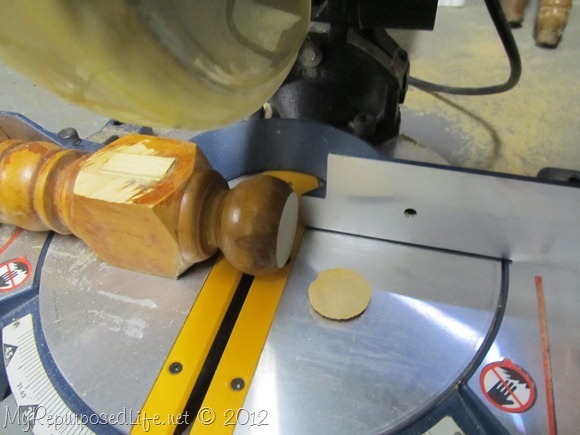 I cut just enough off the bottom so that it will sit flat on the floor.
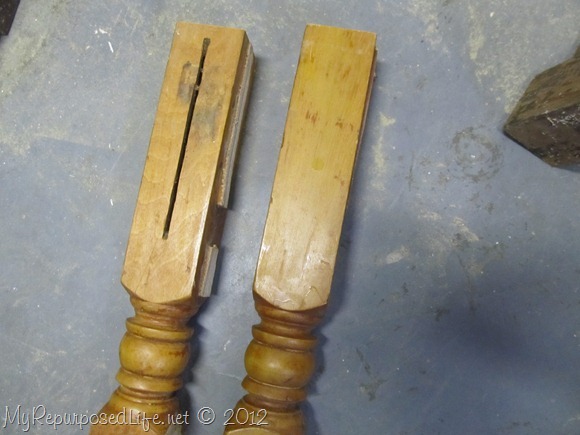 At one time or another I cut the headboard or foot board from these posts with my sawzall.
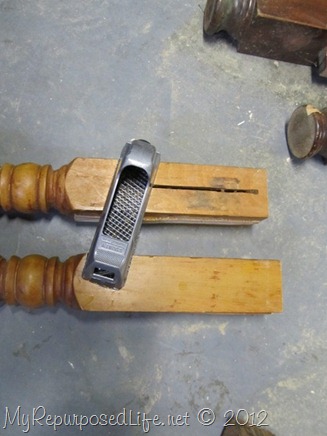 To remove the bits that are extending beyond the post you can use a rasp.
How to get a great flush cut
 However, I pulled out the “big guns”. To get a great flush cut use your Dremel multi-max.
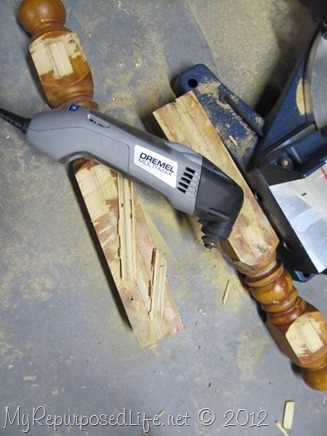 The Dremel Multi-Max shaved those pieces right off!
Attach bed post to headboard that is too short
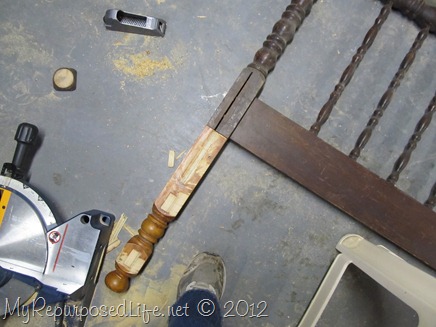 I test the “new” legs to see if they will be the right height.
Pocket hole construction for Jenny Lind Headboard Bench
 My Kreg Jig was used to make some pocket holes in the “new” legs.
 I set my jig for 1 inch.
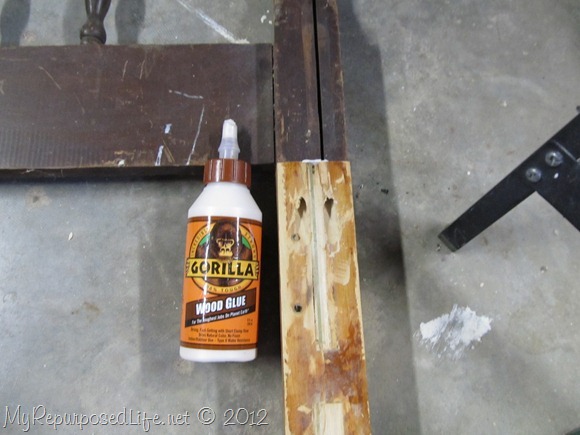 To get a solid hold, I make pocket holes on the back side and front side of the “new” legs. I used Gorilla Wood Glue for extra strong hold.
Choose front legs for headboard bench
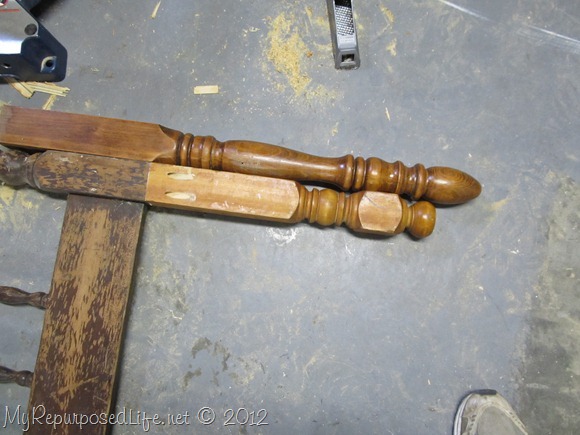 Now I need some front legs. I hunted for something that had the same diameter post. I’m trying to figure out where I want to make my cuts. I’ve often said that choosing front legs is the first step. However, I needed to get the headboard to the proper height first.
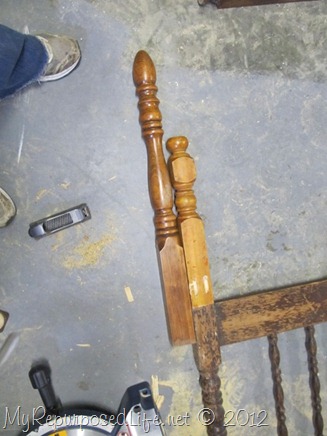 The “squared” post needs to be in the right place for the front “skirt”. I don’t want to attach the skirt to the rounded part of the post. Carefully, I marked and made my cuts (not shown).
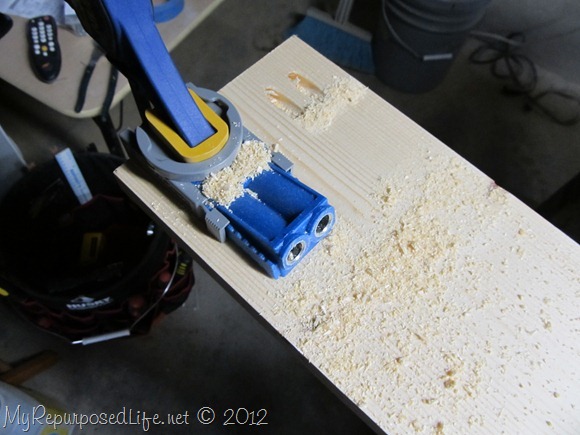 I used a 1×6 for the front and sides which meant I needed to set my jig back to 3/4 inch for the thickness of the 1×6.
Build front section for headboard bench
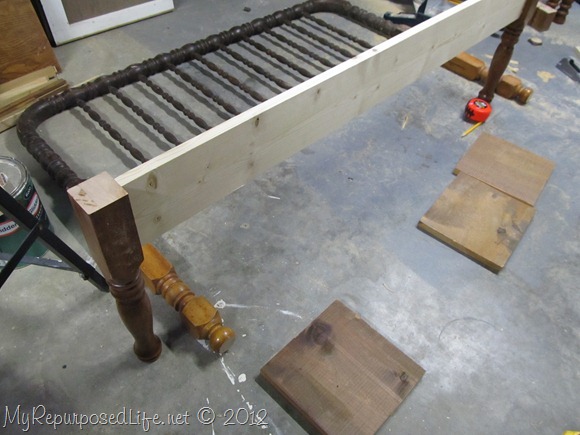 To attach the front to the “middle” of the legs, I laid the 1×6 down on some scrap pieces of lumber. They held the 1×6 off the floor and allowed me to screw into the pocket holes and attach the front skirt into the middle of the post.
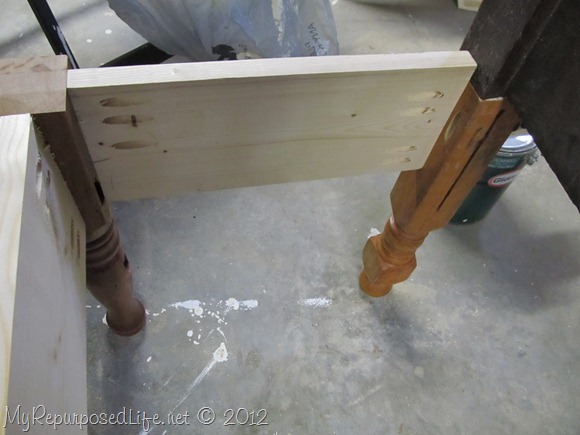 I drilled pocket holes to line up with the front and back posts. (note the left side-the holes are higher because there is a huge slat near the bottom that would allow me a place to put my screws)
Attach bench frame to headboard
 I clamp the sides so that I can line them up and make them level.
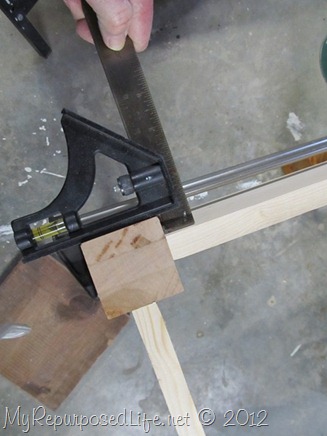 My combination square is so handy to make sure everything is equidistant. The front matches . . .
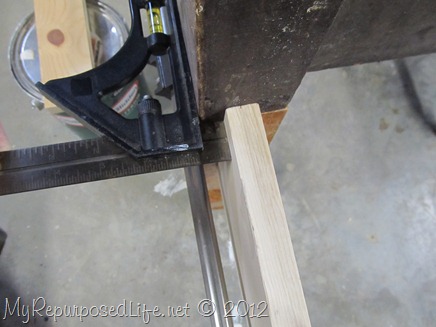
. . . the back.
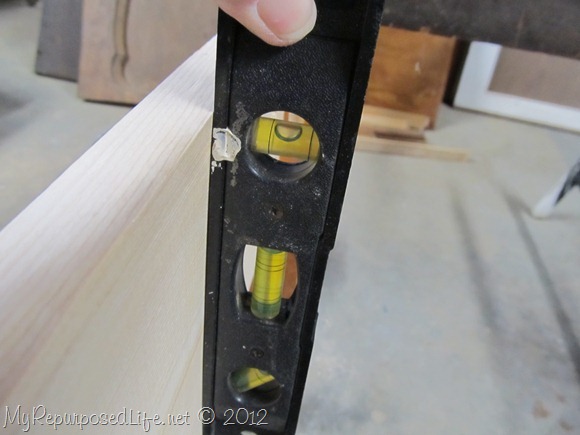 A level is used to check to make sure the side board is plumb.
Bits and pieces make up a puzzle jenny lind bed bench
 I insert all the pocket hole screws. Then I clumsily step on my ancient (small) level and break it! Yep, on my next trip to the Home Depot I had to pick up a new one. I bought one that is steel and magnetic. Although I have two large unbreakable levels, this was my only small one.
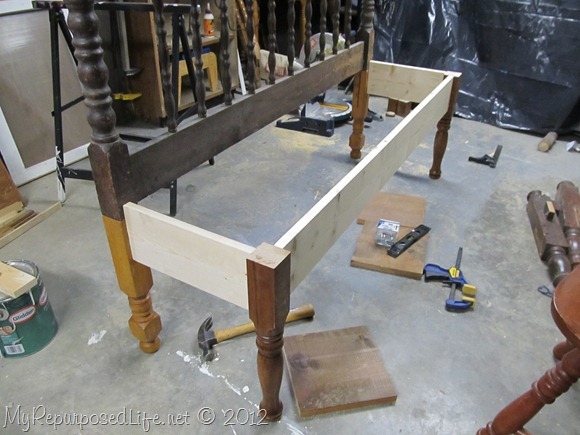 Here you can see all the different bed parts! But, it’s starting to really come together. I love the look that I get with the front and side by using the Kreg Jig pocket holes. So much better than the old days when I would have to set the legs on the inside of a “box” that became the seat.
Are you still with me? Or have you just skimmed this post to look at the pictures? ![]()
Add center braces to strengthen the frame
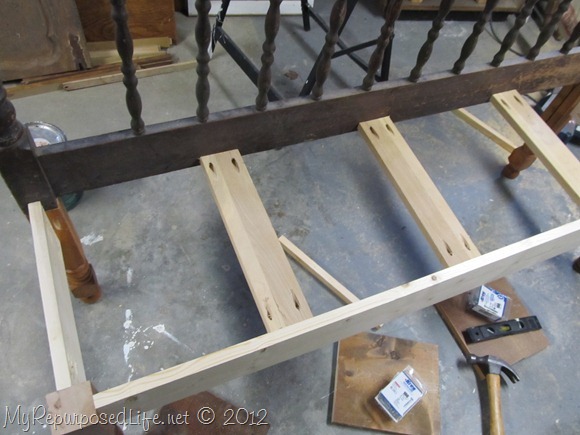 Because I plan to run the seat lengthwise, I need to add some supports for the 1×6’s. Luckily I save everything so I rummaged in the garage and found a scrap piece of something I curbed. I used the Kreg Jig again to do the pocket holes. I get absolutely nothing to spread the word about this jig. If you have an extra $40-50 I highly recommend you buy one for yourself. You really get a tight connections with the pocket holes/screws. Having the Kreg Jig totally changes how I make my headboard benches.
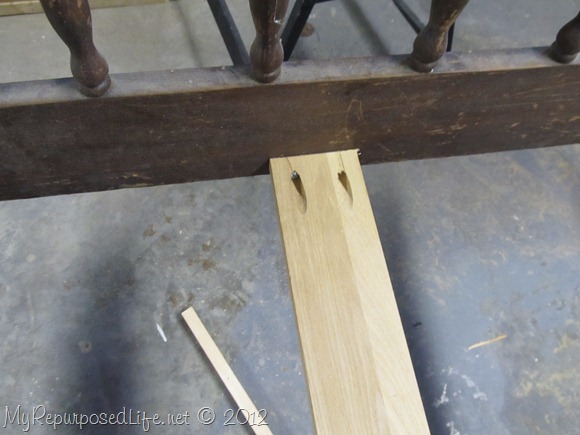
Assemble the headboard bench seat
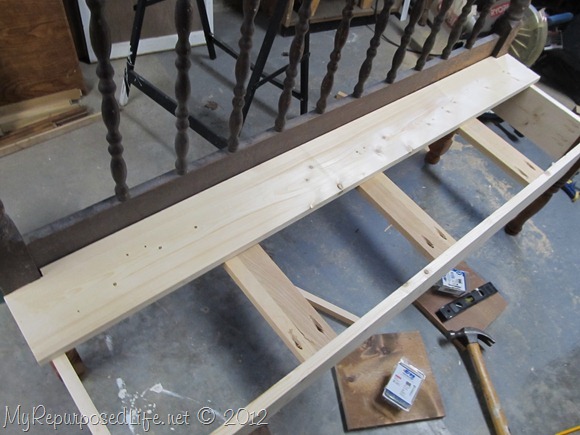 I notched out the board with the Dremel Multi-Max with the 3” Wood and Drywall Saw Blade
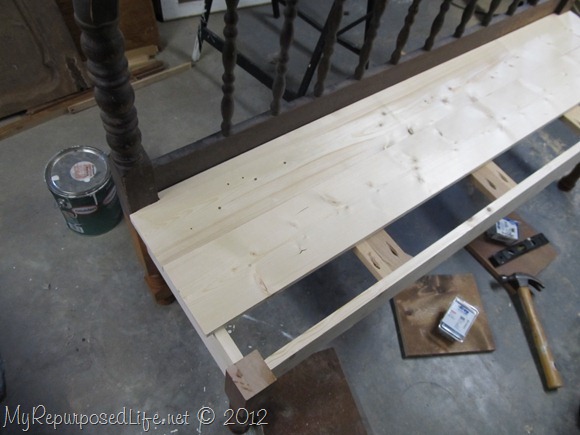
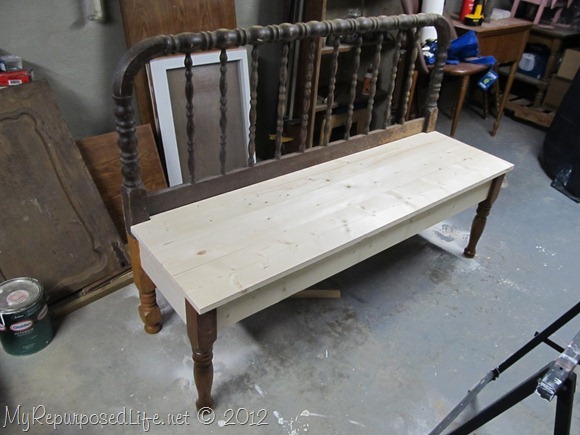 As usual, a brad nail gun was used to attach the seat.
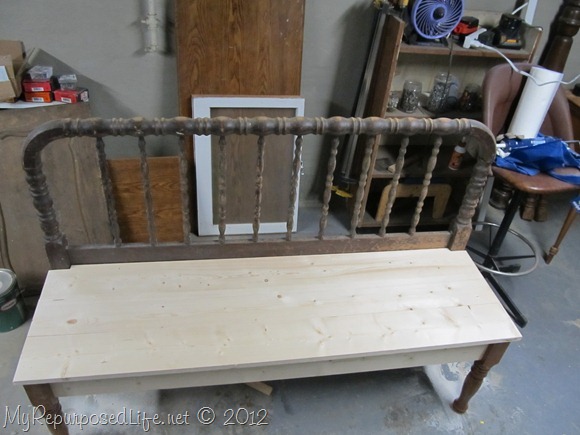 This bench came together in just a couple of hours. I was amazed how easy it was.
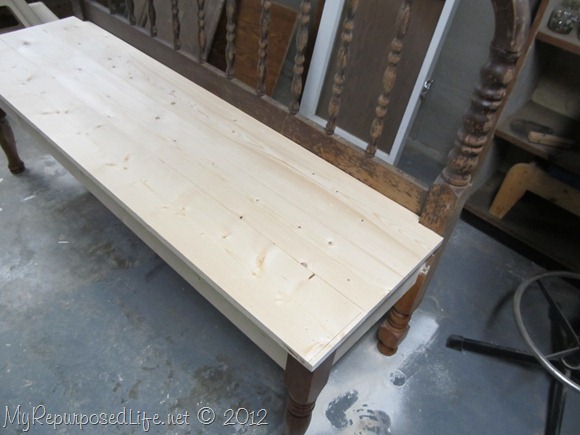 I’ve been dreading it and putting it off because I knew I had to raise the foot board.
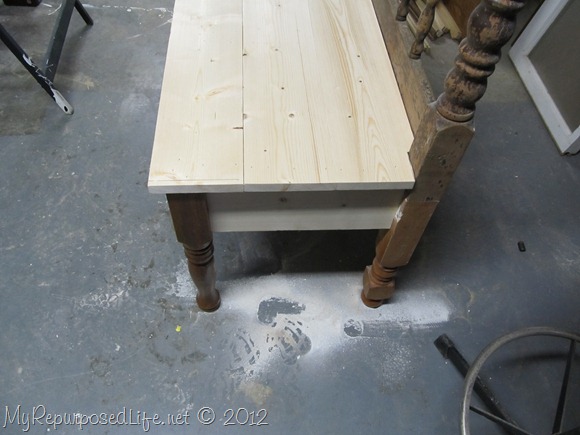 It’s amazing how sturdy it is after using the pocket holes in the front AND the back of the back leg.
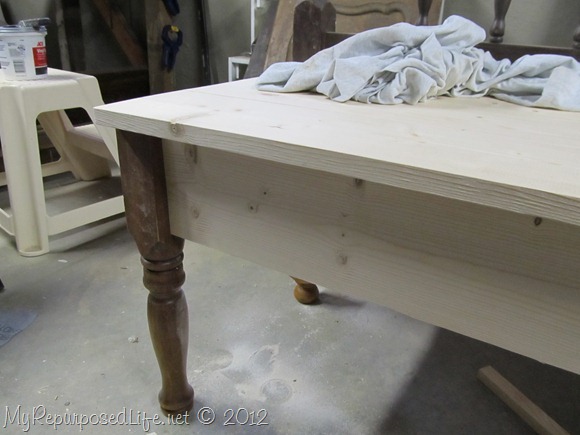 I seriously love how nice that front board looks using the pocket holes to attach it to the front legs.
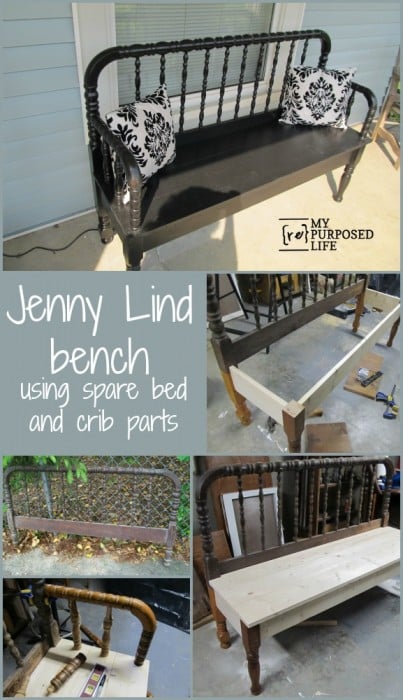
Check out Jenny Lind Bench pt 2 for details on how I added more charm to this bench. There is an update on this bench.
Maybe you’ll want to check out my favorite headboard bench with storage tutorial here.
gail


I Have A Learning Disability And This Is The Best Tutorial For My ADD I Have Ever Seen! TVM
Fabulous job. I love to see women who will pick up a tool and go for it. I am going to buy one of those jigs. I have all the other stuff. I mean my husband and I have all the tools. He has taught me how to run all of them:) and I do!!!!
Gail, thank you for sharing this project, step by step…I have my mom’s 1940’s Jenny Lind head//foot board. This is EXACTLY what I want to do with it, as I could NEVER get rid of it, too sentimental to me! 🙂
awww Julie! That’s so special that you have your mom’s bed. 🙂 Good luck, have fun!
gail
SUPER JOB! I just purchased a full size Jenny Lind headboard for $10! I am so excited. I think I might use it for a headboard, but this might be a great idea if that doesn’t work out.
We are working on a jenny lind project too where we also need to lengthen the legs. Any tricks for how you joined the extension on the leg? Just the screws and some glue? Do you feel it is still very secure – not wobbly at all when someone sits on it? Thank you for your feedback. We are trying to decide the best way to go about our project.
Laura,
If you look at the pictures “headboard bench 4” “headboard bench 5” and “headboard bench 6” you’ll see that I used a Kreg Jig (pocketholes) to join the two pieces together.
In “headboard bench 12” you can see that the new back leg is firmly attached to the side apron with more pocket hole screws. This gave the bench a very sturdy base.
The Kreg Jig I use most runs about $40. It will join two pieces together very securely. Most times I don’t even use wood glue. But in this case I did. If I can be of further help, let me know.
gail
I am just amazed at you! Thanks for sharing. Toodles, Kathryn @TheDedicatedHouse
I’m catching up on all my usual reads… this post wowed me!
I’m off to read the finish–
…I STILL have not used my jig.
But looking at your photos- you make it looks so easy.
I’ve got projects waiting!
take care- Pat
Awesome! Im going to show this to my hubby, I’m no good with tools but this is so great!
Holy cow, that’s just amazing. You sure have a way with tools – tools that scare the heck out of me!
AMAZING!! thanks for sharing the step by step, i now need to invest in a few more tools before i go ahead and attemp this, i actually picked up a few headboards with this in mind, getting my idea from you, alas still need those extra tools. I love lurking around your blog, you have some amazing ideas
smiles
Paola
You have the BEST projects and the best information. I’ve been following you via email for some time.
I’m part of the Linky Blog Hop, so I’ve Linkyed to you, too. 🙂
I’m grabbing your button for my blog. Please visit me. I have a giveaway going on!
Thank you!
robin 🙂
http://robinsnestquilting.blogspot.com
I have a headboard that I have been wanting to turn into a bench, this is a really wonderful and detailed tutorial. Thanks for sharing, just pinned it!
Your work just gets better and better! I’m excited to see this one painted.
Stunning! I am in love 🙂
This is great! DL (my handy helper and handsome husband) and I have an old headboard that we ant to make into a bench, and this tutorial is great! You are a really good teacher!
oh how I love benches… especially repurposed ones… I do work at Anthro afterall 😉 and this one is especially lovely.
I still swear Kreg Jigs are one of the best investments.
Wow! Gail
This is an awesome tutorial. Thank you for showing how to put it all together. I have a head board and thinking to make a toy box bench with is. I already have the Kreg Jig so it just need to get the rest of the wood and give it a go.
Sharon
I can’t believe how you pieced this all together! It looks terrific already.
Yikes! What a job! Great work, I am going to have to fly you out here so you can teach me how to use the dual bevel sliding compound mitre saw I just bought… Sounded like a good idea at the time, but now it’s freaking me out!
Cheers!
BEAUTIFUL! As always! I read every word!
You have a darn good chance in my giveaway!
you are amazing to work all that out! Can’t wait to see it painted!
Great post, Gail, the photos are so good. I STILL have a Jenny Lind crib that I will someday make a bench out of, so this helps give me more ideas. Mine is also too short for a bench so I wasn’t sure how to lengthen it, so do you always make the seat of your benches to a certain height? (and what would that be?)
Can’t wait to see the finished bench. And just think, all this from someone who in intimidated by a photo copier. Amazing.
This is freaking amazing…just when I think you can’t outdo yourself…you do! I cannot wait to see this completely finished…love it so far!
Great job as always. Too bad your stepped on your small level. I always have a small bucket next to me that I drop everything in as I’m working so I don’t lose it as I’m working. It also allows me to stop in the middle and not have too much of a mess, especially since I share the shop with my Dad who is Mr. neat freak. Great tutorial!
Holly