outdoor table makeover
As an Amazon Associate, I earn from qualifying purchases.

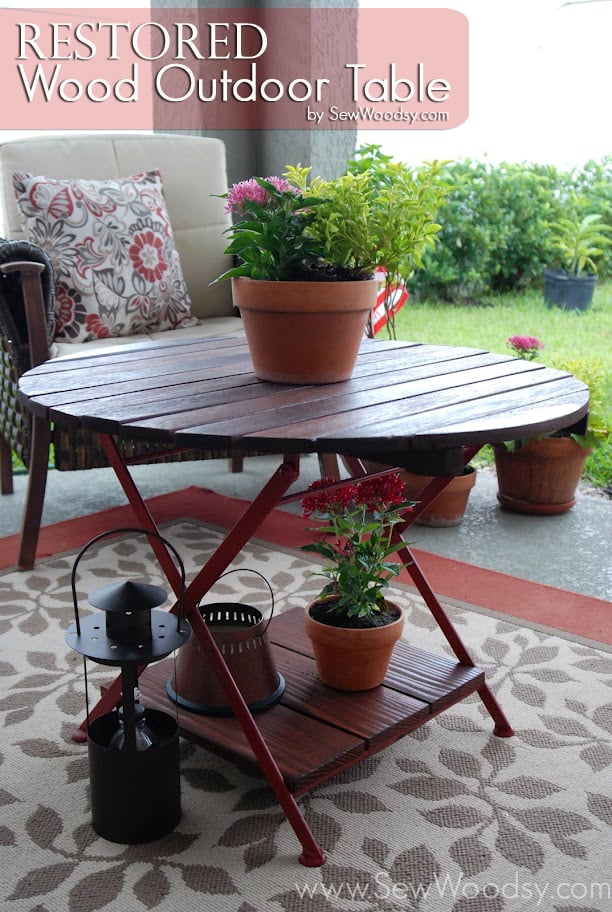
Hi everyone! I’m Katie from Sew Woodsy. My husband Jon (dubbed Mr. Woodsy on our blog) and I document our journey of homeownership one tutorial at a time. Sew Woodsy is a place where we share our love for renovating and decorating on a budget. Thank you Gail, for inviting us to guest post for you today!
Today we are excited to share a repurposed treasure… I like to call it a trash to treasure. Over a year ago, while walking our yorkie on our evening walk we spotted a child’s wood table, umbrella, and chair. We non-chalantly walked over to the curbside find, examined it, and after a few minutes of debating back and forth we decided that we would take the table with us. You see, I also have a food blog: Katie’s Cucina, and as of last summer photographed most of my food on a picnic table in our backyard. The only problem was that it was rotting away, and was unsafe for anyone to sit on it let alone put a few plates of food on it. I agreed to let Mr. Woodsy cut down our picnic table and dispose of it in exchange for this tiny little children’s table which I was dubbing my food photography table. It sat in our covered patio for the past year now. I’ve used it for countless food photo shoots; however, I never really thought about restoring it until we transformed our back patio with an outdoor living room this past spring. That’s when the idea officially entered my mind. It could be dual purpose–used as a coffee table and when needed as a food prop table. Let’s get started on the project.
Supplies:
- Old table found on the curb
- Drill
- Pliers
- Scrap wood
- Old rag for cleaning
- Kilz Spray Paint Primer
- Rust-Oleum Spray Paint, Colonial Red
- Rust-Oleum Comfort Grip
- Orbital Sander
- Table Saw
- Miter Saw
- Hearing Protection/Eye Protection/Respirator
- Minwax® Pre-Stain Wood Conditioner
- Minwax® Gel Stain, Mahogany
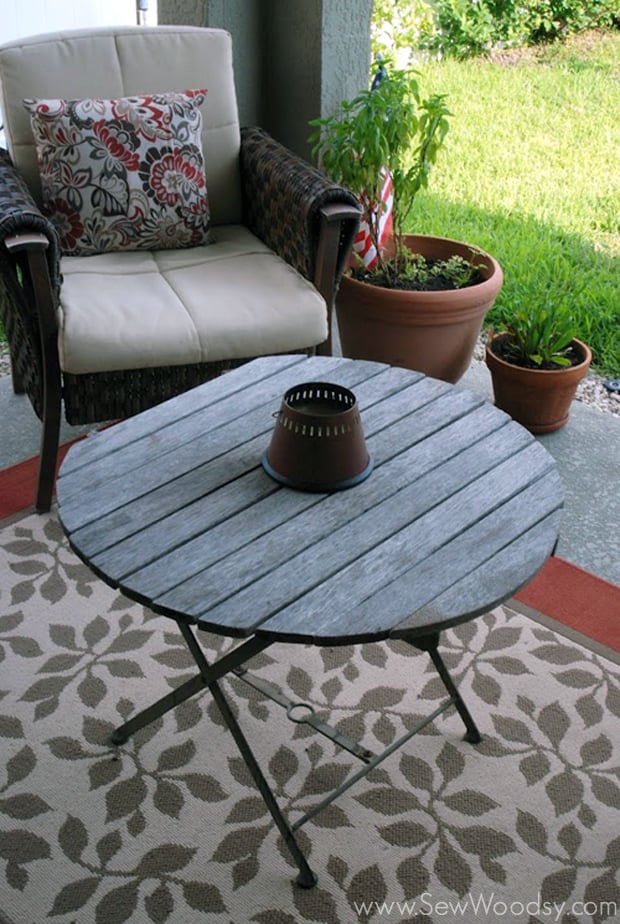 This is what the table started as… old, dingy, and not really appealing to the eye!
 First things first, the table was missing one of its end pieces. Mr. Woodsy took off the existing end piece and made a replica using a piece of scrap wood.
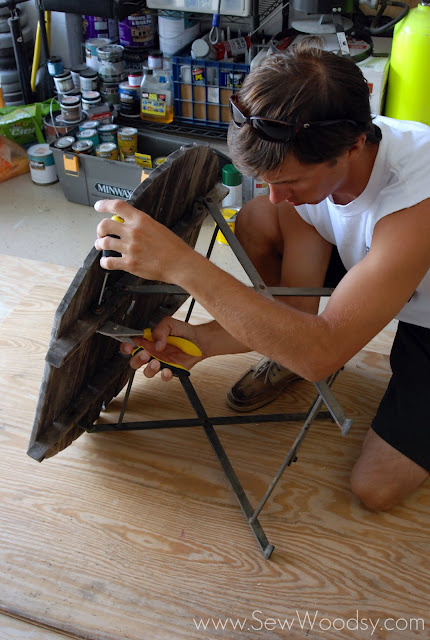 Once he created the piece of wood he used pliers and began to loosen the bolts holding the table in place.
Once he was able to remove the wood table top from the legs he then began removing the screws (using his drill) to separate all the wood slats.
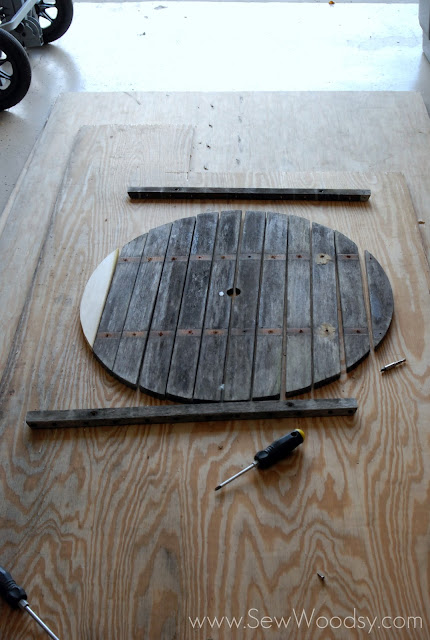 This is what it looked like once Mr. Woodsy had all the wood slats taken apart.
I began cleaning the metal stand in preparation for spray painting.
 While Mr. Woodsy took on the tedious task of removing each of the screws from the wood braces.
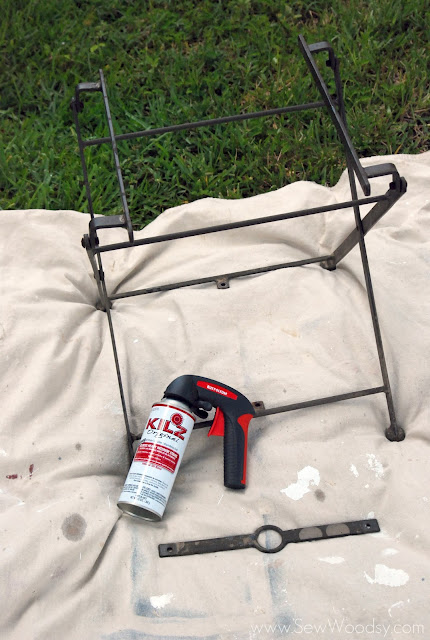 I got the drop cloth out so I could begin painting the metal frame.
I noticed sections of the metal frame that were discolored so I decided to give it a light coating of primer to ensure that the red paint would stick.
 Once I had an even coat of primer on the metal frame I let it sit for 30 minutes before painting it again .
 I chose Rust-Oleum’s Colonial Red spray paint.
I began spraying the metal frame with a light coat of spray paint.
I let it sit for an hour this time around, followed by a second coat of spray paint.
While I was spray painting the frame Mr. Woodsy was hard at work sanding the wood table top.
I decided to be a nice wife and give Mr. Woodsy a break while I finished up sanding the table top.
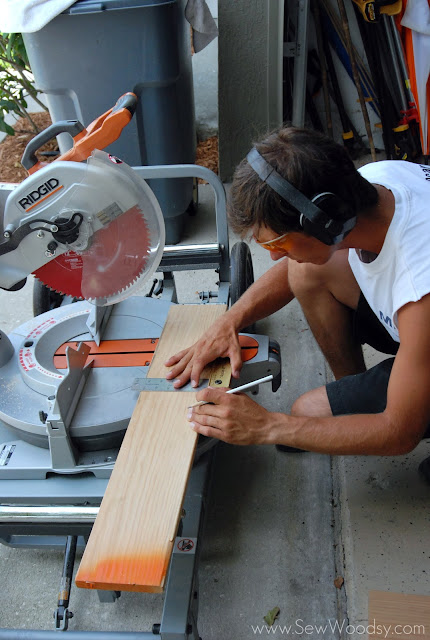 He took a small break, then began working on the “upgrade” part of the table. I wanted to add a bottom shelf to the table!
 He began cutting a piece of “scrap wood” we found at Home Depot for $2 in the clearance wood area.
Once he had the three pieces of wood cut he brought it over to the metal stand to see how much more he needed to cut off the wood to make the bottom shelf fit.
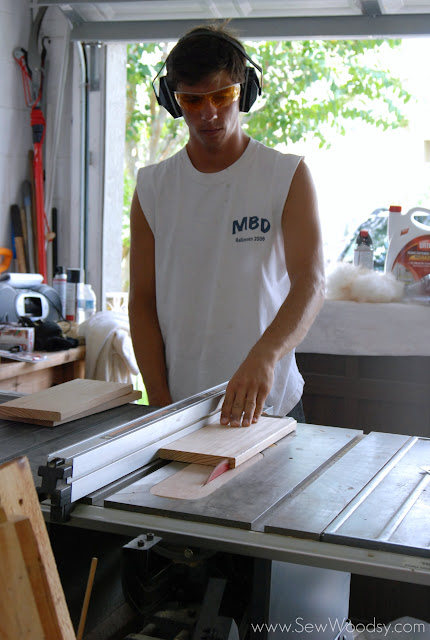 Then he brought the wood over to the table saw and cut it to the exact size he needed.
 He found scrap pieces of wood in our garage that he used as place holders to fill the gaps. He wanted to make the bottom shelf match the top shelf with the small gaps in between the wood.
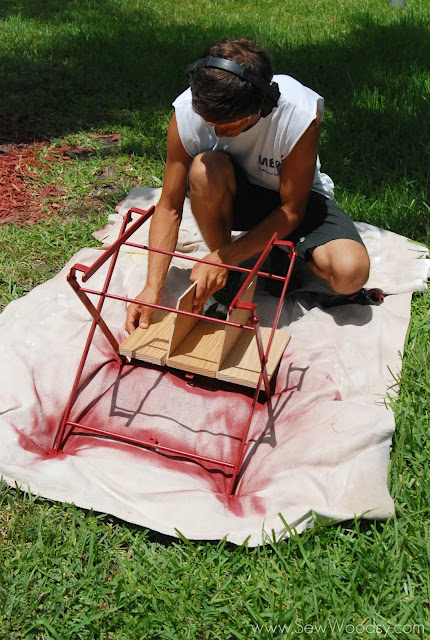 He then double checked the size again to ensure it would fit underneath the table top.
 I gave the bottom shelf pieces a light sanding.
 While Mr. Woodsy made braces and drilled holes to secure it.
 Once all the wood was sanded I wiped it down with a damp cloth to ensure all the saw dust was off it before staining.
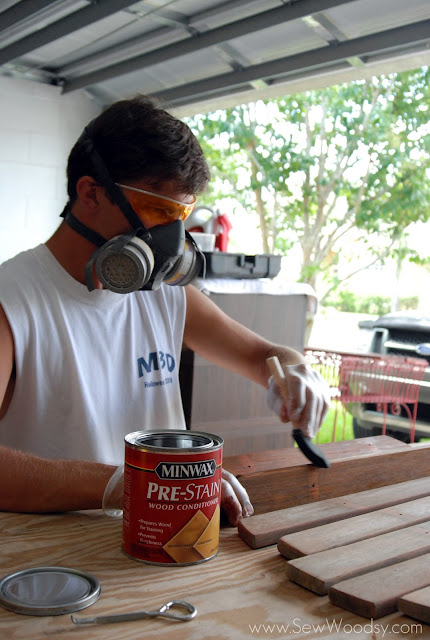 Mr. Woodsy applied Minwax® Pre-Stain Wood Conditioner to each of the pieces of wood.
 Then he began applying a thin coat of Minwax® Gel Stain in mahogany to the wood.
 He rested the wood on two pieces of scrap wood to dry.
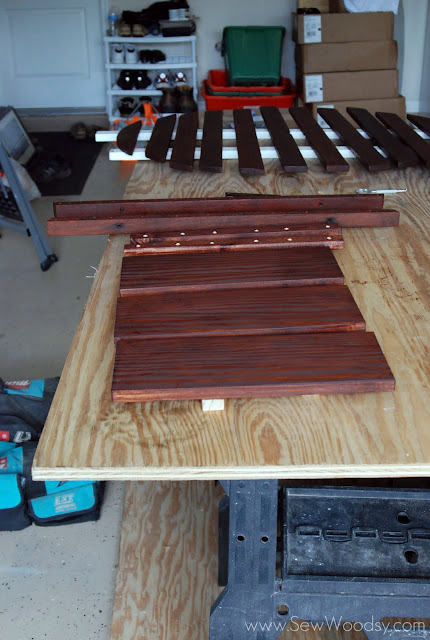
 The next day, once the wood was dry, Mr. Woodsy began reassembling the table top.
Halfway done with all inserting all the screws!
Here is what it looked like once it was put back together.
The top is ready to be placed on the metal frame.

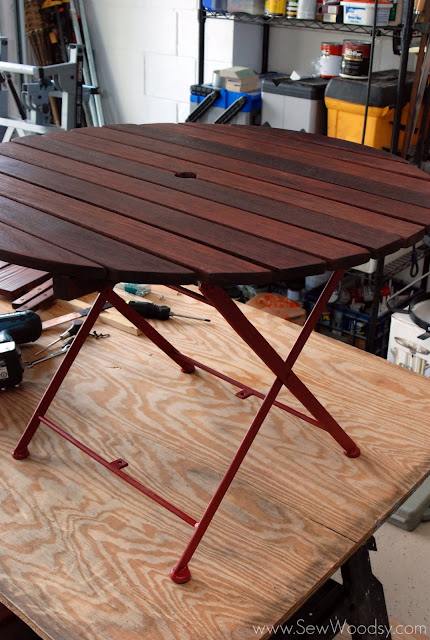 You’ll notice that we kept the umbrella hole in the table. I was afraid to remove and/or fill in the hole since I didn’t want to loose the integrity of the original wood finish. Since this table is used mainly for food photography and of course acts as a coffee table in our outdoor living room I was ok with keeping the hole. Plus, we always have something sitting in the middle of the table!
Secure the support brackets to the metal frame.
Using a drill, secure the three pieces of wood to the support bracket.

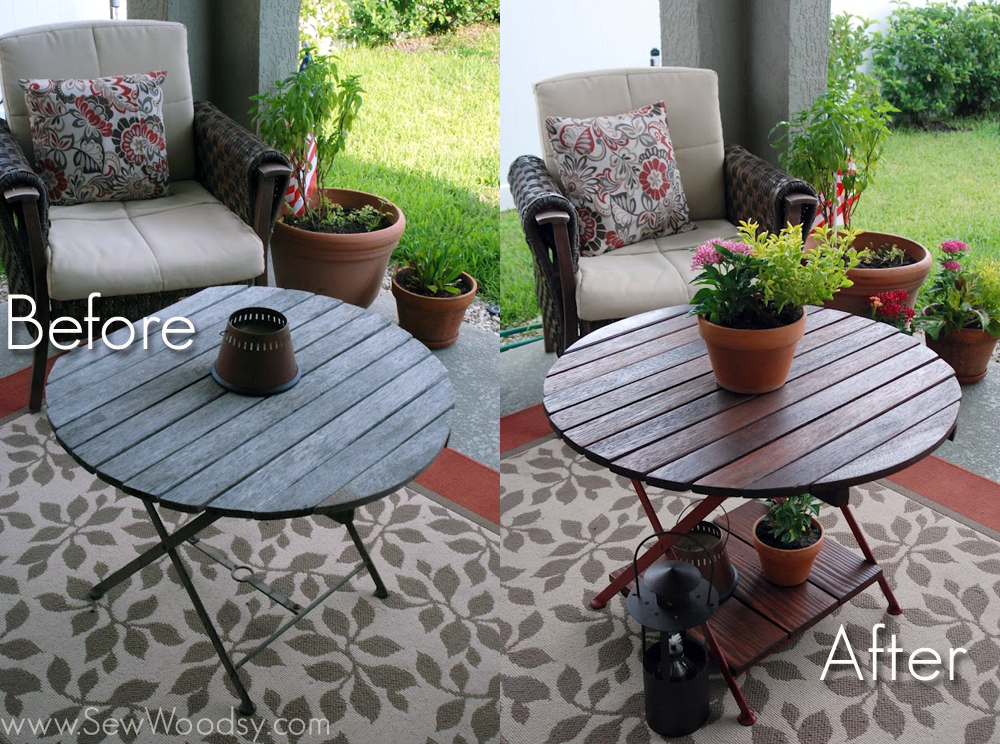 So, what do you think? I love our new repurposed wood outdoor table! It matches are furniture and best of all looks like we spent a pretty penny on the piece of furniture! Yet, I think in total we spent $10 since we had just about all the supplies on hand!
The new end piece of wood blends in well; however, it’s not the same type of wood, so if you look at it form an angle you can tell its not the original piece.
Our pup, Lola, is checking out the new table!
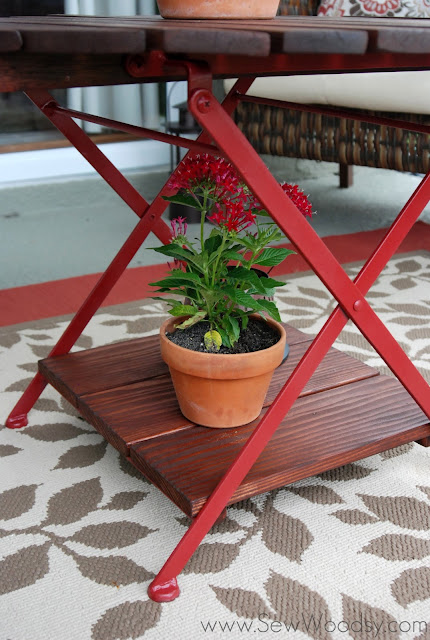 I love the bottom storage area! I hope you enjoyed our tutorial and visit us over at Sew Woodsy. Don’t forget you can always follow us on Facebook, Twitter, and Pinterest! Thanks again Gail, for having us over!
Katie-I love what you and Jon did with this little curb find! It’s so pretty and very functional. For those of you who don’t know, I was lucky enough to meet Katie and Jon in Atlanta at the Haven 2012 conference. They are so very kind and friendly! I think you should go check out Sew Woodsy now!
gail

Looks great but a ton of work. Most people would not be that ambitious.
Great! 🙂