Kitchen Cabinets Updated with Paint & Trim
As an Amazon Associate, I earn from qualifying purchases.
I wanted the kitchen cabinets updated, he didn’t.
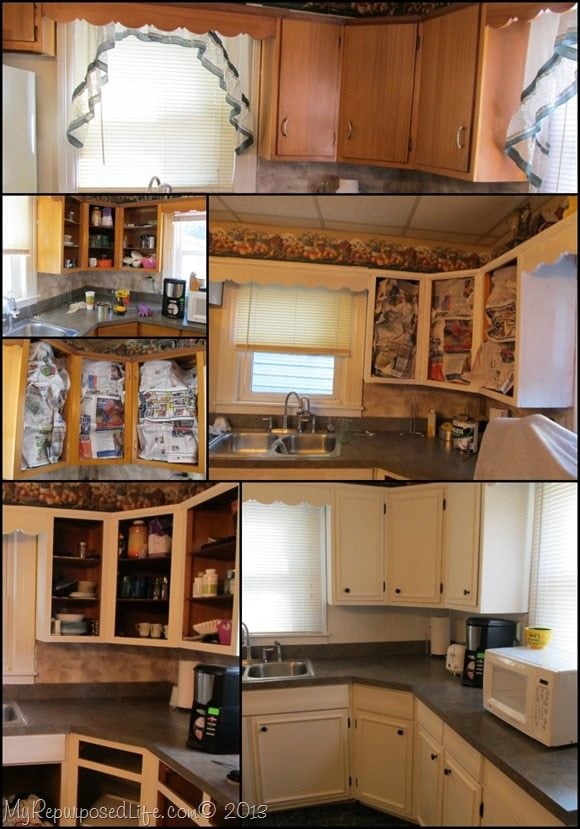
Do you have a family member who is stuck in the past, maybe a parent or a grandparent who just doesn’t want to do an update to their kitchen? I do—and it took some talking to get Jamie’s dad to let me give his kitchen cabinets a makeover. His house is a 100 year old farmhouse. The kitchen was updated in the 70’s, long before we bought this house. There are many updates that need to be done, but for now, I am just tackling the cabinets.
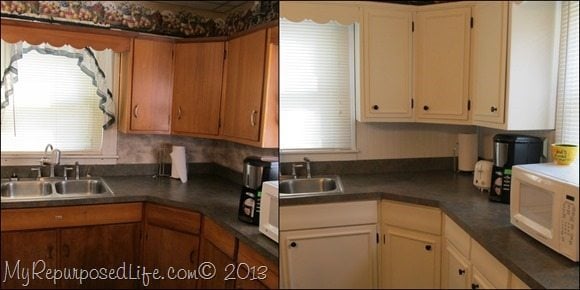
Here is the before and after. Quite a change, don’t you think?
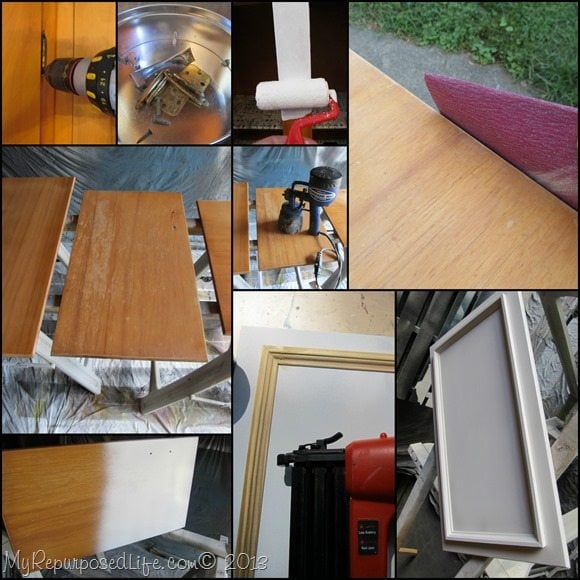
The steps involved were as follows:
- Wash all wood with TSP
- Lightly sand all surfaces with fine grit (220) sandpaper
- Wipe down all surfaces
- Remove doors and drawers and all hardware
- Put hardware in a safe place, being careful not to lose anything
- If necessary, sand (built up grease) edges of doors
- Use painter’s tape and newspaper to protect inside of doors from paint.
- Add picture frame molding for detail
- Prime all wood surfaces with a light coat of primer
- Allow to dry
- Lightly sand all surfaces, apply another light coat of primer
- Allow to dry—lightly sand
- Apply a light coat of Semi-Gloss paint
- Allow to dry—lightly sand
- Apply a second coat of Semi-Gloss Paint
- Allow all surfaces to cure well before re-installing doors and drawers. I waited two weeks after last coat of paint. Due to storing the doors/drawers in the garage, they were still a little tacky. The facings and other surfaces in the kitchen cured much more quickly.
- Drill holes for new knobs, reinstall hardware—I switched from handles to knobs
- Spray paint hinges/drawer handles, install hinges and doors. I used Oil Rubbed Bronze Spray Paint
- Step back and SMILE! Pat yourself on the back!
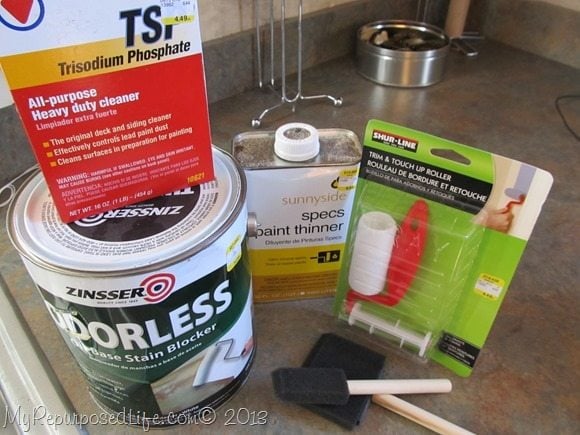
I used the touch up roller for the first coat, but after that I switched to this foam roller. The foam roller does a much better job getting in tight places around the trim.
*this post contains affiliate links, read more here*
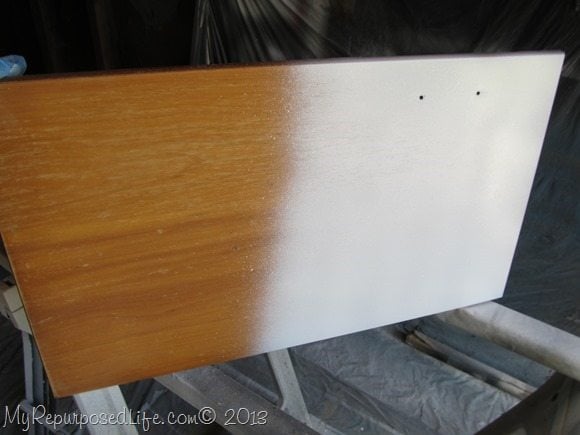
I have a Homeright Finish Max paint sprayer that I used on all of the doors and drawer fronts. It really makes the job go quicker. I find it works best with the surface held vertically. I sprayed the surface with the Zinser oil based paint, then laid the door down to get the edges.
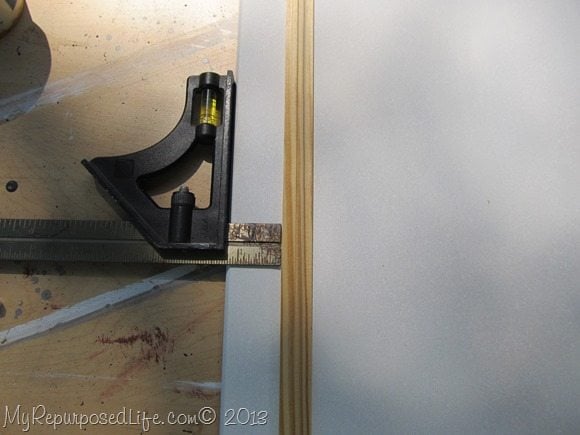
I used this combination square to make sure the molding is all equidistant from the edge.
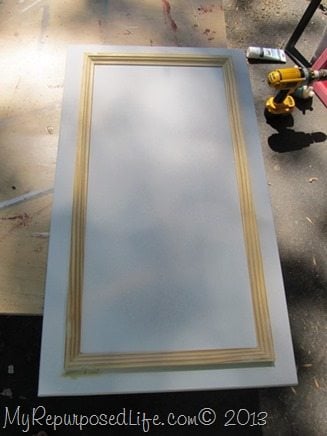
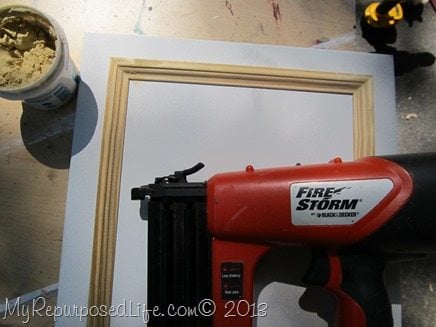
A handy nail gun, and some wood putty made this job easy.
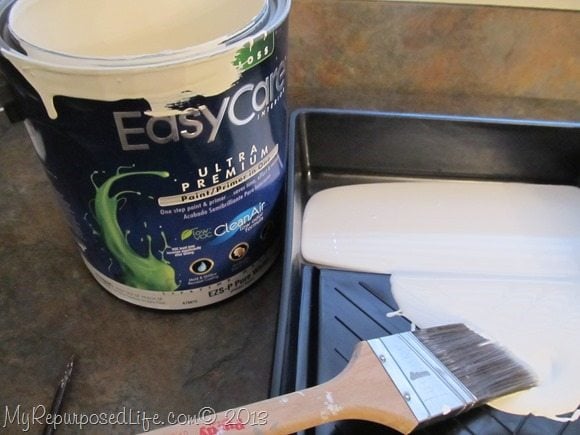
I used EasyCare in semi-gloss (Sugar Sweet) on these cabinets. A good paint brush is a must.
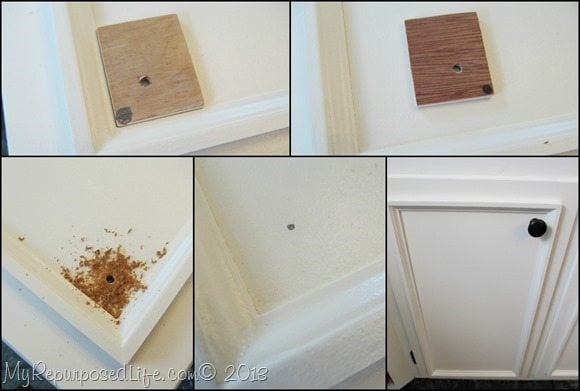
I made a little template out of some thin plywood to insure all my knobs would be placed the same. It was two-sided—one for left knobs, the other for right knobs. I placed the dot into the corner where the knob was to go, marked it with a pencil, then drilled my hole.
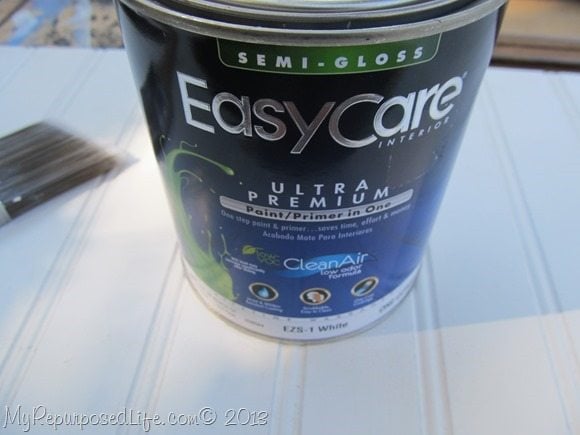
Some new bead board and the window frames got a nice coat of paint also.
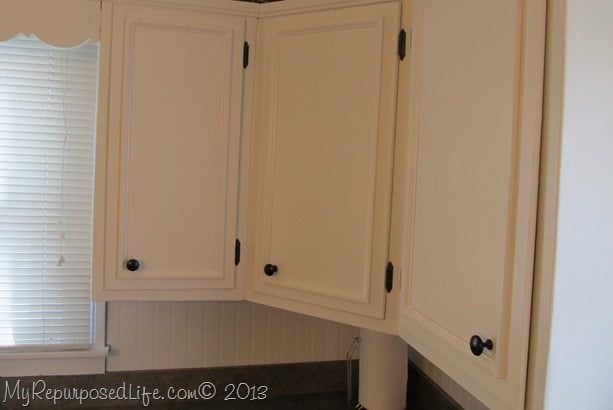
In addition I bought two new blinds to brighten up the space.
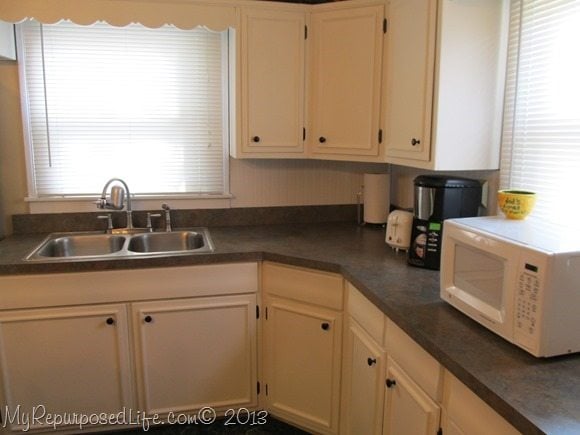
Is the kitchen fully updated? No—but this was a huge step in the right direction, and Jamie’s dad loves the new look!
How about you? Do you love the updated look? Is there someone in your family resisting change?
gail
Related Content:
Repurposed Cabinet Door Projects
Gina,
No glue, only nails. It wouldn’t hurt to add glue, just know that it may be visible when painted (if any oozes out) 🙂
I don’t mention how many nails, but I would guess about every 10-12 inches. Don’t shoot them too near the corners, or the molding will split.
You can see how I did my molding on my fireplace with glue only here: https://www.myrepurposedlife.com/its-coming-along/
good luck!
gail