How To Prep cabinets for painting
As an Amazon Associate, I earn from qualifying purchases.
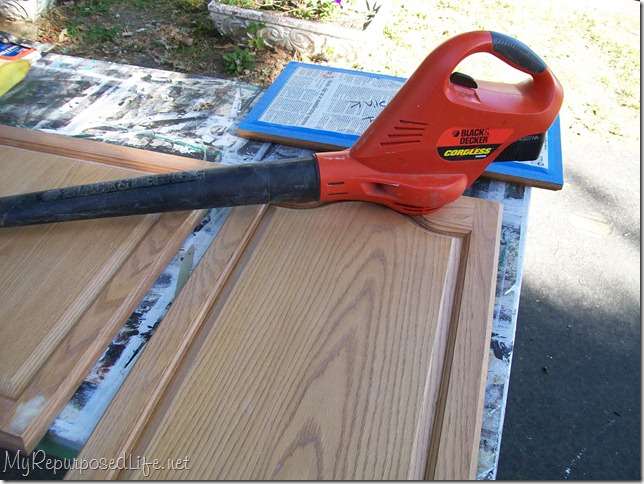
While the cabinet doors were still up, I washed them with some soap and water. The next day I used TSP on them. After I removed the doors I took them outside to sand them so that they would “take” paint better. Those of you who have been around for awhile know that after I sand something, the first thing I do to remove the dust is to blow it off with my leaf blower. I then use a damp cloth to remove the rest of the dust. (I don’t own a tack cloth).
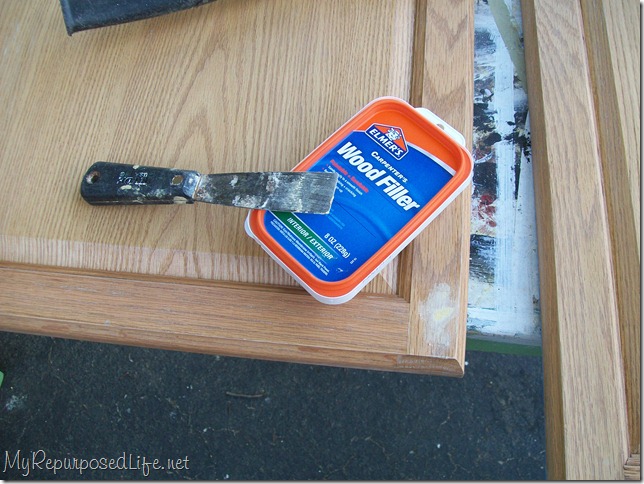
In order to prep cabinets for painting, I had filled one hole on each of the cabinet doors so that I can replace the handles with knobs. Because the hole goes all the way through I put a piece of painter’s tape on the back to keep the wood filler from oozing out. After the wood filler dried up, I sanded it smooth.
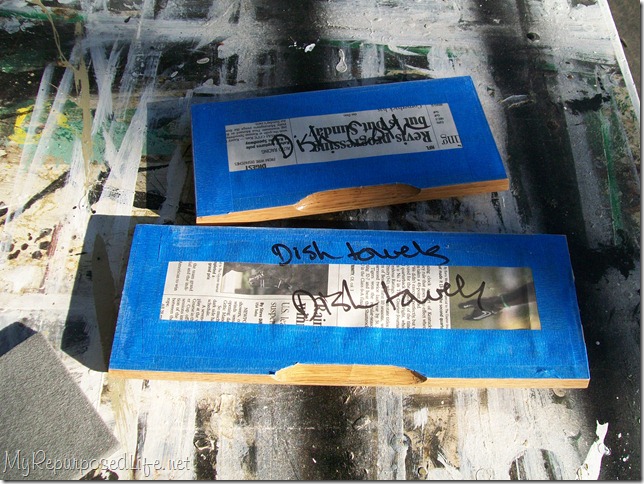
I taped the back of all the drawers . . .
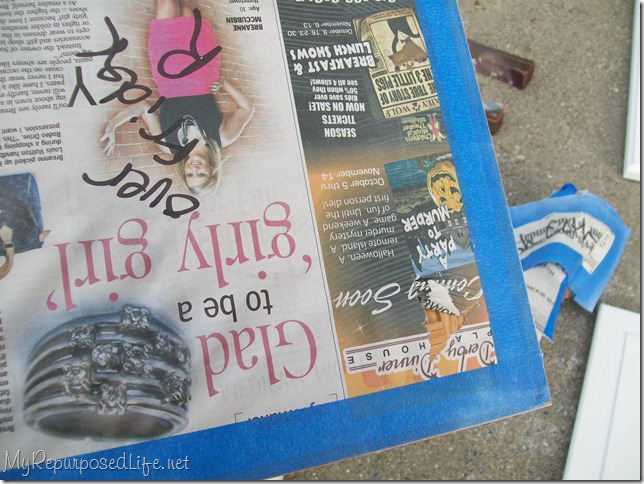
. . . and doors.
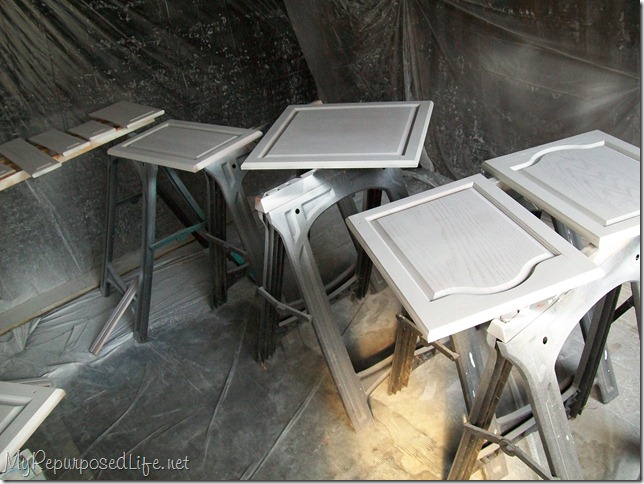
I painted a coat once a day letting each coat dry 24 hours before applying the next coat. I painted two coats of primer.
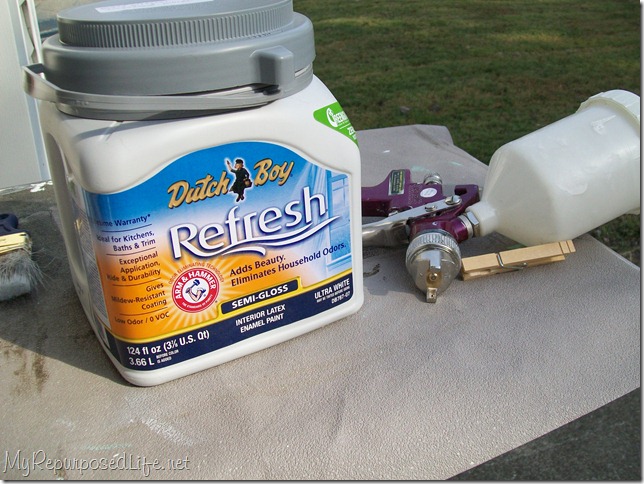
I then prepared to start with my Dutch Boy Refresh Semi-Gloss in Sweetened White. I had already used this paint on the tongue and groove wall and the window. I was really pleased with how well it covered and I was anxious to try it in my sprayer. It was a little thick so I diluted it in the sprayer.
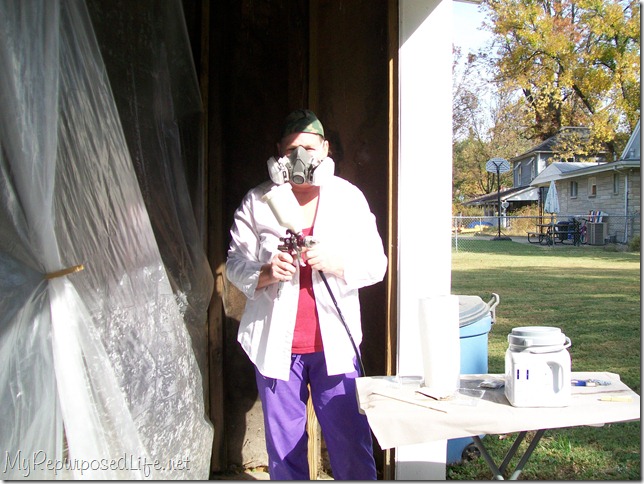
Isn’t this a sight? Put a hat on me and I look like I belong to the Red Hat Society! Safety first! There was no way I was going in that paint booth without a respirator. You can’t see my feet, but I actually wore a pair of socks. I didn’t want to chance ruining a pair of tennis shoes, I didn’t mind throwing away a pair of socks.
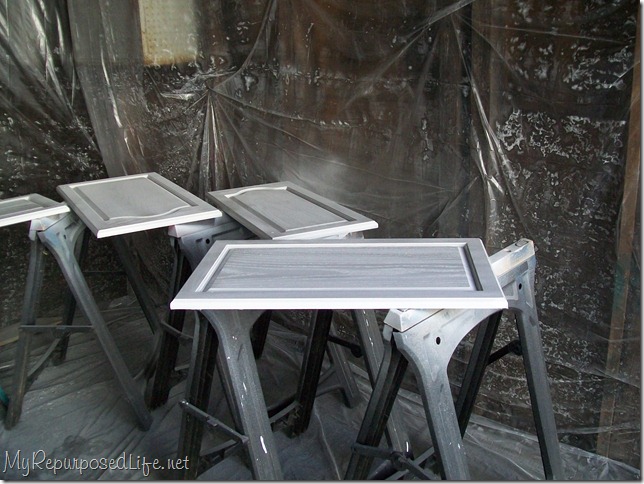
I had so many doors and drawer fronts that I had to do them in two batches. As soon as I got the first batch done, I would carefully carry them out of the paint booth and let them dry, while quickly putting in the next set. I worked quickly so the paint wouldn’t set up in the paint sprayer.
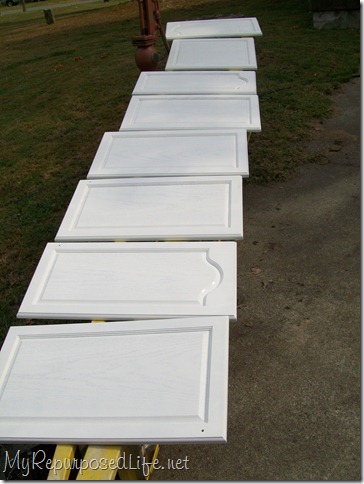
I lined all the doors up on a huge ladder to dry.
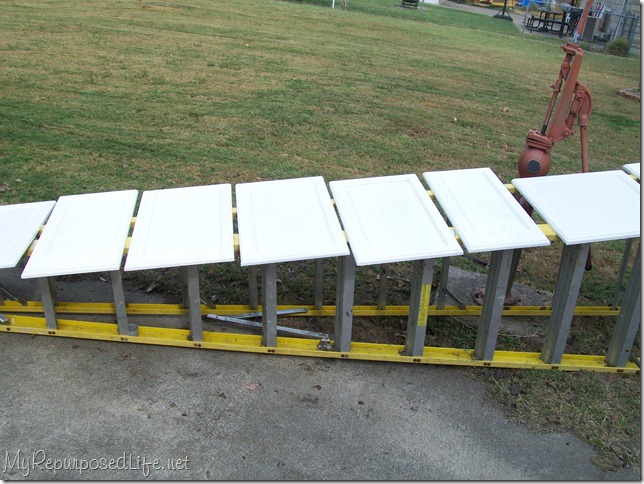
This system worked pretty well for me.
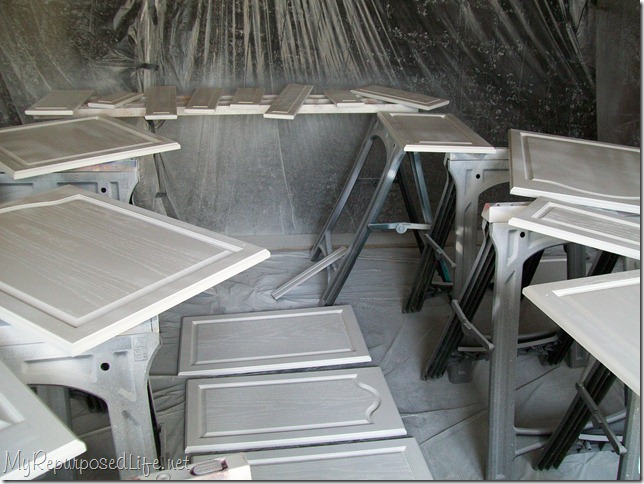
After I finished with the second set, I put them all back in the paint booth to cure overnight.
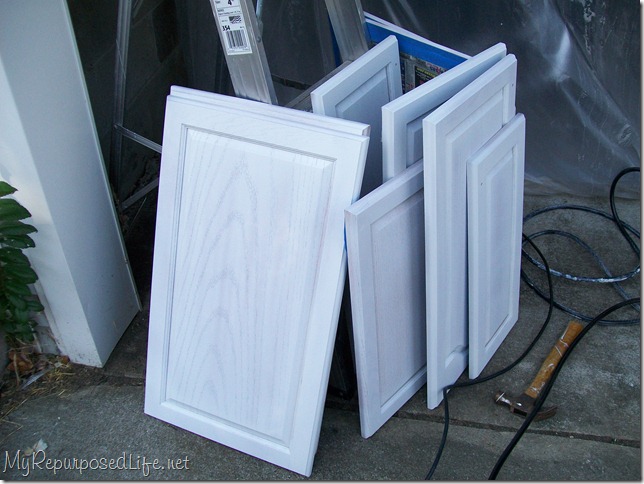
The next day I would sand them with an “in between coat” sanding sponge and wipe them off to prepare them for their next coat.
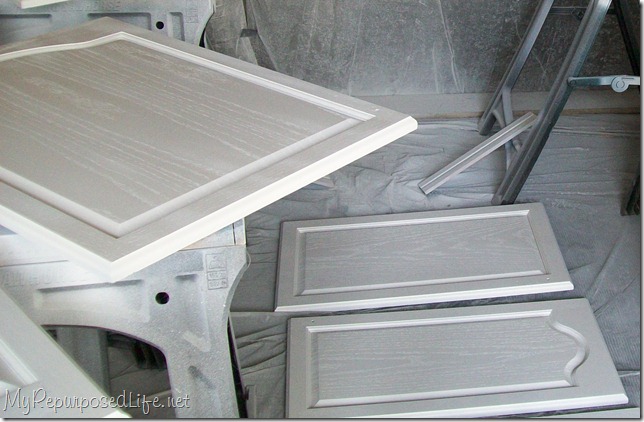
I am really pleased with how well the Dutch Boy Refresh paint covered.
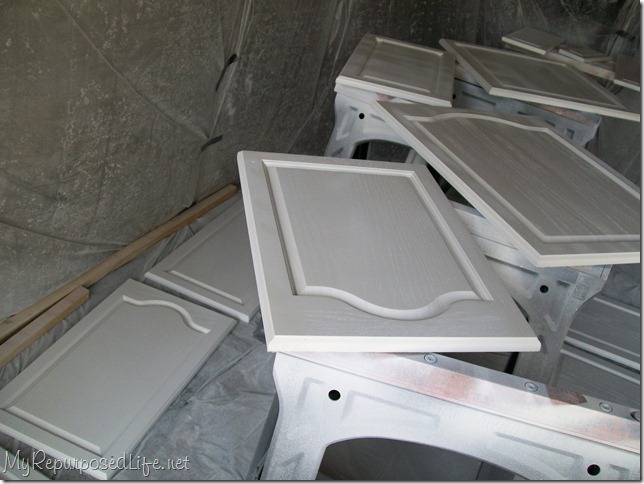
Aren’t they pretty? I put the first coat of primer on 11 days ago. The doors and drawer fronts have been shifted around a few times due to the fact that it was supposed to rain and this carport leaks. On the couple occasions that it was supposed to rain I transferred them ALL to my carport, and then back to the paint booth. They currently are still all laid out in the paint booth while I work on the cabinet facings and sides.
All in all I did 2 coats of primer and 4 thin coats of Dutch Boy Refresh Semi-gloss.
Meanwhile in the house, I have applied two coats of primer on the facings and sides, allowing each coat to dry for 24 hours. I am following all rules for this project. I don’t usually follow rules while painting. I do not want these cabinets to chip. I am very anxious to start painting with the Dutch Boy Refresh Paint. The oil based primer is SO smelly. It will be great to paint with a low odor No VOC paint!
A word about the sprayer and compressor: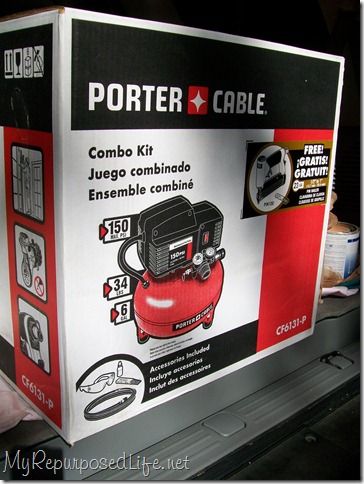
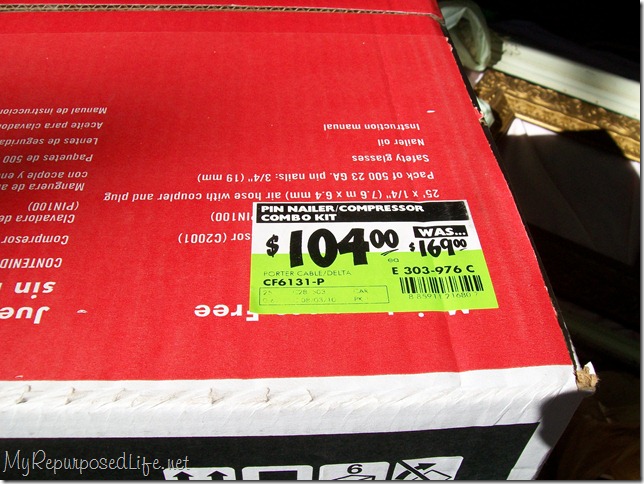
You may remember I was very fortunate to win a $100.00 gift card from Purdy “Save the Walls”.
Did the compressor keep up with the sprayer? NO. Do I wish I had a larger compressor? YES! However the budget didn’t allow for a larger compressor. In the end it worked out, but it just took longer than anticipated. It’s a good thing I CAN be patient when I need to.
EDITED TO ADD: I now have a new sprayer that I LOVE, you can read about it in my post Kitchen Cabinets Updated With Paint and Trim.
No paint sprayer, NO problem, check out this easy redo, painting cabinets black. 🙂
gail
You can check out the kitchen before pictures in my post Kitchen Makeover Pt 1
Linking to:
Related Content: More Kitchen Cabinet Ideas


Nice picture Gail!:) You look like Nicole when she’s in her shed cutting. Love seeing the progress your making on your kitchen and (yay!) that you were able to get a compressor and sprayer! I can’t wait to see how it all turns out.
Gail you ARE patient! I am so excited to see the white in your kitchen, that alone is going to be fantastic! I love how you used the ladder to hold the cabinet fronts, just genius.
Gail, it is looking wonderful. You are such a perfectionist and I love that — it means I’m learning from the best! It’s will be marvelous.
Wow, I never realized that! Thanks for letting me know, I think I changed it so you can see my email address now. Thanks for the info. If you like the sprayer and didn’t have a hard time using it, it’s worth a shot! Thanks for the info! -Kristen
Wow, what a lot of work, but I do agree that I would not want it to chip so the time and work will be worth it. When you said that you used your leaf blower, did you know you can get a special nozzle for the compressor to use for blowing the dust off of stuff?
Ooh! Can you dish more details on the sprayer? I’ve been wanting to buy one, but know nothing about which ones are good. Do you like the one you have? Would your recommend it? Pros/cons? THANKS!
Is this the one you have?
http://www.harborfreight.com/20-oz-high-volume-low-pressure-gravity-feed-spray-gun-47016.html
Those are already beuatiful – I can’t wait to see the finished project!!
Your kitchen is going to be beautiful. I’ve never cared for painted cabinets but you’ve changed my mind with the Dutch Boy paint. I love that color. Can’t wait to see the final unveiling.
These are turning out great Gail. I still need the paint gun but I have the compressor. We have a small one and then got a big one from hubbys dad. Yeah! Are you not painting the backs then?
Wow! I love that ladder idea! I’ll have to remember that one. I can’t wait to see your finished cabinets. They are gonna be gorgeous!
they’re going to be awesome! if anyone is patient enough for this, it’s YOU!
They are going to be amazing! Can’t wait to see the finished product!!!
Lou Cinda 🙂
looking good Gail,, I dont think i have the patience to do that.
I am LOVING this!! I wake up early to see if there are any updates before I leave for work….great job and so interesting!!
hugs,
chris
Is there a reason you blow the dust off with your leaf blower and not the air compressor?
Thank you for so much detail. I’m loving watching this transformation!
Gail you are doing a fantastic job. That looks like a very time consuming job, especially when you have to wait so long between coats. I am so anxious to see this all put back together and I bet you are too.
Love your new alien look… hahaha
Have a great day Gail.
Hugs, Deb
So, if the compressor you have isn’t big enough, what would do the job? I’m not looking for the “dream” compressor, just an adequate one. I’m just starting to look at compressors and all the numbers are a bit confusing.
Your cabinets look Ahhh-MAAAAAZE-ing. Congrats for taking on the job.
LOL—a tiny giggle…if anyone has seen the show “Dexter”…..your garage reminded me of his “kill rooms” with all the plastic sheeting! tee-hee!
LOVE the start on what are obviously going to be fabulous cabinets!!!!
I definitely recommend the tack cloth! They aren’t fun to use, but they do an amazing job after sanding and keeping dust away. We’re painting a buffet right now and it’s helping us a lot.
Wow, what a great detailed post! I hadn’t heard of the Dutch Boy paint. Looking forward to seeing your completed kitchen! (I also feel a little convicted about the respirator, although I don’t spray inside a booth, I know I should wear one!)