Kitchen Island Cabinet Makeover
As an Amazon Associate, I earn from qualifying purchases.
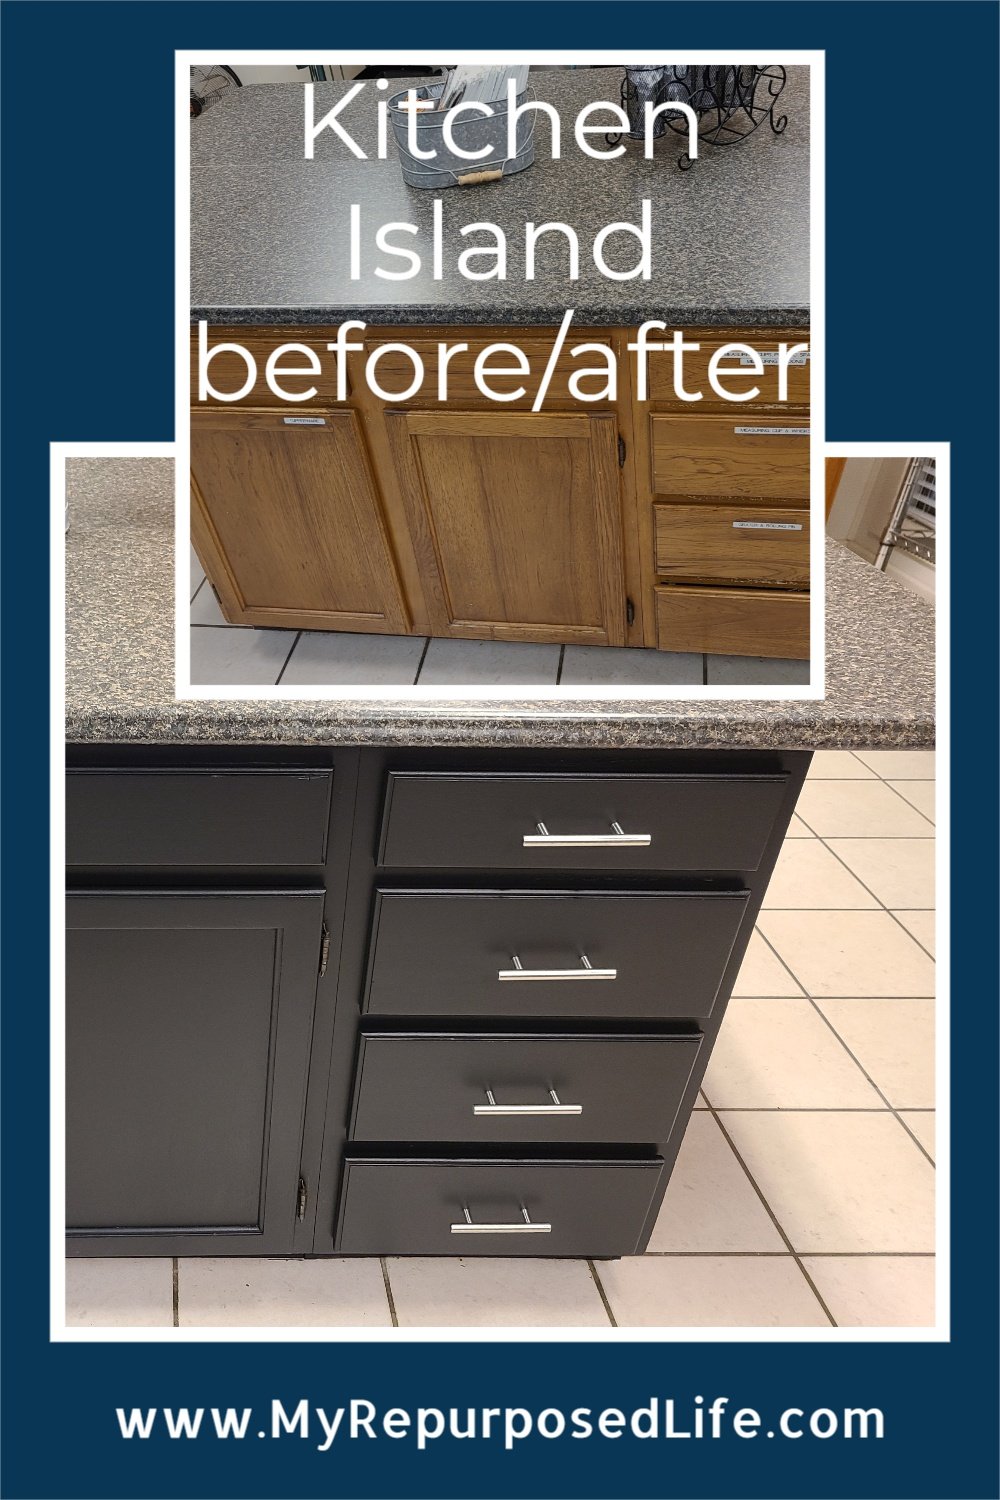
I’ve been busy traveling to The Smokey Mountain area a lot lately. More about that in a minute. But first, I want to show you this easy kitchen island cabinet makeover!!
This kitchen island cabinet was our first project to tackle in this huge commercial-like kitchen.
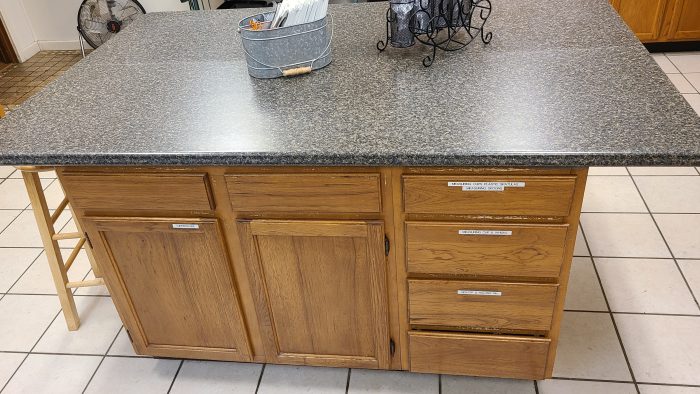
It was old and tired looking, don’t you think? This kitchen is huge! It’s at a rental place in Sevierville TN.
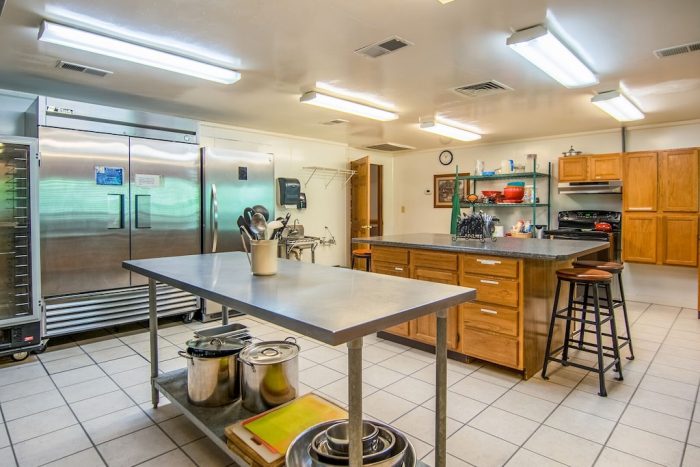
The kitchen isn’t the only thing that is huge, the rental sleeps 35+ people. My cousin bought the property earlier in the year. His mom (cousin Terry) and my friend Regina and I have been visiting the property once or twice a month to do some sprucing up.
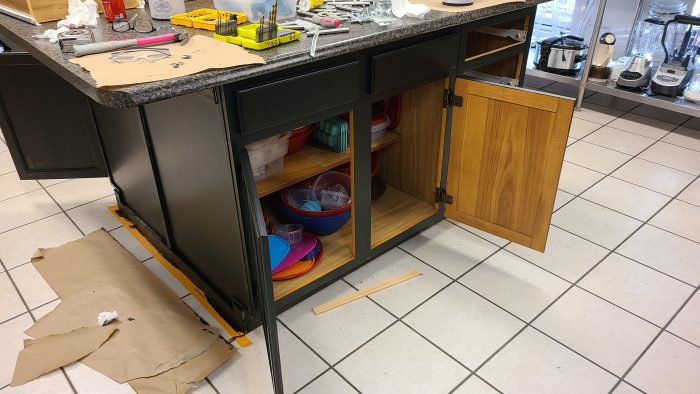
Notice the end of the kitchen island, and missing kick plate on the right. Trim was added on each end, and the kick plate was located when the drawers were removed.
Not shown: one of the drawers was off track and repairs had to be made to that.
So, let’s see how the kitchen island cabinet got a new look.
Tools and Materials for Painting and Repairing Kitchen Cabinet
- Drill
- Saw
- Nail Gun
- Wood Glue
- Hardware Jig
- New handles
- Iron Gate Paint from HTP
- Deglosser
- Scrub Pad
- Soft Cloth
- Sponge Roller
- Americana 2″ Flat Brush
- Vinyl Gloves
- Painter’s Tape
Pre-drill Holes for New Kitchen Hardware
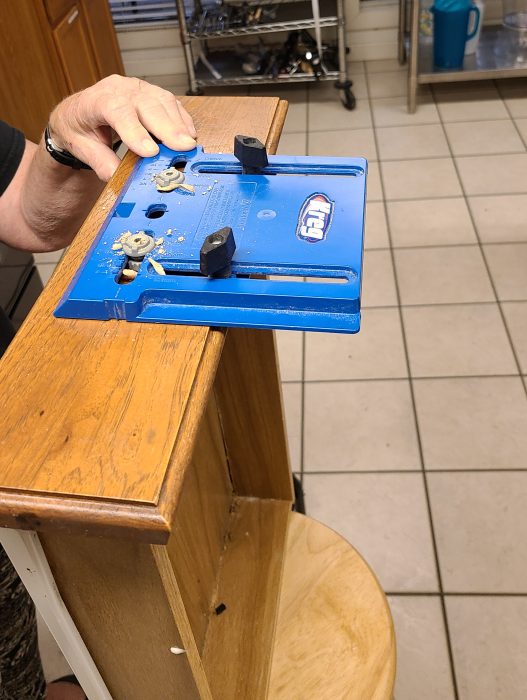
When installing a bunch of new handles, this Kreg Hardware Jig is invaluable for getting them all to match! It looks like Kreg has updated to a new jig, but I’m sure it works equally well.
Address Repairs Before Painting
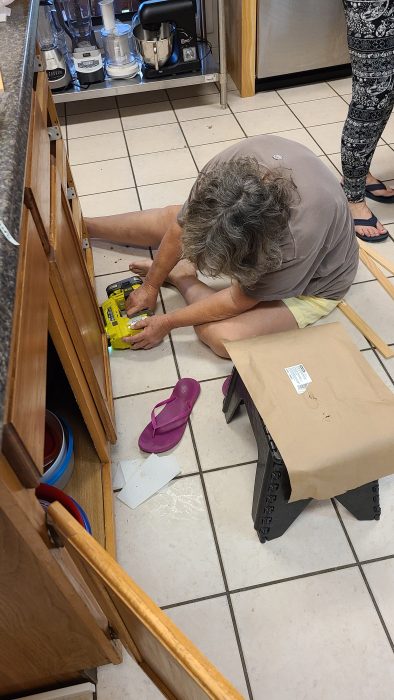
There were some repairs and tweaks that needed to be addressed before we could start painting.
Because this kitchen island cabinet is pretty old, there was a lot of grease and grime built up on it. After the repairs, it was wiped and scrubbed down with a deglosser that I use on all of my projects now.
Related content: Folding Tray Table Makeover using Deglosser
Skip Sanding | Use a Deglosser
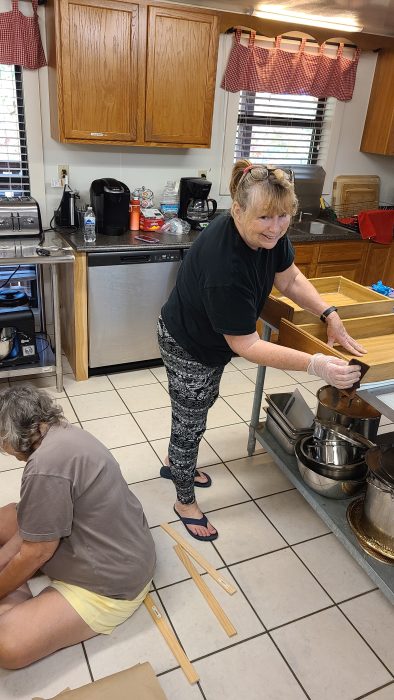
Here, I’m scrubbing the drawer fronts to prep for painting. It’s really easy to paint drawers when you rest them atop a table like this.
Painting a Kitchen Island Cabinet is Messy Business
Painting is messy business! We’re fortunate to have such a large kitchen to work in!
Do You Paint Inside of Kitchen Cabinets?
As with the other kitchen cabinets I’ve painted, I never paint inside. First, the inside is not seen. Second, if you paint the inside, it’s only going to get very scuffed up.
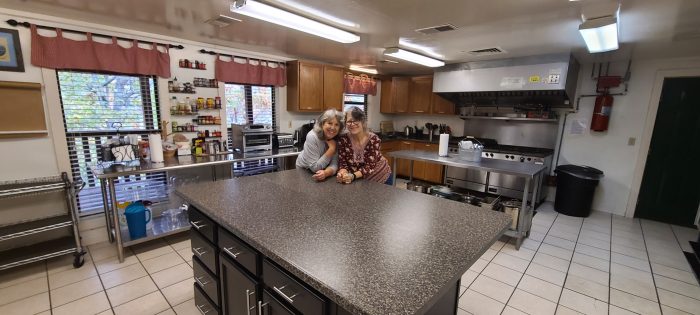
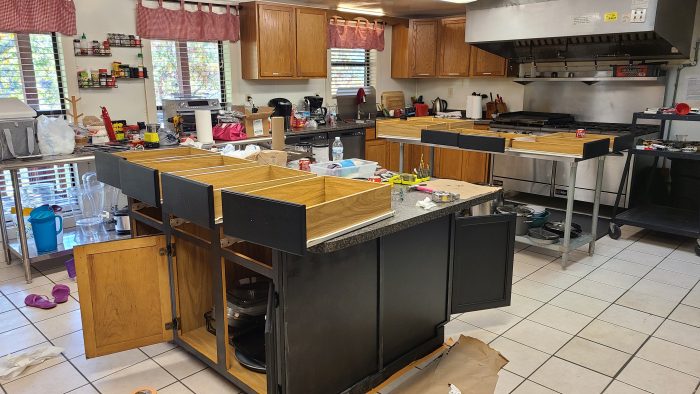
This gives you a better look at the massive kitchen and what lies ahead of us on future visits.
Steps for Painting Kitchen Island Cabinet
- Make any necessary repairs, such as loose drawers or add trim.
- Clean and Degloss wood. We used a deglosser, scrub pad and a clean cloth to wipe away grime.
- Remove drawers | We chose to not remove cabinet doors
- Roll paint on with a small sponge roller, and touch up paint with a small soft paint brush. Each coat of paint should be applied lightly. After the first coat, you may be a little worried, but it will all turn out in the end.
- Allow first coat to dry, we waited several hours, then applied a second light coat in the same manner.
- Apply the final coat the next day. It’s not a full coat, I call it 2 1/2 coats, because the last coat is mostly a touchup application.
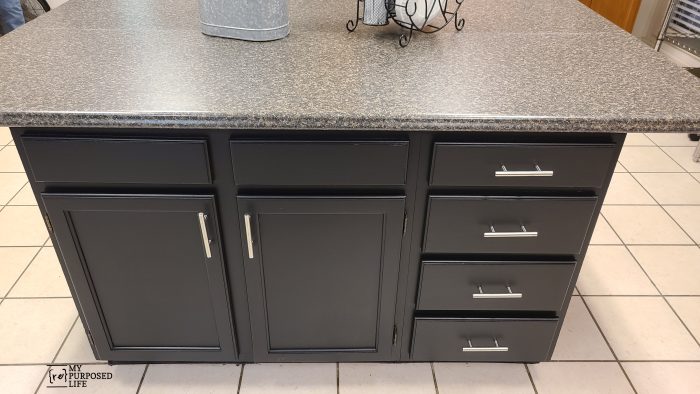
- Attach NEW handles on drawers and doors.
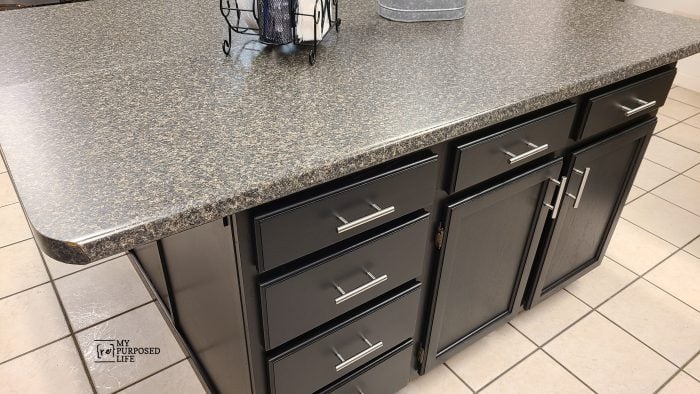
It’s done! Everyone is thrilled. Us (three grandmas that worked on it) and the owners of the property. Yes, Doug and Alicia Hayes, the owner of The Lodge at Douglas Lake are so happy. After sharing the pictures with Doug, he said “Can you surprise Alicia and do the rest of the cabinets?” Stay tuned . . .
Lisa,
The deglosser is from Heirloom Traditions Paint HTP. You should follow them on Facebook. Paula shares all kinds of tips for painting. I couldn’t find the deglosser on Amazon, but you can find it at AllInOnePaint.com 🙂 I use the deglosser on all of my paint projects that need to be roughed up a bit. https://www.myrepurposedlife.com/tag/htp-all-in-one-paint
I appreciate your kind comment!!!
gail