large DIY bracket frame
As an Amazon Associate, I earn from qualifying purchases.

Hello! My name is Mindi and I share my projects over at MyLove2Create. It is such a pleasure for me to be guest posting at My Repurposed Life! Gail is one of my favorite people and I am happy to help her out as she recovers so she can get back to inspiring all of us!
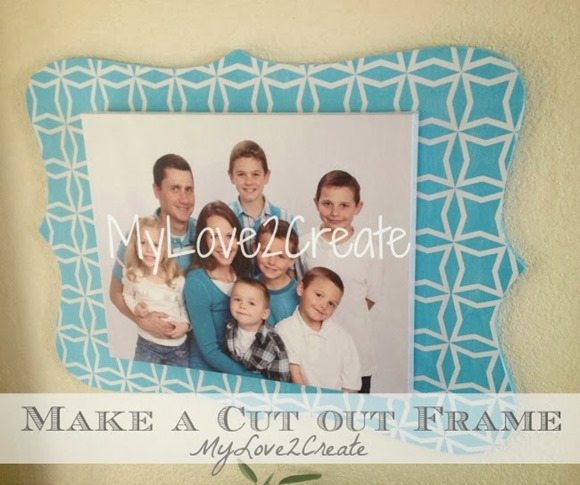
Today I am sharing a fun cut out frame! I am sure you have seen these cute frames all over the internet, I am going to show you how I made my own.
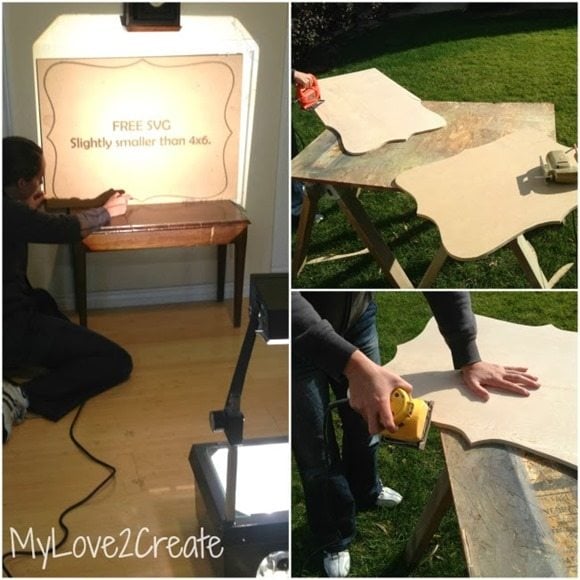 A few weeks back my friend asked if I could help her make a large cut out frame and of course I said yes! My husband is a teacher and so I borrowed his projector. I searched “svg label shapes” on google and found a ton of cute shapes. I printed mine on transparency paper and then we set up the wood on the wall and traced the image right onto the wood. The best part is you can make it any size you want!
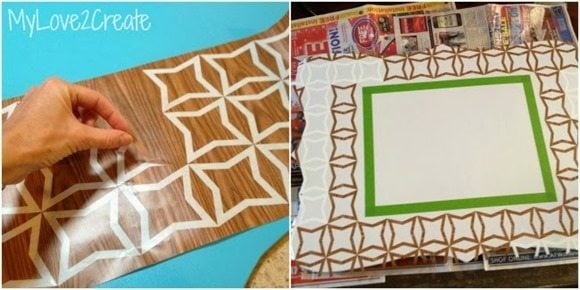 First I painted the cut out frame blue, to match my kitchen colors, but it needed something….a pattern.
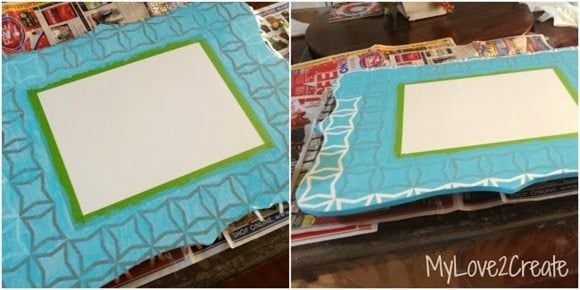
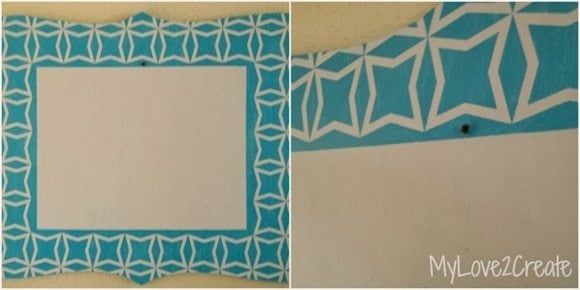 I didn’t do the inside because my canvas picture was going to cover it up. Why do more work than needed! I simply added a screw right into the middle of the board to hang my canvas on. I used d-ring hooks on the back and hung it on nails in the wall.
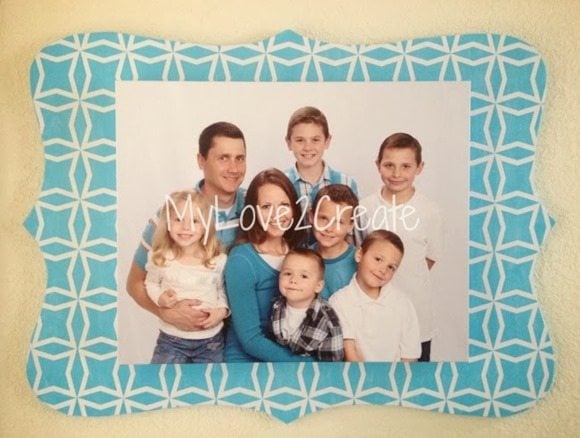
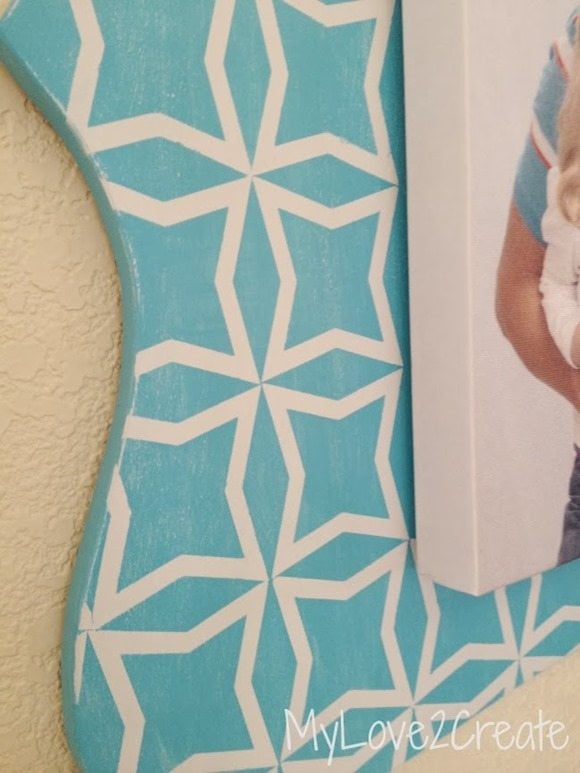
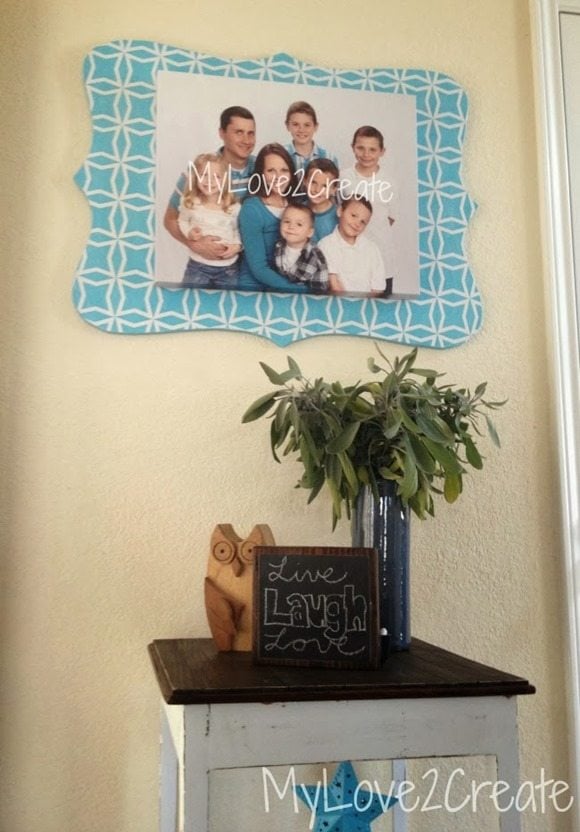 Not bad for a free project right?!! I am a lover of free and repurposed items! Of course, that is why I love Gail’s blog so much!
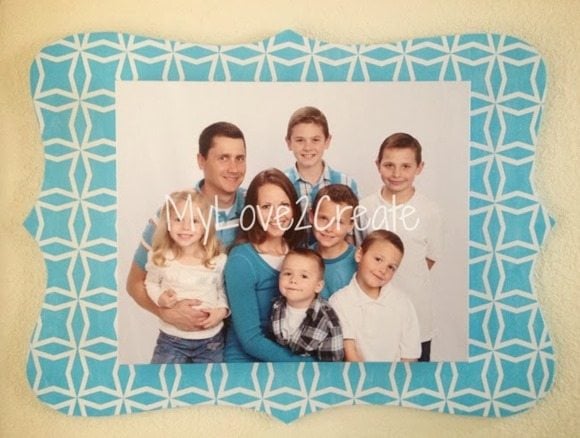
Mindi—I love the bracket picture frame you made for your family canvas portrait! The stenciling is perfect. (I use that same contact paper for my stencils.) The color looks great with the canvas. Thanks so much for sharing your project today!


This is so beautiful Mindi! WOW! I really love the detail you added to the frame! The color is amazing!!! Another 10 friend!!!
What a great DIY and tutorial. Love the frame. Thanks for sharing Mindi!
looks lovely!!!
I love bracket shaped items, and this is no exception… plus what a beautiful family!
You are so sweet Julie!! Thanks!
i love this! it looks amazing!
Thank you so much Cassie!