Leather Belt Crate
As an Amazon Associate, I earn from qualifying purchases.
Hey everyone, it’s Mindi again from MyLove2Create, with a leather belt crate project for you!
Last week I had a moment of insanity and started ripping out my small hall closet, because I couldn’t stand it’s total lack of effectiveness any longer.
In the process, I decided I needed a crate at the bottom of “said closet”, and so that is what I am going to share with you today, my Repurposed Leather Belt Crate!


My closet is in white and dark wood tones and so I was thinking along this mind set.
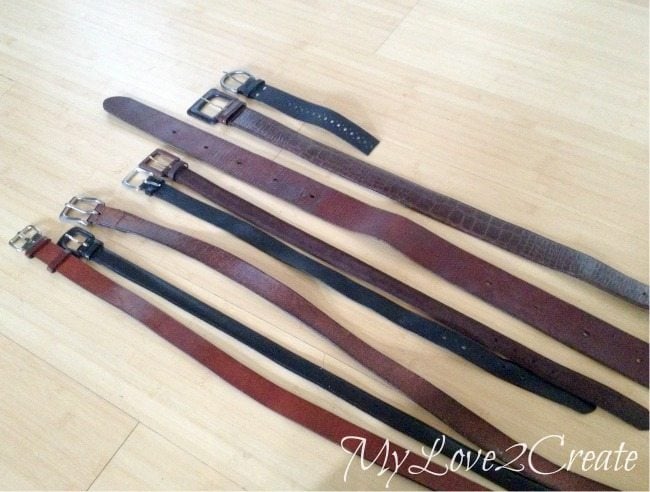
I have a habit of collecting old leather belts, they make great handles for DIY Crates, so I pick them up at thrift stores and garage sales when I find them really cheap. Like less than $2 cheap. You can see one has been mostly used, the small one on the top, I used it on one of my DIY Gift Crates.
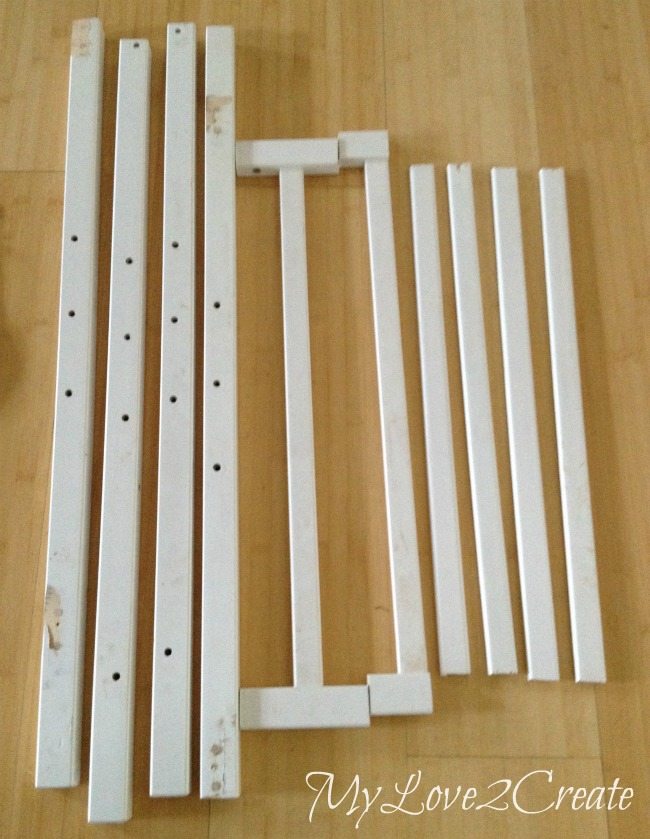
I also had these left over parts from my Repurposed Crib Dog Crate that I shared here on MRL not too long ago.
So I set to work building with what I had. First, I measured the space where I was planing on putting my crate, and made my cuts accordingly.
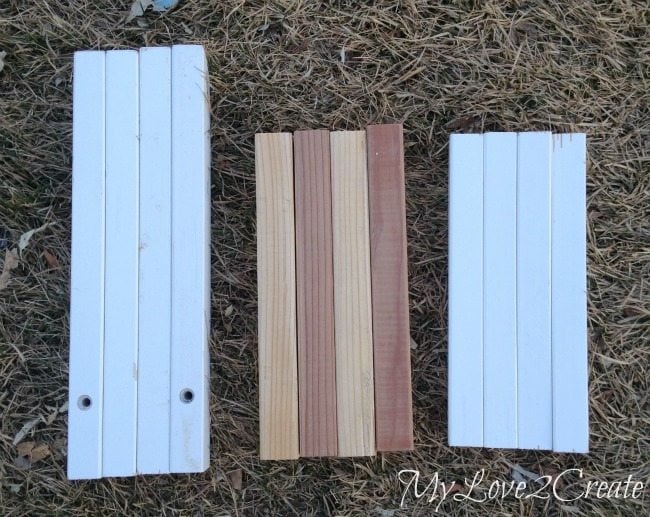
All the boards were from scraps!
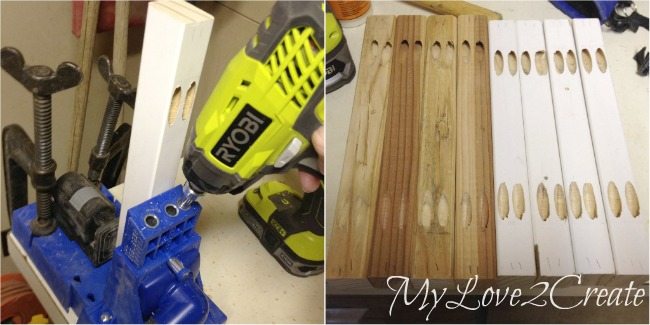
To make life easier I busted out my Christmas present my new K5, Kreg Jig! My husband knows me well! 🙂 I drilled pocket holes at the required length, which was about 1 3/8 inches for my boards.
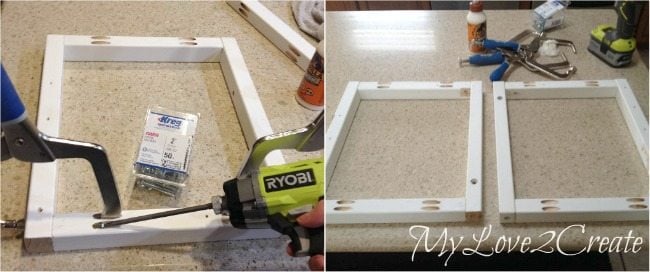
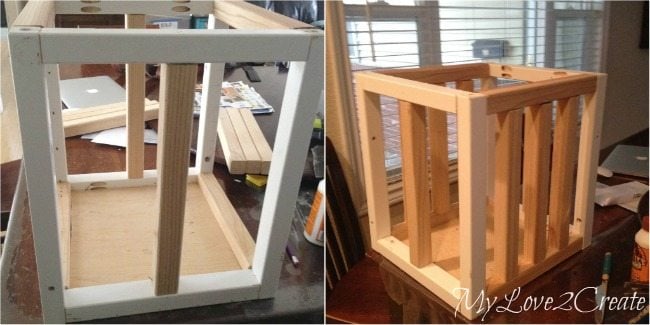
Next up was attaching the front and back frames with my 2 inch pocket hole screws. I would be lost without my Right angle clamps, best purchase ever!
Quick tip: When using reclaimed wood ALWAYS drill SLOWLY. I forgot and split the wood on my first attempt (I just get so excited to build!) and had to glue and clamp. I went slow with the rest and had no problems. It is amazing how many times I forget this tip…really amazing.
Need more details on using a Kreg Jig? See my article How to use a Kreg Jig Pocket Hole System
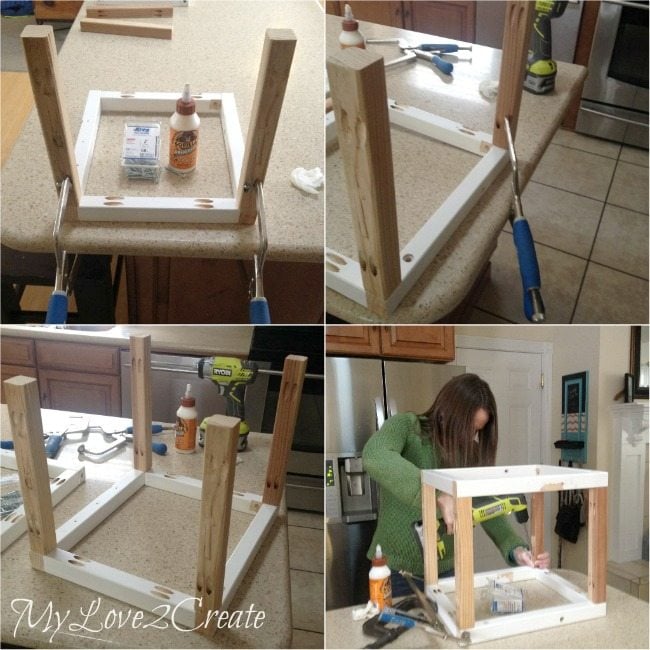
Then I attached my side pieces. I started with two and then added the other sides. Once all four were attached I flipped it over and attached them to the other white frame. My oldest son came home for lunch and snapped a shot of me.
If you are wondering why I am building in my kitchen…it is a common thing in the winter at my house, I know bet my husband doesn’t appreciate it. Well I didn’t appreciate the blizzard raging outside….where my shed happens to be. In the freezing cold.
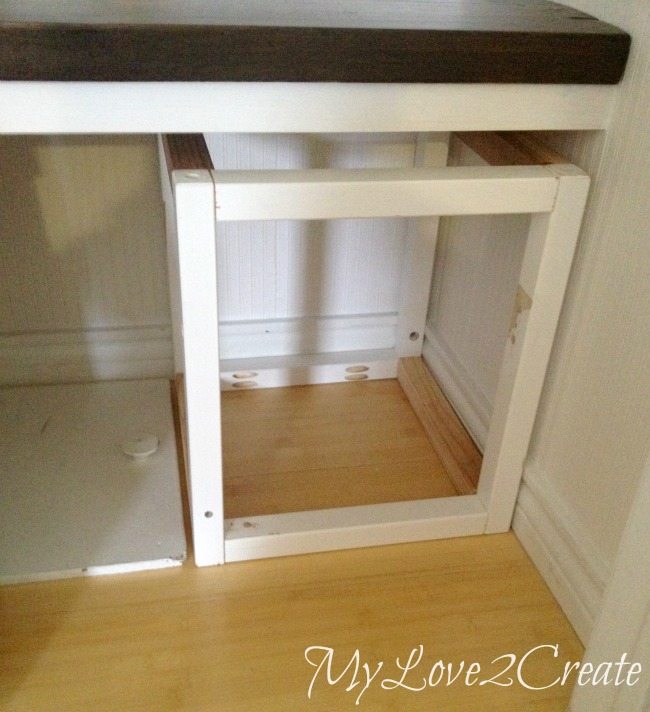
After I got my crate frame built I quickly placed it in it’s future home, fits like a glove!
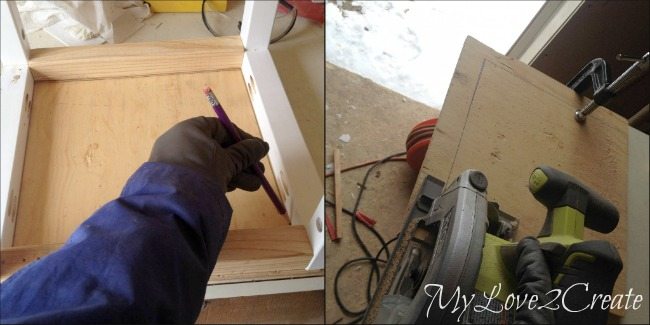
Then I headed back to the frozen tundra to cut a crate bottom. I grabbed a scrap piece of plywood and set my crate on top. I traced my shape and cut it with my circular saw. After that, I attached it with gorilla wood glue and finish nails. Apparently I was too cold to stop and take a photo of that process, sorry. The bottom is inset, so I just nailed through the outside of the frame into the plywood.
Ok, let me tell you why I was so cold.
When I said I nailed in the crate bottom I used a nail gun but not my favorite nail gun, my Ryobi. I couldn’t get it to shoot out the nails and spent FOREVER trouble shooting, it has happened before but after adjusting things I got it to work so I figured it would this time as well. Nope. After at least an hour I gave up in frustration and got out my old nail gun and air compressor. Ugh. Ok, moving’ on.

I then set to work measuring and cutting all the crib slats for the back and sides of the crate. They were ready to go…and I ended up taking everything inside, air compressor and nail gun included. Burr.
I took my slats, measured where they should be placed, marked all the sides, and started to glue and nail on slat number one.
And that is as far as I got. I had approximately 8 or 9 rouge nails protruding from everywhere around the slat. Seriously?! I think one or two actually made their mark…I gave up.
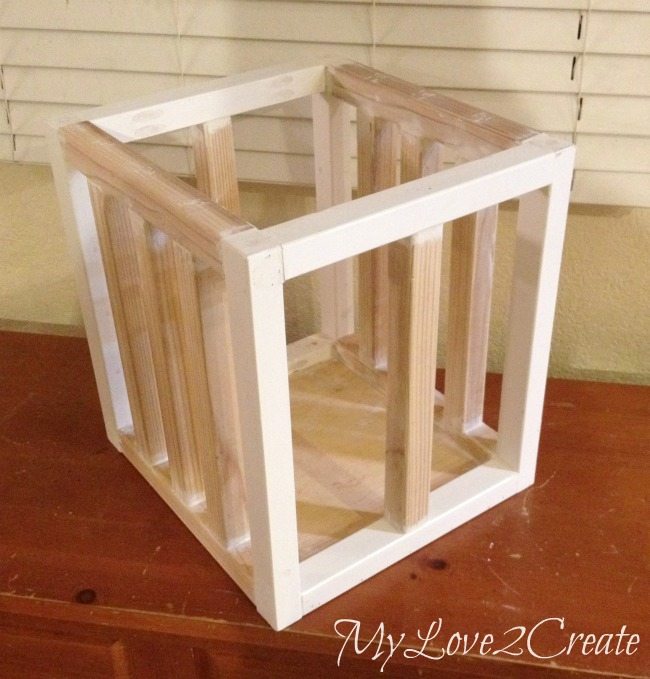
Time to go to plan #2. Oh wait, I didn’t have a plan #2. This is when I get desperate, improvise, and hope it works. Hopeful, I went and grabbed some more 2×2 scraps, and had just enough to do this…
I cut them to size and glued and nailed one in the front and back, and three on each of the sides.
Then I filled all holes with spackle, and got a little crazy with it, filling every seam and crack too. After sanding it down I went to my spray paint stash and was sing praises for the can of white I found. After all I had just gone through, I did not want to paint this by hand. So I sprayed it! Yippee!
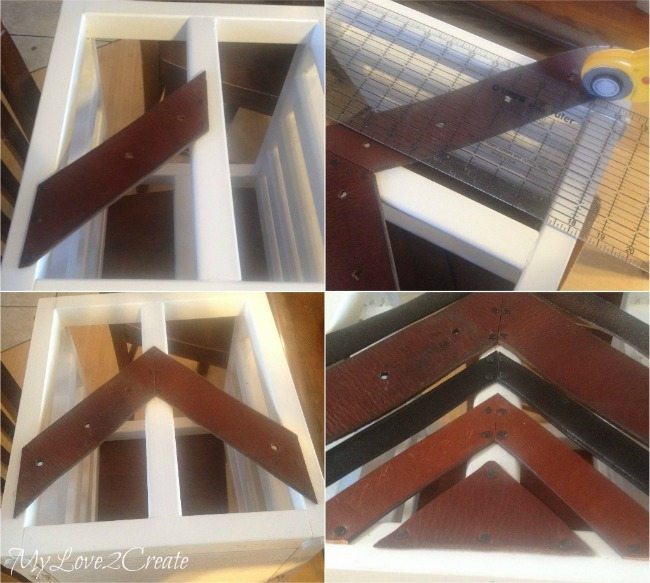
After the paint dried I brought it in for my leather belt treatment. I had thought of several different options of what I could do, but I liked the arrow idea the best. I grabbed my thickest belt and started in the middle. Cutting at an angle and and using carpet tacks to nail the belts into the wood I created my arrow pattern.

I have tried to cut leather belts with scissors before and it is not easy (well some are, but some are not). So I gave my sewing stuff a try and guess what? It was like cutting through butter! Sometimes I would do it on my cutting mat with my roller, and other times I would use a scrap wood under the belt to cut it. I found it easiest to lay the belt where it needed to be, then using my ruler and my cutter I would lightly mark where to cut, and then use one of the methods above to cut all the way through.
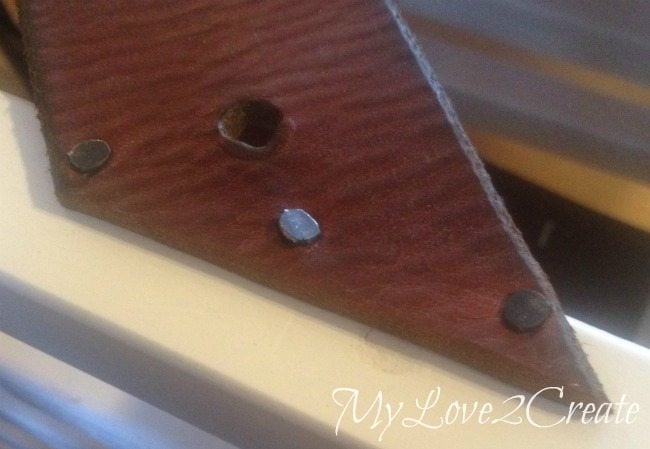
You can buy a box of carpet tacks at Walmart for 97 cents. I had a box that I had used for my DIY Magazine Rack, and used those and some out of new box. They have a fun rustic industrial look and are super cheap!
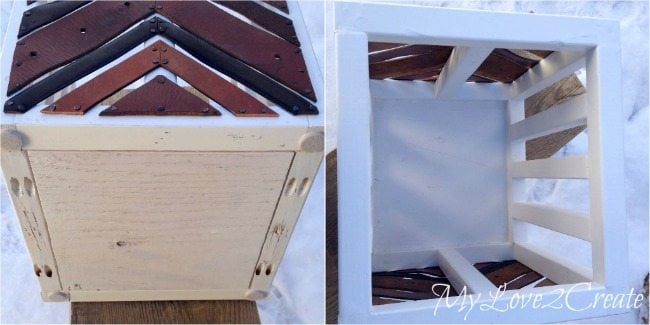
And here is a shot inside the crate, it will hold lots of stuff!

Mine will be in my hall closet, but it would look great anywhere in the home! Here it is with my boots and purse, ready for me as I walk out the door.

This will be it’s actual new home, which I will finish up in the next few days so be sure and stop by MyLove2Create for the reveal!

Here is a shot of the back, the belts are slightly different than the front.

There you have it, a fun Leather Belt Crate! I love the way it turned out and feel like despite my difficulties it was all worth it in the end!
So have you repurposed leather belts, I would love to hear your ideas.
Hugs,
freaking awesome xx
I really like reusing leather belts! I am holding onto mine until I figure someway to use them… like this! I think I have maybe 4 of them at present. Good project!
Who would have thought you could do this with a set of old belts? Very creative. And I’m really glad to know there is an easy way to cut one if I ever need to because just poking a hole through one is an arduous task!
Seriously? Jeez how do you come up with this stuff Mindi? I have a pile of old belts and never in a million years would I have thought of this, and it’s awesome. So yeah, I pinned it.
Where do you come up with all this stuff? LOL…great job.