How to make a Coffee Table using Chair Legs and Wood Flooring
As an Amazon Associate, I earn from qualifying purchases.
I never really thought about how to make a coffee table using chair legs and hardwood flooring, but one day while I was looking for something to make, I took a second look at the base of these chairs….
 So, I got these chairs from a local reader last fall, and they’ve just been hanging around ever since.
 Don’t you love the look of these chairs and how Donetta painted and distressed them?
 First, I removed the legs from the back, and decided to leave the 2 front sections intact.

To complete the skirt, I placed one of the former pieces on my table saw in order to get the correct width to rip the 1x’s that will become the front and back skirt. (I removed the saw blade laying on the fence before I turned the saw on)
NOTE: I used 1×4’s (soft wood) In hindsight, I wish I had used a hardwood for this.
*this post contains affiliate links*
 To secure the sides with the new front and back, I used my Kreg Jig to drill pocket holes.
 Even though I was using 3/4” 1x’s I used longer 2” pocket hole screws because I was sort of “hitting” the original dowel holes and the shorter ones were not securing the joint well enough. I did set the bit to drill 3/4” material.
 A right angle clamp makes it a lot easier to connect the joints.
 For strength, I added some small 1x’s for bottom braces from side to side.
I thought it would be great to use hardwood flooring for the table top. I did it once before and hit a snag and NEVER finished this project from THREE years ago.
But I have a PLAN!
 I started by measuring the boards and cutting them to size. I left the tongue and groove portions on all of the boards except the two end pieces. Of course I used Gorilla Wood Glue and scrap boards and clamps to make the table top.
How to Make a Coffee Table

Here’s what the table base looks like. I patched the original dowel holes on the right and left sides.
 Now, here’s the plan—to FRAME the table top to cover up those pesky ridges on the ends of the table top.
I used some scrap 1x’s and mitered the corners.
 Apparently the table top was not exactly square, but I can fix this problem.
 I didn’t like the color of the flooring so I started sanding it to remove the finish. Because I wanted this to be a quick and easy project, I decided NOT to remove the entire finish in order to stain the table top.
 I used wood putty in the crack of the mitered corner, then sanded it really well to make it look like a perfect mitered corner. This is a dry fit.
 This is where it goes ALL wrong! I mixed up some diy chalky paint primer, BUT instead of spraying it with my beloved Homeright Finish Max, I decided to use a cheap chip brush—which really wasn’t the problem. The problem was with my impatience in the heat and humidity to put on the paint too thick. I had been working a couple of hours each morning from 8-10 am to beat the heat and didn’t want to drag out the tarp and/or sawhorses. Big mistake.
 I did however take the time to make some small paint pyramids with the corners I cut off of the frame for the flooring.
After painting two coats of the chalky paint primer, I then did two coats of Beluga in semi-gloss.
Okay, so it gets worse! If y’all think I don’t make mistakes, I’m here to tell ya I do!
To attach the tabletop to the base, I used my Kreg Jig to drill pocket holes on the skirt of the table.

Oops! Do you see the problem? ugh! Again, heat and humidity was my foe! I don’t work well when it’s hot. In my haste, I placed the jig in the wrong position and ended up drilling the pocket hole on the OUTSIDE of the skirt! ohhh gee!

Okay, let’s try this again! I drilled several holes all around the INSIDE of the table skirt.
 After drilling the holes and placing the tabletop upside down, I secure the skirt to it with more pocket hole screws.
 Here it is, in all it’s glory. The story could end here (especially on the blog post) because y’all would never really know—but truth in blogging here on MRL.
 I could have even strategically taken pics without you even knowing about this colossal boo boo.
If you look close you can see the brush strokes from the thick paint. I actually ended up taking the coffee table/bench into the house so the paint could cure some.
Plan B
 After leaving it in the house for a week or so it was time for plan B. I sanded the top back with my orbital sander. I felt like the legs and skirt looked okay.
 While I was working on some chair projects using my Finish Max and some Beluga SATIN paint, I rested the table on my DIY easy sawhorses. TIP when spraying the tops of furniture with my Finish Max, I try to keep the piece vertical instead of horizontal.
After a couple of light coats on the top, I ended up doing a light coat on the skirt and legs because I felt they were too glossy to go with the new satin look of the table top.
 I think it looks so much better with less sheen.
 This is the before and after of the two paint sheens. It’s so difficult to photograph black furniture. The sheen of the legs is pretty true to real life. The sheen on the top looks incredibly flat in pictures, but it really isn’t as flat as it looks.
Have you figured out the best part about this coffee table? It will definitely double as extra seating when you use it as a bench! It’s that sturdy.
 This is a heavy duty table, and I’m so pleased with how it turned out. I have taken it to my booth at Vendors’ Village in Louisville KY. (This project sold the day after I put it in the booth)
You can see the succulent planter in my post Succulent Planters-Rotted Tree Trunk Pieces.

I’ve been trying to tidy up the garage, and jokingly call this the summer of THE CHAIR. Can you tell I love making projects out of chairs?
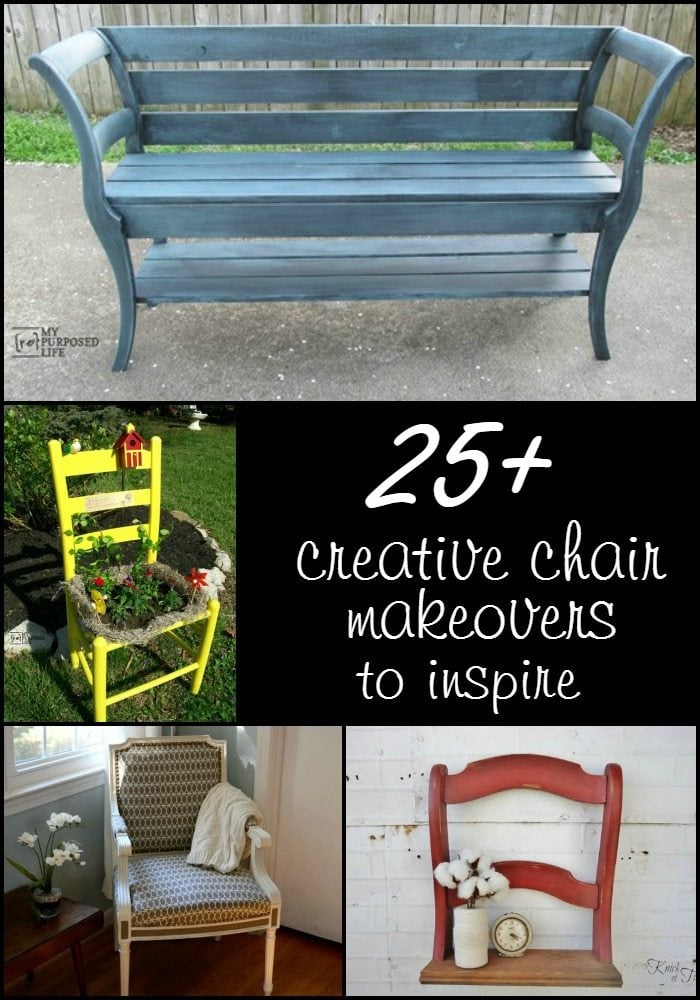
Be inspired by these other project ideas from old chairs from me and some of my best DIY friends.
go out and save and old chair!
gail
Related Content:
How I used one of the chair backs for a jewelry organizer here
See one of my first, and an all-time favorite chair projects here
Lisa,
Thanks for stopping by and asking a great question. This is the way I do 99% of all of my projects. I make a paste of the plaster of paris and water, add that to the very same paint I plan to use to finish off my project. I use that for the primer, then use the paint just as it comes out of the can for a topcoat.
It’s the lazy way of quickly finishing a project with very little prep. (generally) Think about red paint for a project. Use the RED paint (with plaster of paris) for primer, then the RED paint for the topcoat. voila! done in record time–unless you screw it up like I did with this project. 🙂
Oh, how I love that Kreg Jig-when I use my brain. Happy to know I’m not the only one.
You can see the recipe I use for my primer here: https://www.myrepurposedlife.com/diy-chalky-paint-recipe-makes-a-great-primer/
Have fun with your projects!
gail