Mason Jar Luminaries
As an Amazon Associate, I earn from qualifying purchases.
Do you ever have craft nights with the girls? It doesn’t happen much around here, but I recently got together with some friends to make mason jar luminaries. My friend Regina actually bought all the supplies to make this easy mason jar project as Christmas presents, but as life would have it, things got too busy!
So, I gathered some stuff and met up with the girls for a craft night!
*this post contains affiliate links, read more here*
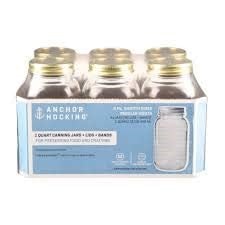
It all started with these Anchor Hocking Mason Jars. They’re the same jars I used for my Mason Jar Tissue Holders. We like using these jars because they are totally plain—without any branding.
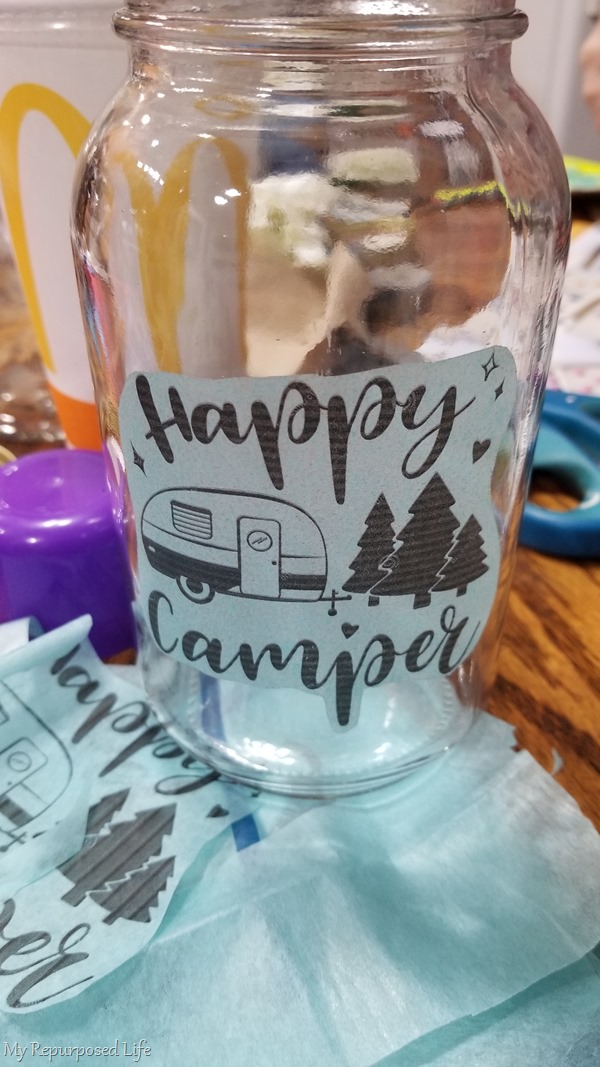
I posted this image on facebook announcing our craft night. At this point, I had no idea if this craft was going to come together. My friend Regina had made a couple of mason jar luminaries already, but she didn’t use tissue paper.
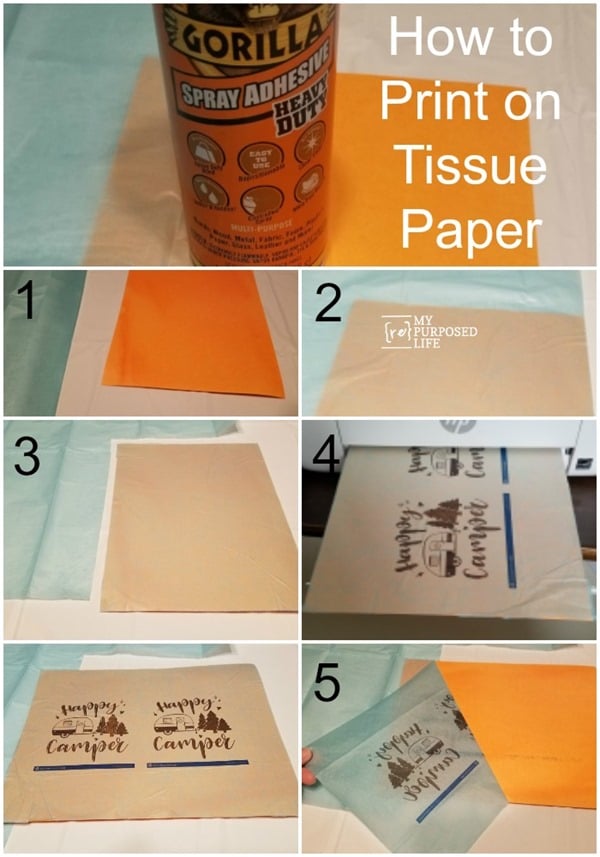
How to Print on Tissue Paper
- Use spray adhesive on card stock. Allow adhesive to dry slightly, this keeps the bond from being permanent.
- Lay tissue paper onto card stock, smoothing and removing wrinkles.
- Trim tissue paper to fit the size of your card stock paper.
- Print as you normally would.
- Carefully remove the tissue paper from the card stock.
Save & Share this Tissue Paper Printing Tip on Pinterest!
Sizing Your Image
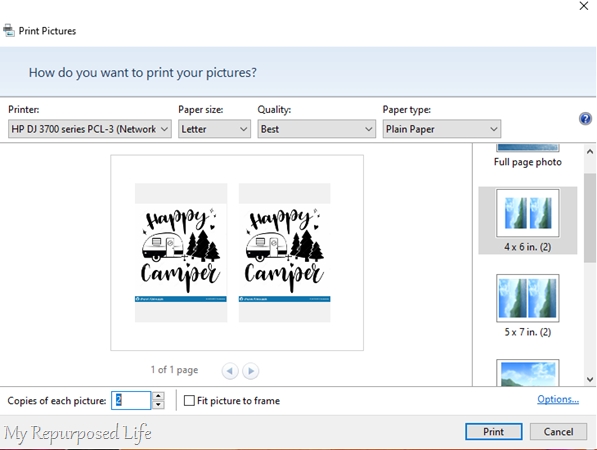
- On your PC, open the folder with the image you want to print.
- Right click on your image, and choose PRINT.
- When the above menu pops up, choose your printer and size of your image.
- After experimenting, I found 4×6 worked great—you could also try 3×5
Apply image to Mason Jar
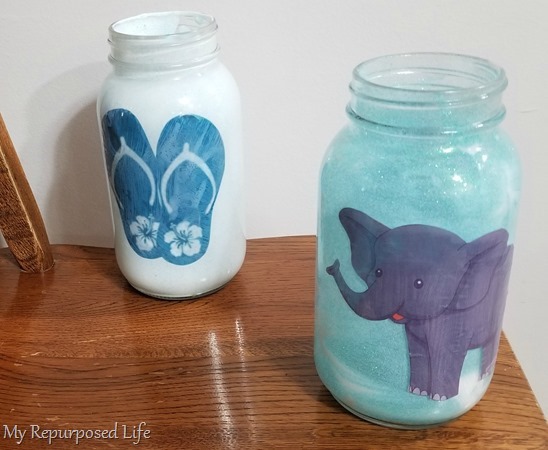
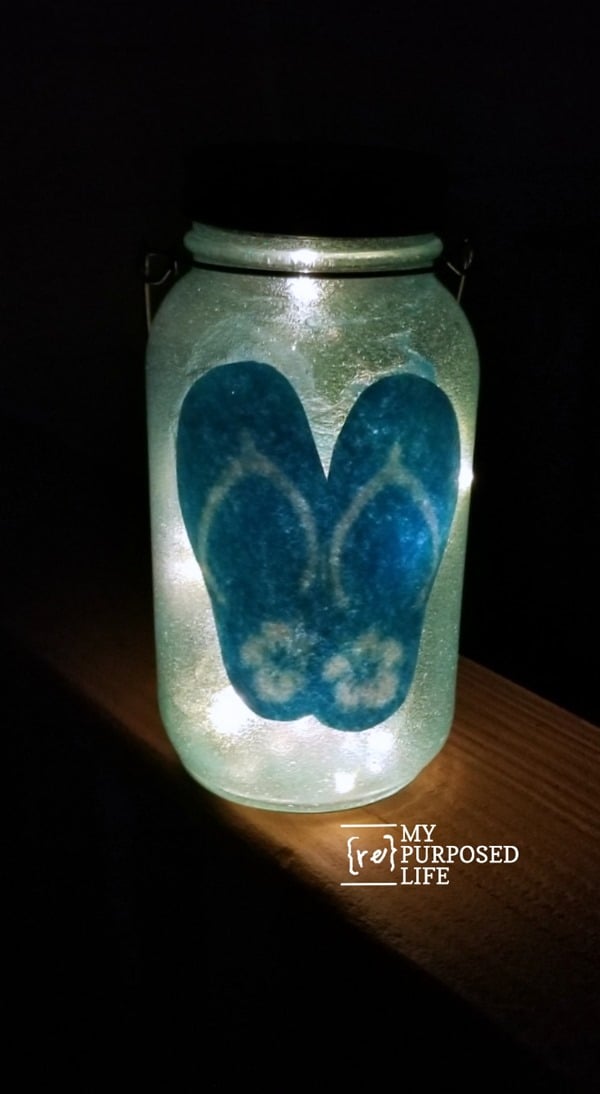
First, let’s talk about what everyone else did. We each did something different with our mason jar luminaries. The copy paper image of flip flops was placed inside the mason jar with mod podge. After the images were in place, Leann added glitter to the Mod Podge and poured it in the jar and rolled it around. This method takes a long time to dry (on the inside).
Thea’s copy paper elephant was attached using spray adhesive, then she painted mod podge on the inside of the jar and sprinkled the fine glitter in the jar. This method of adding glitter dried very quickly.
When the jar was coated with spray sealer, the copy paper elephant peeled away a little. So, Mod Podge was used under the paper and over it. It will be sprayed with sealer at a later date to make sure it is weather resistant.
Update: Leann sent me pictures of her luminary after it dried completely and she added the lights!
Can I use Stickers?
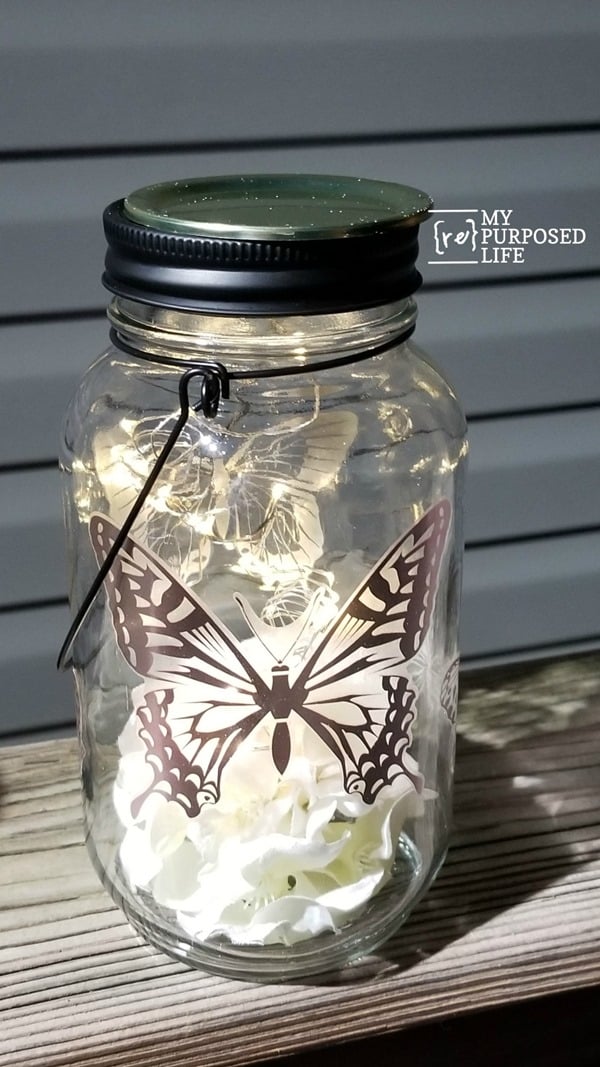
My friend Bert used butterfly stickers on the outside of her mason jar luminary. She also used a silk flower inside for dimension. Bert plans to rest this one on her window sill, as it isn’t weatherproof.
Note: the mason jar lid is resting on top in order to make the twinkly solar lights come on.
Apply Tissue Paper Image to Mason Jar with Spray Adhesive
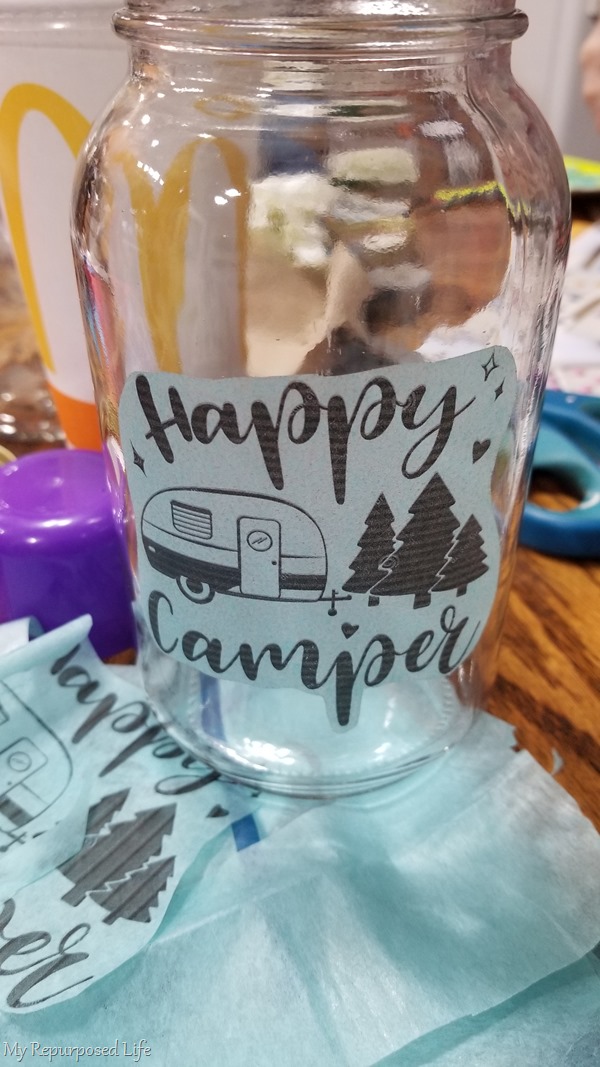
After I decided which size would work best for me, I trimmed away the excess tissue paper with scissors. Then, going outside, I placed the tissue paper image upside down on a piece of cardstock and sprayed it lightly with the adhesive spray. Finally, I carefully placed the image onto the mason jar.
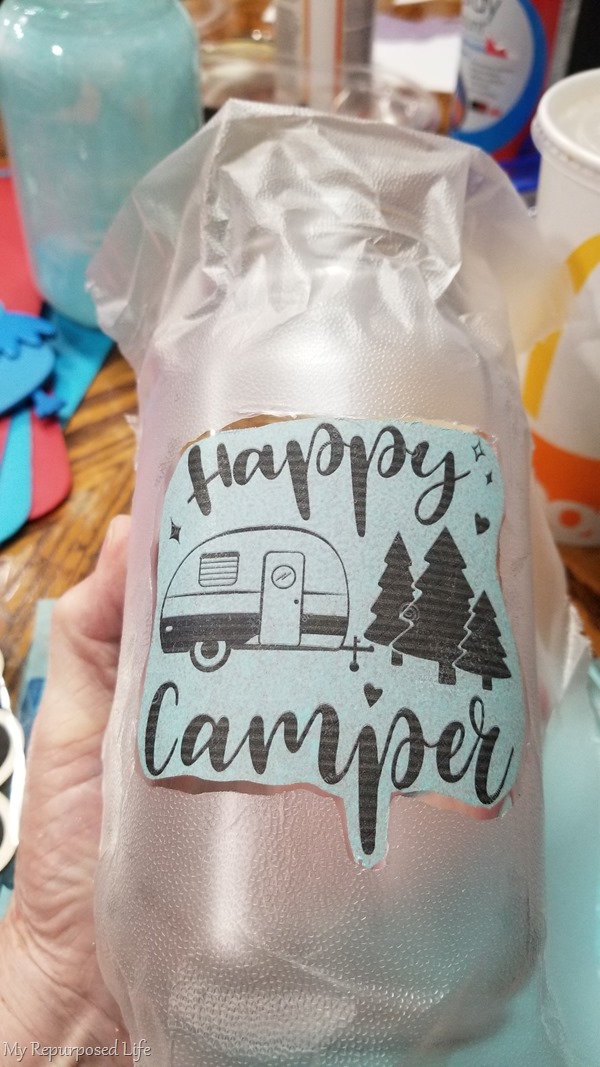
Because I didn’t think I wanted the spray sealer over the entire jar, I added press-n-seal over the image. Then I trimmed away the middle to reveal the tissue paper image.
Spray Clear Coat
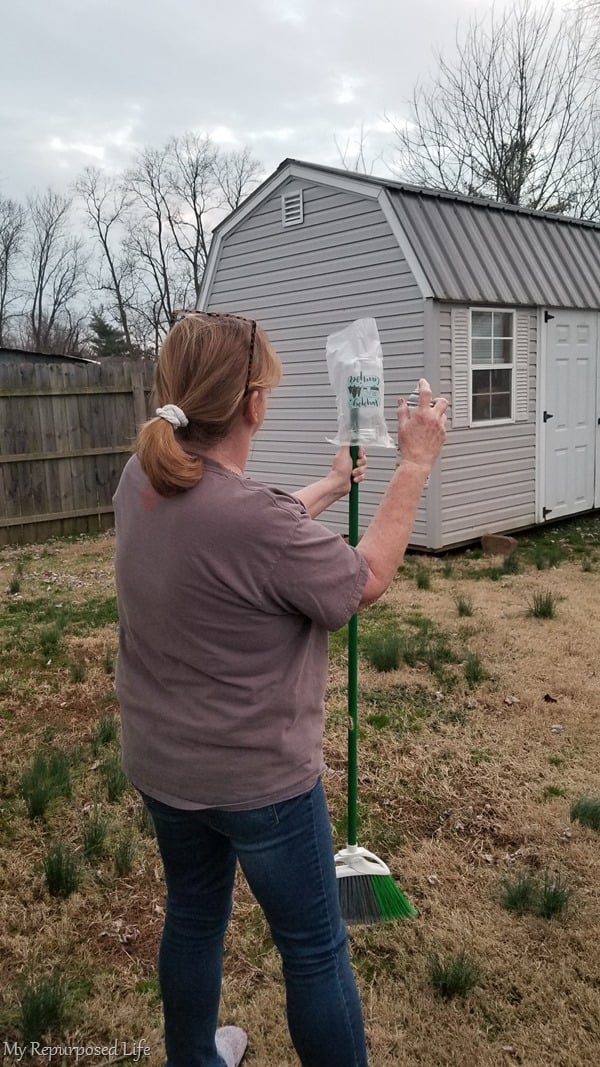
Putting the jar upside down on a broom handle, I sprayed the clear coat sealer.
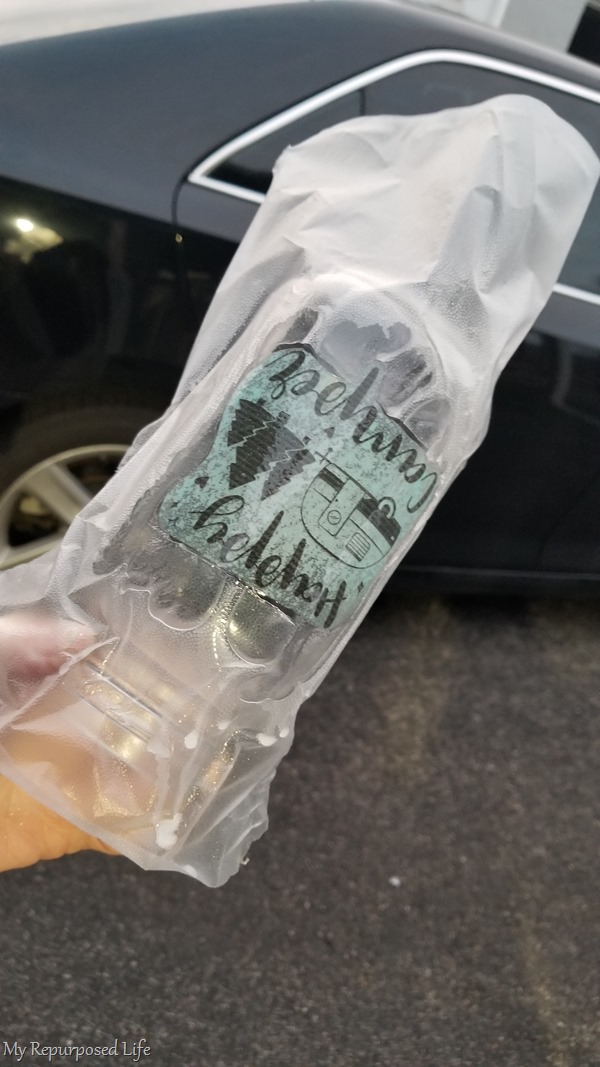 Yeah, that didn’t work so well. I sprayed the sealer too heavy and it got under the press-n-seal. No fear! Before it dried, I wiped off the excess with a baby wipe.
Embellish With Glitter
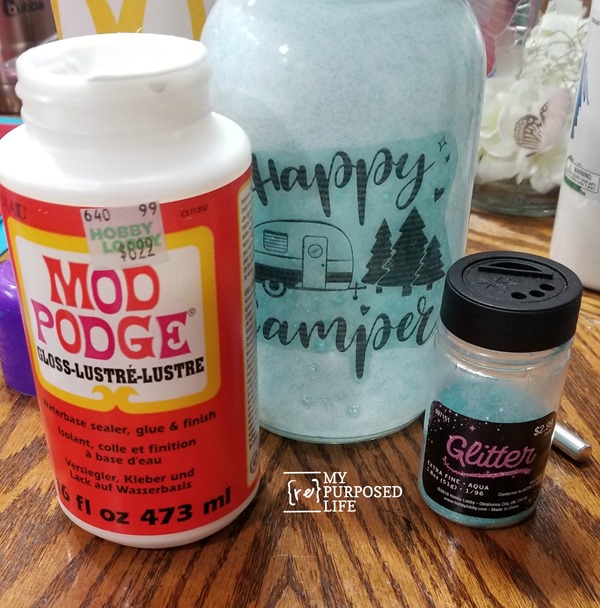 I added extra fine glitter the same way Leann did. The glitter was added to the Mod Podge and poured into the jar. It took hours and hours to dry, but I think it was worth it in the end.
Did you know they make indoor/outdoor Mod Podge? That may eliminate the extra step of the clear coat sealer. By the way, I did end up putting two more light coats of the spray sealer all over the outside of my mason jar luminary.
Add Twinkle Lights to Mason Jar Luminary
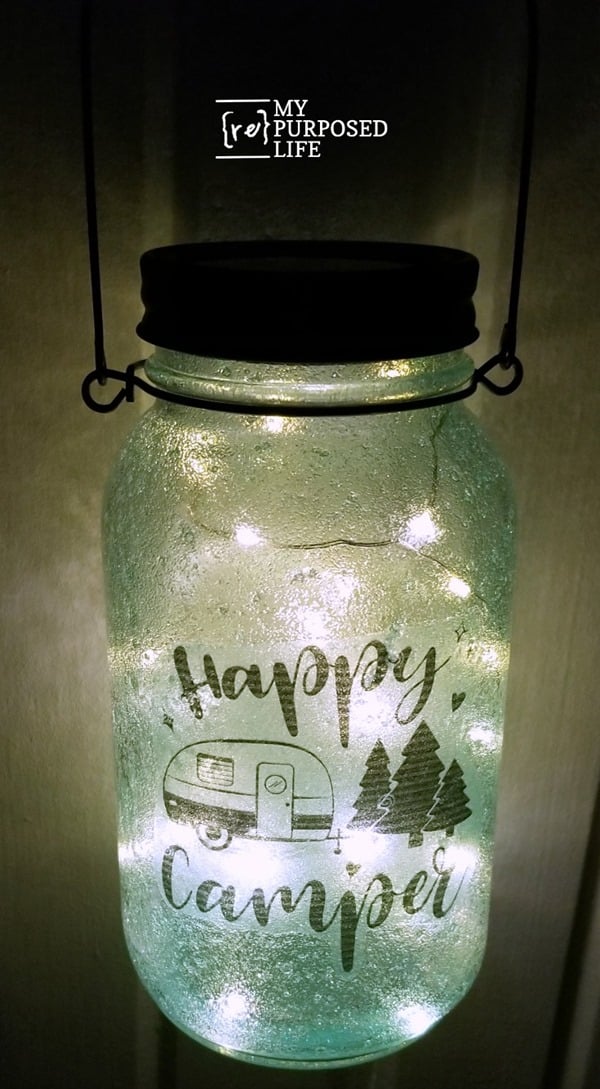
The tissue paper gives a totally different look than the copy paper. That’s what I was going for. Solar twinkly lights make me smile! I can’t wait to use this Happy Camper Mason Jar Luminary at every campsite this year! For now, it’s sitting in my kitchen window.
So, the lights include a solar lid, lights and a handle for the jar! Just add the jar and the embellishments! Get the Solar Mason Jar Lid Lights here.
To recap:
- Tissue paper adheres better than copy paper on the outside.
- If you place your image on the outside, you must seal it.
- Placing copy paper on the inside works, but can be a little challenging.
- Trying to place tissue paper on the inside would be the most difficult choice.
What would you use to decorate YOUR mason jar luminary?
gail
See more Repurposed Glass Ideas Here


Where can one find the solar twinkle lights? Love this pproject!
The link is shared above in the post.
https://amzn.to/2v3dmF8
Have fun!
really neat idea. i would want to put dragonflies or daisies on one.
Where did you get the picture for the Happy Camper one? I love it! We have a group of friends that have campers at the same campground. I would love to make each of them one of these with the happy camper on it.
Thanks for all your wonderful ideas!!!
Hi there! That’s so sweet that you want to make these for your friends. I searched Google for free HAPPY CAMPER clipart and found it there.
Good luck with your project, I know they will be a big hit!
gail
It’s so cute. I can see that going with you while you And Lulu Mae camp this summer
Absolutely! I can’t wait to hang it outside in my campsite “yard”. 🙂
Have a great weekend Jennie!
gail