Jewelry Cabinet Armoire made from a Dresser Mirror
As an Amazon Associate, I earn from qualifying purchases.

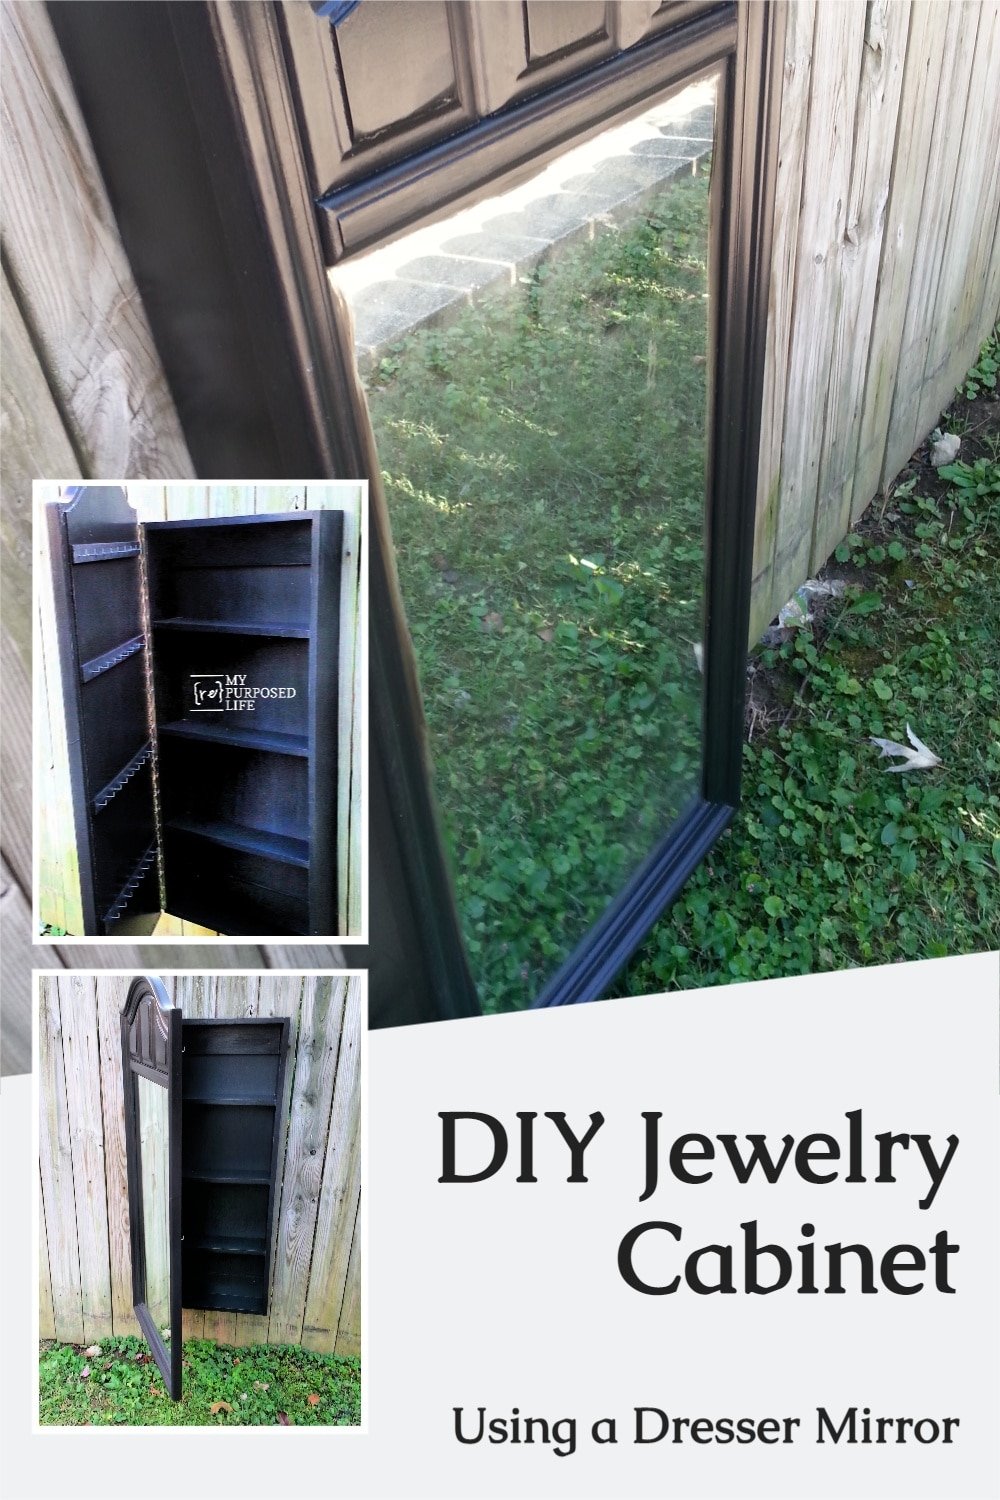
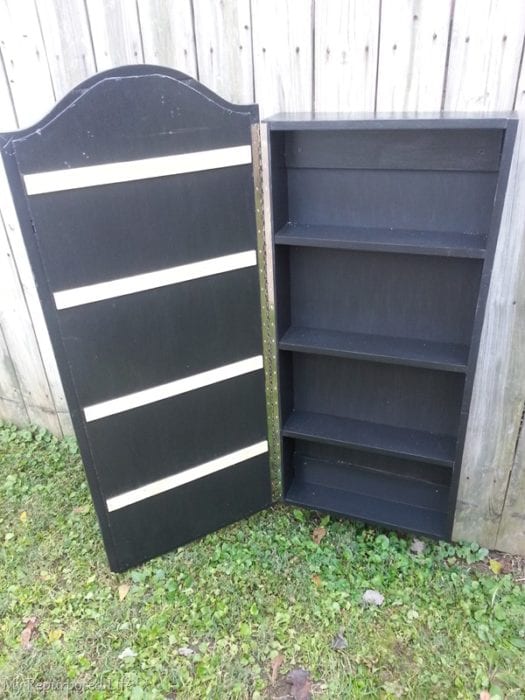
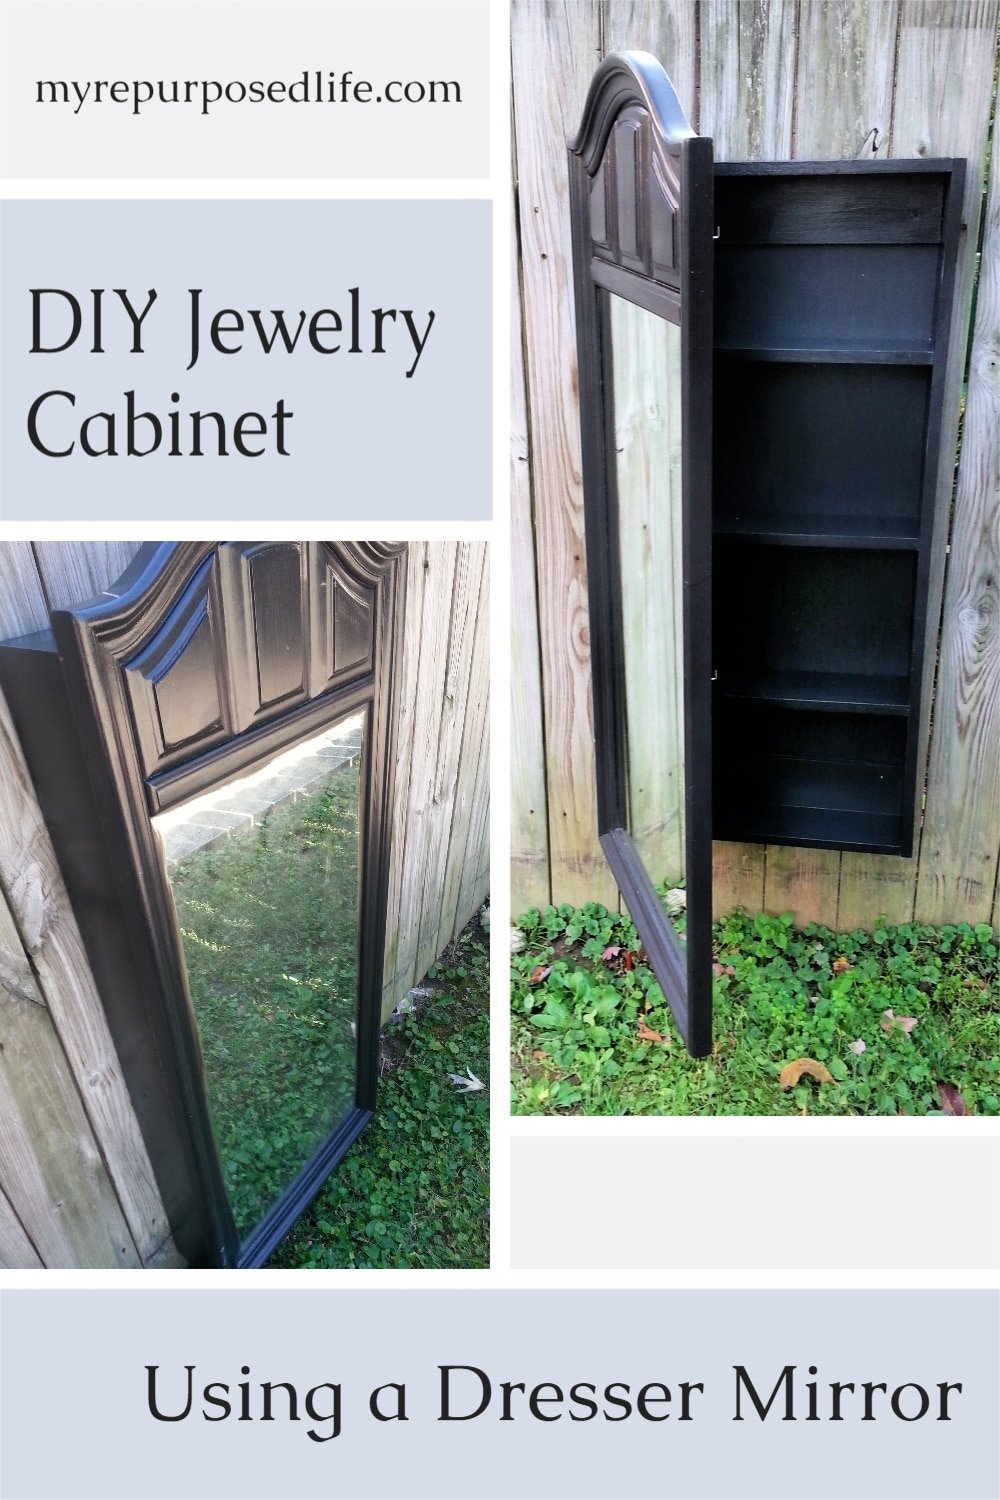
I’ll show you how to make a jewelry cabinet from a thrift store mirror by creating a simple box construction to attach to the mirror.
Making a Jewelry Cabinet Using a Dresser Mirror as a Door
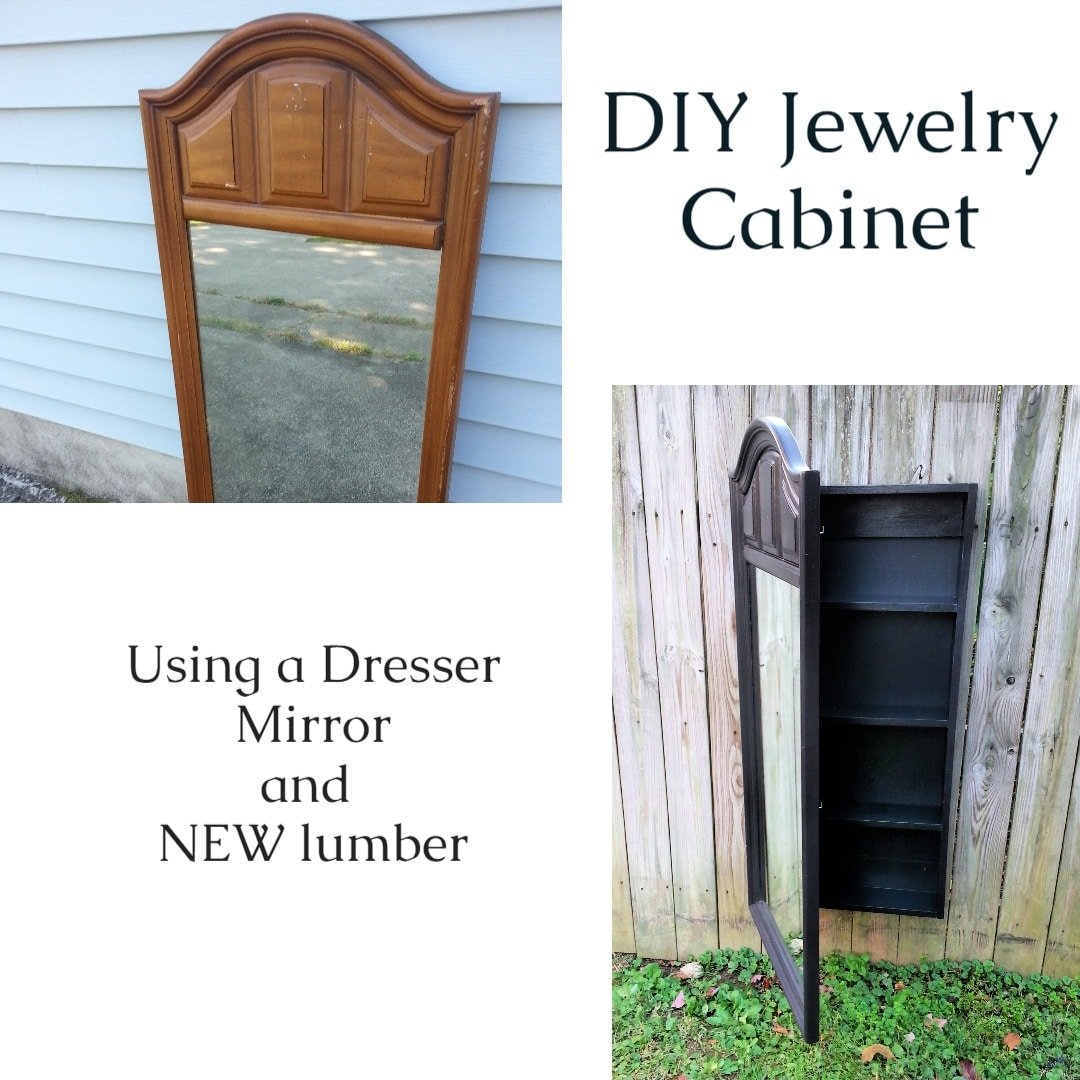
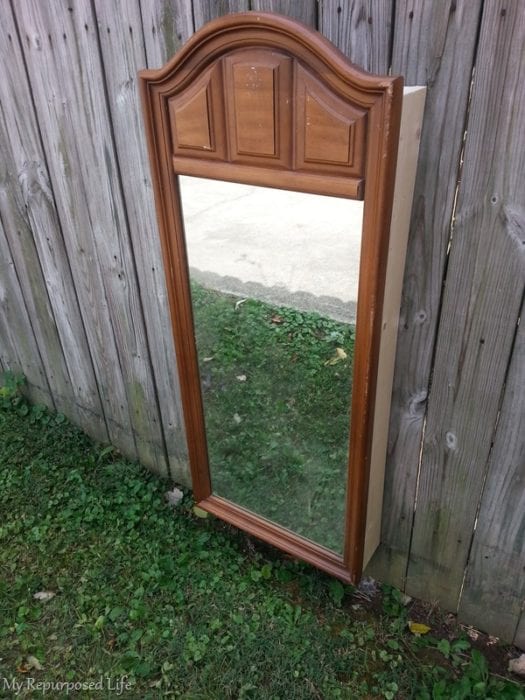
I love to pick up old dresser mirrors at thrift stores for 5-7 bucks. There are so many options. I’ve made them into chalkboards; sometimes, I update their look with some fresh paint. Many of these mirrors are plastic faux wood. This one happens to be real wood. They are all VERY heavy when you leave the mirrors intact.
This project was supposed to be a quick and easy makeover. It took much more time and effort than I ever imagined it would. BUT! Don’t be intimidated by that statement. I will tell you how you can make it without using the method I used, taking up so much time. HINT: Learn from my mistakes. That’s why I’m here! 🙂
Years ago, I made my daughter Jamie a jewelry armoire that hangs on the wall. I made it from scratch and bought a mirror for the front. That project inspired me to make this repurposed mirror jewelry armoire.
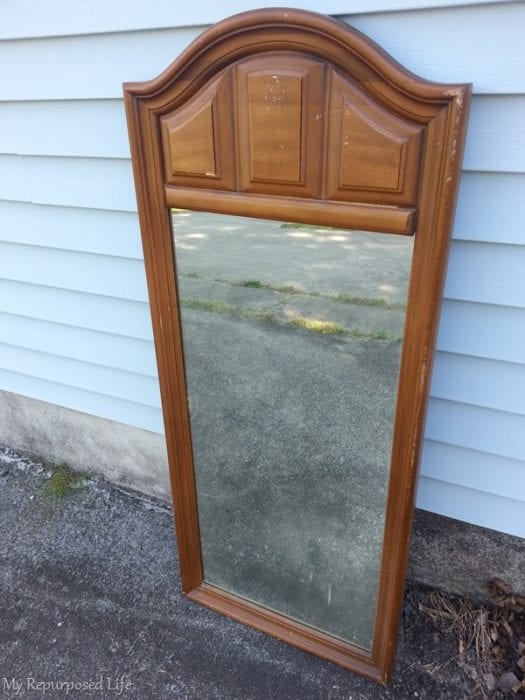
This wooden dresser mirror was around $5 at the Peddler’s Mall. It is very heavy.
How to Construct a Wooden Frame
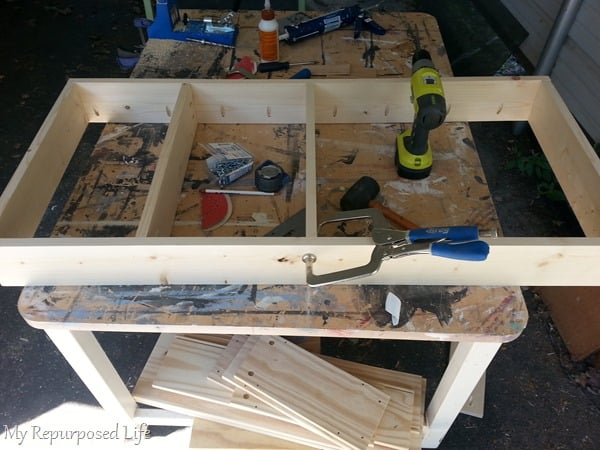
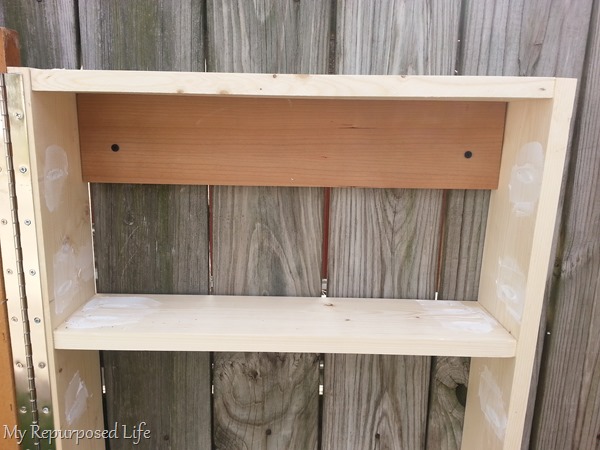
I made a simple box by ripping some 1x6s to about 5″. I cut some shelf boards. This is where I got mixed up and added all those pocket holes, thinking I needed to attach the mirror. Well, I KNEW I was going to hinge it, but for some reason, I drilled all those holes (that I later had to patch)
If you don’t have a Kreg jig, you can use small wood screws to attach your boards from the outside of the box. Simply countersink your screws slightly, then patch the holes. Doing this may make it faster and easier for a beginner.
Need more details on using a Kreg Jig? See my article How to use a Kreg Jig Pocket Hole System
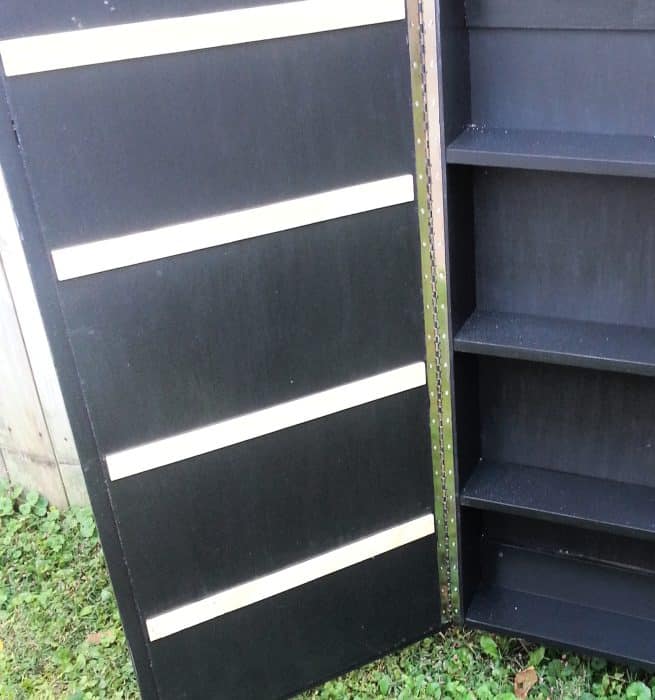
Cut Piano Hinge to Size
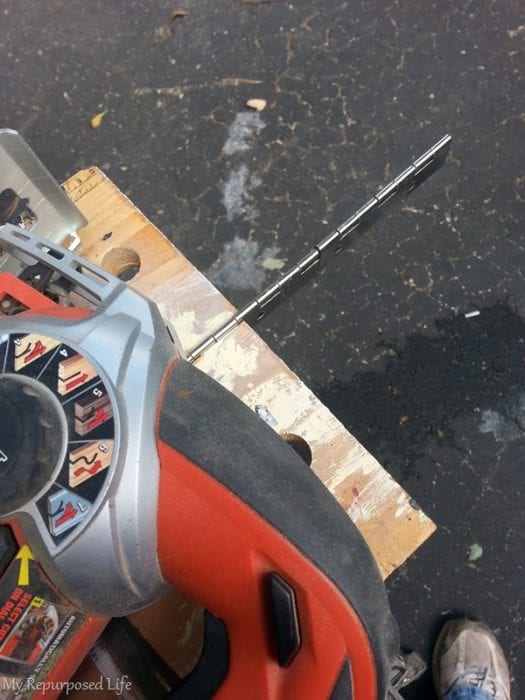
I purchased a piano hinge at Home Depot, but it was too long, so I used my jigsaw with a metal blade to cut the hinge down to the correct size.
At this point, this was still an experimental project. The mirror is so darn heavy I wasn’t sure the piano hinge would support the weight.
Add Supports to Jewelry Armoire for Hanging
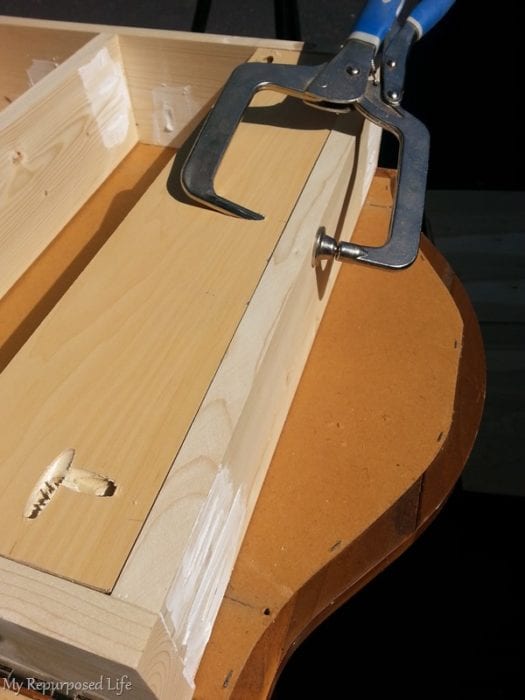
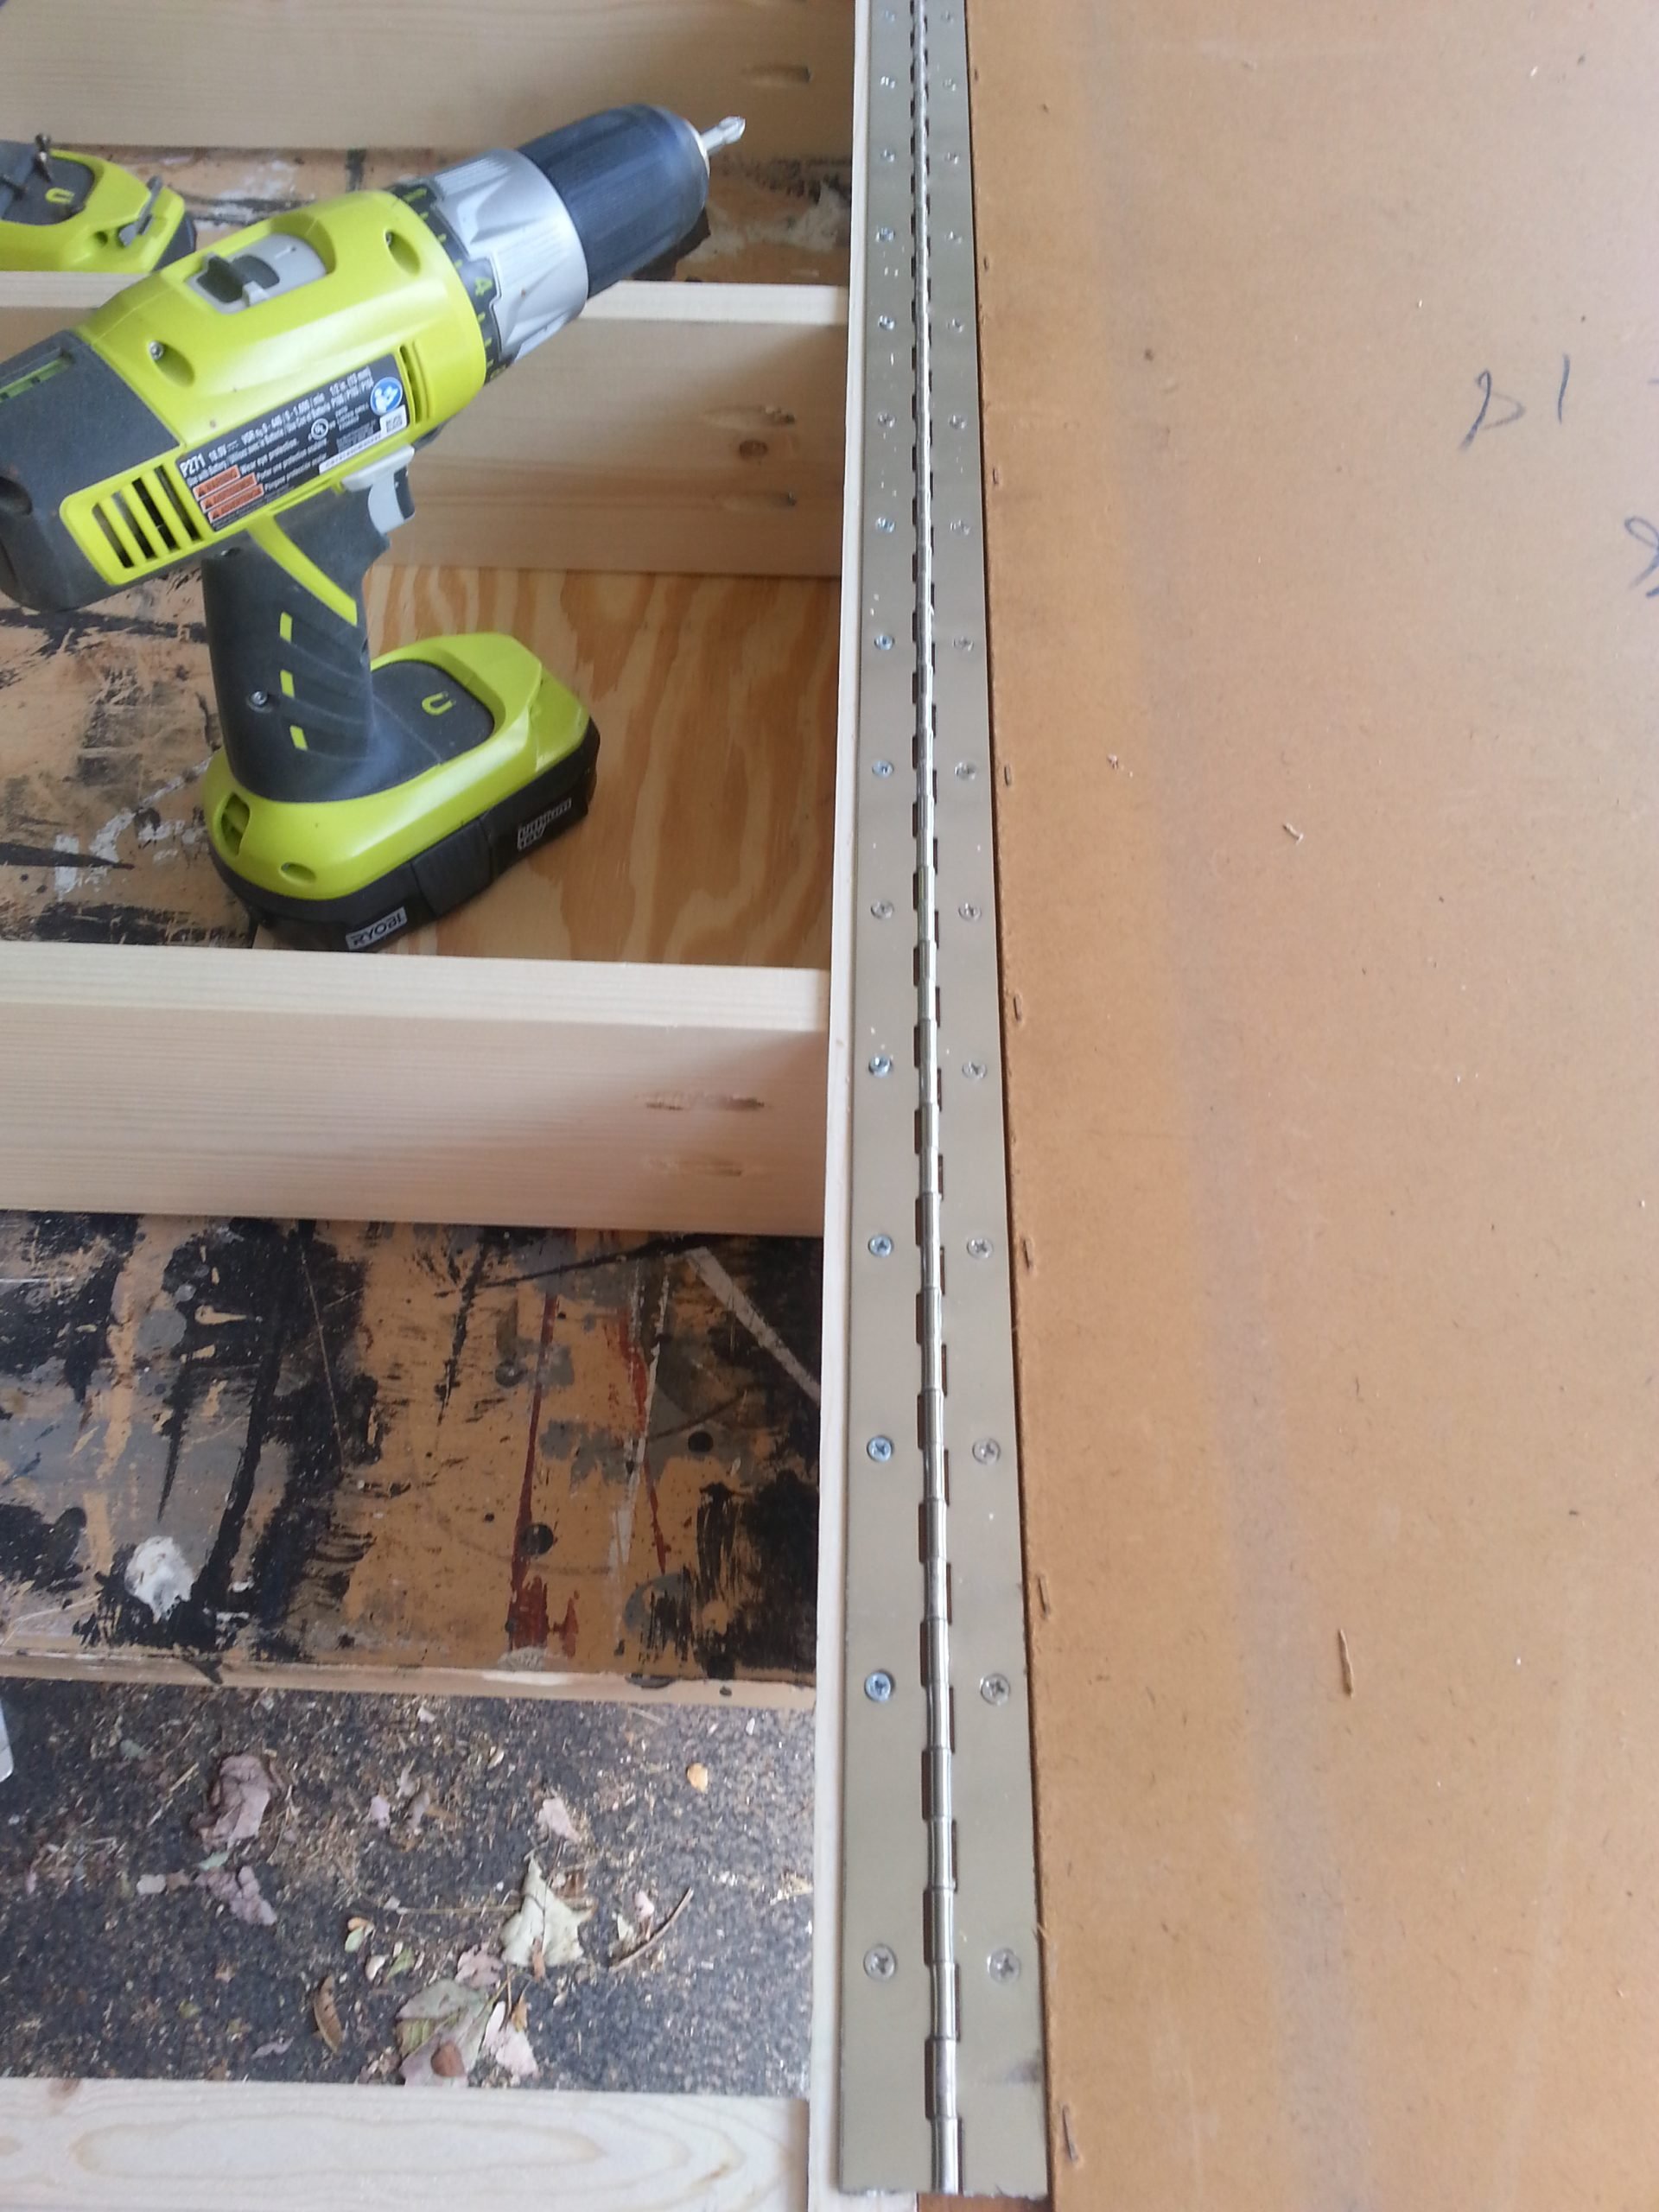
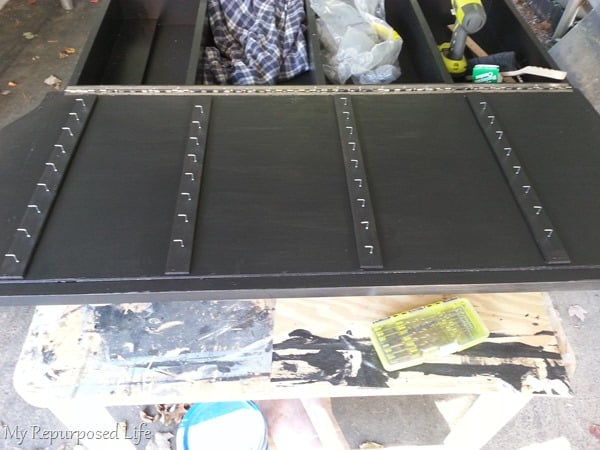
You can see I’ve begun to patch all those pocket holes. I knew this cabinet would have to be secured very well on the wall, so I decided to use mounting rails just like the ones that hold your kitchen cabinets. I attached those mounting rails at the top and bottom of the box with more pocket holes.
If you use your Kreg jig to make pocket holes and don’t have one of those handy Right Angle Clamps, I highly recommend you pick one up.
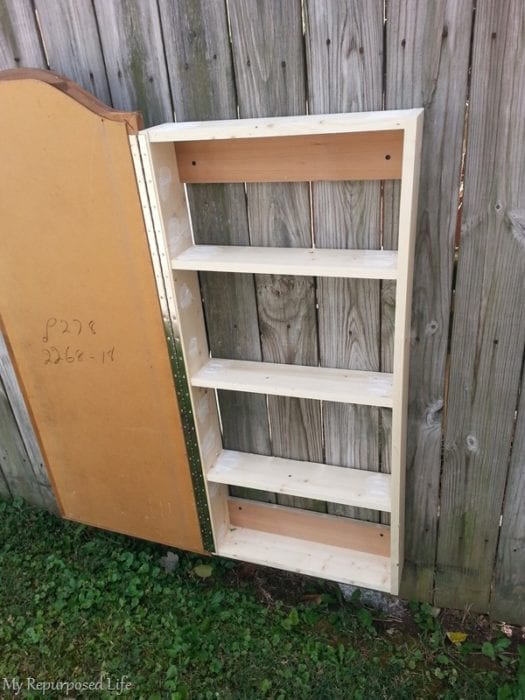
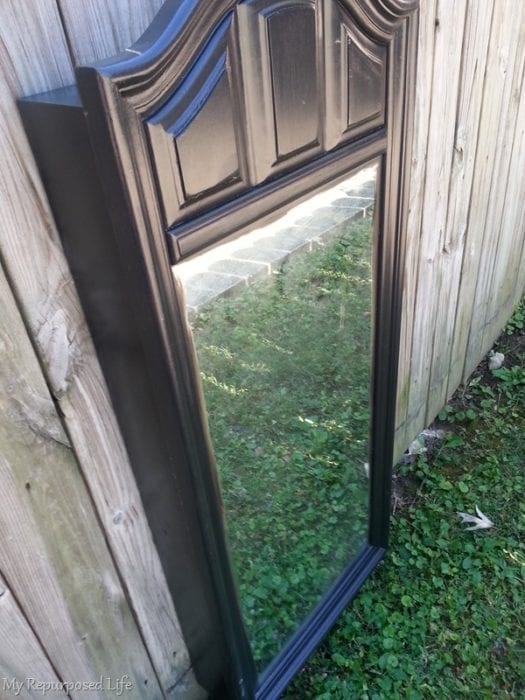
At this point, I mount it to the fence to ensure the hinge will support that massive mirror. The mounting rails at the top and bottom of the box will hold this thing on the wall!
Here’s a close-up so you can see how this jewelry cabinet installs.
Looks good, eh?
Paint Jewelry Cabinet
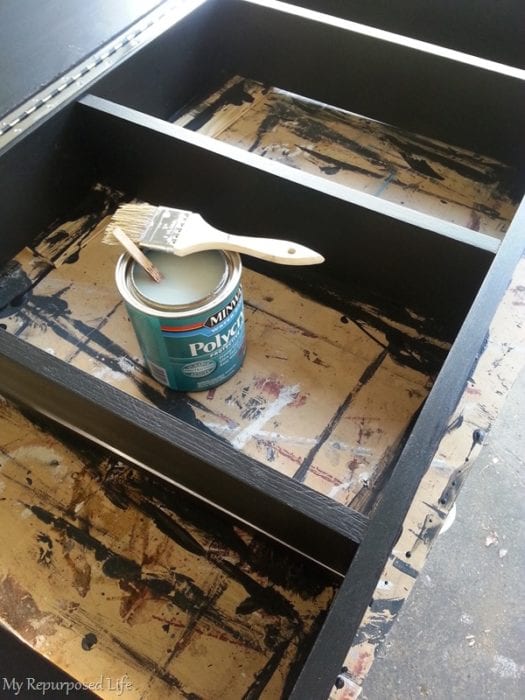
It’s time for some paint. I mixed up some DIY chalk paint, gave it a few light coats, and then sealed it with my favorite Minwax Polycrylic.
I hung the jewelry cabinet back on the fence to do more work on the inside.
Add Hooks to Hanging Jewelry Cabinet
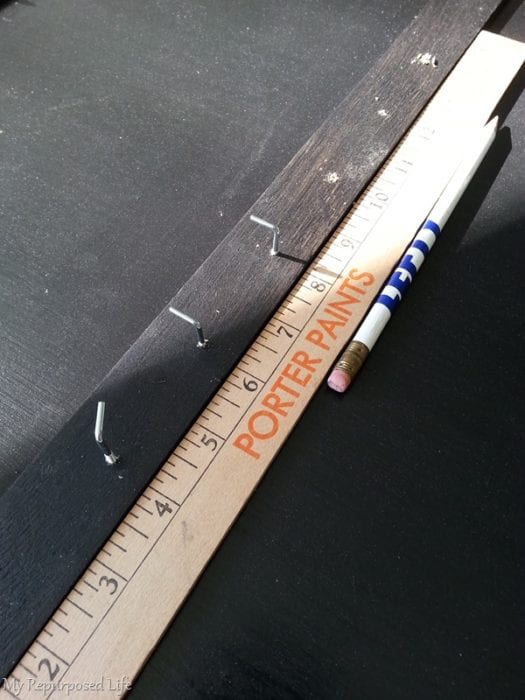
I ripped some small pieces of 2×6 on the table saw to give a little thickness to the door. I had to be very careful to install these into the door, so I didn’t break the mirror. It took a little trial and error to get the perfect size. They needed to be long enough so the Ryobi Airstrike nails/staples would go into the “meat” of the mirror but short enough on the right-hand side to allow the door to close.
Here is a tip for you . . .
You can use lattice wood molding found at The Home Depot for these strips. A strong adhesive such as liquid nails and a few tack nails should hold just fine. This way, you don’t chance breaking the mirror. Another idea would be using vintage yardsticks, easily found at thrift stores.
I purchased these on L hooks (100) on Amazon. If you want to get some, follow the affiliate link. I spaced them 2″ apart on the even numbers on the top row.
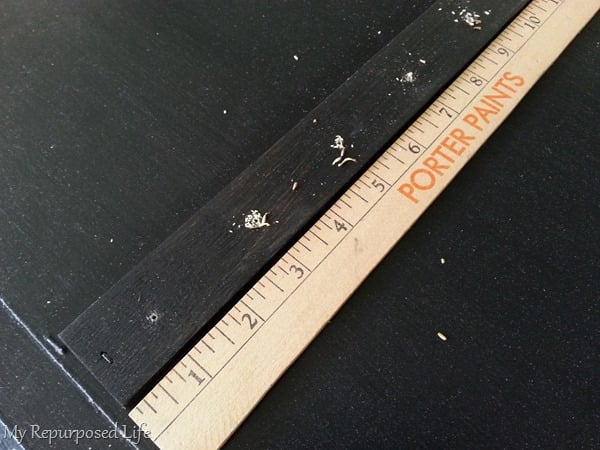
I spaced them 2″ apart on the odd numbers for the next row. Why? I did this so that long chains or necklaces would hang between the hooks below them and not get tangled.
You can see that I pre-drilled small pilot holes, being VERY careful not to go too deep and break the mirror.
Tip: You can drill these holes before you install the thin boards to the back of your dresser mirror.
Look closely, and you can see how I attached those little pieces of wood with a staple on the edge.
I did that on all four hooks, never placing any directly above the ones atop them.
Hack For Screwing in L Hooks
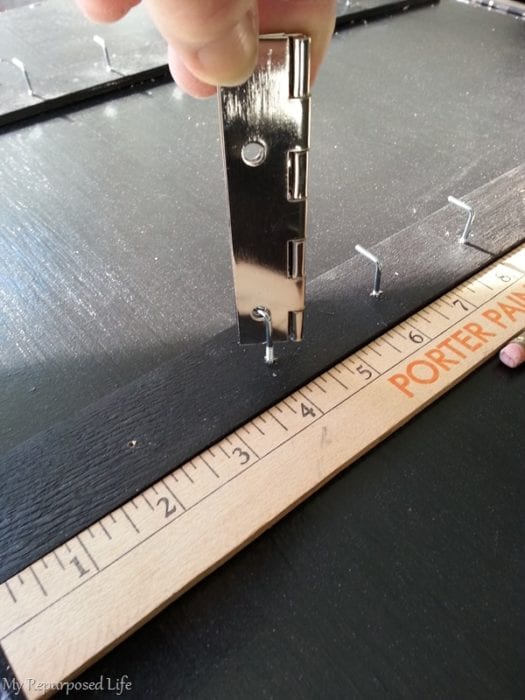
You may think that installing the L hooks would make your fingers sore….I found a hack! I used the small piano hinge that I cut off, and it worked great to turn all those hooks into the wood with no problem. Again, I was careful not to turn them in too deep, so I didn’t break that mirror. I had worked way too hard on this project for that to happen!
The back of the cabinet is a piece of thin plywood that I attached with my nail gun.
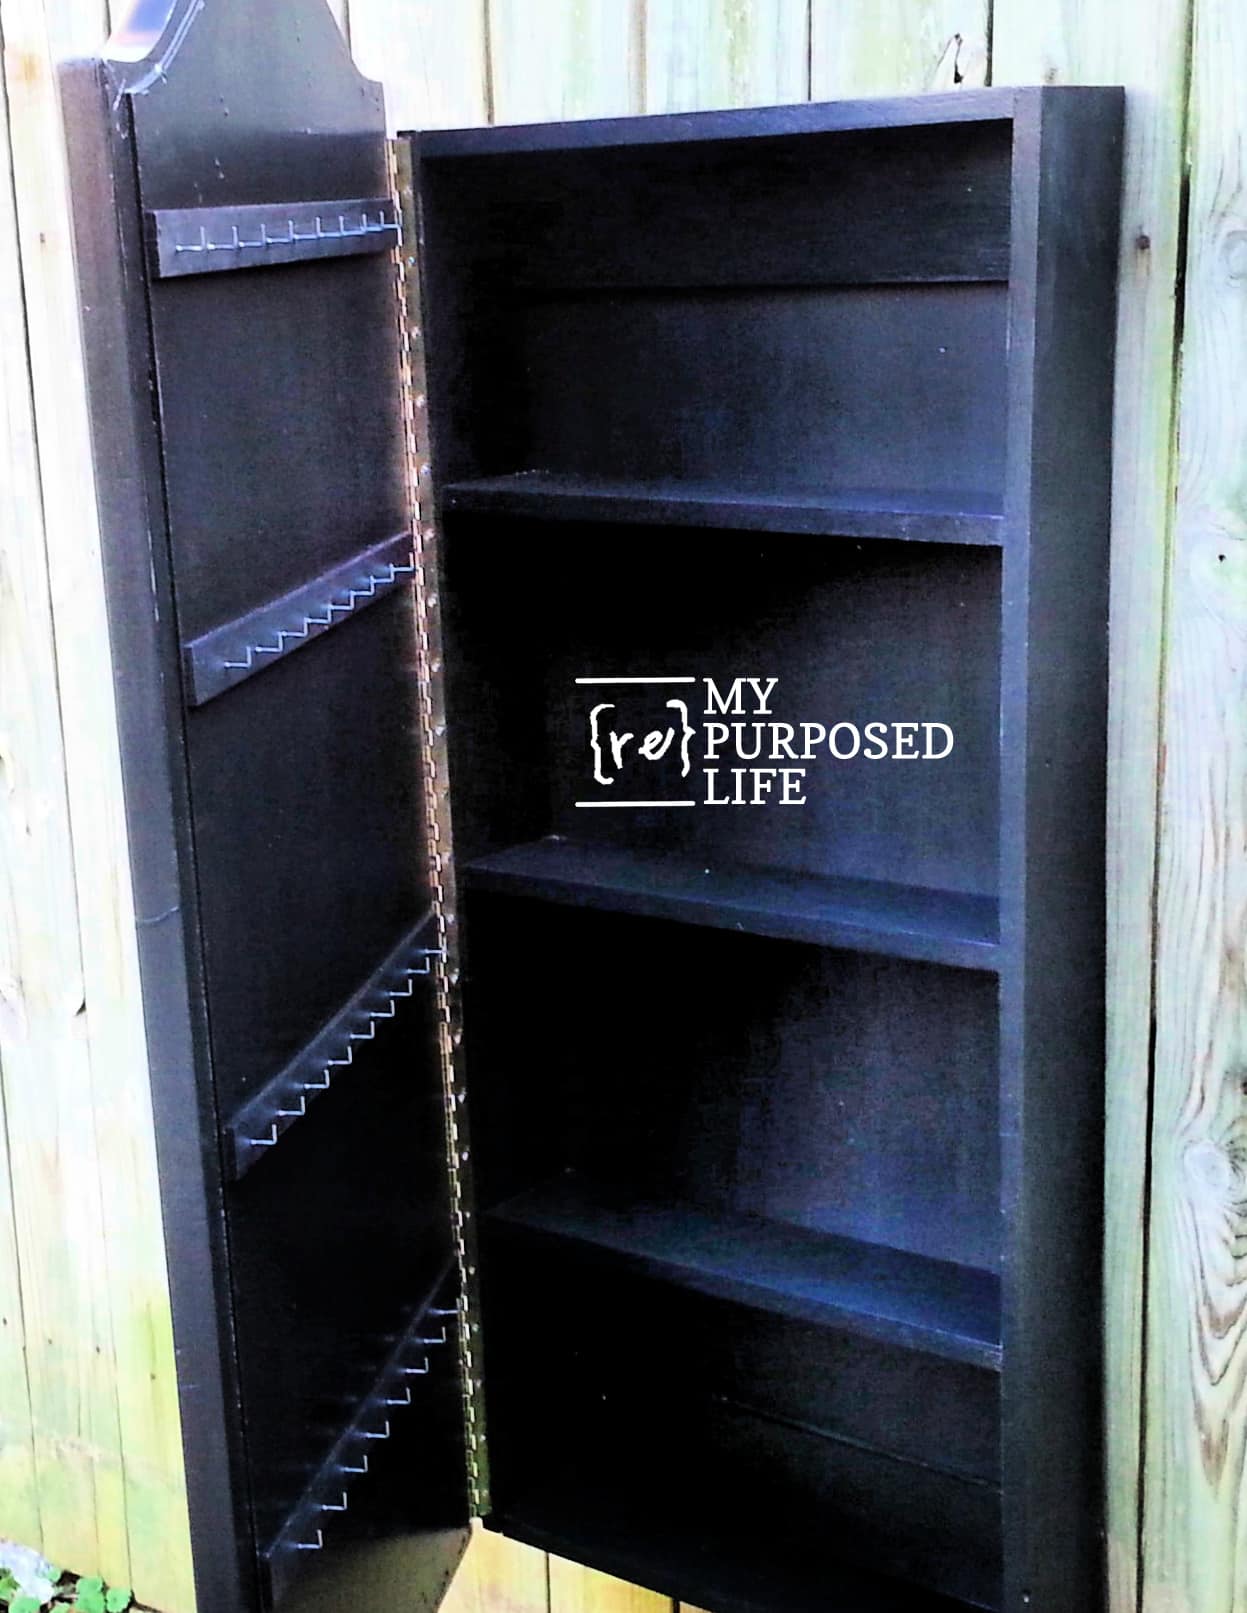
Here she is, hanging on the fence for yet another test drive. My poor fence gets put through the wringer with holes, screws, and nails! But that’s better than testing it in the house on my WALL!
There are plenty of hooks for necklaces and bracelets and such, with lots of shelving to hold earrings and other trinkets.
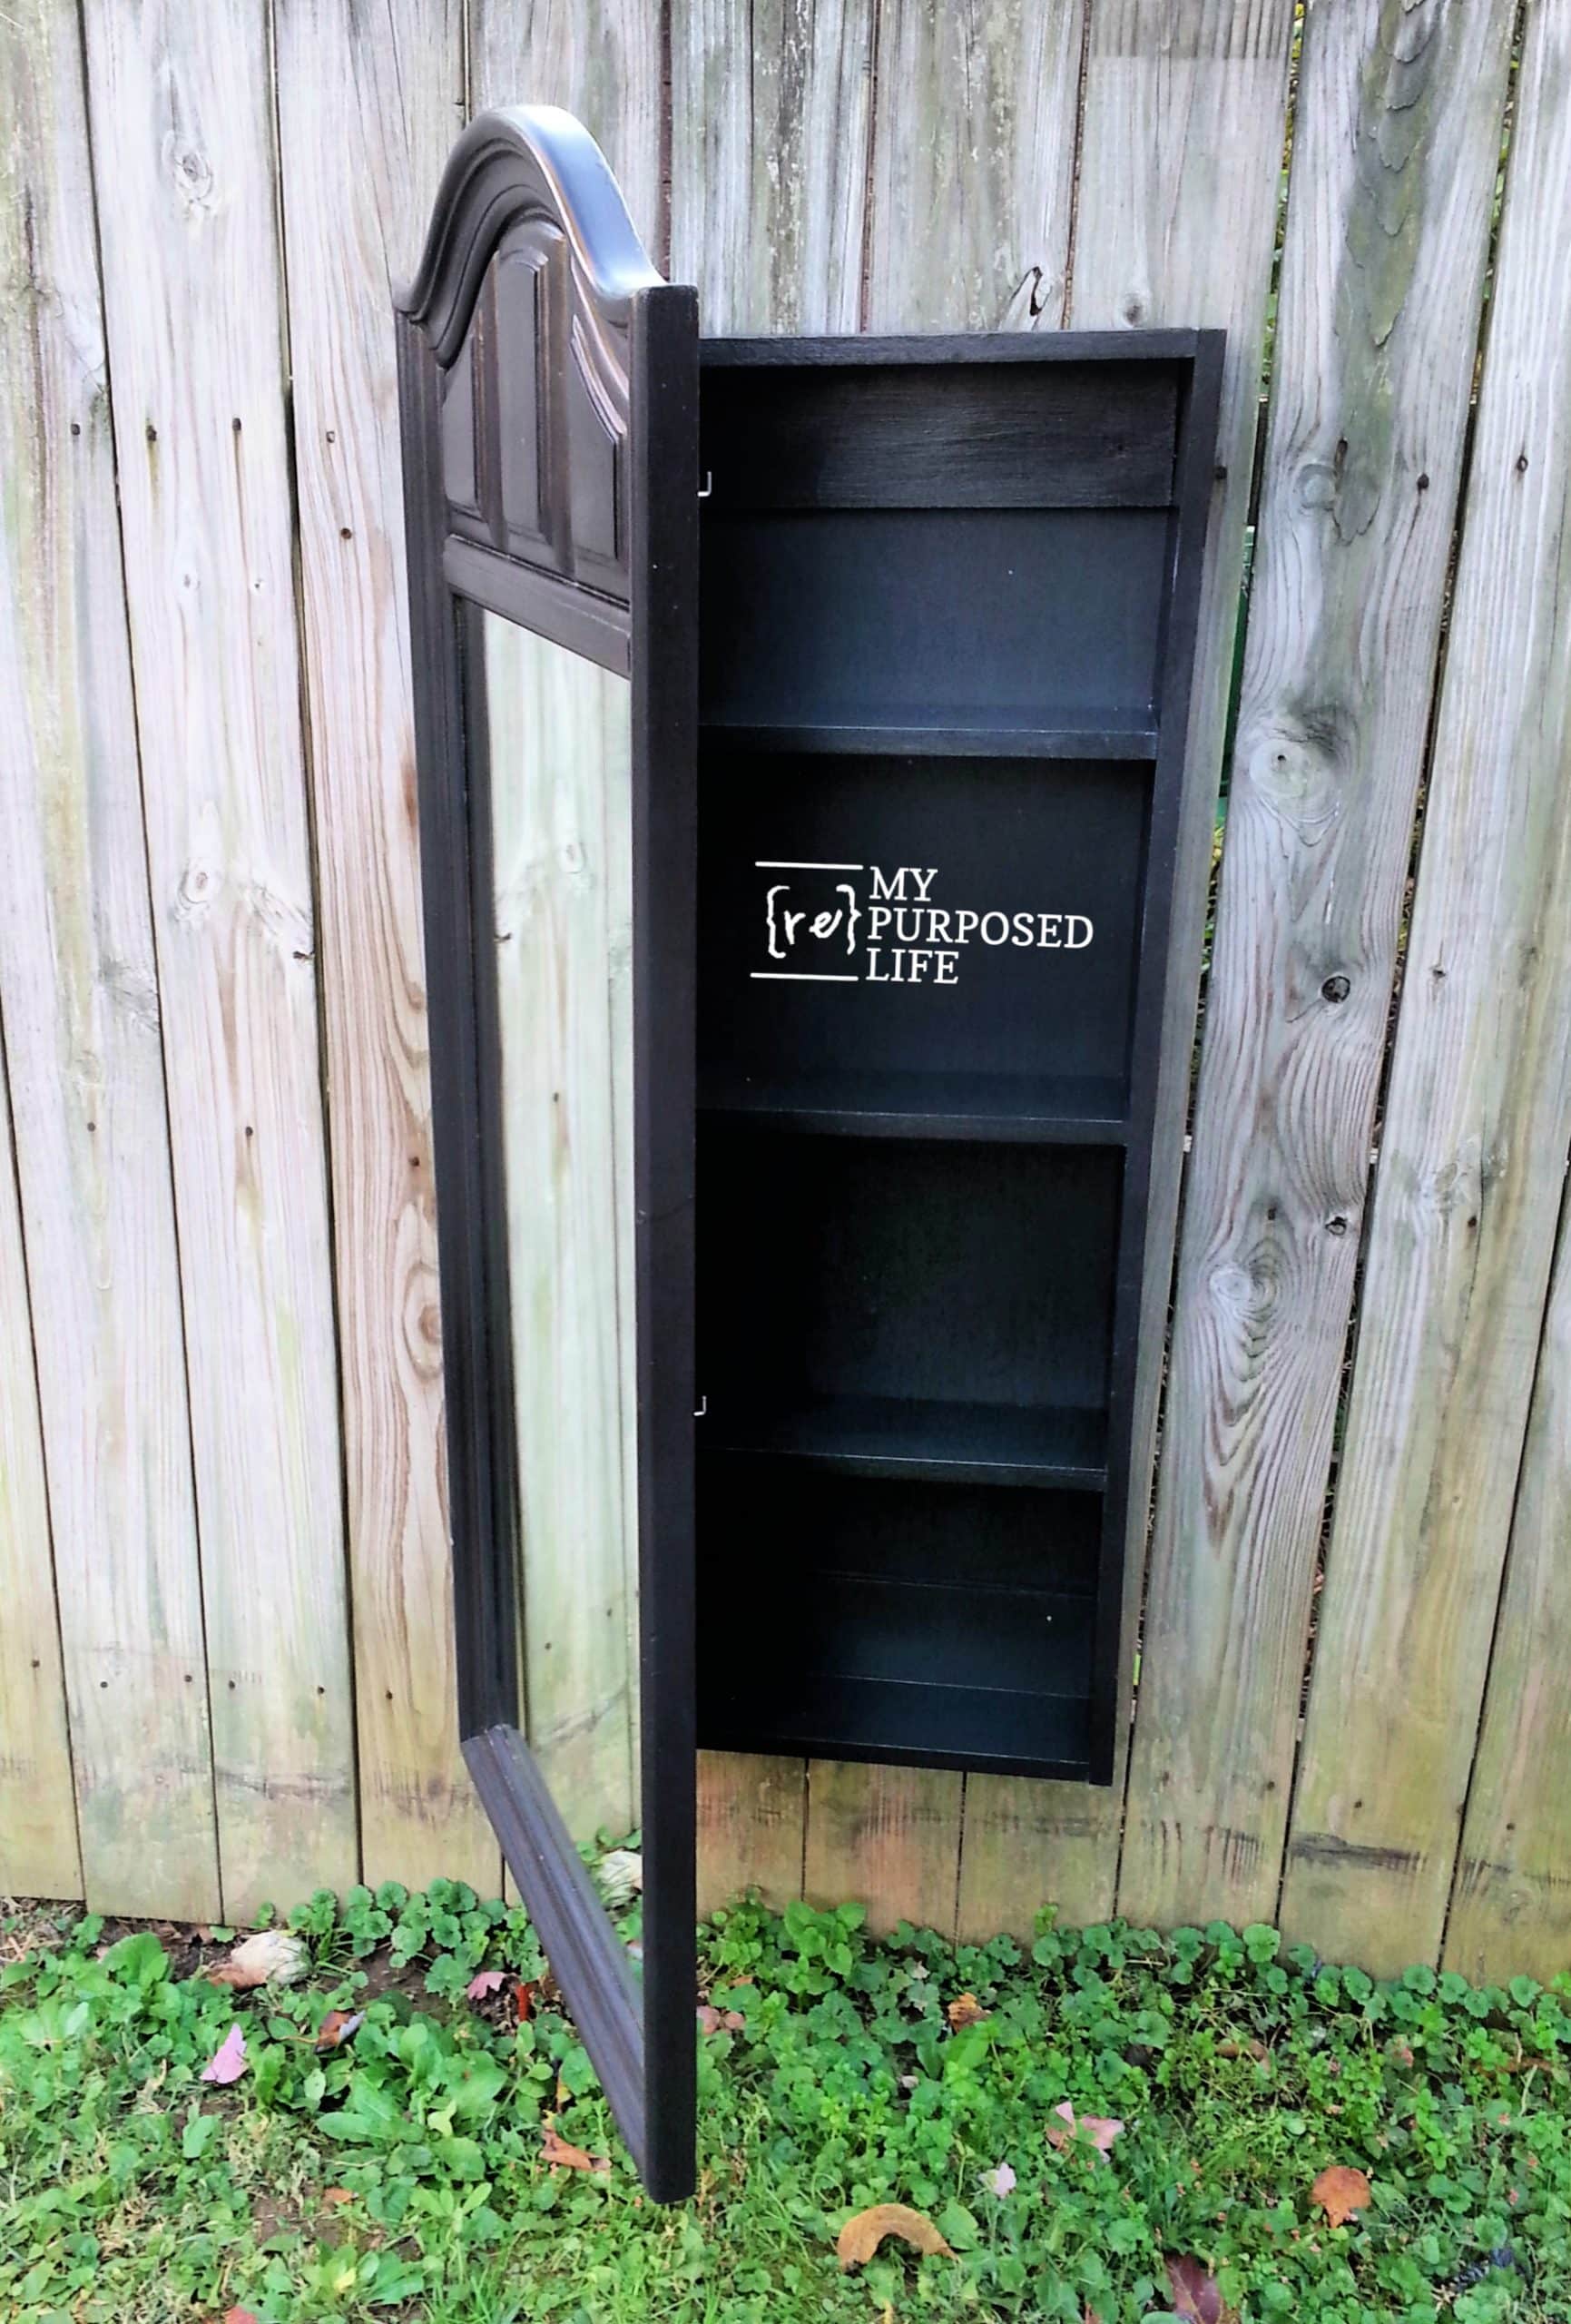
And again, I’ll say no, it’s not meant to hang on a fence. I use the fence for staging purposes to get good lighting for photos.
So, all in all, the cost breakdown is about $40 for everything. The piano hinge was the most expensive component, but I don’t think regular hinges would have supported that heavy mirror.
gail
So I’m trying to follow along here….how many holes do I need to drill for later re-patching?
………I’m joking; sorry, sorry! 😉 Sorry for poking fun, but I’ve made similar mistakes before, so I can relate!
This is a great project. It would be perfect for signed baseballs. Put a little rounded divot to balance the balls, a simpler frame (they’re guys), with the mirror changed to glass. Where to put them is problem with my 6 year old grandson and grandpa. This would be perfect. You have the best ideas. Thanks Gail
Thank you Jennie!
It’s amazing what you can do when you start with a simple box frame!
gail
Love this! Have been looking for something similar and have an old mirror similar to that one. Gail do you think this could be free standing without mounting?
Leslie,
Thanks so much for your comment! Freestanding? I guess you could make a pedestal to hold it? Sort of like a (floor) quilt rack? The legs would of course stick out. Maybe you do something like one of these? https://www.google.com/search?q=freestanding+mirror+armoire&newwindow=1&rlz=1C1ONGR_enUS934US934&sxsrf=ALiCzsYYZvH9mJlONMoj1U8p3nFEjRN5dw:1653593466507&source=lnms&tbm=isch&sa=X&ved=2ahUKEwjc4LHZ8_33AhUMj2oFHe3mAa4Q_AUoAnoECAEQBA&biw=1536&bih=722&dpr=1.25
🙂
good luck!
gail
Ive been after one of these damn jewelry armoires for years I thank you for being clever enough to hack this….I. cant wait to give it a try….also extra thanks for the honesty about all the lil “f” ups along the way!!!
Jennifer,
I’m so happy you found my project. I’m so excited for you to do it yourself!!! I always try to be honest with my friends about what goes wrong. So many influencers make everything look perfect, and that’s not real life.
have fun, good luck!
gail
Hi Gail. I just discovered this post and it’s a wonderful project, just like the one I was looking for ! So thank you and hope you keep on doing smart things like this one or others for you and your daughter (just like me! )
Yay! I’m so happy your found this! I’m always repurposing something–it’s what I do!
Thanks so much for taking the time to leave a comment on this post. I read each and every one.
gail
Hi there! I have a similar one! Love it and keeps my jewelry organized, plus having a mirror is great! Mine is attached to the door. Nice idea to pass along E!
This is a great step by step! I was looking for something to do with a pile of mirrors that was left in the house we just bought, and interestingly enough, I have the EXACT same mirror that you used for this project! Finally, I have the solution for at least one of these mirrors. And you’re right, it certainly is a heavy mirror! Lol. Thanks for the tutorial.
Happy Crafting!
How fun is it that you have the very same mirror! I’ve also used these kind of mirrors on hall trees. So happy you found My Repurposed Life!
gail
Wow Gail, another awesome project! Look at all that storage. I think you can pretty much build anything!