How to Update a Dresser | Navy and dark stain
As an Amazon Associate, I earn from qualifying purchases.
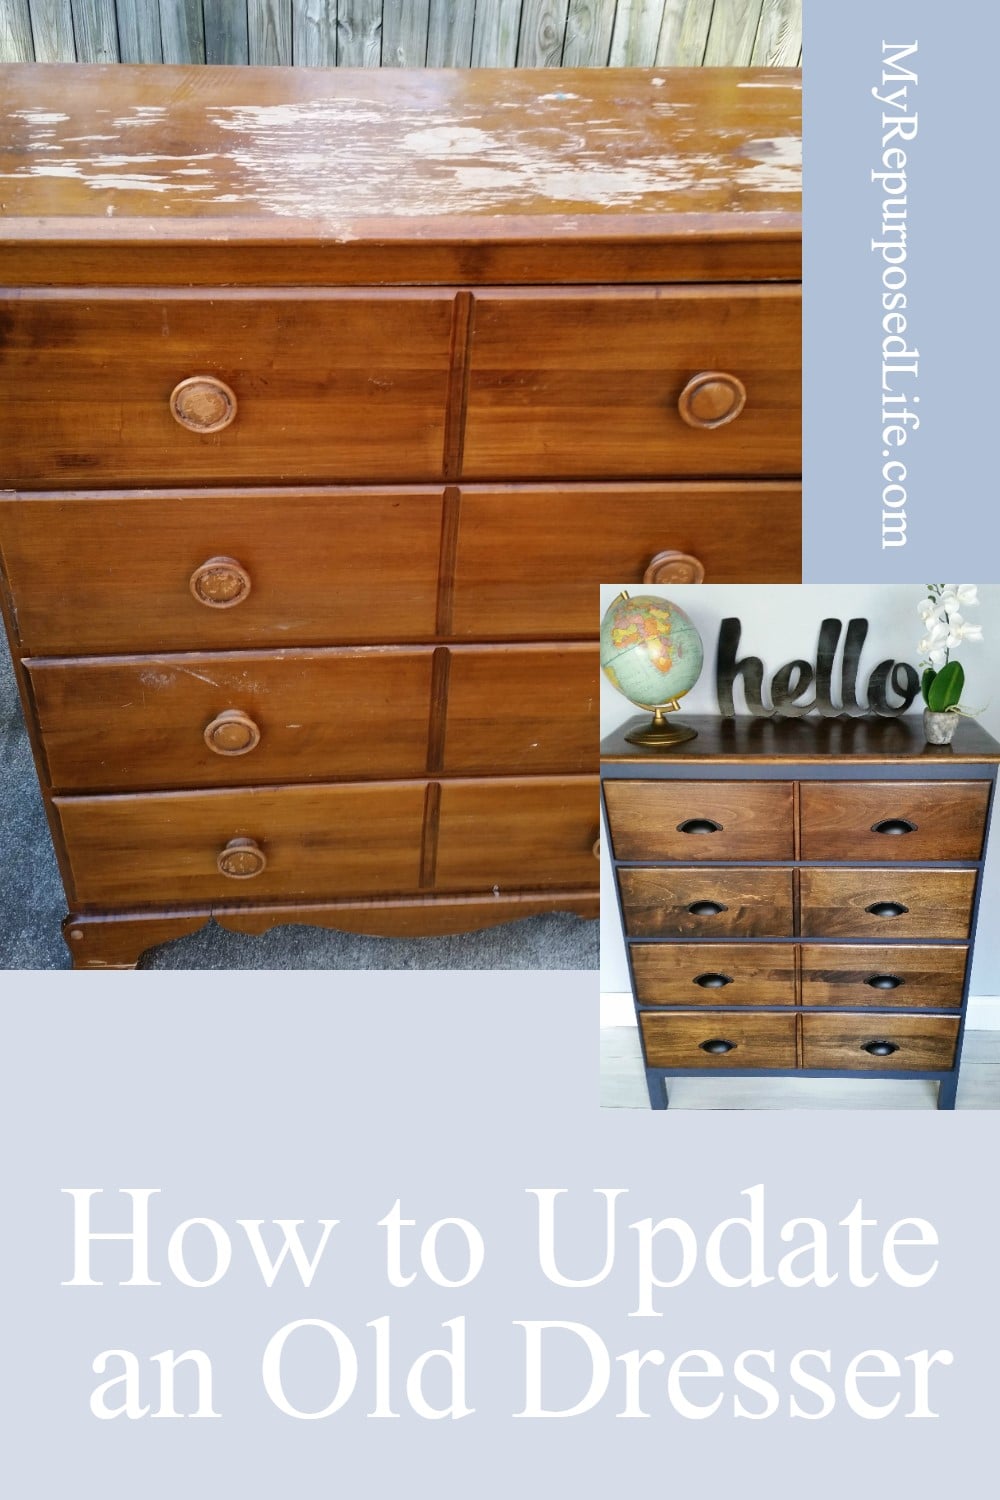
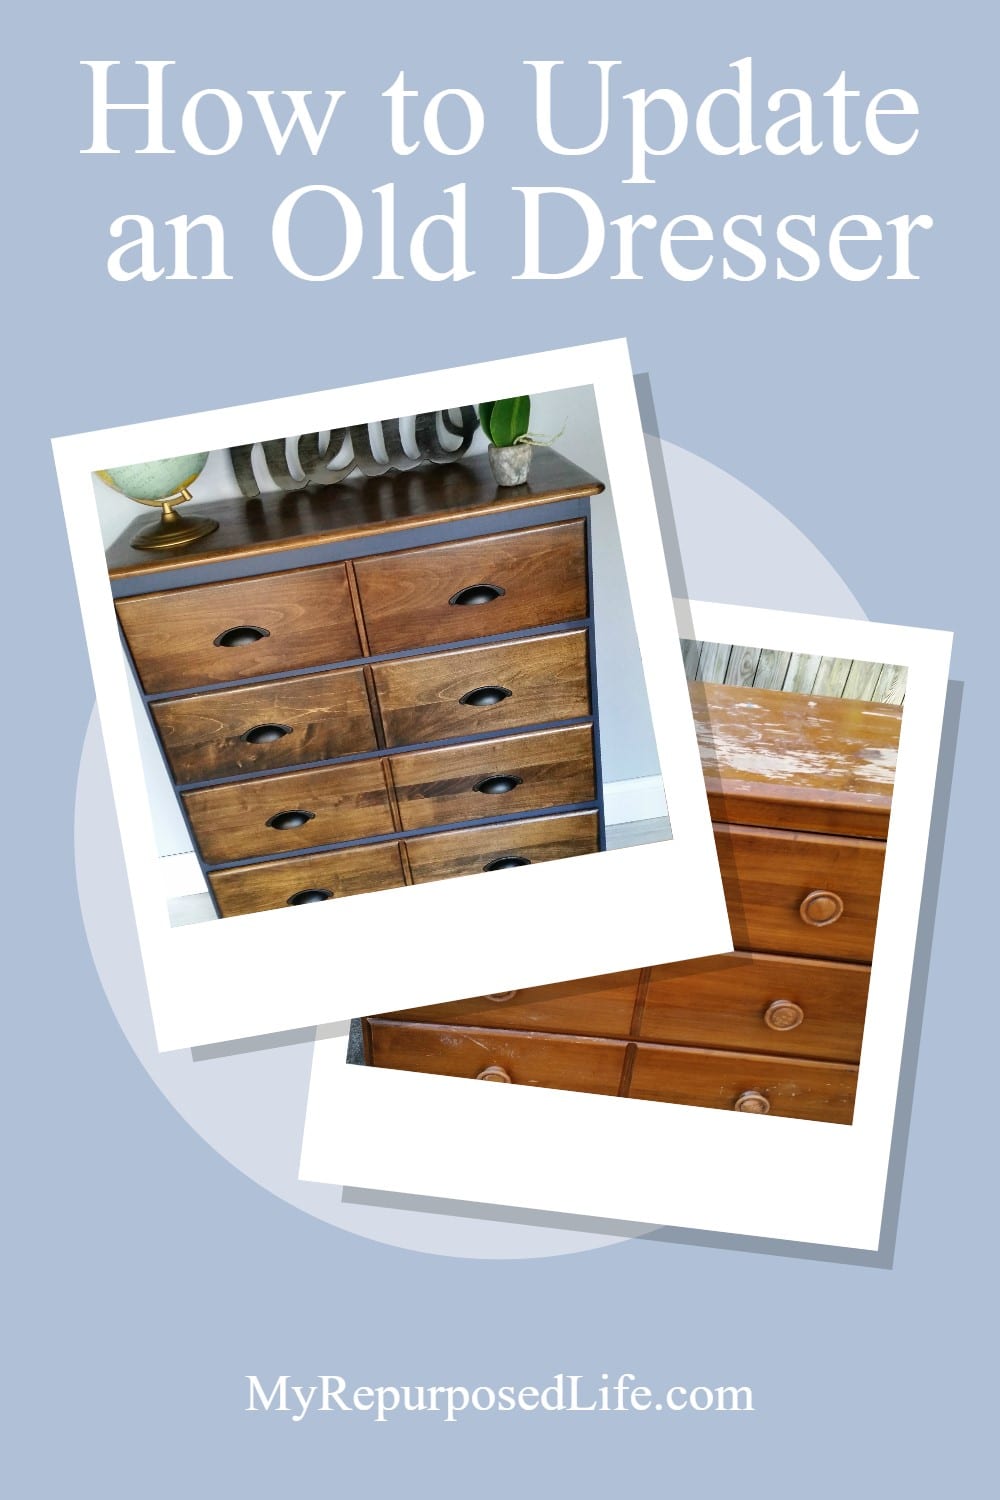
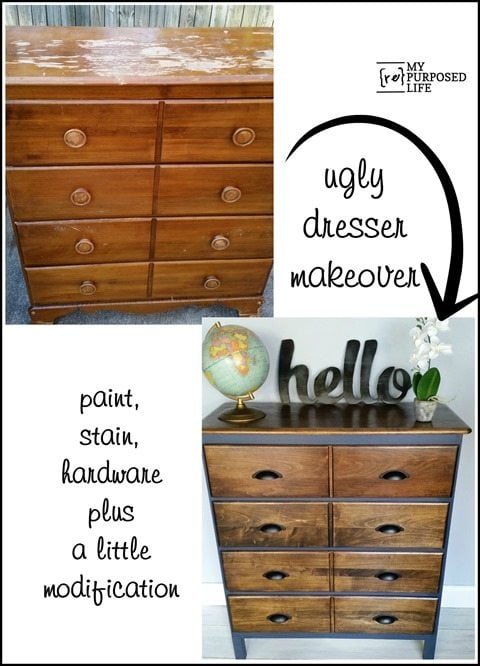
I love two-toned furniture projects using dark stains and almost any color. I will show you how to update a dresser with a two-toned look. It involves navy and Jacobean stain. This month’s power tool challenge post is to “modify,” which I usually do for all my projects. I took a step back this month and made it a little easier, but I am still including many tidbits to help you learn something from this modified dresser.
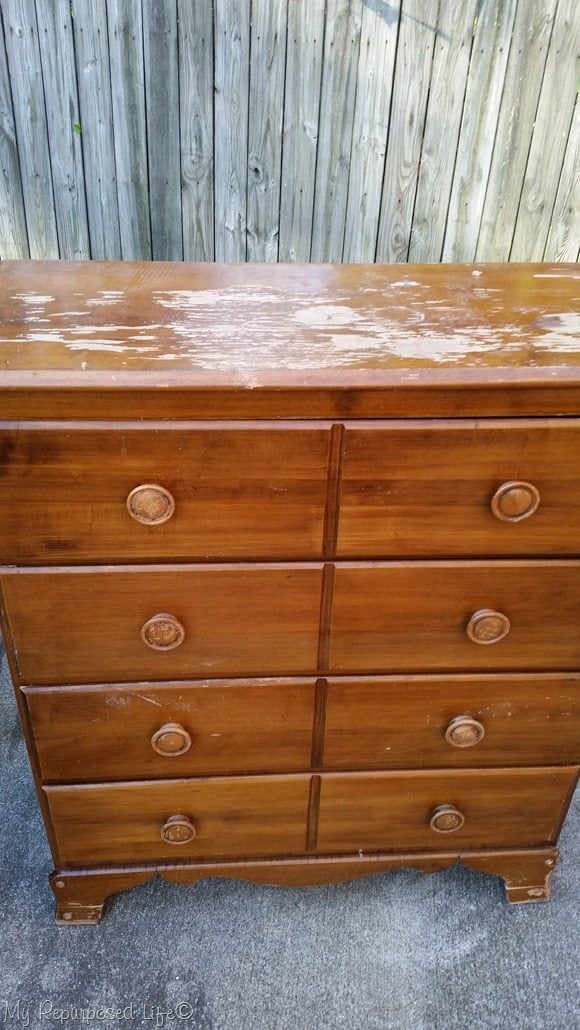
I picked up this dresser from my hairdresser earlier this summer, a.k .a. a chest of drawers. It has seen better days. Because this month’s theme is “modify,” I decided to update this dresser working on the bottom of this piece. It’s a little “dated,” don’t you think?
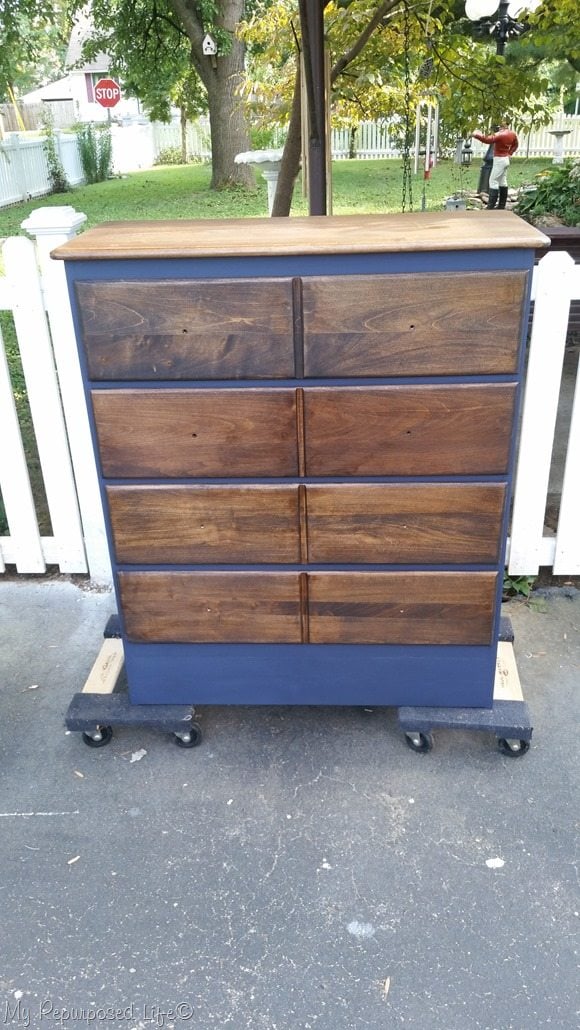
It’s so much better; it looks a little modern!! Can you believe it’s the same piece of furniture?
Are you not into woodworking or looking for an easy dresser makeover with paint?
Let’s see how to update a dresser . . .
How To Dissasemble Furniture
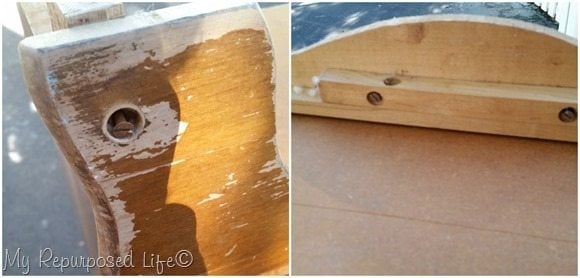
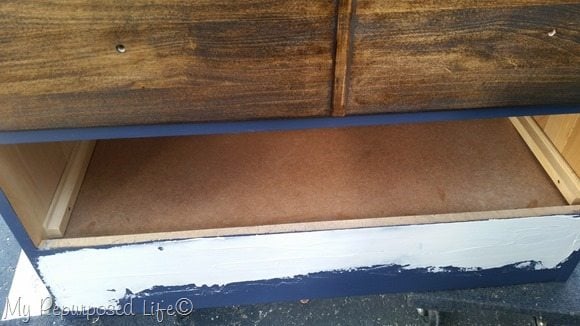
I began the modification process by removing the old trim on the front of the dresser. At this point, you must resist the urge to start prying and hammering the wood trim. You must look for the hidden screws and remove them. After doing so, all the wood trim will be easily removed.

Using a 1×6 in place of the old trim was the plan. I wanted to add trim around the front and both sides. However, the width I needed was a total of 6 inches. A 1×6 wouldn’t work, so I just decided to add trim inside the front legs.
I always keep a small piece of sandpaper near my saw to knock off the splintering pieces as soon as I cut a board.
Pocket Holes Attach New Trim Pieces
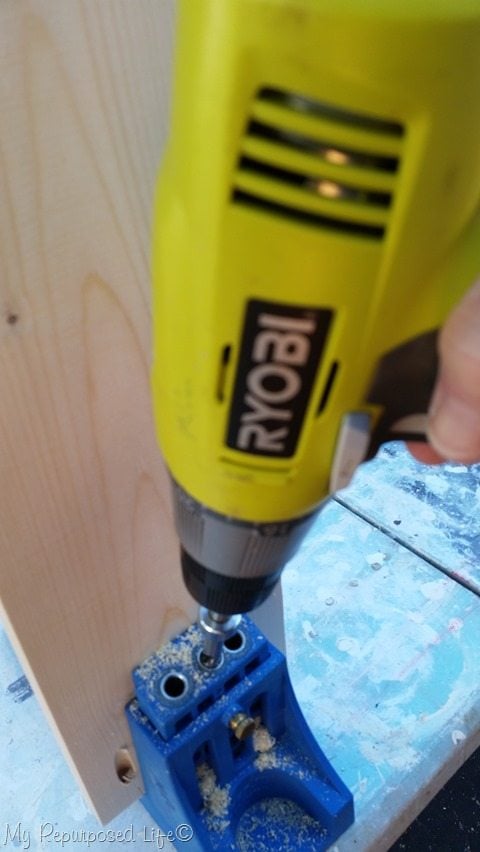
To attach the 1×6, I used my Kreg jig to drill pocket holes on each end of the board and a couple on the width of the board.
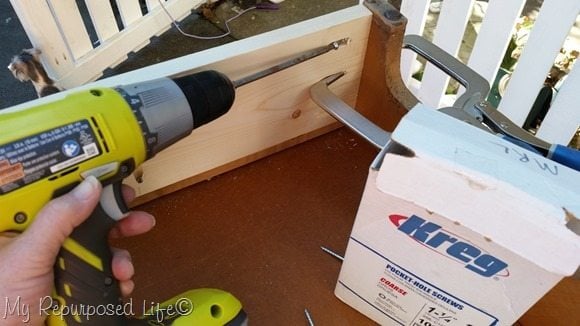
Here you can see that I used a right-angle clamp and some pocket hole screws to attach the 1×6 in between the existing legs of the dresser. Notice the pocket hole along the board’s width for extra strength right by the drill’s trigger.
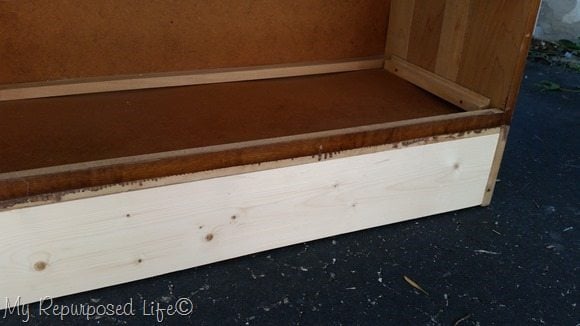
Here is the new 1×6 in place.
More Ways to Update a Dresser

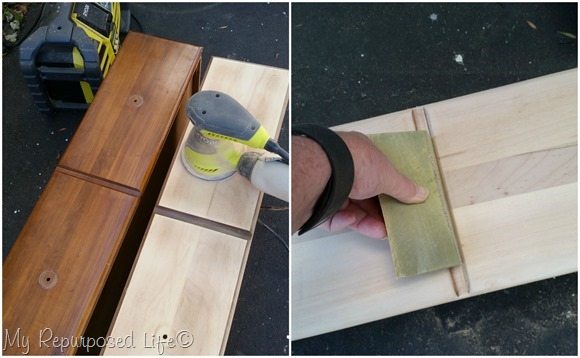
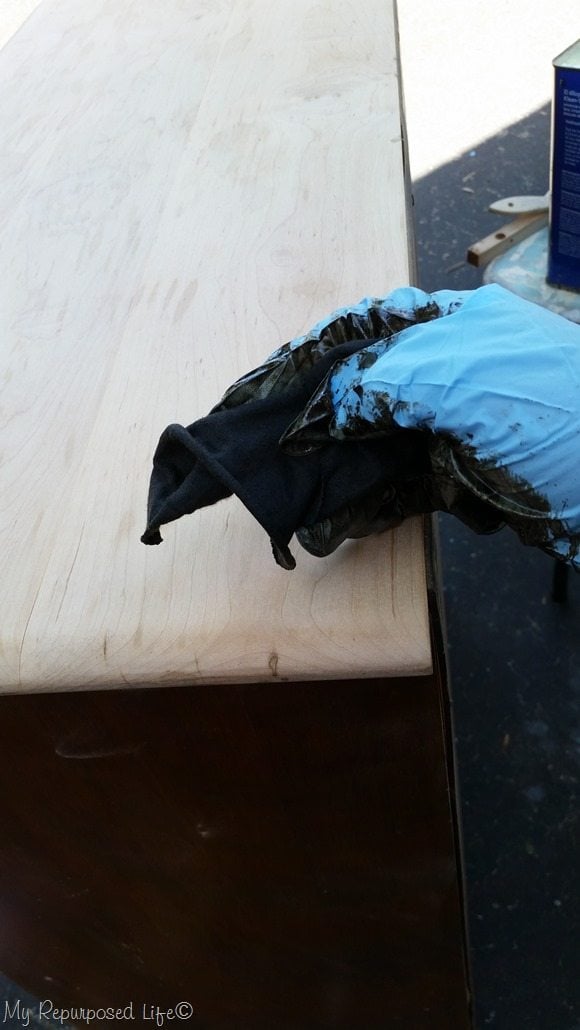
The dresser top was in terrible shape, but sanding the finish off would be better than stripping it.
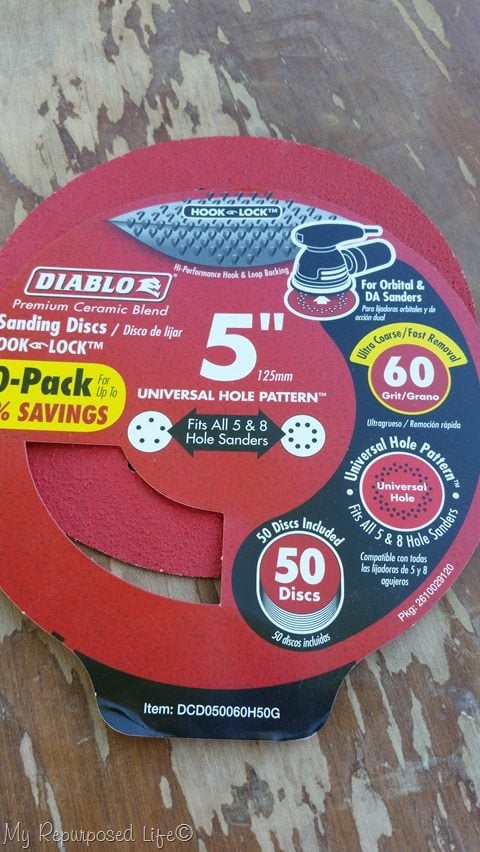
I buy these sanding discs in 50 counts because they are so much cheaper that way. I started with 60 grit, then went to 150, then 200.
Make Any Necessary Repairs
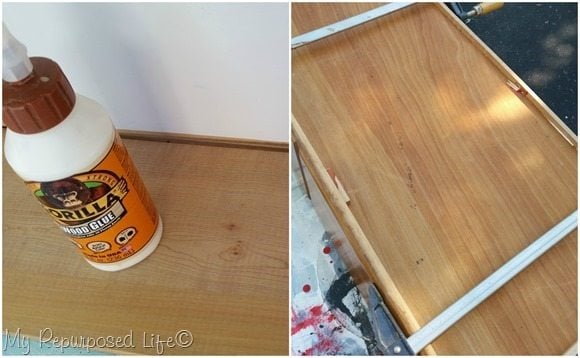
After inspecting all the drawers, there were some repairs to be done. I used Gorilla Wood Glue and bar clamps.
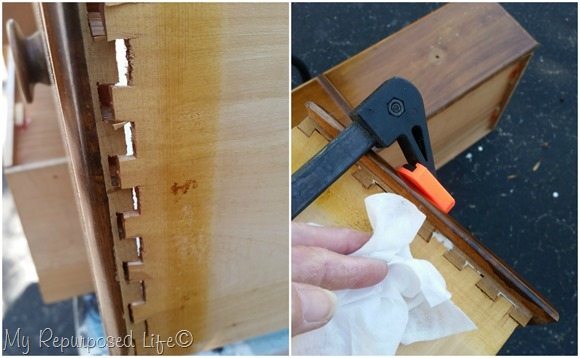
One of the dovetail joints had come loose, and more Gorilla Wood Glue and another clamp were needed to take care of it. I use baby wipes in the shop for many uses, including wiping up glue.
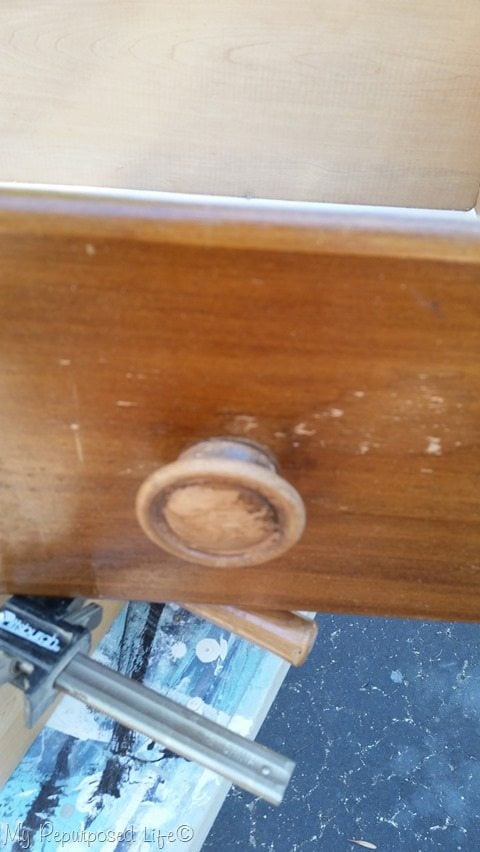
While the glue was setting up, I removed all of the knobs. Only 2 of the drawers needed repairs.
Refinish Drawer Fronts
The same technique was used to remove the finish from the drawer fronts. 60, 150, 220. I used citristrip for the small middle piece, then sanded it to remove the finish.
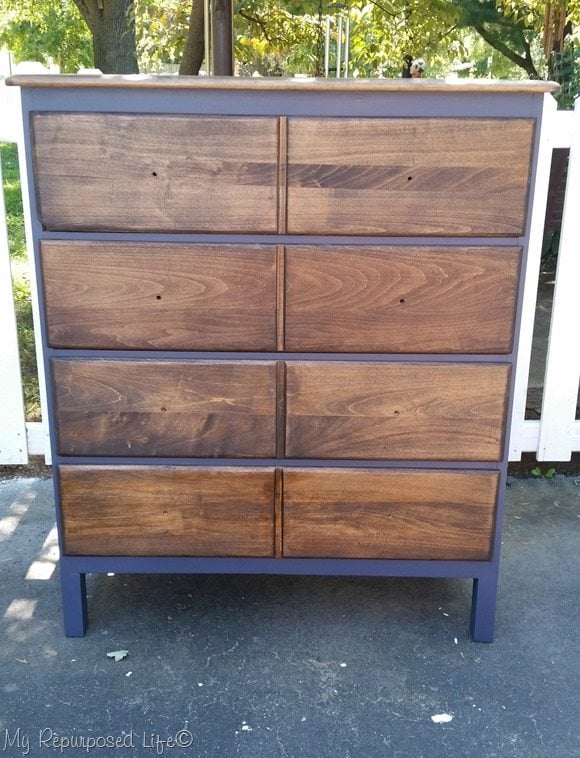
Stain The Top And The Drawers
Minwax Jacobean stain was used on the top of the dresser and the drawer fronts.
Prepare To Paint The Updated Dresser
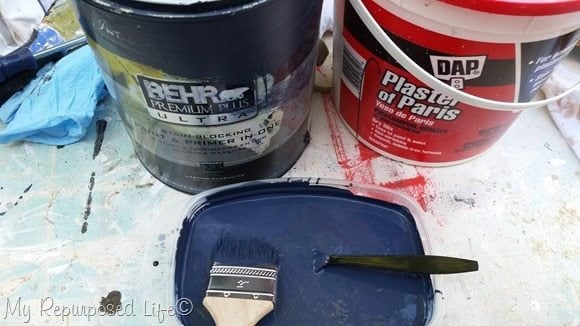
I mixed up some DIY chalky paint primer using an oops, dark blue and plaster of Paris. I applied it using a cheap chip brush. Do you know how much I love these brushes? Sure, the first couple of times you use them, they shed horribly, but the more you use them, the better they get!
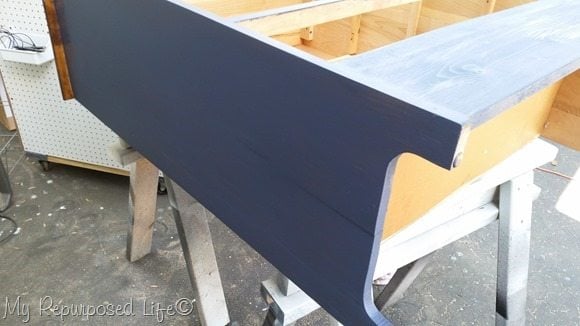
I painted about three light coats over the dresser sides and front.
Things Don’t Always Go As Planned
This is me anxiously doing a dry run test to see how much I love it. Not so much.
It is so obvious that the new board was added. So, I decided to patch it some more. (I used a little sawdust and wood glue to fill that small gap before I painted it)
At the end of day 1, I used a lot of spackling to patch the seam . . . then I came in and looked at the pictures. I really should do that more often instead of waiting till the end of the day. I barely slept that night thinking about removing this new 1×6 and doing something different.
A Much Better Plan To Update a Dresser
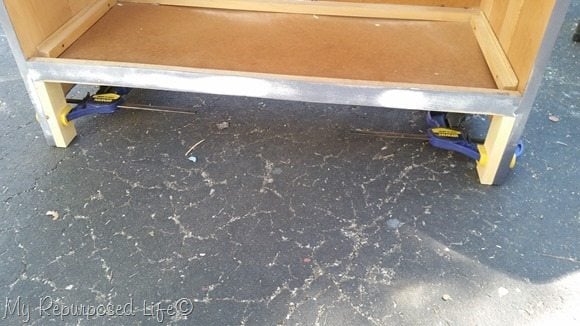
The very first thing on day 2, I carefully removed all of the screws and pried the newly installed 1×6 away from the front of the dresser. I sanded the plaster while the dresser was upside down and cut four scrap pieces to “beef up” the original sides (legs). To see if it would look okay, I clamped the new pieces and set it right side up.
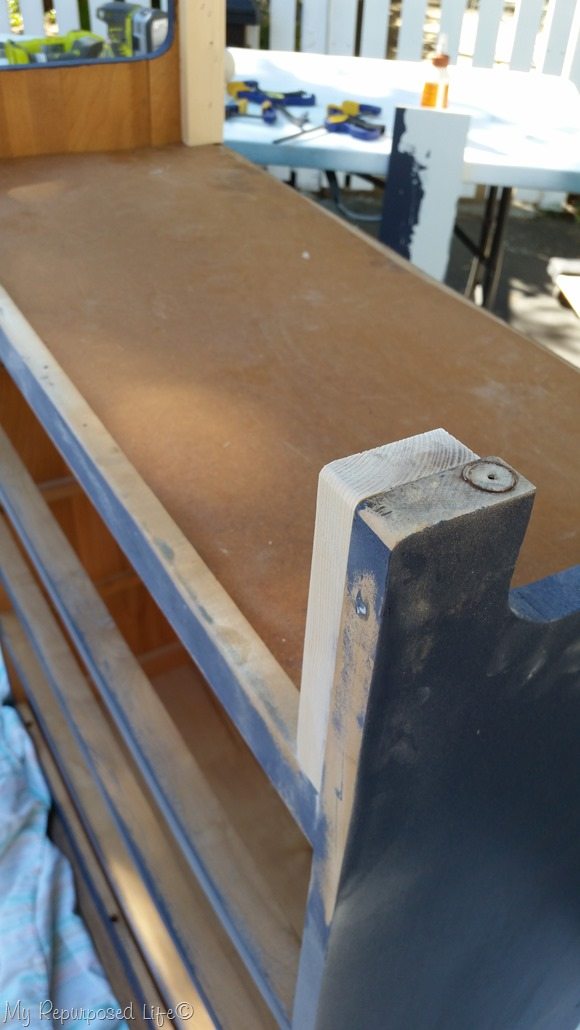
I used Gorilla wood glue and my nail gun to attach the new pieces of wood. I then used my orbital sander to blend the new piece better with the old one.

There was a lot of patching, painting, and sanding to make the two pieces look like one leg. After taking this photo, I also patched the staple dents.
TIP: use a scrap piece of wood with sandpaper to get a flatter, smoother finish when sanding.
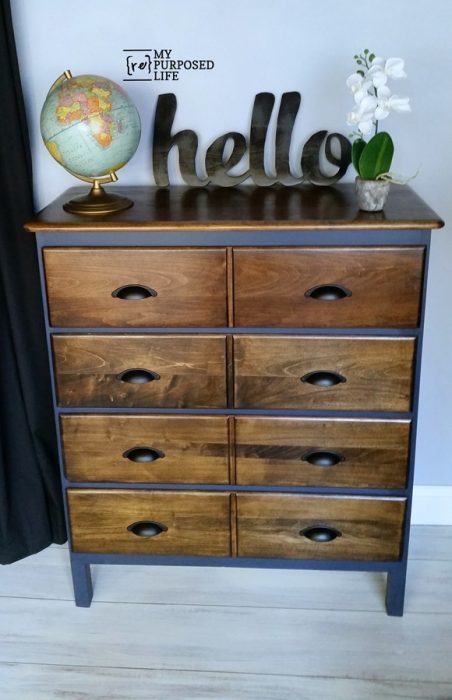
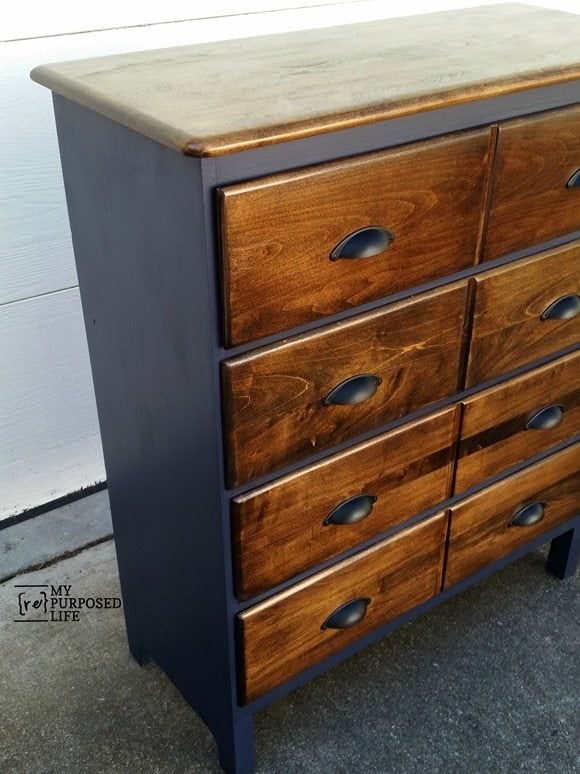
A Vintage Dresser is Updated Into a More Modern Style
It is much better, but it was a massive improvement over the original dresser trim.
Dark Wax Tones Down The Color And Seals The Finish
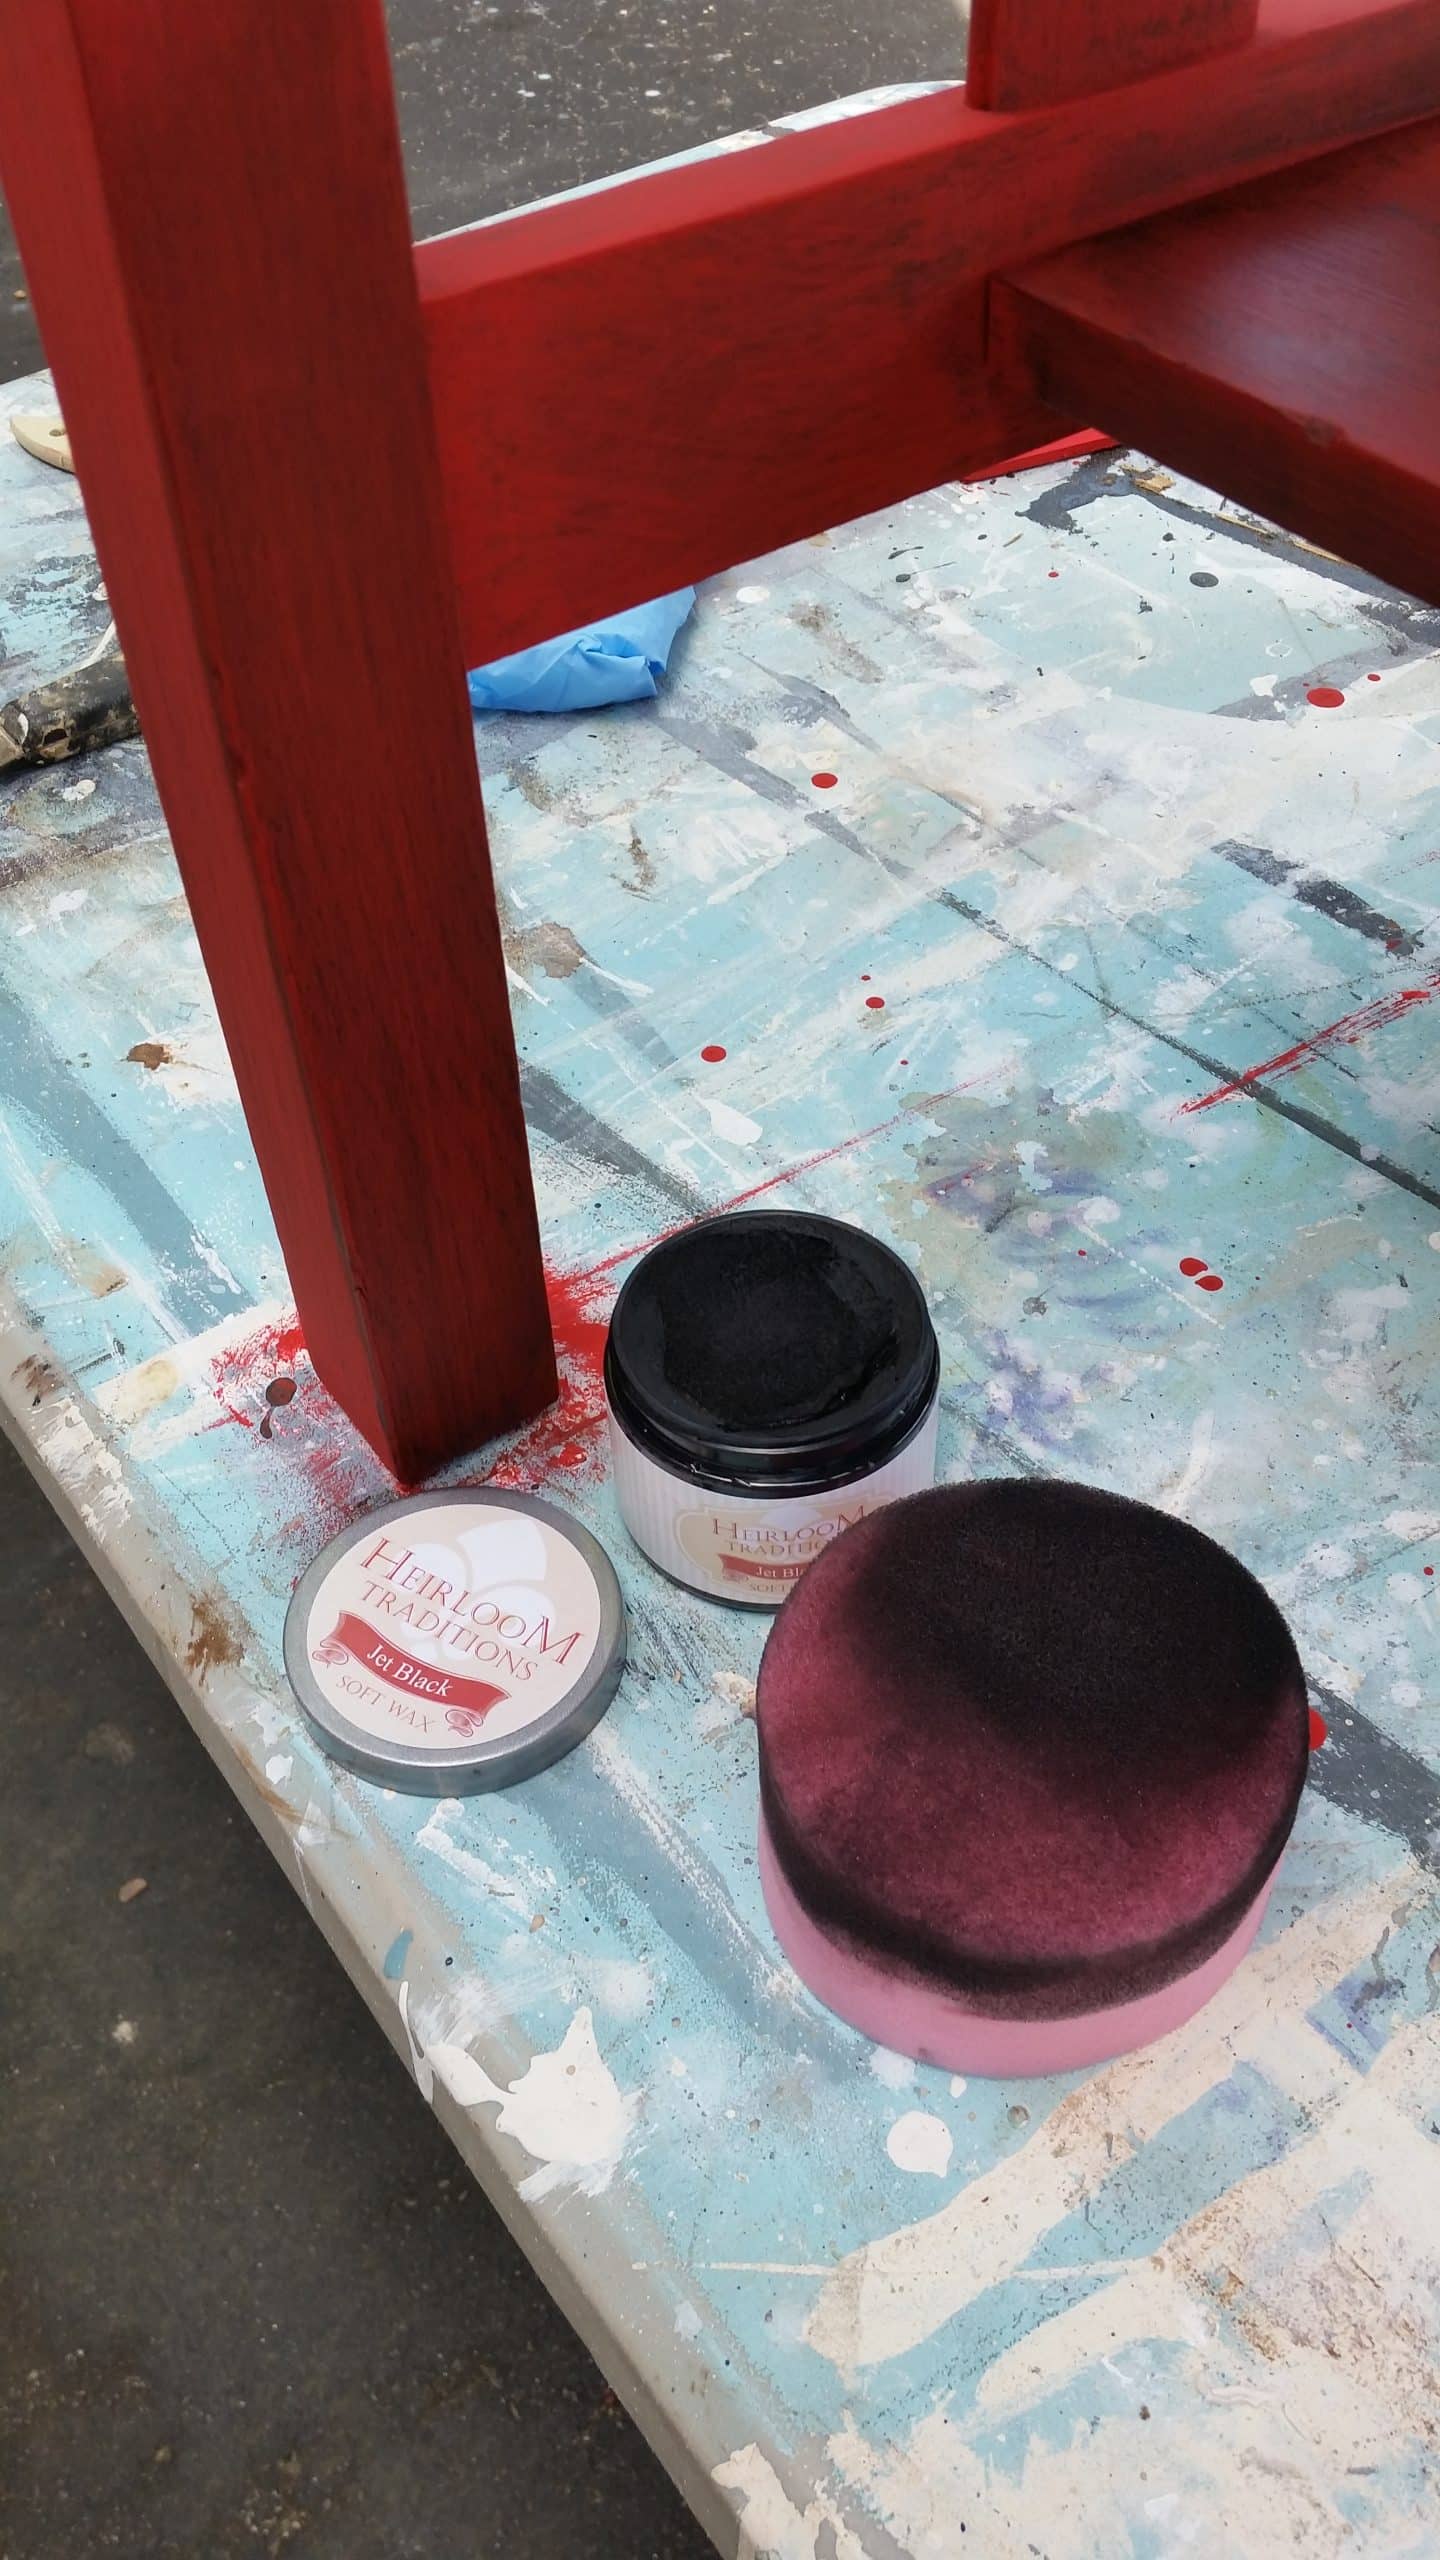
Oops! I know this isn’t a blue dresser; it’s a red library table that I got the same day as this dresser. But I forgot to take a picture of the jet-black wax I used on the blue dresser to tone down the color slightly. It wasn’t as deep as I had wanted it to be. This wax and sponge are from Heirloom Traditions Paint.
Hardware Jig Makes Installing New Knobs Easy

How to use the Kreg cabinet hardware jig
- Adjust the drill guides and the edge guide for your hardware
- Clamp the jig in place
- Drill through the guides
- Sand the rough edges
- Attach hardware
- Smile!
A Video About Using a Hardware Jig
Wait! Don’t think it’s that easy? I made a video . . .

This jig is much easier than the other jig I’ve had for years. Not only that, it’s small and compact, and it’s not that expensive. It will save you time and trouble; believe me, I know. I have installed this kind of hardware before on my Cord Clutter post. One of those pulls still has one screw missing because the handle is crooked when installed.
Navy Blue and Stained Modified Dresser
I thought I would be able to complete this project in one day. Because of the EXTRA modifications, it took 2 days, but I’m so glad I made the extra effort. You may be wondering about the original KNOB holes. I left them. Because I could place the new pulls very strategically, they are not visible.
Related Content: Navy Blue Furniture Projects
Old Dresser Updated

Look at those perfectly spaced bin pulls from D. Lawless Hardware. I bought them a couple of years ago and have just been waiting for the perfect piece to use them. I’m so glad I waited till I got that new Kreg Hardware Jig.
Did you notice the new faux whitewashed floor?

I love how this free dresser turned out with a bit of modification. ![]() I think you will LOVE the other projects from my friends; they are such a talented bunch!
I think you will LOVE the other projects from my friends; they are such a talented bunch!
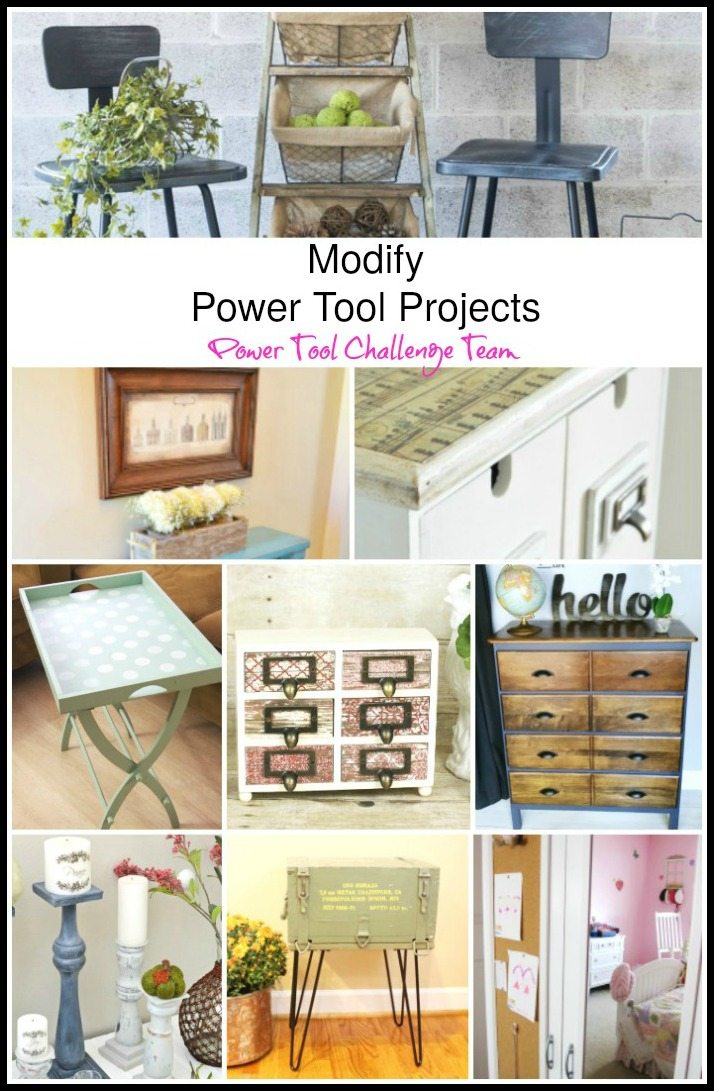
Modified Leaning Ladder Storage By Designed Decor
How To Resize A Wood Picture Frame By Her Tool Belt
Ikea Moppe Hack Apothecary Cabinet by Interior Frugalista
Portable Craft Table By Create and Babble
Grown Up Jewelry Box By Kim Six
Modified Dresser By My Repurposed Life
Bed Spindle Candle Holders By H2OBungalow
Ammunition Crate Table by Virginia Sweet Pea
Ikea Wardrobe Update By Domestically Speaking
No, I’m sorry. It was a mis-tint or OOPS paint from The Home Depot. It’s really similar to Naval (sherwin williams) or Dark Denim (behr). Did you know that your Home Depot can make other brand’s colors? I have used both of those colors on other furniture pieces.
https://www.myrepurposedlife.com/?s=naval
https://www.myrepurposedlife.com/?s=dark+denim
I hope that helps!
gail