Vintage Nightstand Makeover
As an Amazon Associate, I earn from qualifying purchases.
How to do a quick vintage nightstand makeover with paint and a few pieces of hardwood flooring!
Vintage Nightstand Makeover with Paint and Hardwood Flooring

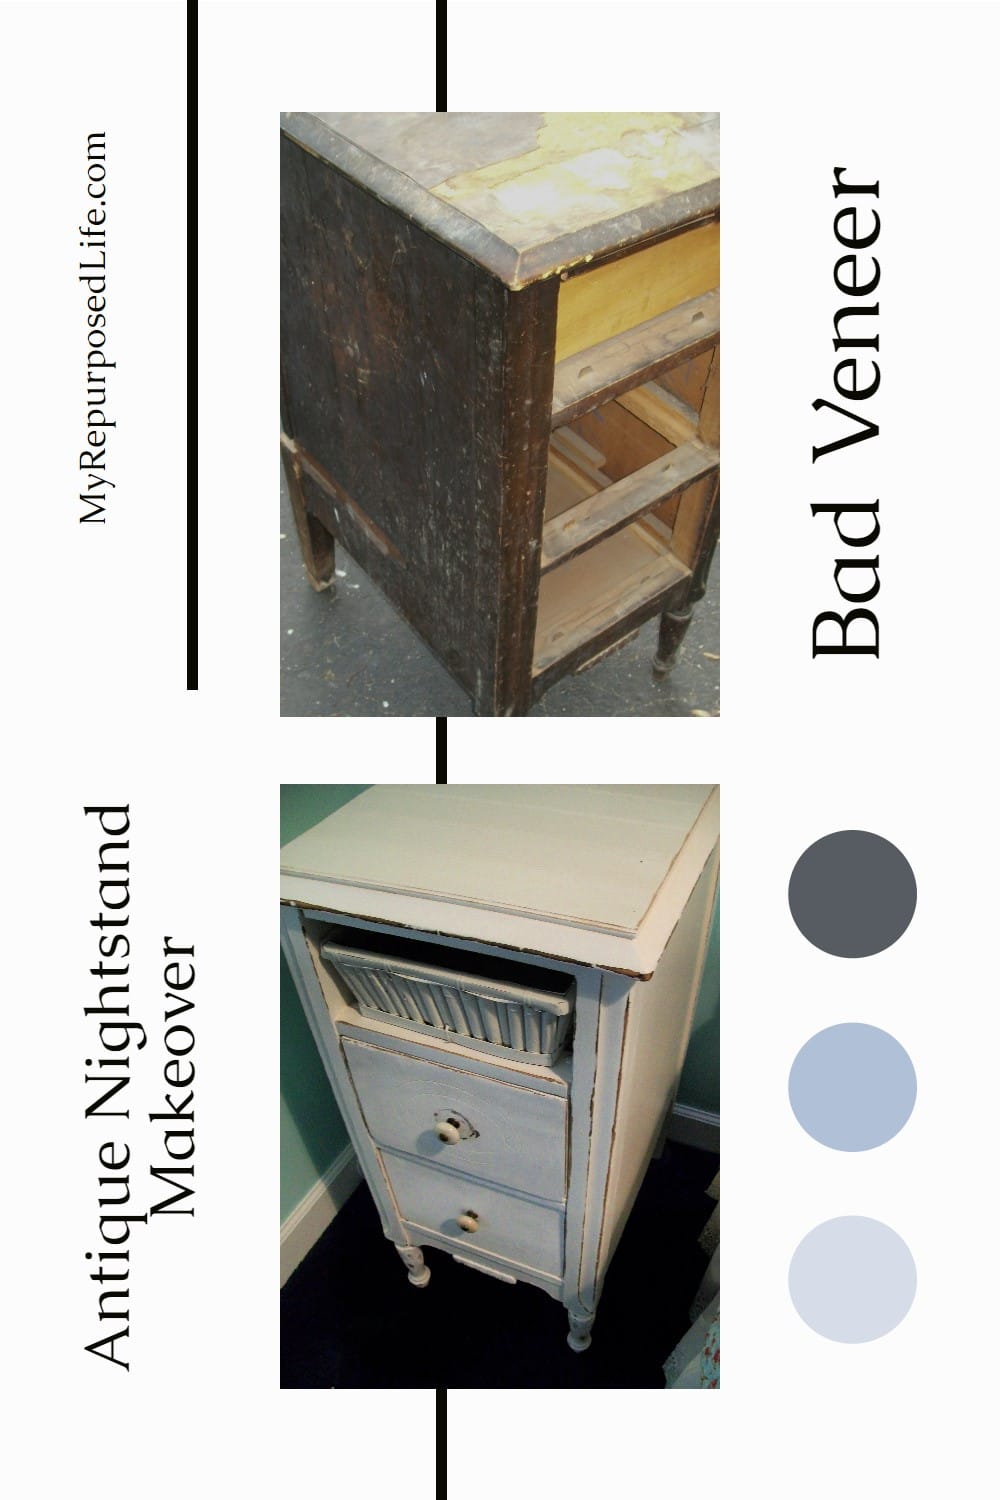
Do you remember this? It was $7.00, $2.00 over my limit.

It had two drawers, the top drawer was missing.

Look at those lovely legs!
How to Deal with Bad Veneer

But, look at that ugly veneer peeling top.

Can you guess what this is?

It is tongue and groove flooring! I had to cut the tongue/groove off to get a smooth edge.
Add Hardwood Flooring as a top for the Vintage Nightstand

But I turned it upside down, it’s perfect for this vintage nightstand makeover!

I glued it and then I used my nail gun to fasten it down. I left the tongue on the front side for detail.
Patch Chippy Veneer

Now on to the ugly veneer on one of the drawers.

I patched it with spackling. (for drywall) I think it’s easier to work with than wood filler. I use wood filler too, I guess it just depends on my mood.

Since the top drawer is missing, I will use the top as a shelf. I didn’t have to put a board there, it already had one. See the two little drawer “stops”? I pried them out and kept them with my hardware stash. I’m sure I’ll get a piece that is missing them.

This is what they look like.
Time to Paint

Since the top shelf is so deep, I opted for a skinny little roller to pretty up this vintage nightstand makeover.

I used primer.


After allowing the spackling to dry, I sanded it smooth.

Looks pretty good, don’t ya think? This vintage nightstand makeover is moving right along!

I used Glidden Crisp White Linen. (free quart from last fall)

After a couple of thin coats of paint.

I distressed it with an emery board, and was not pleased with how it was turning out. Deb @ Proper Prim commented/e-mailed me that she would give me some advice about distressing. She suggested using my palm sander. I felt like the palm sander was hard to control, but I continued with it. After I started this project, it seems like I remember doing it once before on another piece and not liking the way it turned out.
Add Hardware to Nightstand

I only have one knob (I got it from my swag bag when I went to the Shop & Hop in Indy) I will buy another one, or find two that match. I’m not sure if I like how it turned out. I tend to be over critical. I may end up putting a glaze on it, but I’m not sure. This will be going in my bedroom when I redo it this summer. I want to match the headboard and the nightstand. I may not want to glaze the headboard. So, for now, this is what I have.

I have already put it in the bedroom, because I was in desperate need of a higher nightstand. (to set my fan on) Sometimes real life gets in the way of decor, doesn’t it?
Be honest! I’m a big girl, I can take criticism. Do you love the vintage nightstand makeover? What would you have done differently?
edited to add: I am adding several pictures of this nightstand as it is in my new bedroom:


related content: See more Nightstand Projects


I agree with Allison, I would’ve made the shelf on the bottom (but more because my job would’ve left more to be desired!) and I would probably choose a colored basket or use a lining. But it still looks AMAZING. So great to see it saved.
Thanks so much for stopping by and taking the time to leave a comment on my nightstand. I am still using it and loving the look. 🙂
gail
Gail you rock!!! I recently came across a free nightstand missing a drawer and I brought it home wondering what the heck I’d do with it. Now I am inspired to turn it into a tv stand thanks to you!!!
Hey, Gail. The nightstand turned out great — great save. I agree with Rose that using the flooring on top was a genius move. Not sure what you don’t like about it, but I have 2 main thoughts. First, the top shelf was a good idea, but in reality it kind of just looks like a spot with the drawer missing — maybe more wood or put in a basket(?). The other thing is the distressing. It looks a little too organized. Maybe doing in more random places, heavy wear spots here, light scratches there, partial edges, one corner, etc. Anyway, hope it’s okay I said that. I know when I ask for thoughts I really do want honest thoughts. And basically, we’re like the same person..so..I figured you could take it. On the flipside, I love the detail in the drawer fronts and the pulls will look great either matched or mismatched.
Midge
so creative with the flooring!! it turned out spectacular. gotta be honest, it was in bad shape to begin with so i had my doubts that it could be brought back to life!