No Drill Closet Shelves | Renters | Campers
As an Amazon Associate, I earn from qualifying purchases.
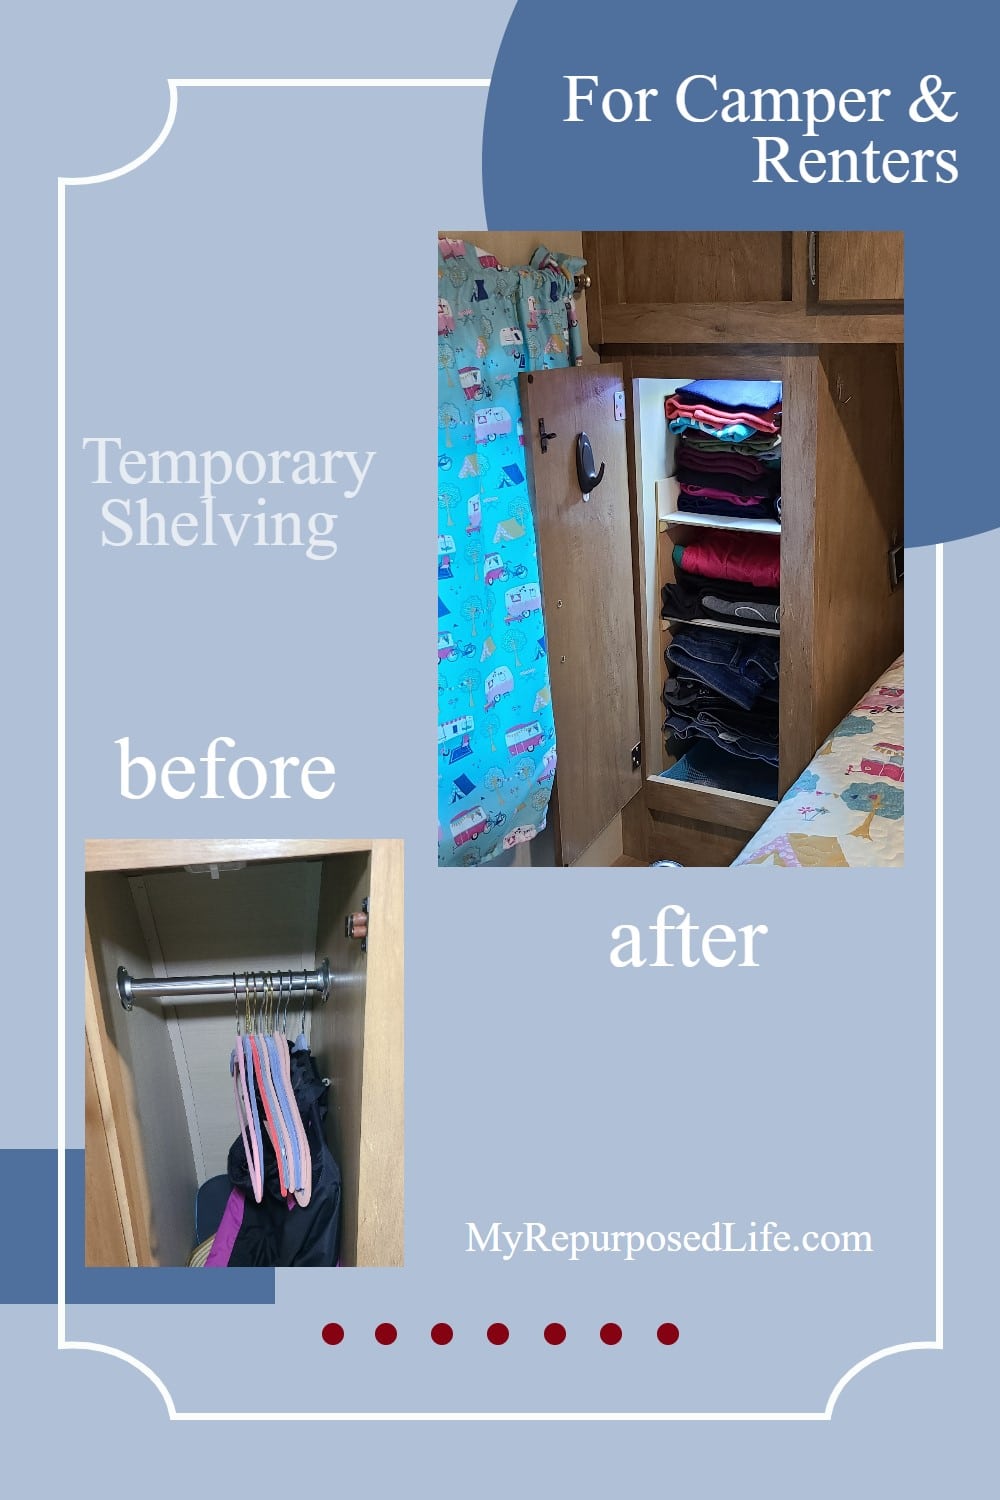
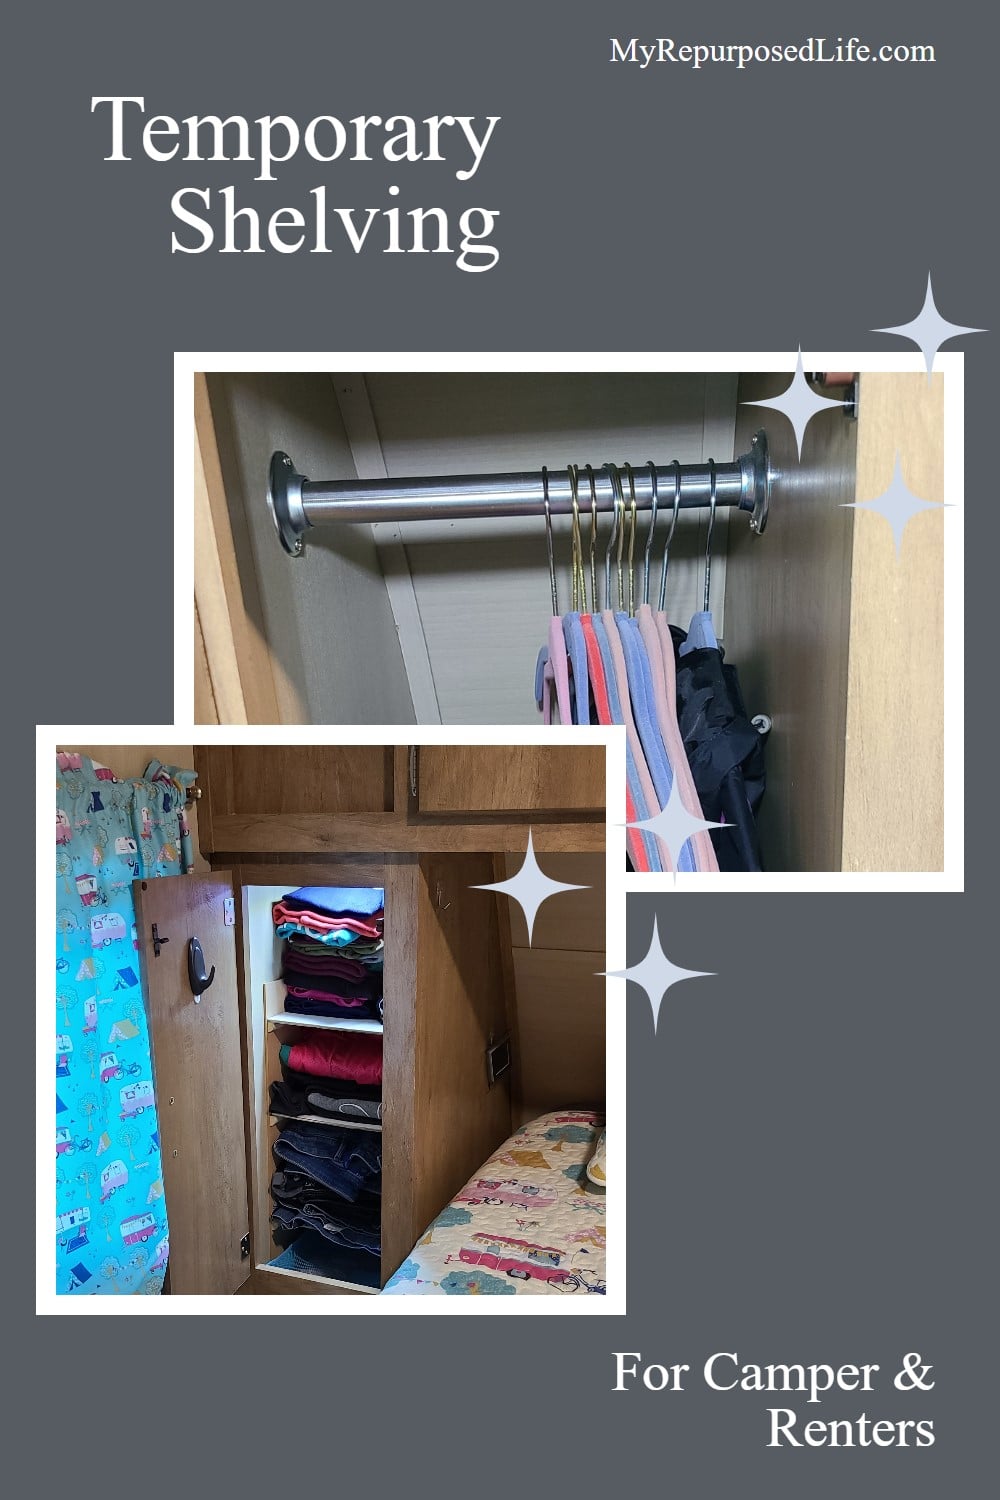
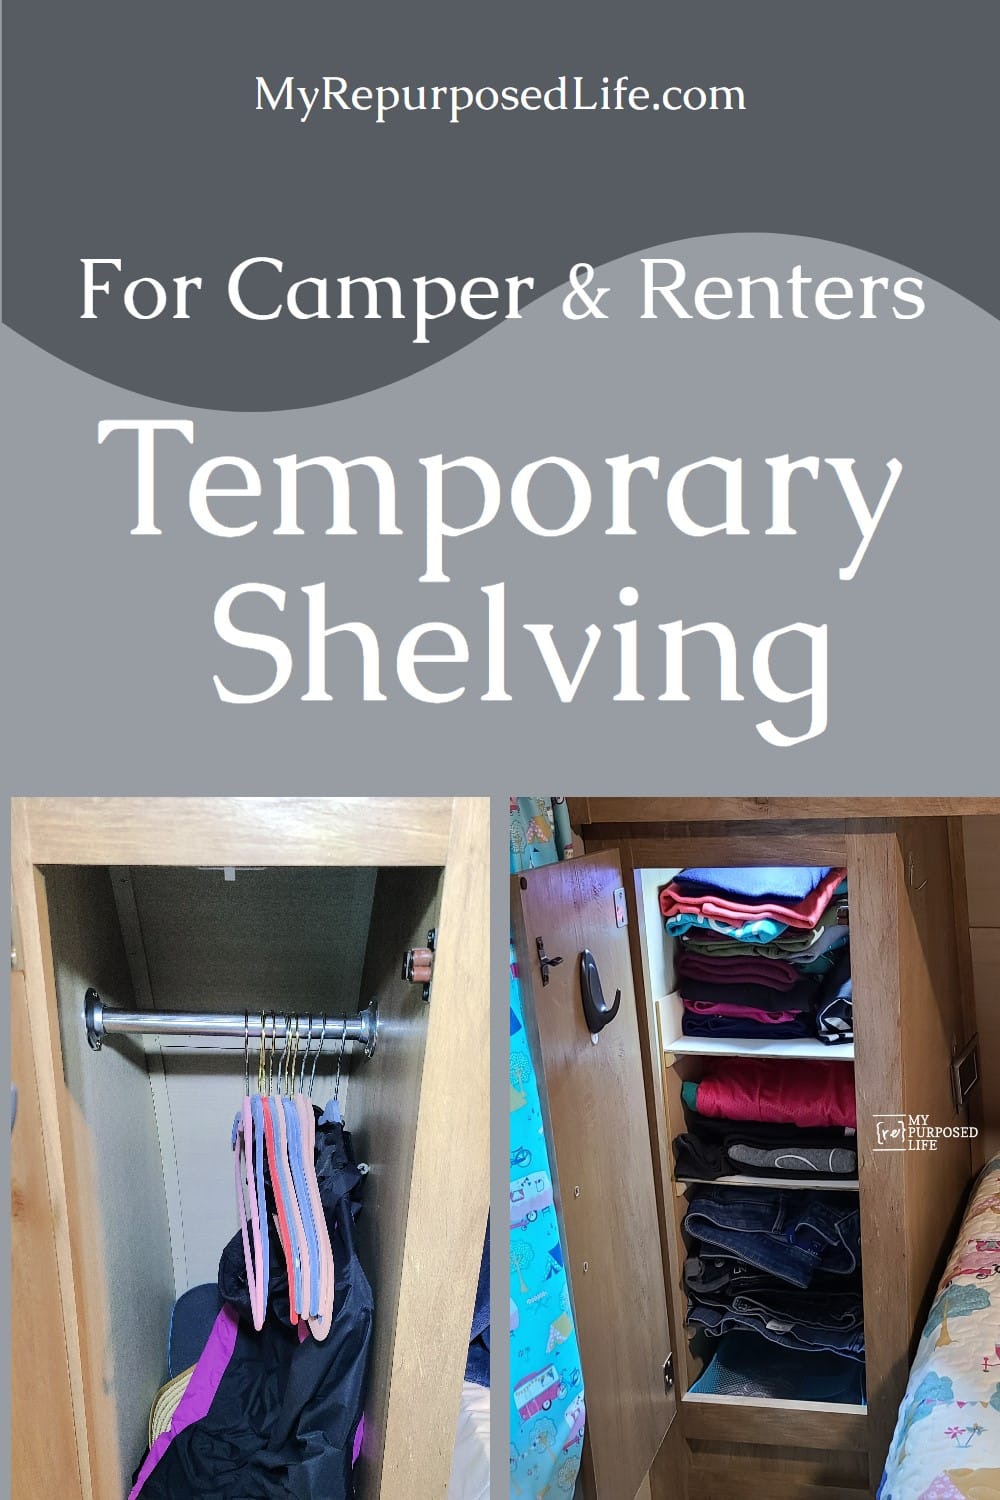
How to make no drill closet shelves for renters or campers!! My dad made me a set of small temporary pantry shelves years ago, and I never ever removed them. BUT! That’s the great thing about these no drill closet shelves, if needed they are totally temporary. The temporary closet shelves easily dismantle if you need the closet rod back, or if you move!
Because I’m not a renter, I made my small no drill closet shelves for my Vintage Cruiser Camper. On either side of the bed are wardrobe closets, with hanging rods, and a very sort hanging area. Therefore all of my clothes (when hung on hangers) puddle at the bottom. I’m so excited to share this project with you, and I hope you have a place to put this awesome idea to good use. Possibly in your linen closet, pantry, or even YOUR camper!
Small Closet Solutions
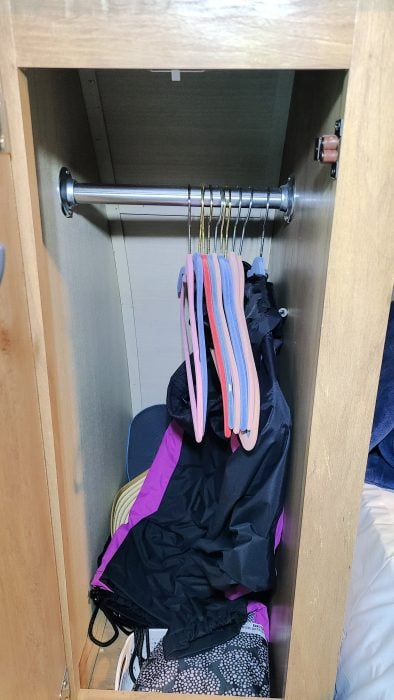
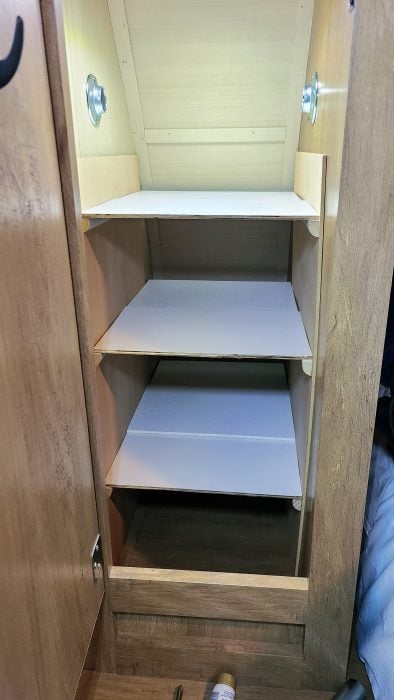
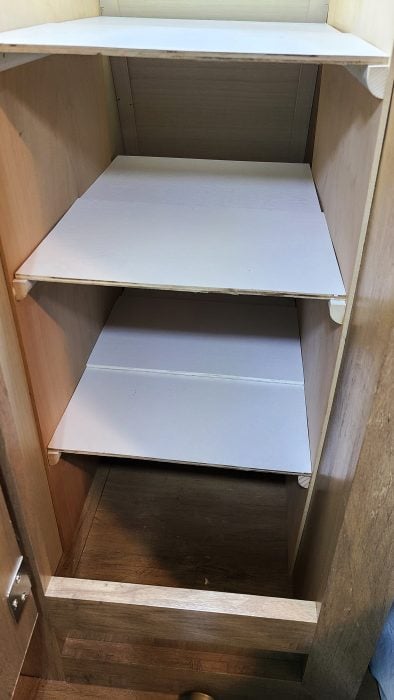
Here is the closet in question. There are matching closets on the left and right side of the master bed. Seriously, WHAT do they expect you to hang in this small closet?
If you’re renting a home, chances are your closet won’t have the curvature that the camper wardrobe has. Even so, my directions will be the same with the exception of the thickness of wood.
No Drill Shelves for Small Closet
This is the finished project. For my no drill closet shelves, I used thin plywood. This will work for me because I wont have heavy items on my shelves.
If you’re doing a pantry, you will want to use 1×6 or 1×8 lumber. Lucky me, I had all the supplies on hand. Let’s see how easy these closet shelves are to put together!
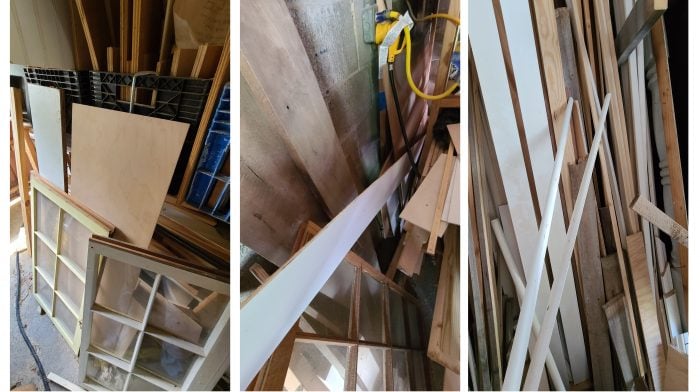
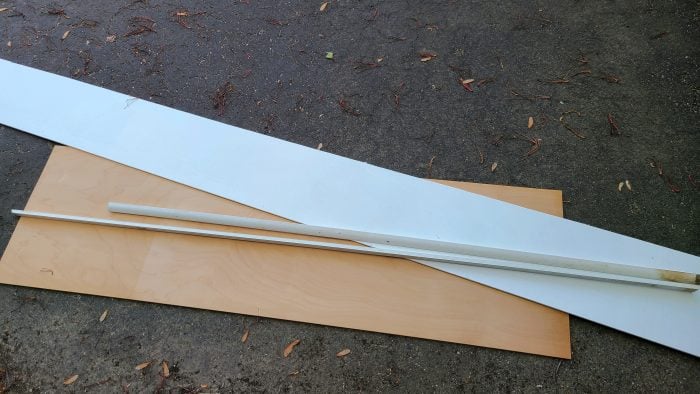
On the left, notice the thin unpainted piece of plywood. In the middle, the long plank, and on the right some scrap quarter round or shoe molding.
Materials for No Drill Shelves
I’ll be sawing my scrap pieces with a miter saw. You could easily use a handsaw or a jigsaw. If you’re buying your lumber at the big box store, you can ask them to make a few cuts for you.

After cutting my long thin plywood in half, just the size I need for my no drill shelves, I cut the quarter round to use for cleats. These cleats will be supporting the shelves.
Line up Shelf Cleats with Carpenter’s Square
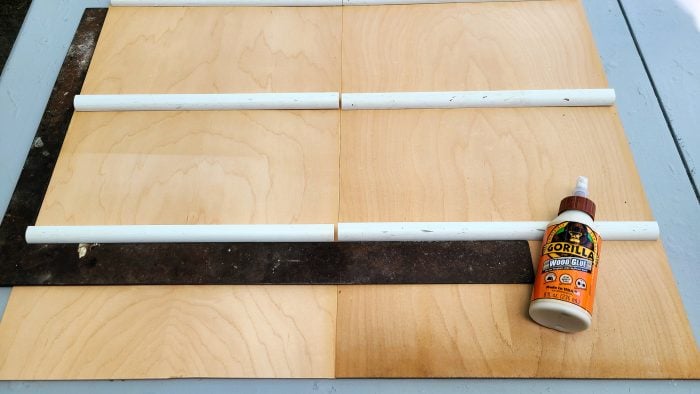
Using a carpenter’s square, I made pencil lines for placing the cleats.
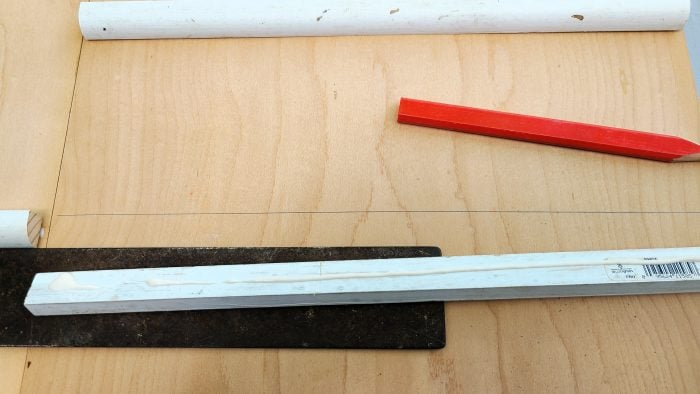
Then I applied the wood glue and lined the cleat up on the side panel.
Clamp Shelf Cleats
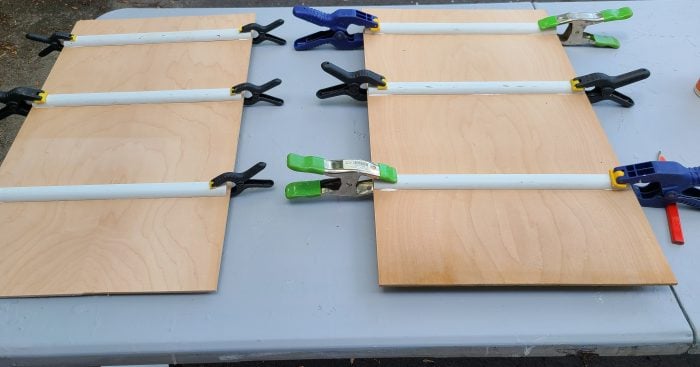
Because the wood panels are so thin, the cleats need some extra help. Clamps allow the wood glue to set up without any shifting.
Cut Shelves
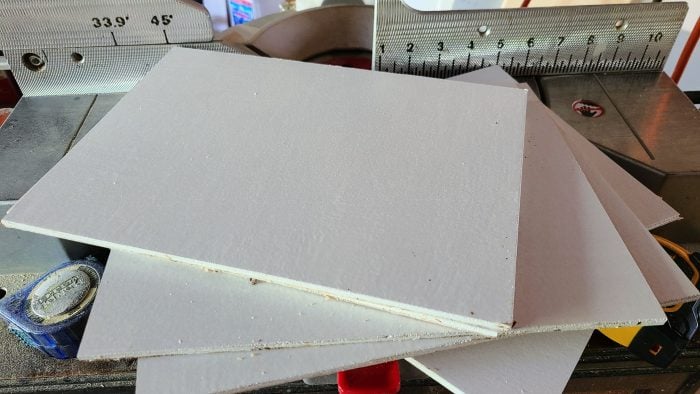
These planks are pre-painted because they are left over from my popcorn ceiling project. I cut them to size on my miter saw. You would of course have one plank for each shelf. Because I’m using what I have on hand, I’ll make do with several on each shelf for now. If the no drill shelves work out as I plan, I may make changes down the road.
What Size Nails Do I Use?
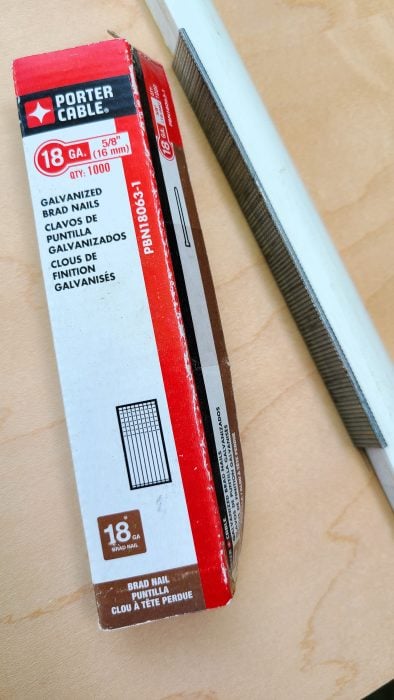
For this very thin plywood you would use small 5/8″ brad nails.
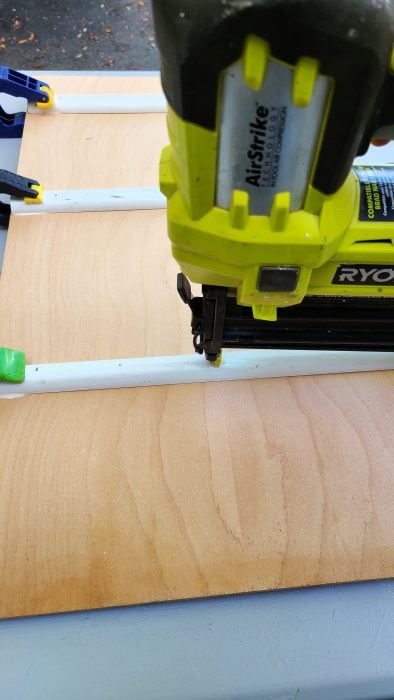
Shoot the nails with a nail gun after the glue has set up. I shot my nails from the front to the back. Because the nails are so small, they didn’t protrude through the back. In all honesty, you really should shoot a few through the front and a couple through the back for best results.
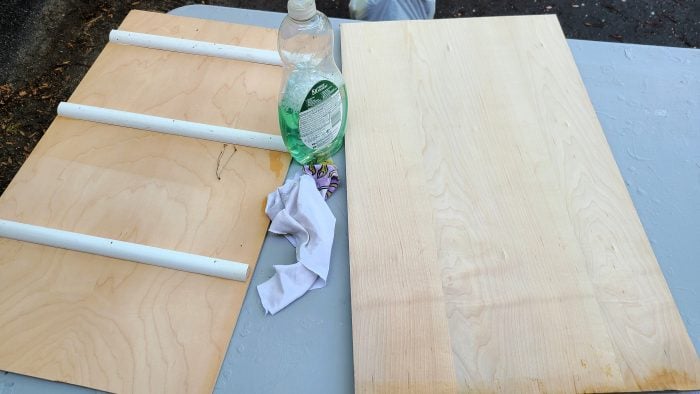
I really love to keep a diluted bottle of dishwater for easy cleanup. You can see I used a rag and the soapy water to clean up the glue that oozed out. Because the wood was reclaimed, I wiped it all down as well.
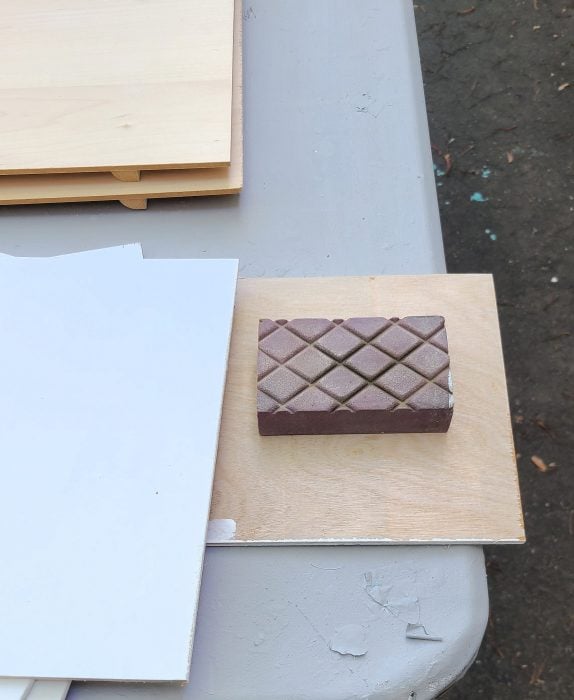
Because you don’t want clothes to get snagged, be sure to sand all the rough edges before installing your no drill shelves.
How Do You Install No Drill Shelves?
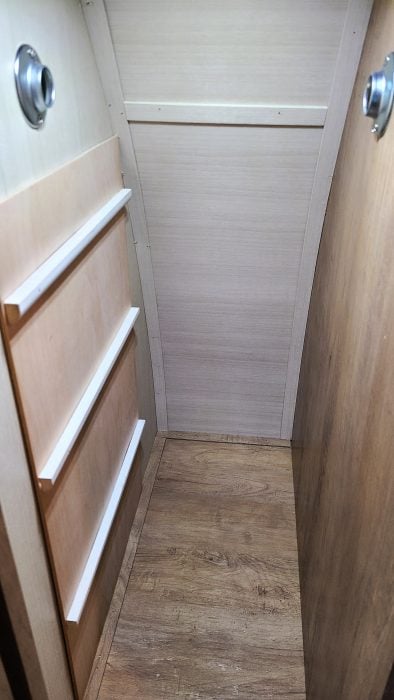
After removing the rod (and leaving the brackets) it’s time to install the no drill shelves. It’s really, really easy! Place the left and right panel against your wall. No hardware needed!!
Then simply POP IN the shelves! The key is to cut the shelves so they fit really snug. Why? Because the shelves are what are holding up the left and right panels. Brilliant? I think so!!! As I mentioned earlier, you will most likely have a shelf that fits side to side and front to back.
When you move (if you are a renter) or decide you want to use the rod again, simply pop out the shelves, let the side panels collapse, and voila! Your closet is back.
It really is a great way to add a temporary shelving solution to your home, rental space or camper!
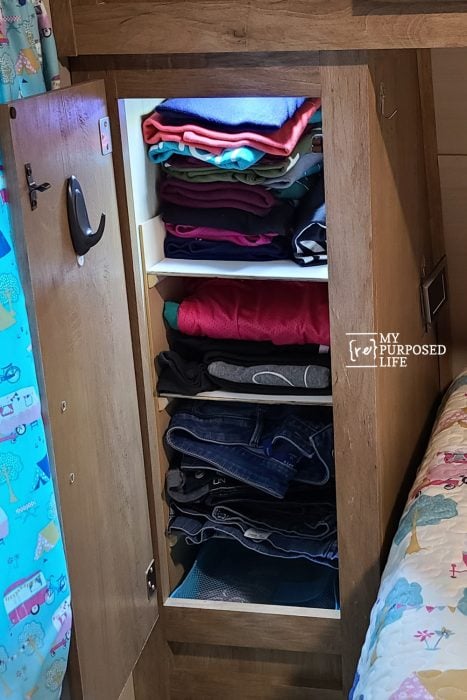
Look how many items I can stack on the shelves! I could never hang this many clothes in such a tiny closet.

With all this extra storage space, I can take much longer trips! Bonus! If I sell the camper or change my mind, the no drill shelves haven’t damaged the original wardrobe closet in the camper.
Do you have a place you can use extra shelving?
gail
Related Content
Thanks for the idea. I have a closet I can see doing this with, Happy Trails
Pat
That’s awesome Patricia! I’m happy you found my closet idea helpful!
gail
Excellente idée. Merci beaucoup
Thank you Annie!