Old Drawer Cabinet
As an Amazon Associate, I earn from qualifying purchases.

I guess I have been doing MORE than just de-junking…I have been taking it and making it into a treasure!

It is amazing what a little imagination and paint can do!
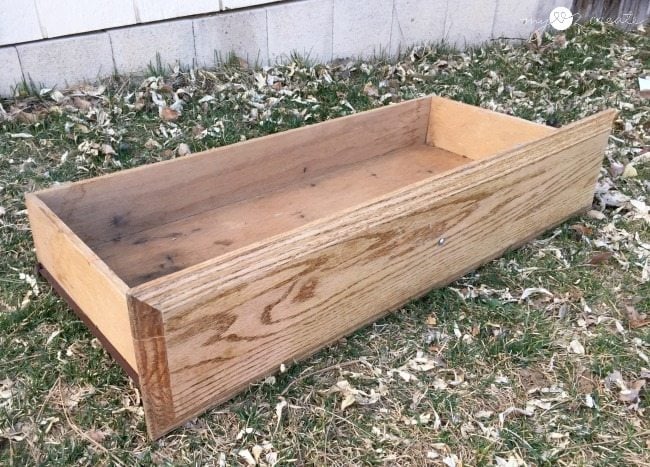
It all started with this drawer. I have had it for about 4 years, and I got it for free off of Craig’s list. It has been patiently waiting for a makeover and a new purpose in life.
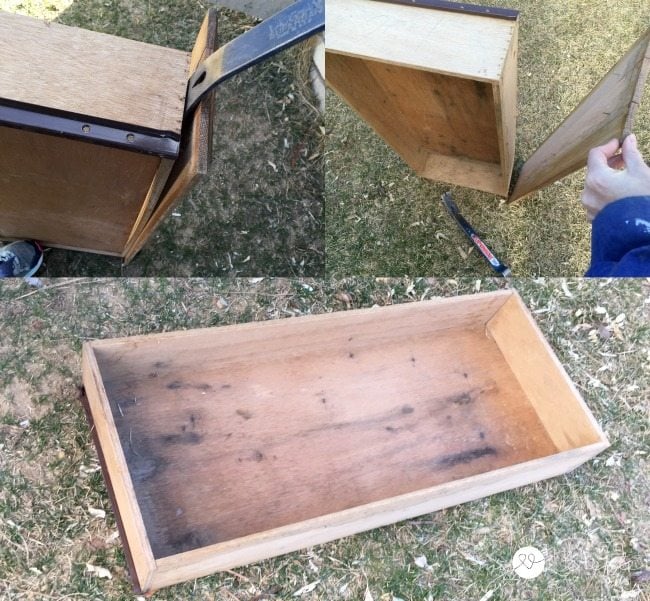
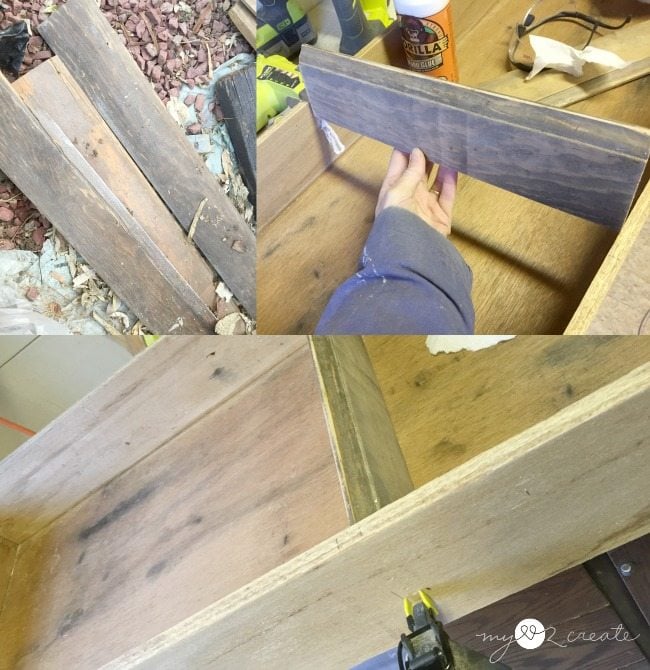
The drawer front was split and cracked on the sides and because I wanted to make this into a cabinet, I decided it needed to be removed. I used a crow bar and slowly pried it off.
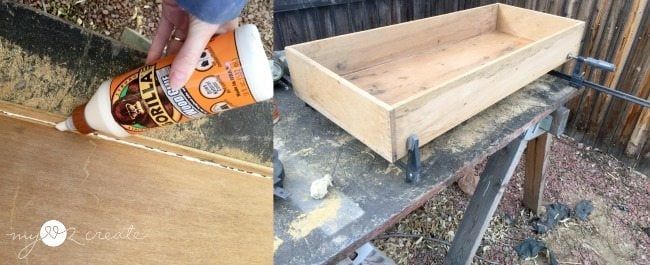
The sides were loose from the drawer bottom so I added some Gorilla Wood Glue and clamped it. You can also see I removed the drawer slides as well.

While the glue was drying on the drawer I picked up some left over trim that I had removed when I did my teen boy’s room makeover. This would be the frame for my cabinet door. I cut one end at 45 degrees on my miter saw and then measured it to the drawer to make the second cut.
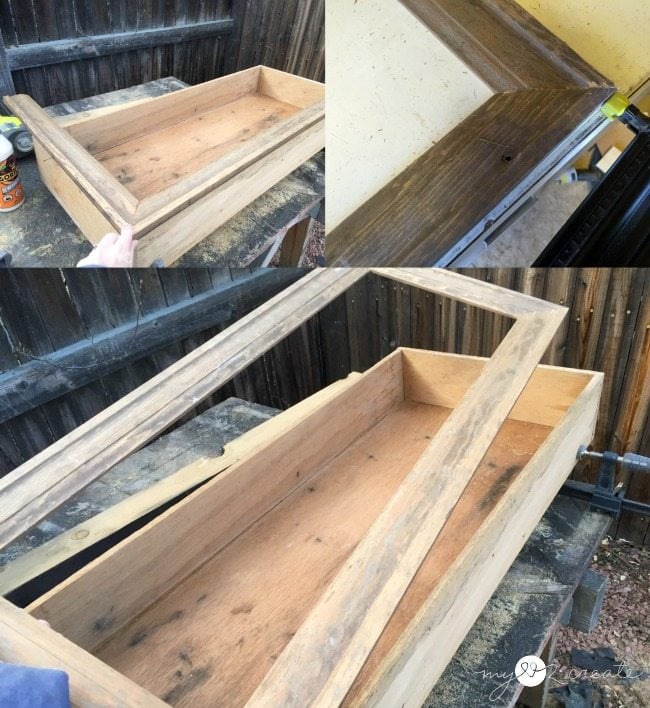
I did this all the way around until I had all four sides cut. Then I used wood glue and my nail gun to attach them at the corners. Note: I recommend using nail in fasteners on the corners if your trim moulding is too thin for pocket holes which is the best method, I was out of fasteners which is why I used nails, but I find it a weaker joining method on mitered corners…just saying.
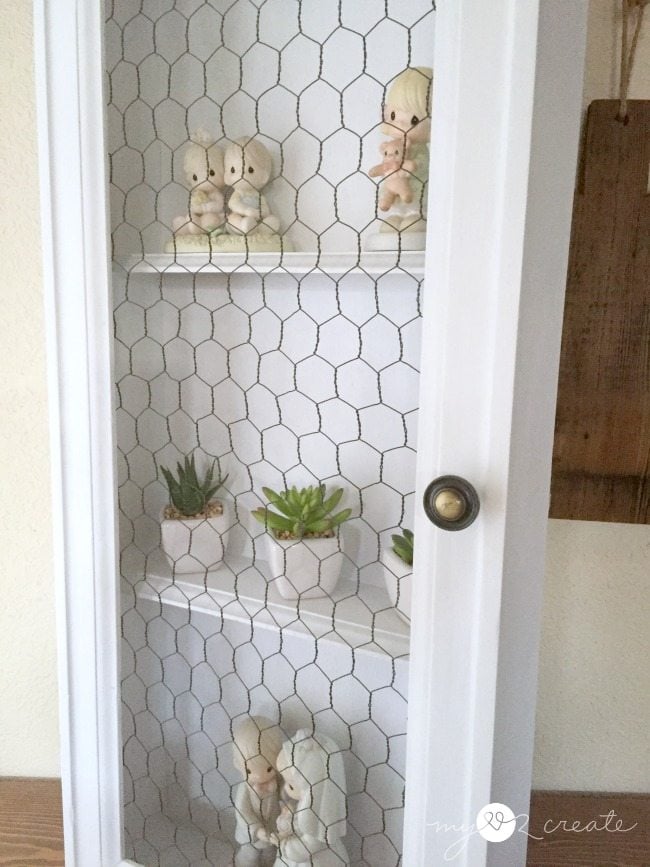
For the shelves inside the old drawer cabinet I used some more trim from the same pile, it was a little wider than what I used for the frame. I cut it to size and glued and nailed it on the sides and the back.
I just made two shelves, but you could add as many as you want!
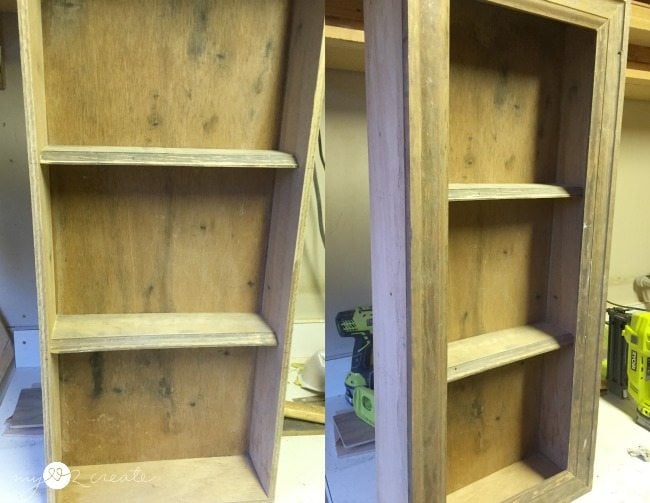
This is what I had at this point.
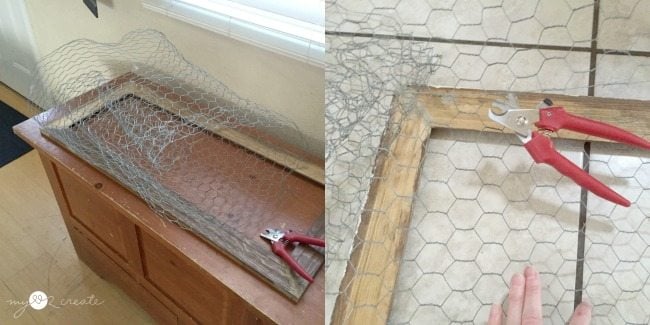
Part of the reason I wanted to do this project is so that I could us some of this chicken wire I had picked up from the side of the road. I have been wanting to use it on something for a LONG time, so I was super excited when I was cutting it to fit my frame. 🙂 I used wire cutters, making sure I had enough to overlap for attaching later.
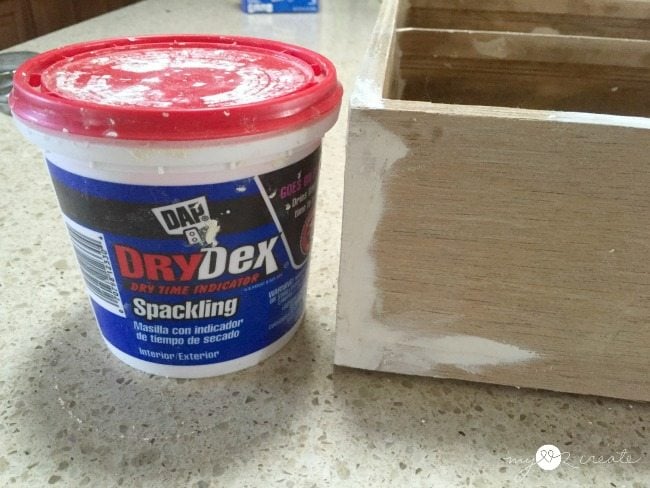
Next up was filling the holes with spackle, if I was staining I probably would have skipped this step. I wanted to paint so I knew I need cover up the holes so they wouldn’t show. I also sanded the drawer and cleaned it with TSP.
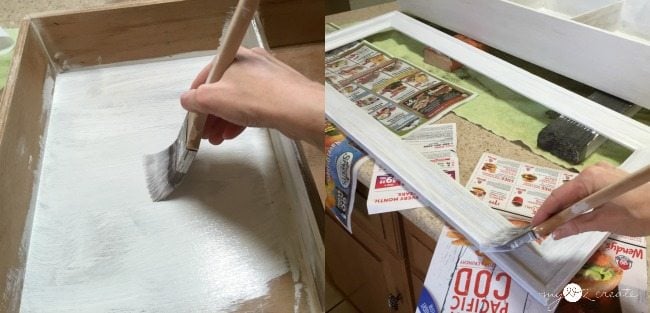
Now for paint! I used a homemade chalk paint with white for my first coat, and then added another coat of white (non chalk paint) on top. Tip: For a smoother finish make sure to sand with fine grit paper between coats.
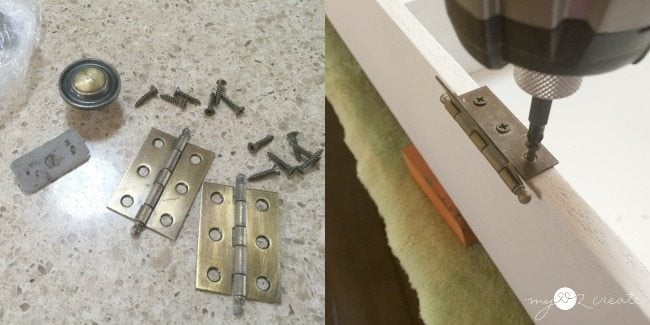
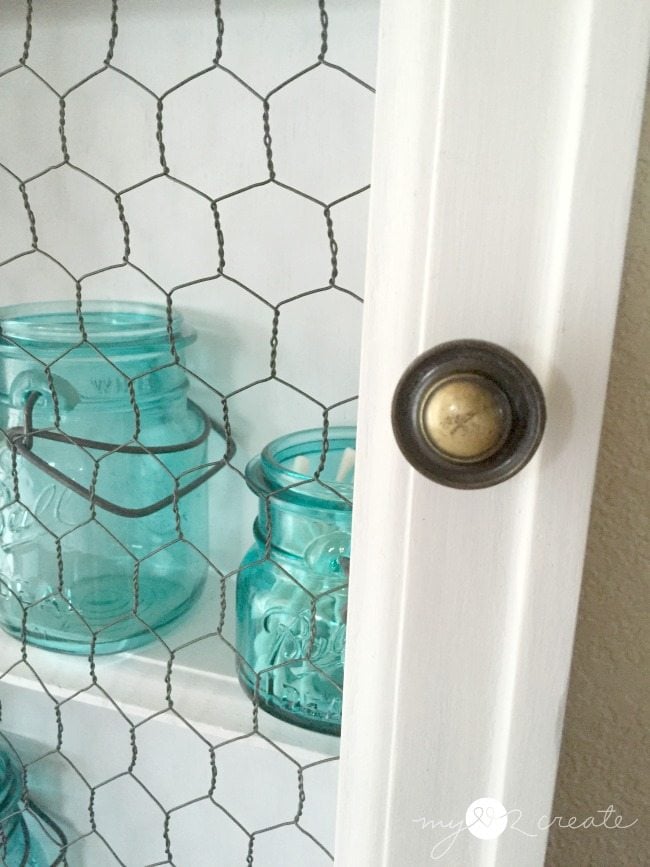
I rounded up some hinges and a pull that I got off of some shutters…at least I think that is where they came from… I started by attaching the hinges to the old drawer cabinet first.
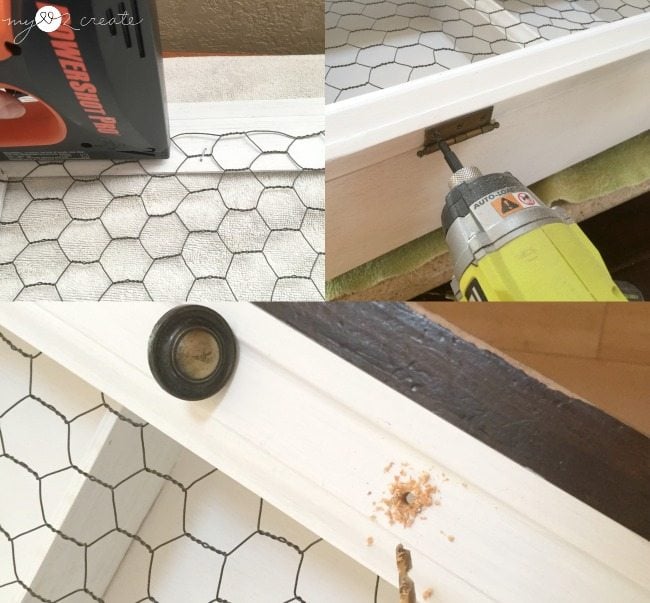
Then I attached my chicken wire to the back of the frame with staples, and screwed the door to the hinges on the cabinet. Last I added my pull. Oh, and I do want to note that I sprayed the chicken wire with oil rubbed bronze spray paint to darken it up a little.
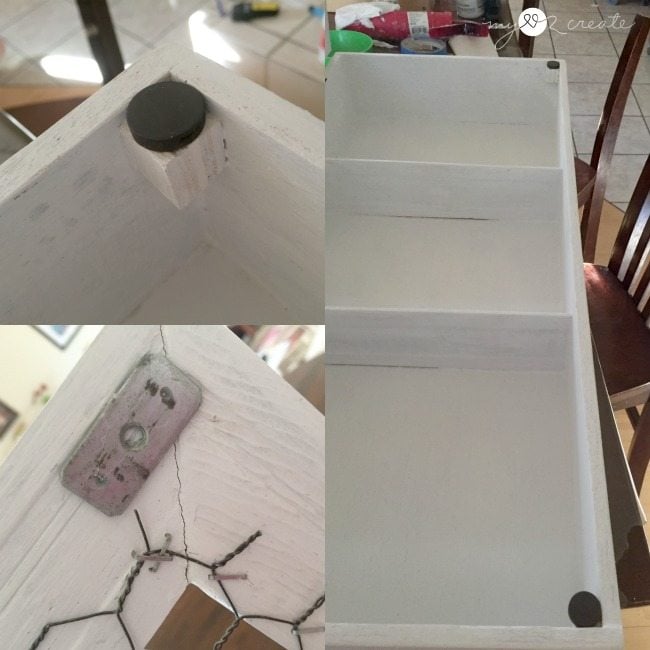
When I got to installing the door I realized I needed a magnetic door catch. I didn’t have any…so I made my own. I used some button magnets and a small scrap piece of wood. I hot glued them in the top and bottom corners so the magnet was flush with the top of the drawer. Then I hot glued on these metal plates into each corner. I think they were part of a magnetic catch system at one time…
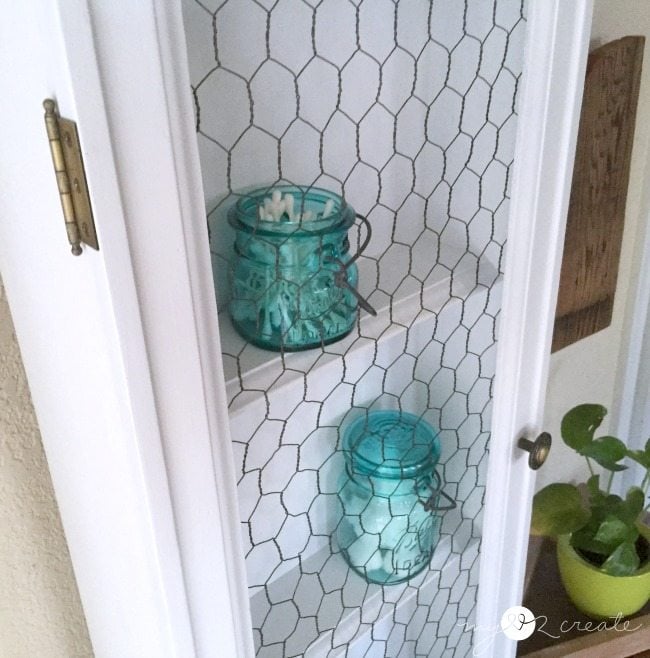
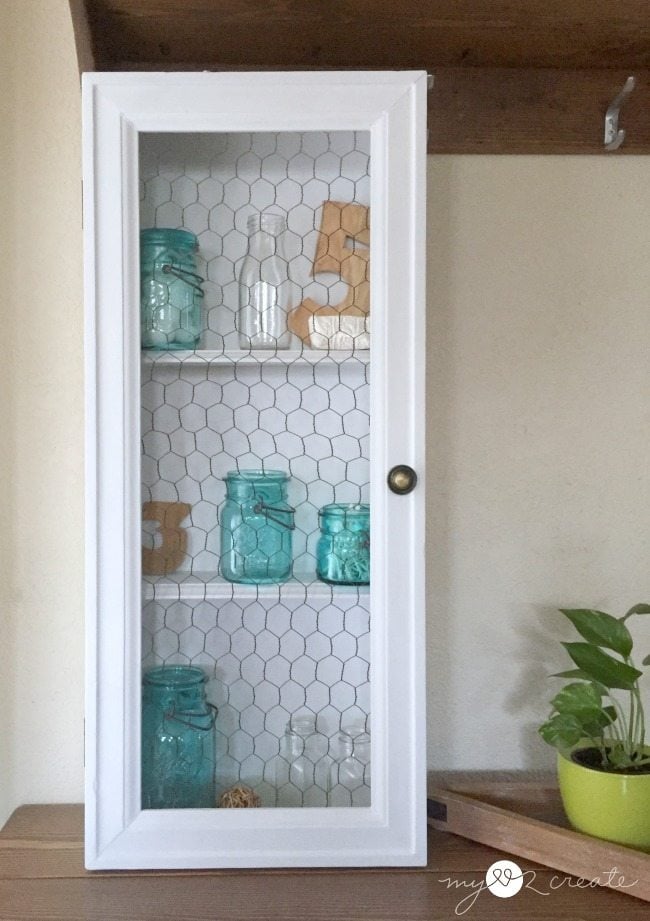
They keep the door closed perfectly, and that is it. Done. Of course then you have to decide where it is going…I put felt pads on the bottom for now so it can stand on it’s own, but I may add d-rings to the back and hang it in my bedroom. Decisions, decisions.

I love how it turned out, simple and just cute!


Related Content: Desk Organizer using Chicken Wire
I love it, great job.
I refinish a lot of furniture and have my own power tools too, but the thing I am most afraid of is adding hinges. My husband says it’s a pain ( that you have to notch out wood etc.) so now I am terrified.
Can you show how with close up photo’s please. It can’t be that hard, can it?
Kristen,
This project is from my friend Mindi. But when you place hinges where they are visible, there’s no notching necessary. Your hubby must be a trained wood worker. I have NEVER notched for any hinges.
Here’s an example of where I used a piano hinge https://www.myrepurposedlife.com/mirror-jewelry-armoire/
A window cabinet with small hinges https://www.myrepurposedlife.com/window-box-cabinet/
There will generally be a small gap, but in my opinion, it only adds to the charm!
let me know if I can be of any further assistance.
gail
Hi love this project. We want to make the doors for our kitchen cabinets. We are wondering how you finished off the wire on the inside so it was pointy or sharp? Would love to see the back of the door.
Thanks
This project is from Mindi, she was a long time contributor to My Repurposed Life. You can visit her blog here, and leave a message for her on this post. https://www.mylove2create.com/2016/12/turn-drawer-into-cabinet.html
Thanks for sharing your fun ideas! I just bought SEVERAL old drawers from a dear lady who was leaving most of her crafting to be able to travel with her husband. I am sure at least one will be used for this pretty cabinet:)
So awesome! I’m happy you’re inspired by this project from my friend Mindi! Drawer projects are so much fun!
gail
So creative and such a great tutorial
Will have to come back sometime tomorrow to see more projects, you two are very busy talented ladies. Am loving all the re-do’s, now if I can only get hubs to make couple of them for me. We have to work outside so it’s not best situation in summer. No garage, basement or carport, have to be out in heat. If I would ever get all the “stuff” out of shed could use it eventually.
Was going to clean shed out this Spring but was so cold and rainy no chance. Hope Fall will be more cooperative and my allergies don’t go crazy. We lived in KY for 5 yrs., had nice garage to work in but allergies, asthma and arthritis were so bad had to move back west. Still have allergies but not to extent they were in KY, thank heavens.
Enjoy rest of week.
Great looking cabinet I also love repurposing! I just love that cabinet.
Robin
I love this! And I was thinking if you turned it into a jewelry cabinet or if you wanted to use it as a floor cabinet, some decorative furniture legs or the bun feet would be really cute on those too. Just a thought, thank you for sharing!
Wow!
You make it you look so easy!
I have never tried any of these types of projects.
But one day….
Reply
awesome!
Do you just use finishing nails to nail the shelves in? Not screws?
Love it!! I also have those bicentennial Mason jars full of the same things in my bathroom 🙂
Mindi,
I love this repurposed drawer project. I have so many drawers in my stash… hoping to make something fabulous soon. yeah…because I need to do some de-junking too!
super project and great tutorial!
gail