Desk Organizer Tutorial
As an Amazon Associate, I earn from qualifying purchases.
So cute right?!
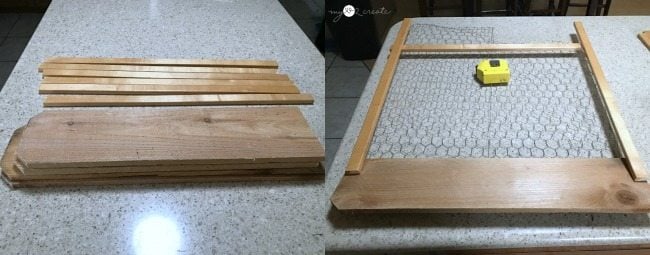
Last week on my blog I shared a Repurposed Crib Paint Shelf (which has been totally awesome!) and I had some fence boards and crib slats left over (left).
I grabbed the scraps and started playing around with how to make my desk organizer. After discovering some left over chicken wire, I knew I was in business…time to build!
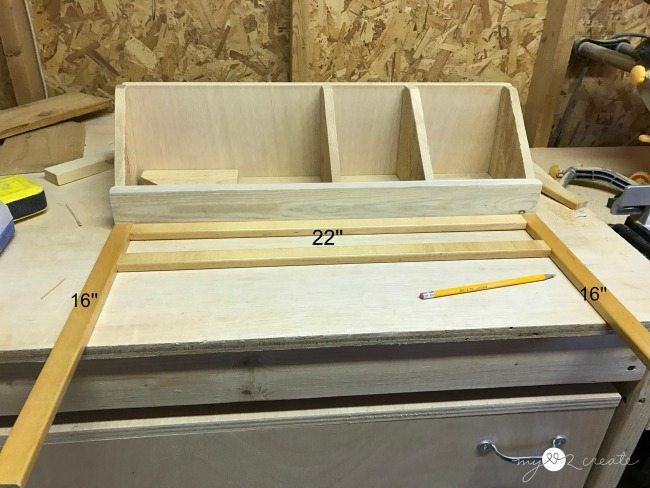
Start with the bottom and sides
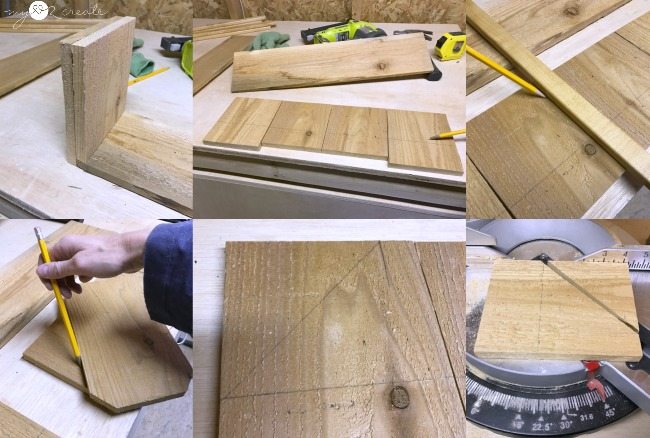
I started by cutting the bottom piece, and then the two sides. For the dividers I just had to make sure they were 1/2”. That’s the thickness of the wood less the the sides (top left).
Then I laid out all the pieces. I measured up from the bottom for where the front board would be (top middle). Using a crib slat (top right) I measured from the back (1”), and then drew a line to match the two edges (bottom left). I cut all the board on this line at a 45 degree angle.
Measure and mark front and back pieces
For the front and back pieces I grabbed a scrap 1×3 board and a scrap piece of plywood that happened to be exactly the right width. Using my bottom board and dividers as a guide I marked my cut lines and trimmed the boards to fit.
Now let’s build the chicken wire frame. I grabbed the crib slats and used my organizer as my guide to measure and cut them to the correct width. The height? It was just a guestimate.
Cut list for desk organizer
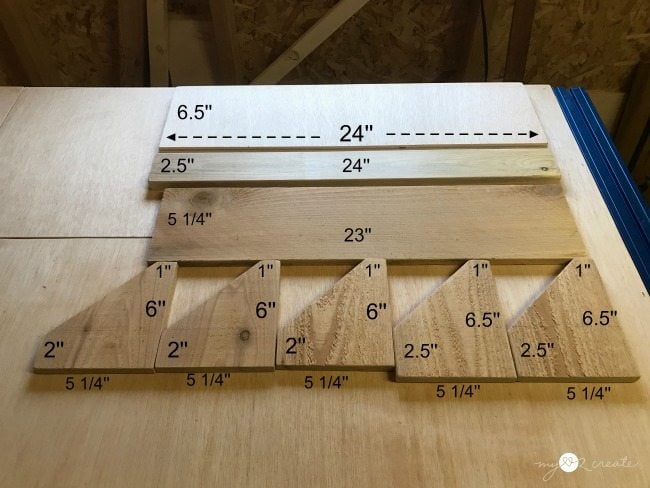
When you DIY you can make it to any size you want. But to make it easy if you don’t want to think, here are the measurements of my organizer pieces. Keep in mind that you need to be aware of the thickness of your wood. My dividers and bottom pieces were about 1/2” thick, and my front and back pieces were 3/4” thick.
Drill Pocket Holes
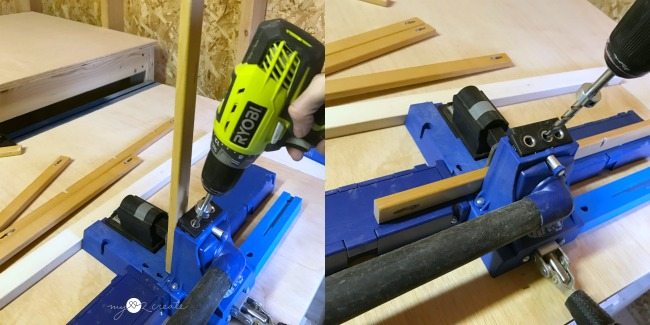
I grabbed my Kreg K5 Pocket-Hole Jig and drilled 1/2” pocket holes into my crib slats. I also drilled into one slat so I could attach it to my organizer with pocket holes. The Kreg Jig Micro Drill Guide System to make the pocket holes smaller, since the slats were so small, to avoid splitting the wood.
Need more details on using a Kreg Jig? See my article How to use a Kreg Jig Pocket Hole System
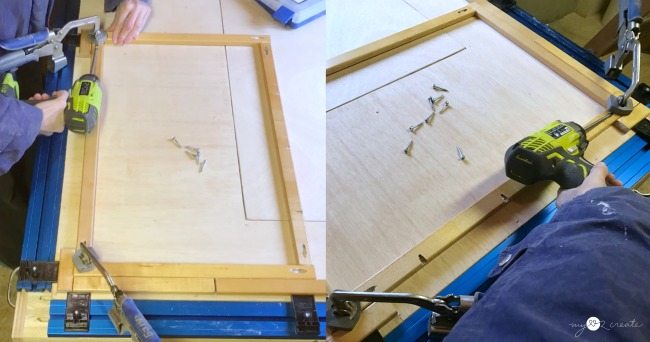
Then I clamped my frame down with my new Kreg Clamp Trak Kit and drilled the slats together with 1” pocket hole screws and wood glue. If you have a sharp eye you may have noticed that the pocket holes I drilled on the middle board are facing inside the frame. I attached it the wrong way! Oops! I ended up having to re-drill new pocket holes next to these, but going the other way, luckily an easy fix.
Cut and Staple Chicken Wire
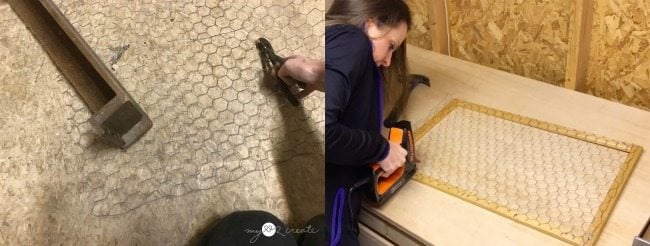
Did you know in a pinch you can cut chicken wire with pliers? I stapled it onto the back of the frame, and THEN went to get the scissors to trim off the excess.
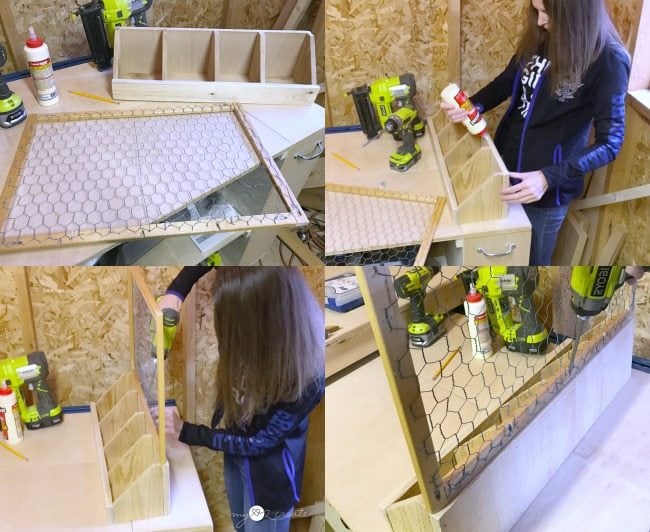
Assemble Desk Organizer with Pocket Hole Screws

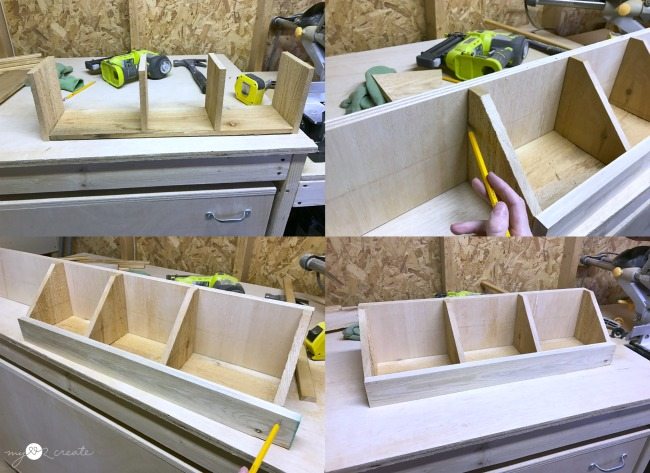
To build the organizer box, I used wood glue and finish nails. Using my Ryobi Nail Gun I started by attaching the two sides (top left). Next, I added the dividers (top right). Then the front and the back (bottom) making sure to nail into all sides and divider pieces.
Wood Glue Insures Lasting Hold
To finish it off I added glue to the back piece and screwed on my crib slat chicken wire frame with 1” pocket hole screws. And that is it!
Oh, I do want to mention if you are worried about the sharp chicken wire edges you can cut small strips of felt and hot glue them over the exposed wire edges to prevent scratches and injury. 🙂
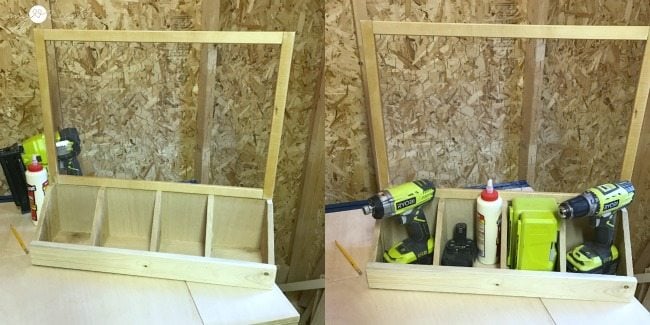
When I finished, I packed my tools into the organizer to take it inside…and realized it would be great in the workshop too!
Time to Paint using Mindi’s Favorite Color!
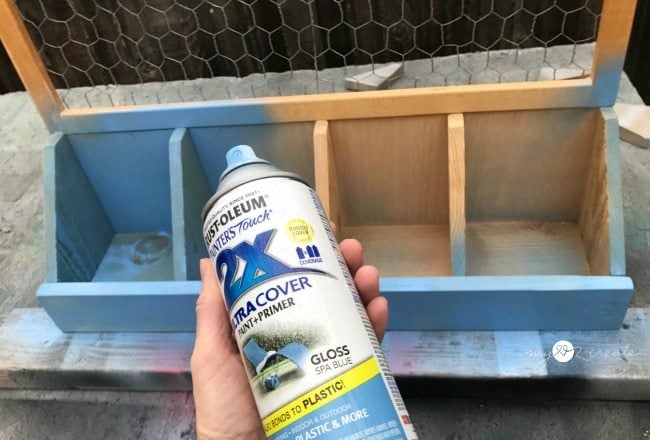
I had my kids vote on the color from my spray paint stash…truth Gail. They picked……..BLUE!!! Muahahah! I have trained them well. 😉
This color is left over from my Standing Coat Rack, and I am thinking this organizer would be cute in the entryway on the wall right next to it! So many great uses for this piece!
Embellish with Chalkboard Labels & Washi Tape
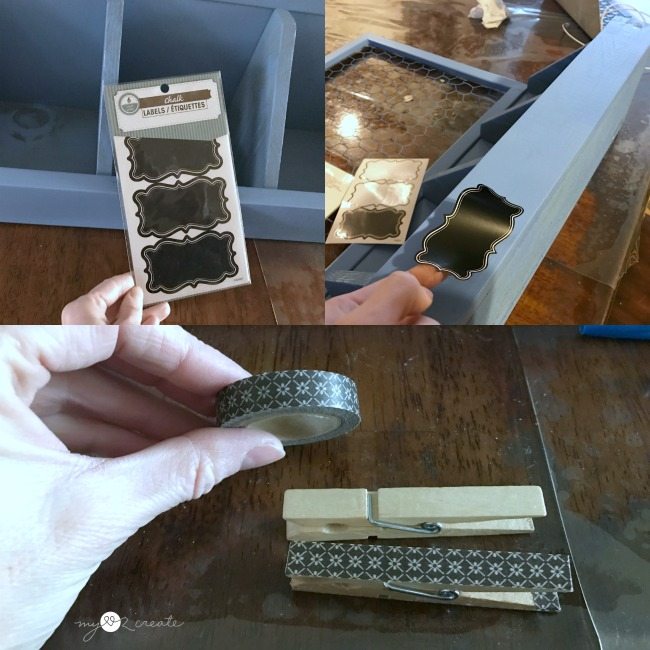
After the paint dried, I went to my old standby of I Love Chalkboards. Instead of painting them on I remembered I had these cool stickers left over from my Cubby Storage Rack, and they saved the day!
Of course when I went to find them I got side tracked and saw the washi tape, which reminded me of my Repurposed Hook Shelf…and I ended up decorating the clothes pins.
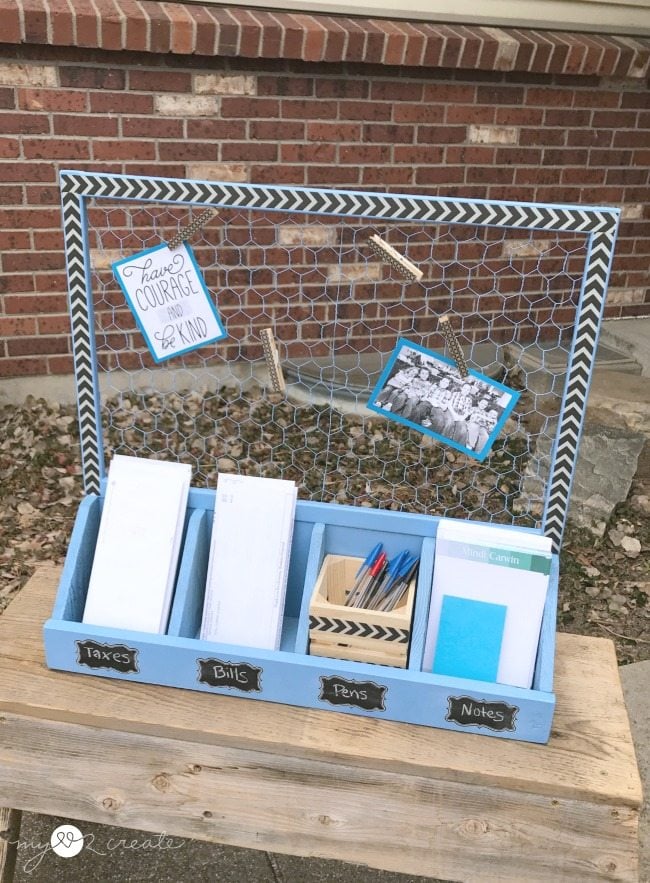
Blue Desk Organizer With Chicken Wire Memo Holder
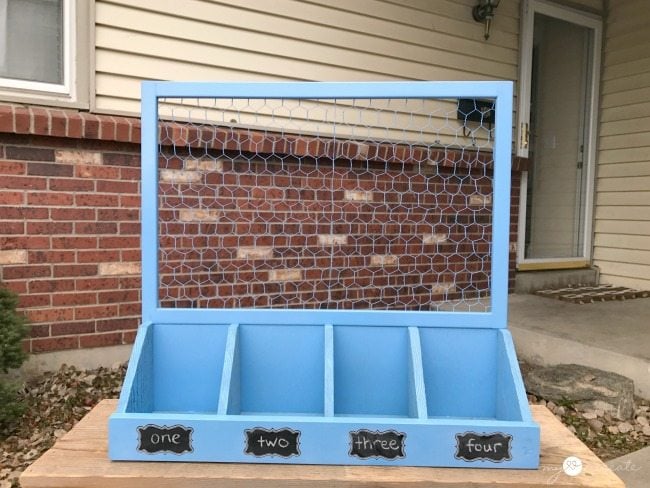
Here it is before I went a little crazy with the washi tape!
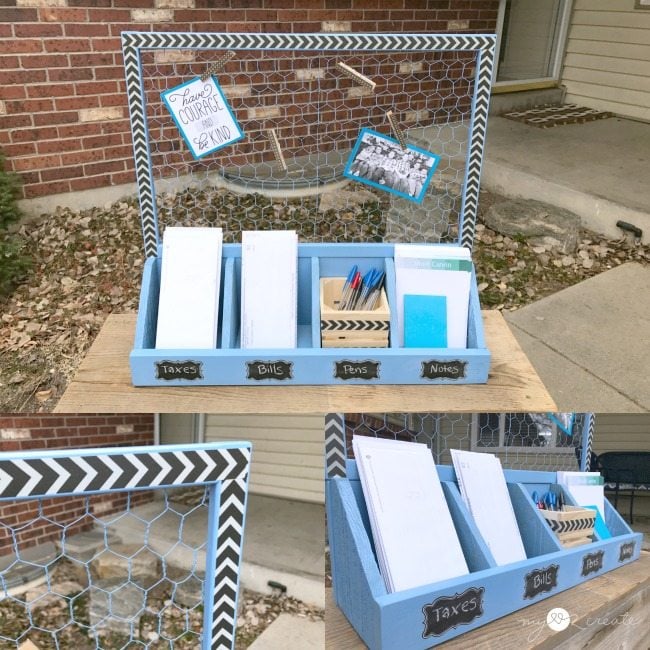
Then the after. Obviously the clothes pins weren’t the only thing that got “jazzed” up. I think it makes it look fun. The best part is, you can take it off when you are tired of it, or want another color or pattern.
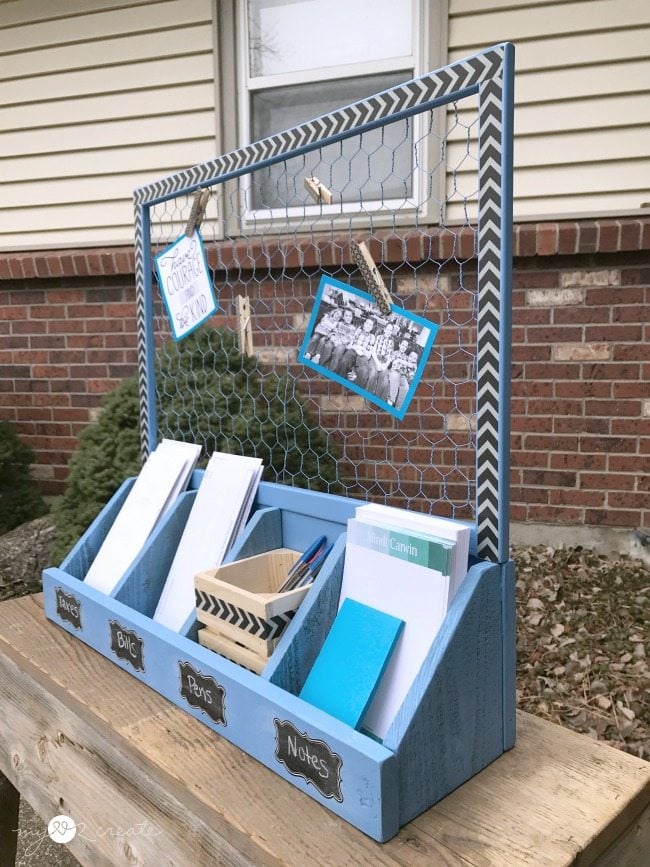
I love the fun addition of the chicken wire, for photos, quotes, important notes, or whatever!
So, what would use this for? I can think of so many different ideas, I would love to hear yours!
Thanks for reading, and please come visit me at MyLove2Create for more great ideas!
Mindi
see more of Mindi’s posts on MRL Here
Related Content: See More Desk Projects Here
Mindi,
Another BLUE project–no real surprise. hahahah Your kids are mini mindi’s. lol
I love this desk organizer, and a great tutorial as always. Thanks !
gail