Old Oak Table redo into Craft Table
As an Amazon Associate, I earn from qualifying purchases.
This old oak table turned into a craft table is one of those projects that took awhile to complete. Not because it was all that difficult, but mostly because I couldn’t figure out just what it should be.
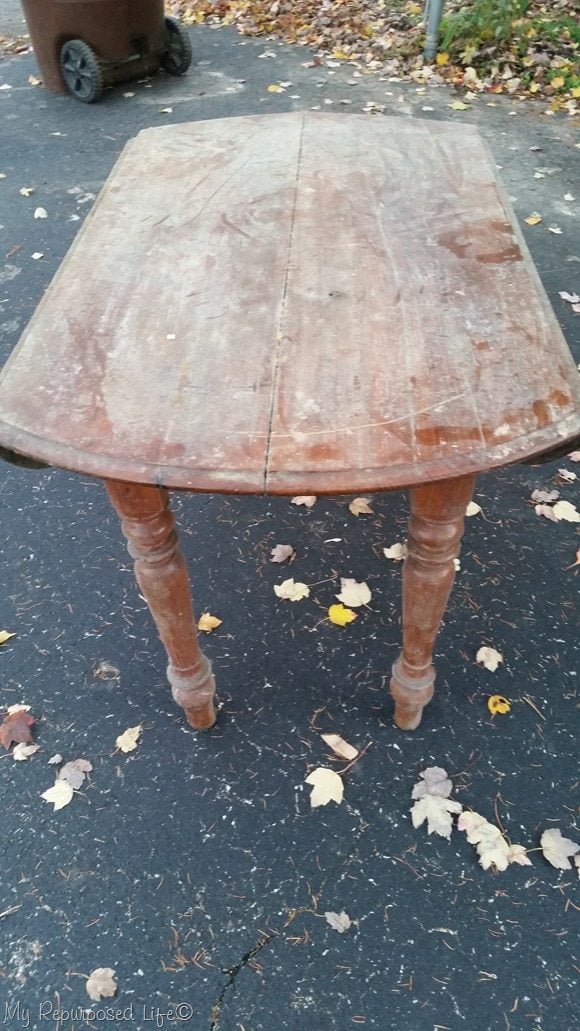
I got this old oak table in the Fall of 2015. It was in really rough shape—I guess that’s why my neighbors got rid of it.
*this post contains affiliate links, read more here*
Clean old table
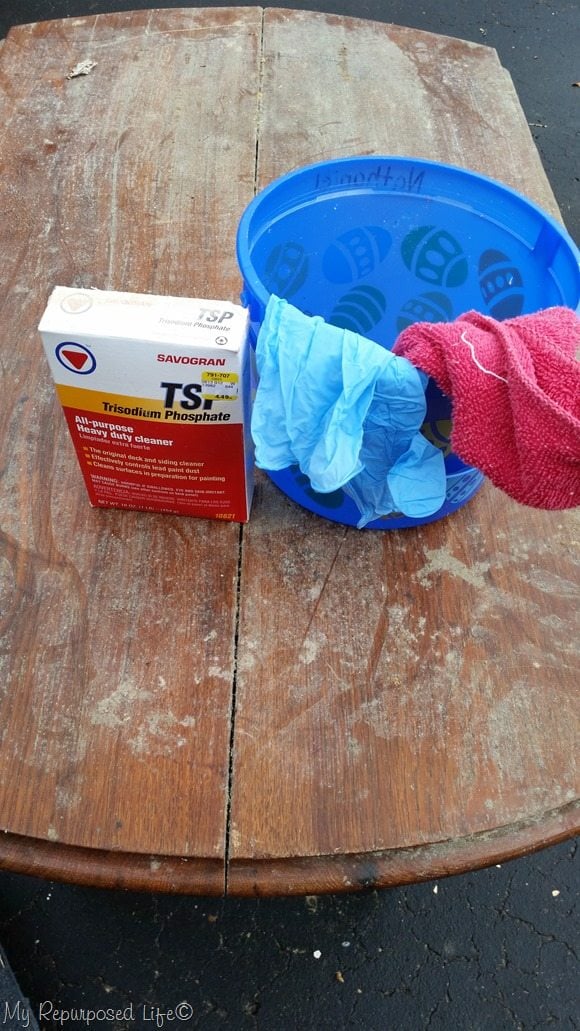
The first place to start was cleaning the grime off the table using latex gloves and TSP. I needed to see just what was going on under all that dirt and mold.
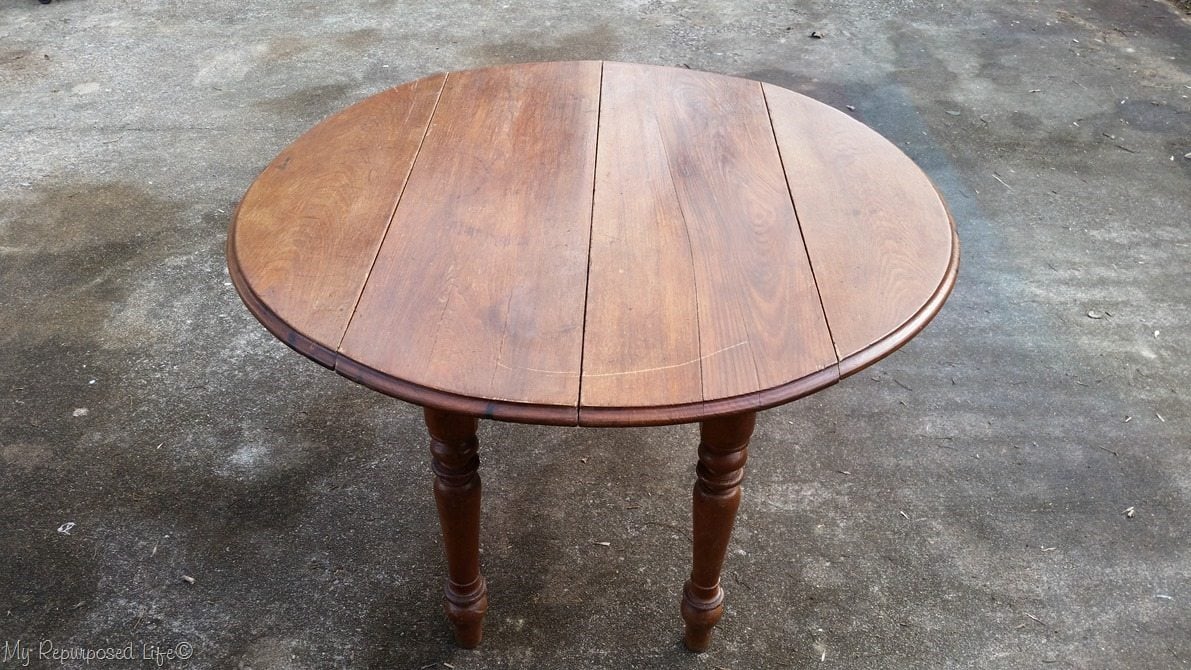
This is after a good cleaning. Then.It.Sat. for over a year and a half! You know how any horizontal surface is. It waited in the garage for it’s makeover and became piled with stuff—until a couple of weeks ago.
Make Repairs to old table
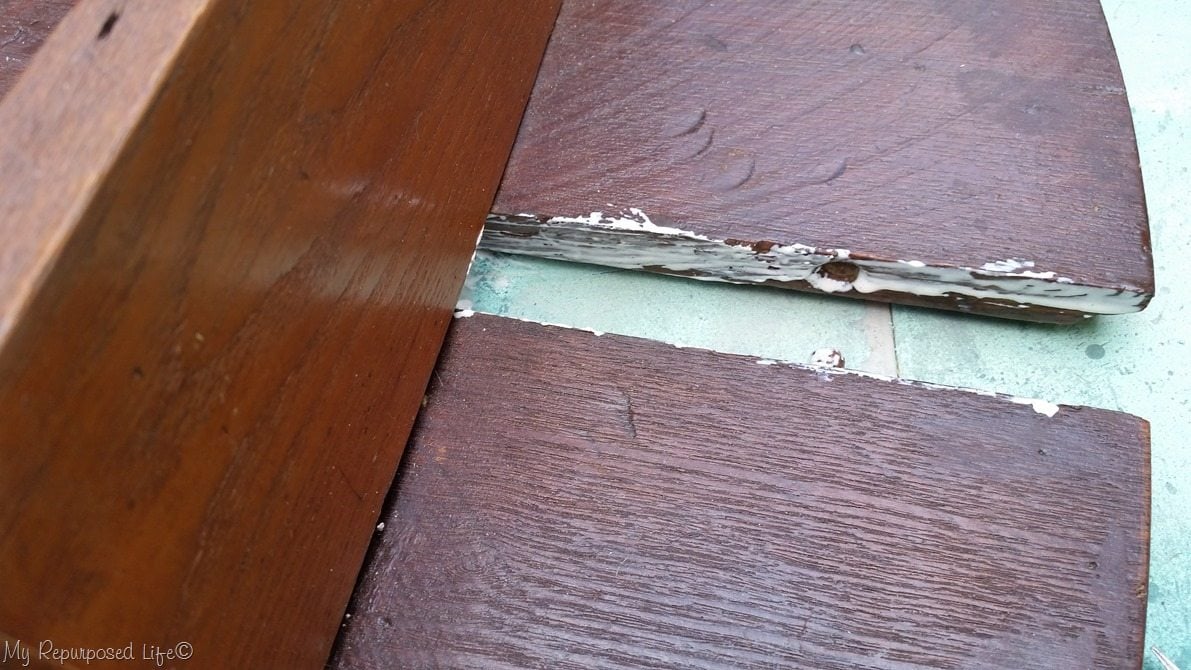
I briefly tried to repair it after cleaning it, but it really didn’t work. So after getting it out, I removed some screws in the skirt and separated the table in order to use some Gorilla Wood Glue . I pushed it together and clamped it until the glue set up. I put the screws back in place.
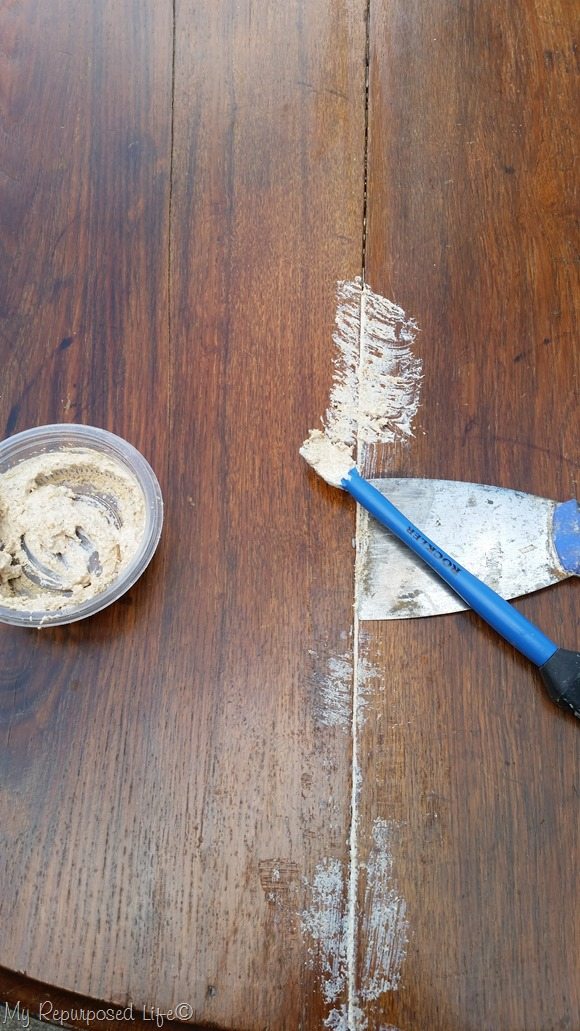
Because the crack in the table was still pretty significant, I mixed some sawdust with the wood glue to make a patch. I used the handy rockler silicone glue brush to spread the glue and patching. Then I sanded the entire top of the table.
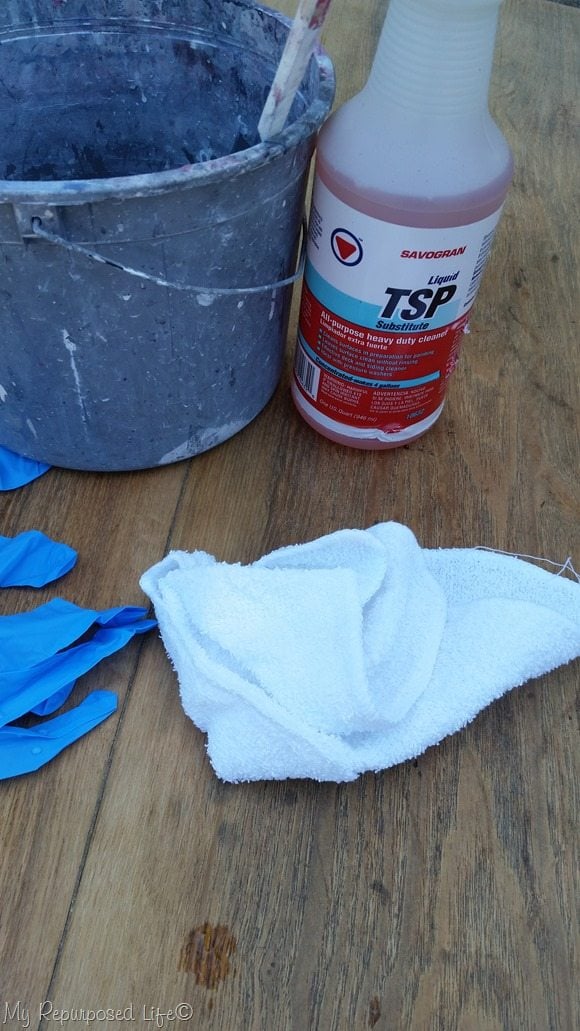
More TSP to clean off all the dirt.
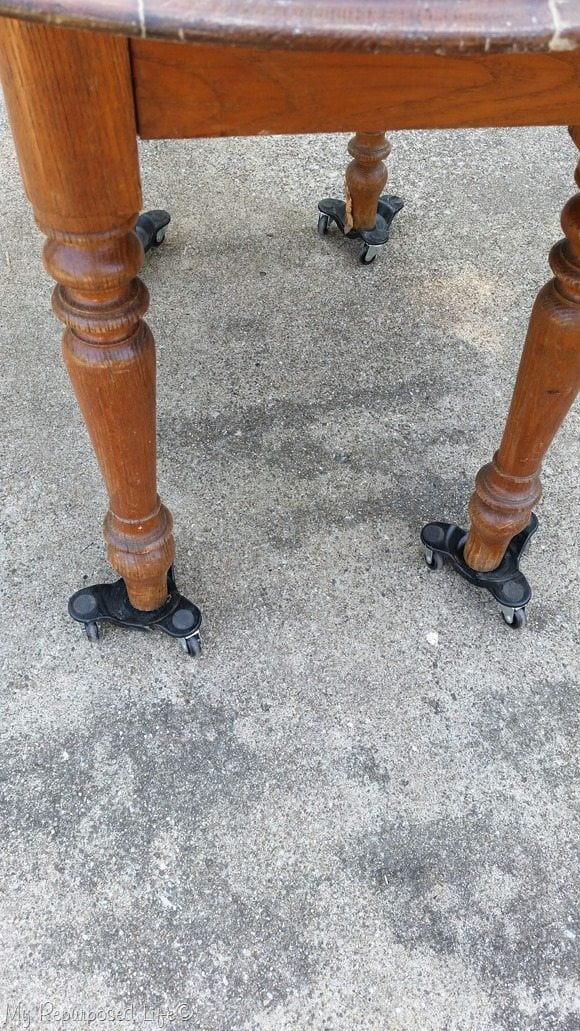
Although the table isn’t too terribly heavy, it’s a bit awkward so I use these small furniture dollies to move the table around as I work on it.
Paint old oak table
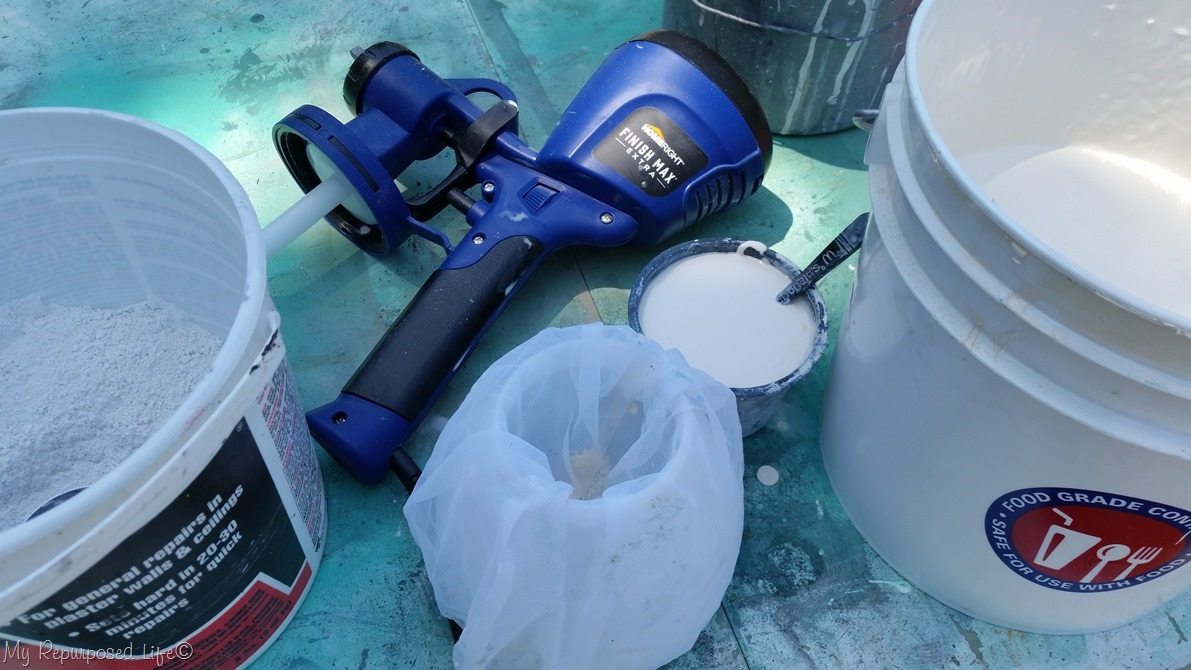
Have you met my new best friend the Homeright Finish Max Extra? Oh my! I love, love, love the new features of this little fella! I still use a mesh paint strainer to make sure there aren’t any lumps in my diy chalky paint primer that I make with plaster of paris and regular latex paint. This happens to be part of a five gallon bucket of an off white oops from The Home Depot. I poured it into a more manageable 2 gallon bucket. You’ll be seeing it in a lot of projects because I’ve only used about a gallon so far.
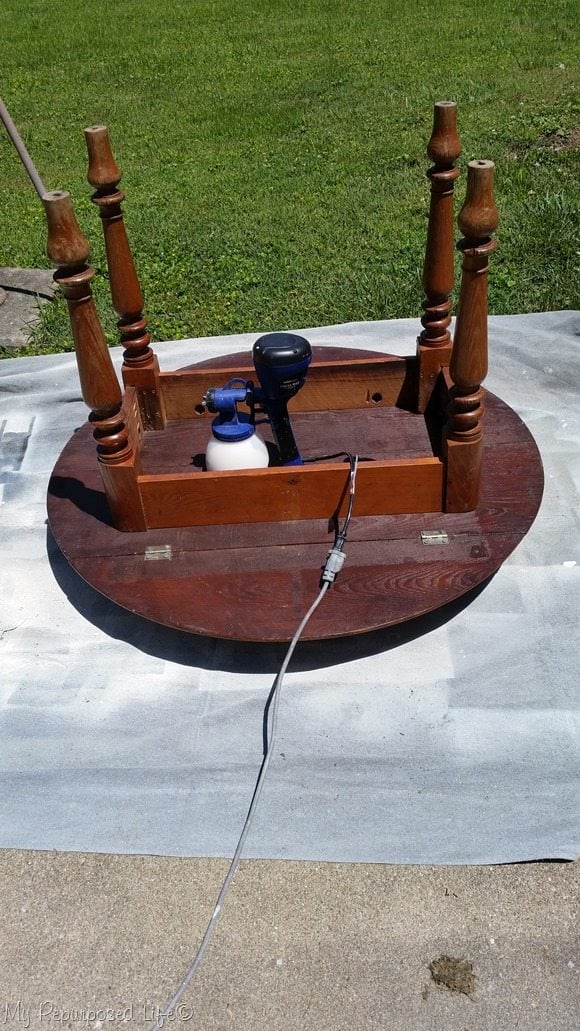
I turned the table upside down to begin painting. I’ll be writing a post in a couple of weeks on the Homeright DIY blog about the new paint sprayer. Giving you the pros and cons and why I think you should pick one up.
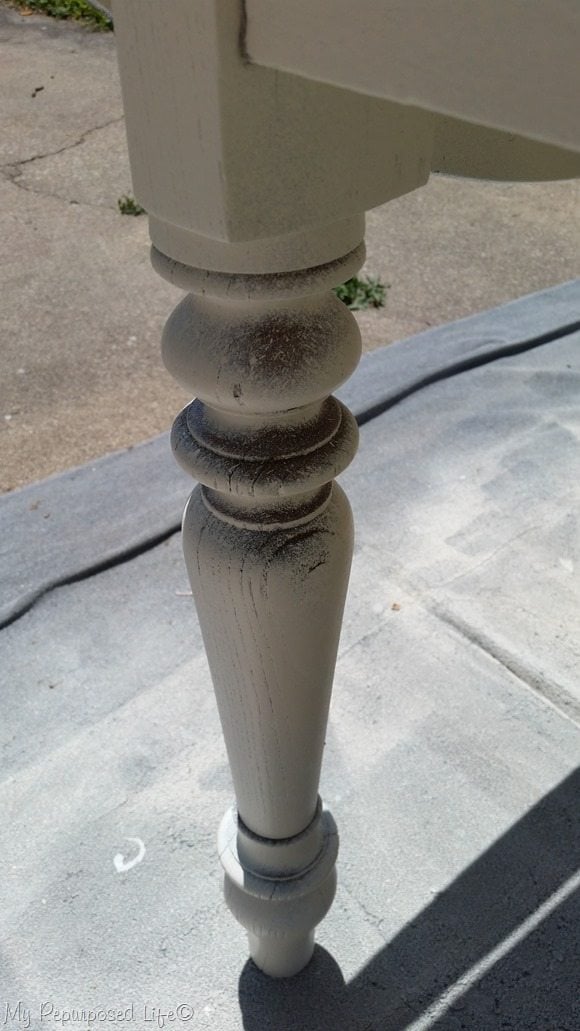
This is the result of painting upside down. Imagine if you painted ONLY right side up—this is how the underneath side of your table legs would look. It’s quick to touch up the missed spots when I turn the table upright.
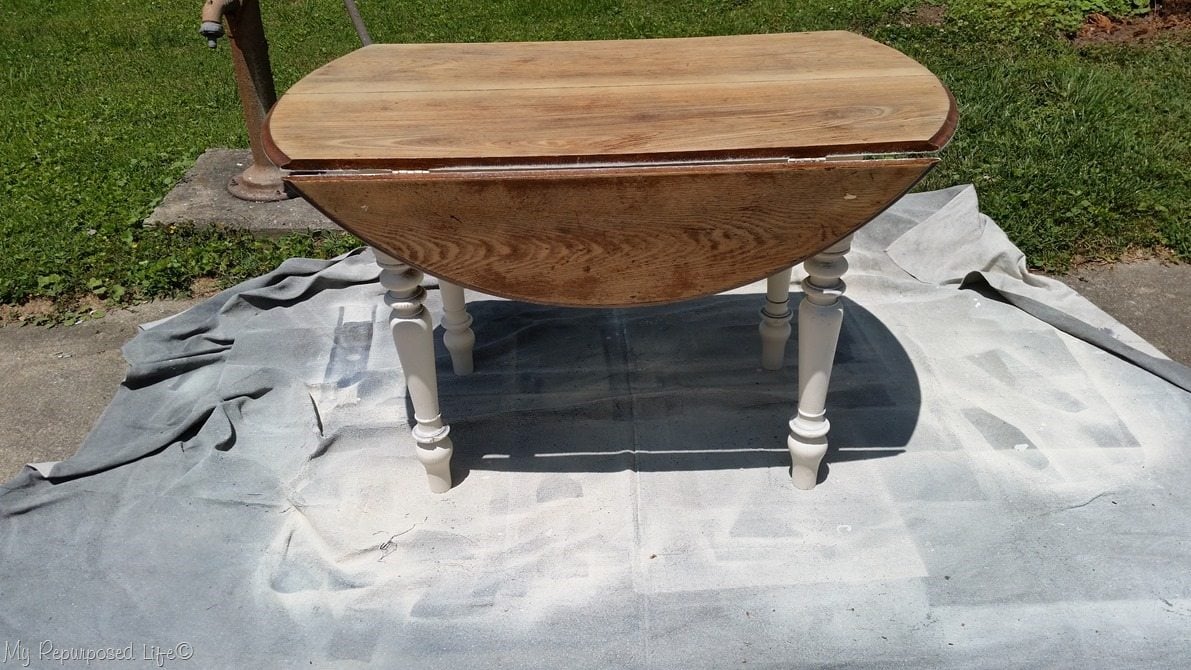
Now it was time to give the table top the Finish Max Extra treatment.
Lightly sand between coats of paint
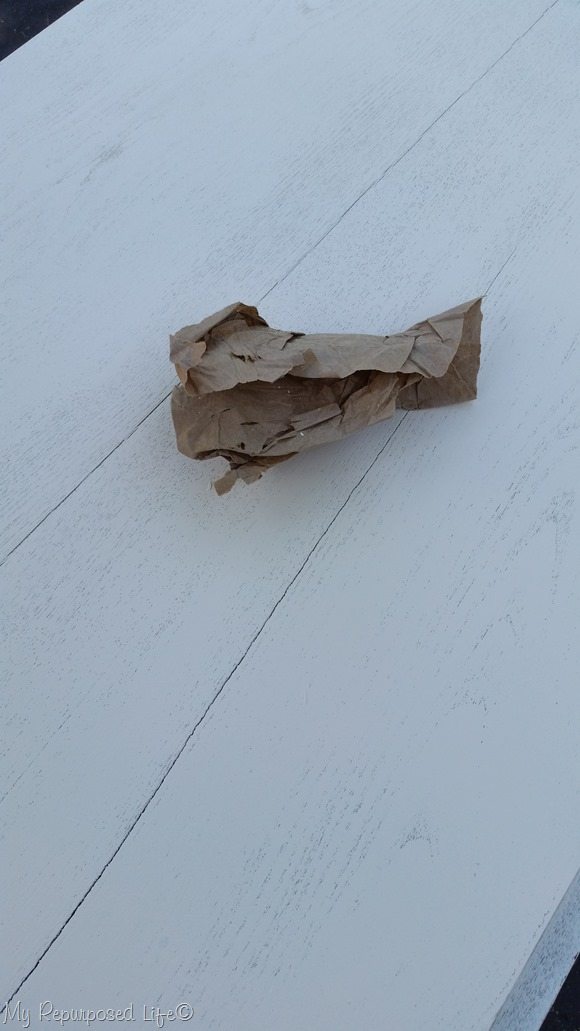
After a couple of light coats of the chalky paint primer, I gave the top a once over with some brown craft paper to give it an even smoother top coat that I applied with a roller on another day.
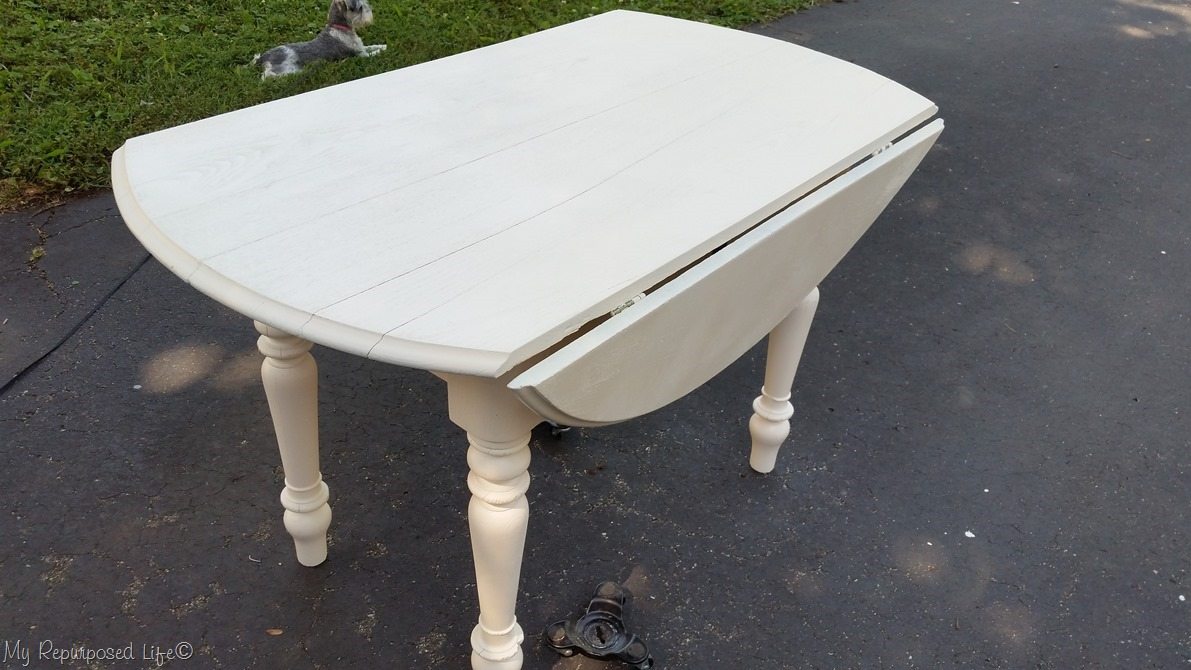
Lulu Mae is on guard to make sure nobody steals our pretty new table.
How to glaze oak table
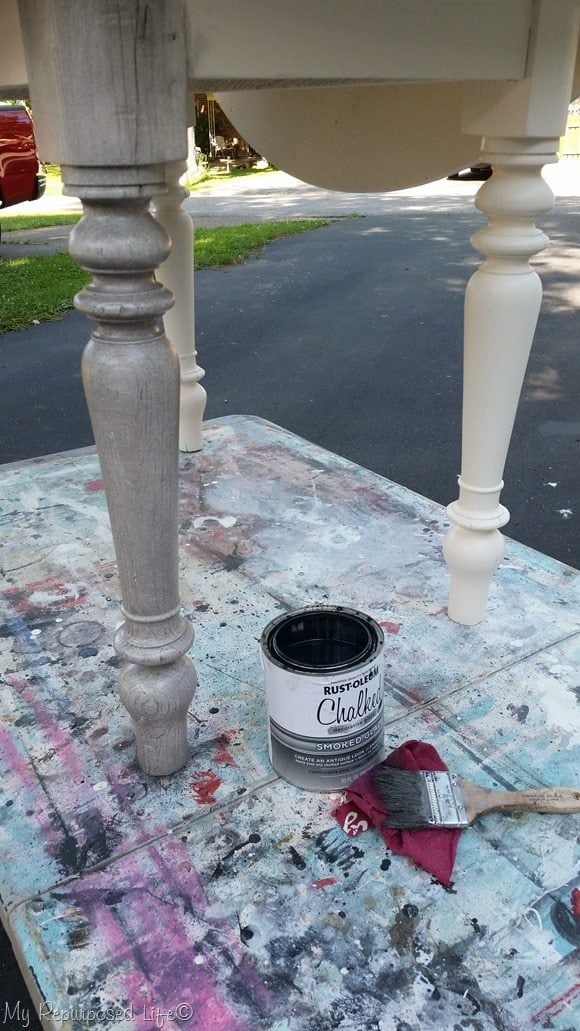
I applied my new favorite chalked smoked glaze—starting with the legs and the table skirt.
See more great ideas in my post How to Glaze Painted Furniture
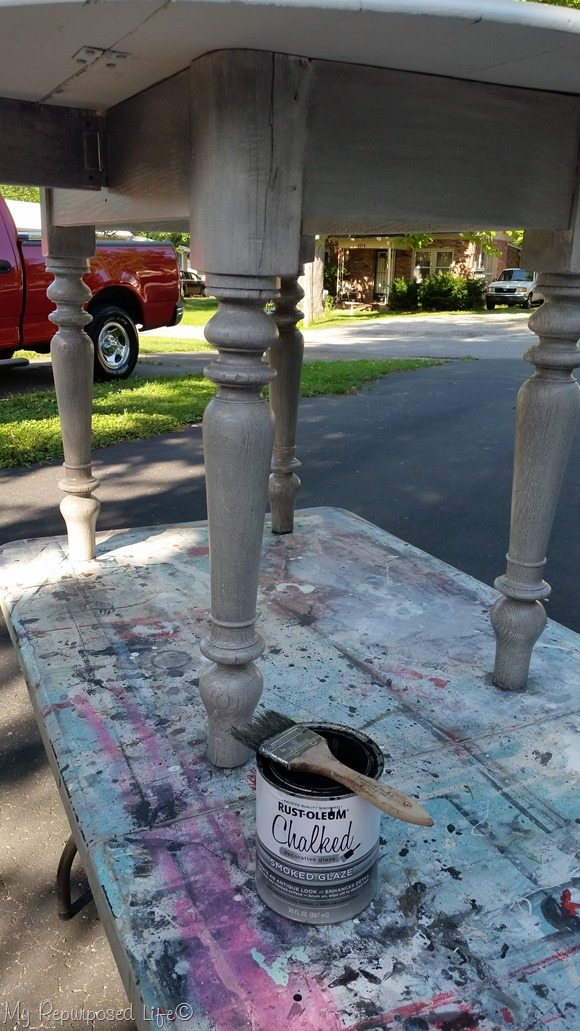
Not only do I love how this glaze looks, it also (in my opinion) makes the perfect top coat over the chalky paint.
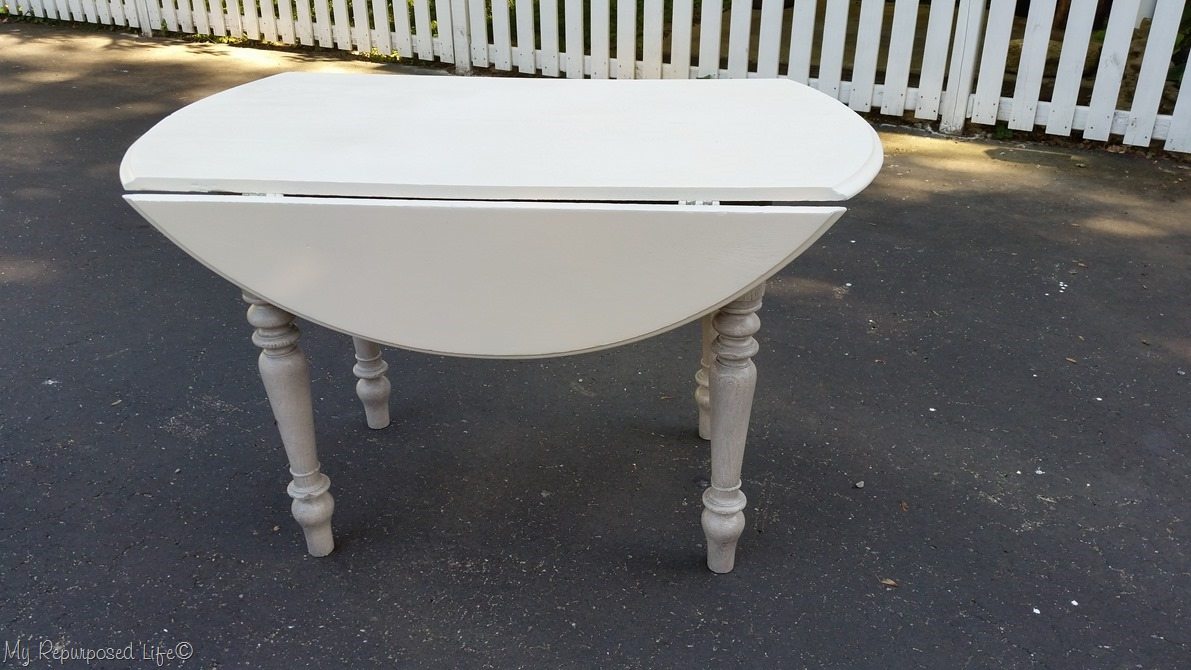
I set the oak table off the work table onto the driveway so I could glaze the top. I step back and look at it, and decide I think I love it as is. Now, to find some chairs to go with it.
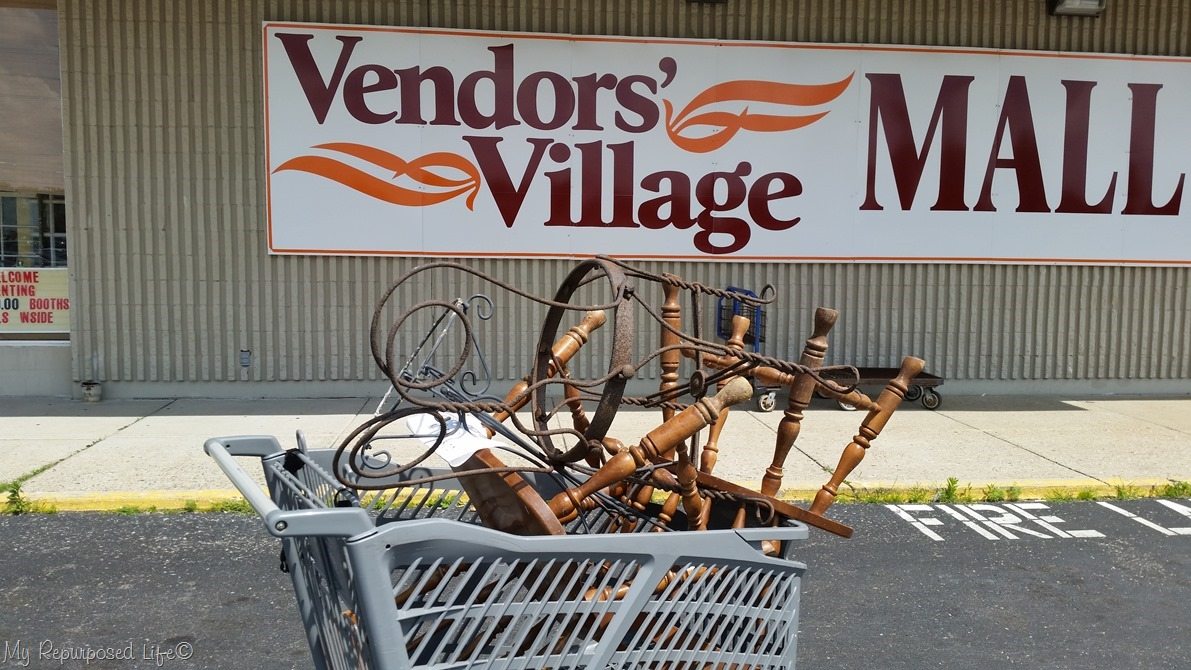
A quick trip to Vendors’ Village fixes the chair problem. John was working in his booth and I asked him if he had any chairs. He had these wooden chairs in his stash and brought them out to show me. They both needed repairing, so I got them for $5 each.
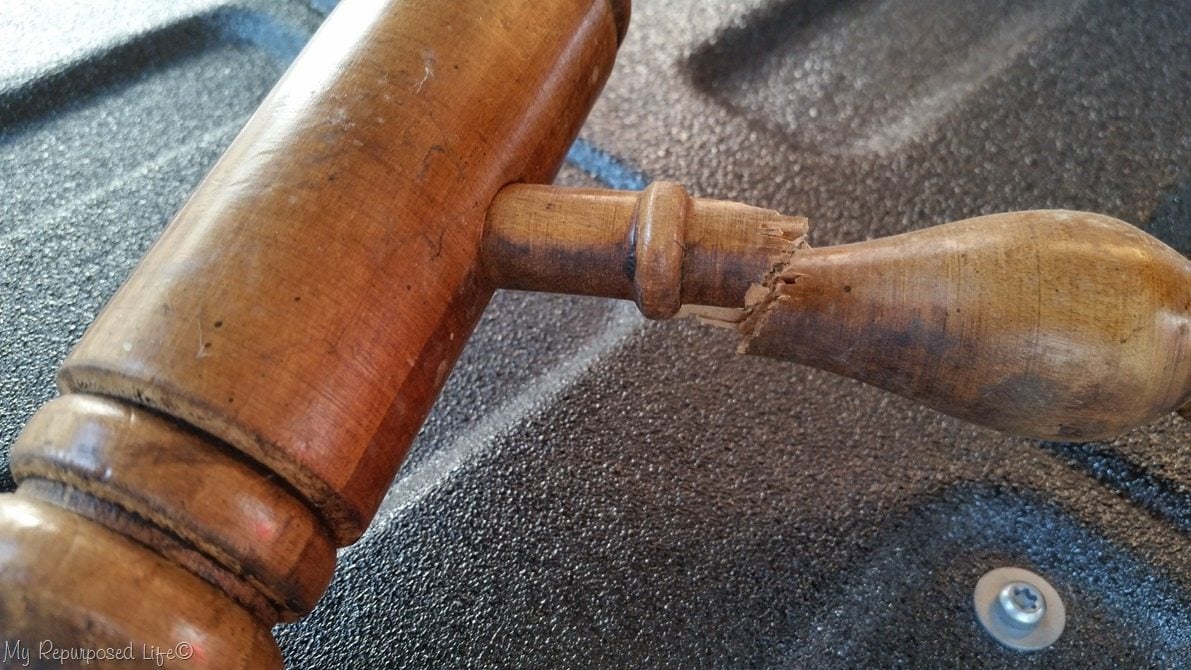
One of the chairs was severely damaged on the cross brace. The other chair had a spindle dislodged.
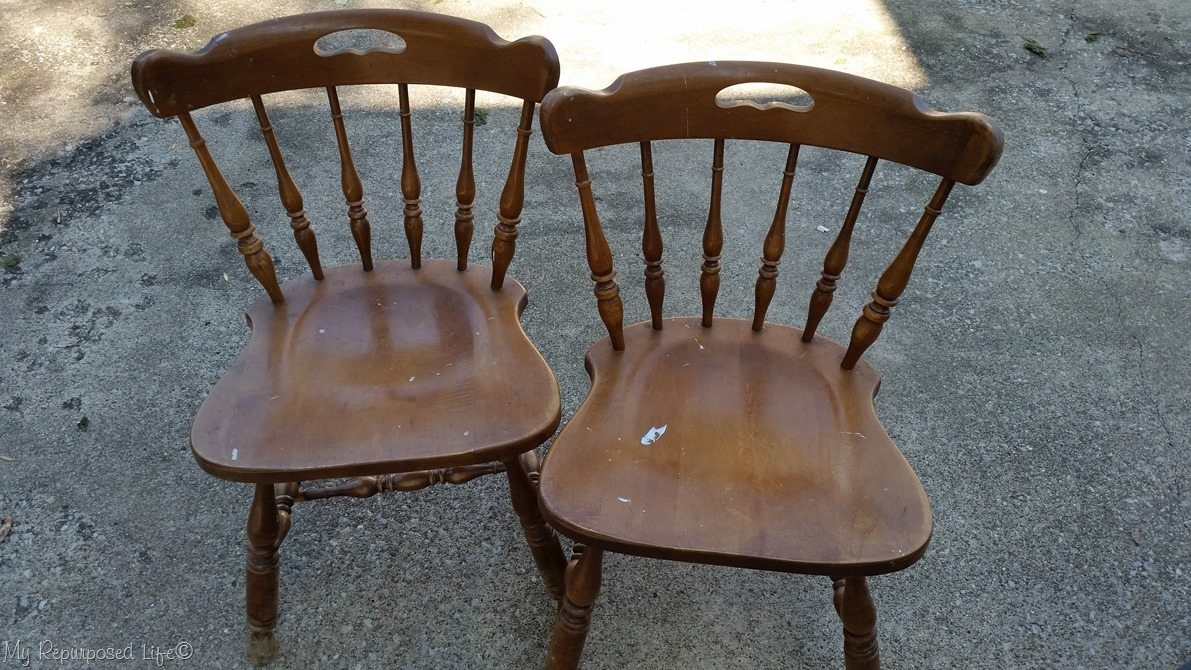
But! They were exactly what I had in mind when I went shopping.
How to repair broken chair spindle
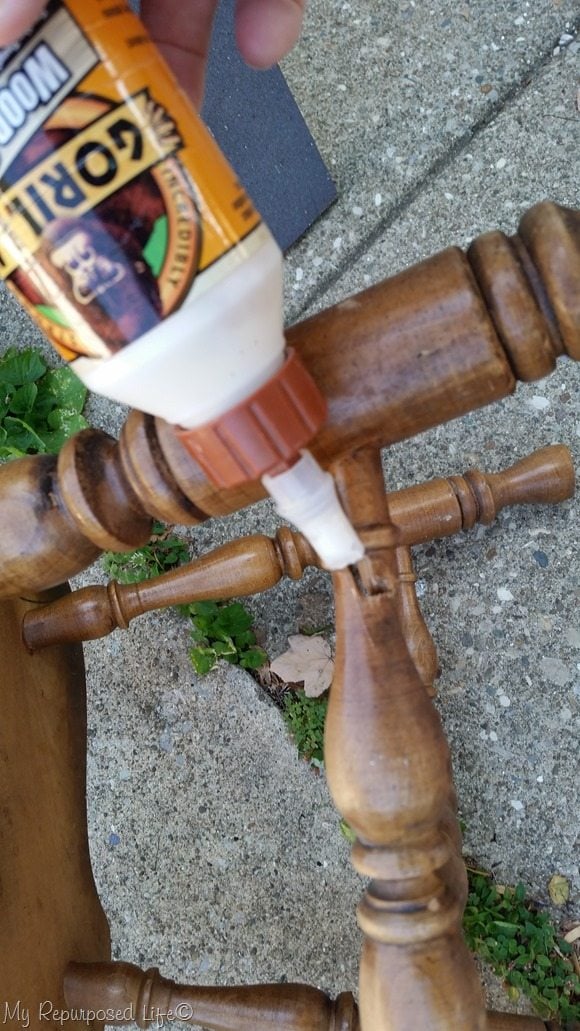
I used my trusty Gorilla wood glue and the Rockler glue spreader to make sure there was ample glue in the damaged area.
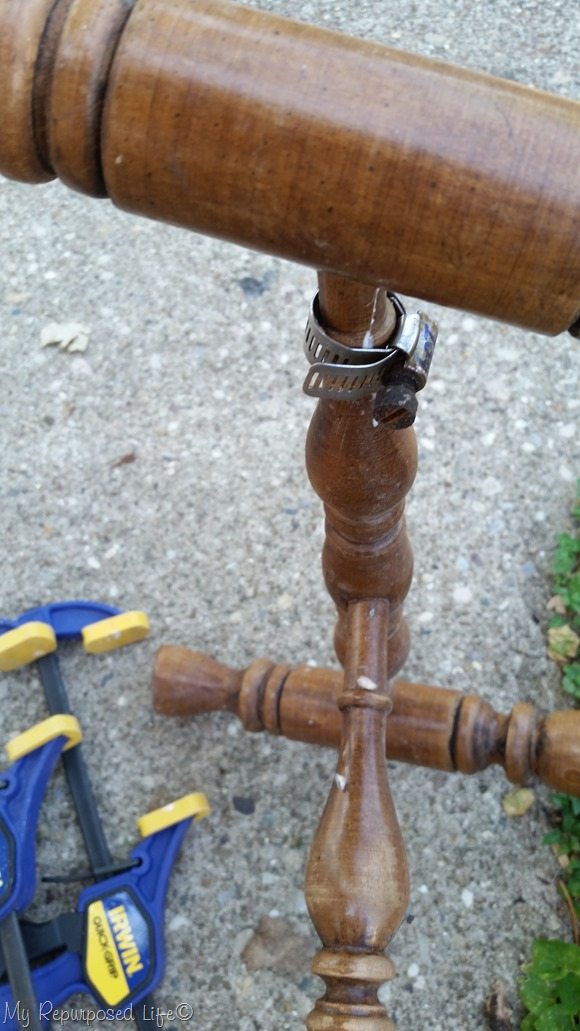
Here is where “thinking outside the box” will really help you in your diy ventures. John gave me this tiny hose clamp to help with the repair of the chair spindle. It worked like a charm. I clamped the chair with the quick clamps to get a tight fit, then unwound the hose clamp to fully open it up.
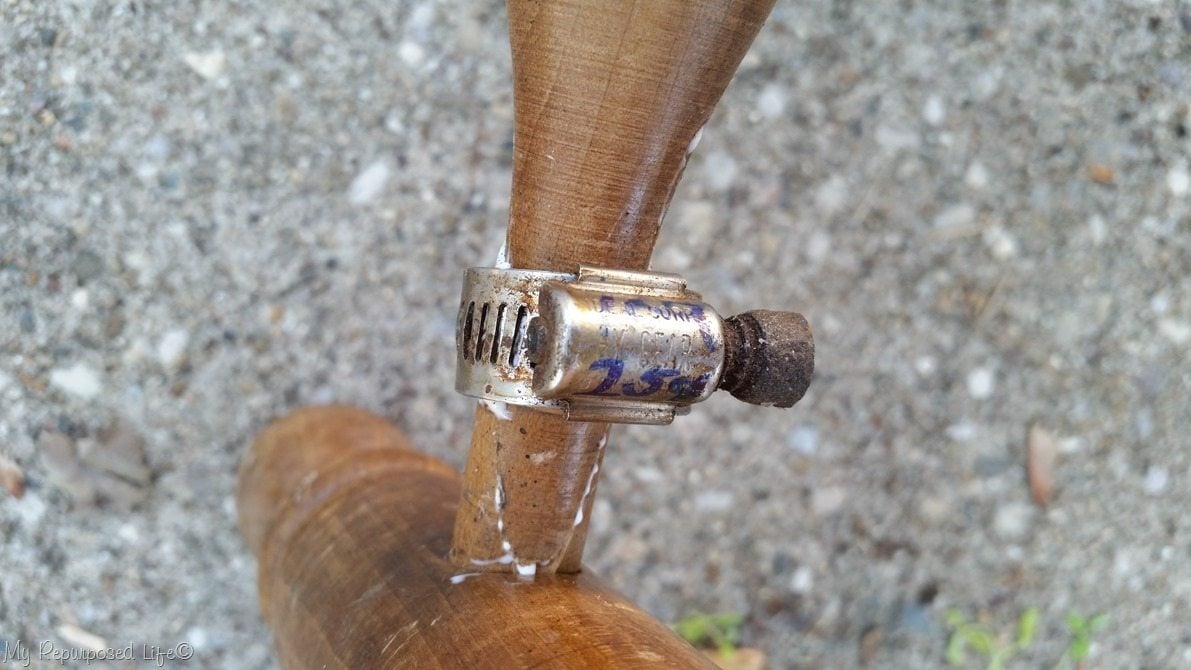
I secured it around the broken spindle and left it alone.
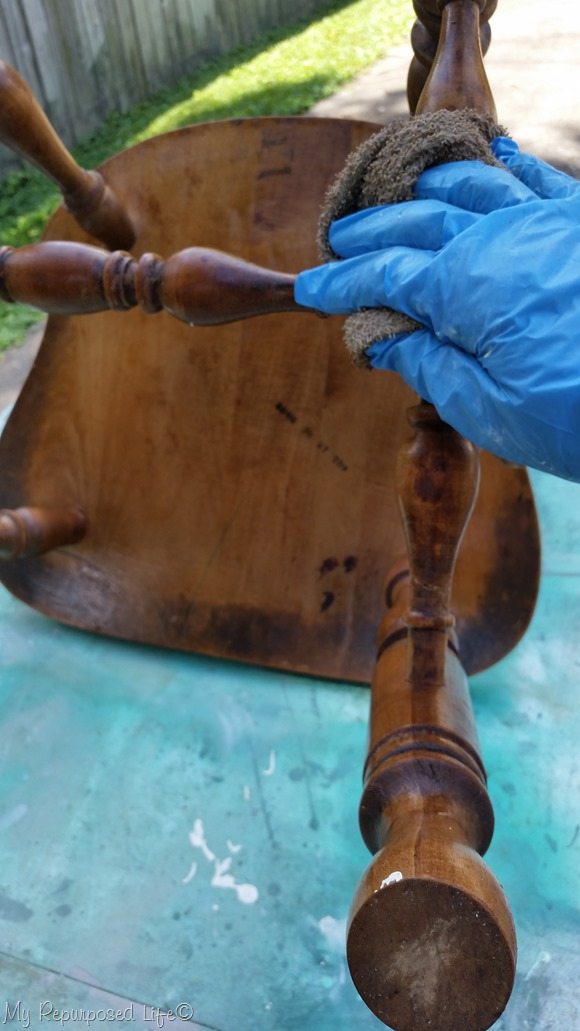
MORE tsp to clean up the chairs and remove some of the shine.
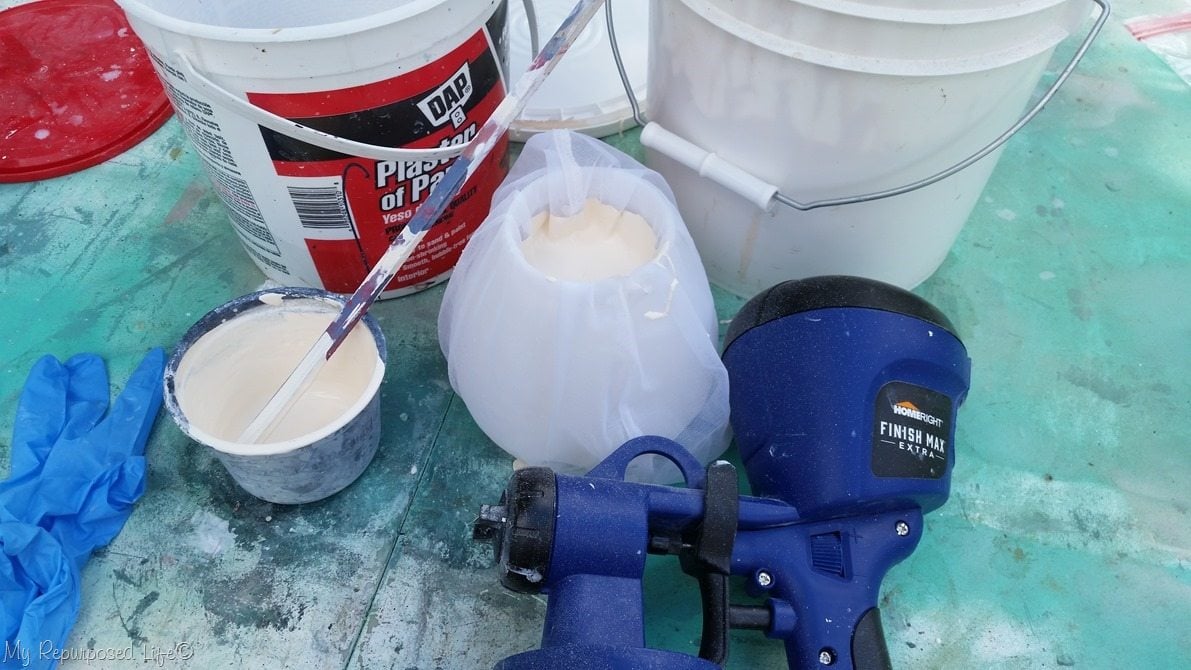
MORE chalky paint primer and the beloved Finish Max Extra.
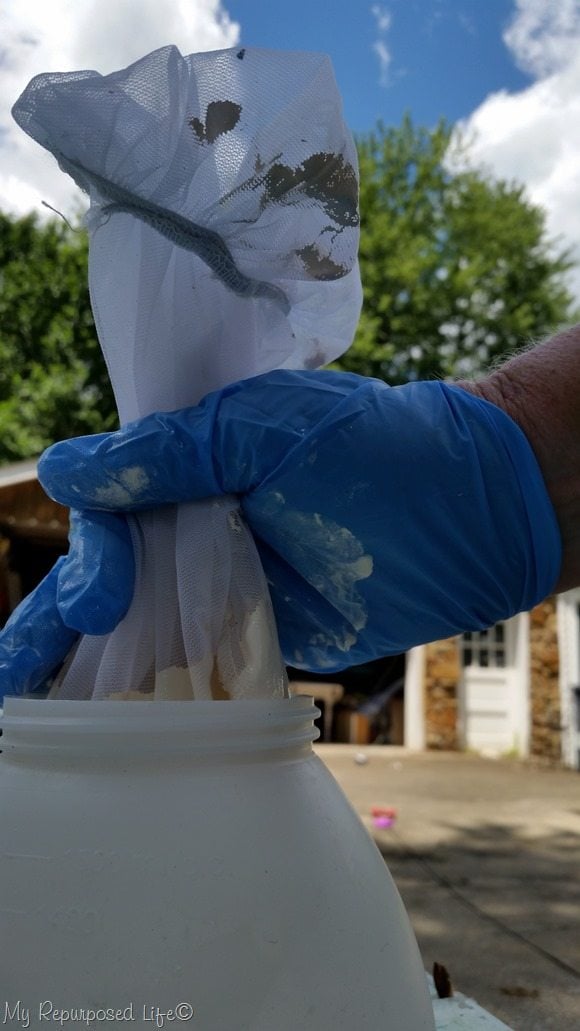
I snapped a couple of pictures to show you how I strain my paint. Using latex gloves to just squeeze the paint through the mesh strainer makes this a neater process. I have found that if I work really hard to keep the rim of the paint cup clean, it benefits me (and the sprayer) in the long run.
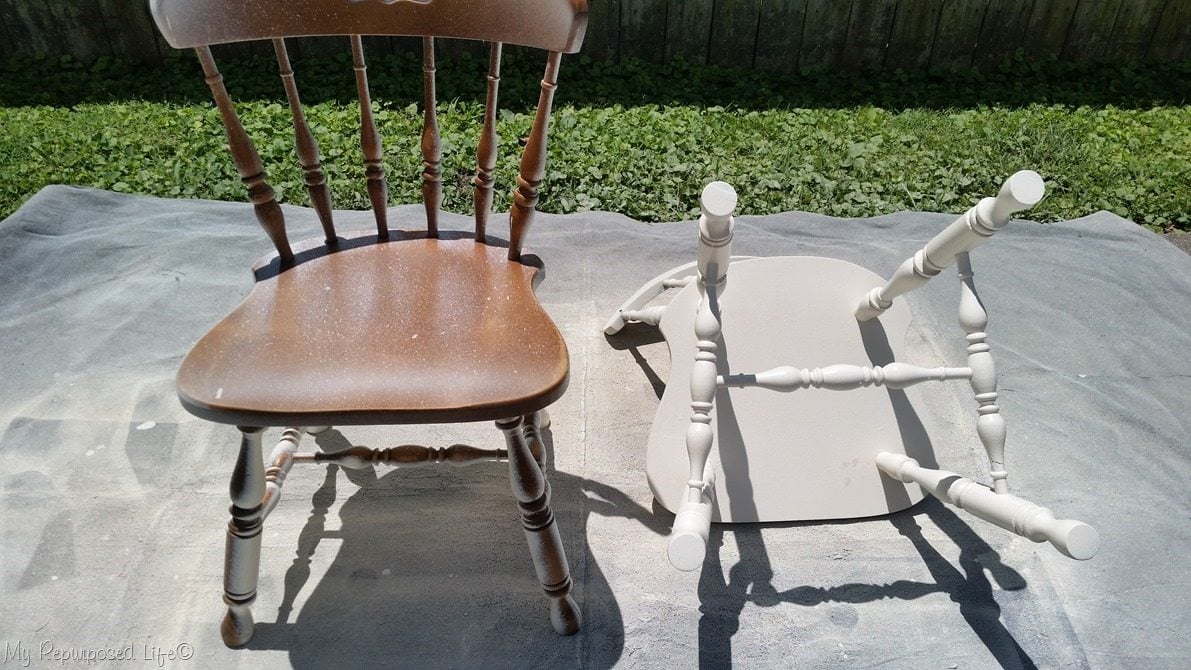
Once again I start by spraying the chairs upside down.
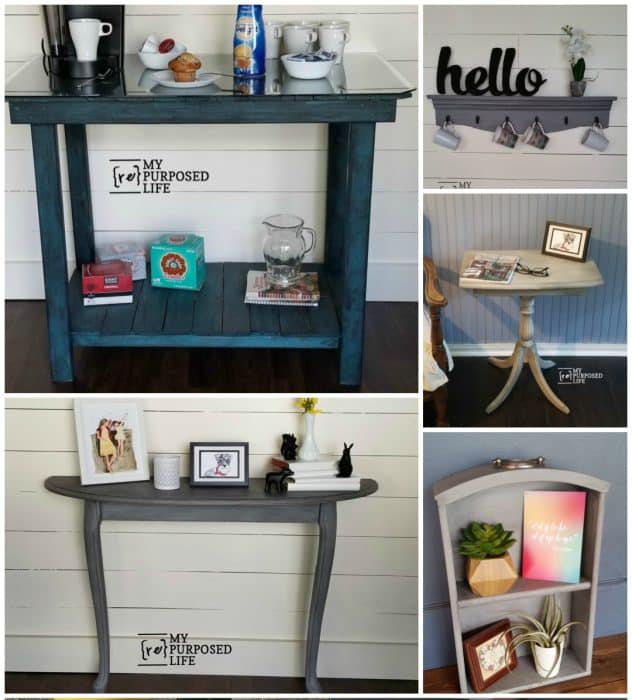
Project ideas and a video of “how to glaze painted furniture and more”
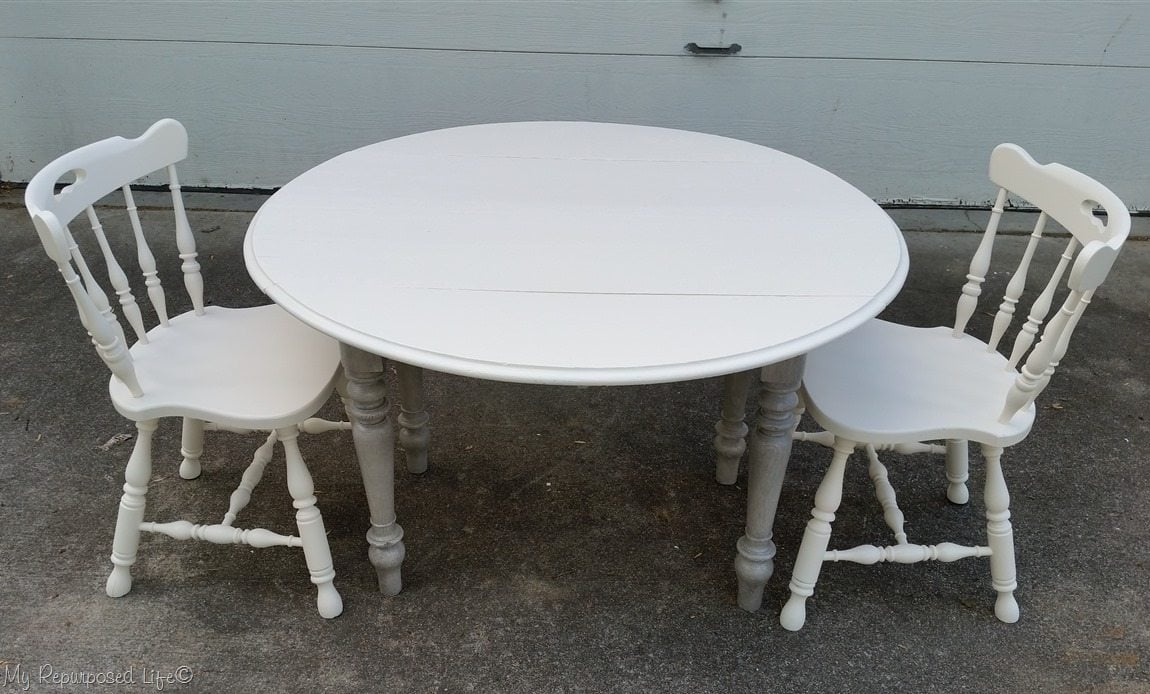
Two chairs are perfect for a small table this size.
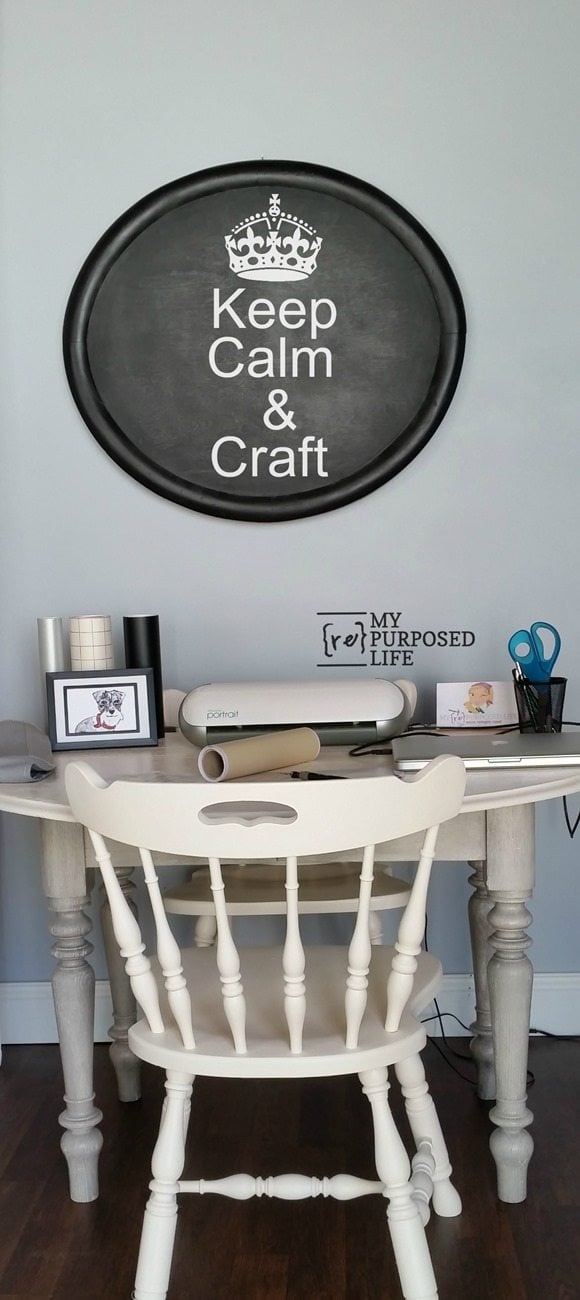
It really makes a perfect craft table, don’t you think? Of course, someone could also use the table and chairs in a small eat-in kitchen.
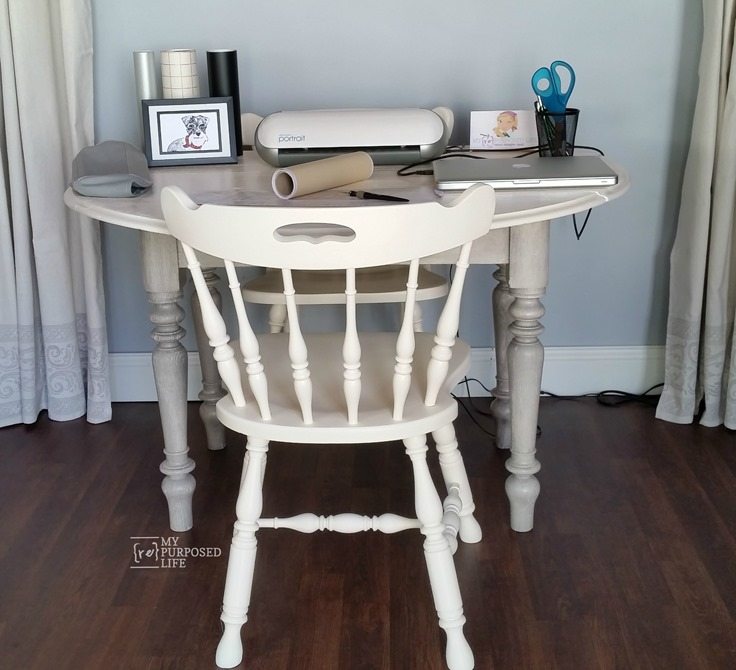
See that sweet drawing of my Lulu Mae? My daughter’s friend Dawn drew it for Jamie to have put on a Christmas ornament last year. I framed the artwork. It’s funny that when I look at Lulu, I see the artwork because Dawn captured her so perfectly!

I also made a craft station out of an upcycled kitchen cabinet!
Watch my video of How To Glaze Painted Furniture


Love your work and I am learning a lot!! I think you forgot to show how you repaired the loose spindle. Thnks
thank you!
I used the automotive clamp and wood glue, there are several pictures explaining it. 🙂
Happy you’re learning a lot.
gail