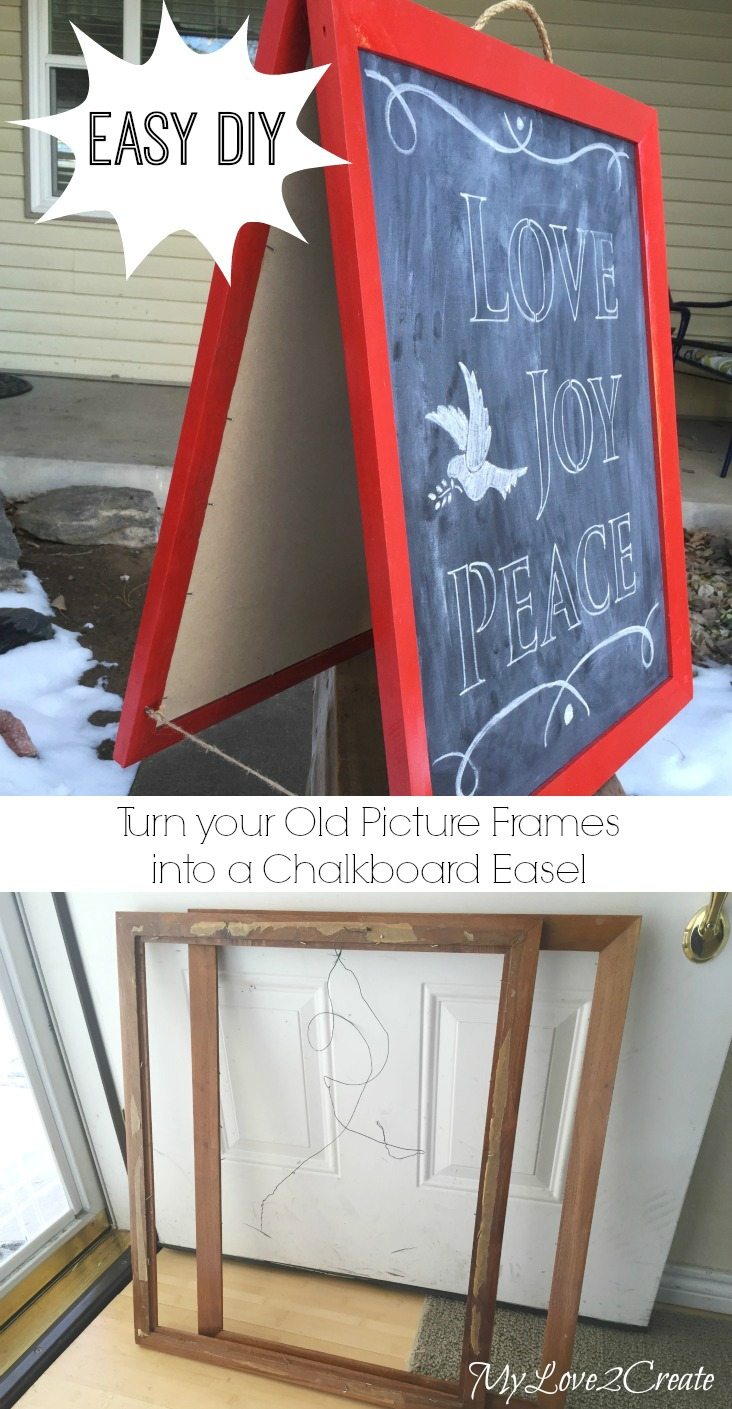
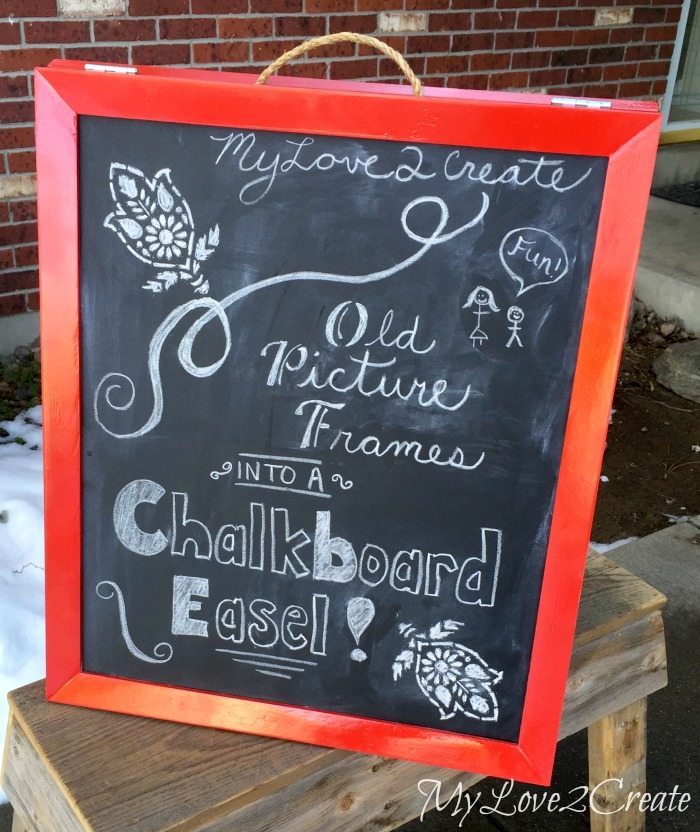
Old Picture Frame Chalkboard Easel
As an Amazon Associate, I earn from qualifying purchases.
Hi! It is Mindi again from MyLove2Create, and I have a super fun and EASY project for you today!
An Old Picture Frame Chalkboard Easel.

It is funny, I do projects all the time, and mostly my kids are semi interested or don’t even ask what I am working on. Eventually they are pleased with the final product, but in process they don’t pay too much attention.
The other kids obviously got filled in on the details on the walk home from school, because they came in yelling…”Can we use it to play store? School? Etc…” They were so excited and have been playing with it all afternoon and evening.
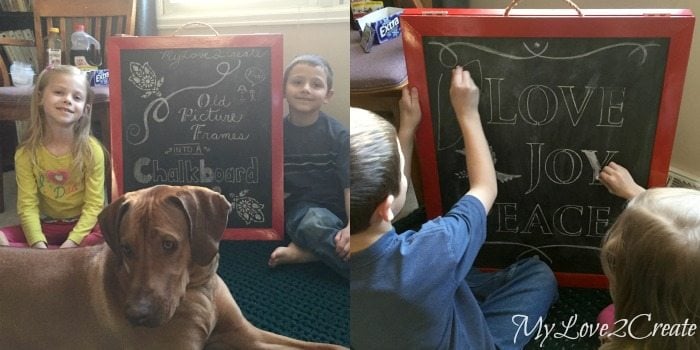
Getting ready to play store. Apparently they are selling syrup, honey, and gum. 🙂 The chalk board “art” was quickly erased and filled with all sorts of fun kid ideas, the photo on the right was when I first let them loose with the chalk.
Free picture frames
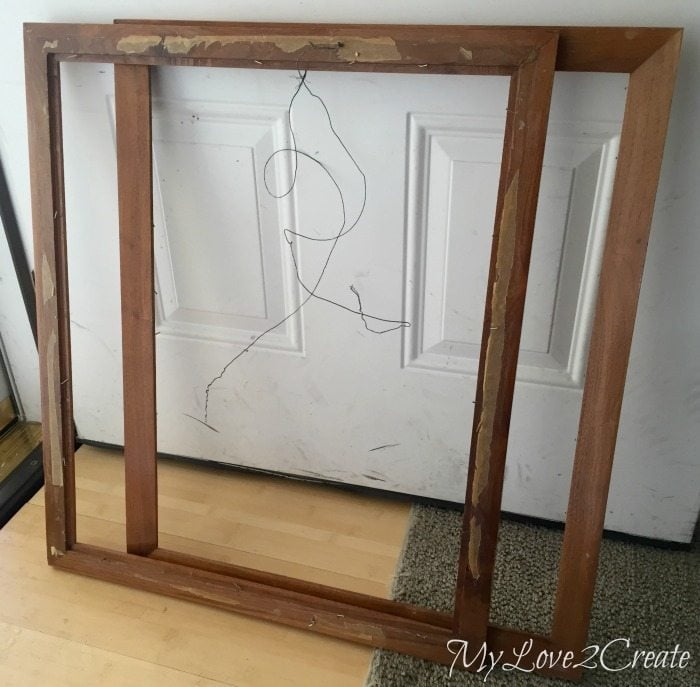
I have had these frames for so long I can’t even remember where I got them. But what I do remember, they were free. I saw them the other day and for some reason I finally knew their fate.
Why is it that you can look at something multiple times a week for over a year and never get an idea, and then one day it hits you and you know exactly what to do?
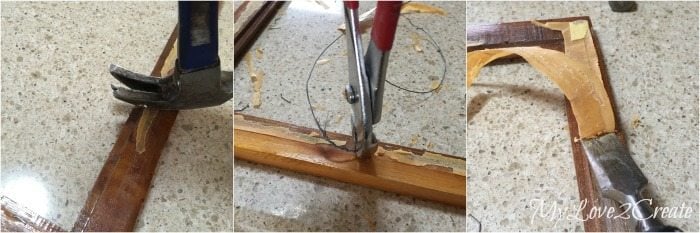
Anyway, I set to work prying out the nails and removing the eye hooks and wire. There was masking tape on the back that looked 50 years old, I scrapped it off too.
Chalkboard Plywood
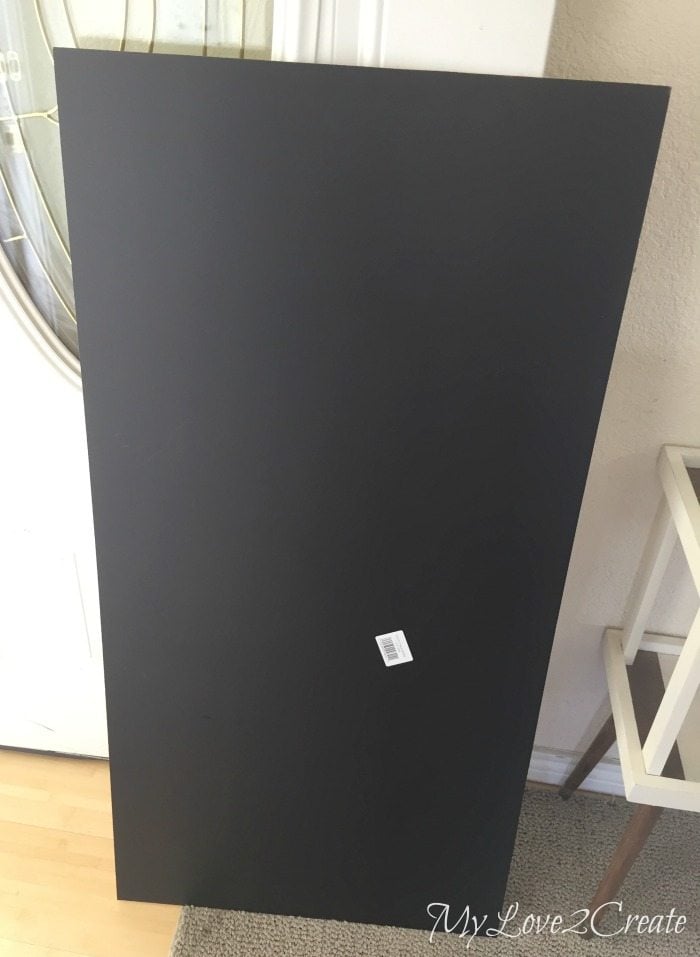
I went to my shed to see if I could find some 1/4 inch plywood to make chalkboards out of to fit in the frames, but I only had enough for one. After I stewed over what to do I decided to just go to Home Depot and buy some.
I was pleased to find that the cost of just plain wood and this chalkboard panel was the same. Since I had to buy it anyway I just bought the chalkboard panel, and it saved me painting! This piece was just under $10 and it is 2 feet by 4 feet. I thought that was a pretty good deal.
Cut plywood with circular saw
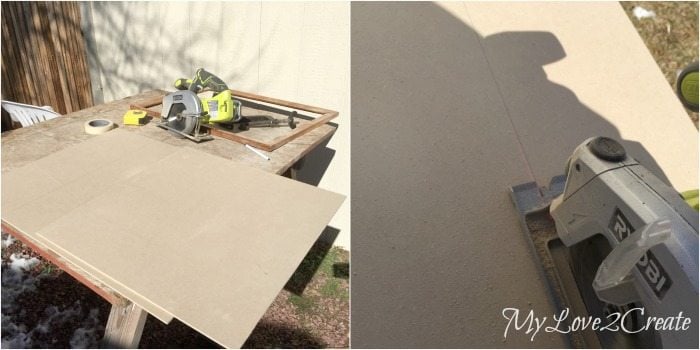
I took it out and cut it upside down with my circular saw to fit inside my two frames. We still have snow on the ground but it was a nice day. So it was good to be outside.
Spray paint picture frame chalkboard easel
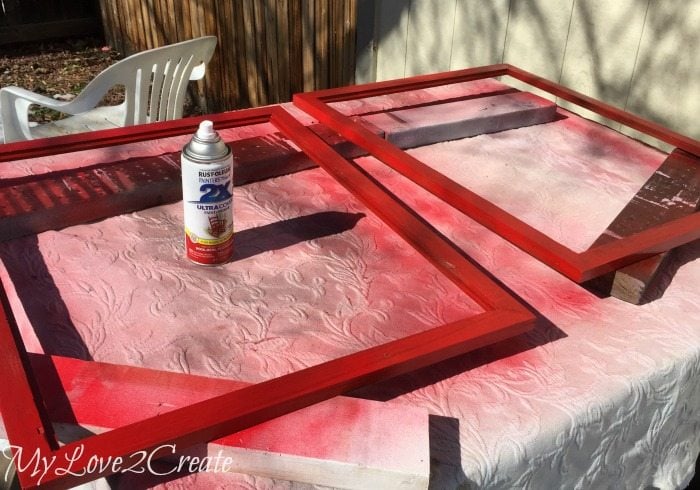
I had a can of red spray paint and used it for the frames. I wanted blue (cause I love it) but I am glad I went with the red, it is such a fun color!
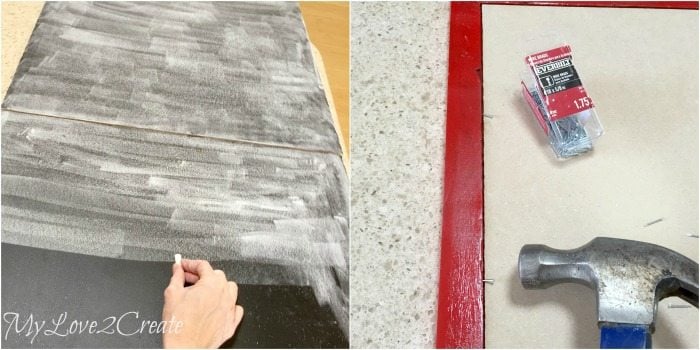
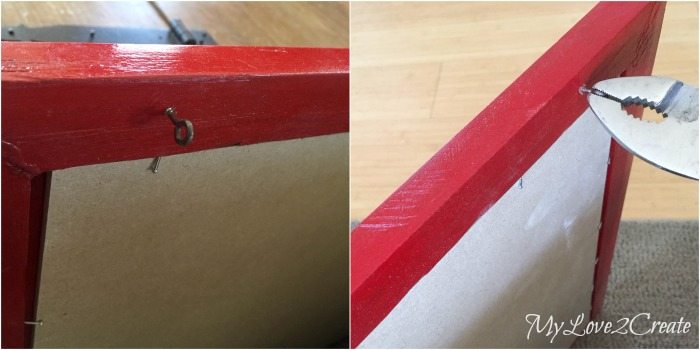
While the frames were drying I primed my chalk boards. Then I used some new nails, and hammered them in at an angle to secure the chalkboards. I was able to mostly use the previous holes from the nails I had removed, which made it easy.
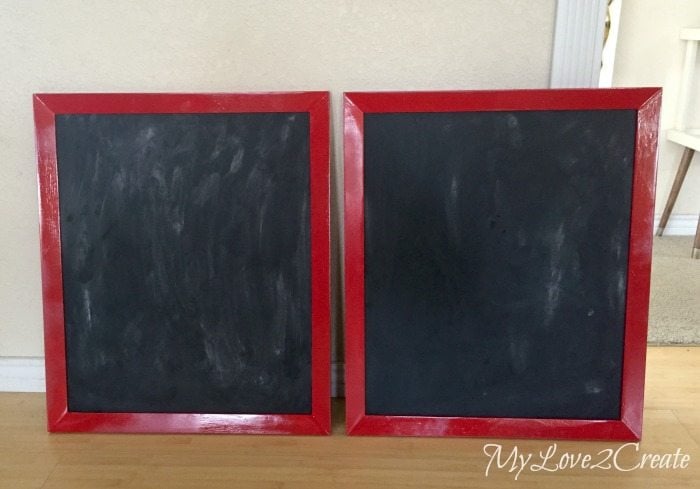
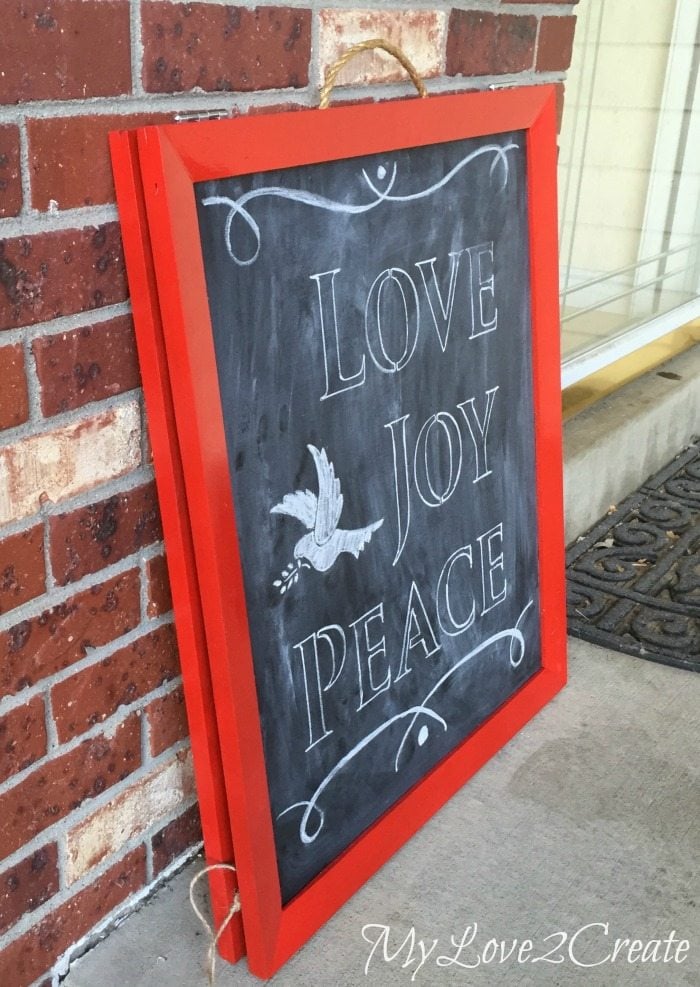
I now had two super cute framed chalk boards! But I wasn’t done…
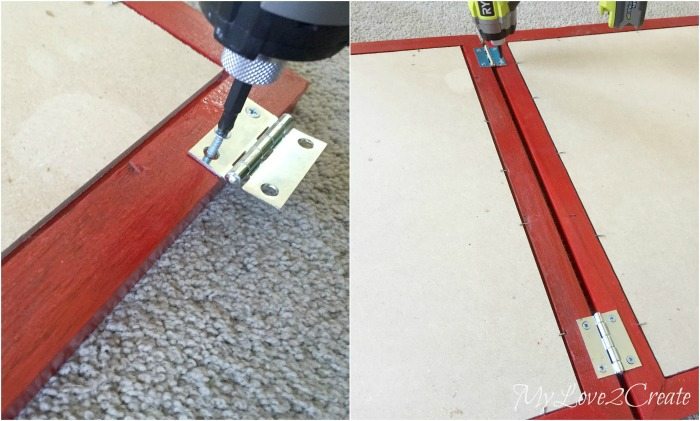
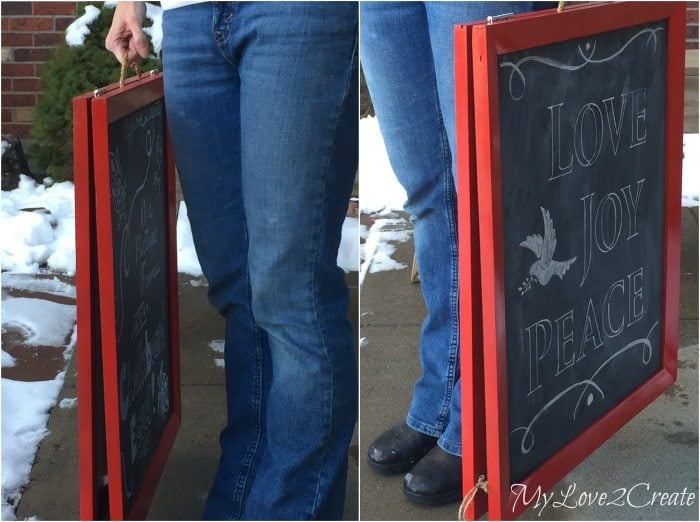
Attach hinges to make Picture Frame Chalkboard Easel
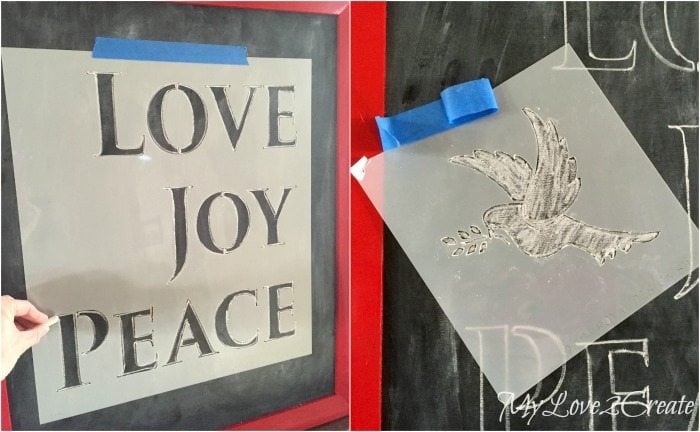
Stencil with chalk


see more of Mindi’s posts on MRL here
Looking for more Chalkboard Ideas,
Related Content: Picture Frame Ideas For Home Decor and More
i love this idea,, I’ve made lots of chalkboards but none like this. Thanks for sharing. I’m thinking it would make a great birthday present for a niece’s birthday in a couple of months.
This is such a fun and functional project. It is also a great way to repurpose some items along with getting the kids involved and makes it convenient to have two sides for more than one person to use at a time. Very creative. It also reminds me of sandwich boards outside of businesses advertising their specials. Great Job!!!
Mindi
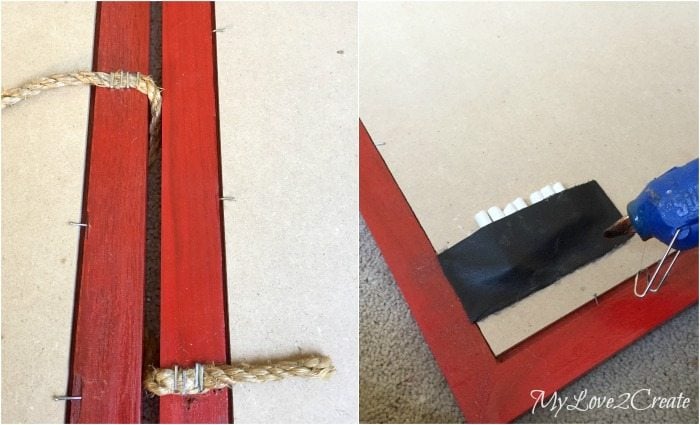
I love your picture frame chalkboard easel. Easy DIY project for sure! The handle is my favorite component, it just adds to the charm of your easel. 🙂
Have I told you lately how happy I am that you are a contributor for MRL?
gail
ps I’ll have to try some chalkboard stenciling (instead of cheating in picmonkey) 😉
Love it! I love all trash to treasure projects!
http://madcraftingmama.blogspot.ca/