Packing Tape Image Transfer Stickers
As an Amazon Associate, I earn from qualifying purchases.

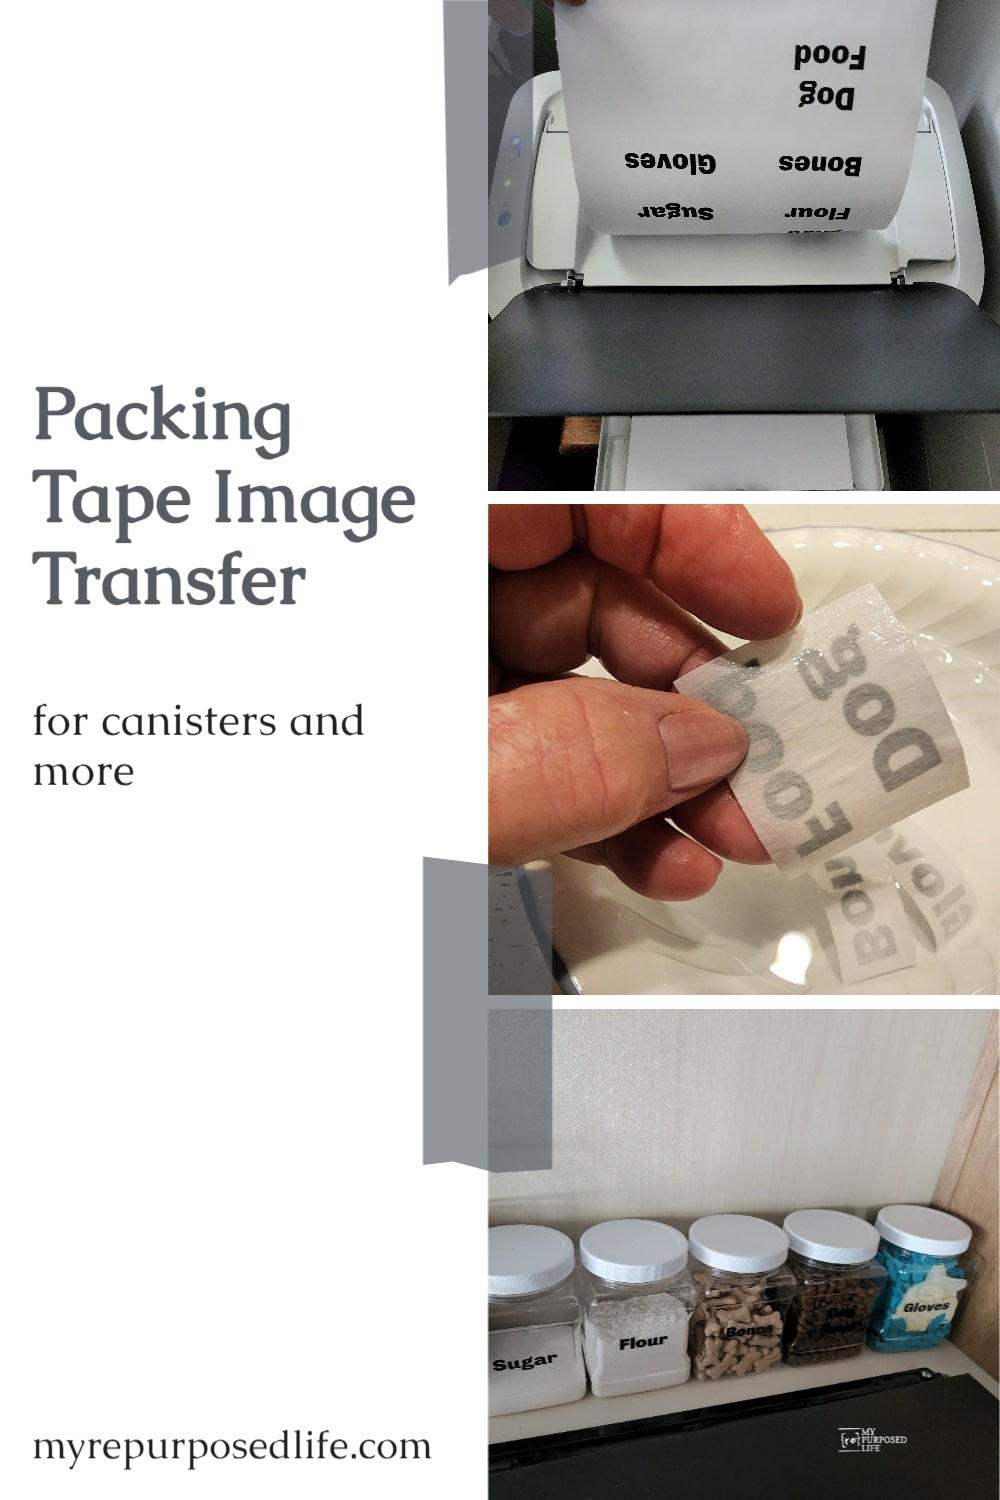
If you love a project that looks fancy but uses what you already have, this one is for you. Packing tape transfers turn ordinary printed images into clear, peel-and-stick “stickers” that look professionally made. Use them for pantry labels, jars, bottles, notebooks, gift tags, and even small business branding. Once you try it, you will start looking for everything you can label.
Yep, turn ordinary prints into custom stickers with a simple image transfer using packing tape. This clever trick skips fancy supplies and makes it easy to add vintage graphics, labels, or photos to jars, gift wrap, notebooks, and more. The results look polished, hold up well, and peel away cleanly when it is time for a change. It is a budget-friendly way to personalize projects, experiment with designs, and repurpose favorite images into DIY stickers that feel one-of-a-kind.
So, there’s really no excuse for you not to get creative and make your own packing tape images.
What can you use your packing tape stickers for?
- jars
- bottles
- mugs
- pillar candles
- plastic
- wood
The ideas are endless. Consider any special occasion where you might want to use a clear sticker. Make your own DIY gift tags, label storage boxes, or pantry labels. Do you do scrapbooking? Craft Projects? Now that I have piqued your interest, let’s see how easy it is to turn your own images into clear stickers.
The materials list is pretty short:
- Laser Image
- Packing Tape
- Paper
- Scissors
- A burnishing tool, such as a credit card or wooden spoon, will suffice.
- Bowl of water
My laser printer uses black toner. Maybe yours prints in color; if so, you’re all set!
If alaser printer isn’t in your budget, consider what I used to do. I would obtain a fabulous image from The Graphics Fairy, print it on my inkjet printer, and then take it to Staples to get a “toner” copy in their copy center. You may even try your local library to see what kind of print or copy you can get there.
Be sure to check out my tutorial on how to do an image transfer on furniture and painted bottles.
How to Make Easy Canister Labels
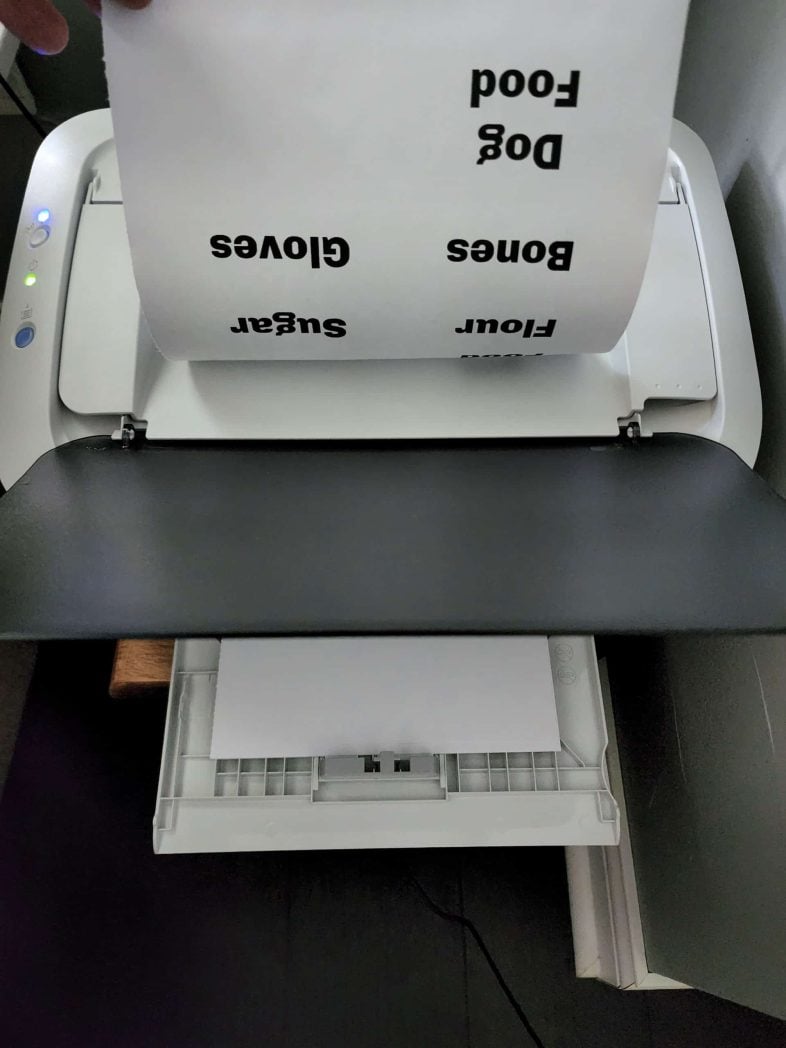
I bought plastic canisters for the camper on Amazon. They came with labels, but I wanted to make my own. I designed my image using PicMonkey and printed it out on my new laser printer. Wow! It’s fast! By the way, it’s much smaller than it appears in this picture.
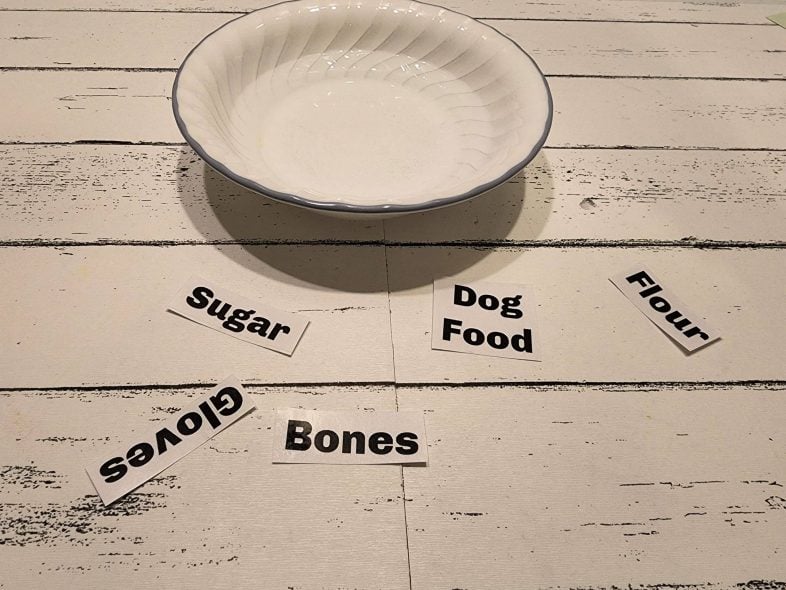
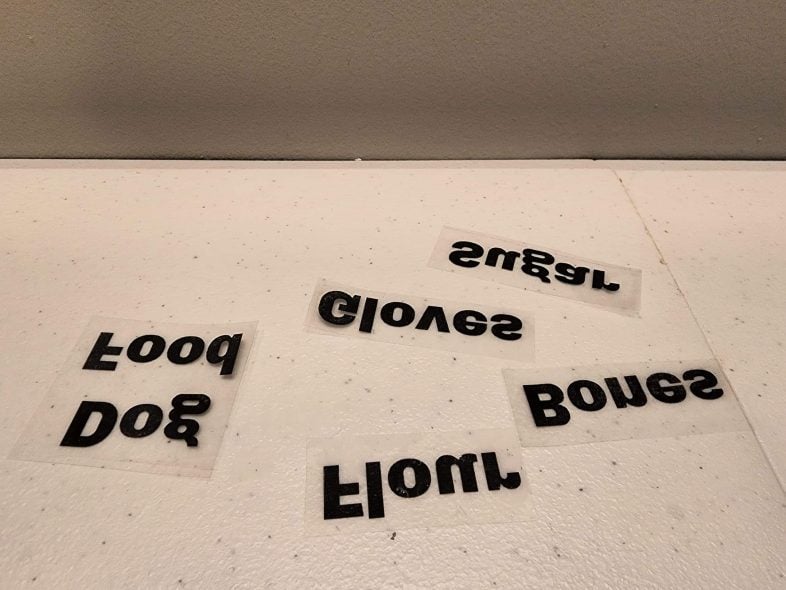
Print & Cut Pantry Labels
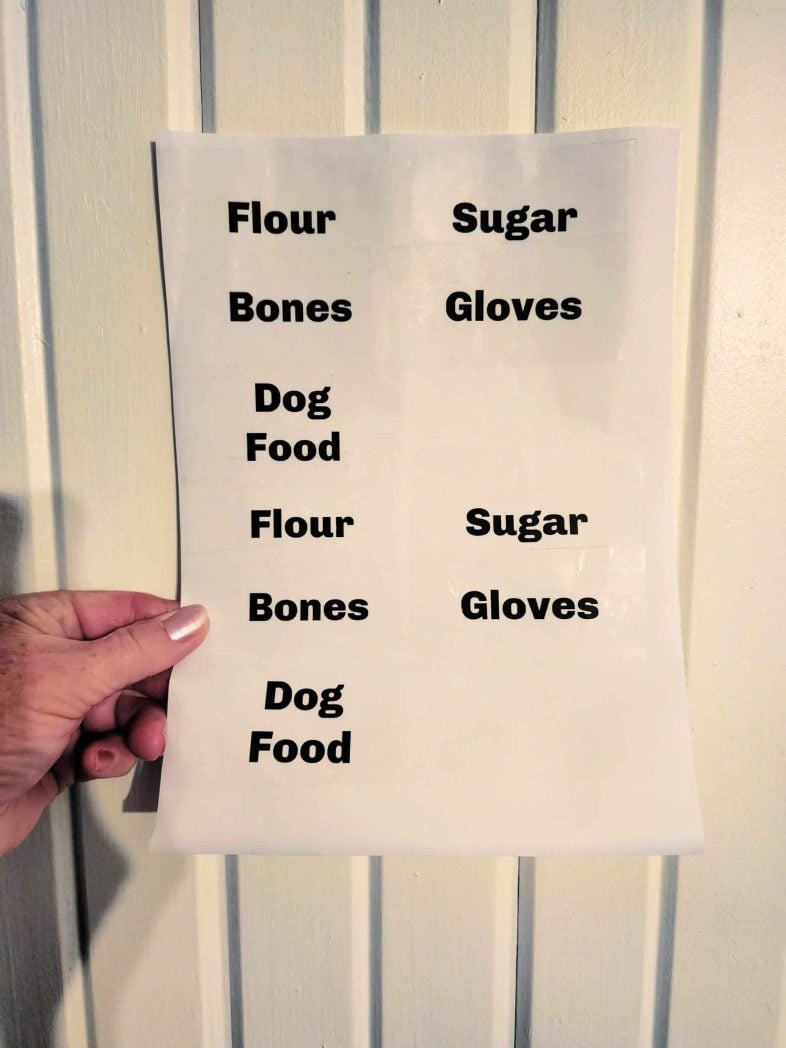
Can you see that I have applied the tape to the words?
After applying the tape to the labels, burnish well. You want to ensure the tape adheres well to the paper.
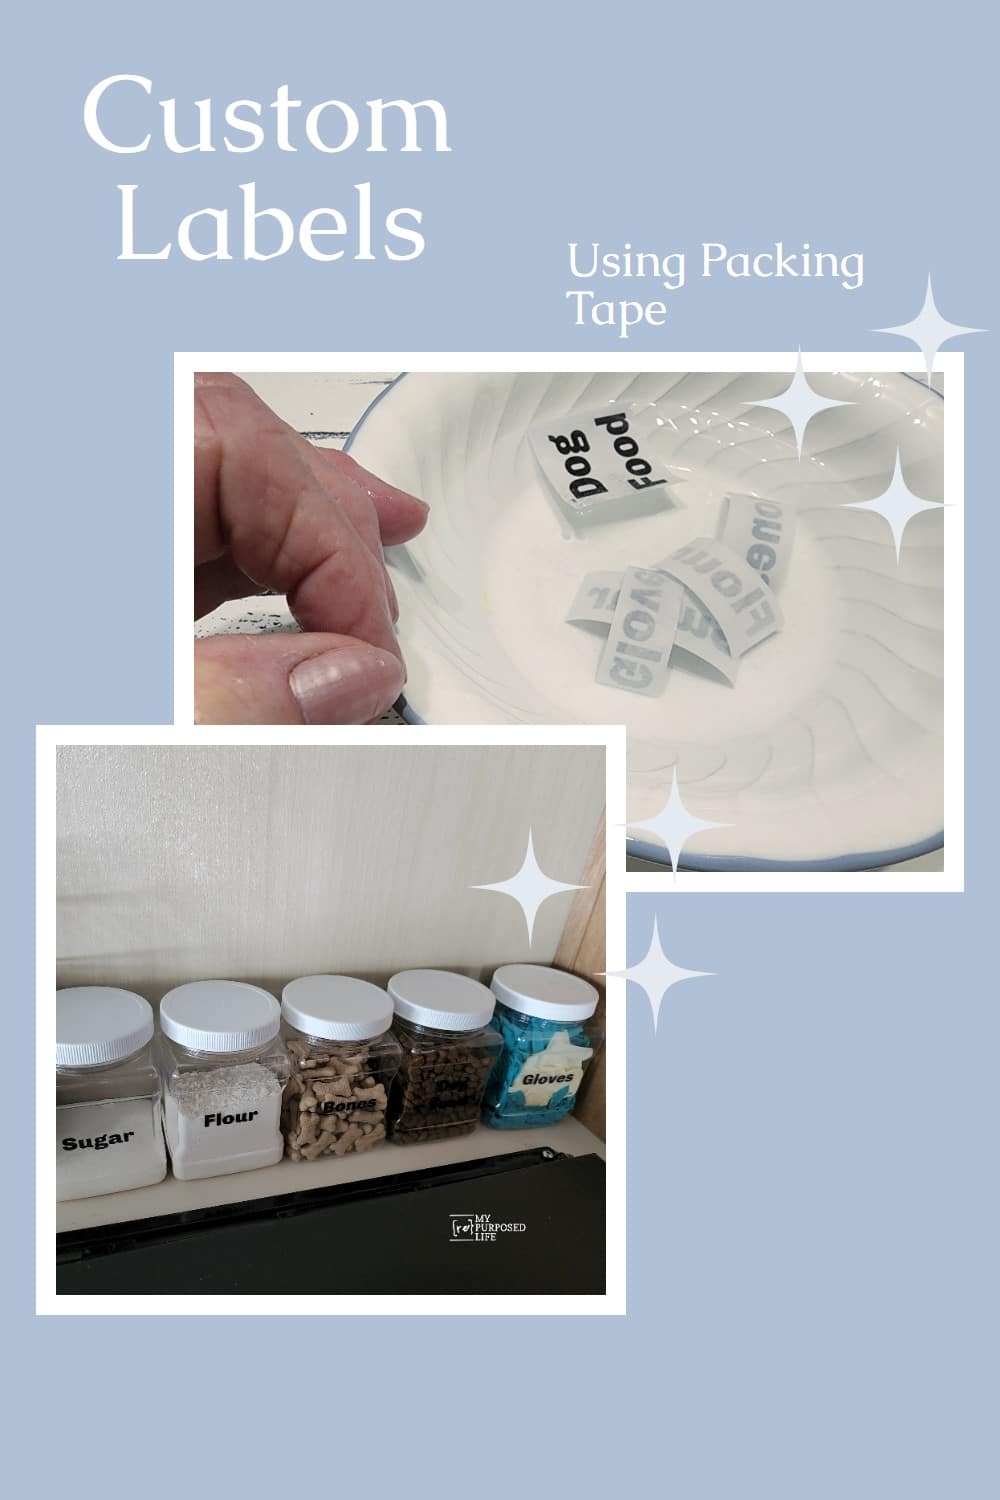
Soak the Packing Tape Image in Warm Water
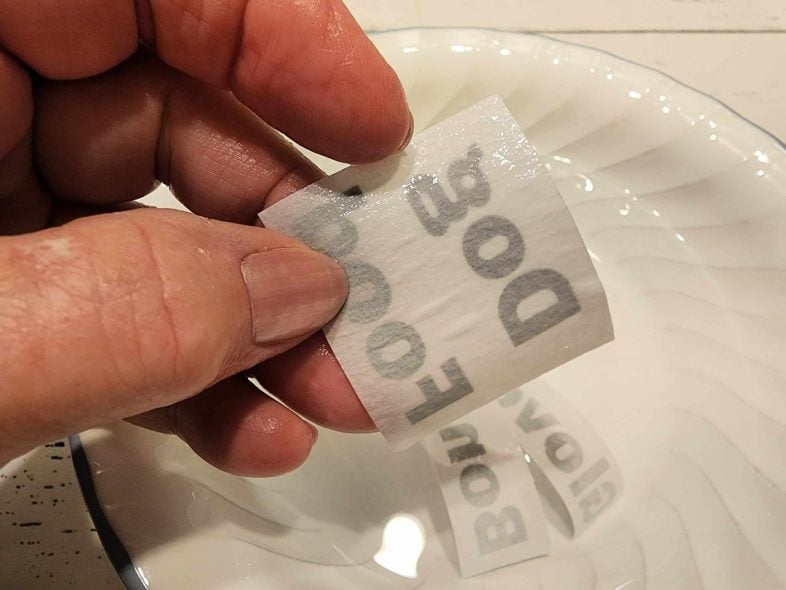
The secret to making a good packing tape image transfer is soaking it in warm water. Don’t worry about the tape not being sticky; it doesn’t lose its tackiness.
Peel Away the Printer Paper
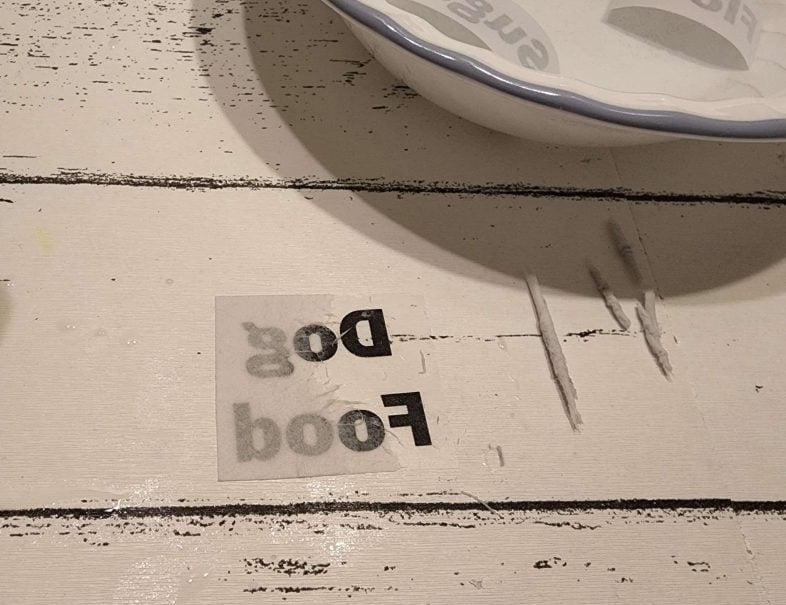
Now, it’s time to peel away the paper from the packing tape. I found it’s easiest to roll it off. In my opinion, removing this packing tape image transfer paper is much easier than using Mod Podge for Reverse Image Transfer.
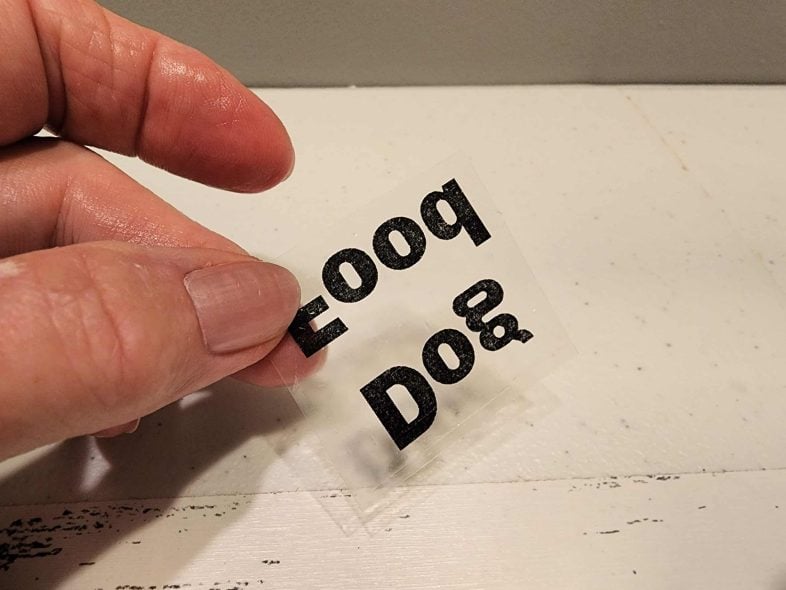
After removing the paper from all your image transfers, allow them to dry thoroughly. If you want to save them for later, you can apply them sticky side down to wax paper.
DIY Canister Labels
All of the packing tape transfers have been cleared of paper and are dry and ready to be applied to any surface. For me, it’s the cheap plastic canisters I use in the camper. However, you can also use these on glass or any other substrate of your choice.
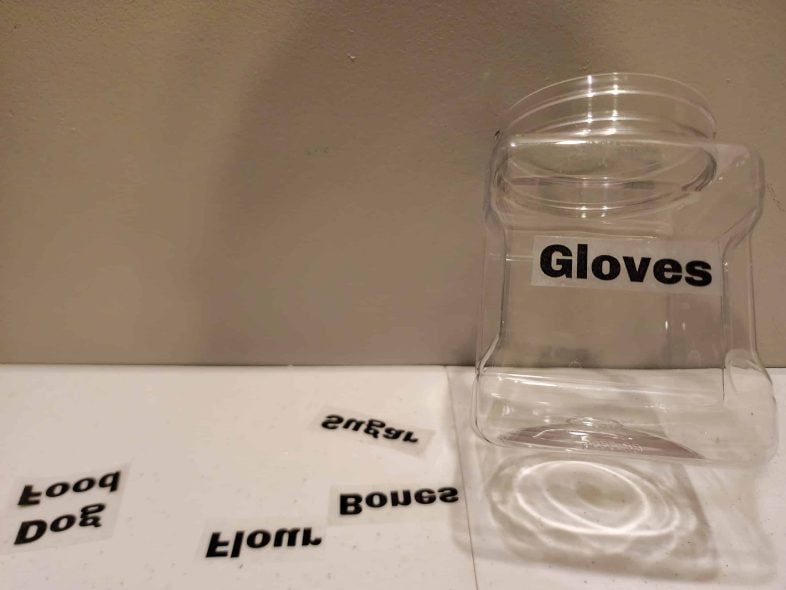
The packing tape transfer is somewhat forgiving if you need to readjust it. It’s incredible how sticky it remains after being soaked in the bowl of water.
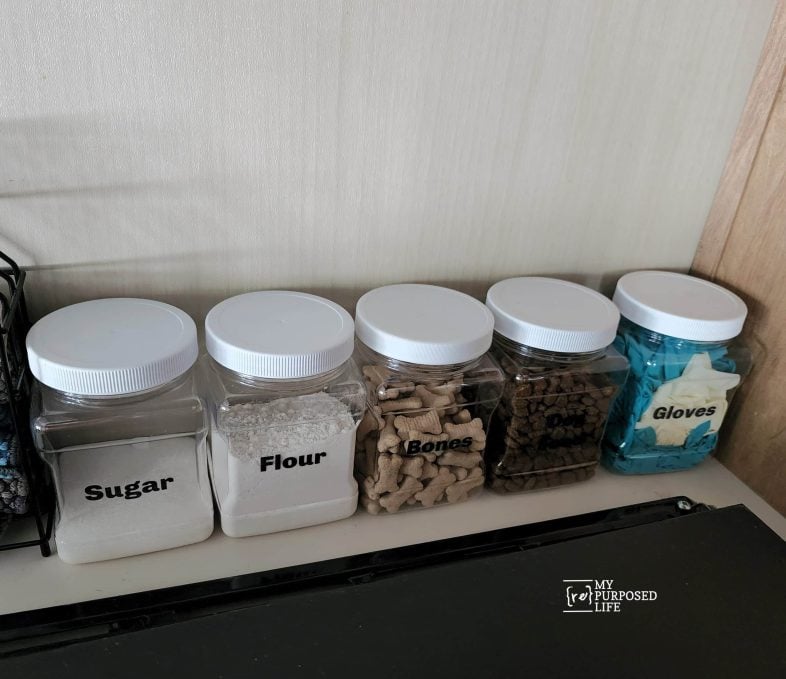
Here are the canisters in the camper. If you own a camper, you know that you need things to be compact and lightweight. Generally, they are stacked on top of one another as I add small appliances to the far right.
More Packing Tape Image Transfers
While experimenting with my new laser printer, I printed a few logo images to test its performance.
It’s so easy: print, tape, soak. Do you have a small business? What would you put your packing tape image transfer on?
Me? Of course, I had to put it on a hammer!
Tip: I used Gorilla packing tape for this project. Although it’s a great packing tape, I found that the thinner, “less strong” Scotch did a better job overall.
Topo Chico Bottle Upcycled
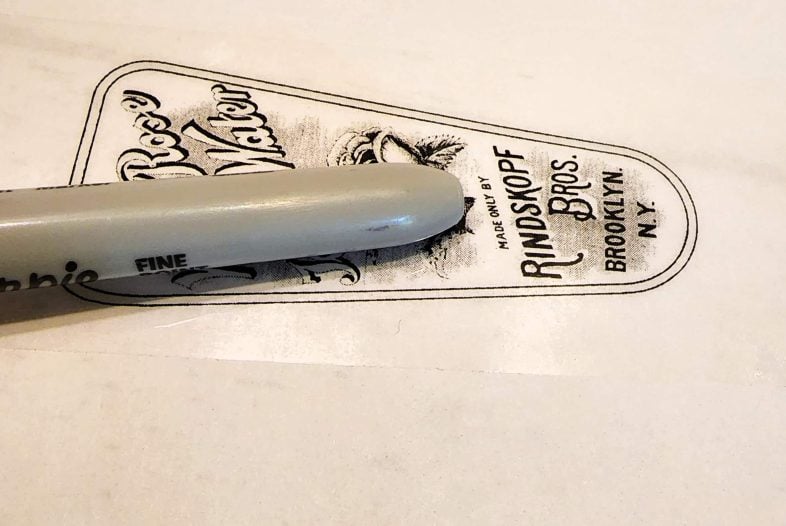
I downloaded and printed out this Toilet Water graphic from The Graphic Fairy. Again, I used my new laser printer that uses toner. Inkjet printers will not work for these packing tape image transfer projects.
After applying the tape, I grabbed a Sharpie to “burnish” the tape, ensuring the paper was securely adhered to the packing tape.
Trim the image close to the edge. The closer you trim, the less paper you will have to remove.
Soak the image in warm water, and roll away the paper from the back.
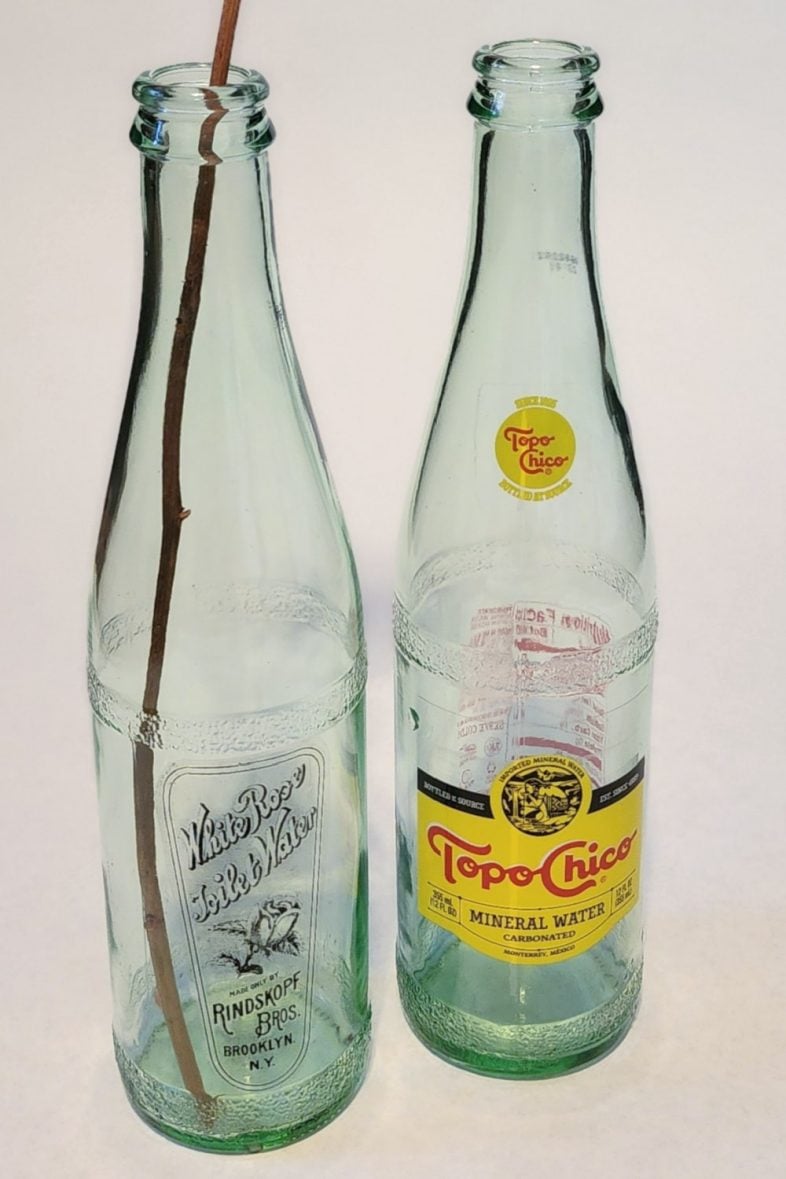
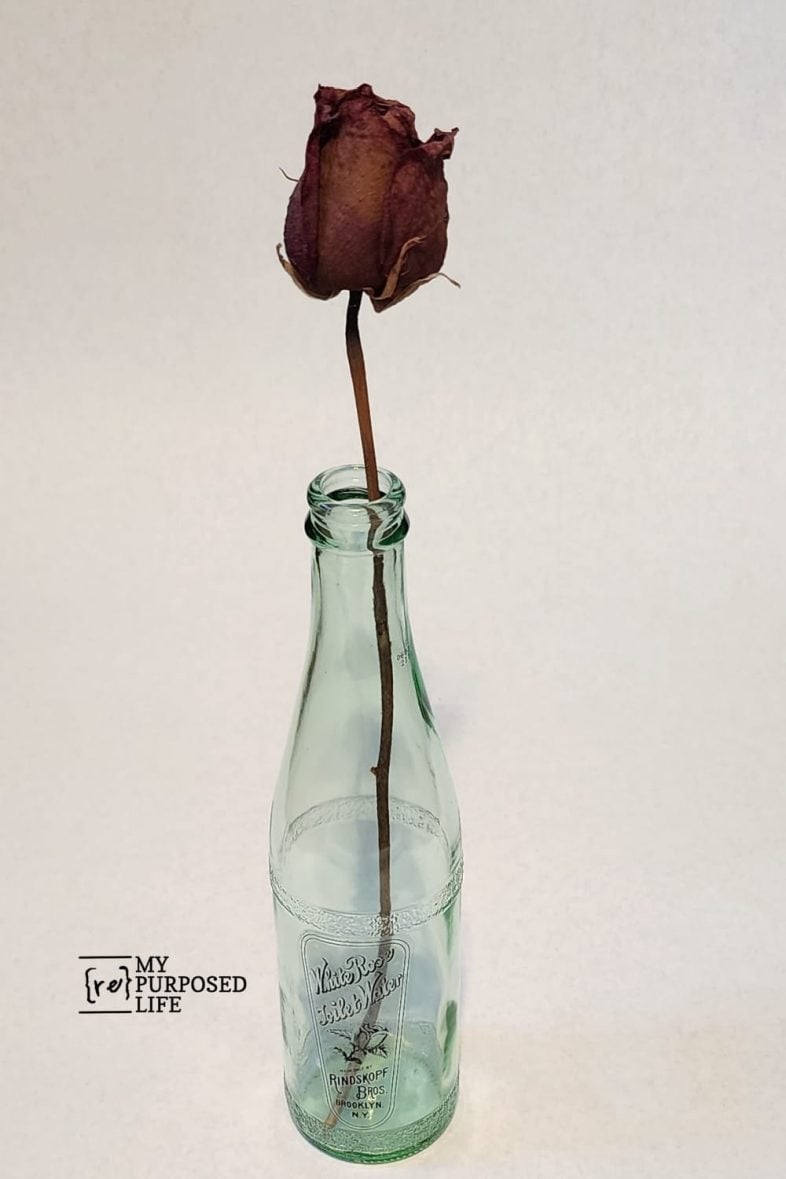
I chose to use my upcycled Top Chico bottle to display a dried rose I’ve had for years.
Related Content:
DIY Packing Tape Transfers from The Graphics Fairy
I sincerely hope you have enjoyed this tutorial and that you will try a packing tape image transfer soon!
Yep, a quick technique with a big payoff. Packing tape transfers turn scraps and simple prints into stickers that look custom and professional. Try them on jars, organizers, gift tags, or a fresh notebook cover. Save this idea for later, share it with a friend, and tell what surface you plan to dress up next.
Packing tape transfers are one of those little tricks that make a big impact. Print, tape, soak, and roll. That is it. If you try this, I would love to know what you put your first transfer on. Pantry jars, craft bins, a candle, or something totally unexpected?
gail
An easy & fun way to make your own labels! I think I might have to try this myself. Thanks for the inspo Gail!
This may seem like a silly question, but do you apply the tape to both sides of the image?
Thank you.
Mary
Mary,
No silly questions here! 🙂
Apply the packing tape to the top of the image, soak it and the tape becomes the “sticker”. So trim it how you want it to look on your project.
I hope this helps clear things up. 😉
gail
I love this! I need to find a Laser Printer. Do you apply any finish over the DECAL? I’m trying to figure out a way to print text and apply on the outside edge of a DT faux wood Charger? I have not figured out Design Space. 🤦♀️ My writing is terrible. I might try the chaulk transfer method. 🤷♀️
Welcome Collene! I’m in the process of getting a new email service, so you may receive duplicate welcomes. Somehow the form signed you up to the old service, so I moved you to the new one. 🙂 Thank you for your patience as that all gets ironed out.
Laser printers use to be so expensive, but the one I share in this article has been reasonably priced recently. Using the packing tape, no finish is needed. I would call it semi-permanent. Meaning you may not be able to wash it. My writing was never good, but as I age, it’s even worse.
I love chalk couture. I’ve been doing it since May of 2018, and I still love it as much as ever. For the charger, if you “chalked” it with one of our transfers, I would definitely use a spray sealer over top of it. It takes that spray really well.
gail