Easy Image Transfer
As an Amazon Associate, I earn from qualifying purchases.
If you’re looking for an easy image transfer option, you’re in the right place. I have a few ideas, tips and tricks to complete an easy image transfer.
Types of Image Transfers
- Pencil Transfer Method
- Chalk Transfer
- Using Citrasolve to Transfer an Image
- Ball Point Pen Tracing Image
- Rub-On Transfer
- Chalk Couture Transfer
- Easy Image Transfer and Decoupage on Wine Bottles
- Mod Podge and Laser Printed Image
Some image transfer methods will work with an Ink Jet print. Some, will only work with a laser printed page.
The coffee table below was done with an ink jet image that was copied with a laser copier. But the medium from HTP is no longer available. However, the tutorial is still relevant if you use your laser printer to print the image.
Easy Image Transfer on Coffee Table
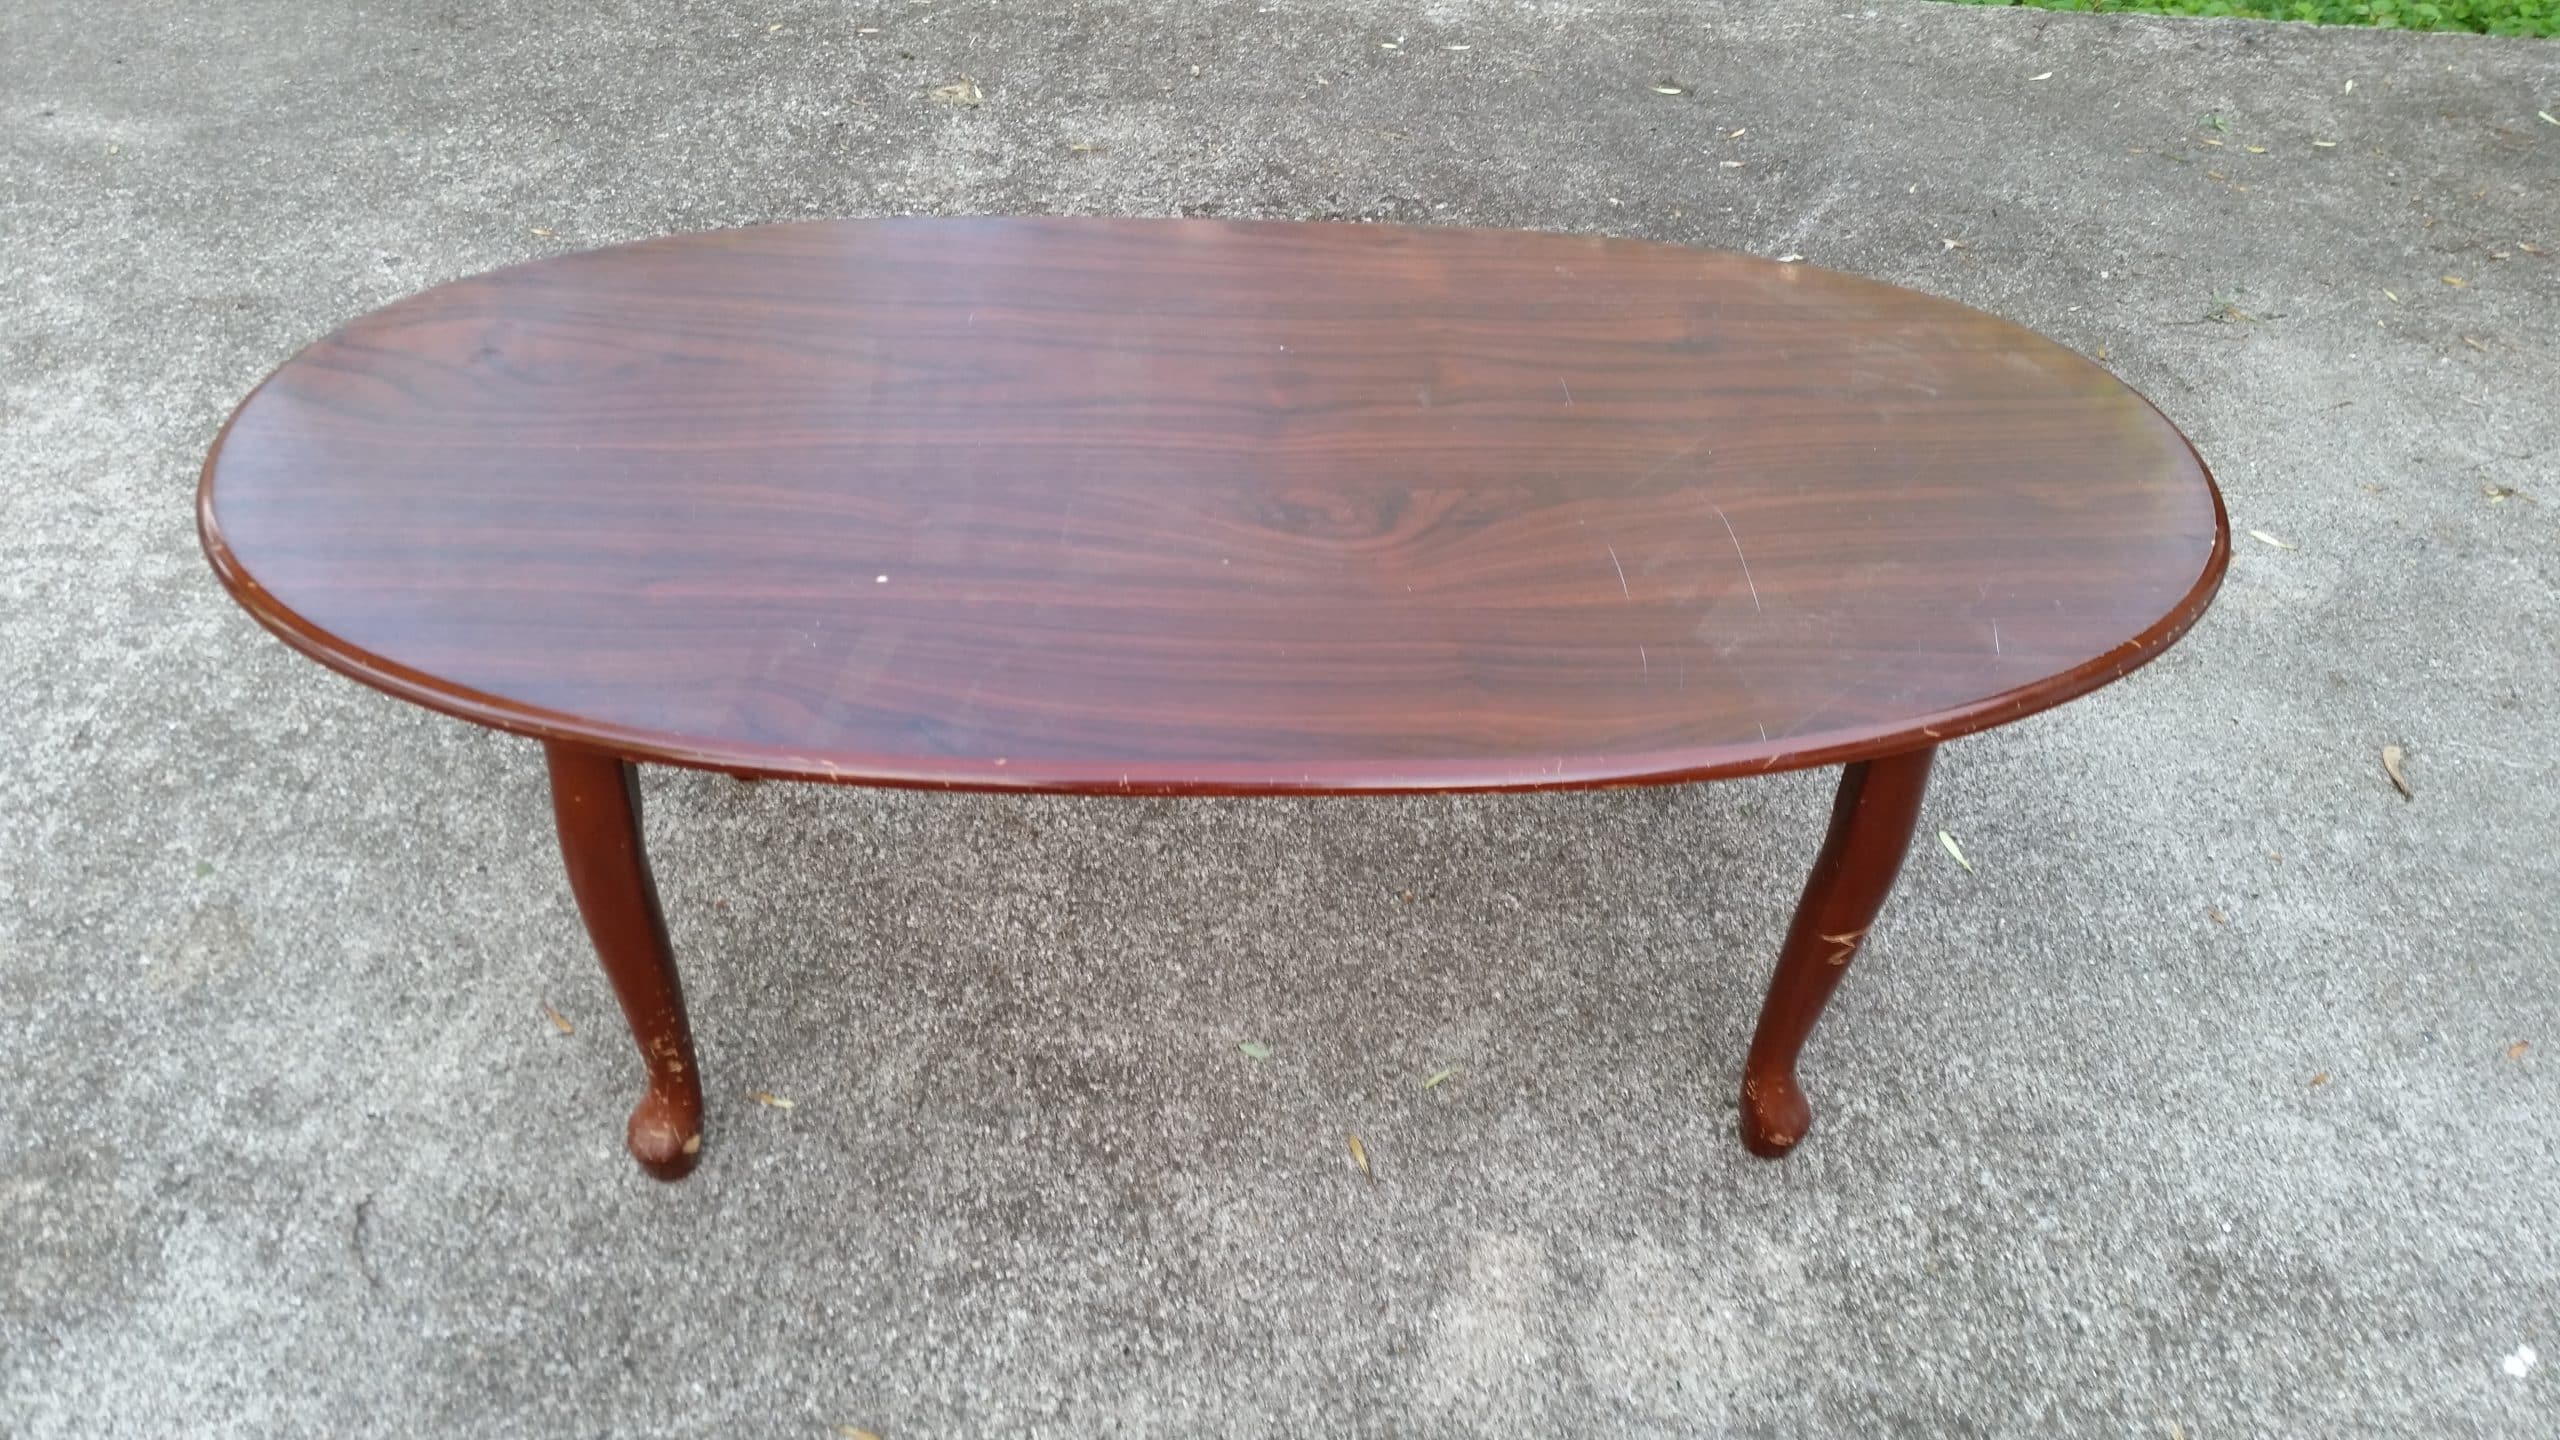
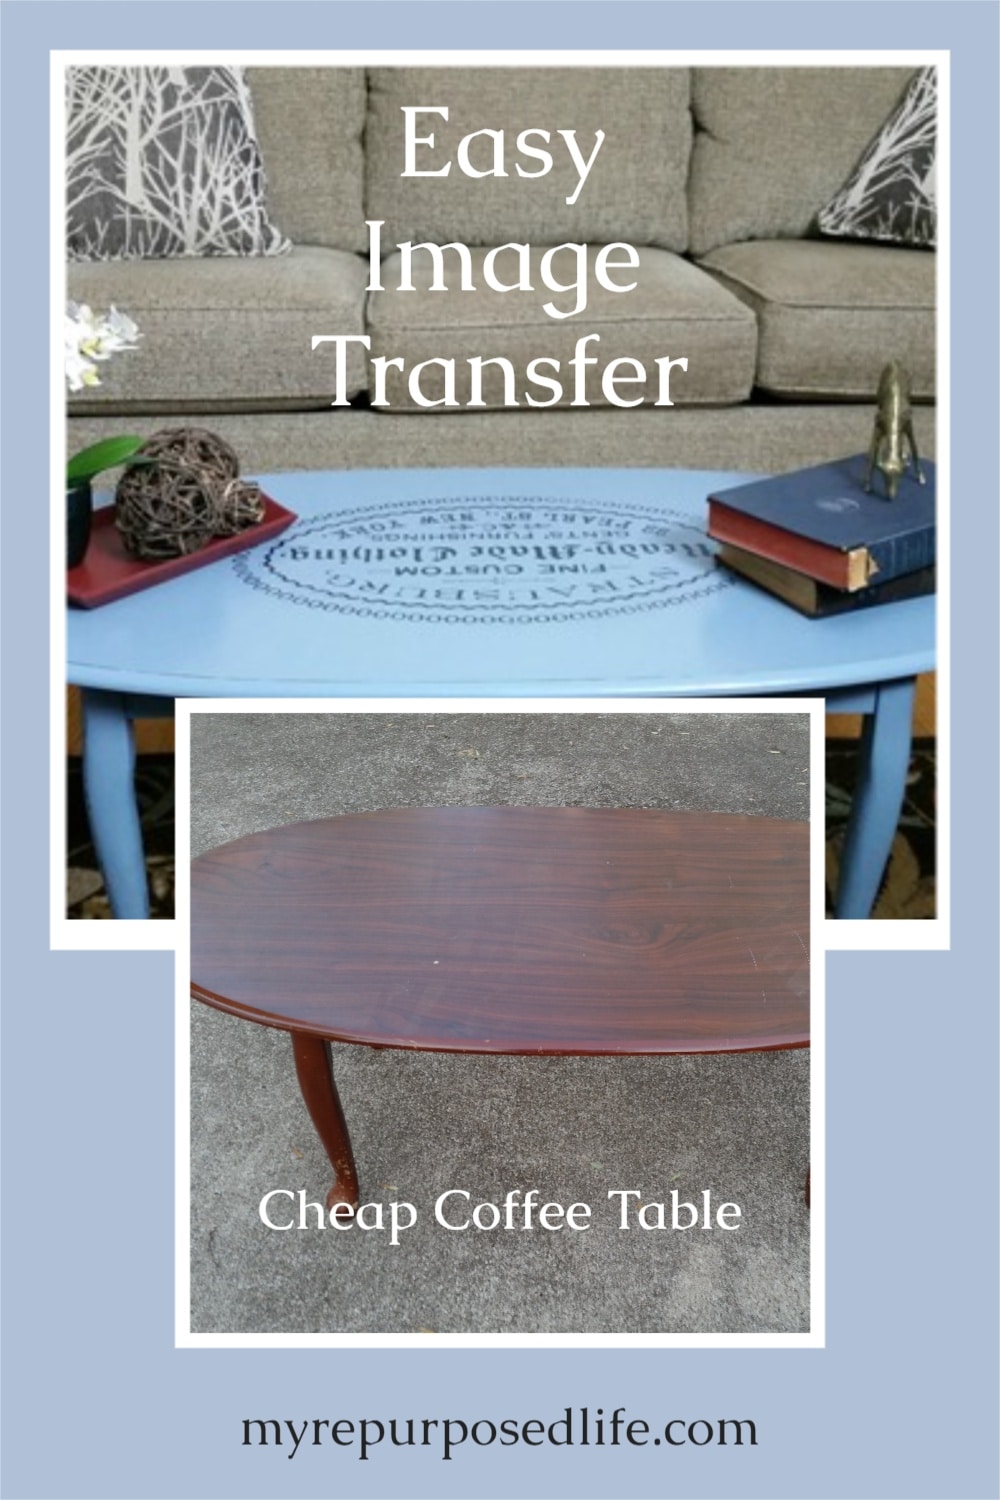
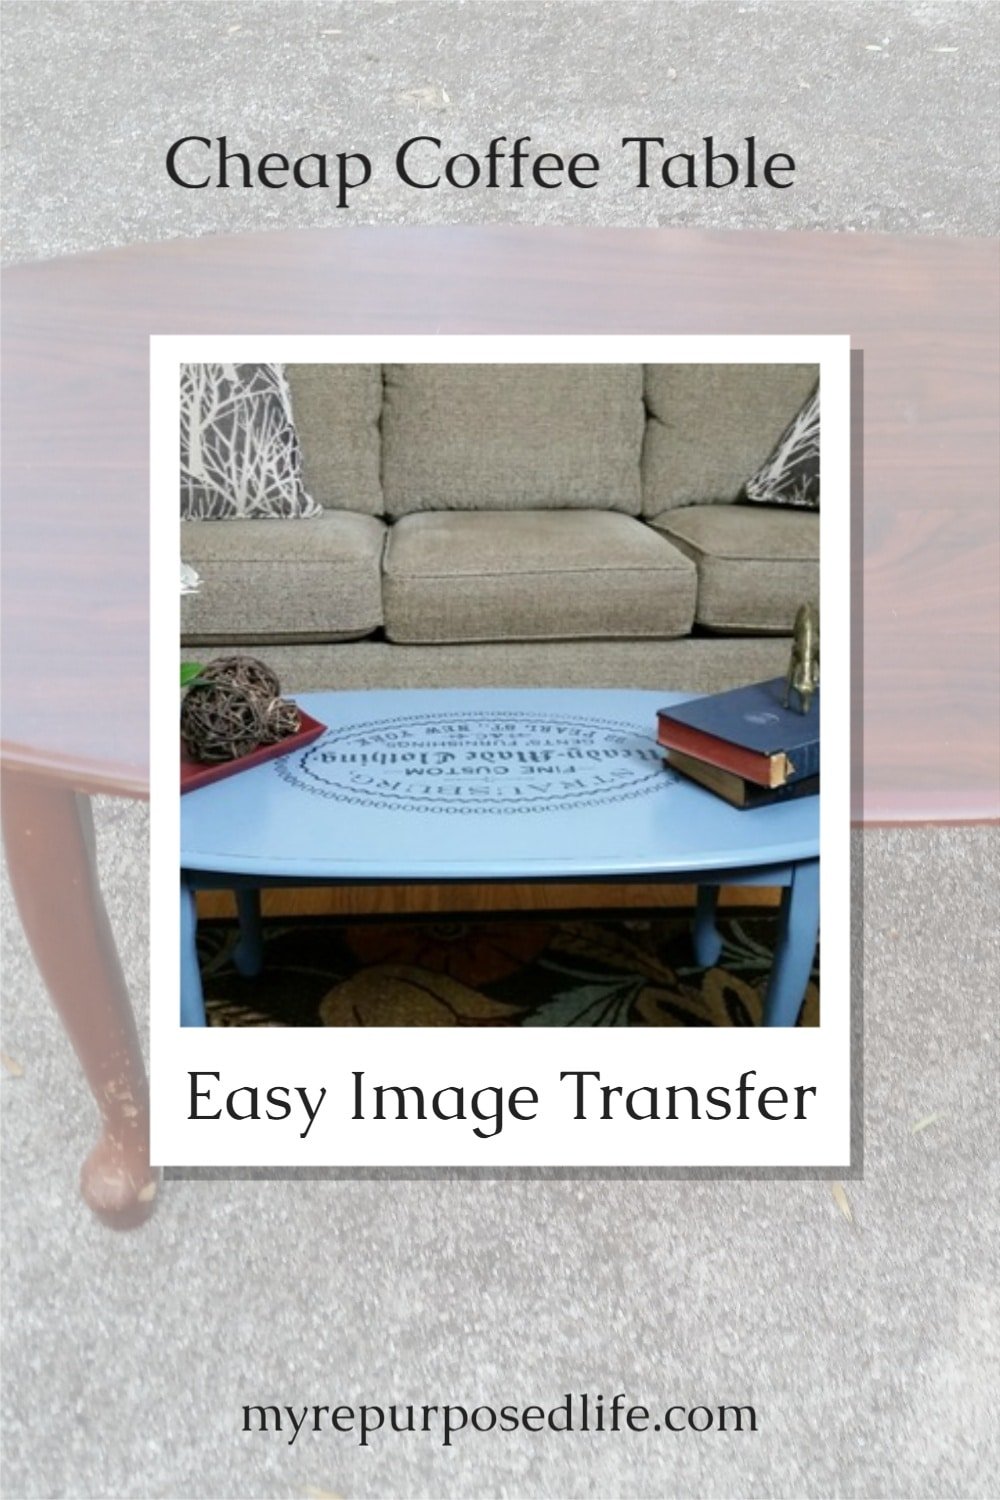
So, I had this cheap coffee table, but it doesn’t need to be discarded at the curb. So, I’m going to show you how I did an easy image transfer on the coffee table using 1Gel from Heirloom Traditions Paint. (currently unavailable for sale) But you can get the same look with a laser printer and mod podge, I’ll show you how below.
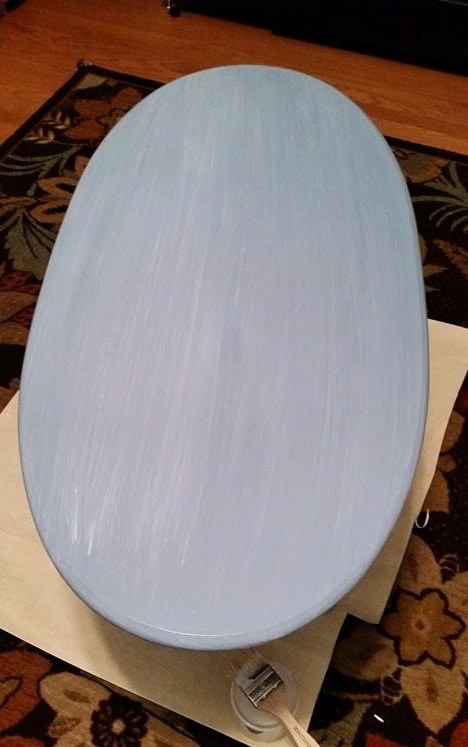
Paint Coffee Table
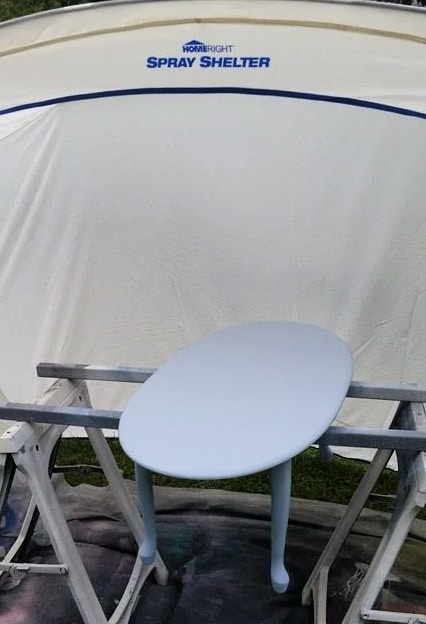
I used Moody from Heirloom Traditions Chalk Type paint. My HomeRight Finish Max paint sprayer made this a quick and easy makeover.

This is how it looked when I finished painting it. I love the color!
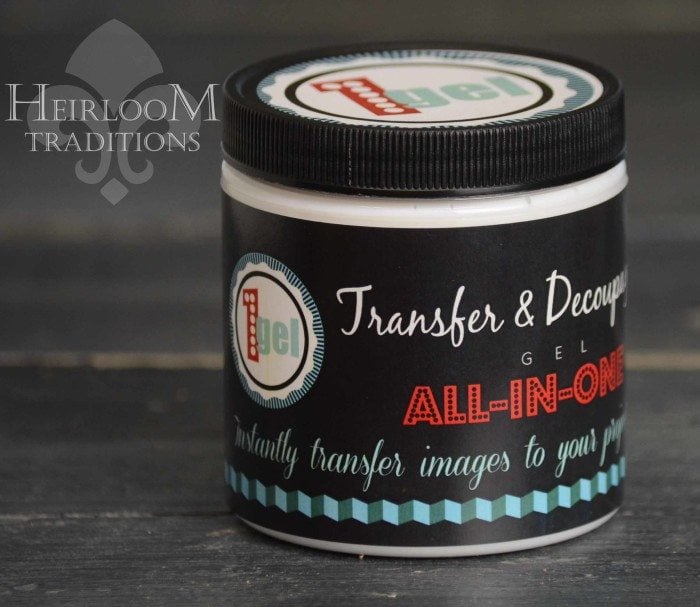
The weather turned hot, so I decided to bring the table indoors to work on it. I used the 1Gel to do a topcoat all over the coffee table with a chip brush. After that coat dried, I did a second coat. Using the 1Gel is a lot easier than waxing and buffing!
Prepare for Easy Image Transfer
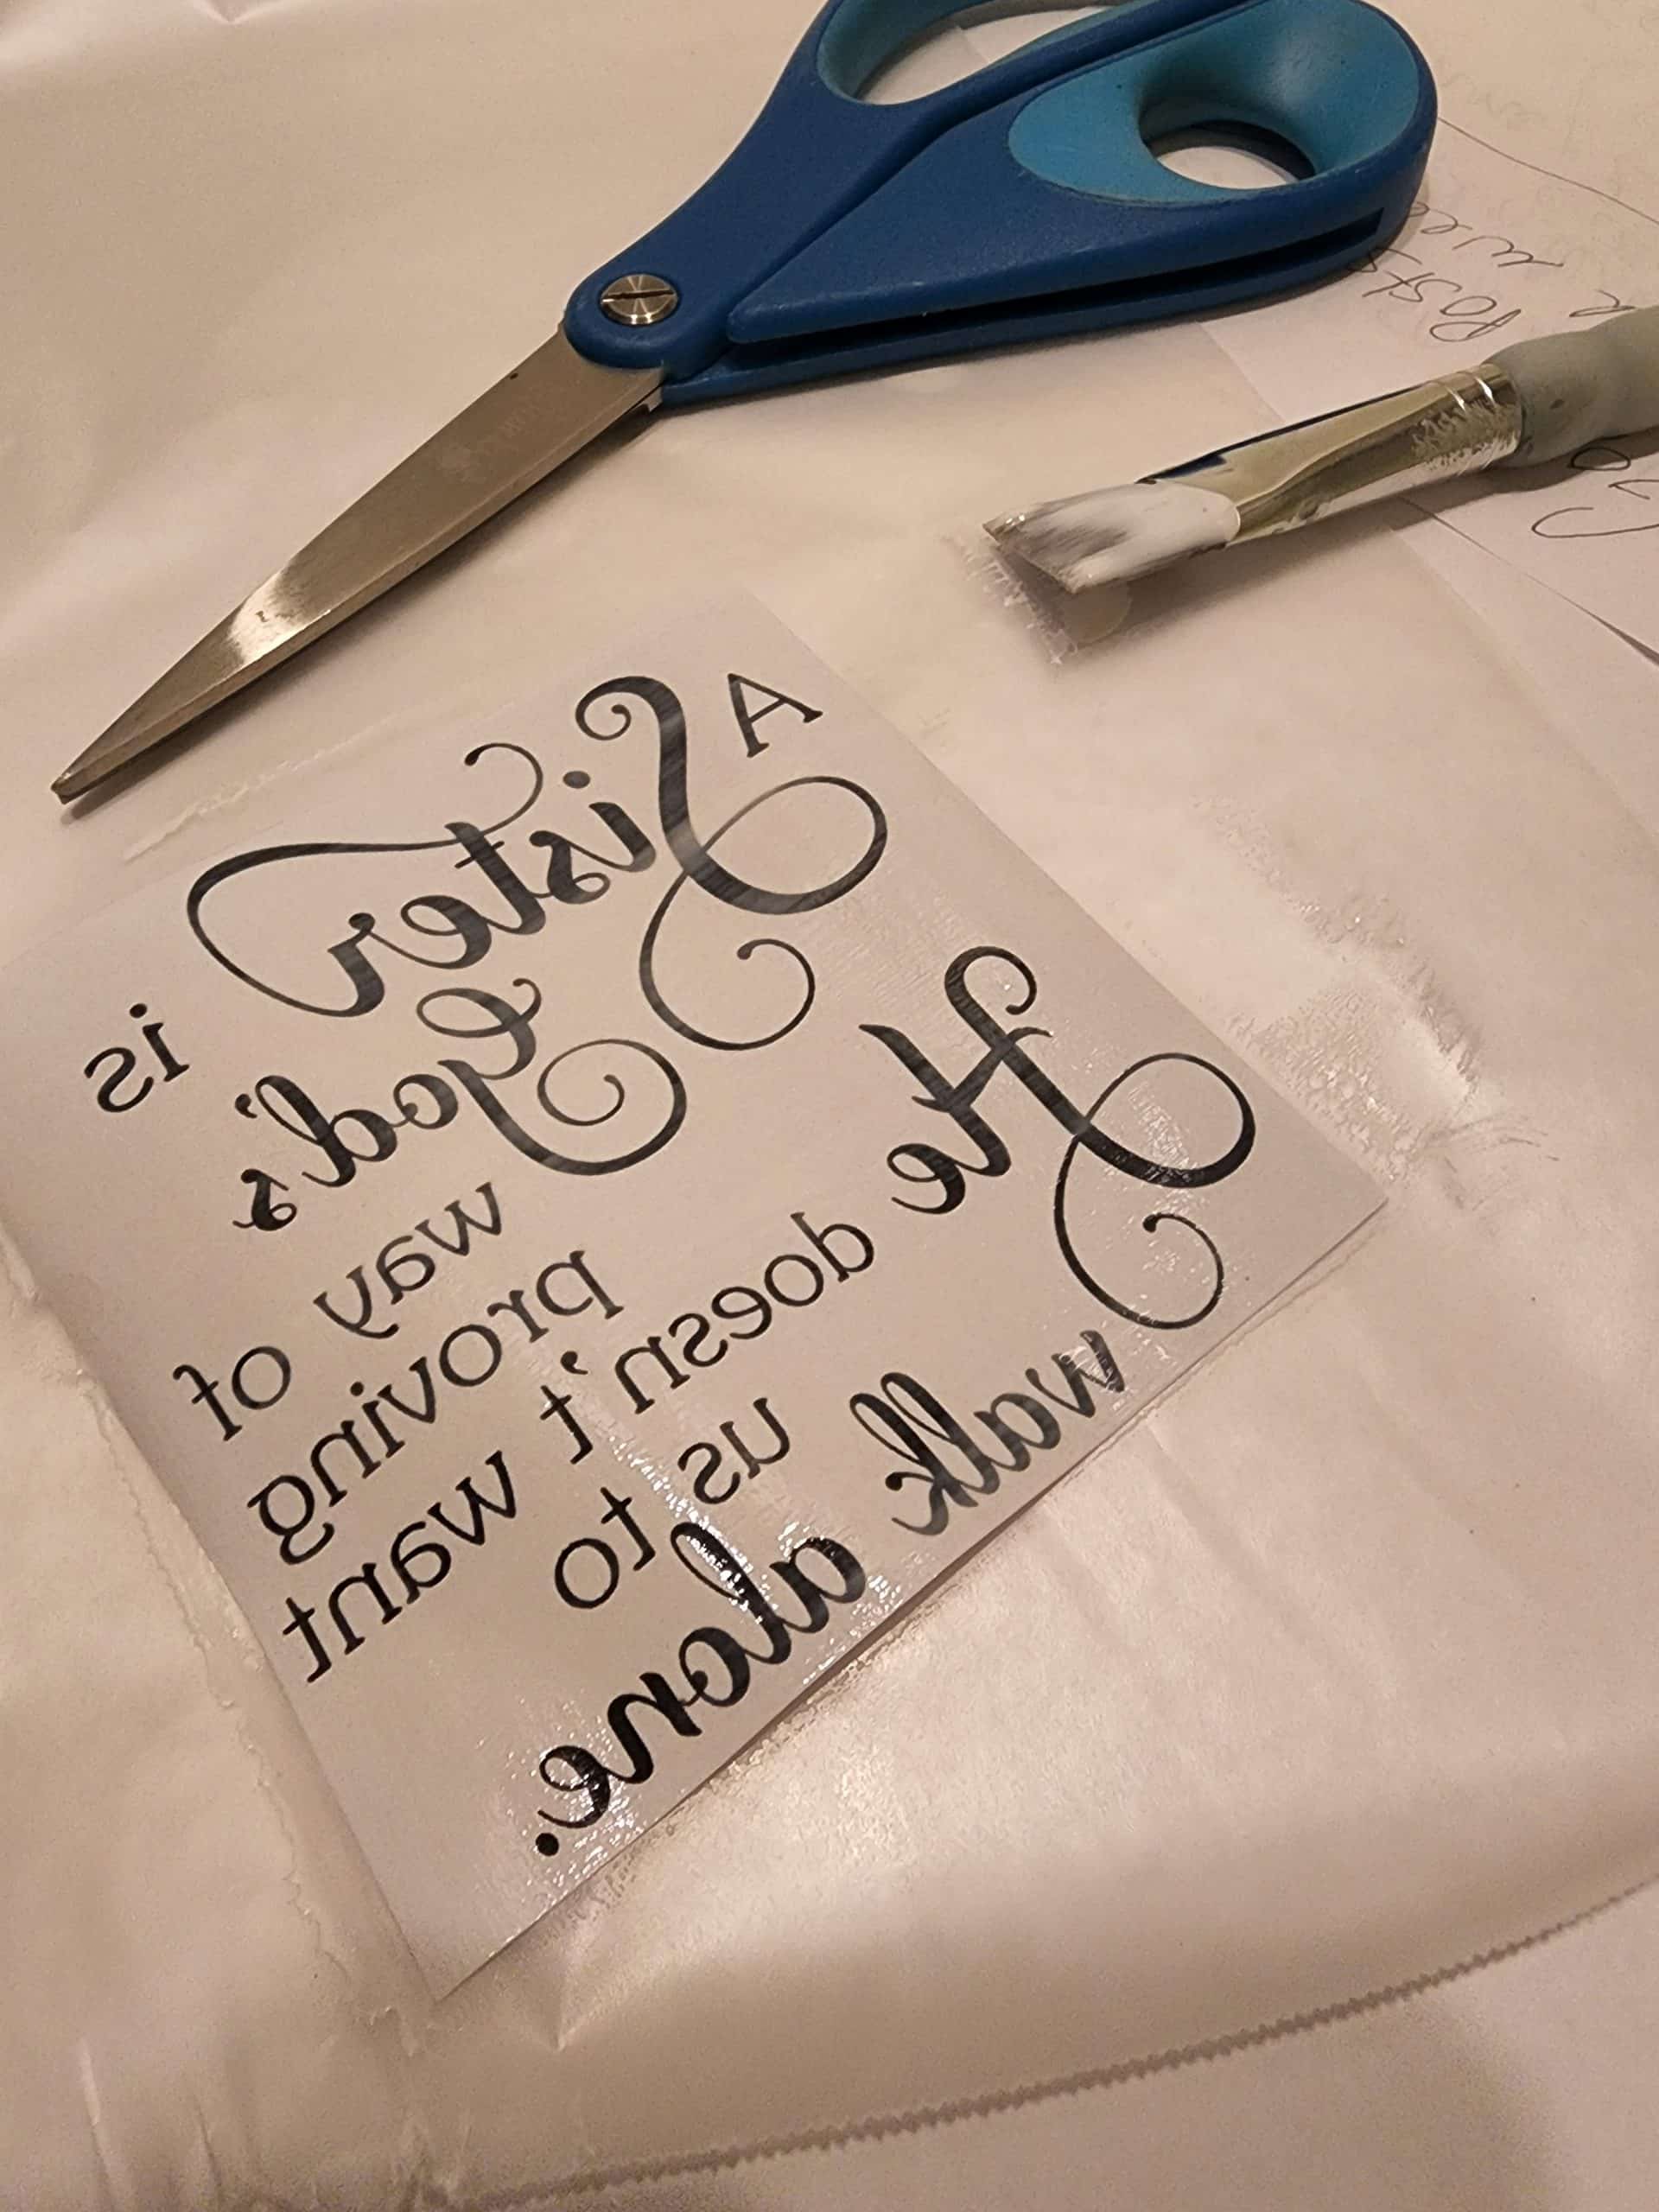
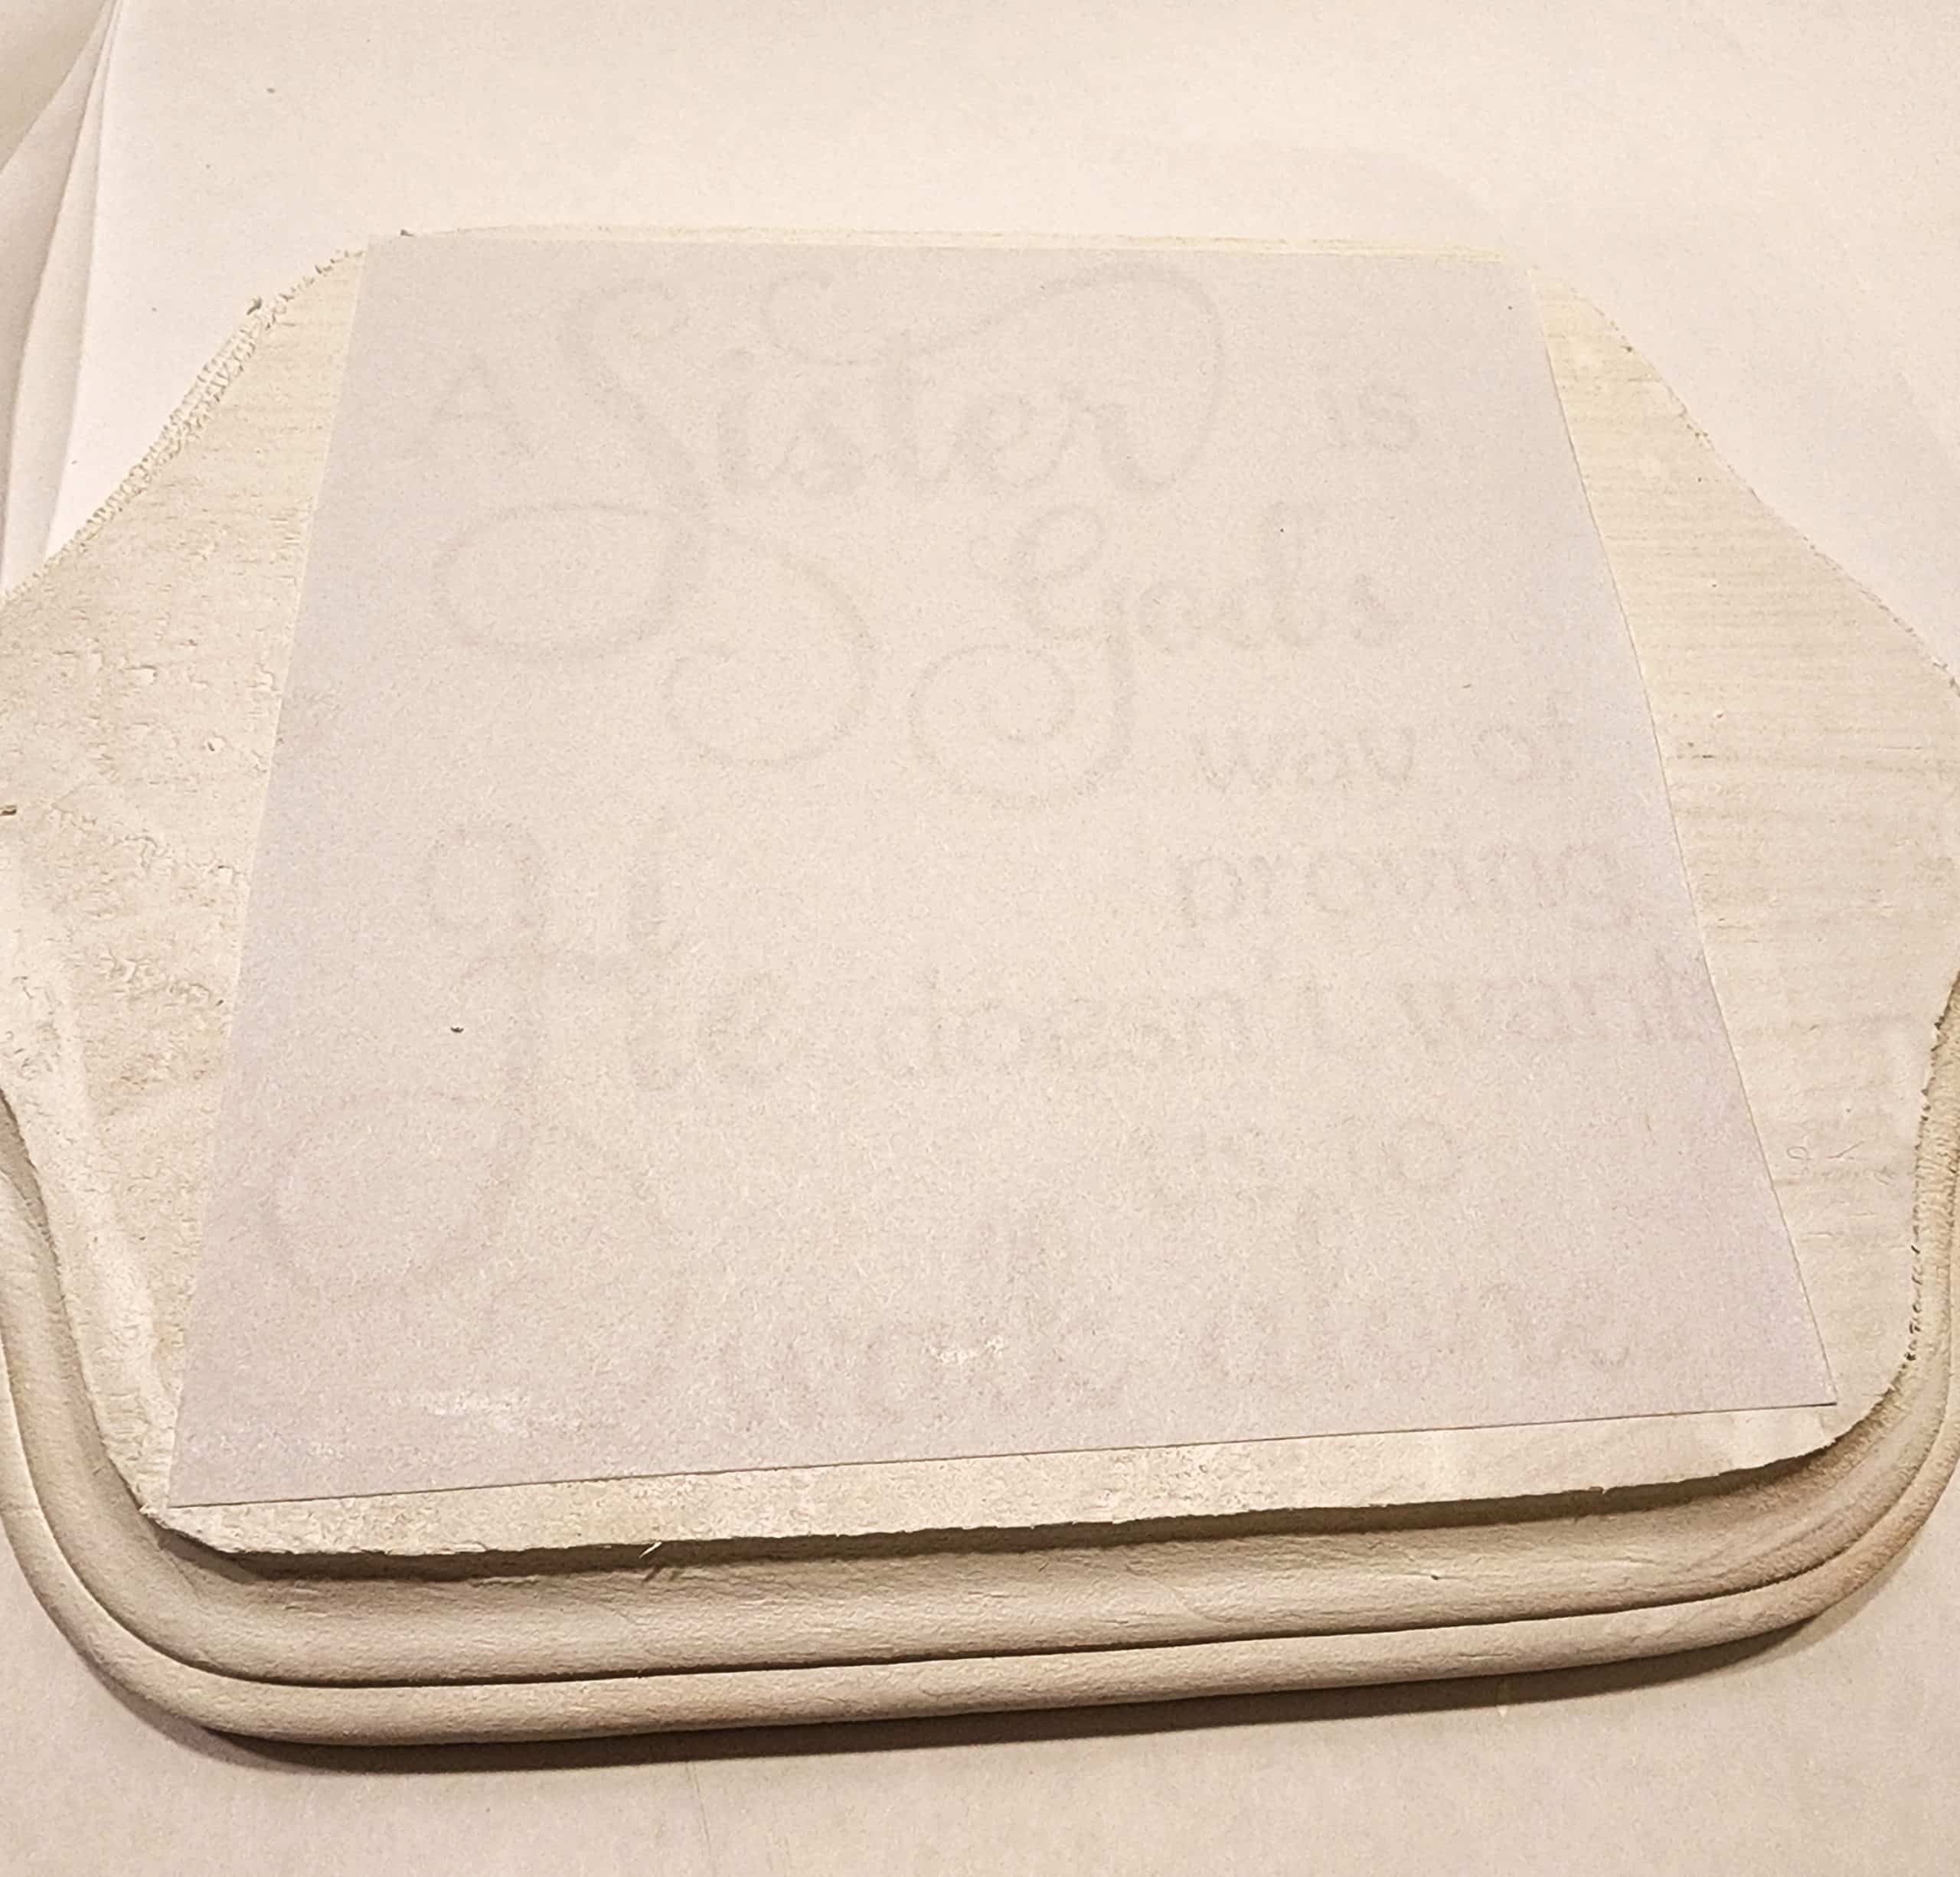
I got this Strausburg Ready Made Clothing image from the Graphics Fairy. First, I printed it at home using the poster function on my printer, then took the four sheets of paper to Staples to get laser copies. Then, I cut them out and taped them together using only a few pieces of tape on the white side of the paper. Make sure you get your image flipped, or do the mirrored image.
Apply Image
This is the most important part, apply your 1Gel to the printed side of the paper, trying to be careful not to get any on the white side of the paper. The goal is to remove the paper, and if you “seal” it with the 1Gel, the paper won’t remove very easily.
I put a little too much 1Gel on mine, so you can see it seeped out around the edge. Allow your image to dry. I did this very late at night, and ended up working on it the next morning. On some of the bottles I have done I waited a few hours before removing the paper.
Dampen & Rub Off Paper
There are lots of ways to do image transfers. Many say to spritz water on the label, but I didn’t have a water bottle, so I used damp paper towels.
Would you believe this is my first image transfer on furniture? I used my palm to roll off the top couple of layers of paper.
This project is is not for the impatient DIY’er. It takes a lot of time and patience to repeatedly remove the tiny pieces of paper.
After you think you have all the paper removed, you will still find more pieces hiding. I did one last dampening and wiping of the image.
I actually chose this particular graphic because it is in English. I’m a huge fan of the French graphics, but it bugs me that I don’t know what they say.
Distress and Seal
After getting the last bits of paper removed, I did some light distressing, then I put on another coat of 1Gel to seal the image.
 Voila! Success!
 This isn’t the best coffee table ever, in fact it’s very cheap, but the Heirloom Traditions paint and the Graphics Fairy image make it look a lot better, don’t you think?
Now, as promised I’ll show you how to use a laser printer to do image transfers.
Mod Podge and Laser Printed Image
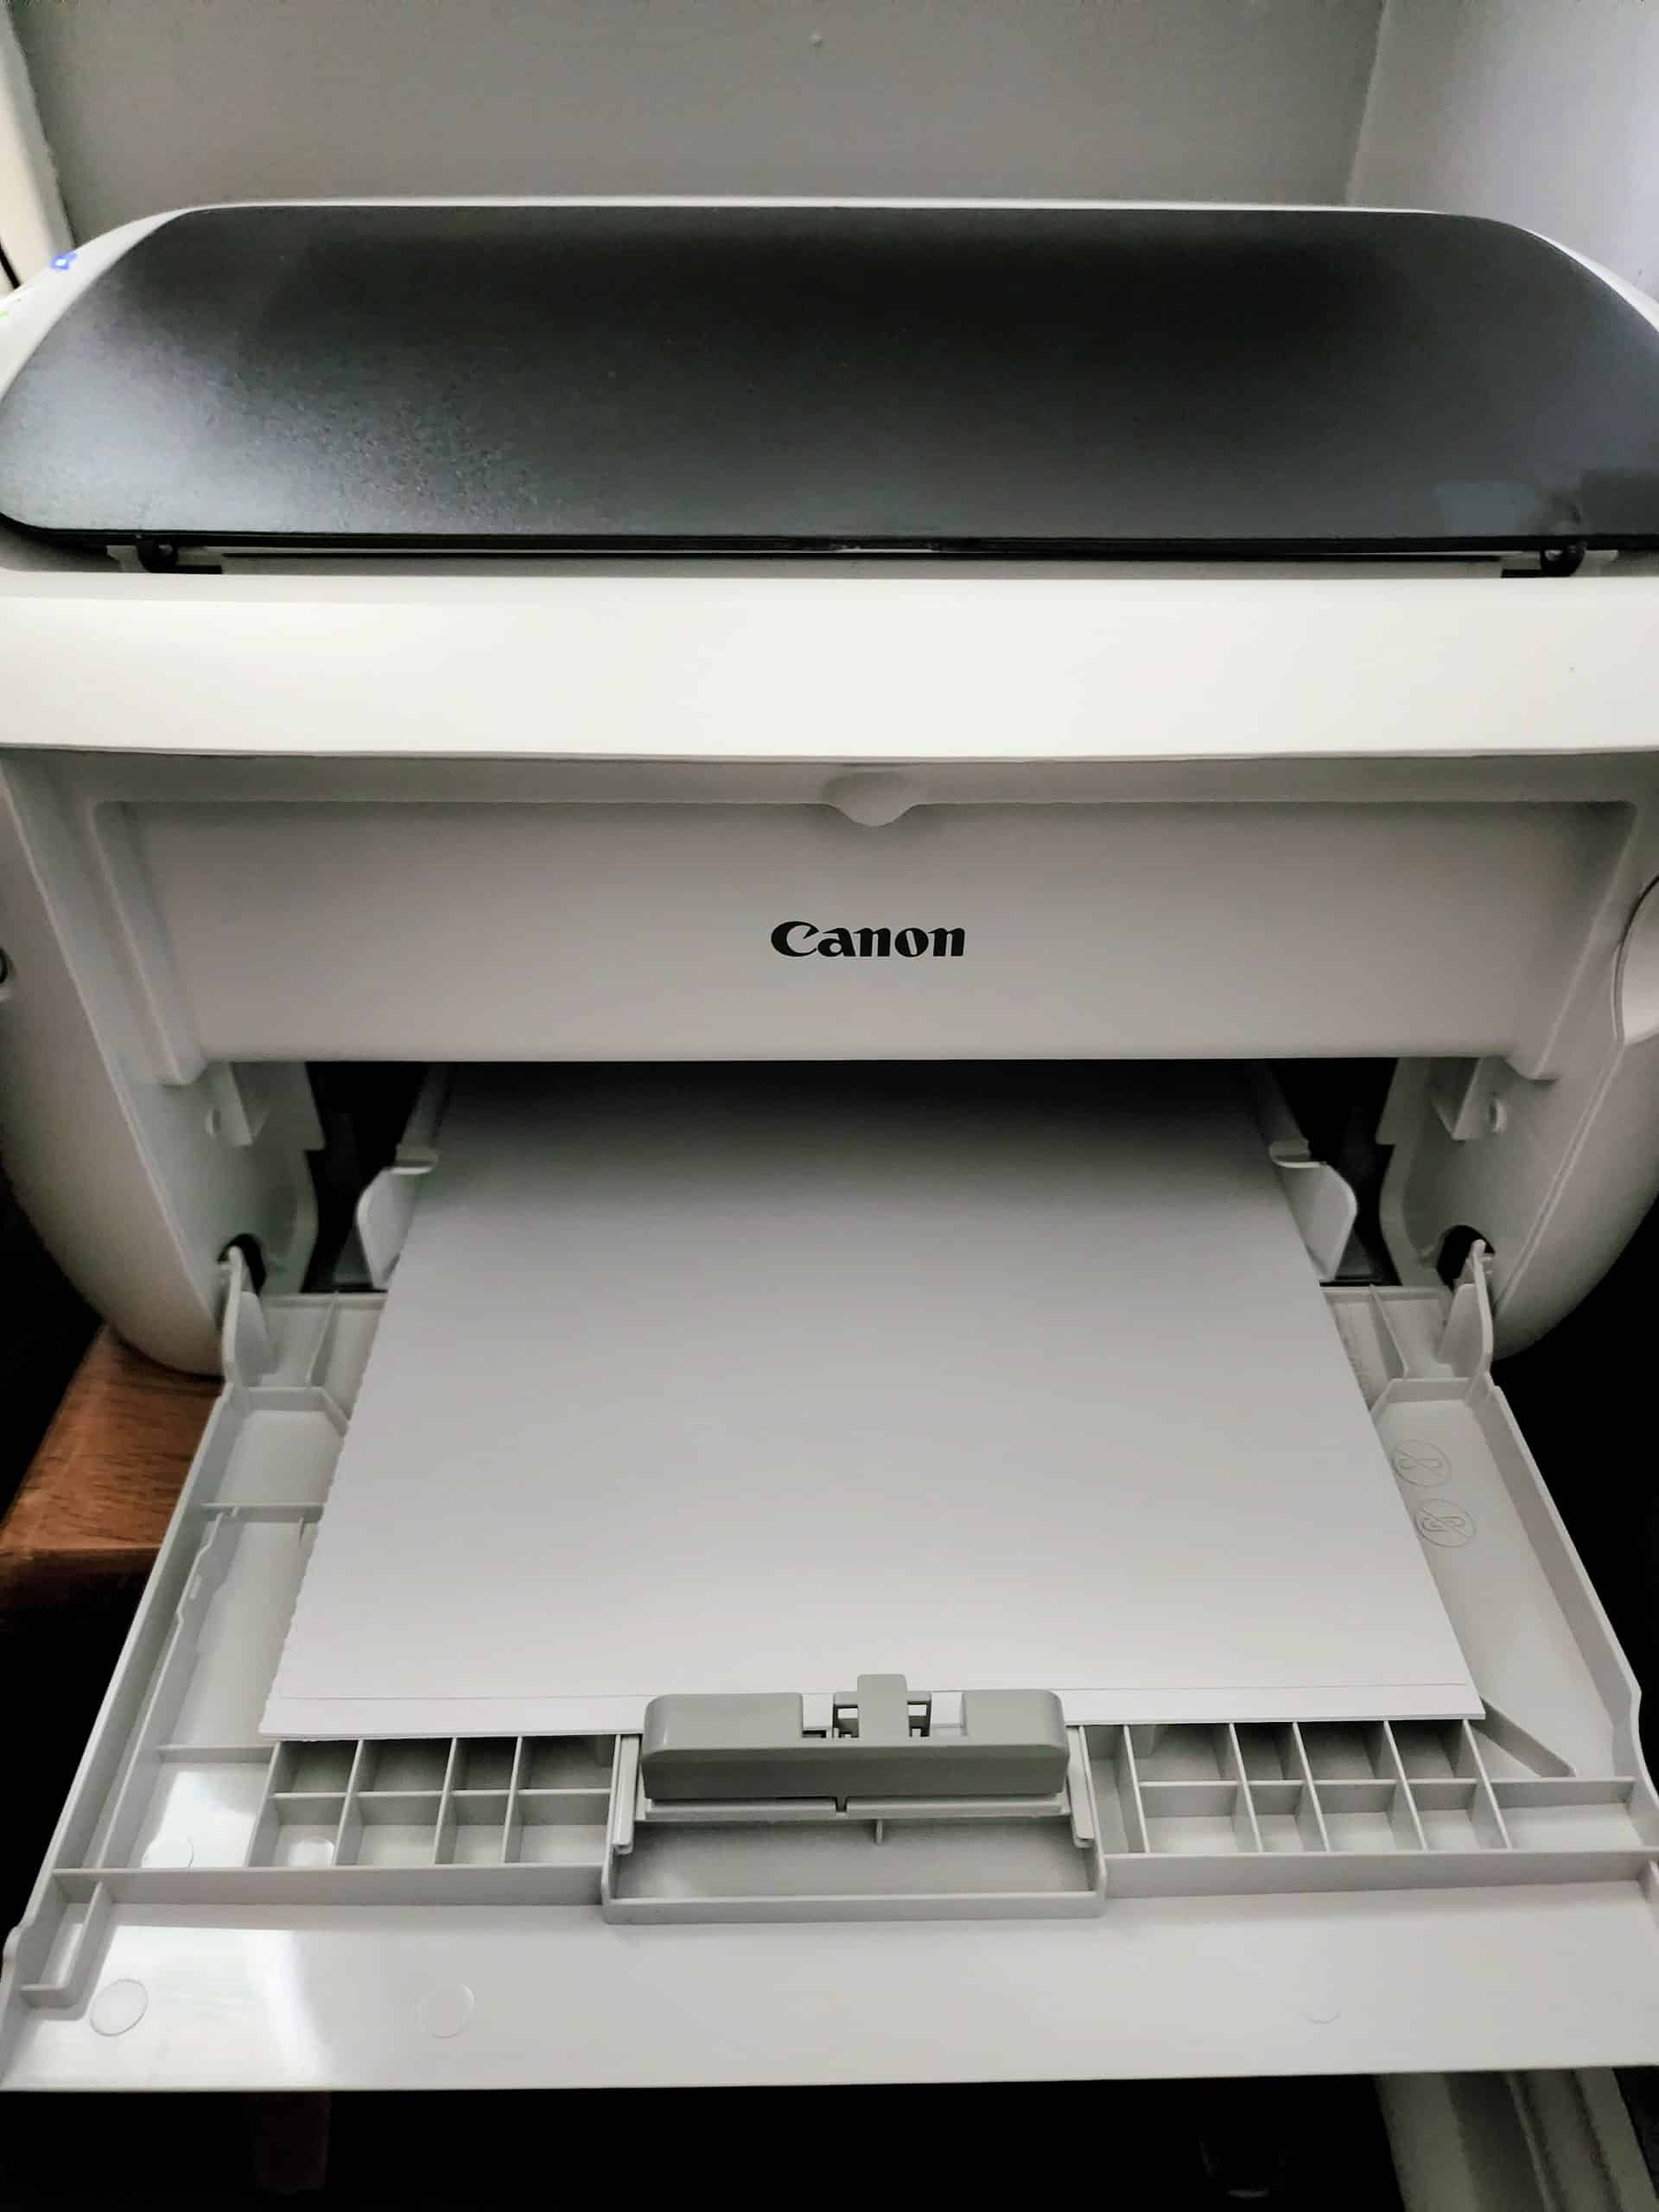
For years, I had wanted a laser printer for easy image transfers. Finally the prices have come down. Although this printer looks huge, it’s really not. I actually have it in a corner of the living room, resting on a small stool. I got this laser printer on amazon for $99.
Gather your supplies, I used a wooden plaque, chalky paint primer, Mod Podge Matte, small paint brushes, and a reversed laser printed image.
Trim Image
While the plaque was drying, I trimmed the laser printed image. Since you will be peeling back the paper, you want the image to be “tightly” trimmed.
Apply Mod Podge
Using the small paint brush, I applied the Mod Podge to the ink side of the image. Laying it on waxed paper will keep your area free of the Mod Podge.
Easy Image Transfer
Carefully lay the image, ink side down onto your surface. Smooth the paper, and leave it alone for 24 hours! Yes, that’s the hardest thing to do. But you have to allow the toner to adhere to the wood.
Dampen Paper
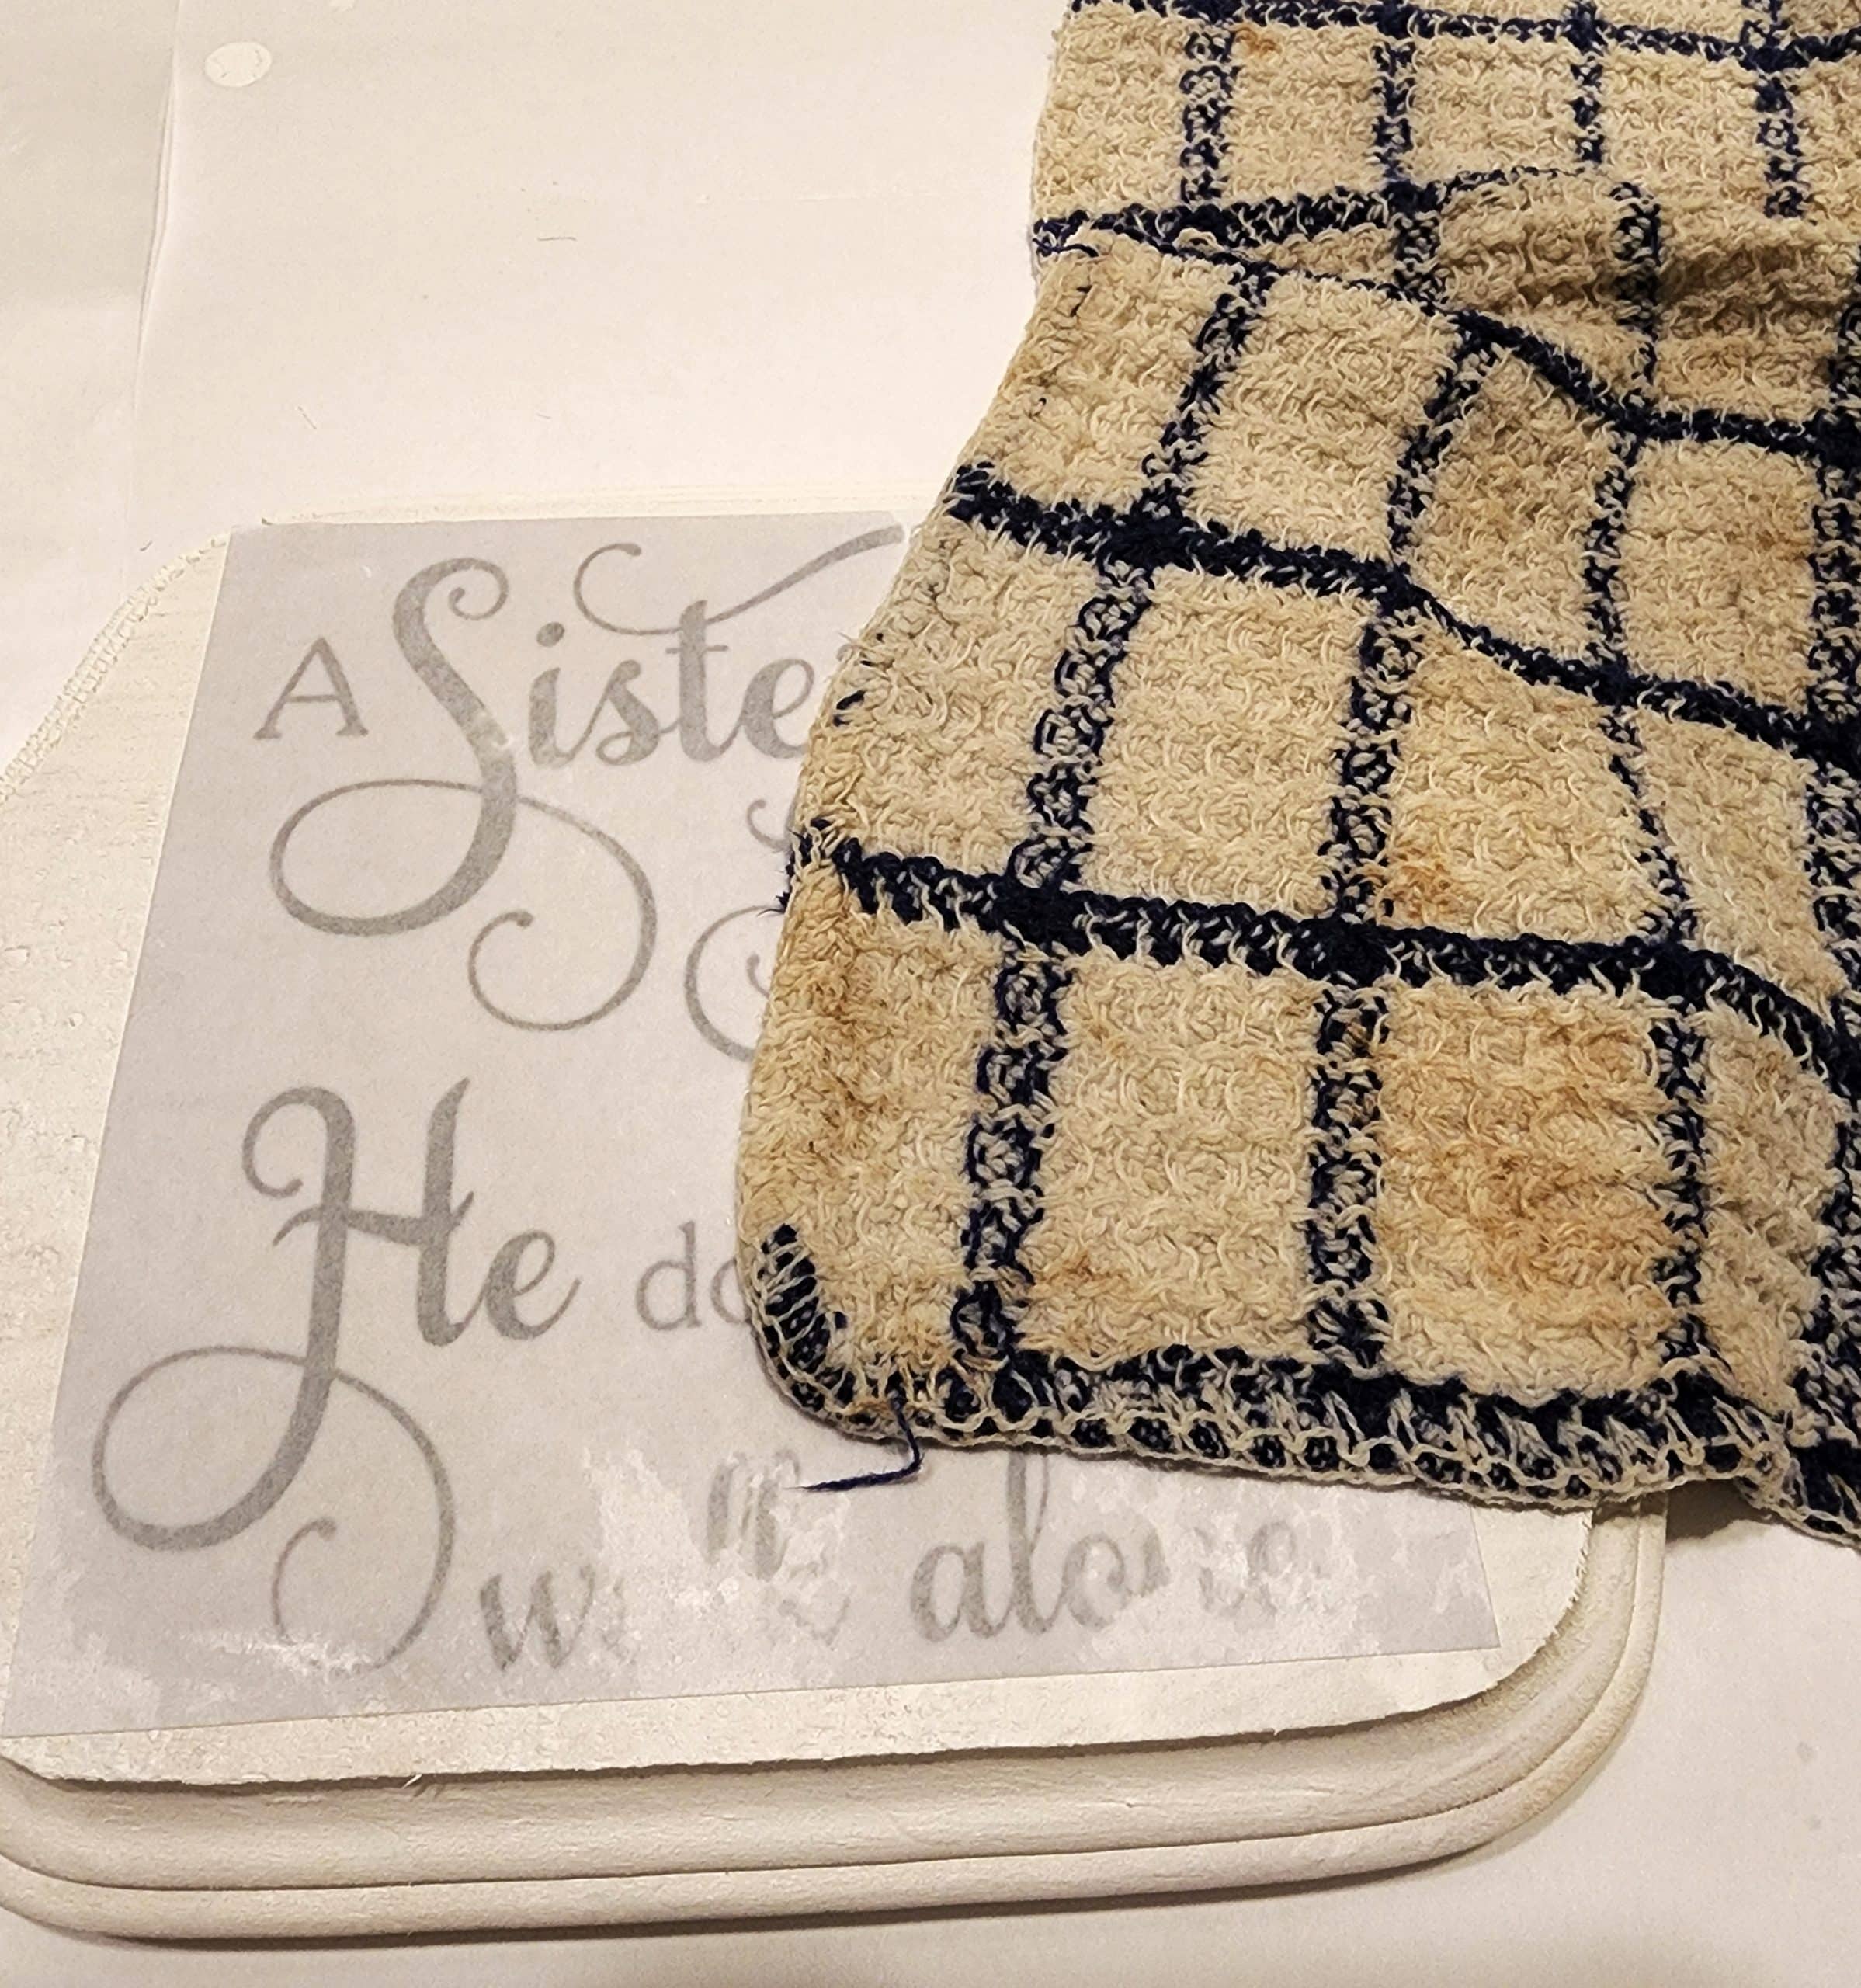
Dampen the image with a cloth. You can see that this cloth has been around for many years!
Rub Away Paper
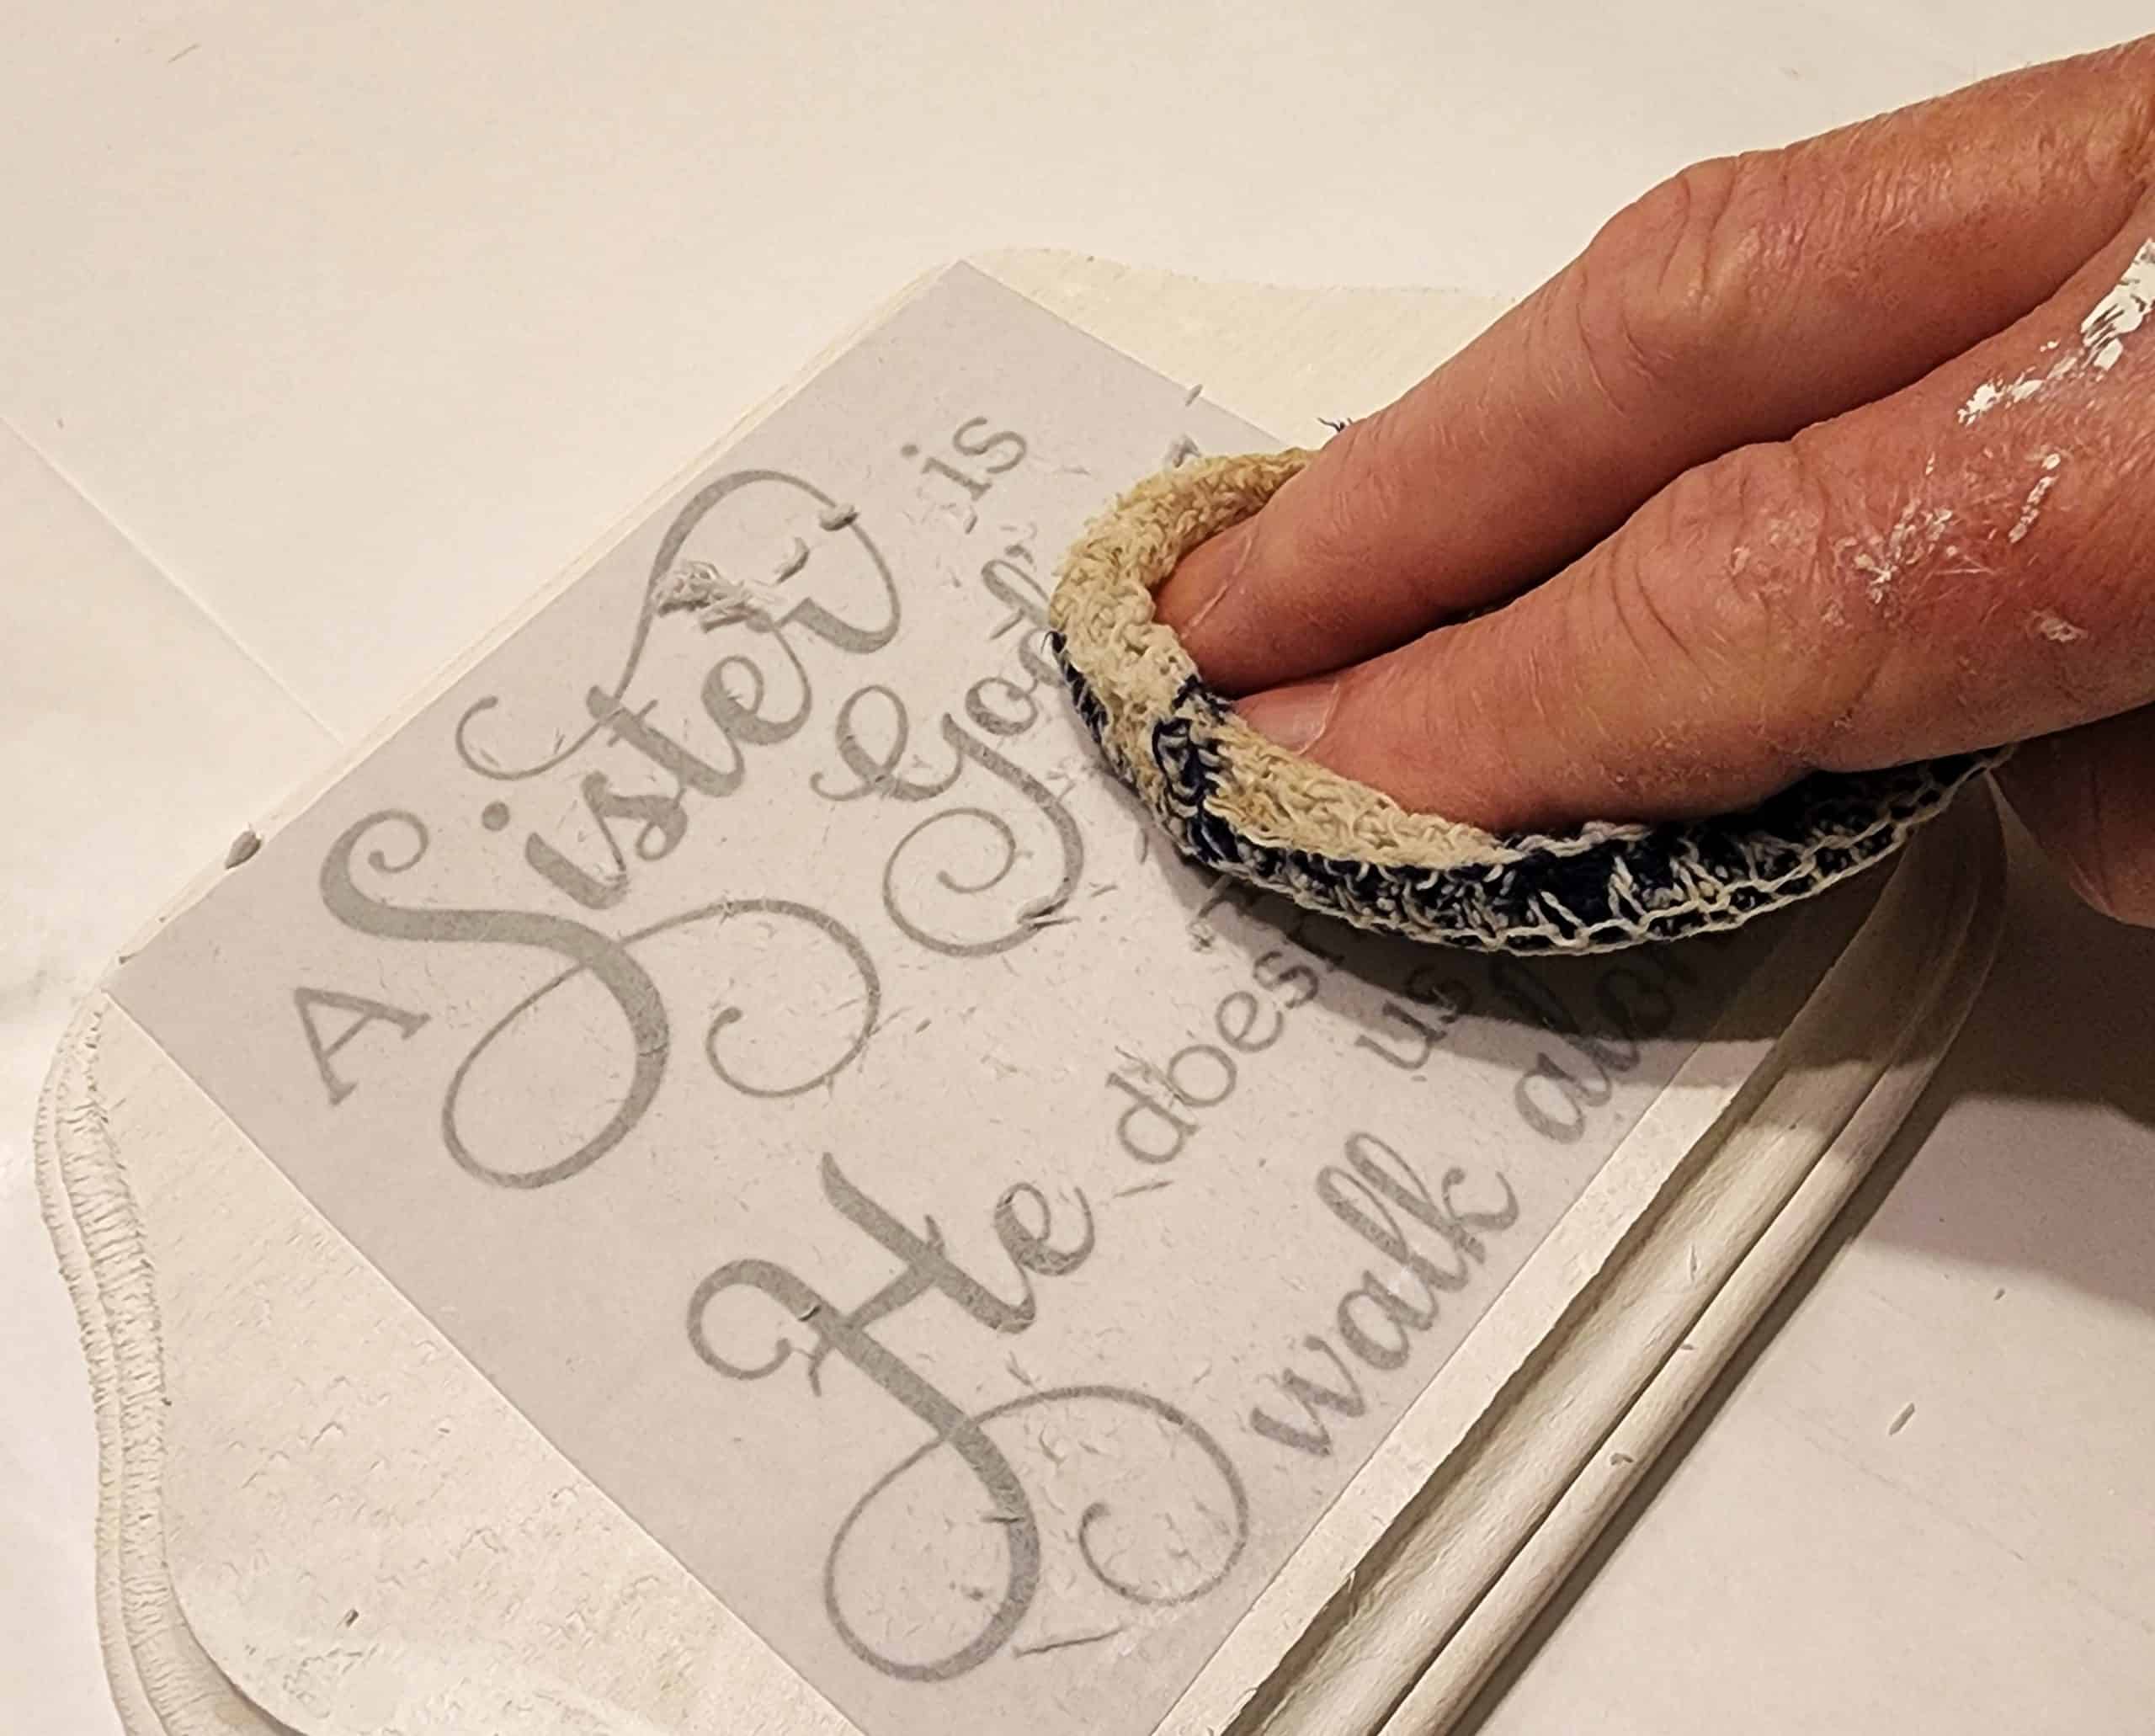
Gently rub away the first layer of paper.
After the top layer of paper has been removed, you can still see the outline of the edge. Be patient.

Dampen one last time, and continue to gently rub away the remaining paper.
Seal Project
Not shown, after everything dried really well, I applied a coat of clear sealer by Rustoleum. That gives it a little shine and protects the toner.
I sure hope you found an easy image transfer project in this article. The easiest would be the pencil transfer method. That’s a good one for beginners that don’t have a lot of supplies on had.
gail
Can the 1Gel take place of waxing when using chalk paint? I noticed you made the comment that it is a lot easier, so you can do the gel instead of wax for protection? Thank you
Jill
Yes, the 1Gel can be used as a topcoat to protect your finish. It’s really a very versatile product!
This came out so clearly. I like your paper-towel method – I’ll have to try it. Thanks for the great step-by-step! I’m just learning to use the 1Gel for transfers and it is such a great top-coat…
Your table looks amazing! I have tried image transfers a few times, but I find that they always end up looking almost like a sticker…there is an edge and a different consistency over the transfer. I guess what I am trying to say is that it isn’t smooth and when I take off more…I end up taking off the image. I wish I could get this!
Christi,
This image doesn’t resemble a sticker, it looks more like it was painted on. The key is working on each and every layer of that thin white paper. Who knew there could be so many layers?
good luck!
gail
Haha! I’m laughing at your English/French reasoning… I have the same issue and in fact made a sign that says ‘FLOWERS’ on years ago…because I didn’t want it to say ‘fleurs’ … I don’t speak French! LOL!
This table looks great… you make it looks so easy too.
I’ve done some transfers similar to this…without the 1Gel… It wasn’t as easy, if I recall. I should probably try this!
it looks SO much better! I’ve never heard of this gel; I’ll have to be on the lookout.
love the coffee table, Gail! If we were neighbors, I’d be over to buy it from you! Great upcycle!
It looks so great!! I love the color too!
I see you got an upgrade to your “spray both”. I still use mine made of PVC pipes and a large drop cloth to cover box. Yours looks much better.