Vintage Ironing Board ART
As an Amazon Associate, I earn from qualifying purchases.
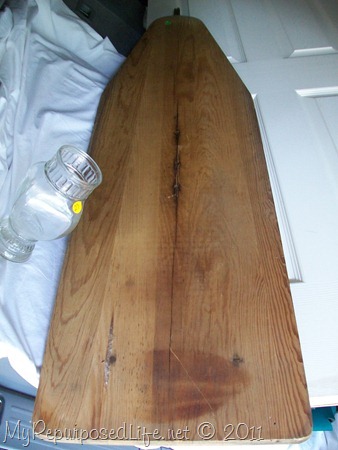
Do you remember the vintage ironing board I picked up last month? I got it at a church yard sale for $5.00. (My personal limit when I thrift)
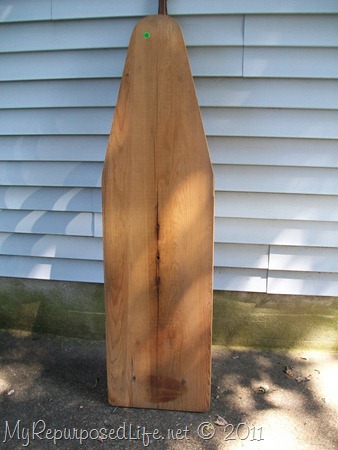
I had no idea what I was going to do with it. When I was looking at it, the lady said “do you need an old ironing board”? I told her, that I didn’t need one, but I was going to buy it anyway. ![]()
I found an image from Karen @ the graphics fairy. Did you know that you can print oversized images from your own printer? I didn’t, so I googled it. You don’t have to google it, I’ll tell you how to do it.
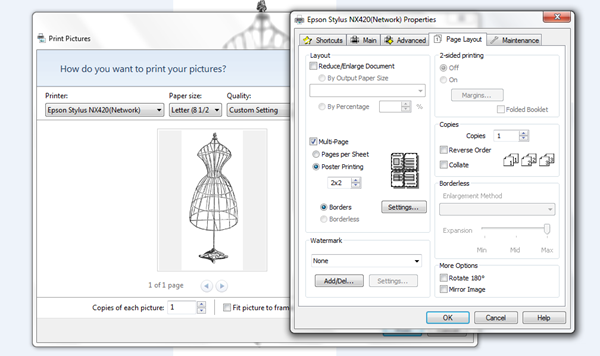
I opened the picture, and told it to print. When the print menu popped up, I went into the “options” or “settings” menu. From there I chose page layout. I chose Multi-Page– Poster Printing. You can see that I chose 2×2. I also choose to do a print preview BEFORE printing option. For my printer, that is located under the Advanced tab.
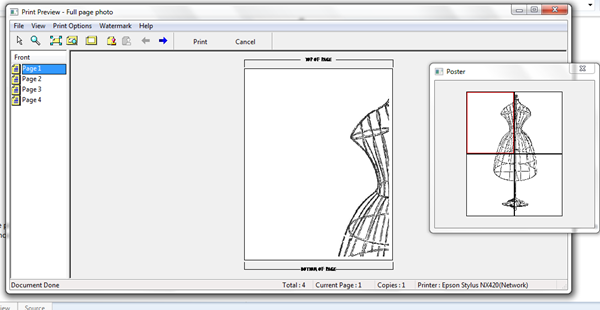
Here you can see that it will print out on 4 pieces of paper. After the 4 pieces print, you just trim them a little and tape them together. Easy Peasy! ![]() You can thank me later! I love sharing what I learn with you guys!
You can thank me later! I love sharing what I learn with you guys!
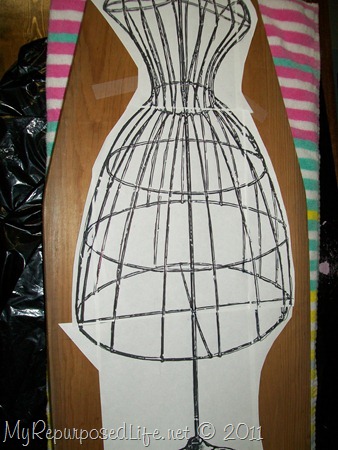
I taped my four pieces together, then trimmed away all the extra paper. I taped the dress from on the ironing board. I have a very colorful beach towel underneath it because I didn’t want it to scratch my DIY Kitchen Island.
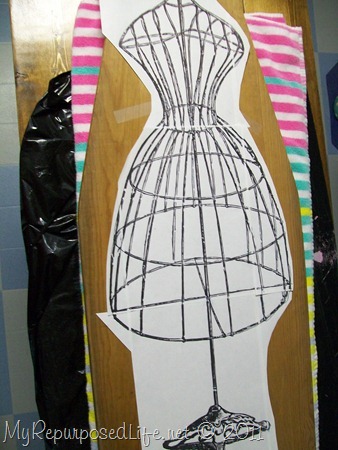
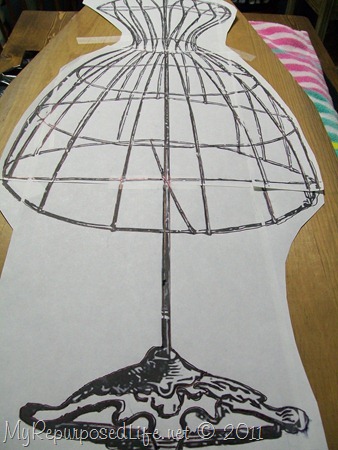
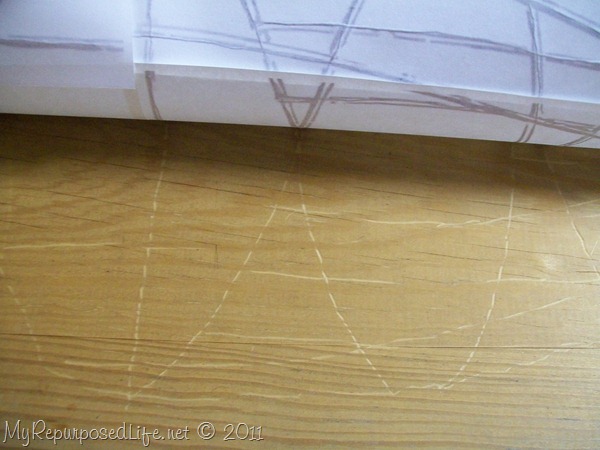
I used a ball point pen to trace the lines which left an impression on the wooden ironing board. I used some black craft paint and a small paint brush to paint the lines on the ironing board.
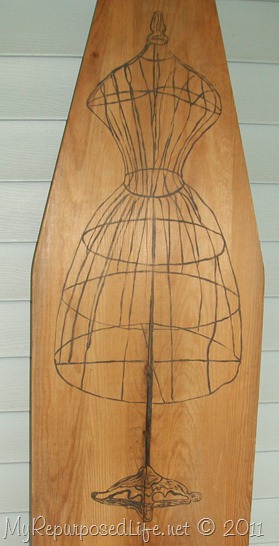
I was so busy painting, I guess I didn’t take any “in progress” pictures.
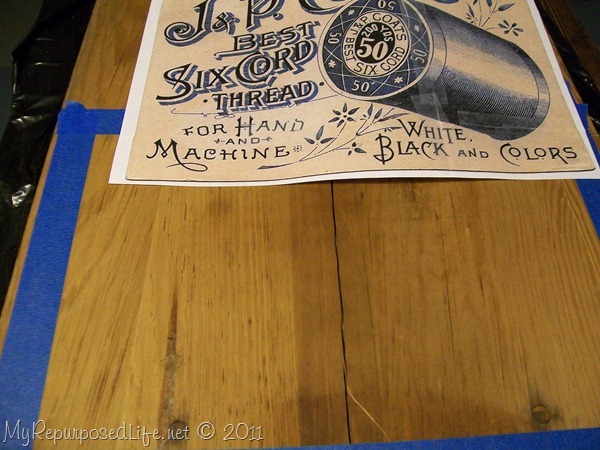
This is the step that I may regret. I got another image from Karen @ the Graphics Fairy. I liked the image but I don’t think I did a very good job transferring it and painting it. However, in the spirit of “keeping it real” I show you everything, whether I like it or not.
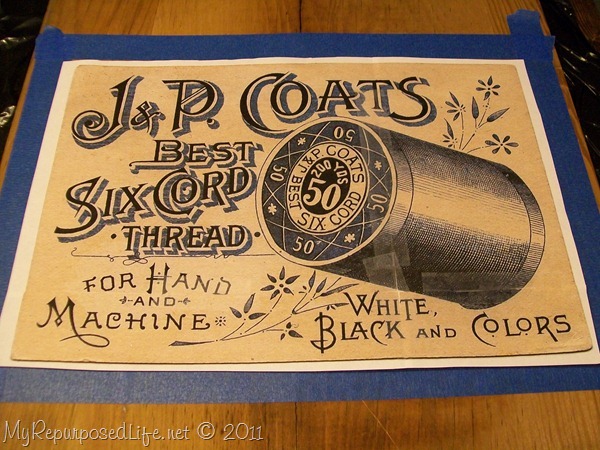
I laid the ad on the board, and taped of the correct size.
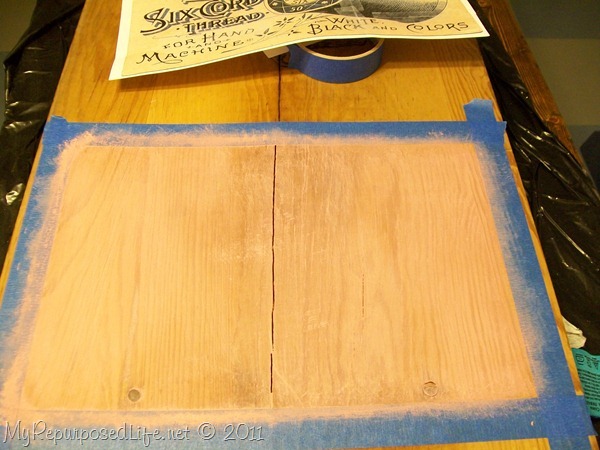
Then I painted it the best matching color I had. I got very busy transferring the image with a ballpoint pen-then painting over those lines, and again, I didn’t take any pictures.
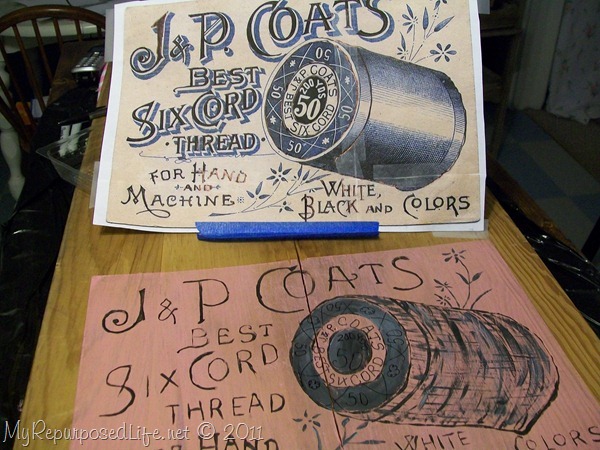
I was not thrilled with the end result. I am not a very good detailed painter.
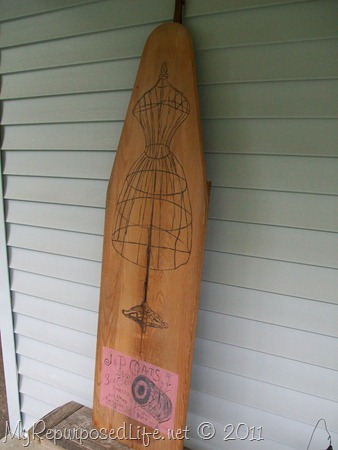
At this point, I’m liking the dress form, but the advertisement? Not so much.
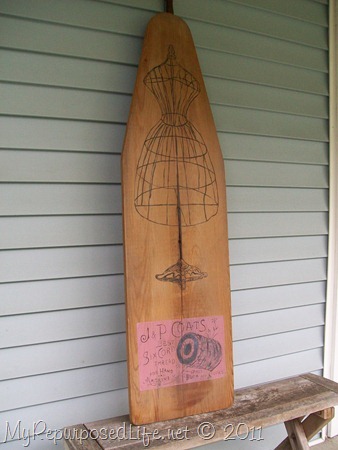
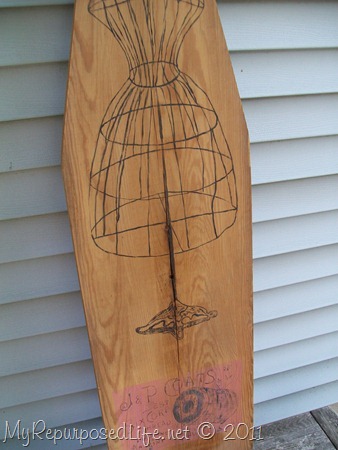
I thought it was too new looking, so I took some sandpaper to it.
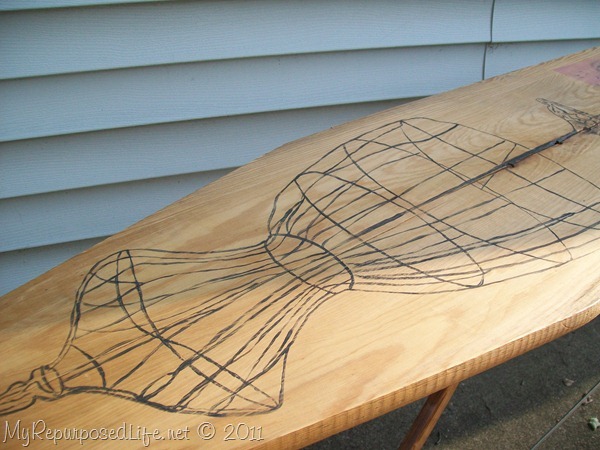
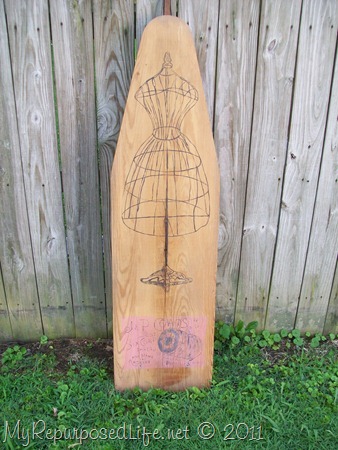
I may or may not be finished with this project. The advertisement does show up better than it does in pictures. I have gotten an enlargement of the original image from the nice people at Staples. I may sand off the image that I painted and decoupage the enlarged ad on it. I’m open to suggestions.
I felt I could go two different ways with this ironing board. I could focus on the laundry room, or a sewing room. I sort of thought in my neck of the woods, a seamstress might go for it before someone would want it for their laundry room. I still need to corral the legs on the back and add some hardware on it in case someone would like to hang it on their wall for art.
gail
see more Image Transfer Projects here
linking to:


Stuff for free:
http://goo.gl/SIQ3o
I love this iron board. and the detail you put on it is amazing! so pretty. I’d love for you to link up to my feature friday link up. http://www.blissfulanddomestic.blogspot.com
Love the dress form!
Thanks for the tip on printing. I didn’t know it could be done like that.
This is just too cool! Love that dress form image! Following you from my new blog (used to be onecheapbitch.blogspot). =)
Jeanine
I read this yesterday. VERY cute idea. I have 3, yes THREE of these vintage wood ironing boards. I need to get crackin’ on them. The dress form idea is great!!!
I have nothing to add but to tell you how much I love your project. The time you have taken to transfer and paint the image has resulted in a beautiful item.
question about the decupage option, how did you get it printed to be able to deupage it? does laiser jet/toner work to be able to use glue on without it smearing like an inkjet would?
i have so many awsome things i could make and do once i learn the limitations of diferent printers (i have considered next time i get some spending money to perhaps buy a b&w laiserjet for projects if i find it can do tons of projects (like decupage, pre made paint by number typ things ext, currently i make my cards using a inkjet with faint lines for outlines but have to do it so very light since my markers will smear the ink otherwise)
And I didn’t mean to write “white triangle” I meant “white rectangle” sorry to confuse 🙂
-Stefanie
Opinion time? The dress form came out great. However, you chose a very difficult ad to copy. The lettering is complicated and the shading on the thread isn’t simple either. To keep with your idea I would start over on the ad. I’d paint a white triangle as that’s the type of background I think of with old ads. For the letters I would use your silhouette and pick a font or two you like and either put the vinyl straight on or use as a stencil. I would only decoupage the image of the thread itself. Enjoy the process, whatever you do or don’t do 🙂
-Stefanie
2ndChanceCreations.etsy.com
Looove the dress form on it, not so much the pink background for the ad. But some of the ladies really have awesome ideas to fix it. Can’t wait to see, if and how you will change it.
Hugs,
Sue
I have an antique ironing board that I use as an ironing board. It is so solid and stable, I love it.
Love the idea. I really like the dress form. And thanks for showing how you did that. I will be using that info soon. As for your project here is my two cents worth of a suggestion. I would get rid of the add you currently have. It doesn’t add or bring the two together in my opinion and I think perhaps that is why you don’t like it. What you might do is go to dafont.com and pick a really cool old font and come up with something like, “Laundry Service 5 cents” I don’t know you come up with it. Than use the same process and paint that where you have the add perhaps a diagonal and coming up to the dress form. I would than get some brown wax polyurethane or some glaze and distress it a little. Can’t wait to see what you end up doing. Good luck!