Skip to content
Facebook
Instagram
Pinterest
X
YouTube
RSS
Search
Search
Trending:
Antique Dresser Makeover
Start Here
Shop Favorites
About
Expand
About My Repurposed Life
Gail Wilson | My Repurposed Life
More About Gail
Disclosure
Privacy Information
Gallery
Expand
Repurposed Furniture
Repurposed Items
Expand
Building Supplies
Miscellaneous Household Items
Picture Frame/Chalk Board
DIY
Expand
Home Reno
outdoor living
Painting
Shop Talk
Tips for Around the House
Build It
Expand
Furniture
Home Decor
Storage
Crafts
Expand
Dollar Store
Easy
Holidays Seasonal
Furniture
Expand
Chair
Desk
Dresser/Chest
Headboard | Bed Parts | Cribs
Kids Furniture
Table
Kids Furniture
Toggle Menu
Search
Search
Search Results for:
dry brush
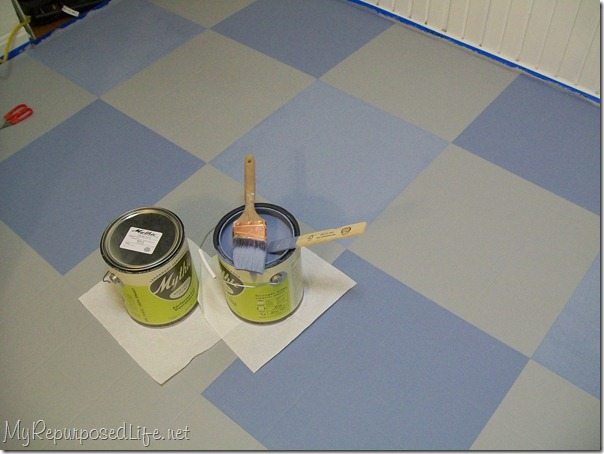
How I Painted My Vinyl Floor
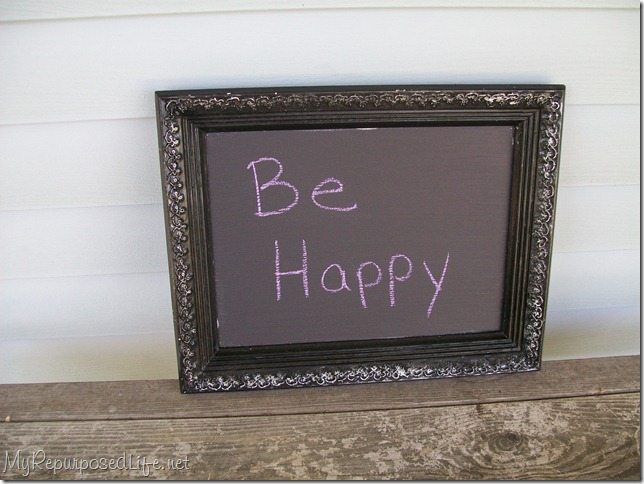
DIY Chalkboard Paint Projects
Various Updates
Glazing Furniture 101
Thrift Store frame shadow box tutorial
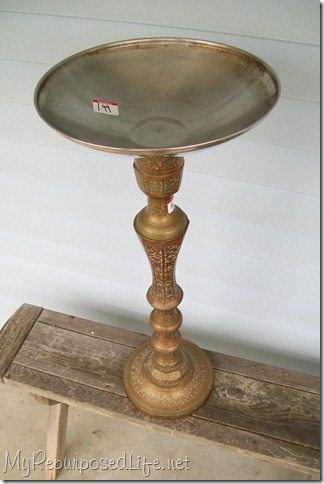
Vintage Floor Lamp Candelabra
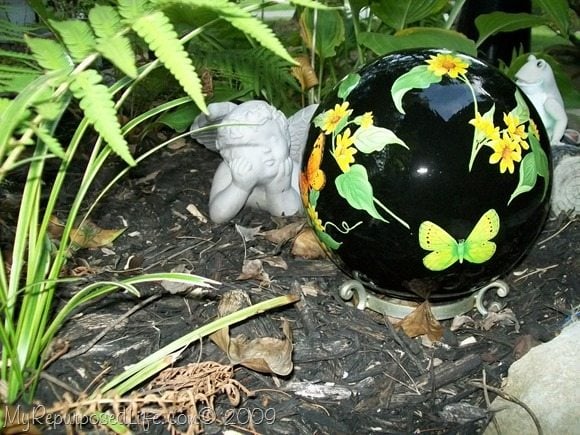
How to make a gazing ball out of a bowling ball
Page navigation
Previous Page
Previous
1
…
5
6
7
Start Here
Shop Favorites
About
Toggle child menu
Expand
About My Repurposed Life
Gail Wilson | My Repurposed Life
More About Gail
Disclosure
Privacy Information
Gallery
Toggle child menu
Expand
Repurposed Furniture
Repurposed Items
Toggle child menu
Expand
Building Supplies
Miscellaneous Household Items
Picture Frame/Chalk Board
DIY
Toggle child menu
Expand
Home Reno
outdoor living
Painting
Shop Talk
Tips for Around the House
Build It
Toggle child menu
Expand
Furniture
Home Decor
Storage
Crafts
Toggle child menu
Expand
Dollar Store
Easy
Holidays Seasonal
Furniture
Toggle child menu
Expand
Chair
Desk
Dresser/Chest
Headboard | Bed Parts | Cribs
Kids Furniture
Table
Kids Furniture
Facebook
Instagram
Pinterest
Twitter
YouTube
Toggle Menu Close
Search for:
Search