Painting A Ceiling Fan
As an Amazon Associate, I earn from qualifying purchases.
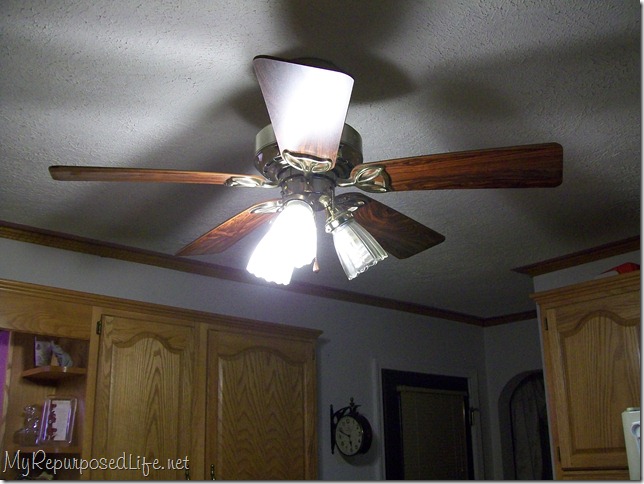 The fan in my kitchen was not ugly like the fans I painted in my bedroom. However it didn’t match and it wasn’t going to match AFTER I painted the cabinets. This fan was more difficult to paint than my bedroom ceiling fans. For one thing it is much heavier. For another thing, it is built differently and I had to take the entire thing down.
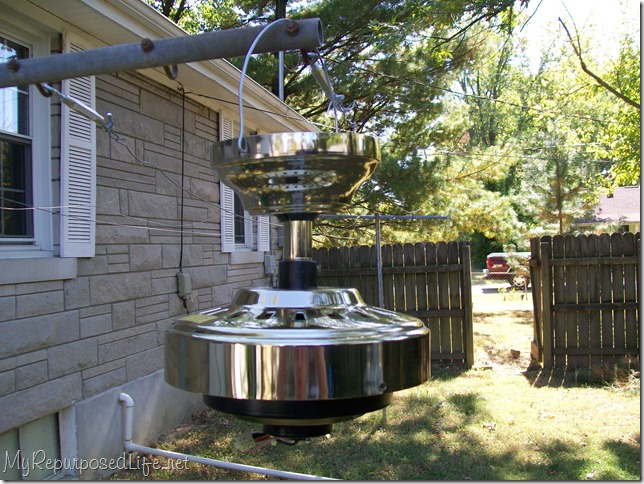 I needed a way to suspend it while I painted it. Had I laid it down, the support road would have gotten messed up while it was being painted.
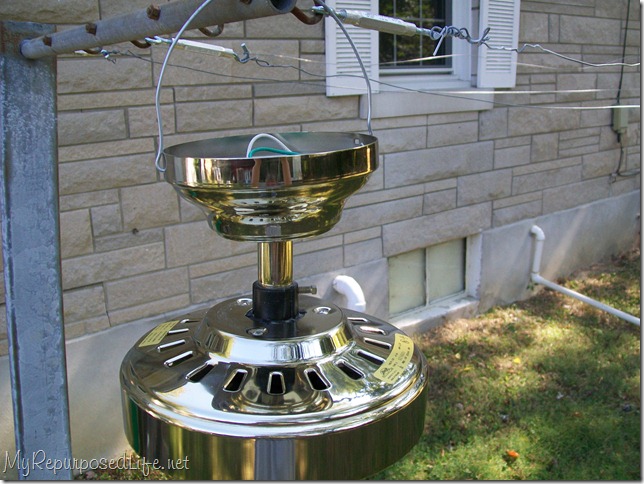 The ceiling bracket thingy has two holes that attached the fan to the ceiling. I used a paint bucket handle to fit in these holes.
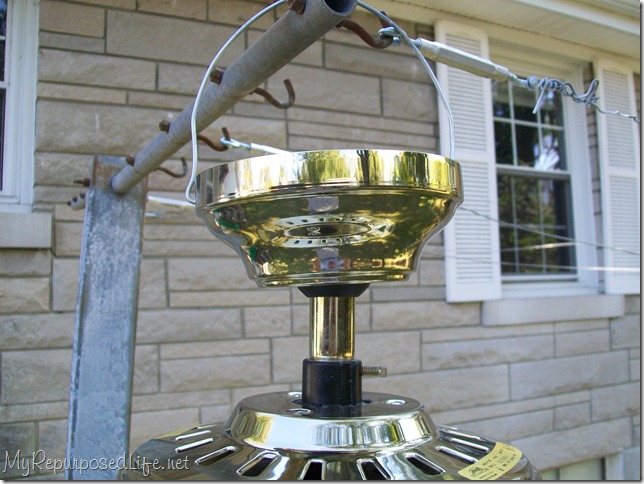 I hung it on my clothes line. By the way, don’t knock my clothes line, it was a curb find!
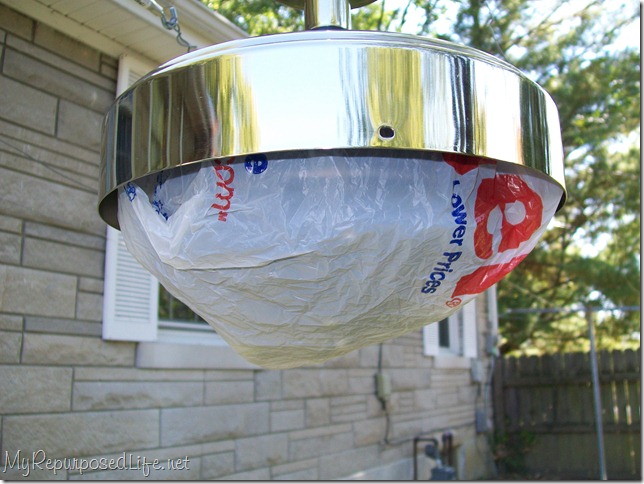 I covered up the motor parts with a grocery bag.
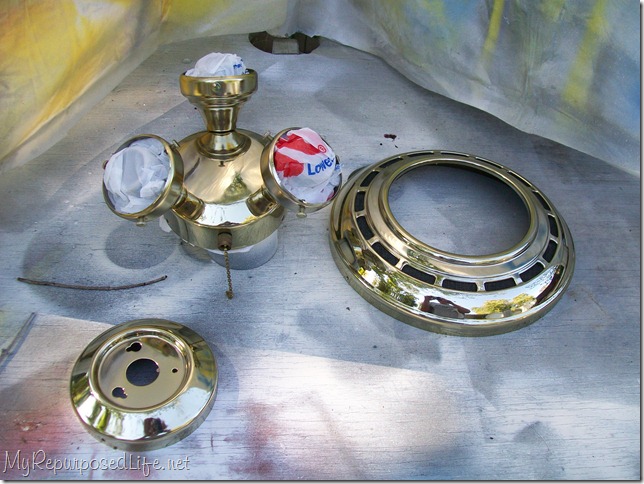 I did the same with the light kit.
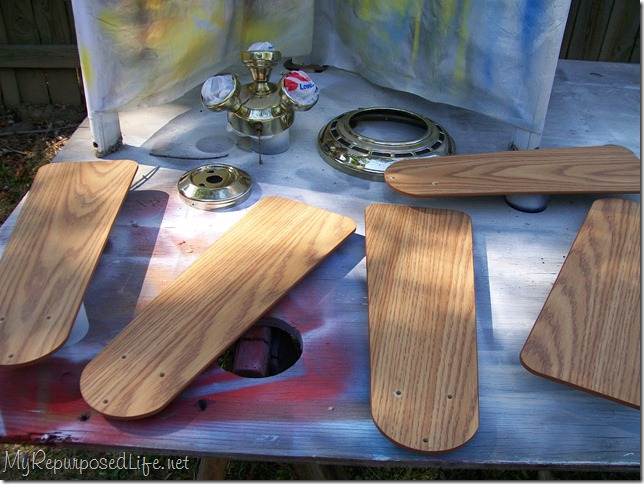
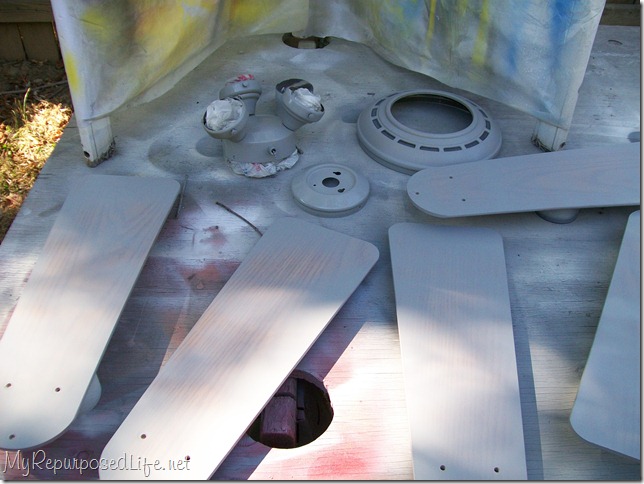 I painted everything with a coat of primer. (paddle brackets not shown here because I forgot to paint them initially)
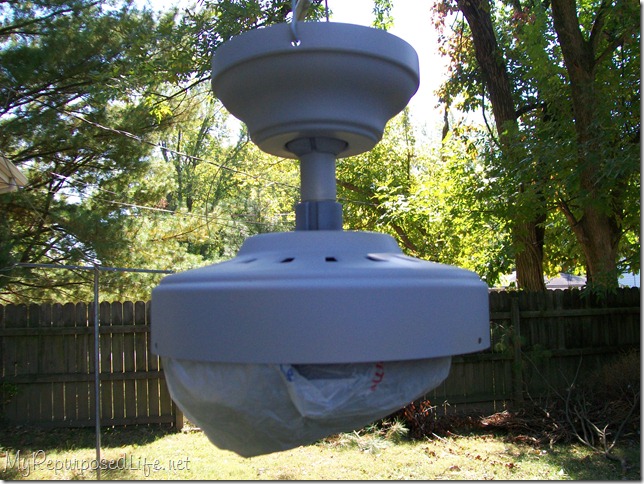
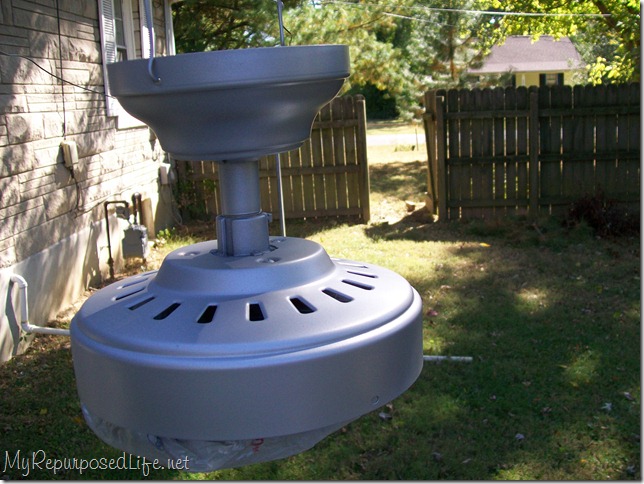 After the primer I sprayed it with a silver metallic spray paint.
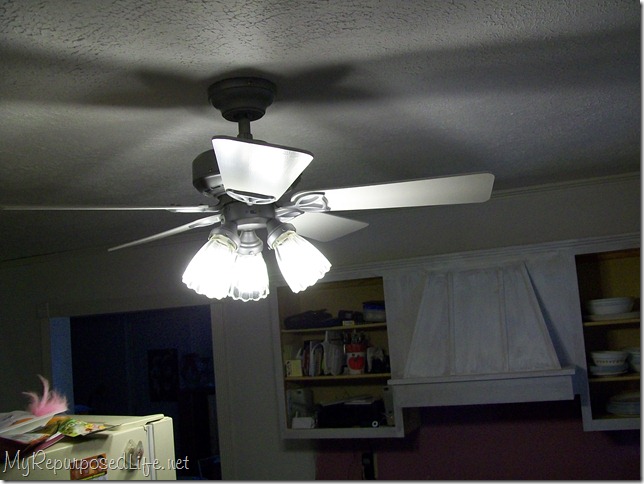 I painted the paddles with Dutch Boy Refresh (Sweetened White), the same as I used on the cabinets.
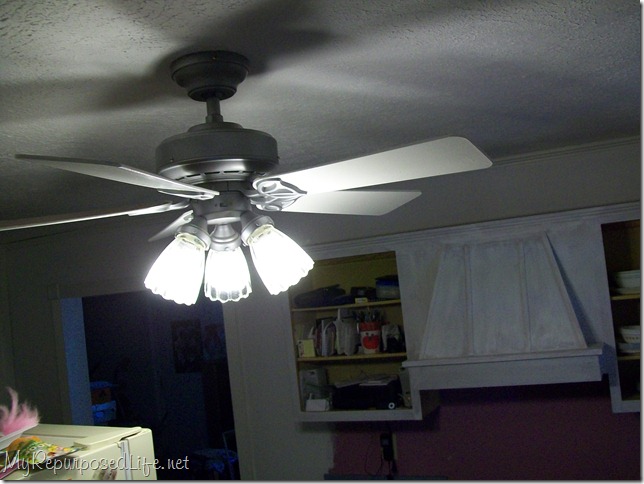 I love the new look, even though the kitchen is still not finished and put back together yet.
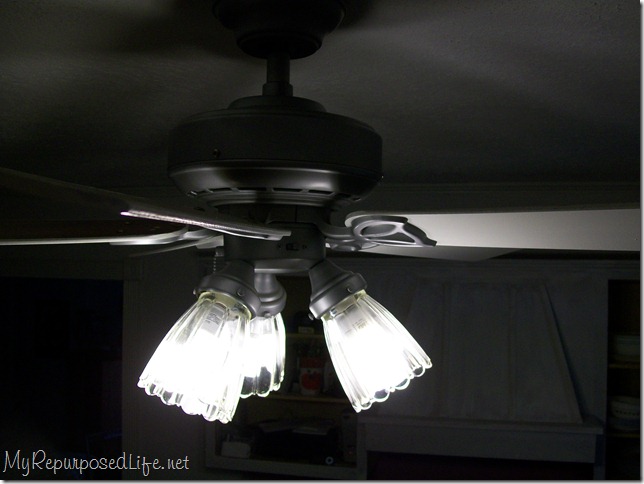 The globes could certainly stand to be replaced some day soon.
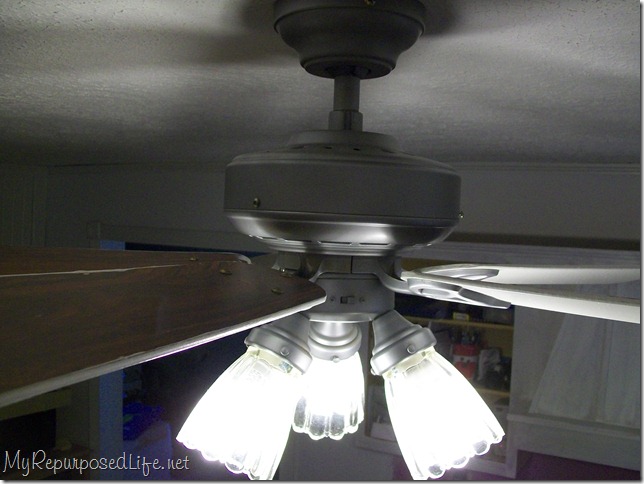
FYI I did not paint the tops of the paddles! My patience and perfection only goes so far! I do take shortcuts when I can.
Updated to show how kitchen looks after I painted my oak cabinets, and painted vinyl floor.
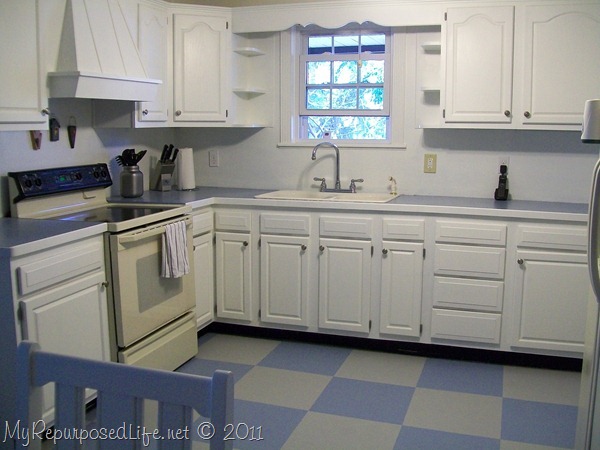
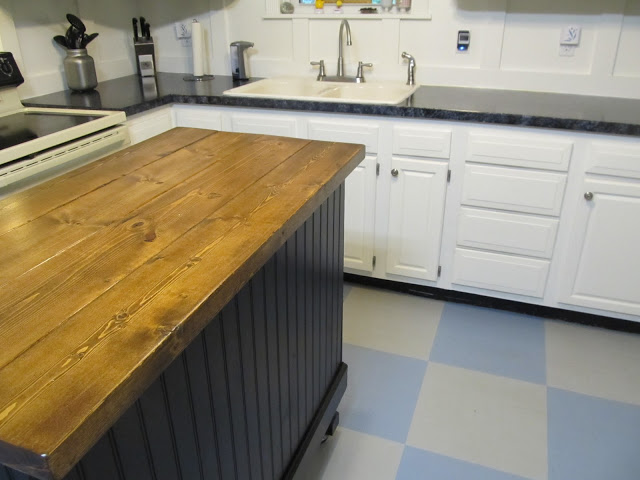
edited to add: I have now painted my Kitchen Island, and my counter tops.
gail
Pin It


Hello!
Great work!
Wondering what paint you used? Did I miss the brand in your instructions? If I did, I’m sorry
Terry,
I used a regular ole cheap primer, then a metallic paint. Nothing special, and I’m sorry, I don’t remember the brand.
gail
It’s a nice transformation! I like the metallic finish. Great job!
I would love to do the same. I just fear that if I took it down it would be all wobbly when we put it back up!
Looks great! I would love to transform all of my ceiling fans. Maybe someday…
Partying with you tonight.
What a transformation! I’m always amazed what a little paint can do.
What a transformation! Great job! I love how easy it is to paint over brass and get a whole new look.
Wow! I love that. You could even do that with a cheapie brand-new fan and get that “expensive” fan look. Yay, you!
P.S. Did not use the table saw for my tile frames…cheated and just glued them on to bigger squares of painted wood. Thanks for the advice.
it looks so much better! and i am getting so excited to see what the entire kitchen looks like when it is all put together. you have been working so hard!
it looks so much better! and i am getting so excited to see what the entire kitchen looks like when it is all put together. you have been working so hard!
Great post, I have a ceiling fan in everyroom but the diningroom and bathrooms, thanks for showing how you did it and I think they are fab painted silver and white!
Rondell
Turned out great, Gail…I’ve got a couple of fans that could use this re-do! Looking forward to seeing the kitchen!
Love it!!! I soooo need to do this!!
Way better! Looks great!
Love it!!!! I think I will paint my kitchen fan. I use it too much to take it away completely! Thanks for the inspiration!
I’ve wondered how hard or easy that project would be. I have paddles I’d love to paint. They are currently painted in Le Dust. 🙂
You are SO inspiring, Gail! I’ve been looking at new ceiling fans for a room in our house — but now that I see how simple it is to paint them, I won’t pay an arm and a leg for a brand new one! 🙂
Oh will you do mine? I LOVE the fact that you did not paint the “other side” — afterall, it IS the dark side. You are so clever.
Cheers~
e
Had to laugh out loud when you said you didn’t paint the other side. I love a good shortcut!
The Fan looks so much better with it’s new coat of paint. btw, I’m having clothesline envy right now.
So much nicer now… love the silver. I have one of those monsters too in my kitchen and I would love to get rid of it completely but I use the fan part 24/7. Someday it will get replaced when I can find one that I love for the price that I like.
Knock your clothes line? I was thinking how awesome is that… to have that many line on one pole, I would be in heaven. I love hanging my clothes outside.
Glad you survived the storm okay… hopefully you are a little more energetic today. Glad you are taking a bit of a break… that is a lot of work.
Have a great day Gail…
Hugs, Deb