
DIY Kitchen Island Made From an Old Desk
As an Amazon Associate, I earn from qualifying purchases.
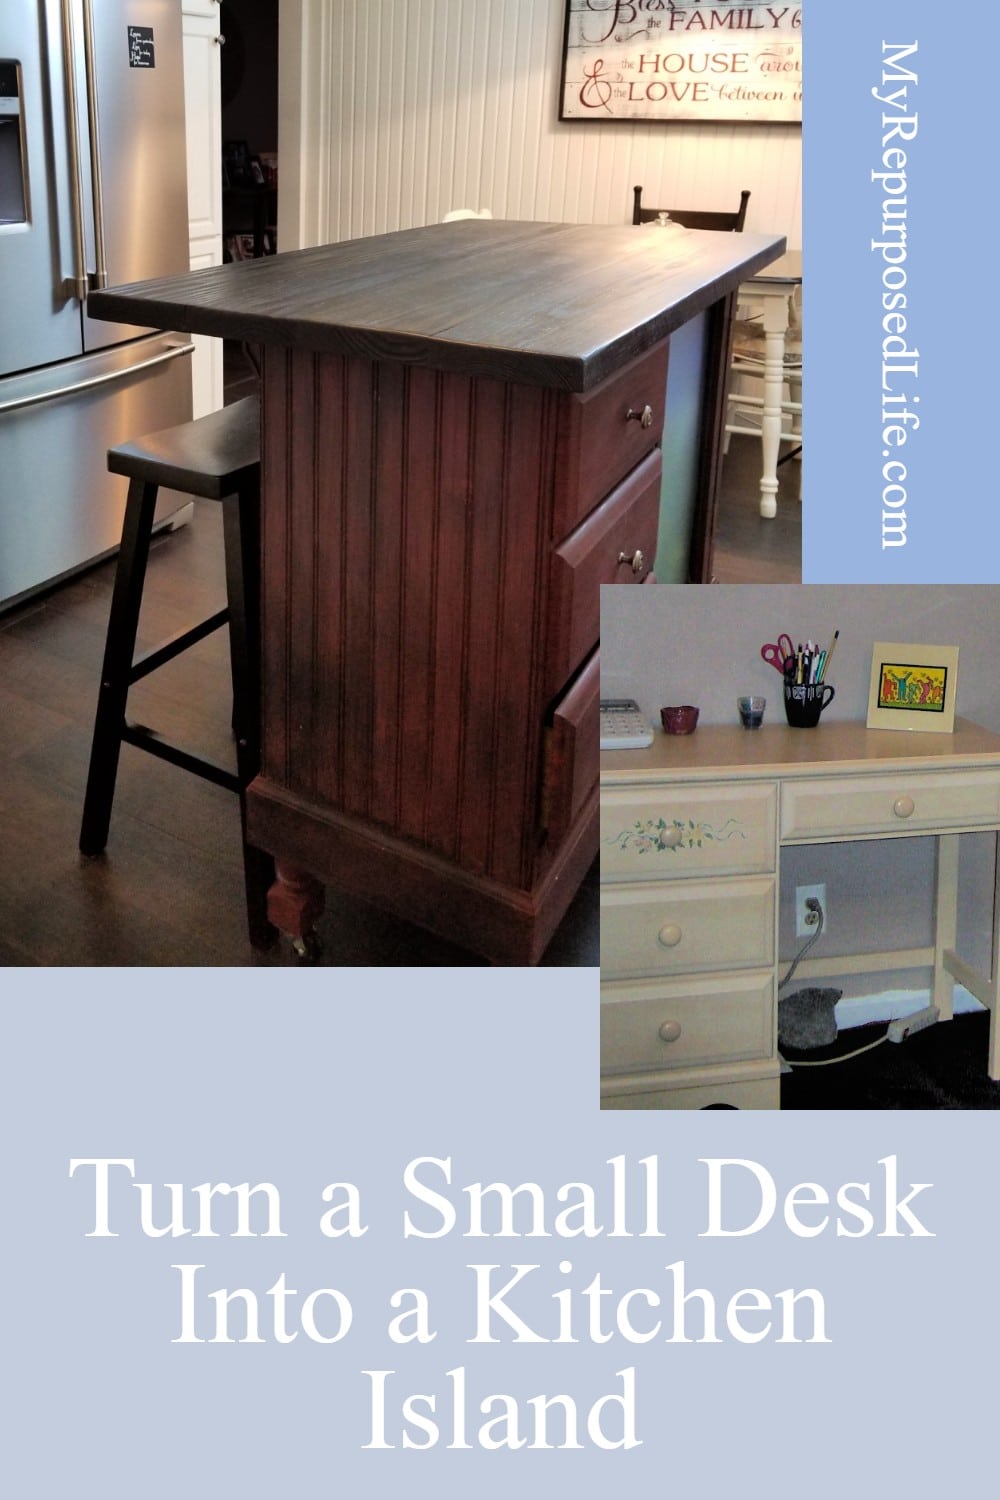
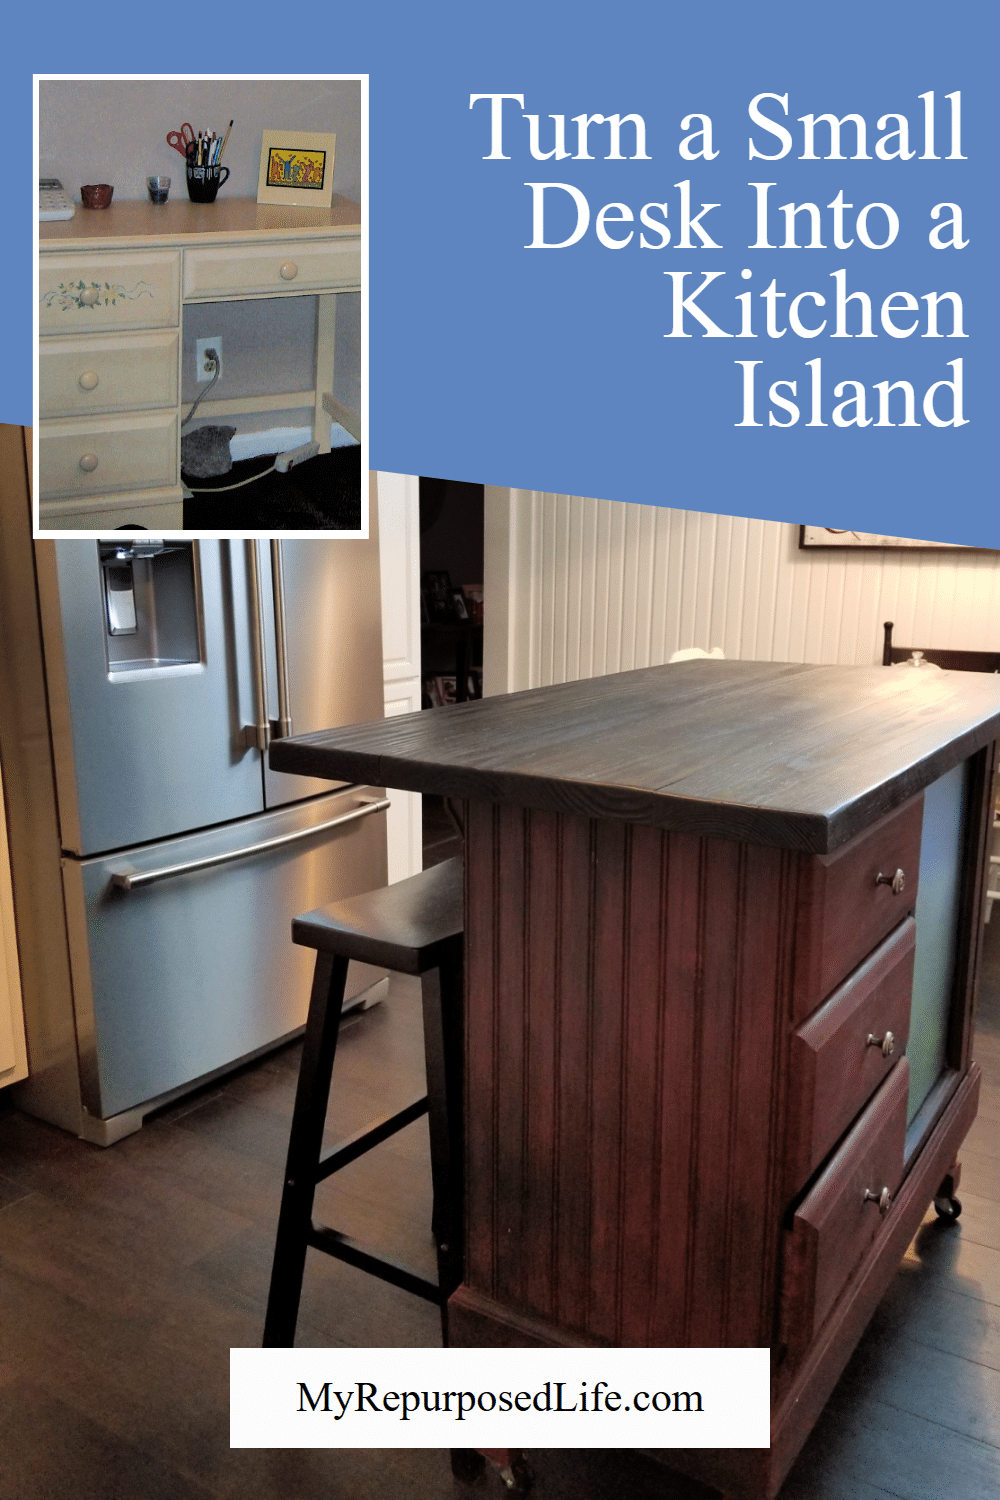
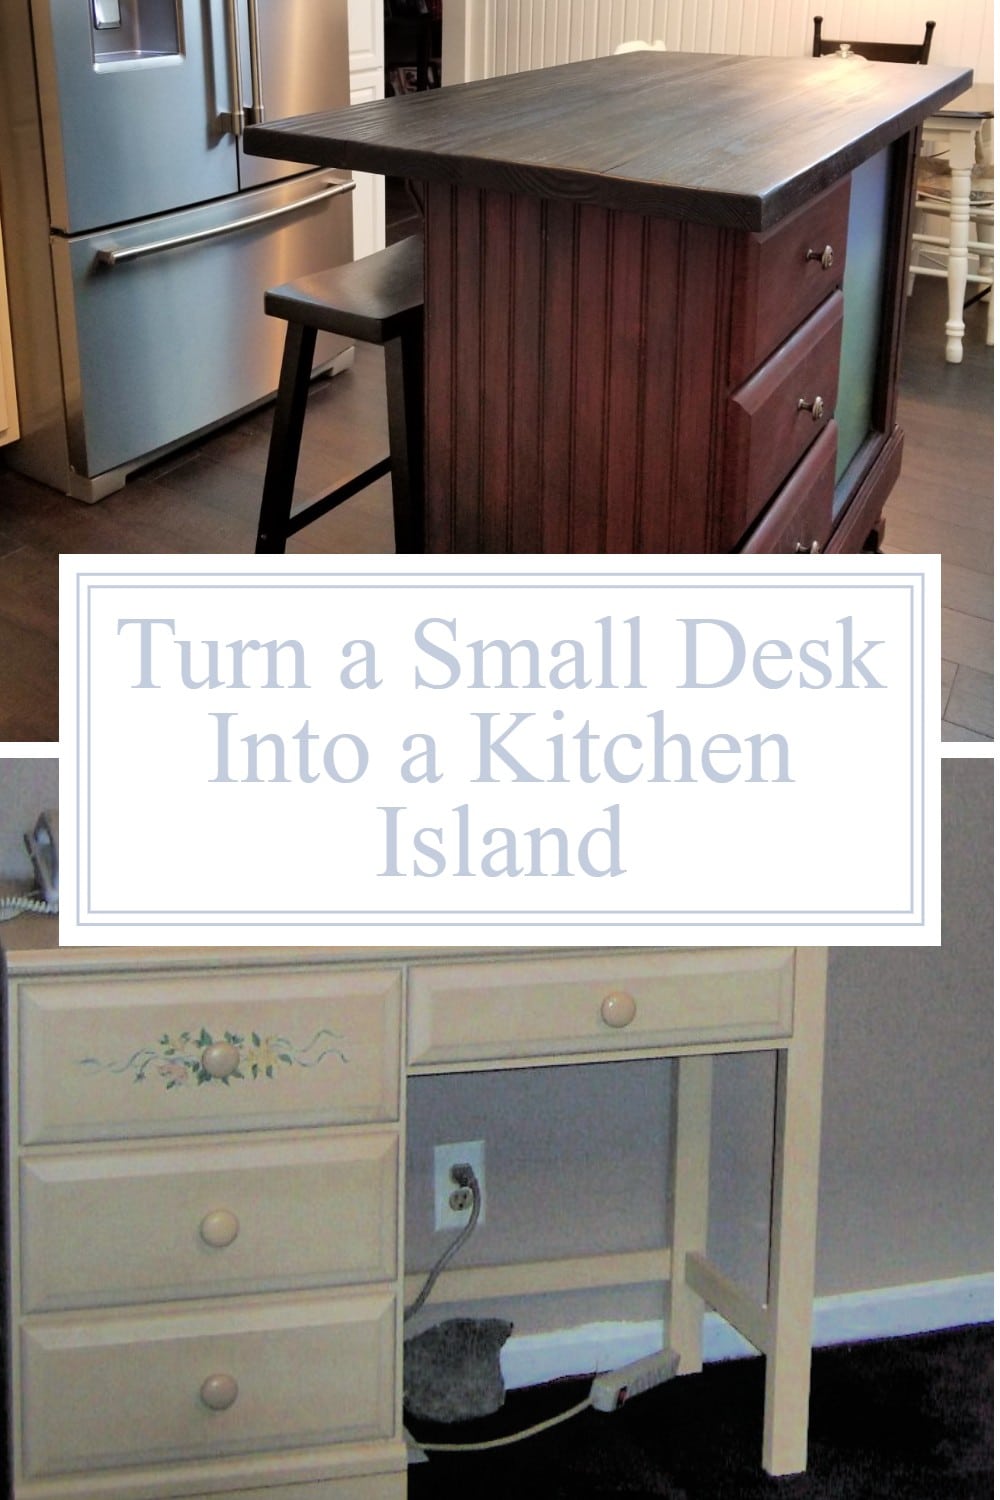
When I first decided to turn my daughter’s small desk into a kitchen island, I had no idea how many changes it would go through over the years.
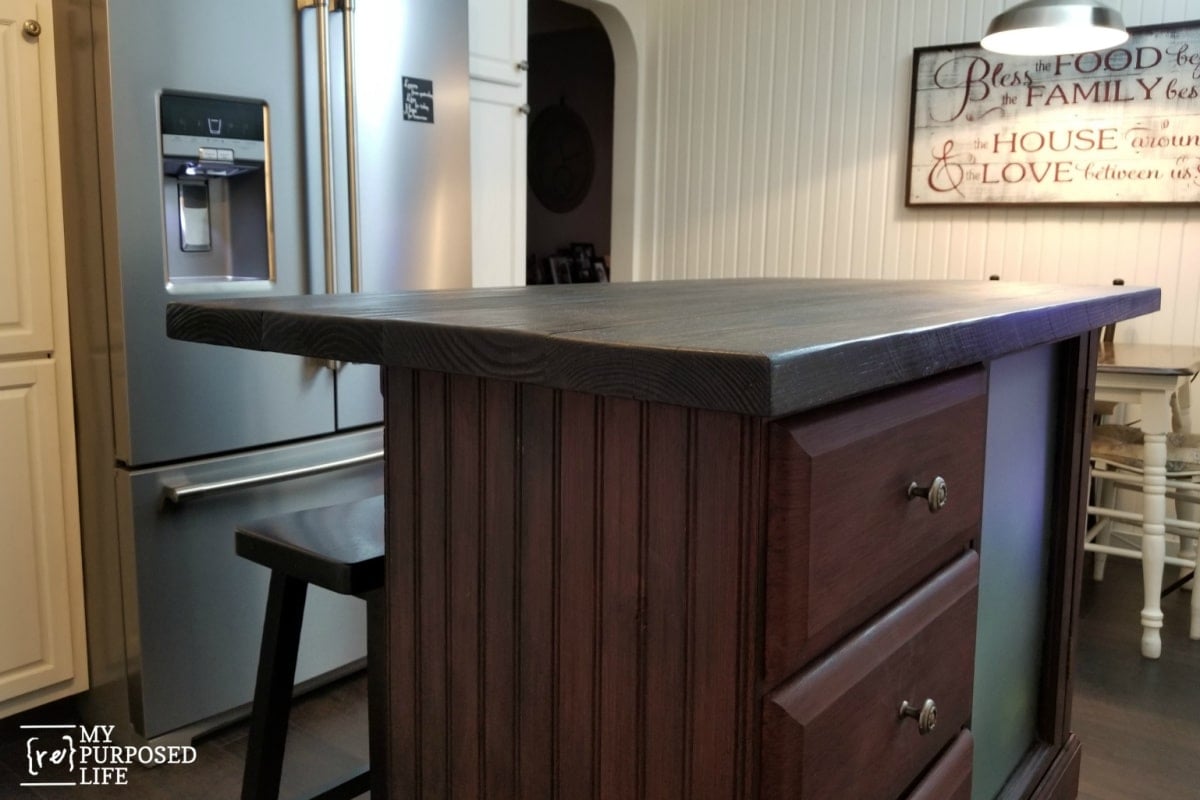
Building the small kitchen island that I use mostly for craft and tool storage was just the first chapter. Today, it’s where I eat most of my meals, and as any horizontal surface can be, the kitchen island can be a catch-all, being the center of my kitchen.
I built this in 2010, just one year into my new life as a DIY blogger. You may not have the same desk or make the same project, but it’s always been my goal to give you the confidence that if I can do this, so can you!
A Small Desk Becomes the Star of the Kitchen
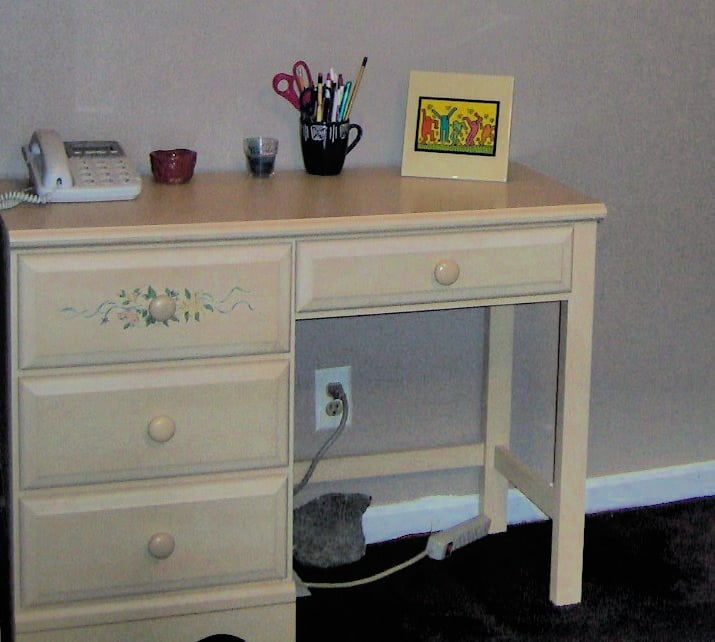
This desk isn’t anything special; it’s a cheaply made piece of furniture that was easy to work with because of its size and weight (without the drawers).
Will the Desk Fit in the Kitchen?
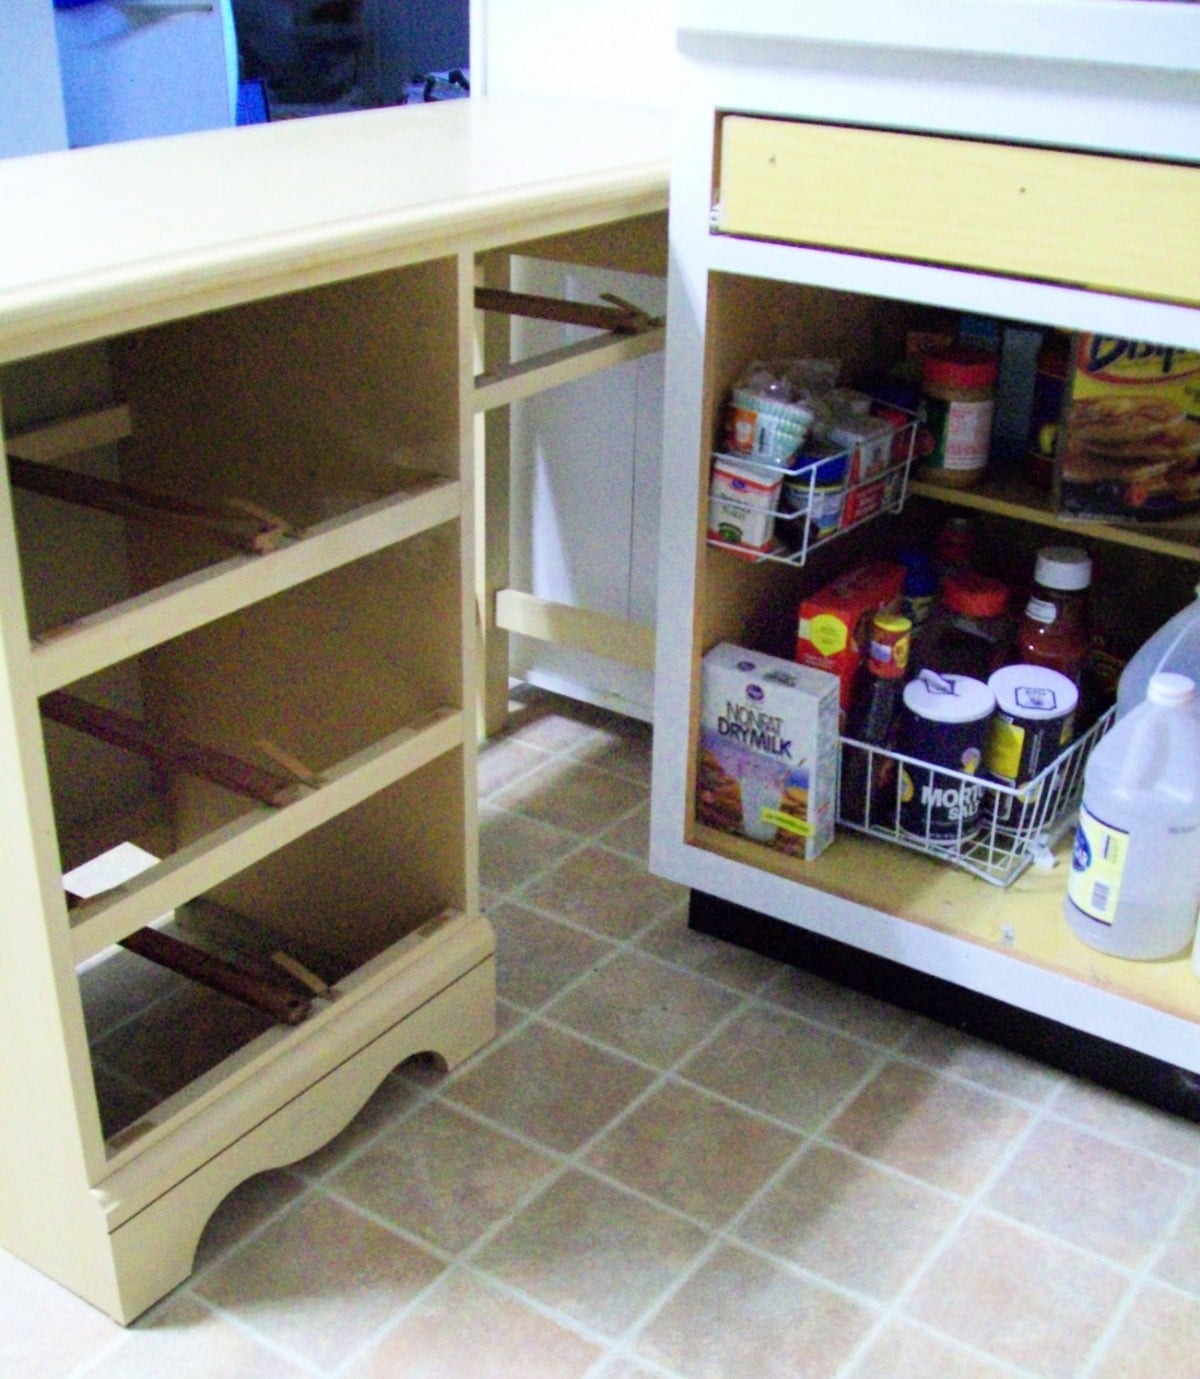
Measure to make sure what you’re starting with will actually work. Because the desk had to go through the kitchen to get outside, it just made sense to give it a test drive. This build took place while I was in the process of painting my oak cabinets.
My original kitchen cabinets consisted of a peninsula that extended from this wall cabinet.
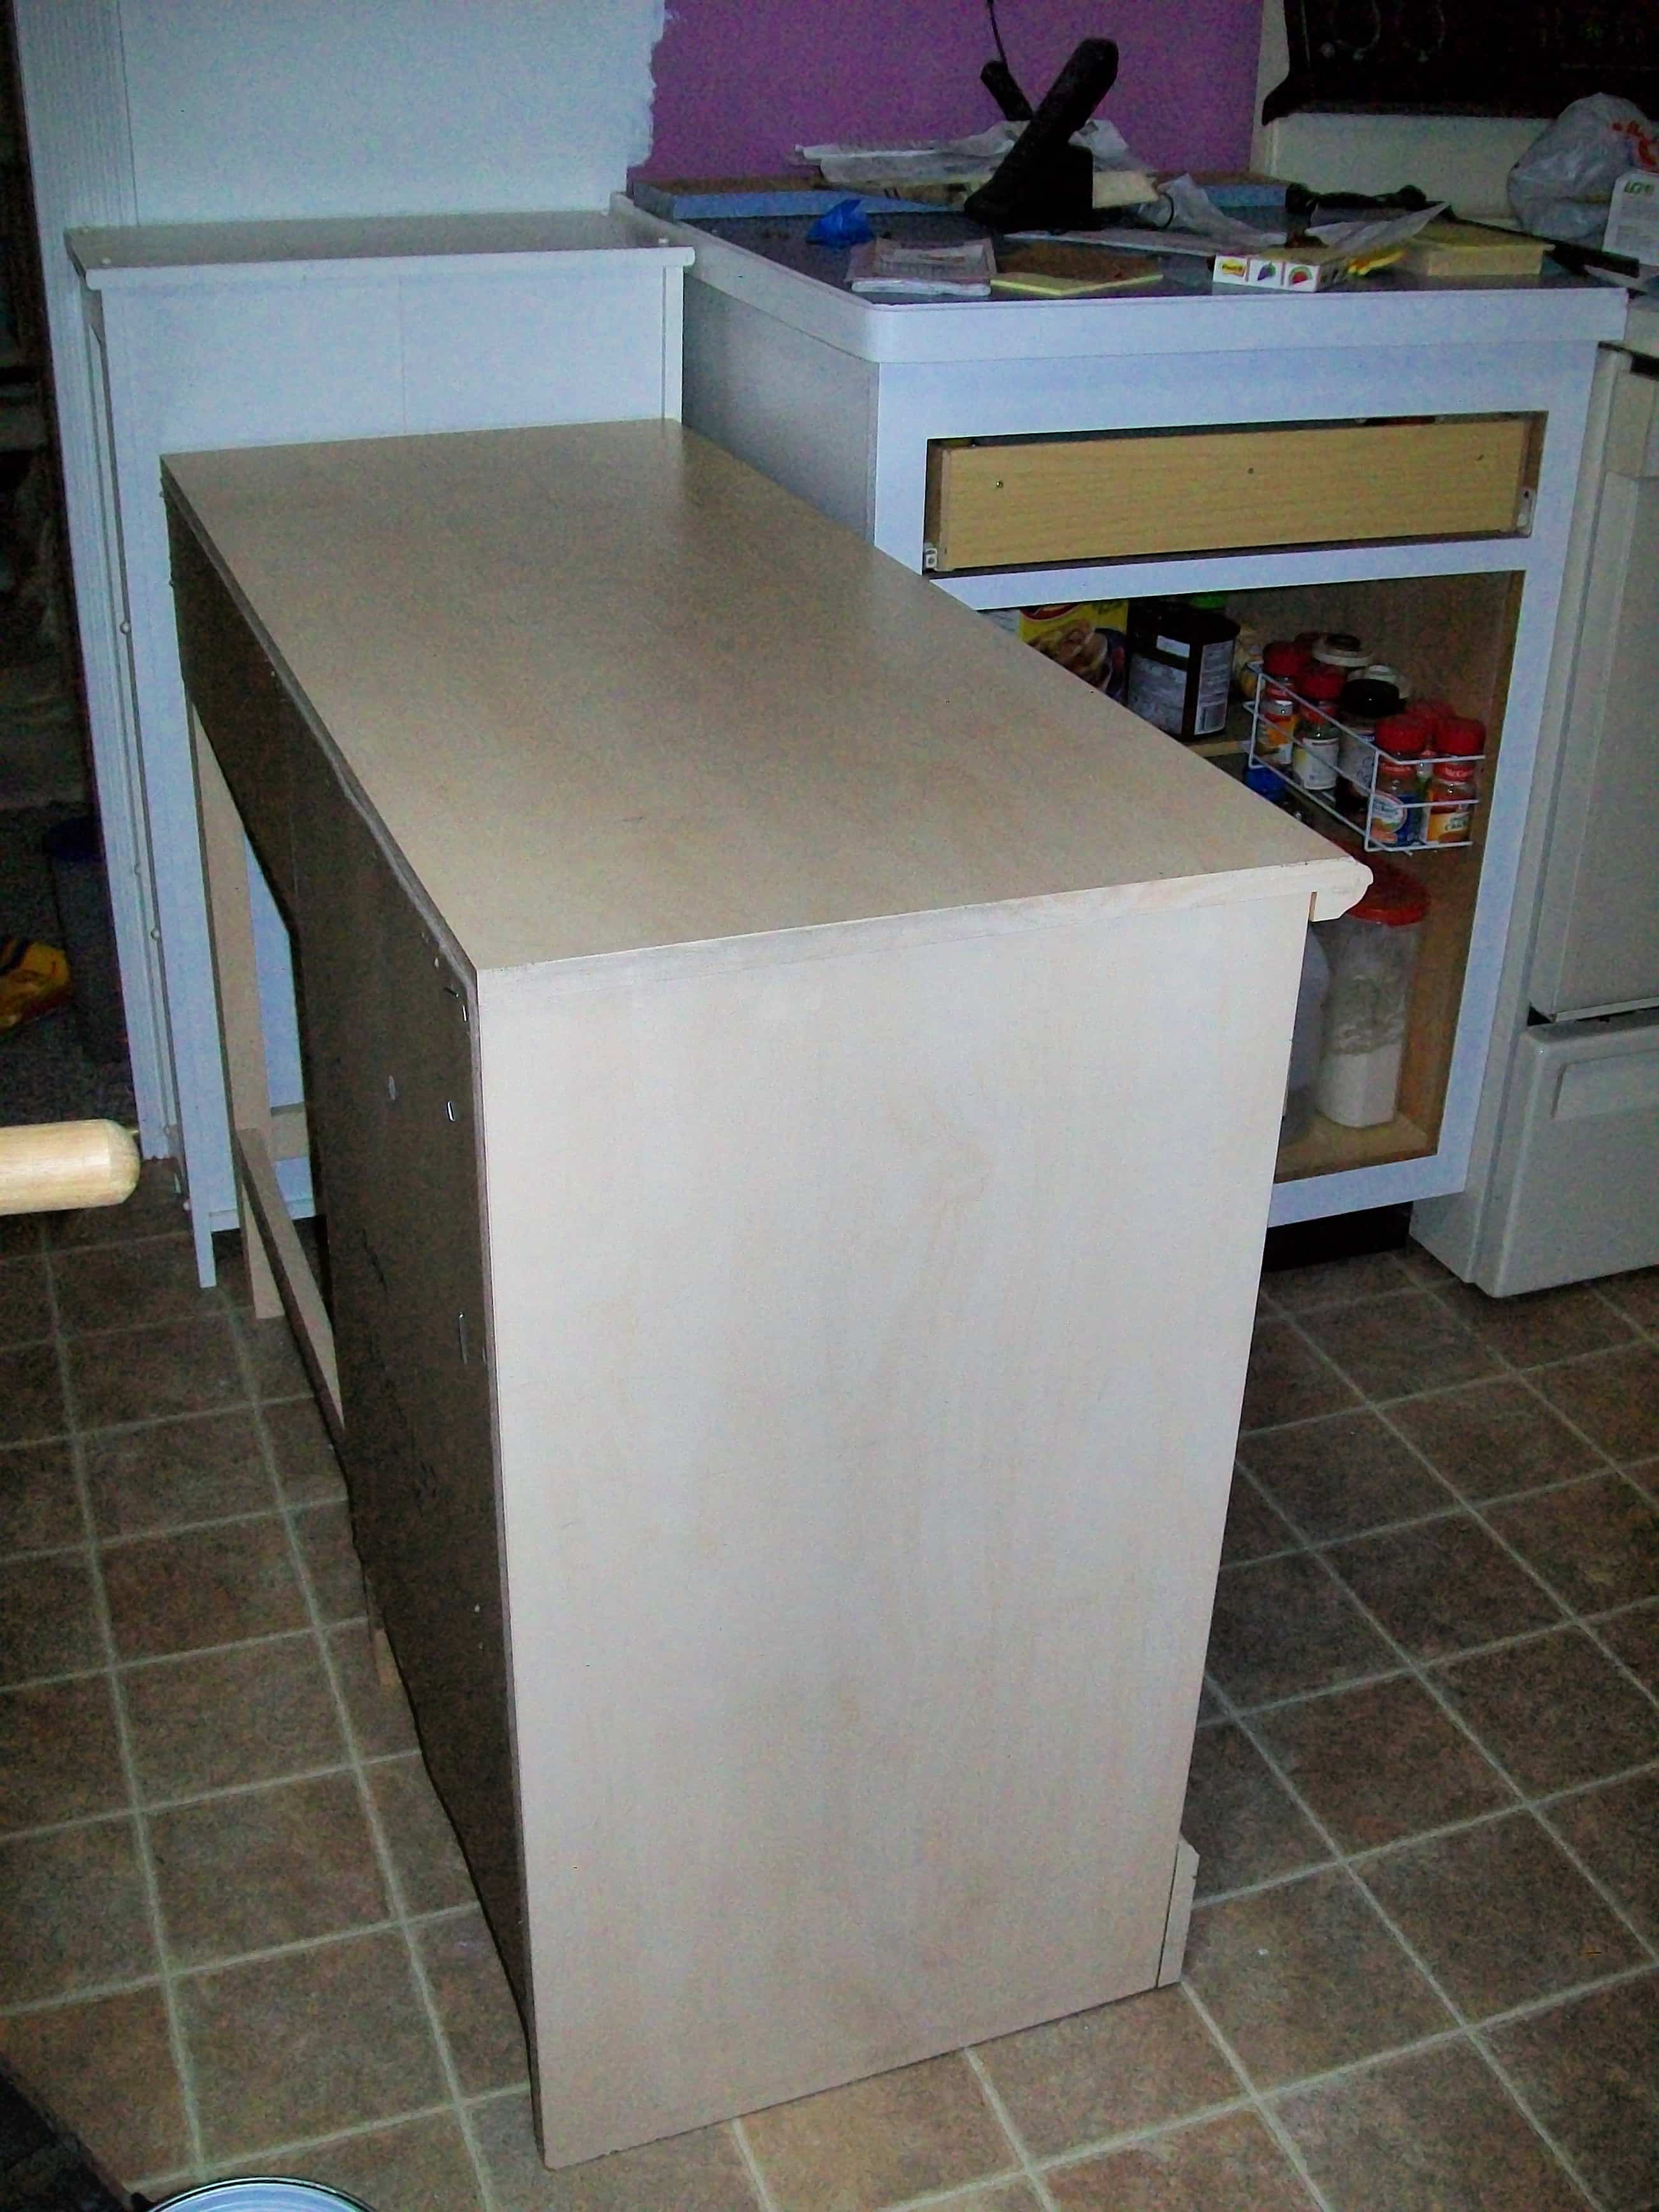
The goal was to have a place to “park” the portable kitchen island. I was feeling very confident that the size was perfect. I had considered a couple of dressers, but they were both too large.
Add Height with Legs
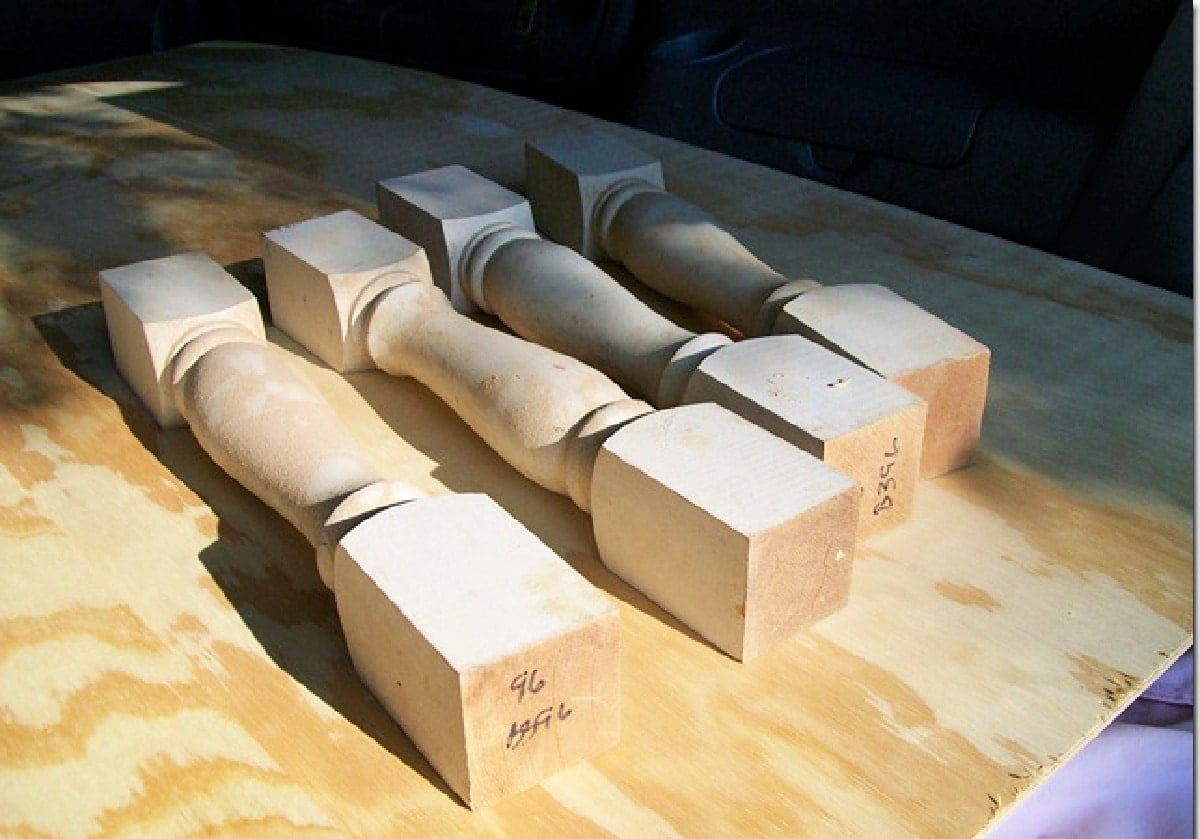
I chose these heavy-duty legs; I got a great deal on them.
Adding a Bottom to the New Island
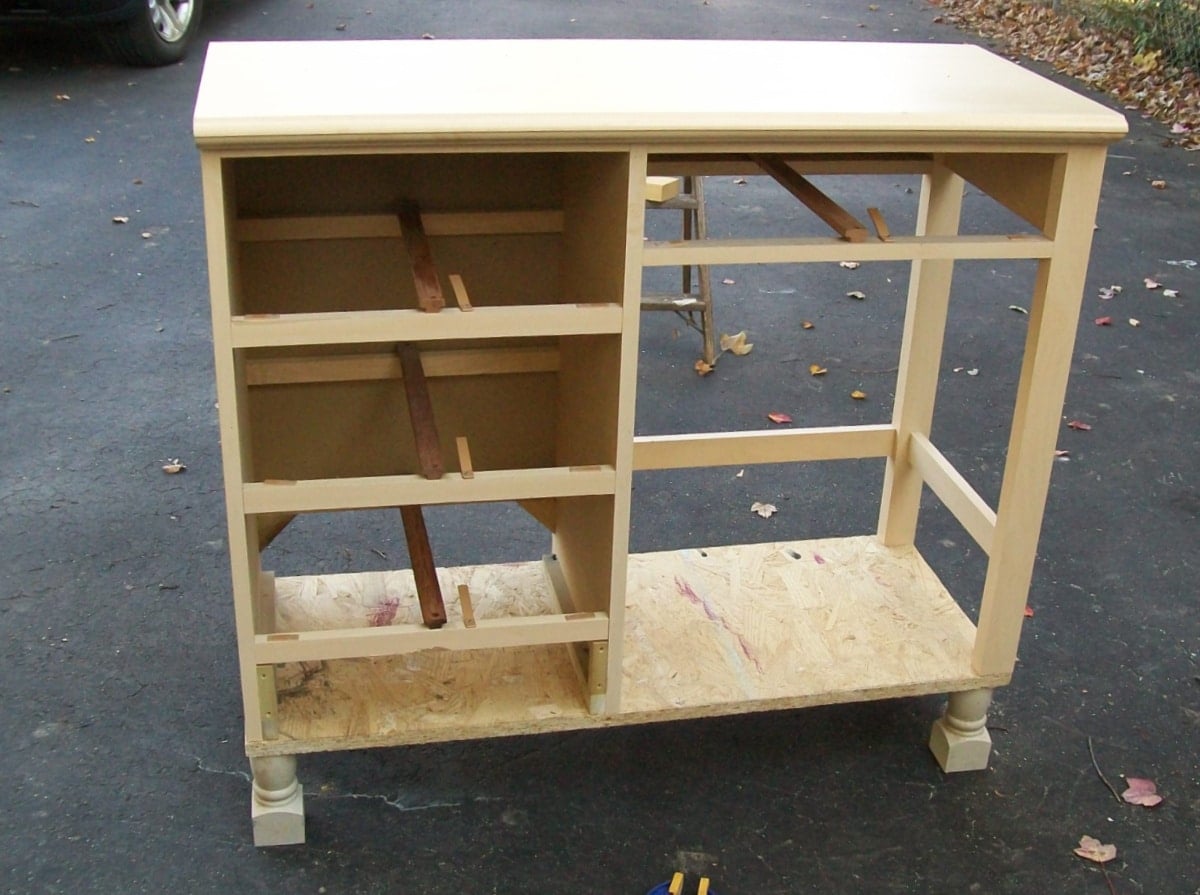
Even now, I try to use what I have, but back in the day it was a necessity. The piece of wood was 51 cents from the cull bin.
I carefully stacked everything to make sure my plan was actually going to work. It may seem like extra steps, but it will save time and effort later.
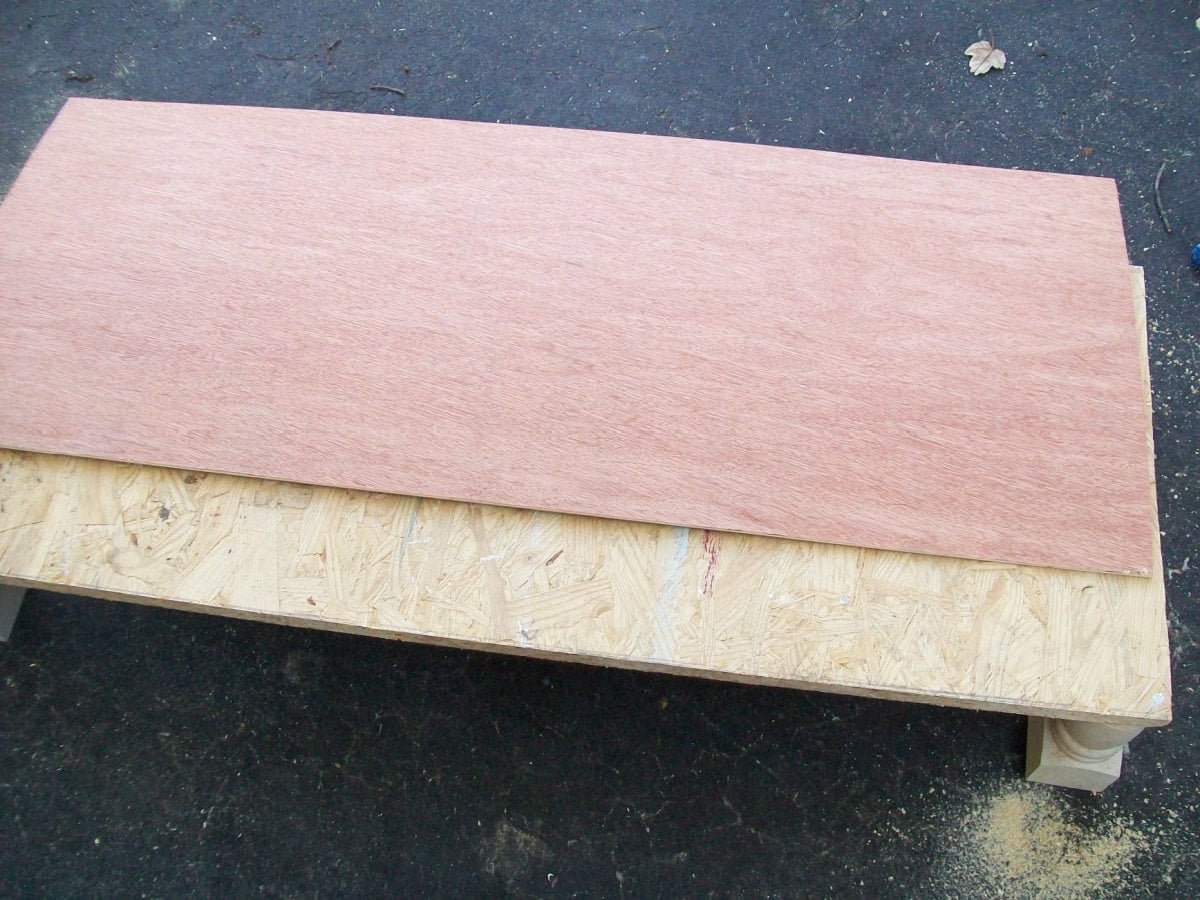
To give the bottom a more finished look, I used a piece of thin plywood to cover the OSB.
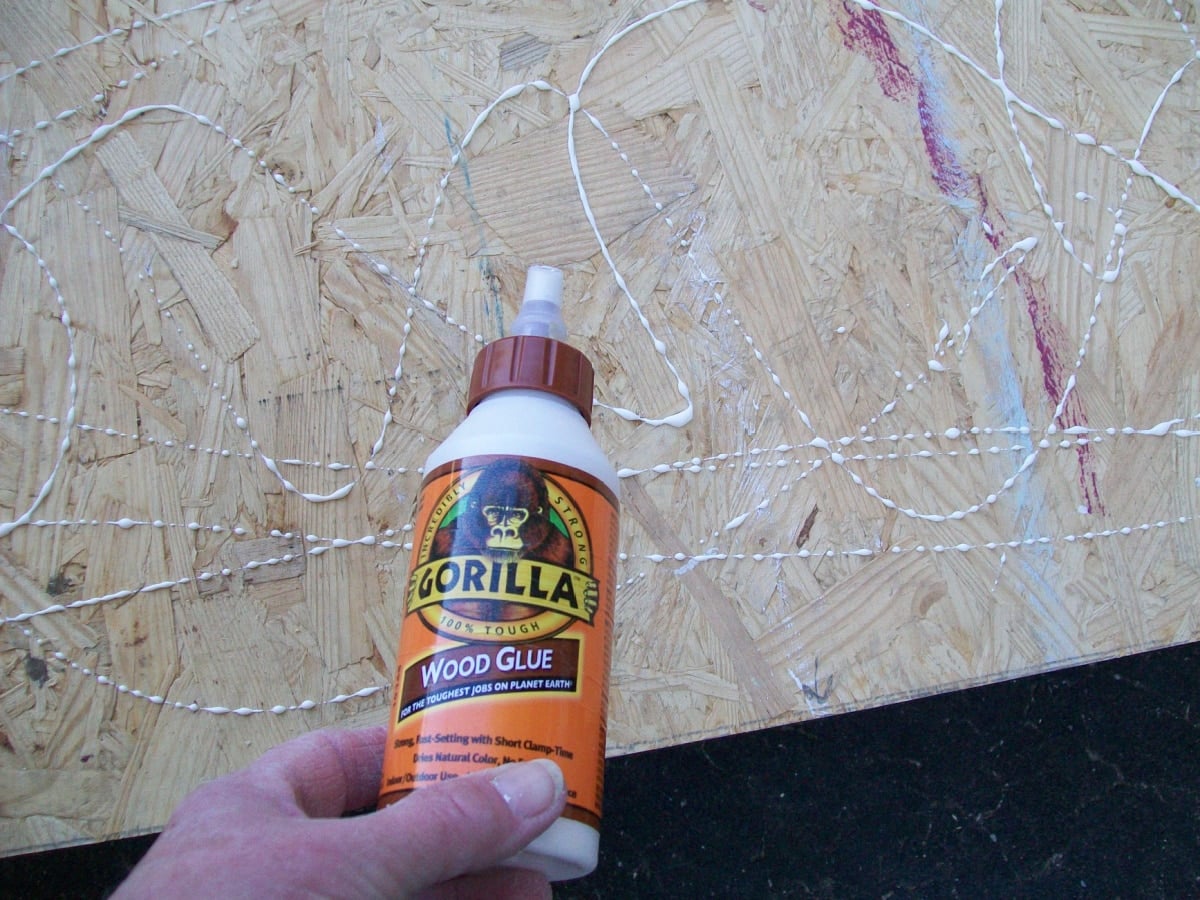
Gorilla glue and clamps secure the pieces. You will see more of this coming up.
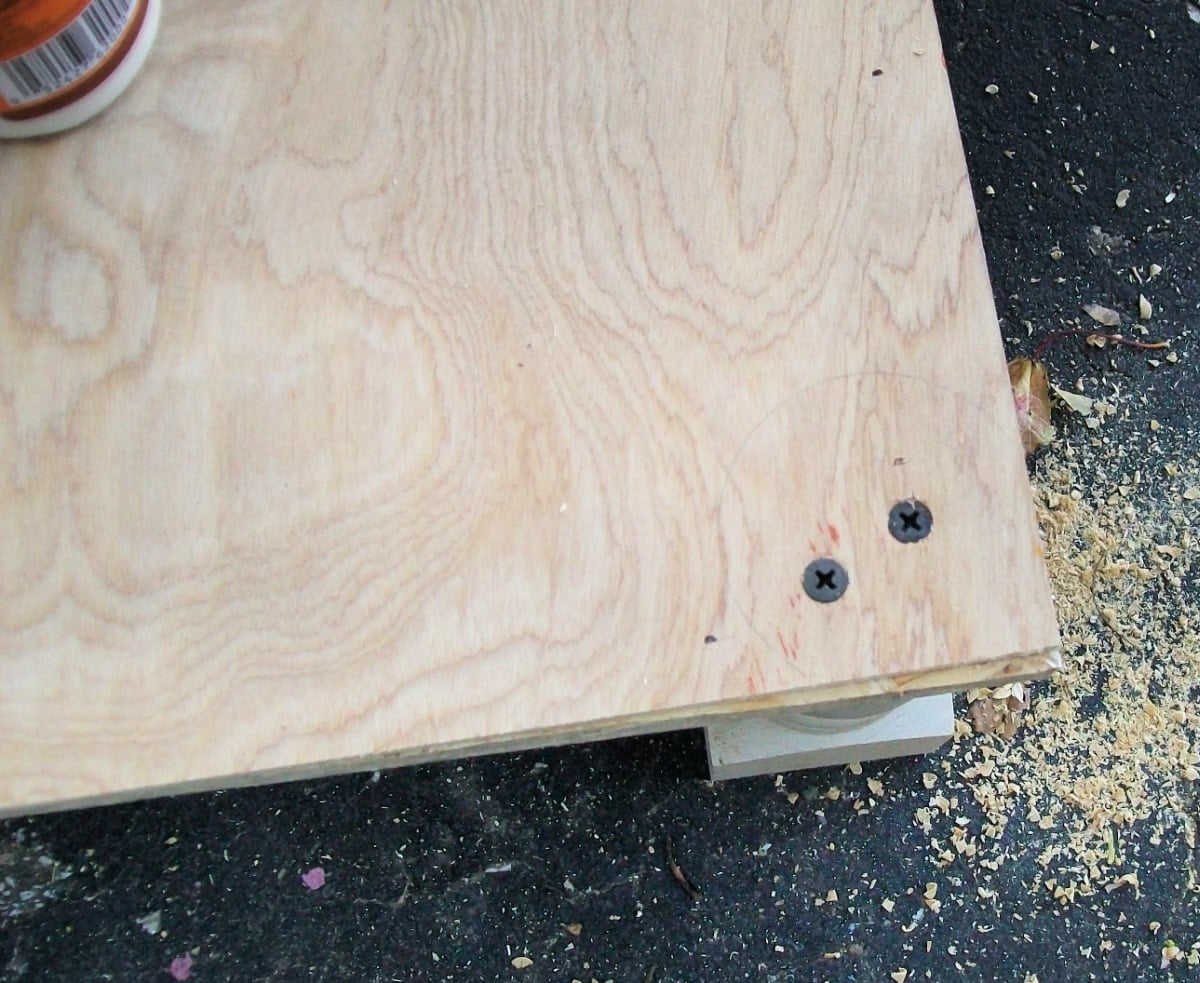
I show you “how to add legs” in my article about using crib legs to make a table. This is done by tracing the table leg on top of your board, so you know where to drive your screws.
A Kreg Jig is Helpful When Attaching the Bottom
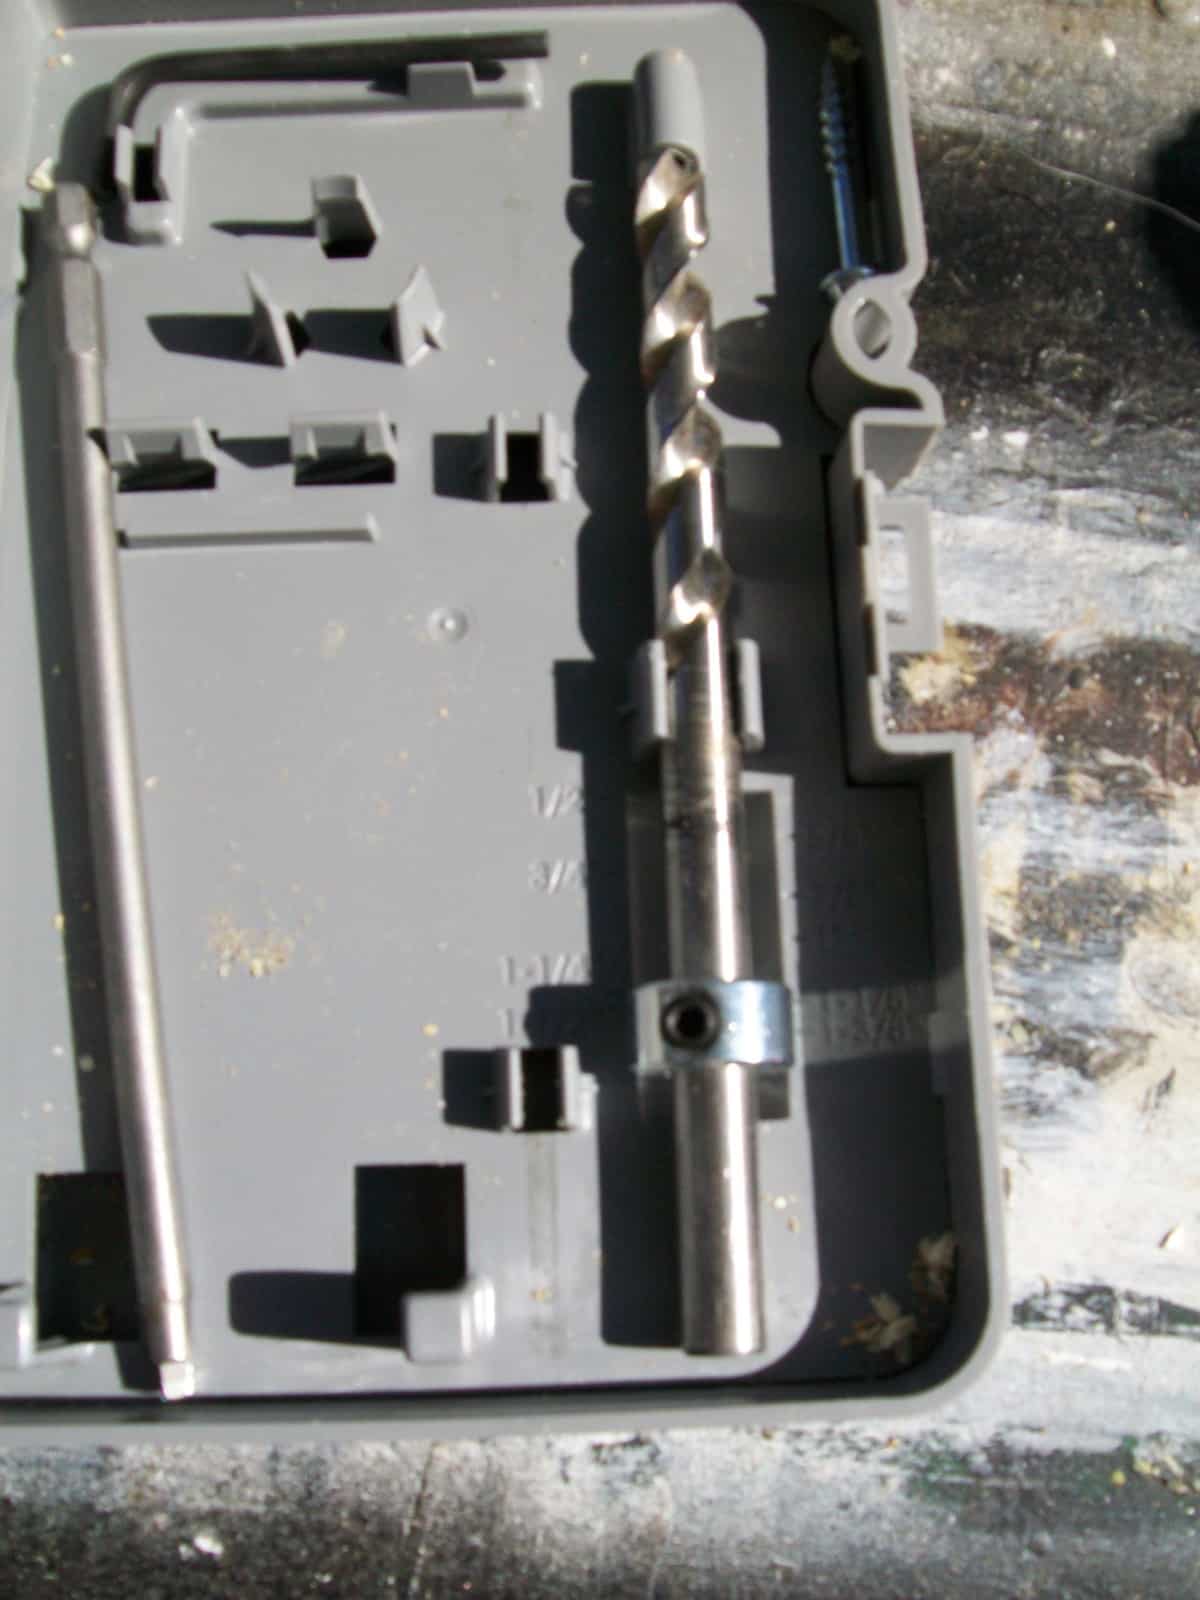
There are many kinds of Kreg Jigs. This one is a smaller, more portable unit, perfect for this job.
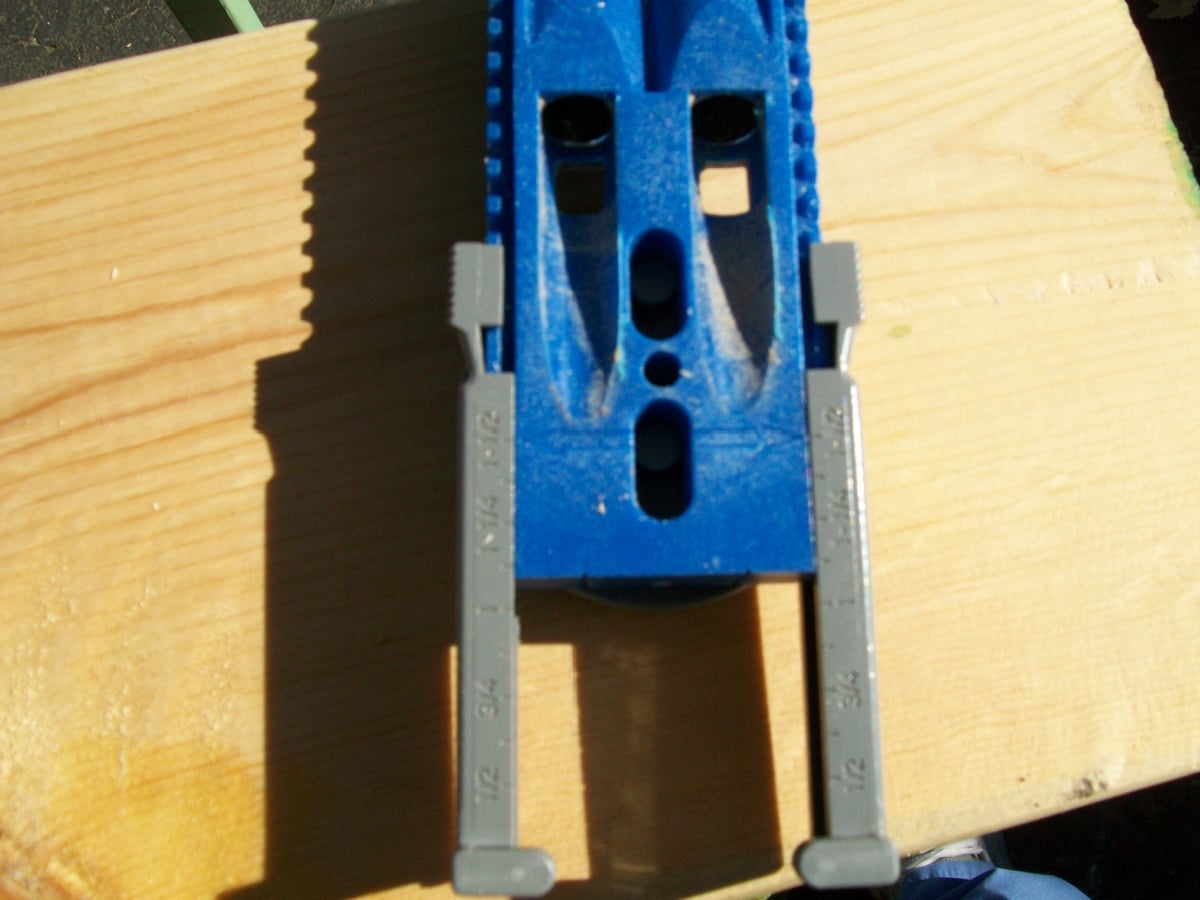
It’s important to set the jig for the size of lumber you will be using.
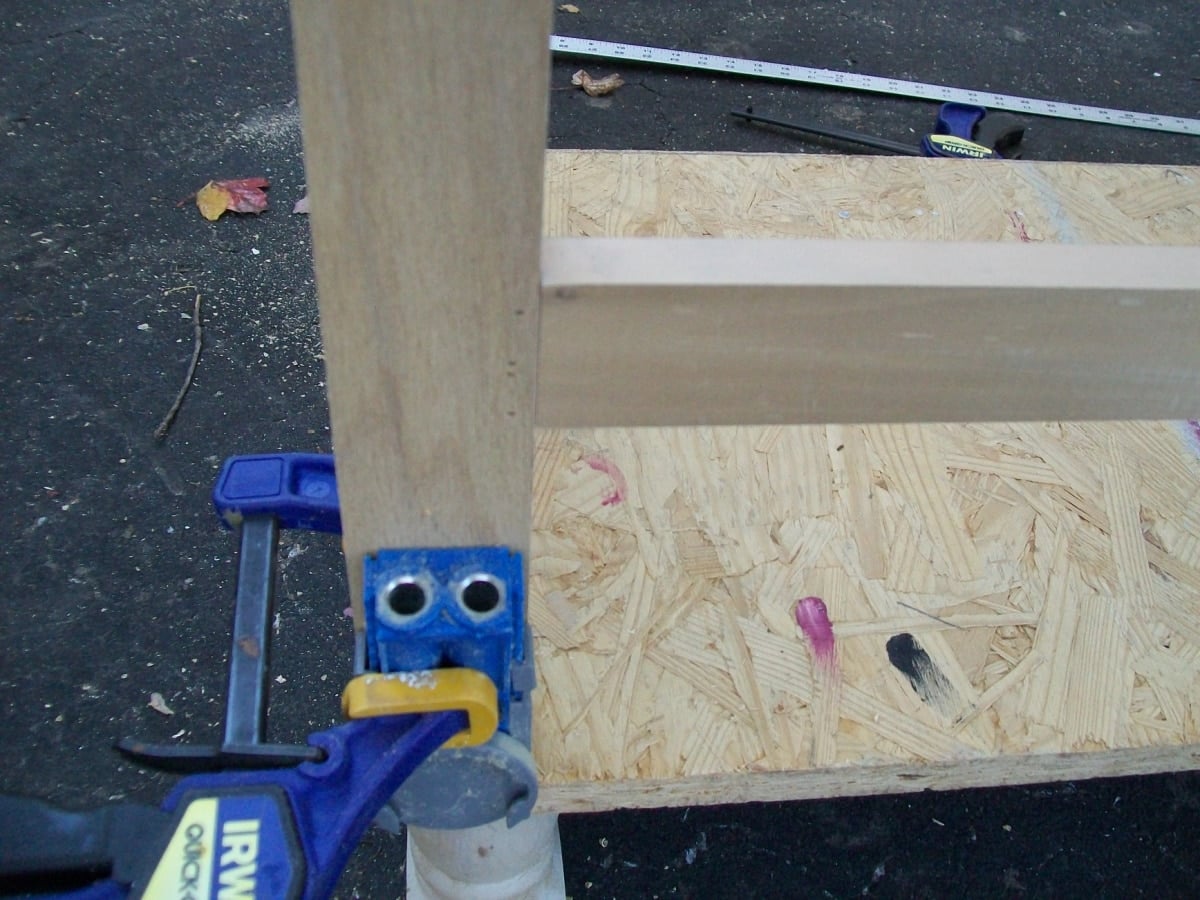
Because I wanted the screws to go well into the new legs, I set the jig as though I was using thick lumber.
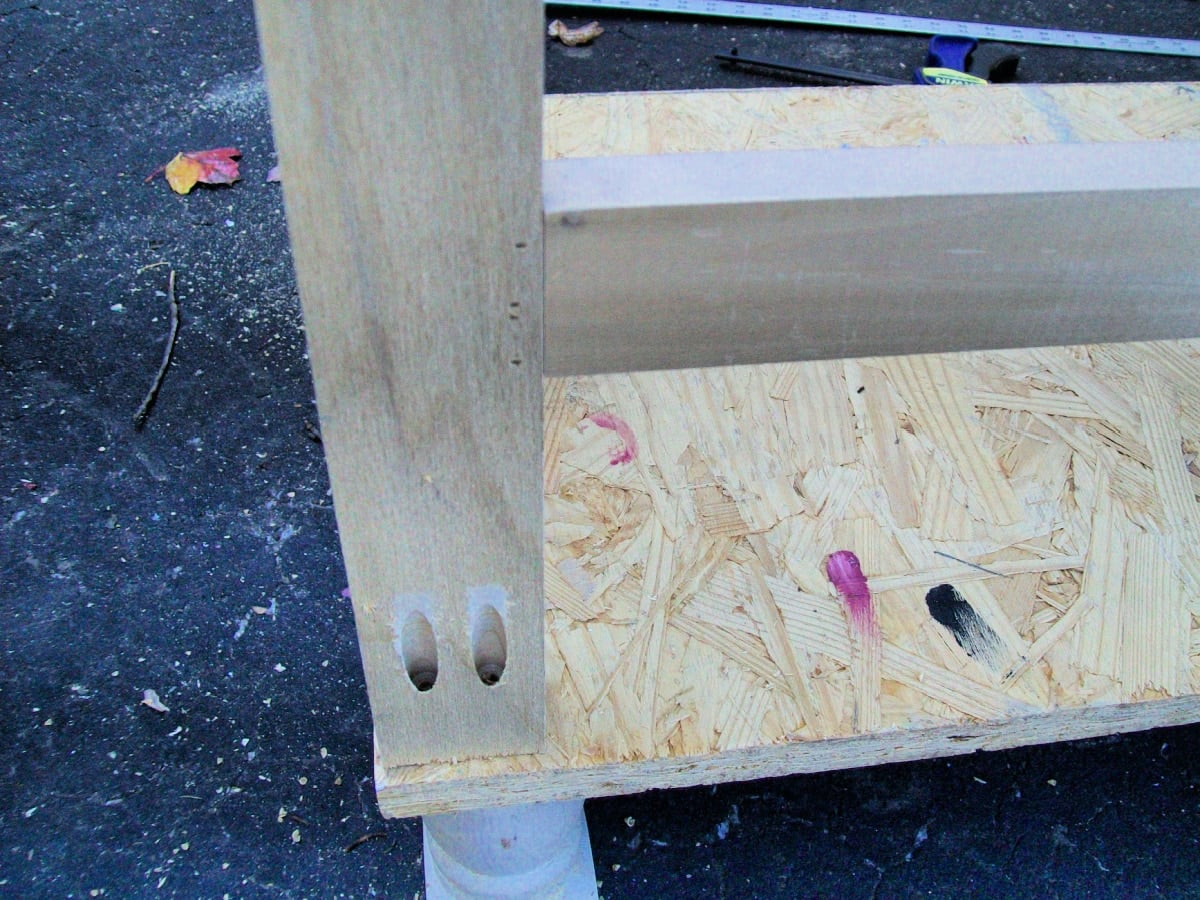
The pocket-hole screws go through the bottom of the island into the legs to hold everything together. This photo is a little misleading because it’s another dry fit before I actually attached the thin plywood to the OSB.
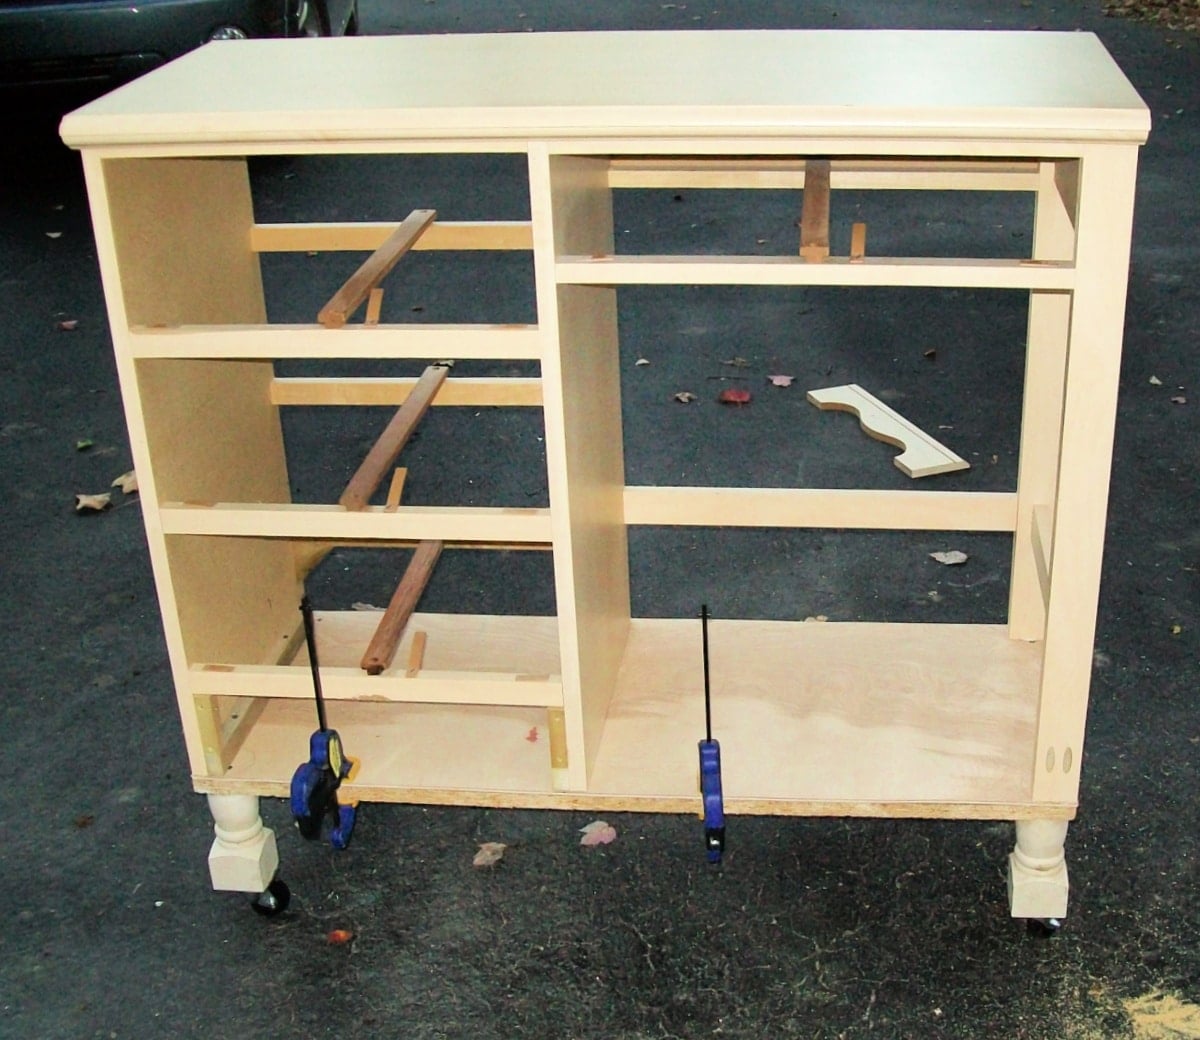
At this point, it is assembled and movable. Along with the pocket hole screws, I added more screws to the cleat on the left side. I purchased 2 1/2 in wheels. Lastly, I removed the piece of trim that had been located under the bottom drawer.
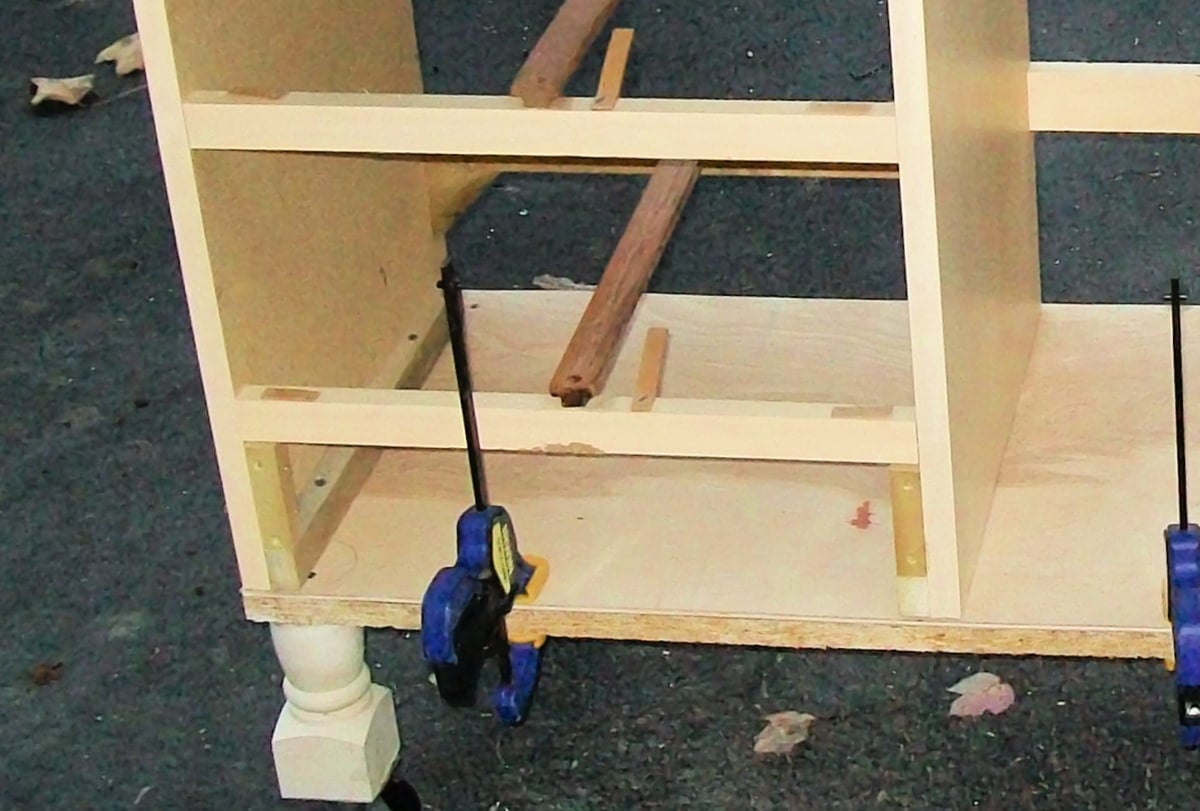
Here’s a better look at the extra screws I added.
Add Beadboard to the Kitchen Island
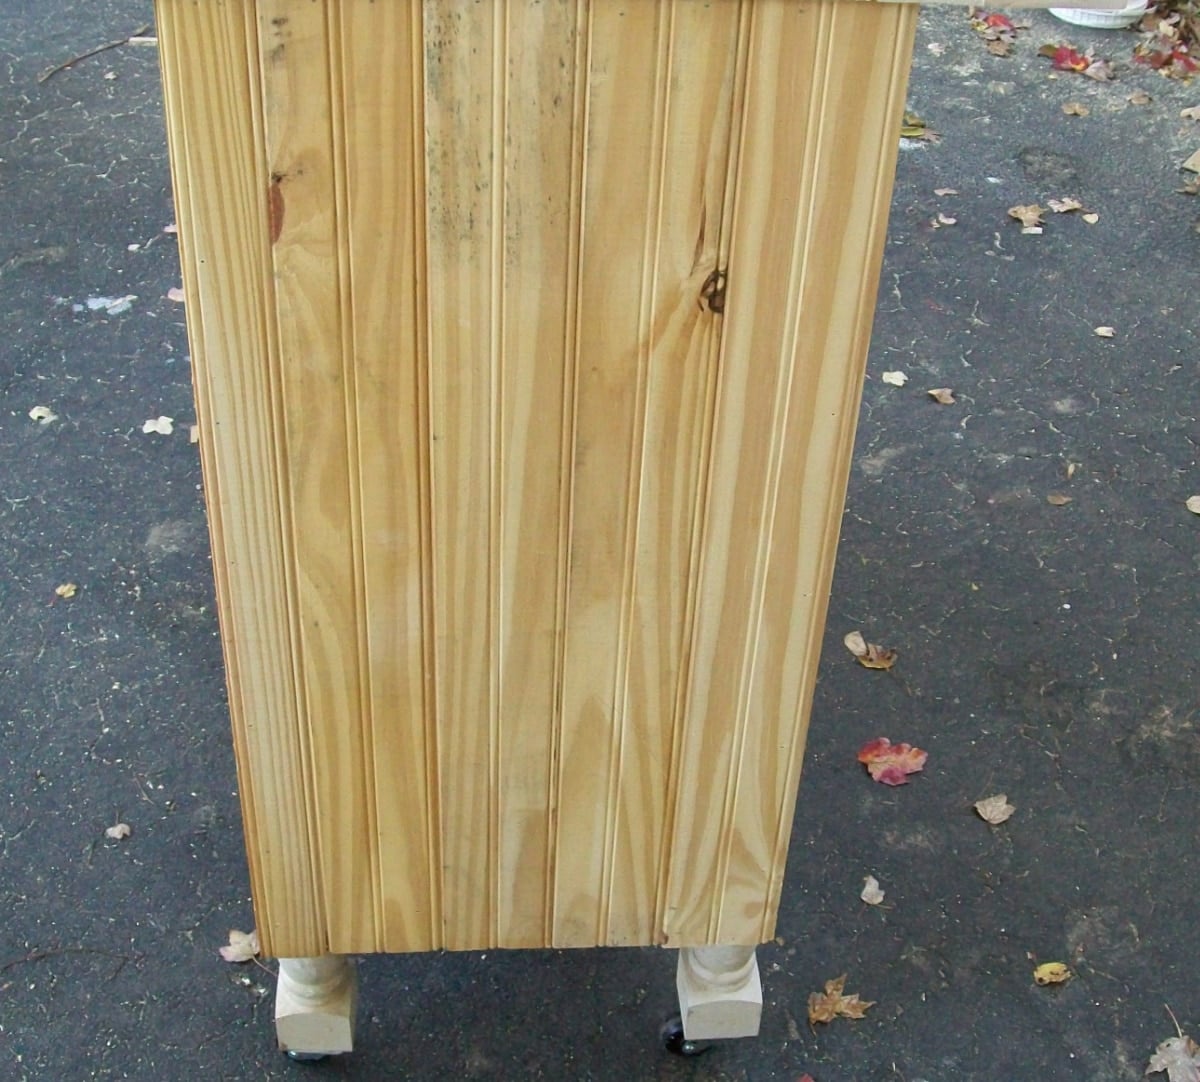
To give the kitchen island a more finished look, I added beadboard panels with a nail gun. The beadboard doesn’t match, but once it’s painted, it will be fine.
Time to Paint
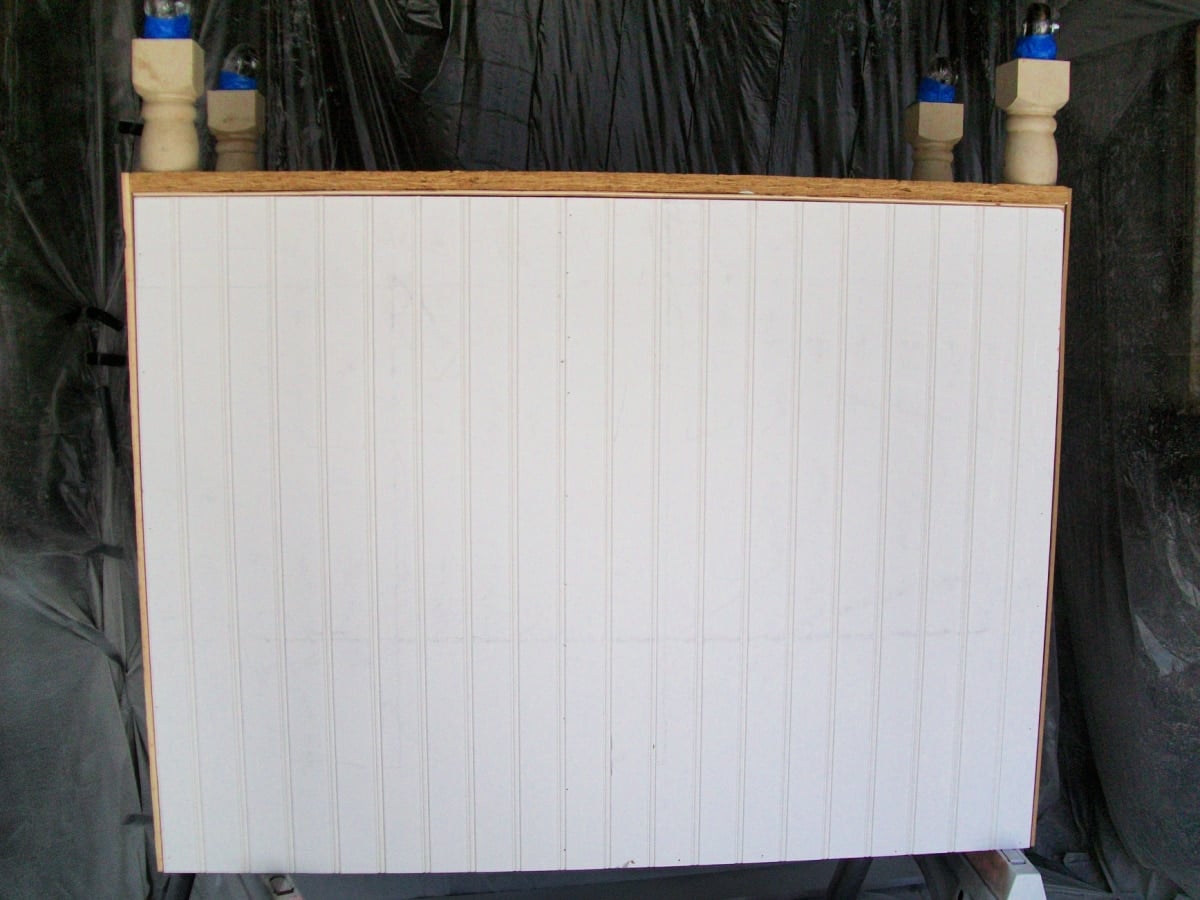
The beadboard on the back is a piece of paneling I had on hand. The project is lacking wood trim at this point. Painter’s tape covers the wheels during the painting process.
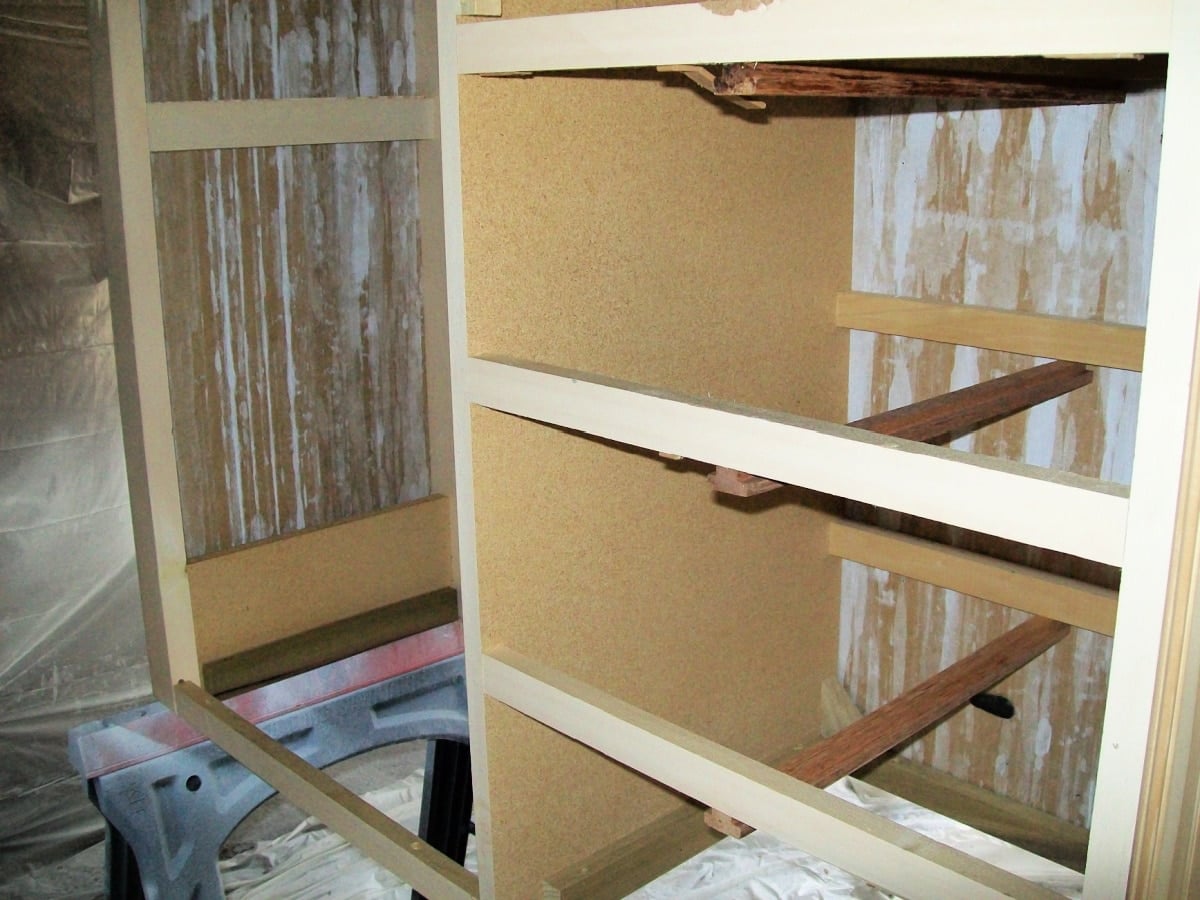
In this image, you can see where the beadboard paneling was attached.
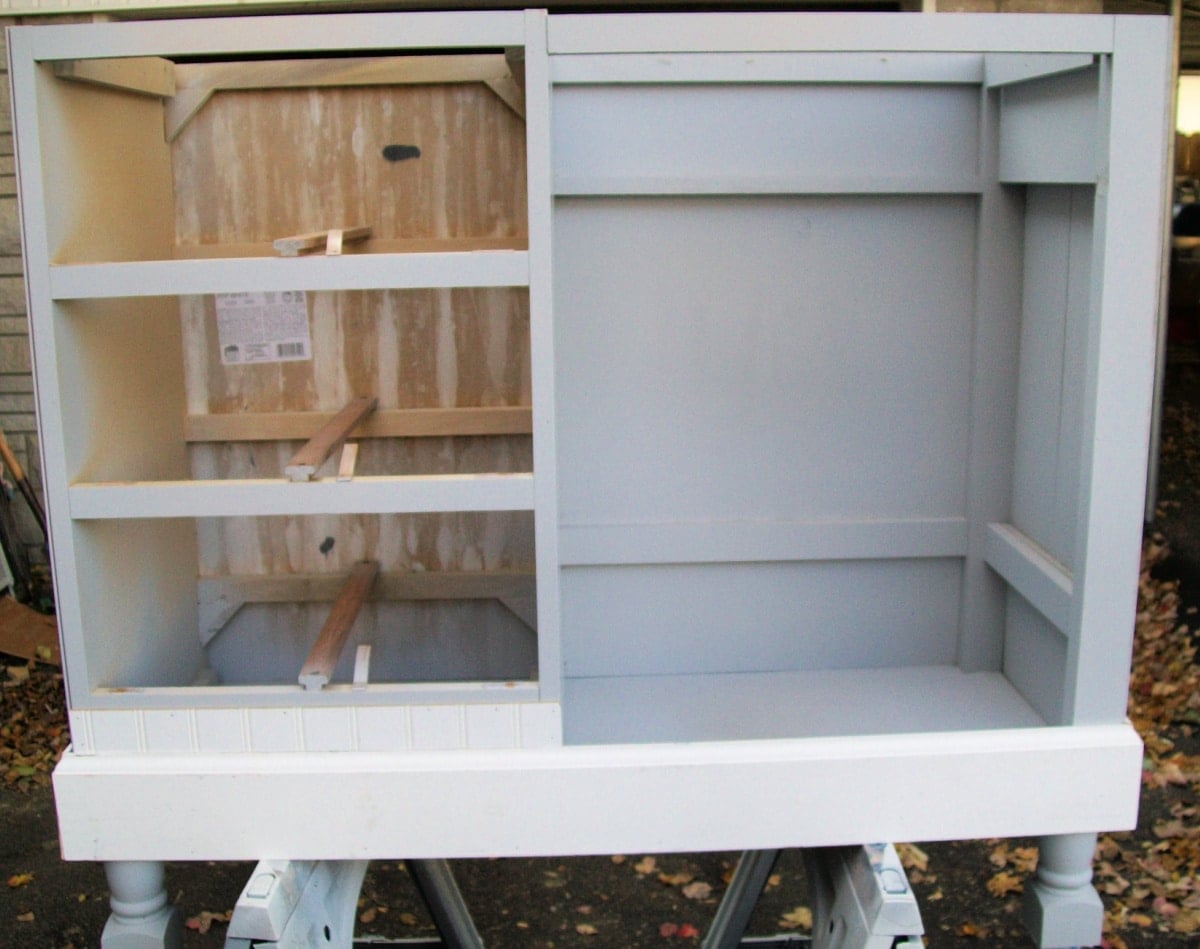
Wood trim has been added as well as a small piece of beadboard in the front. The drawer above the knee-hole has been removed.
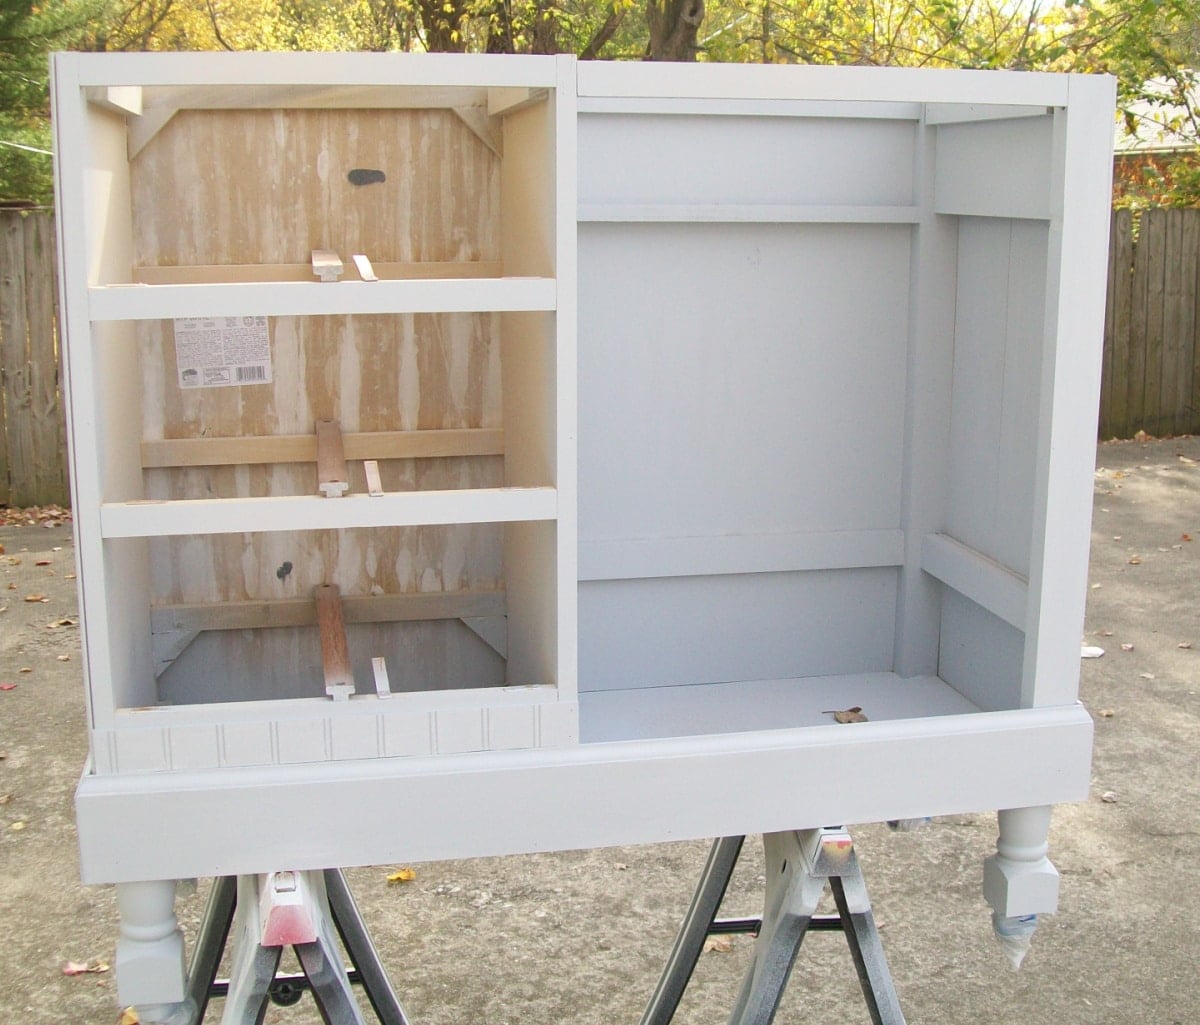
Isn’t it all coming together nicely with the gray primer coat of paint? Are you intimidated by this project? I hope not; it’s much easier than it looks when you take it step-by-step.
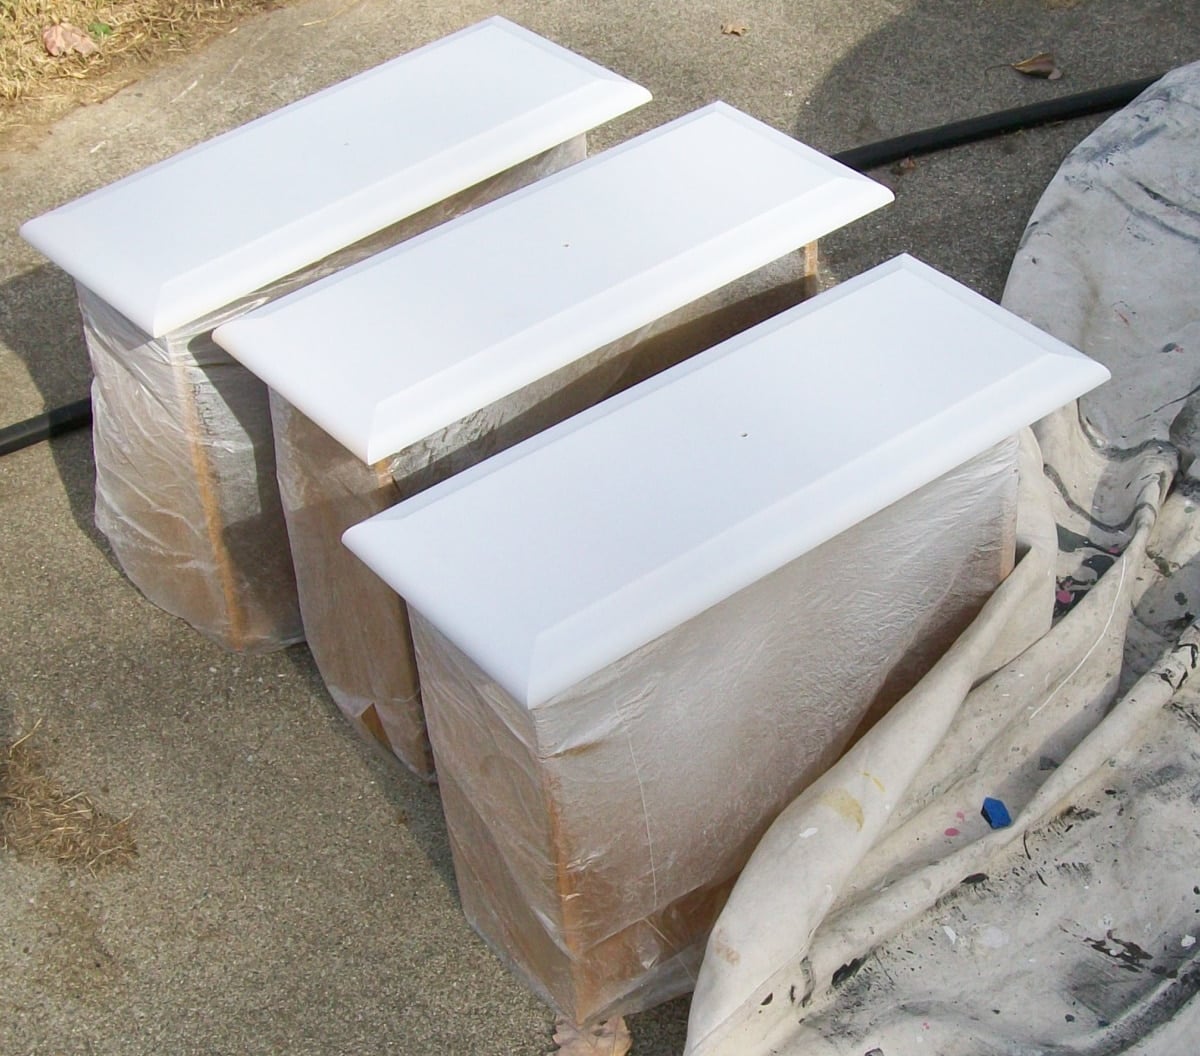
The drawers were covered with plastic to protect them during the painting process. In recent years, I have learned that if you place the drawers upside down on a work table, there is no overspray inside the drawers.
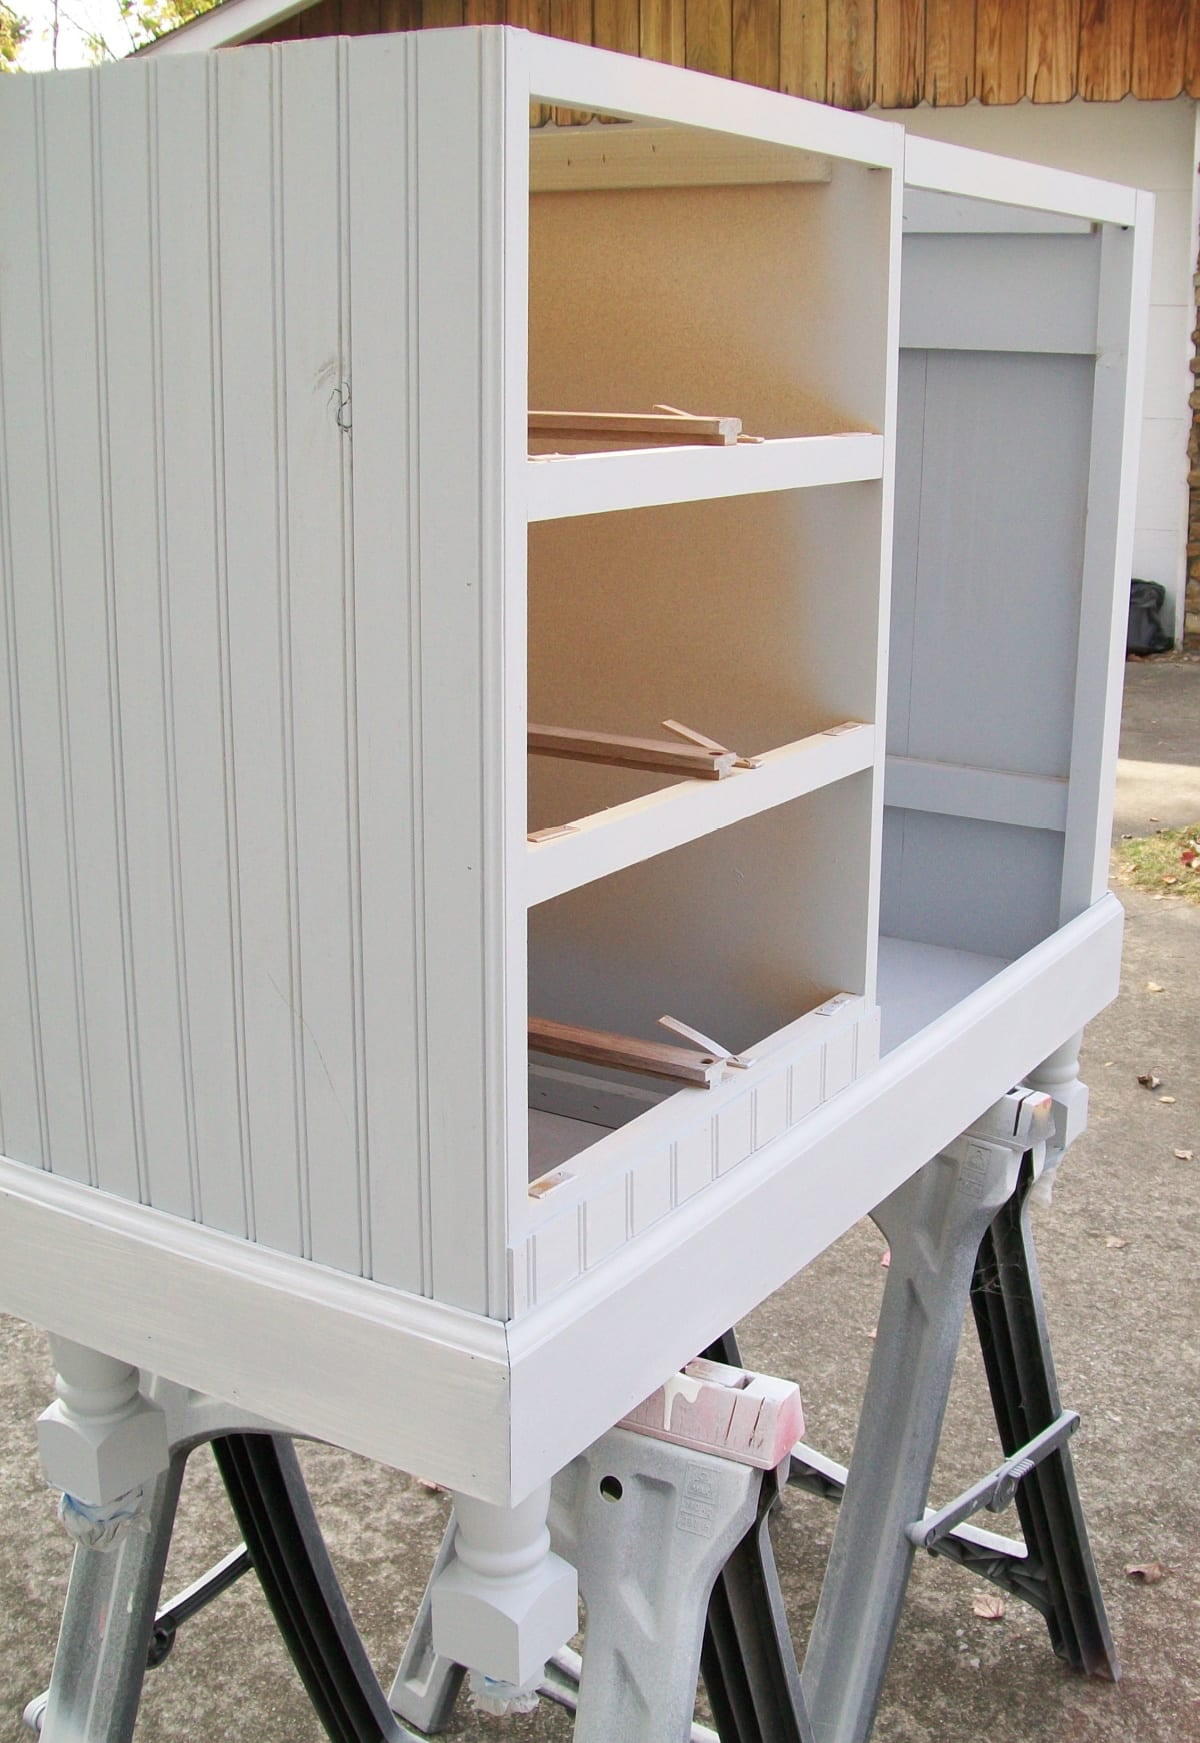
I really do love how it’s all coming together. Let me know if you have any specific questions.
How to Add a Custom Wood Top
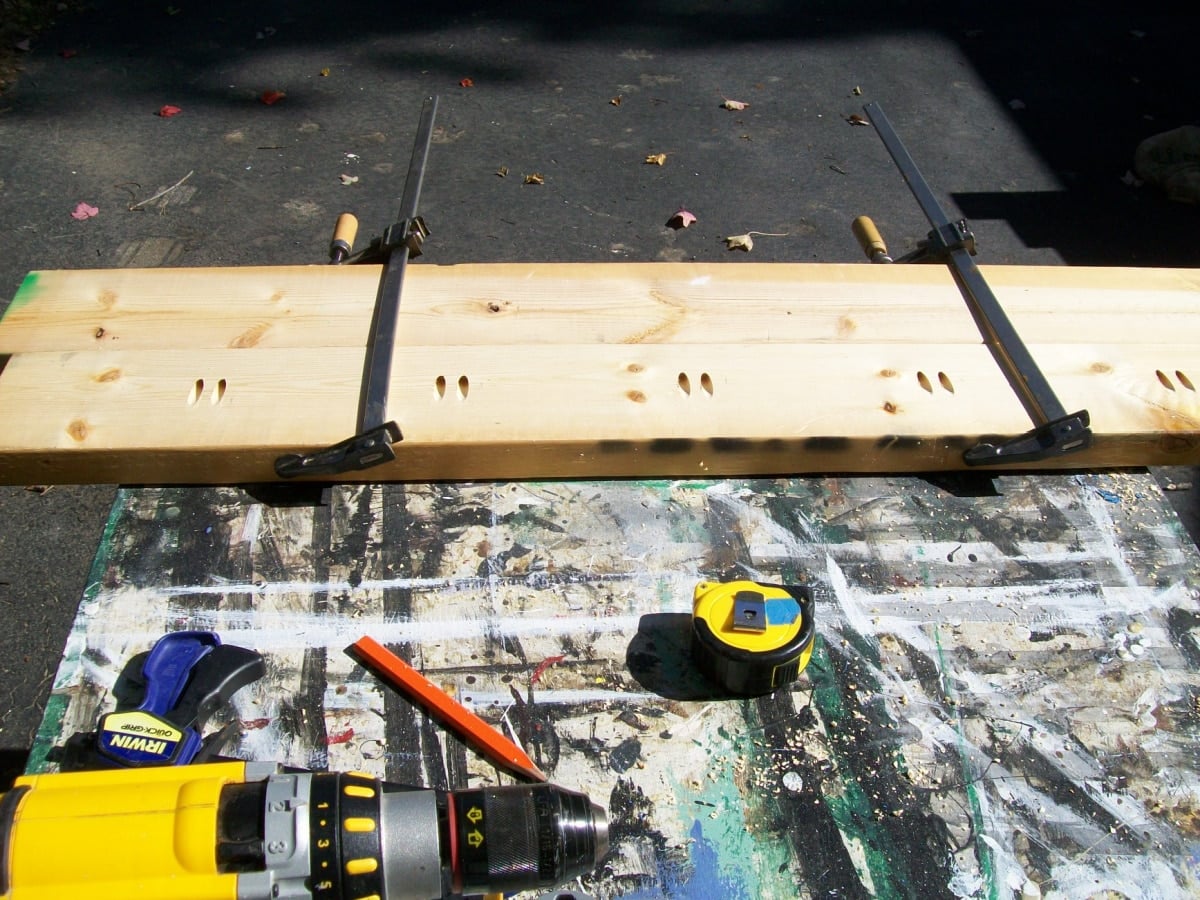
I used the same Kreg Jig shown earlier to make the pocket holes in the boards. I spaced them about 8 inches apart.
There are a couple of things I did wrong putting this kitchen island top together. I should have alternated the pocket holes instead of lining them up on each board. You will notice some “cupping” on the large pieces as they were joined together. Check your endgrain; place one cup up, one cup down, one cup up as you join the 2xs together.
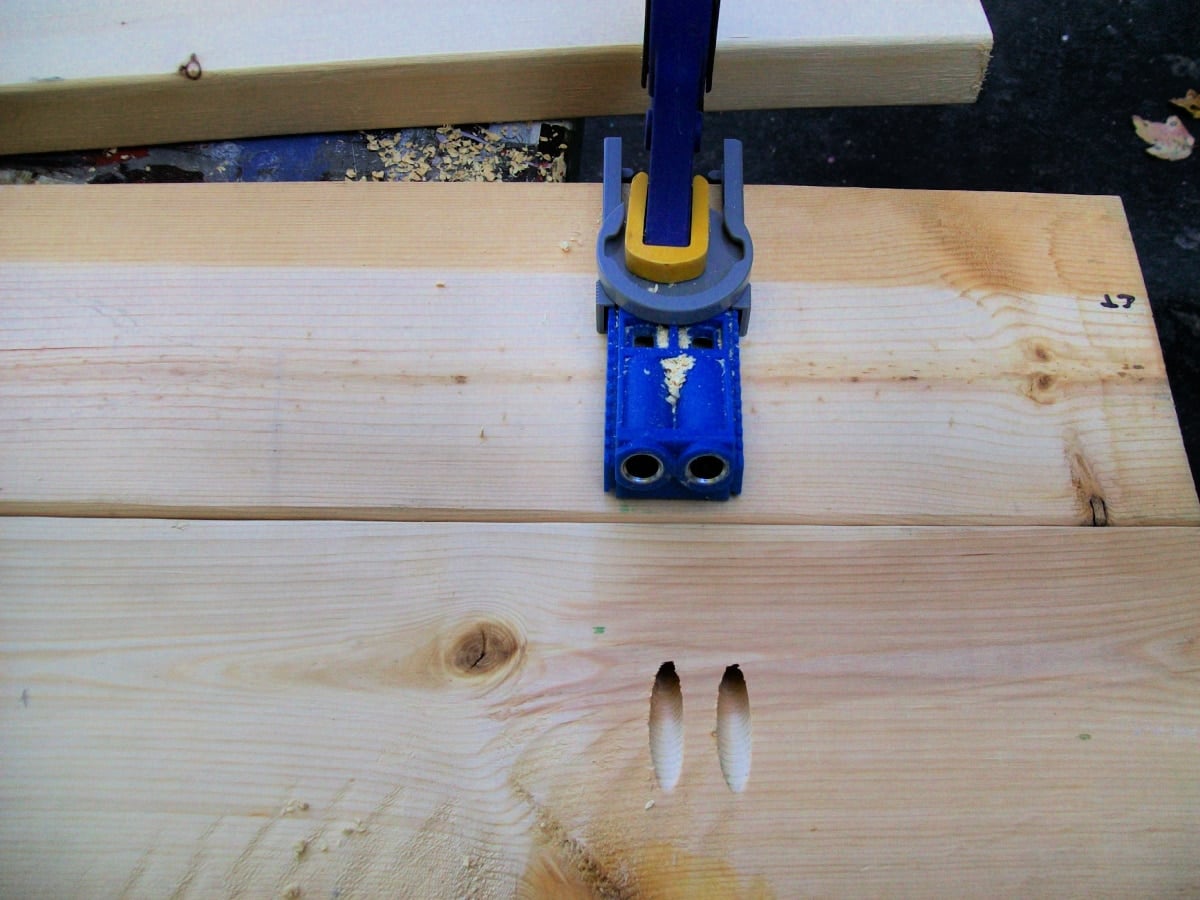
I mostly want you to know that you don’t have to have expensive tools to do a fabulous custom kitchen island for yourself or a loved one.
Kreg Jig Joiner
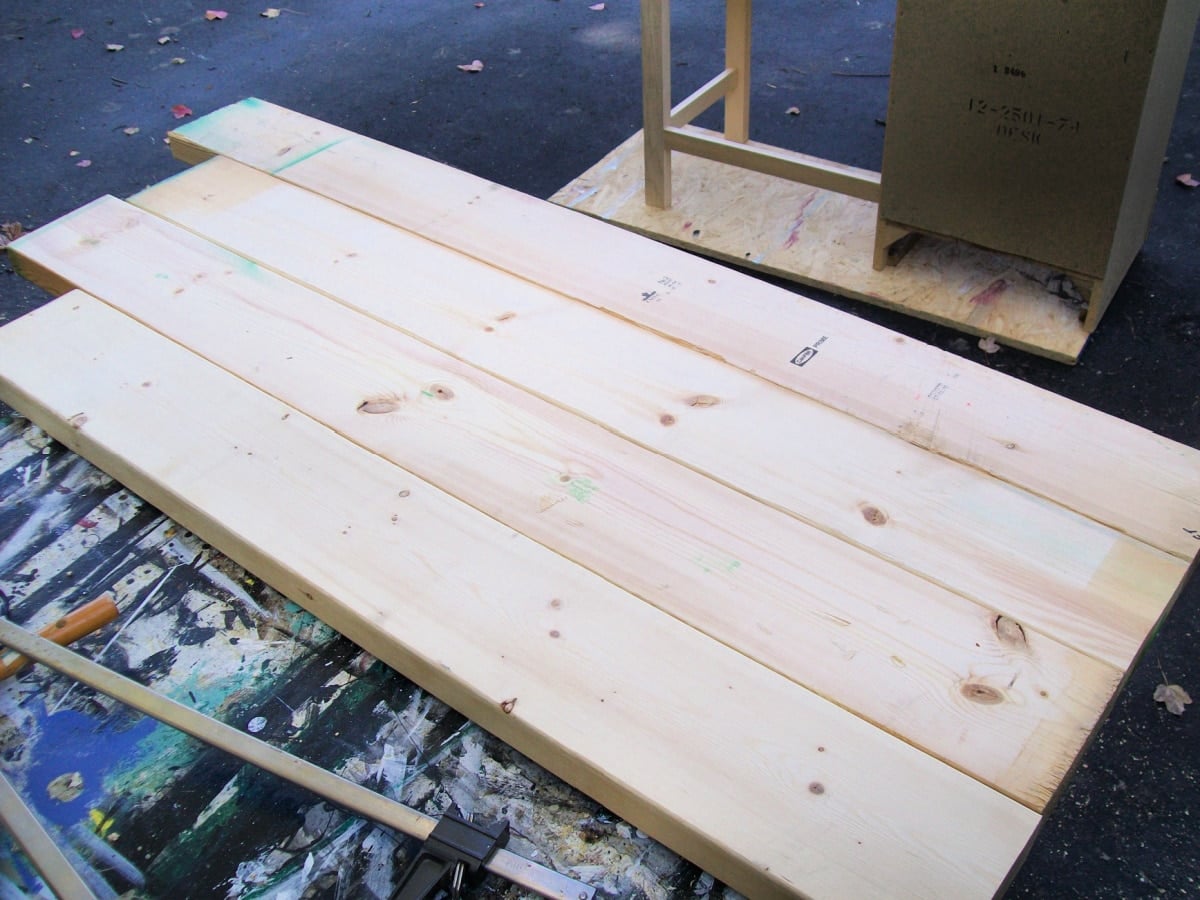
The top side of the four joined boards looks great!
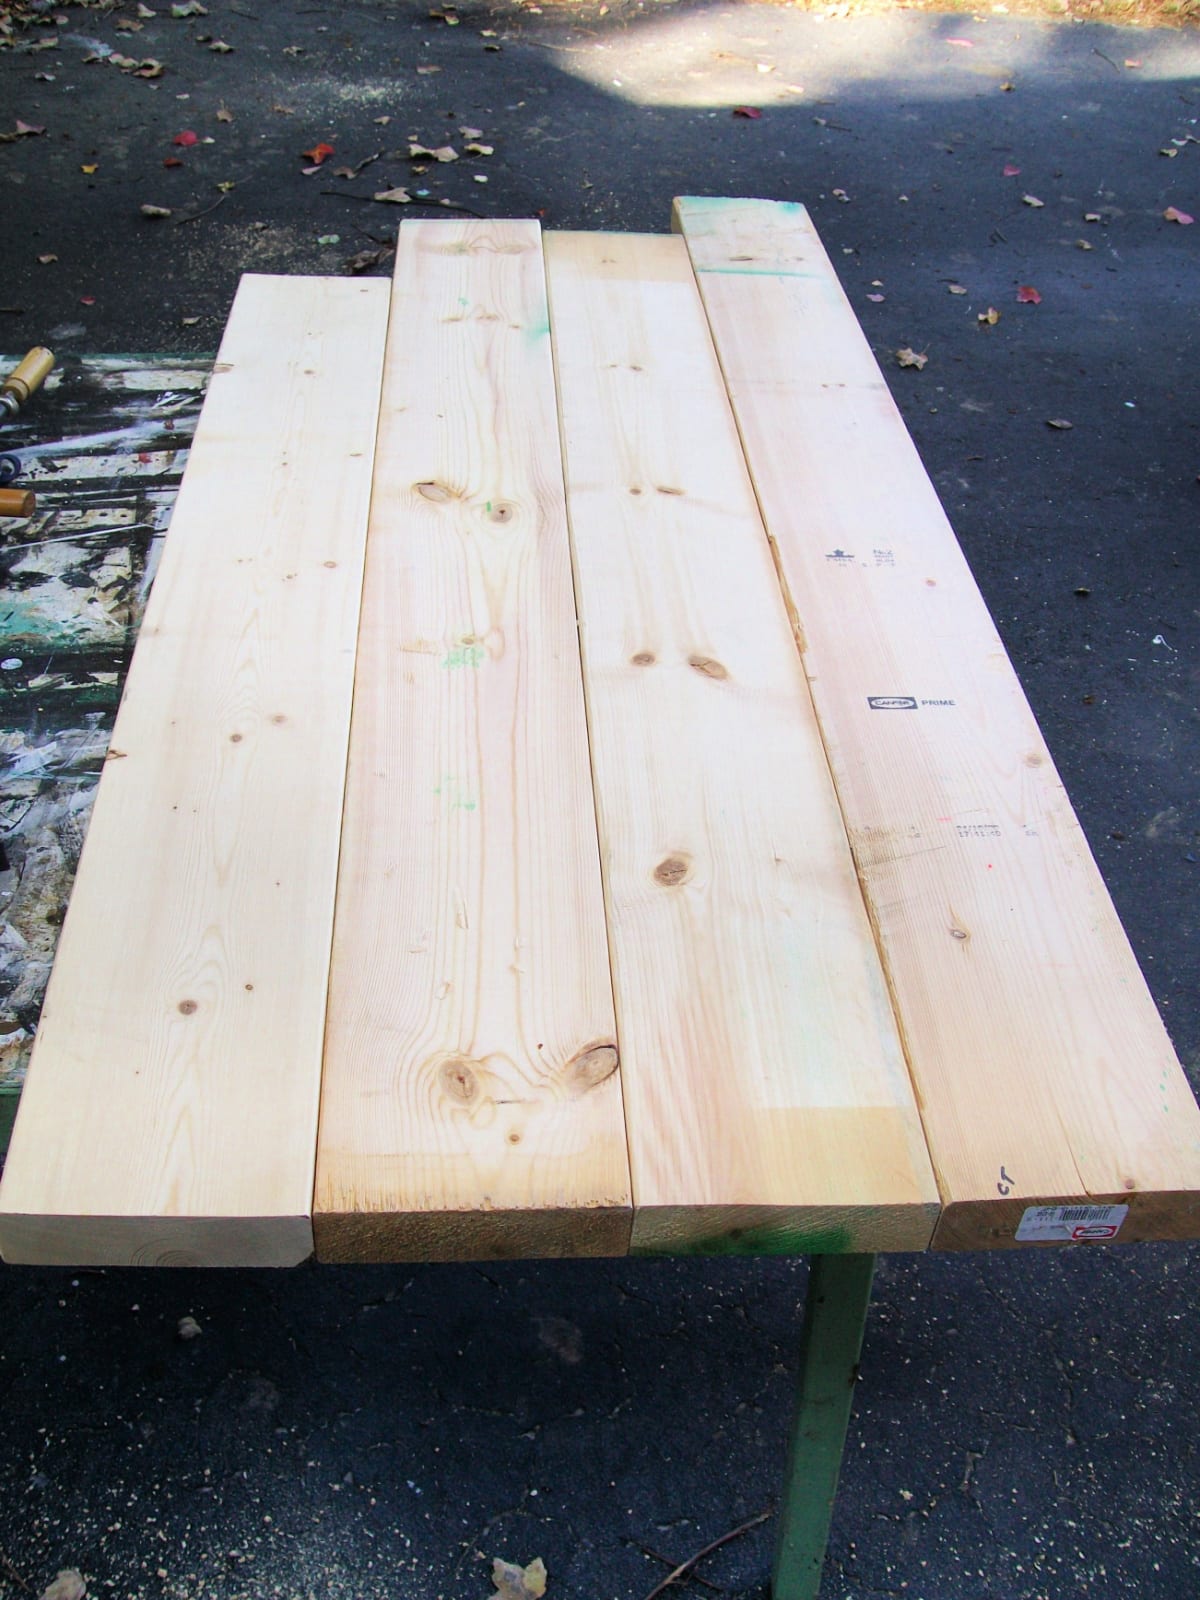
I used lumber I had on hand. When you pick out the boards, look for flaws.
Trimming to Size
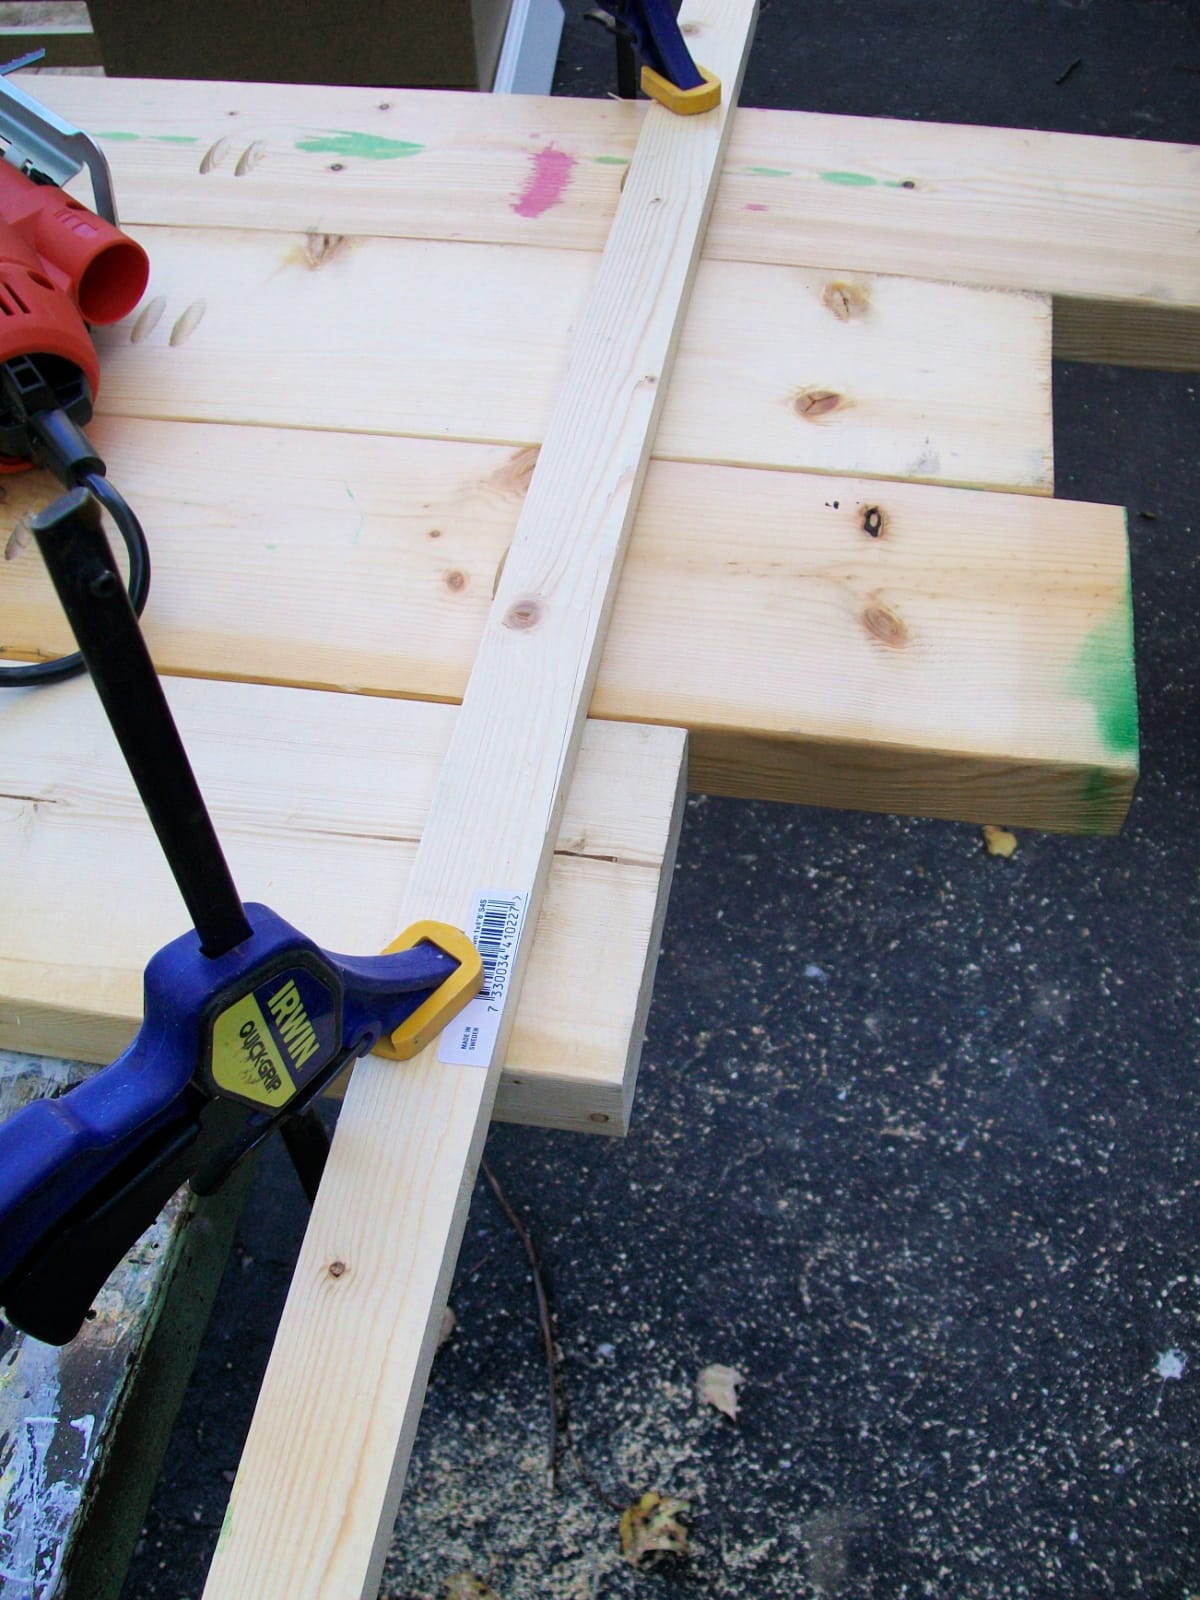
This is where I remind you that this was early on in my journey. I know this technique would work; I had used it before, but not on this scale.
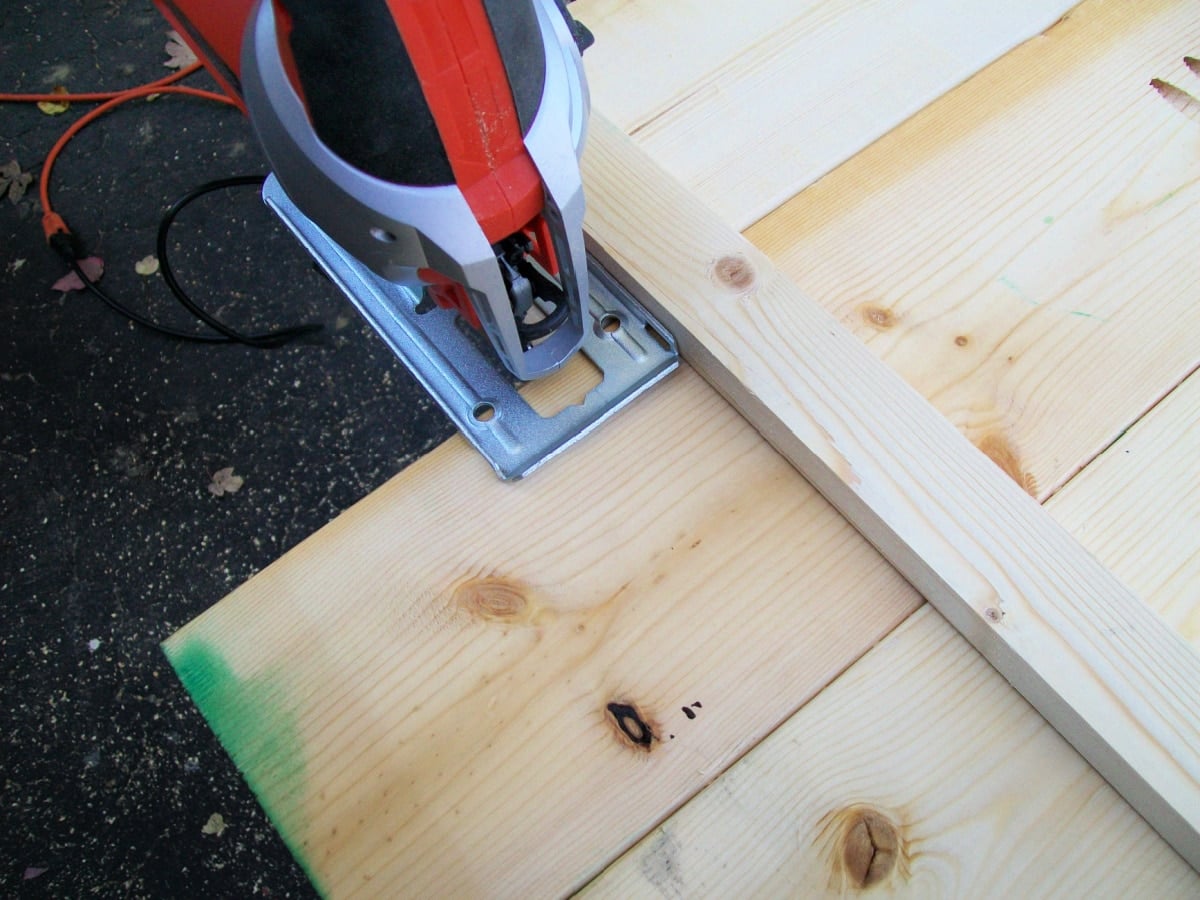
This started out so smoothly, but it quickly went oh so wrong.
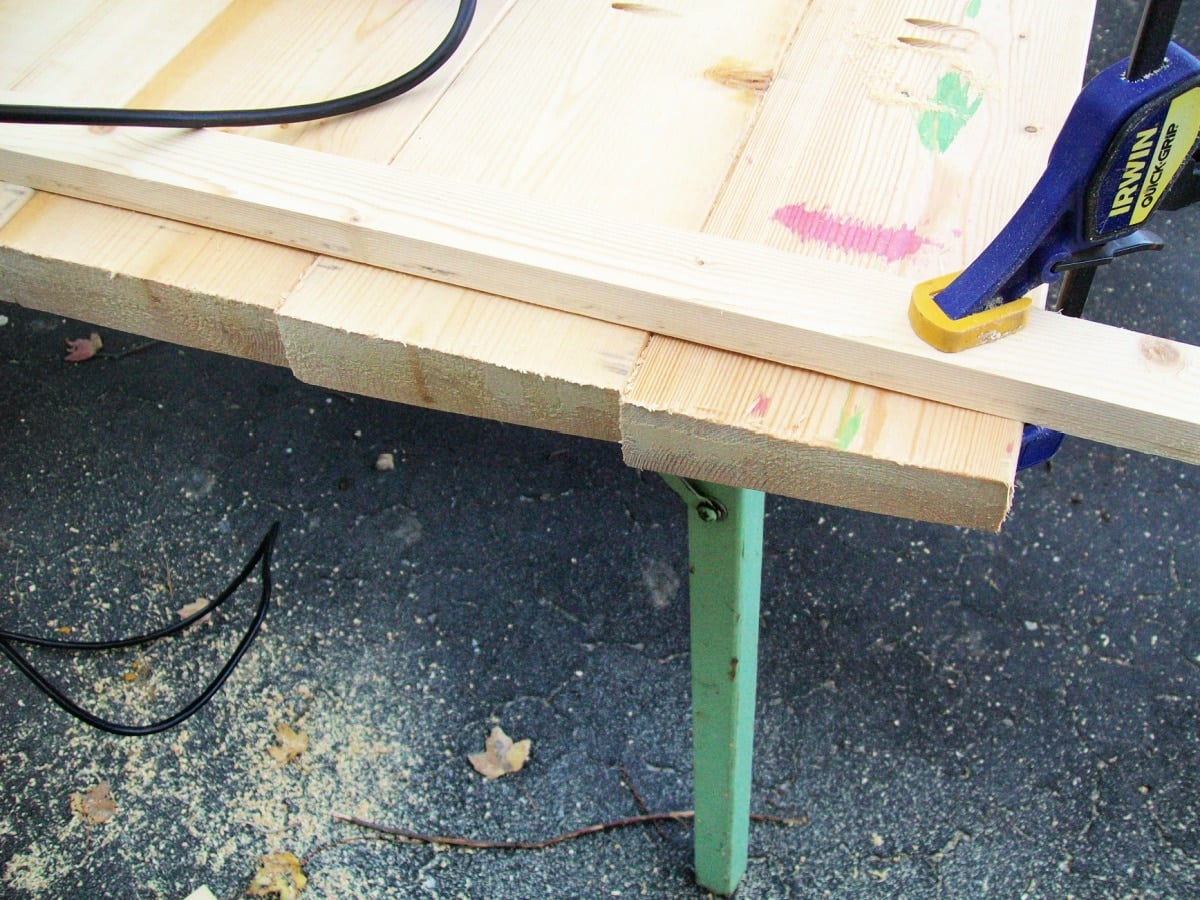
Wow! Will you look how crooked the boards are. Several things probably went wrong to create this mess, including the angle not being locked in and not going slow enough. In any case, I’m sure it was operator error.
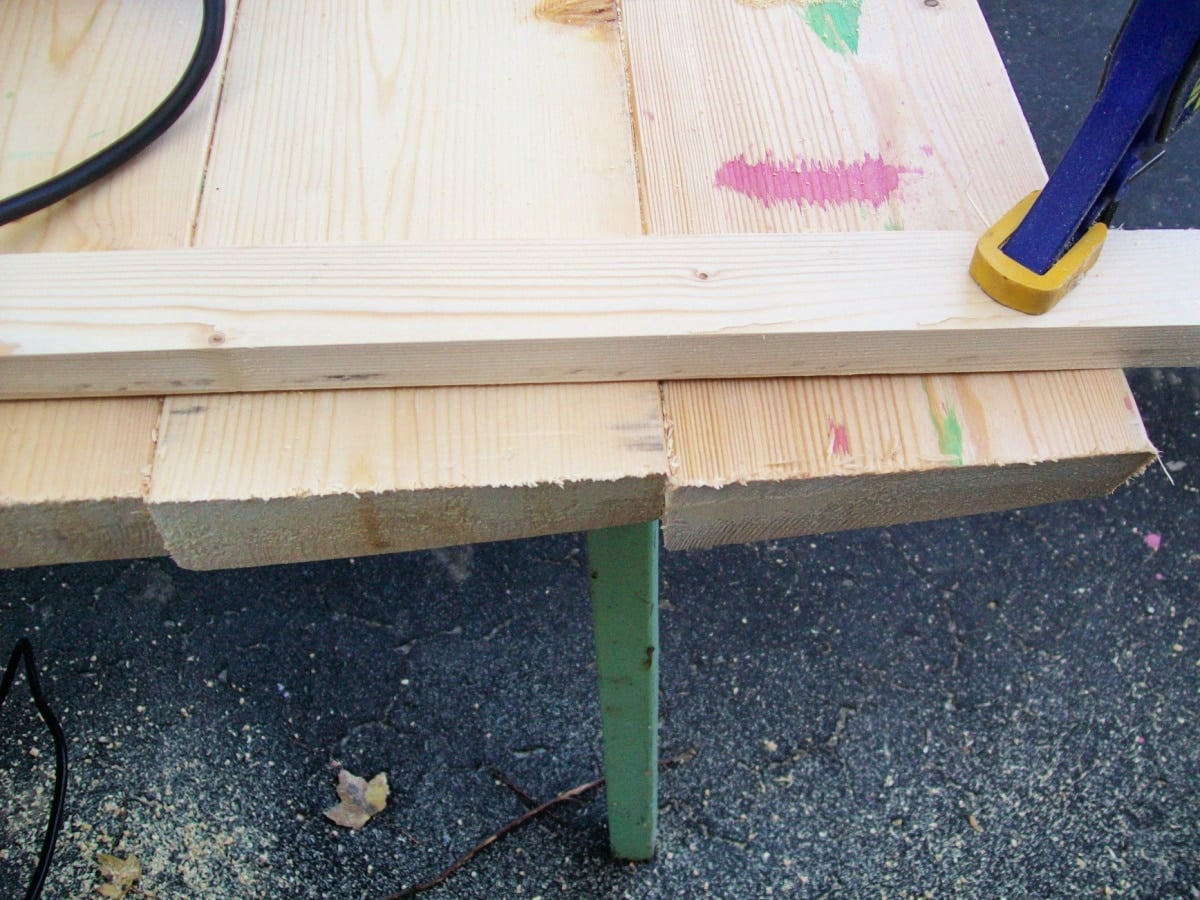
This clearly would not work. When I left the boards varying lengths on one end, my intent was to put the entire piece on the table saw and make them all exactly the same. Bad idea. The piece was too heavy and cumbersome for me to handle alone. That’s why I used the jigsaw.
Long story short, I ended up having to draw a line and cut on the table saw freehand (without the fence). Which, by the way, I’m really good at. It just makes me nervous when cutting a large (heavy) piece.
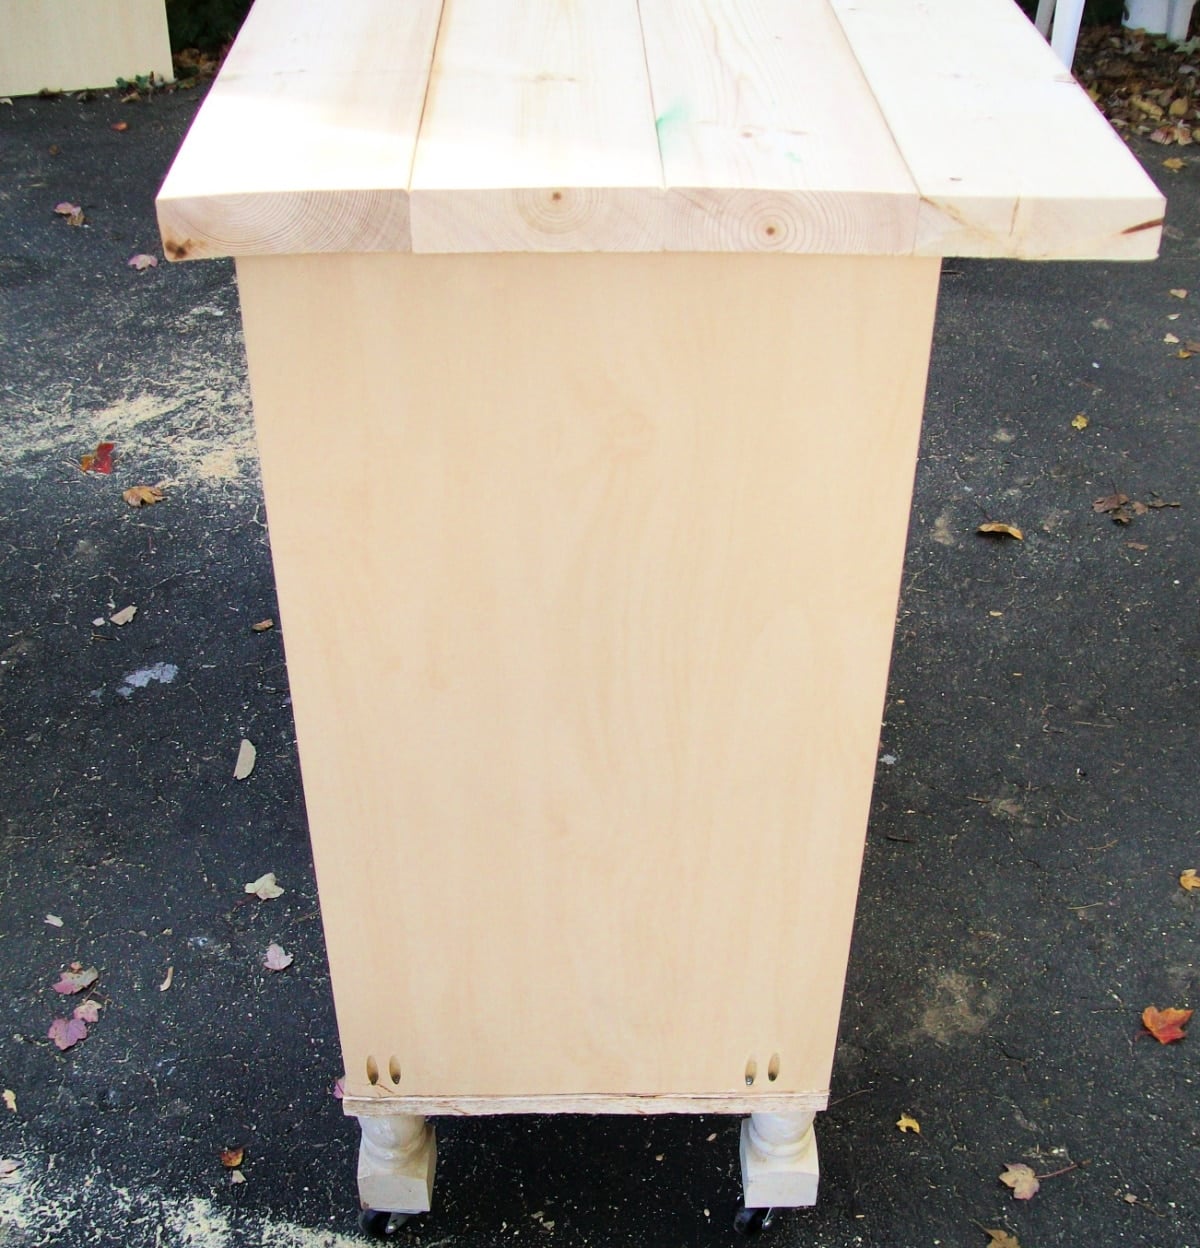
Here is the cupping I was talking about. But it is what it is. You can see the pocket holes that let me attach the island to the base.
I suppose you noticed the island isn’t painted in this photo. I hope you haven’t been too confused by the images being out of order.
Pretty Sanded Island Top | Ready for Stain
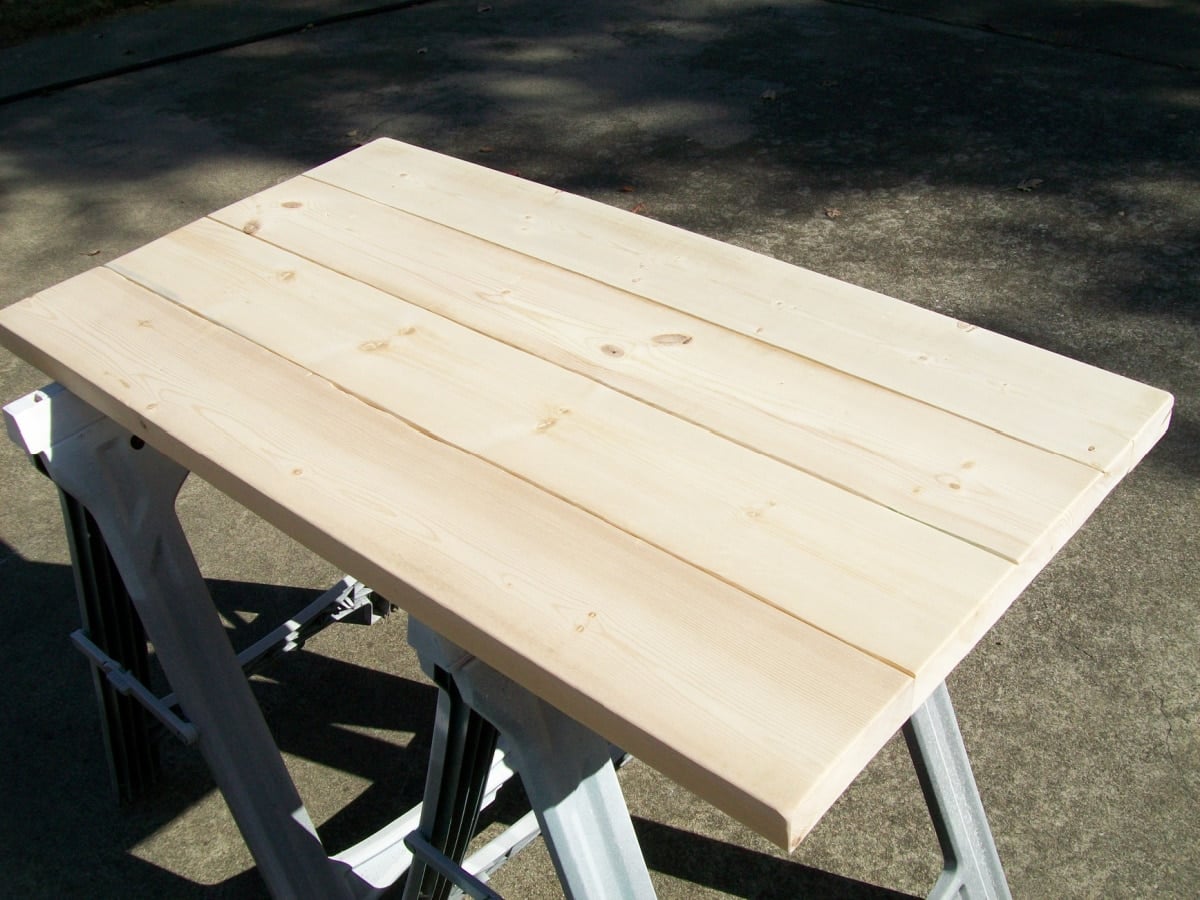
The top looks so smooth, but you will want to continue sanding or filling in all those “crumb catchers” I deal with every single day.
Let’s Stain the Top
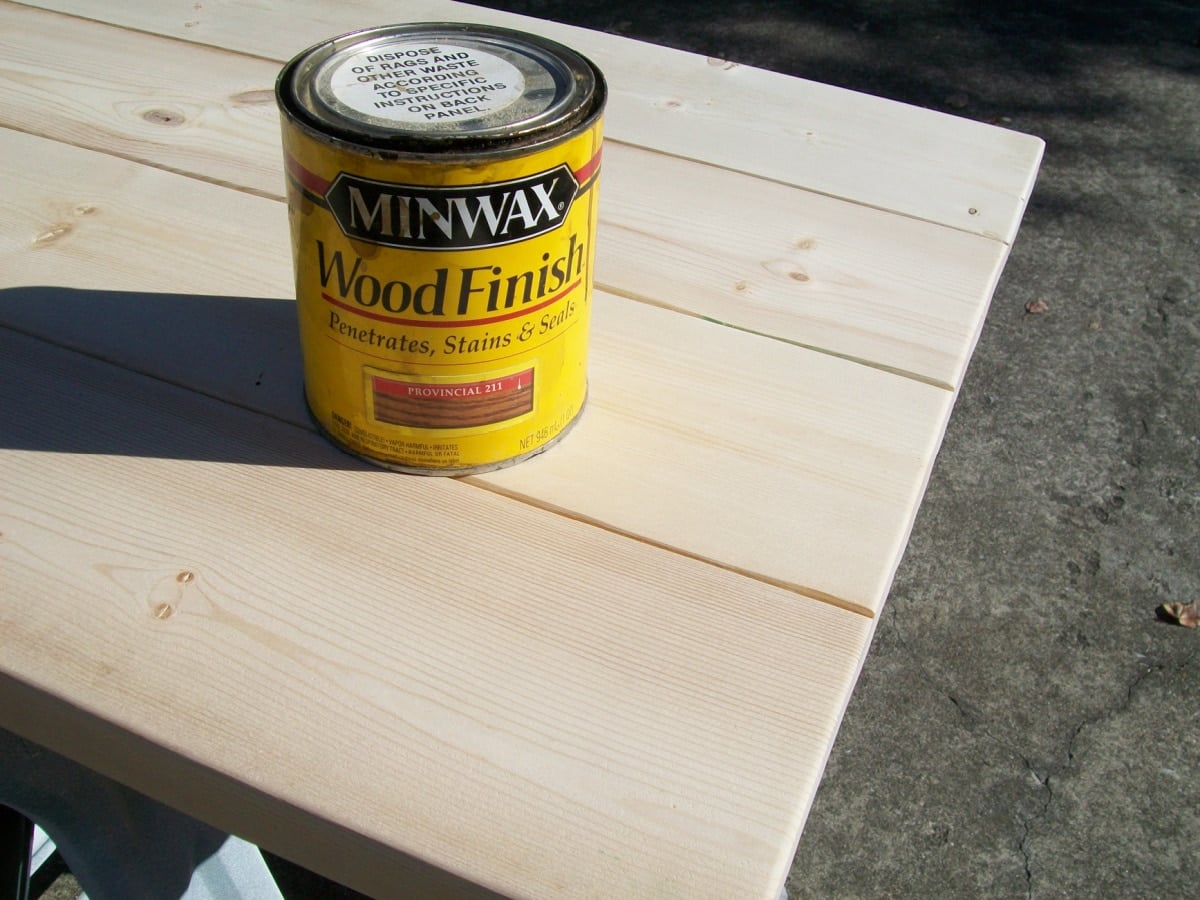
I chose this Provincial stain by Minwax.
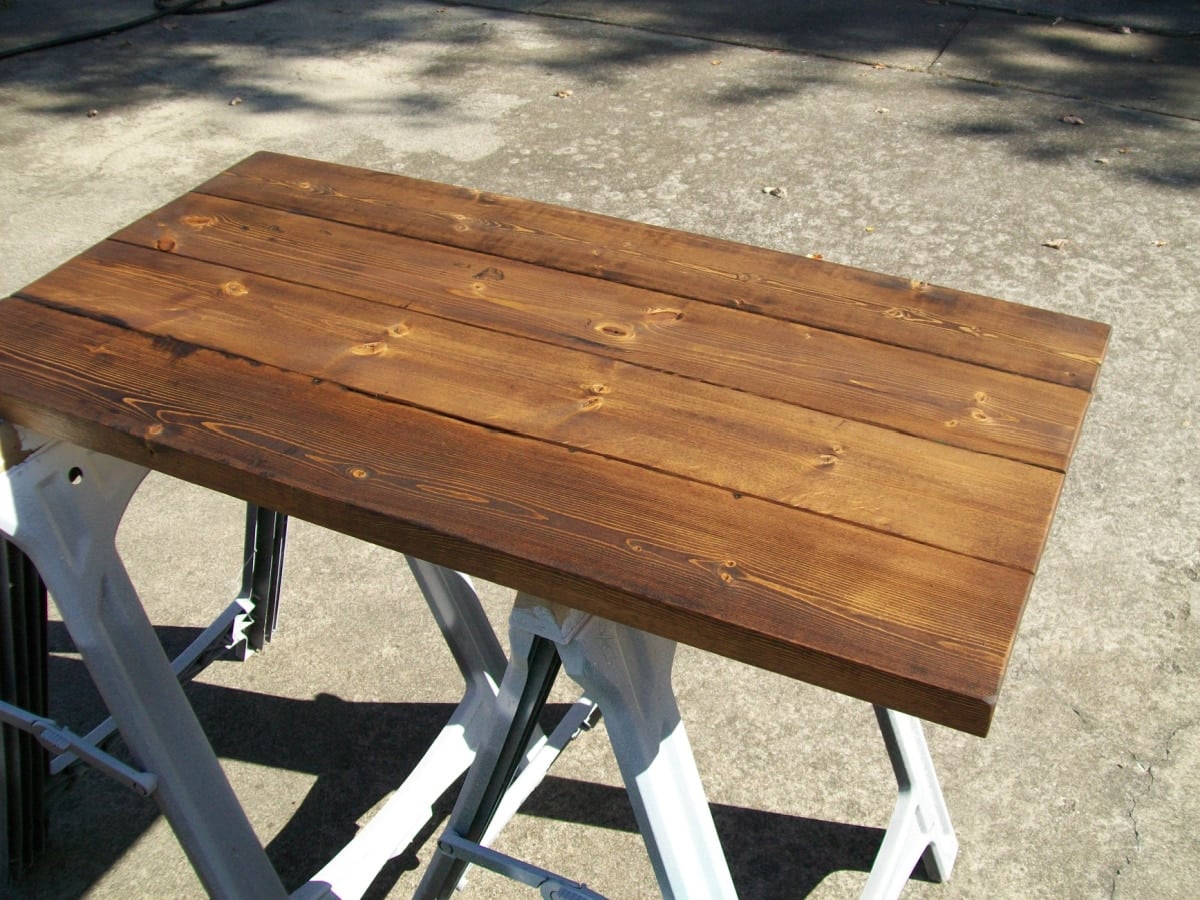
I applied one coat of stain and three coats of polycrylic.
Attach the New Kitchen Island Top Using the Same Screws and Holes
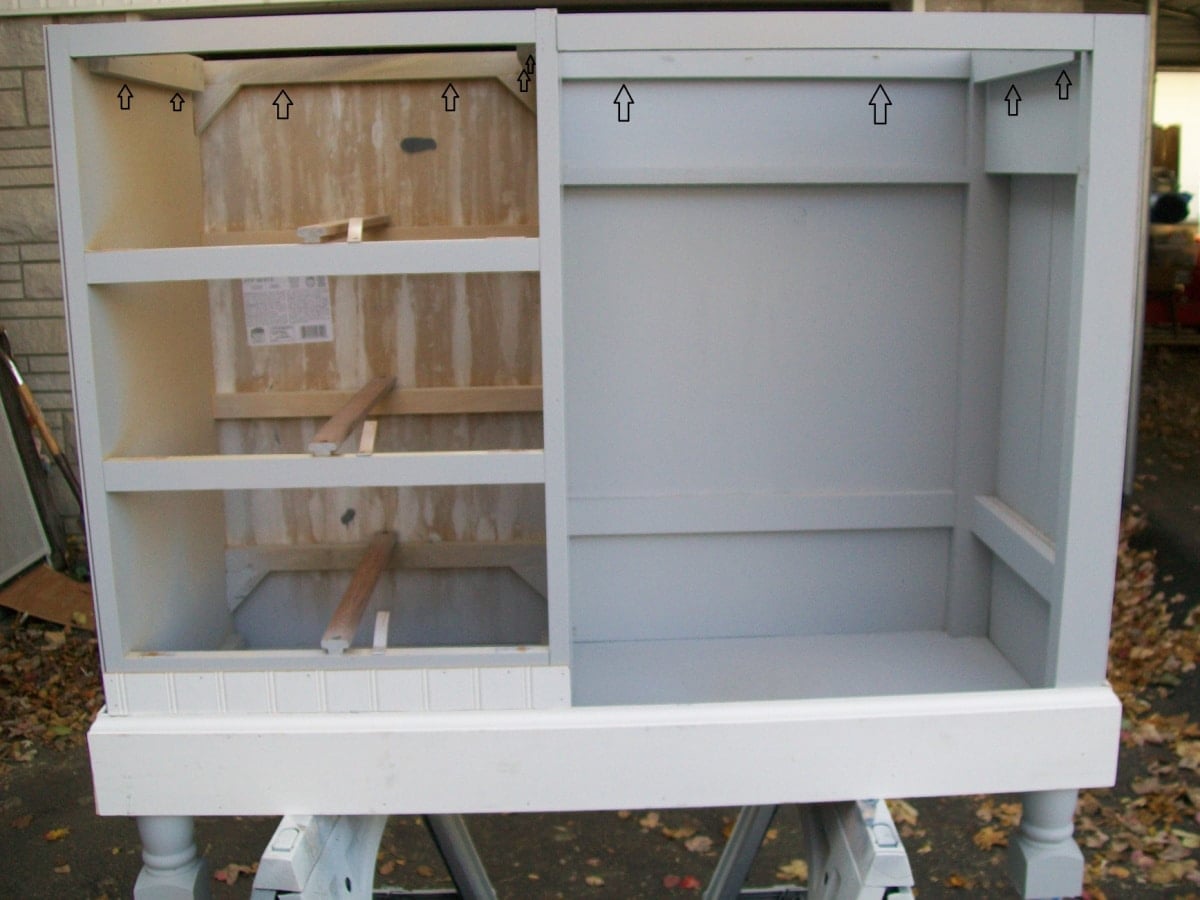
The arrows above point to all of the screw holes that held the original top in place.
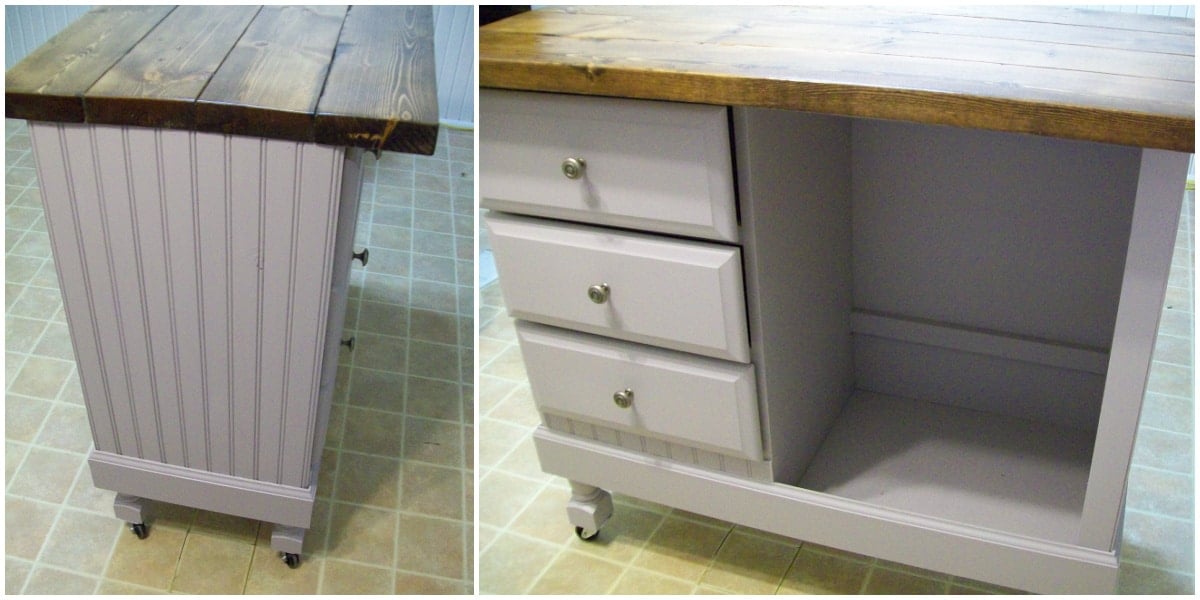
The new kitchen island has served me well, but it has seen so many changes to the kitchen over the years.
Painting the Kitchen Island Black
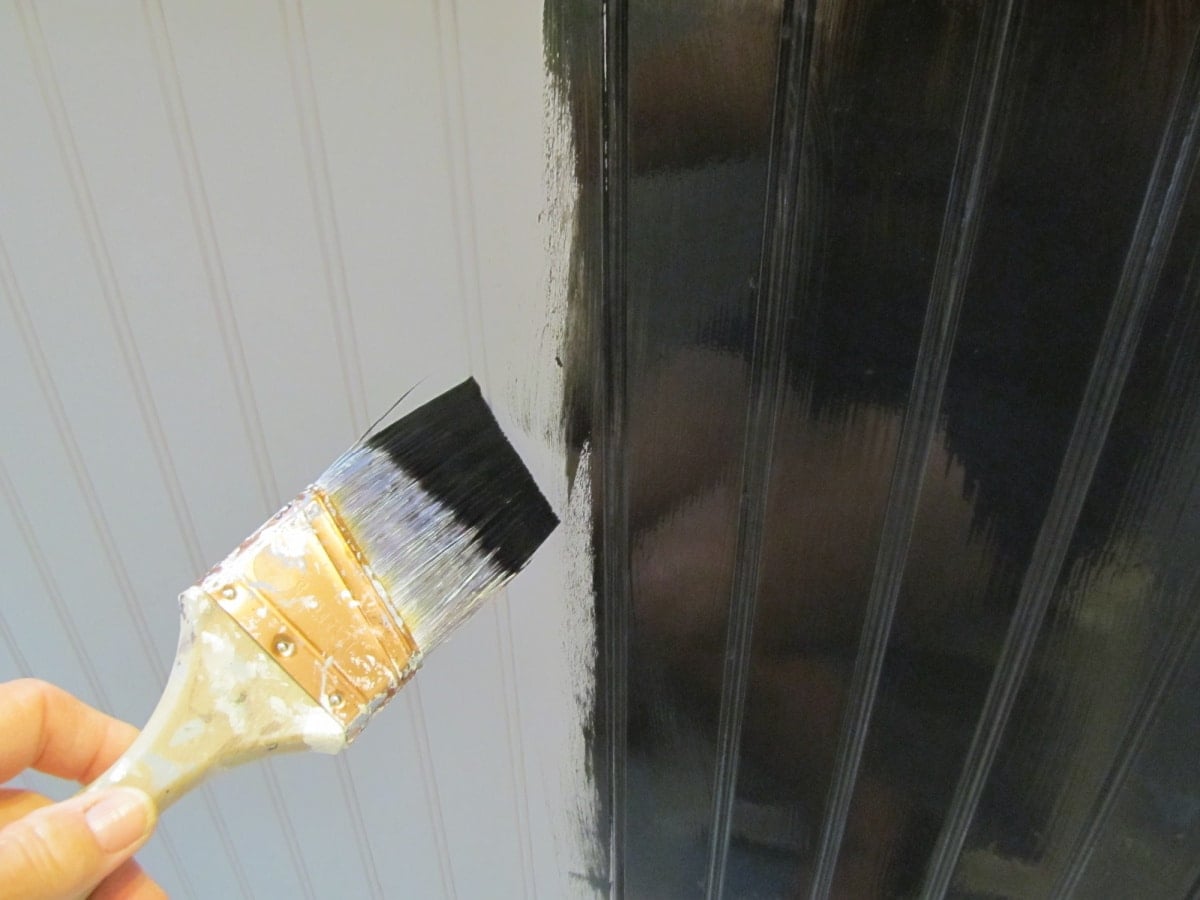
A couple of years later, I decided to paint the repurposed desk kitchen island black.
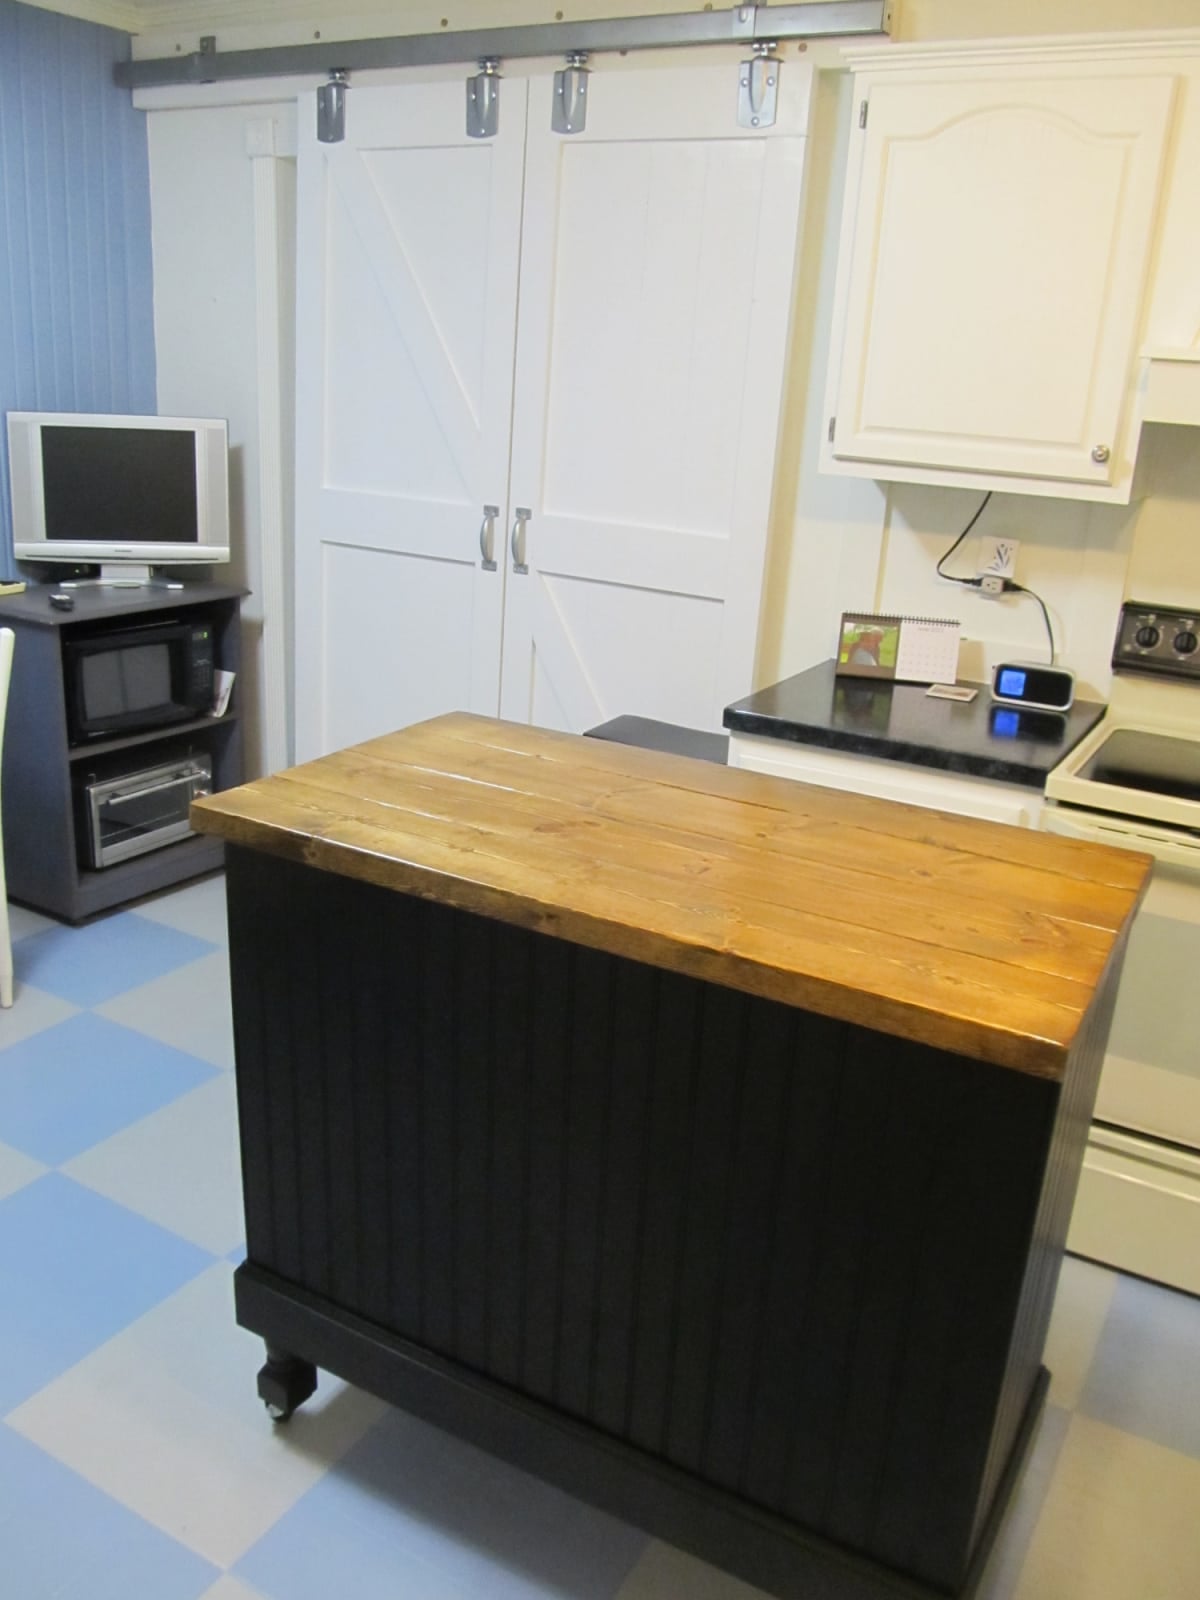
Meanwhile, I had painted my kitchen floor with latex paint and painted my blue countertops with a Giani kit. I absolutely LOVE my DIY Barn Doors.
Another Update on the Kitchen Island
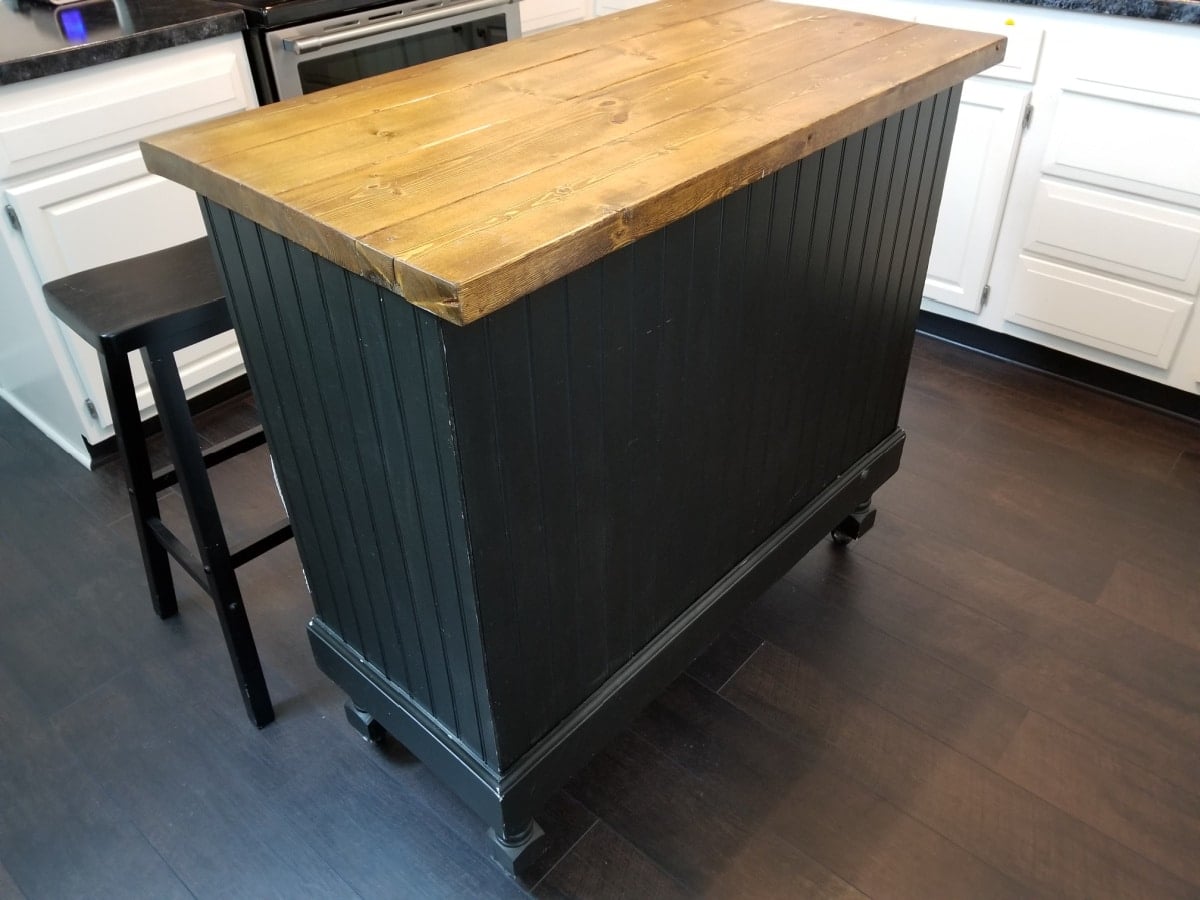
This all began in 2010. We’re now up to 2018, and I have installed a new kitchen floor. It looks so much better, though I never regretted painting the vinyl floor; I just liked it a lot more after I changed the color.
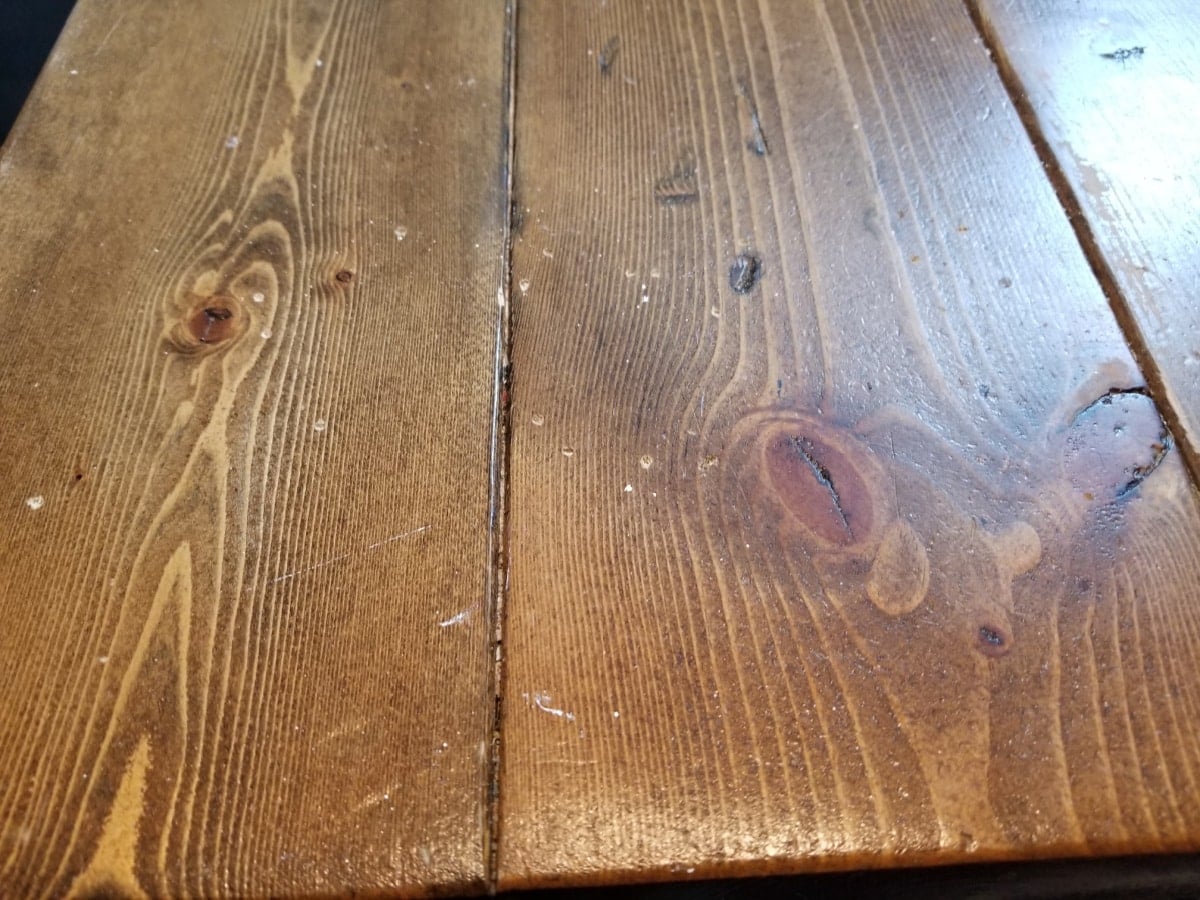
After using the kitchen island for crafting over an 8-year period, the top was showing wear and tear.
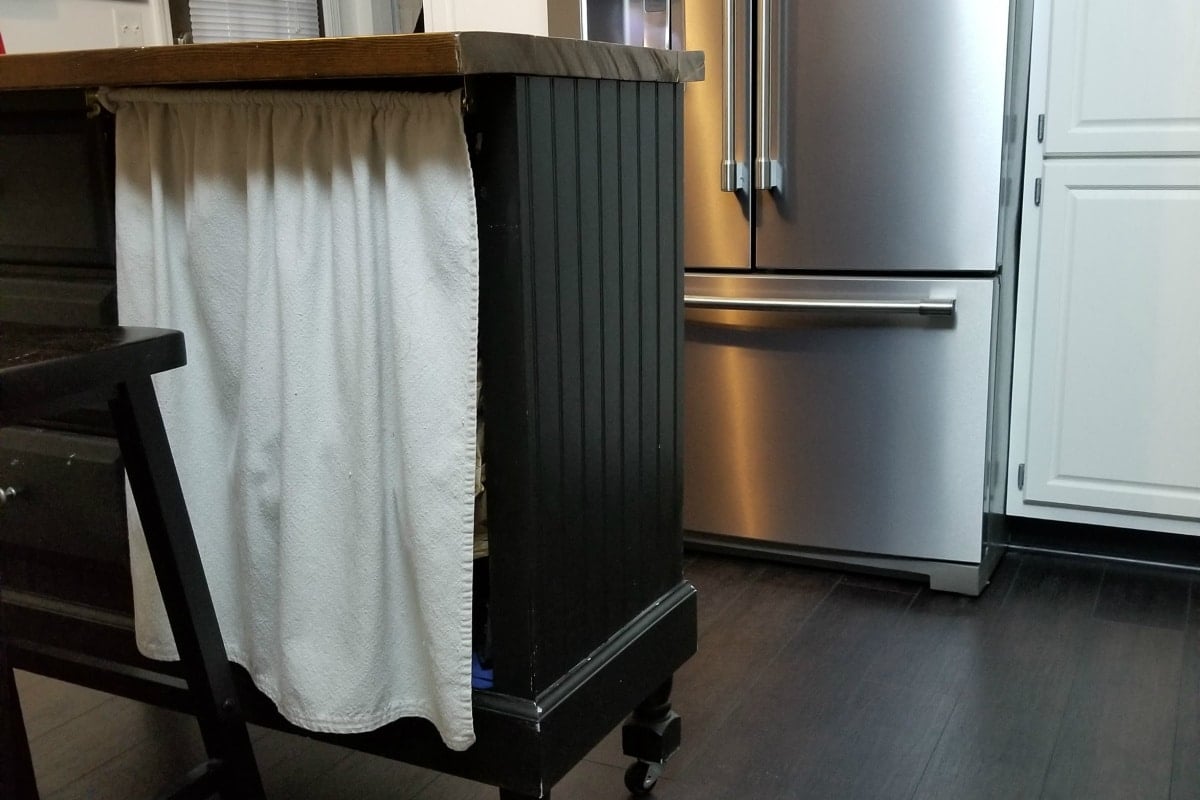
A tension rod with a small drop cloth curtain has hidden the contents in the storage compartment that was once the kneehole of the desk.
Peppery Red Paint
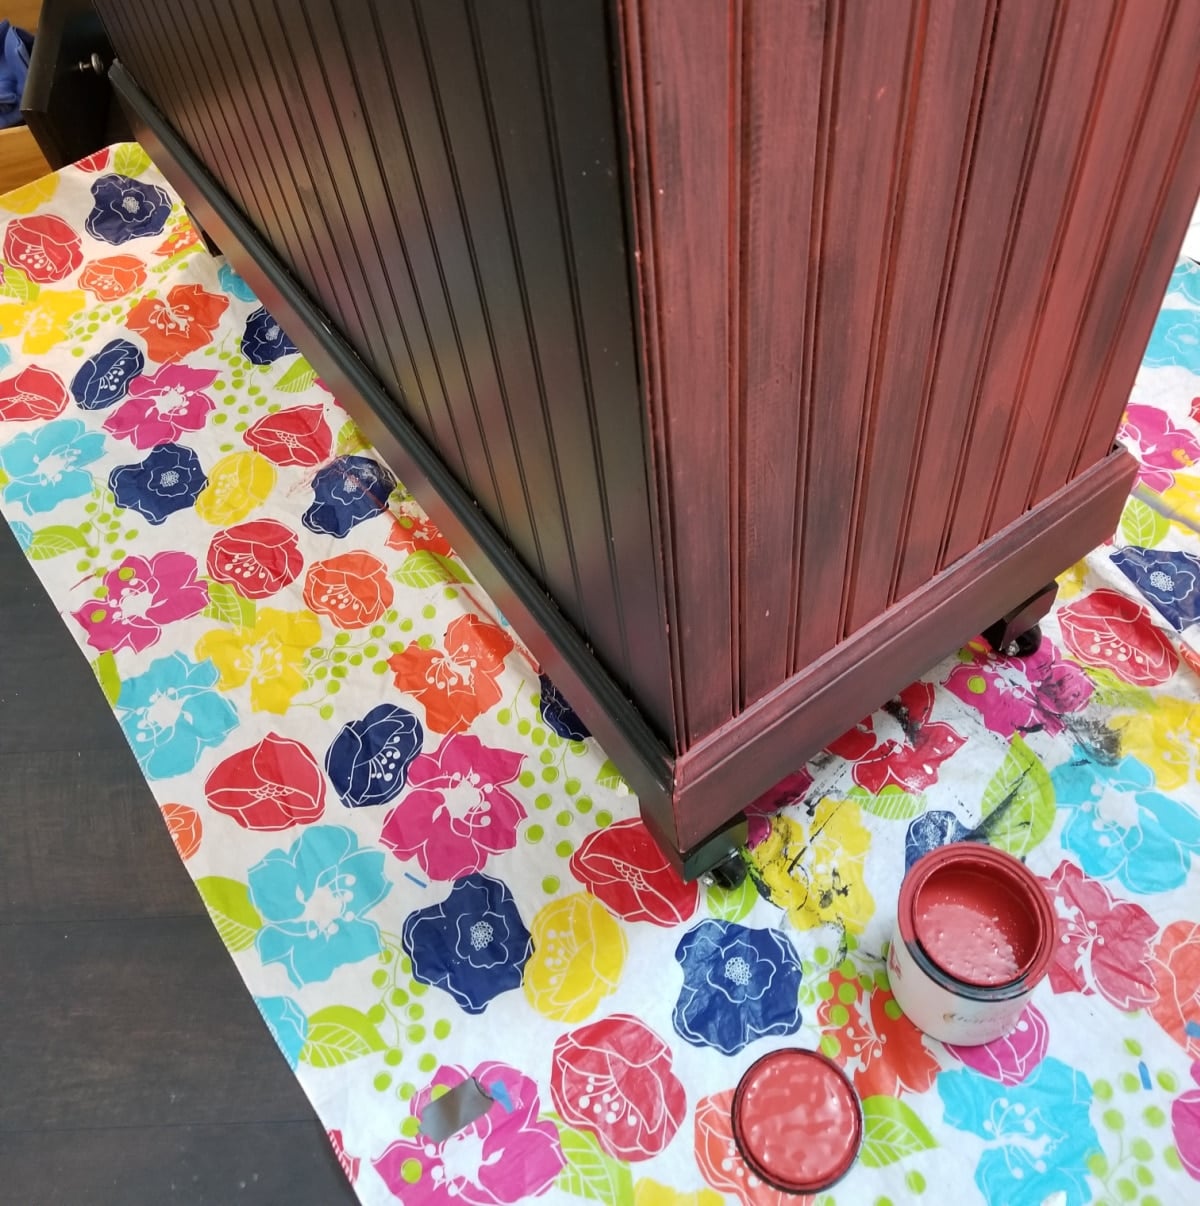
To make the kitchen island/craft station match the Food Before Us sign and the small TV stand, I used a dry-brush technique on the black cabinet base using red paint.
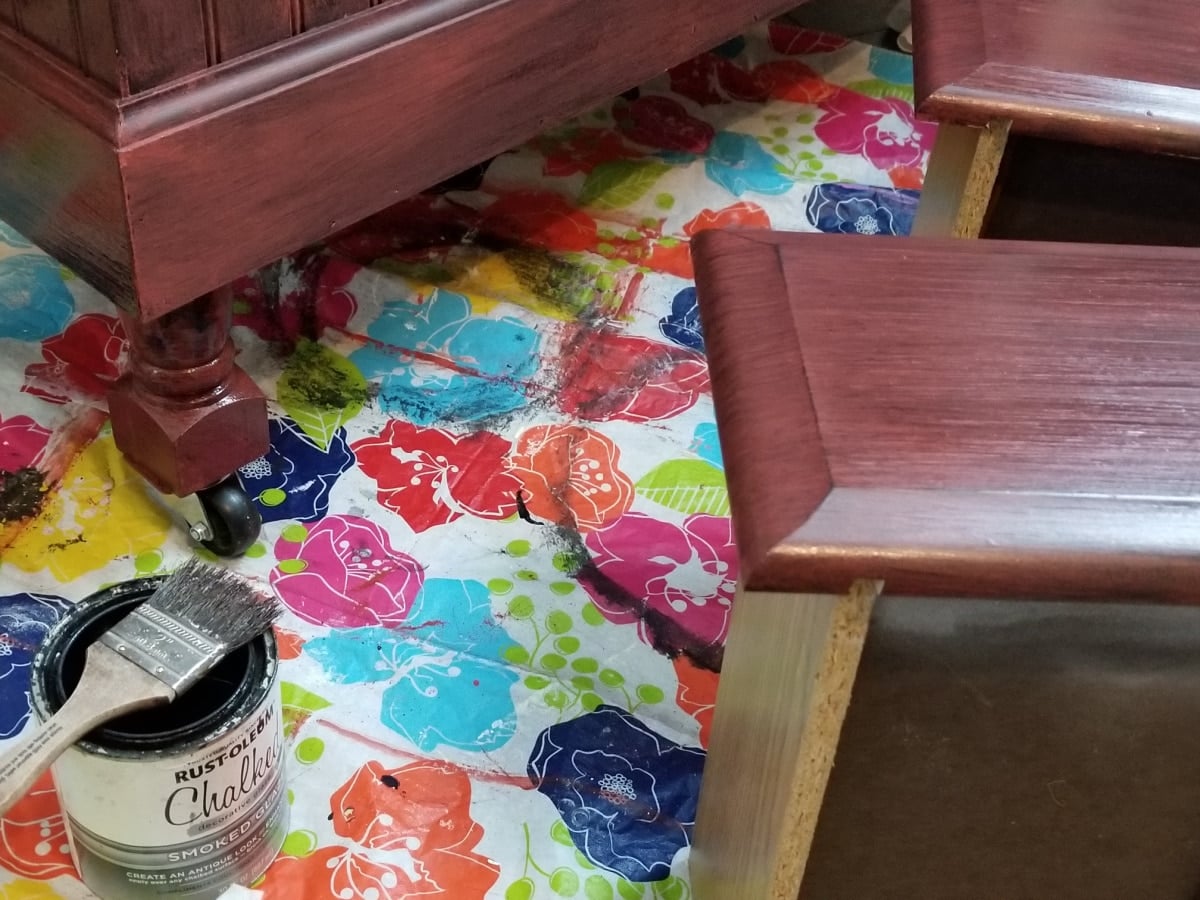
To help tone down the red and seal everything, I applied my favorite Smoked Glaze with a chip brush.
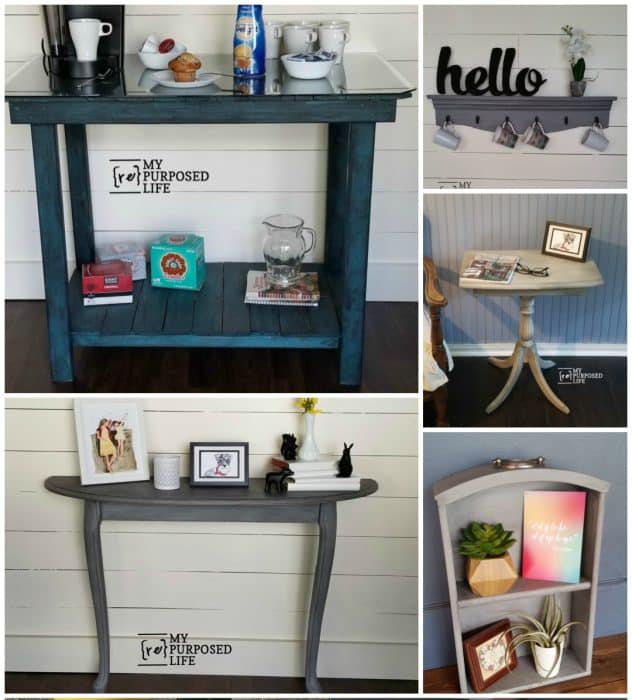
Project ideas and a video of “how to glaze painted furniture and more”
How to Make a Better Island Table Top
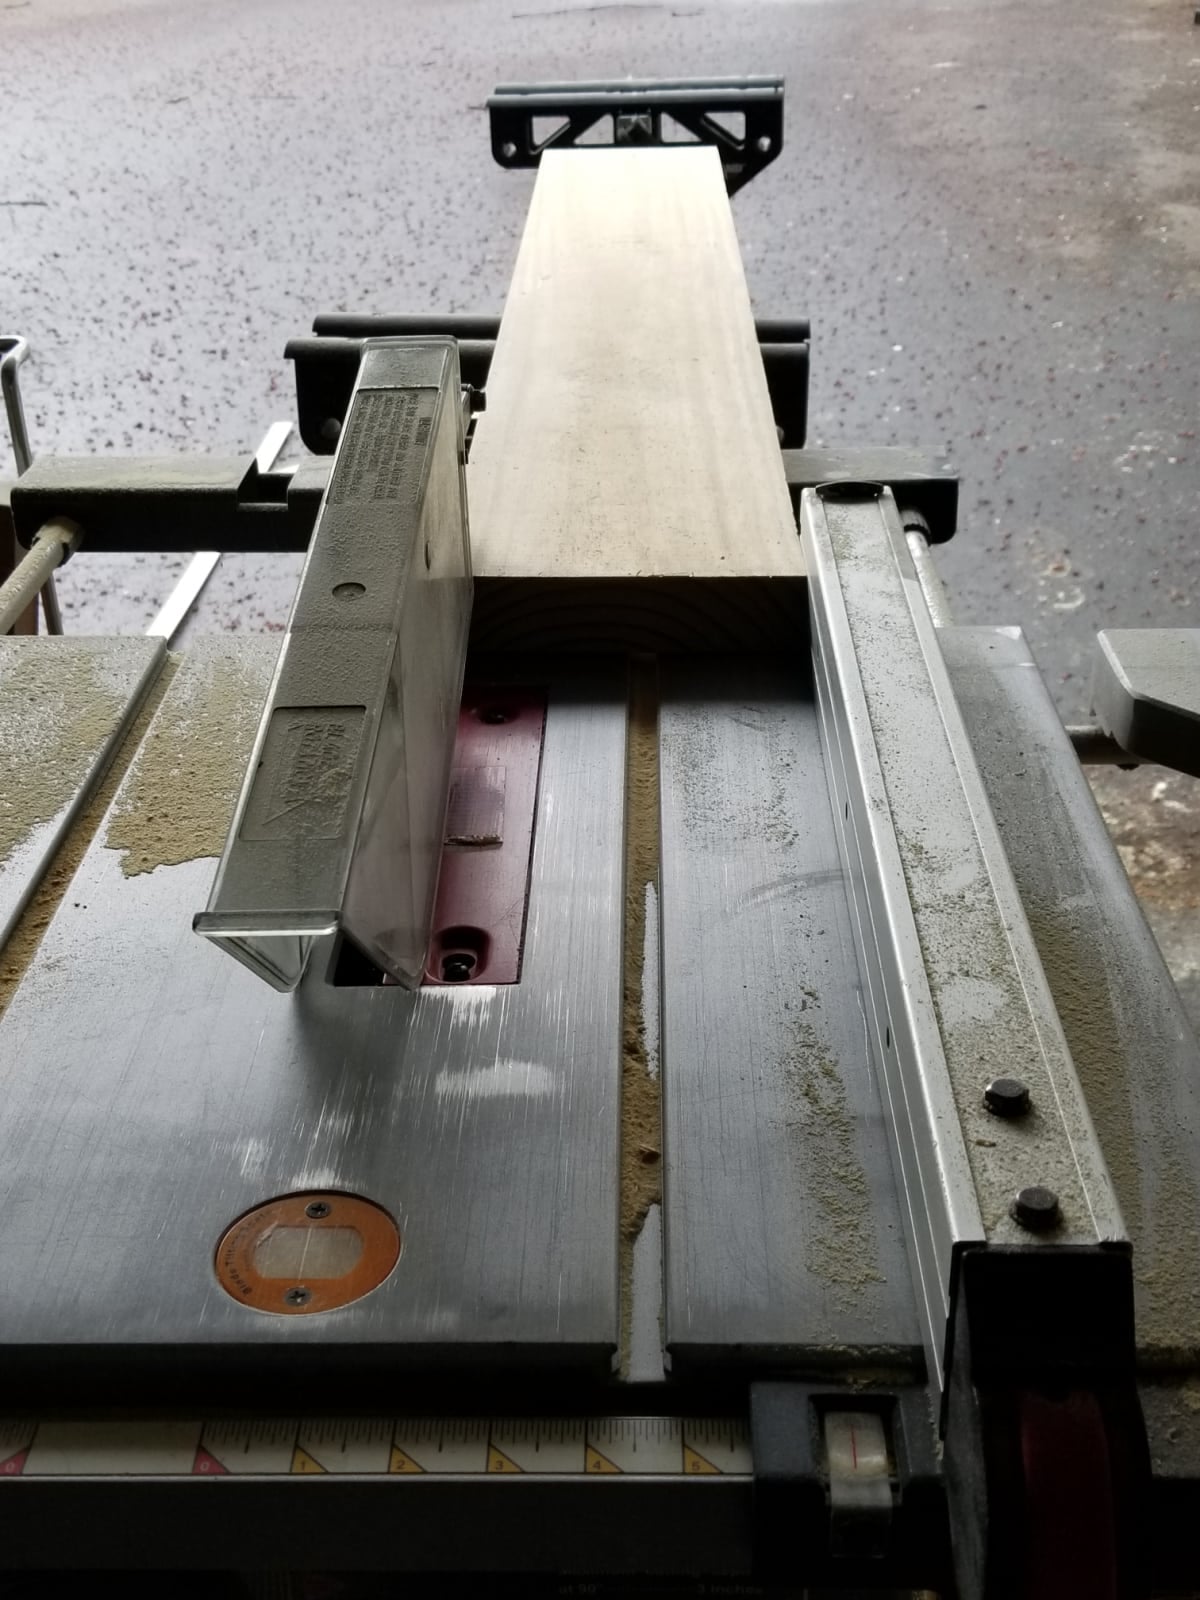
I bought three 2×8 (8 ft) boards to make a new island table top. For the new top, I wanted to get rid of the “crumb catchers.” To do this, I needed to rip the edge off each board on the table saw to remove the rounded edge.
Cut Boards to Size
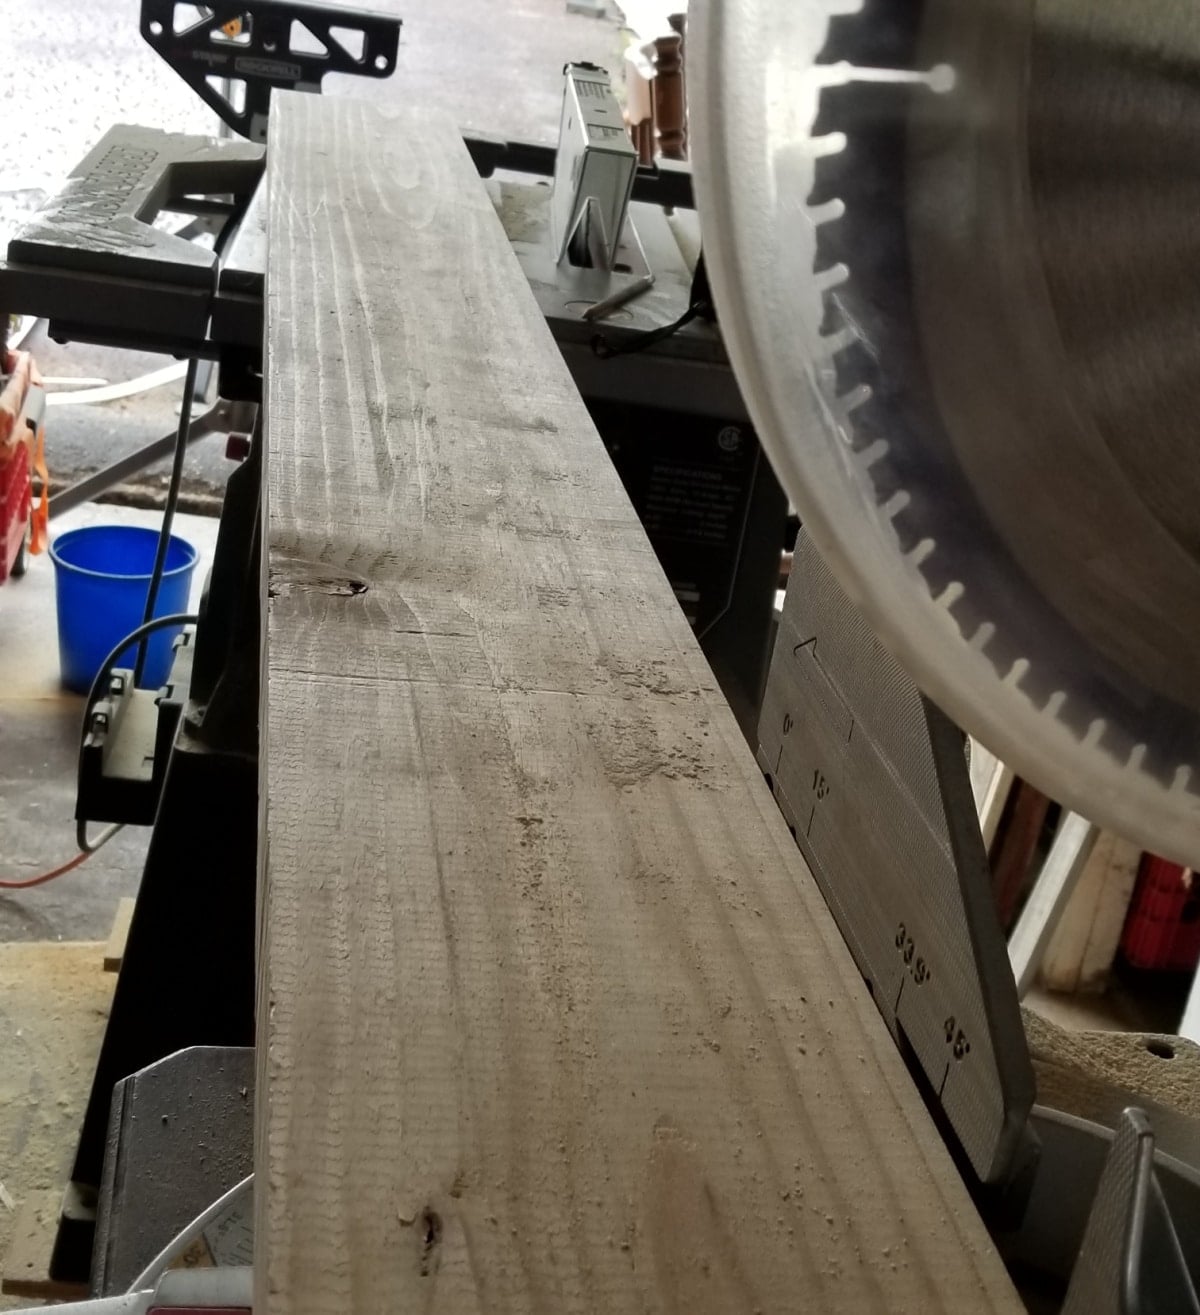
After ripping the edges, I cut the boards to size using the compound miter saw.
Drill Pocket Holes
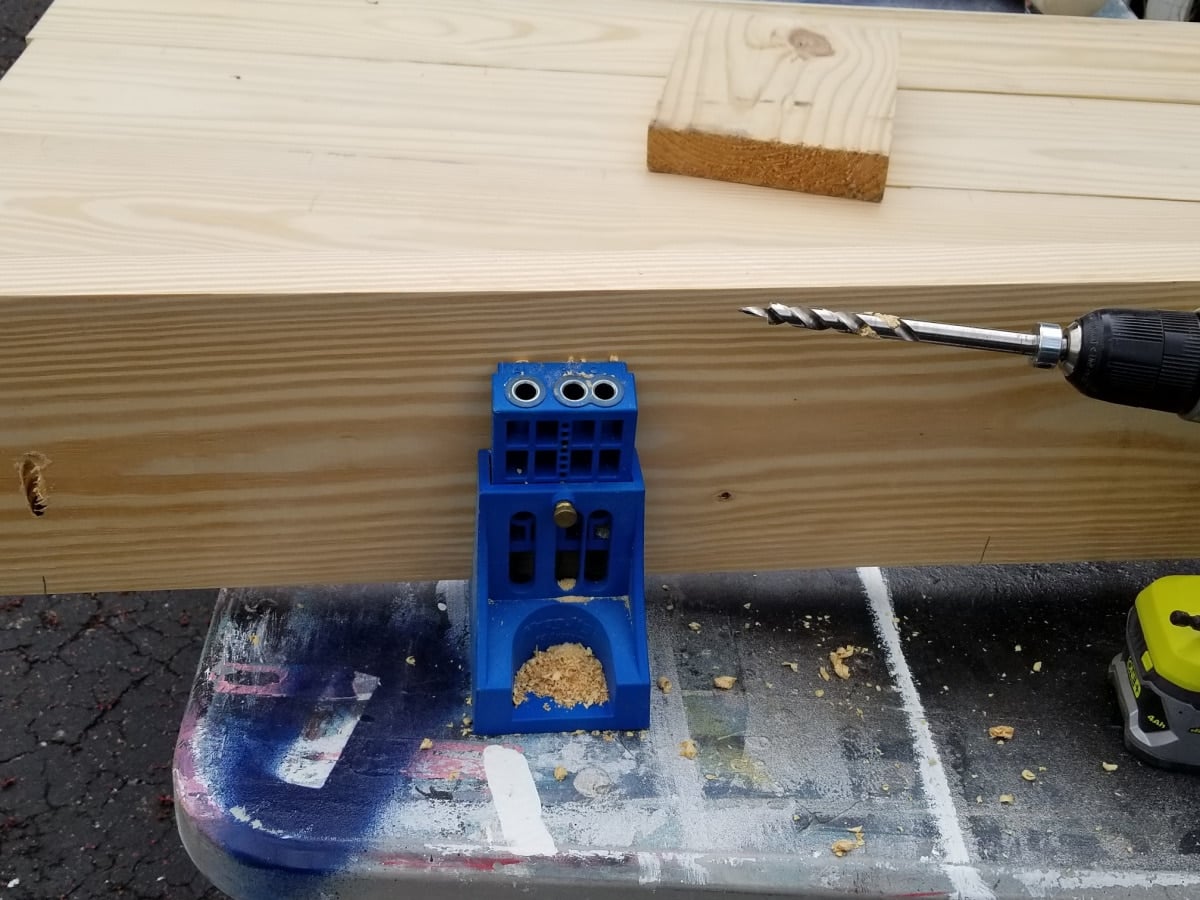
To connect the four boards together, similar to how I did on the original table top, I drilled pocket holes with my Kreg Jig. Not shown: I always mark my pocket hole lines before I drill them. I have messed up and drilled wrong when I don’t mark them first.
Assemble Island Table Top Using Pocket Hole Screws
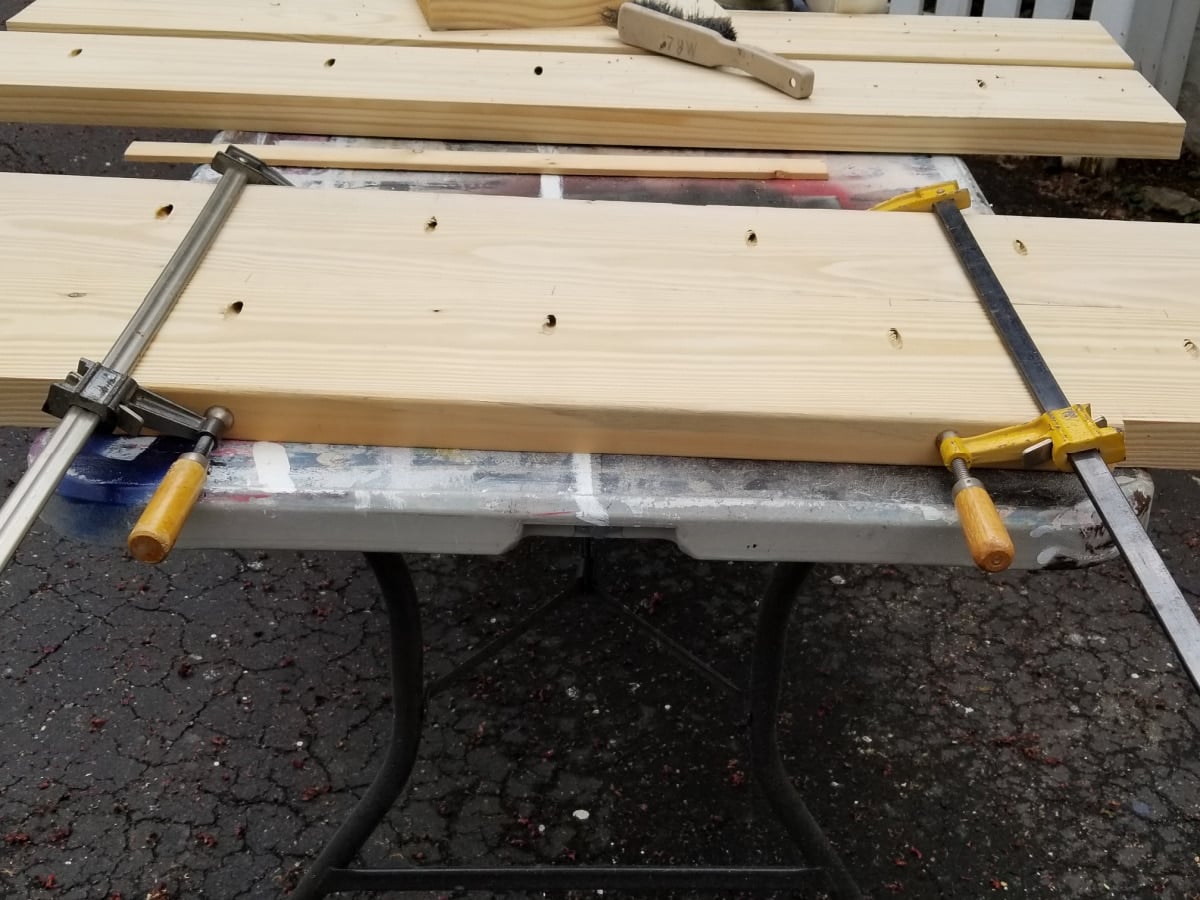
It’s best to use scrap pieces when clamping a table top so you don’t create divots in your wood when tightening the clamp. I secured the first board to the second board using pocket hole screws. I continued attaching each board until all four were secured.
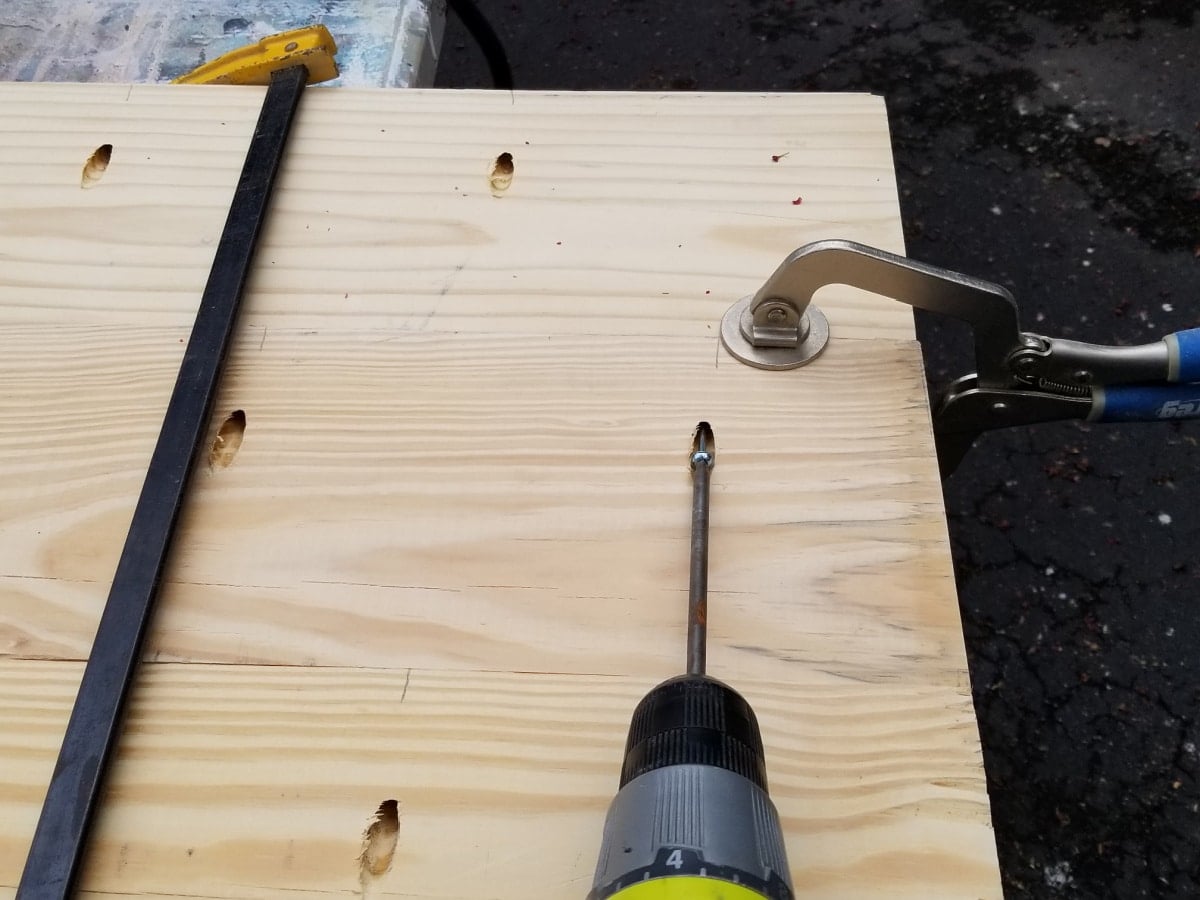
Using a face clamp to hold the boards flush helps while securing the boards.
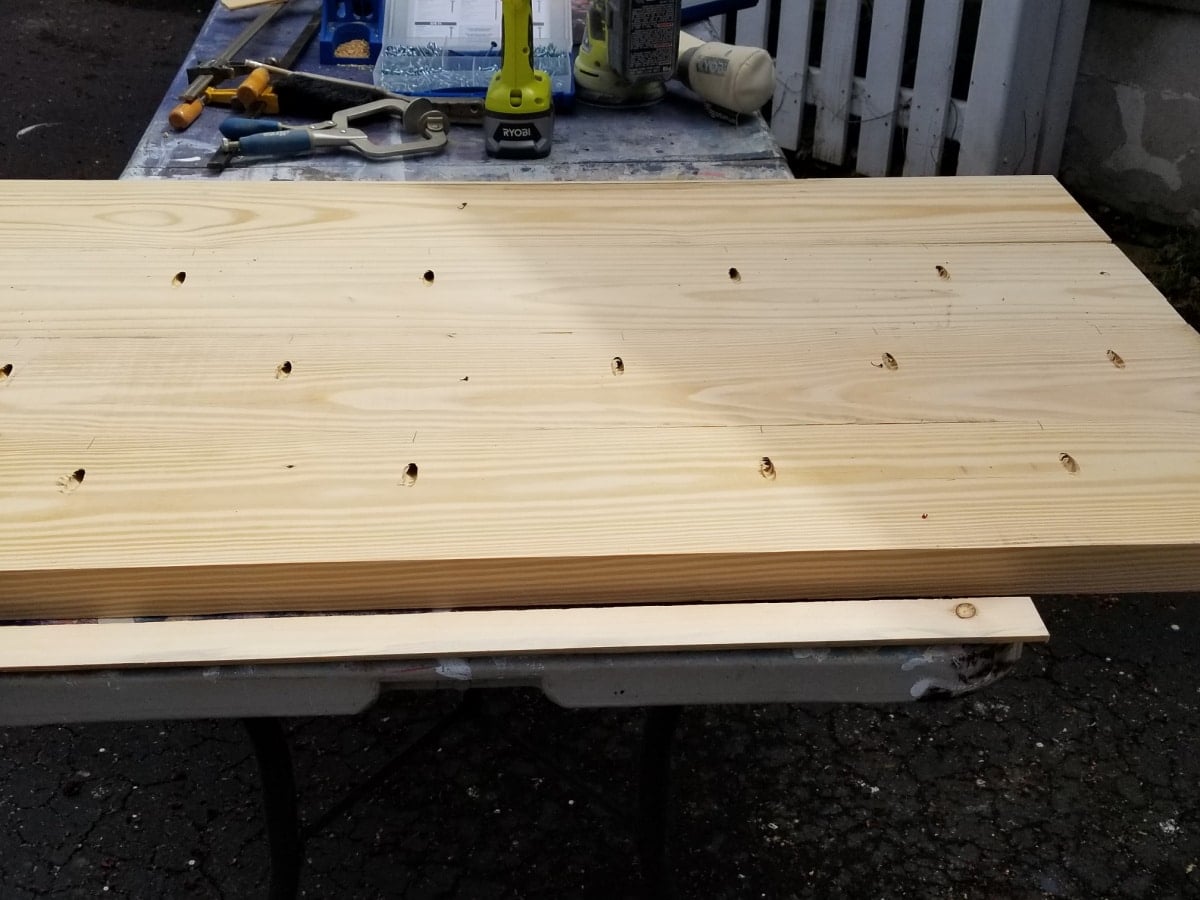
I love it! I made this top wider and longer than the original kitchen island table top. Isn’t it gorgeous?
Sand the Table Top
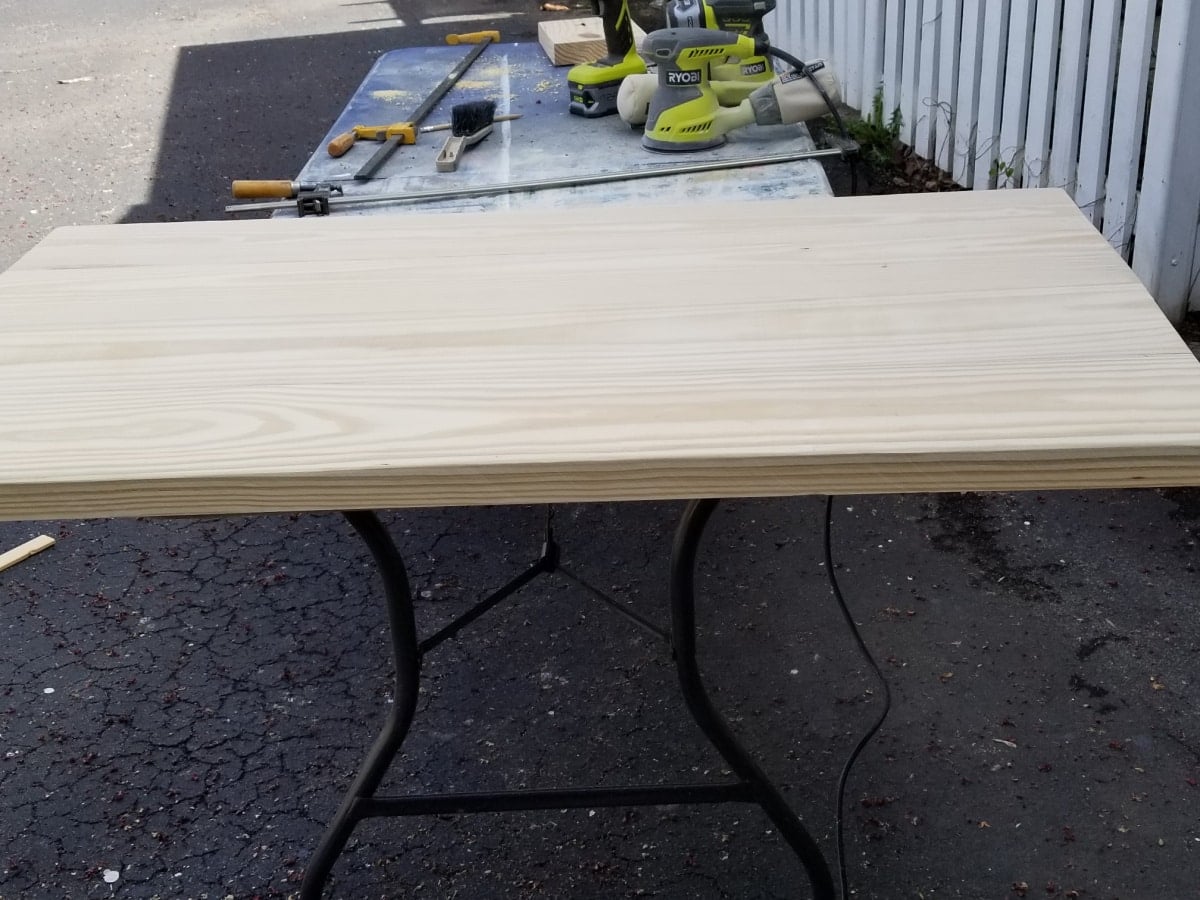
I sanded both sides of the table top with 150-grit and 220-grit sandpaper using my orbital sander. A dust brush is really handy for removing sawdust.
Stain the Table Top
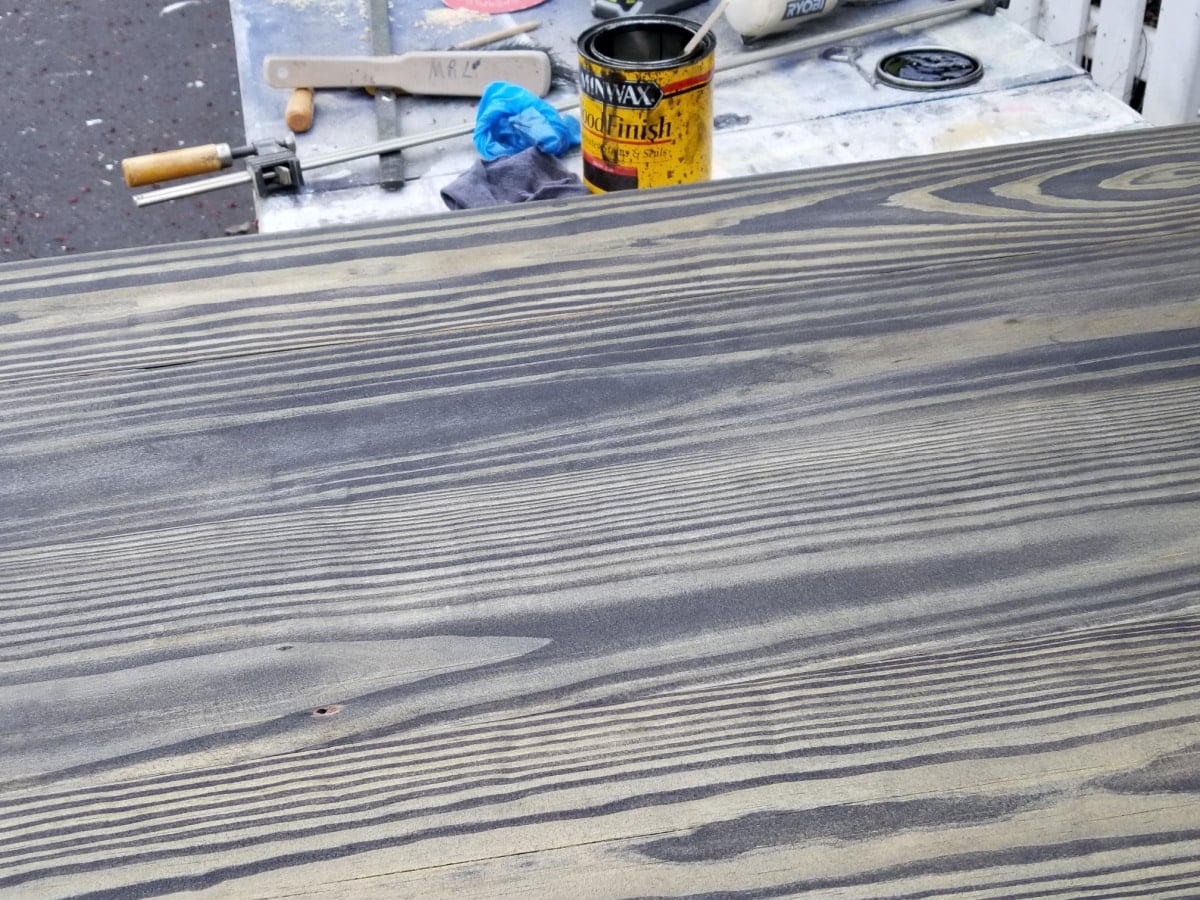
Wanting a darker finish on the new table top, I chose Minwax Ebony stain. I applied a light coat late in the day and let it dry overnight.
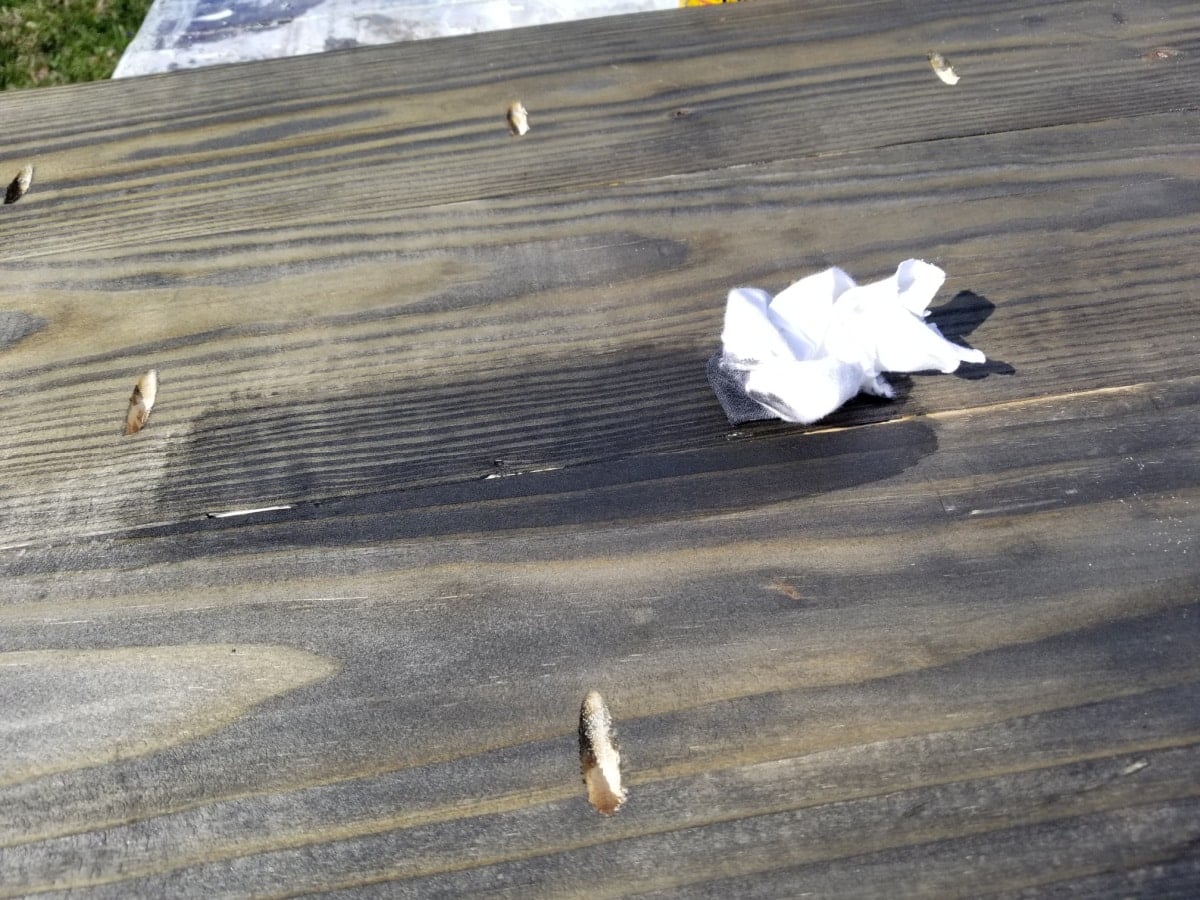
I tested a second coat of the Ebony stain on the back of the table top to see if it was to my liking. It was!
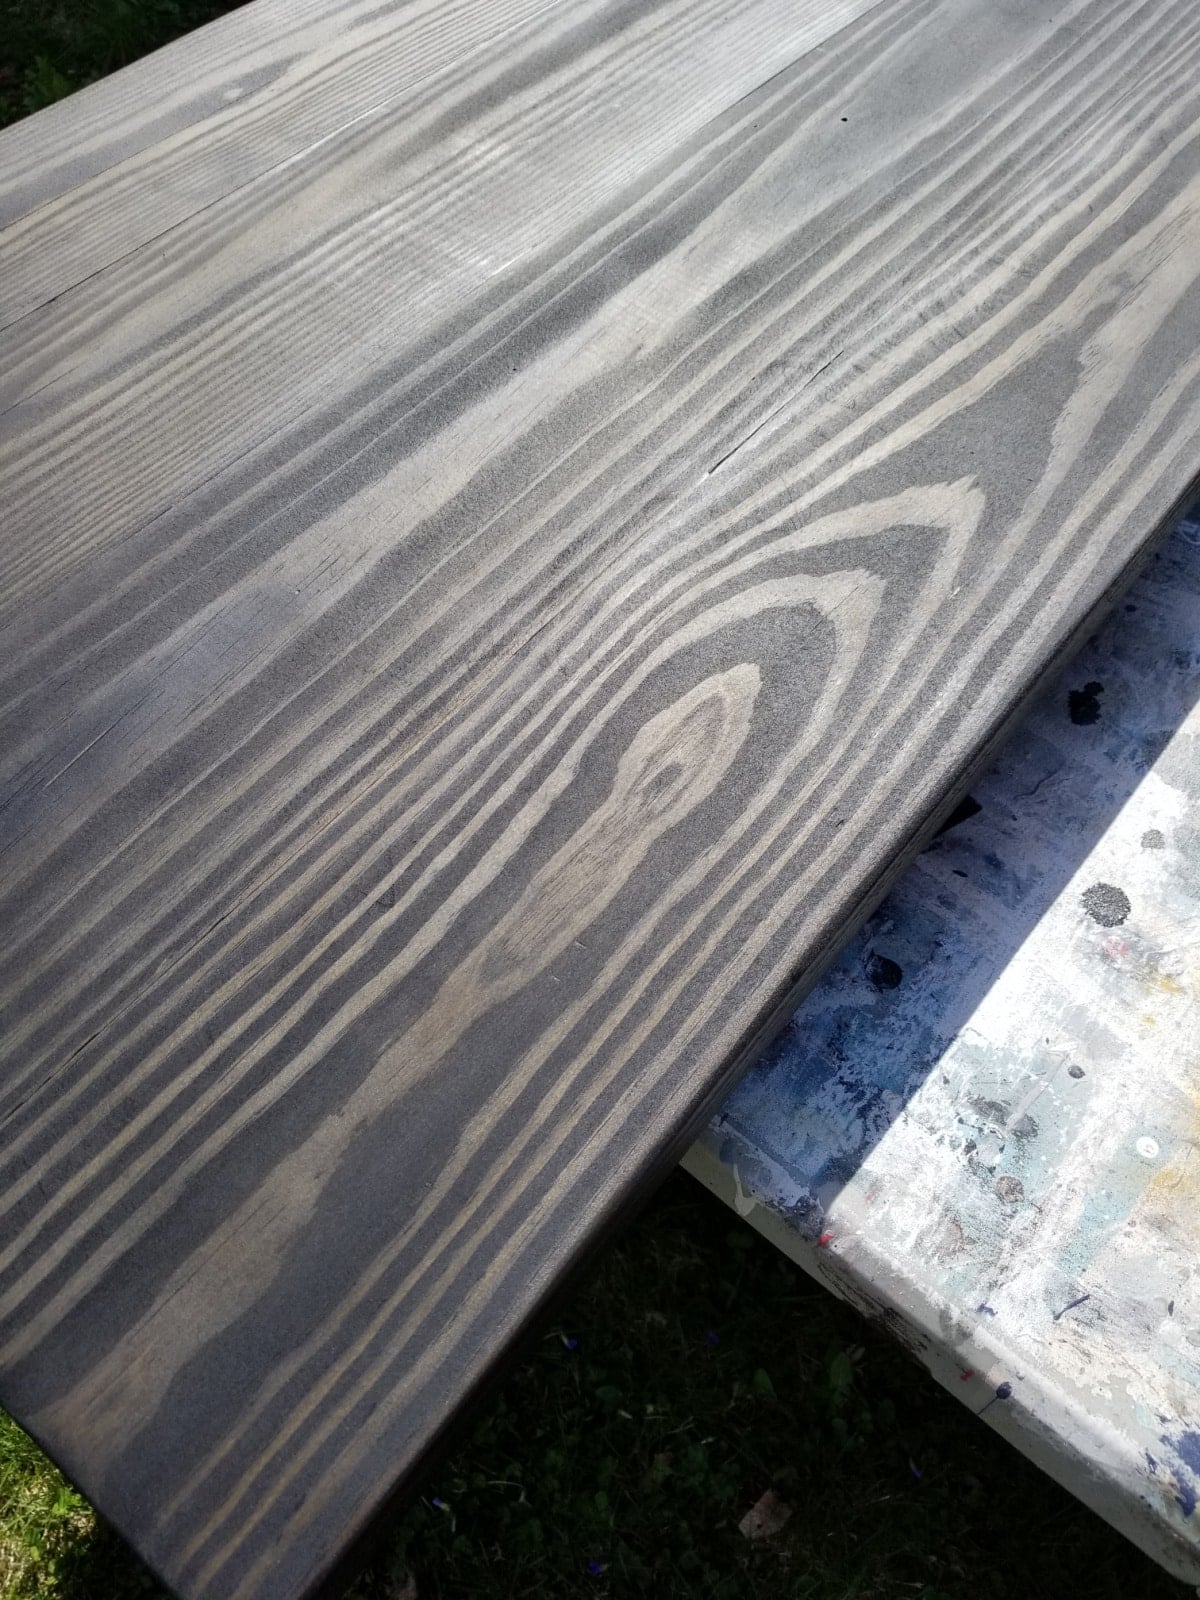
I love that the black stain lets the wood grain show through. Black paint wouldn’t have the same look.
Seal the Island Table Top with Wipe-on Poly
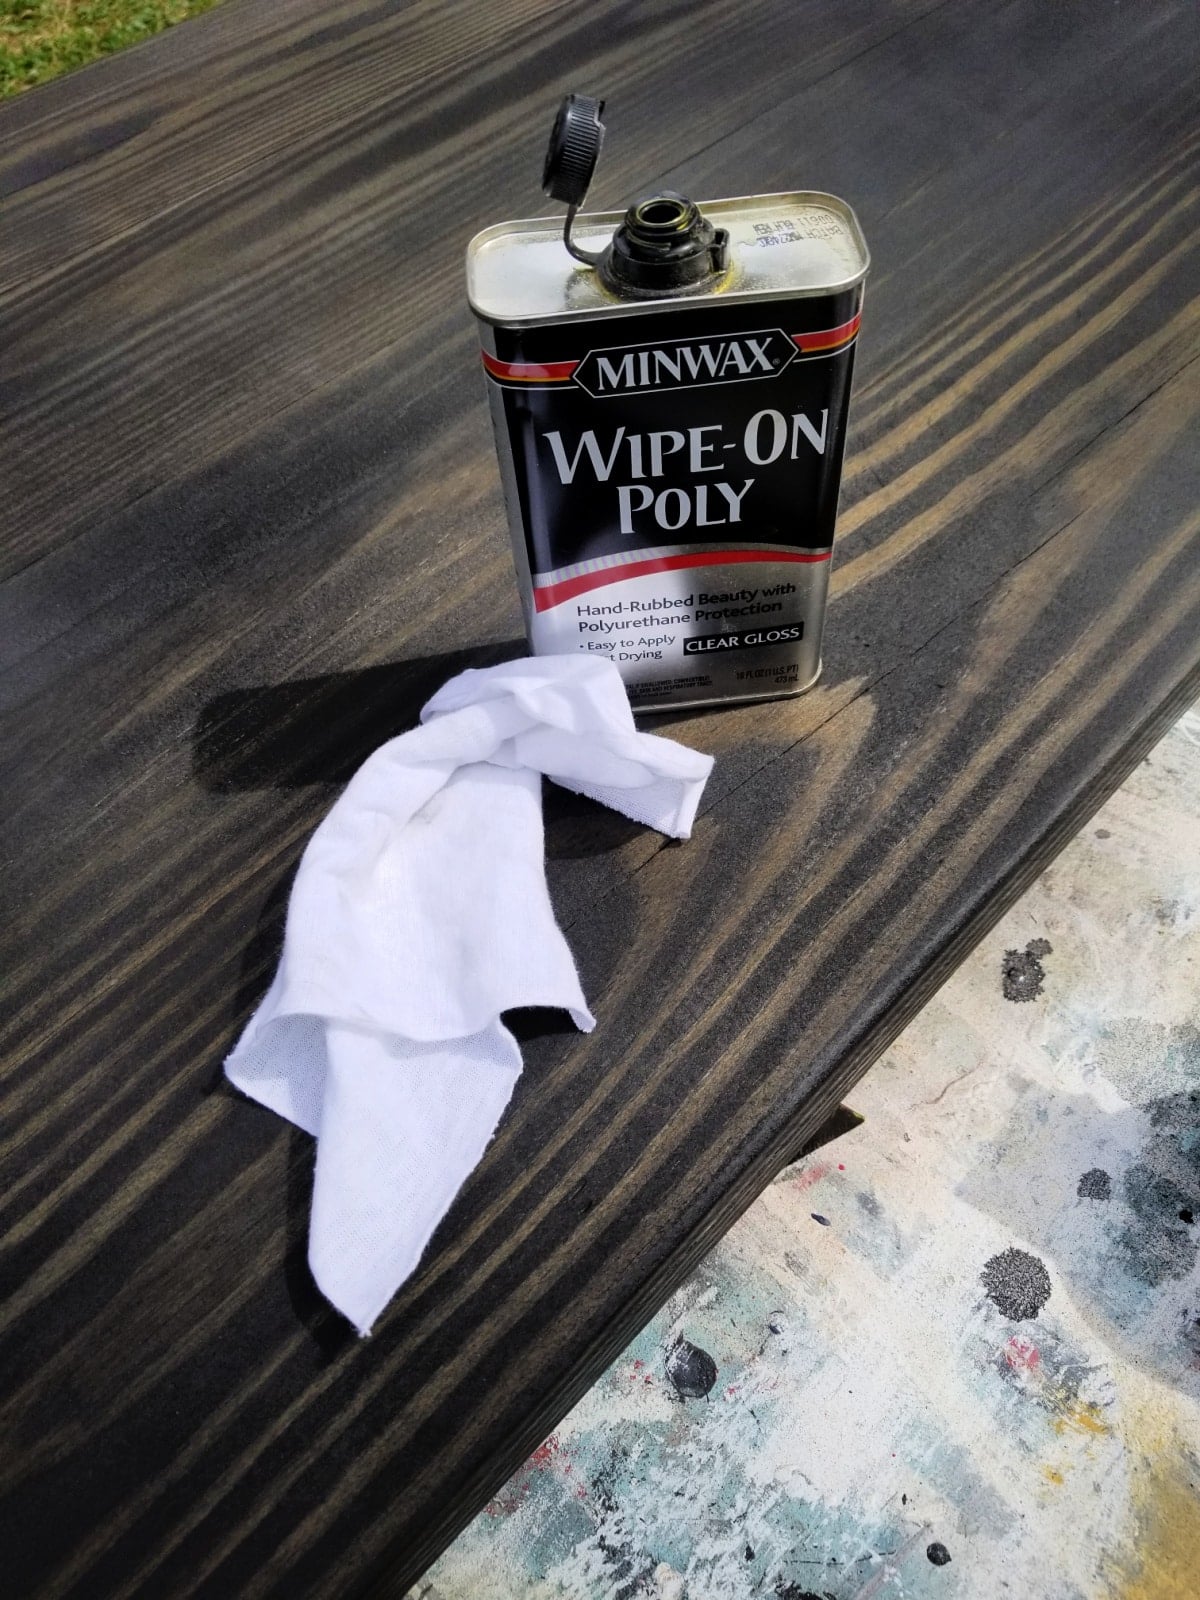
Using Minwax wipe-on-poly is not only easy, but it gives a fabulous look to the wood.
Repurposed Window as a Cabinet Door
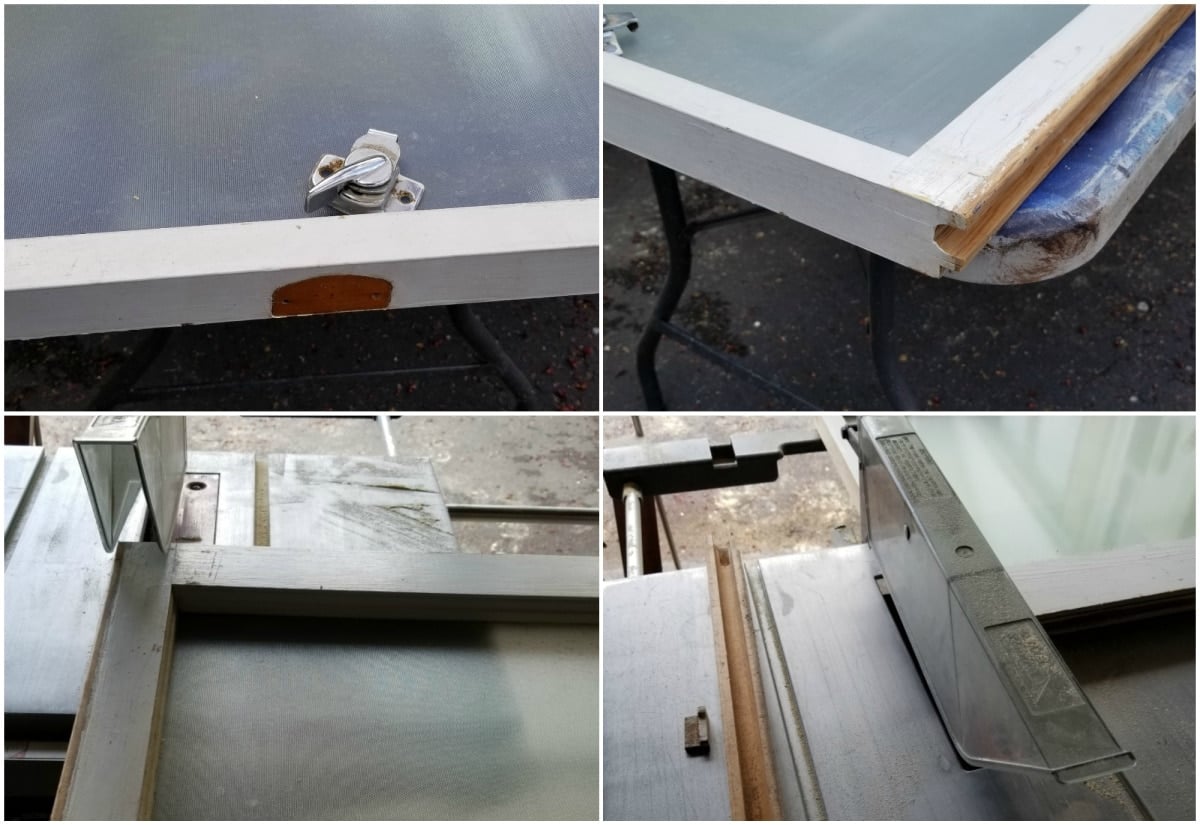
Now that the table top is finished, it’s time to move on to making a door to cover the knee hole now that the curtain is no longer in use. I searched all the windows I have in storage to find one that was nearly the perfect size. It just needed a few minor adjustments. I removed all the metal parts, including hardware. Then I ripped each side (where the ropes were) off using the table saw. I also had to take a little off the bottom to make the window fit the opening.
Paint and Glaze the Window (Door)
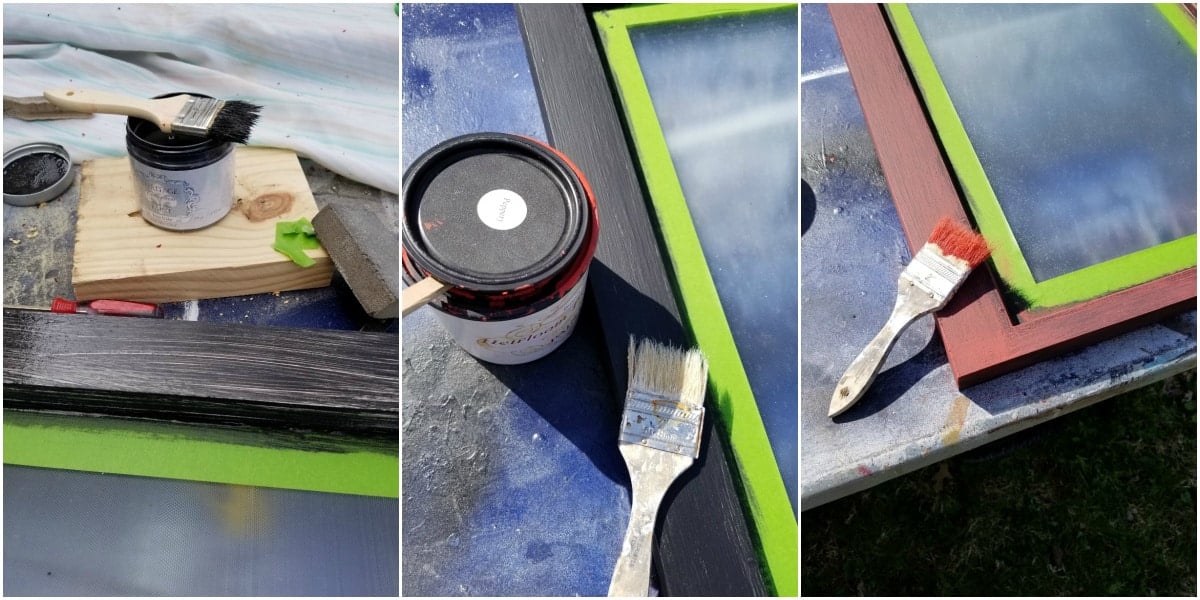
The white window needed a quick coat of black paint, then a red wash, and finally glazing.
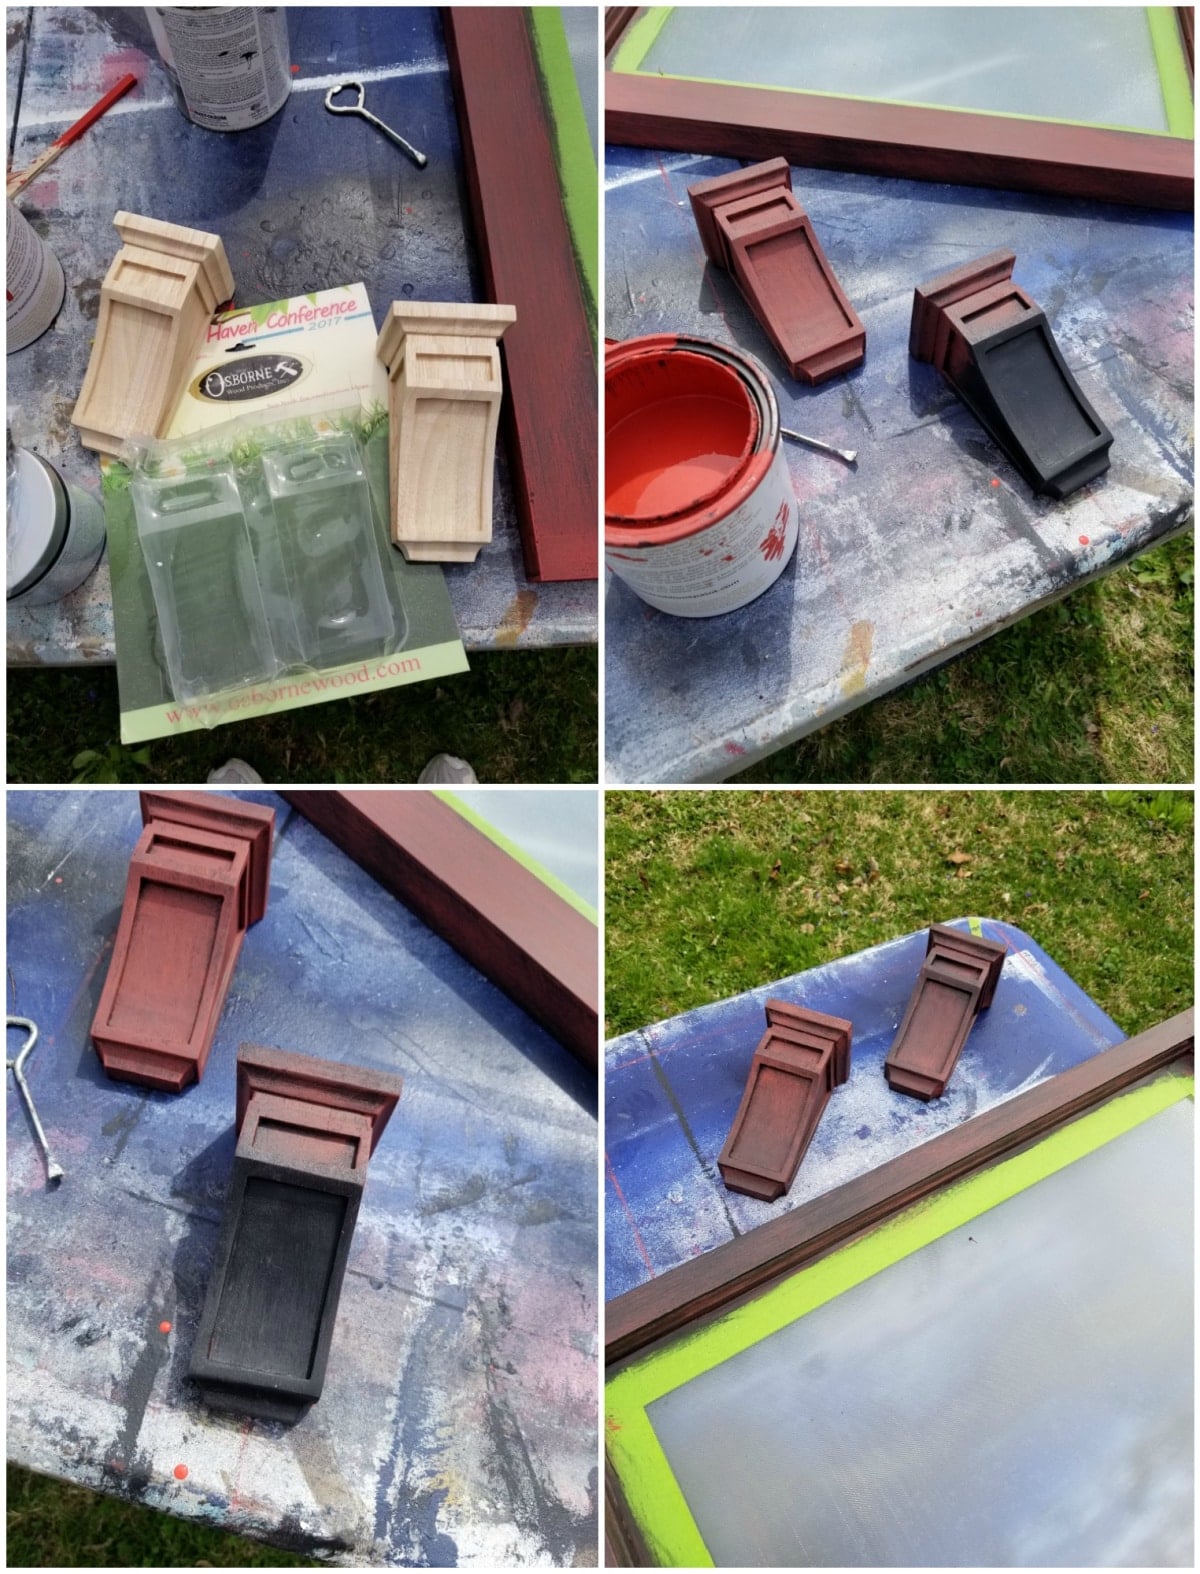
These corbels needed the same three steps to match the window and the kitchen island base.
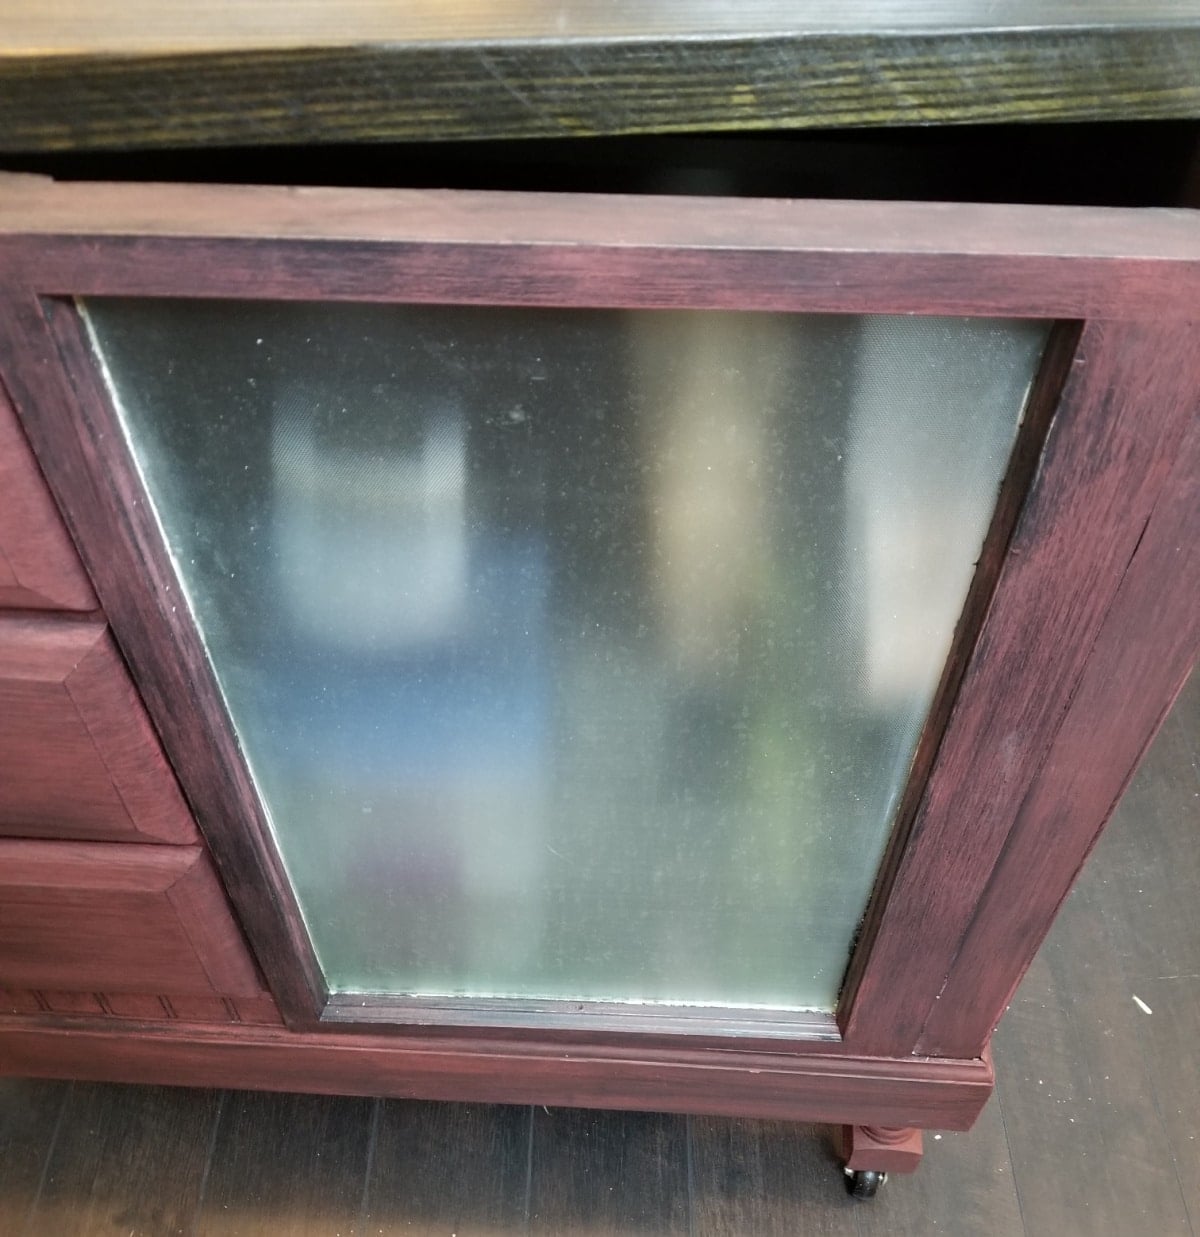
While installing the hinges on the window/door, I had to take it back to the table saw a couple of times to tweak it a little to make it fit. When I got it just right, I attached the hinges and replaced the screws that hold it to the tabletop. I LOVE the new “door” on my kitchen island. This repurposed window is so much better than that old curtain!
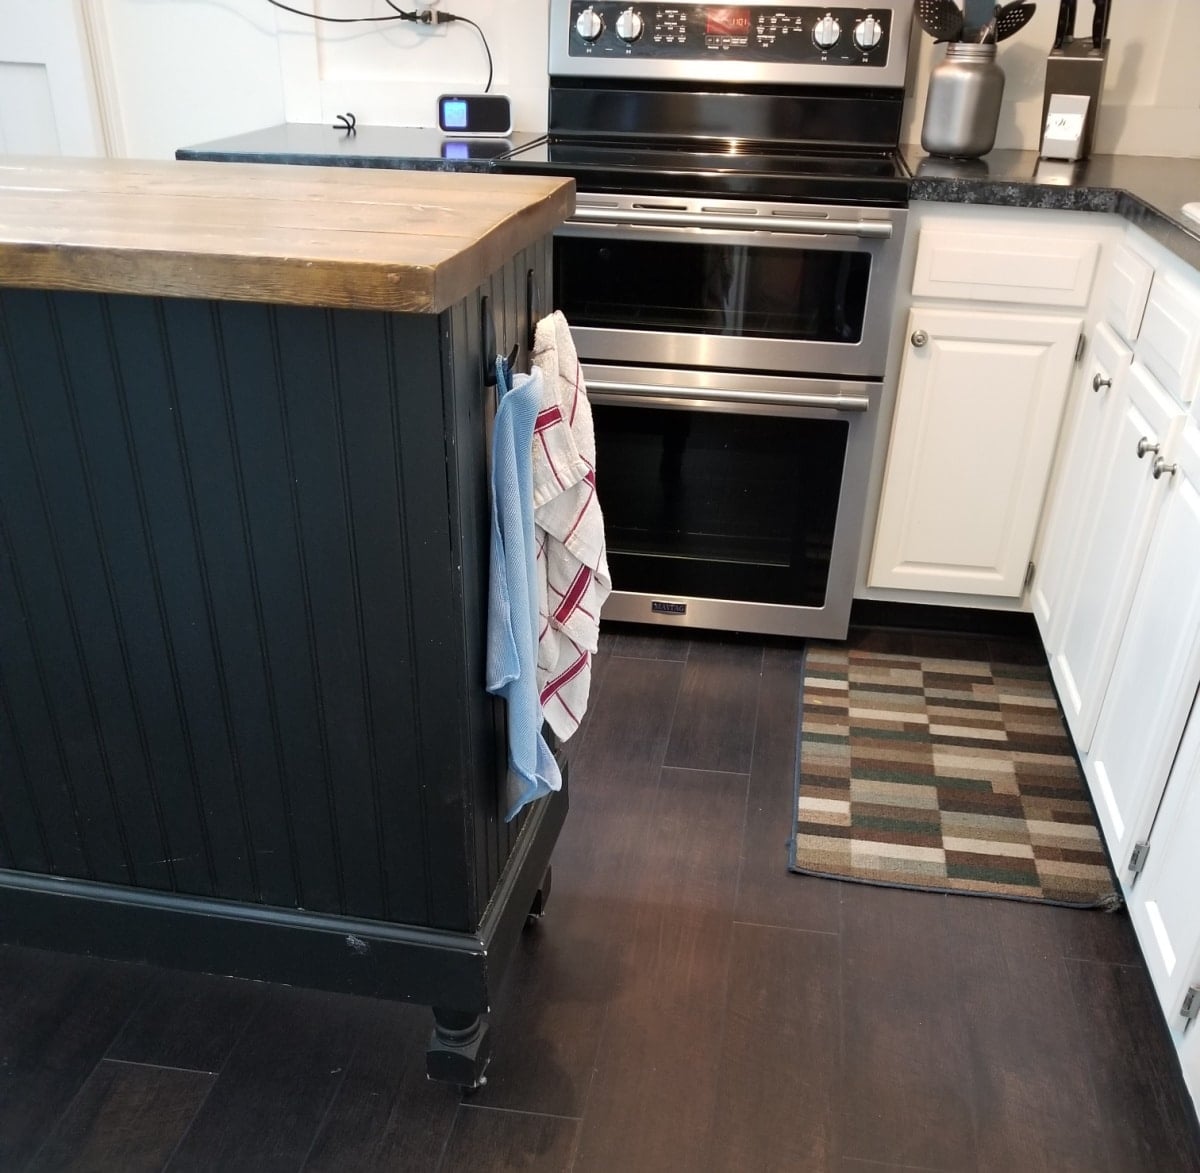
Here’s a quick look at how the island looked before I got started on this latest update.
Here is the old kitchen island table top. You can see that crack between the boards is a place waiting for crumbs. The little dings are from accidental drilling while I make Etsy signs.
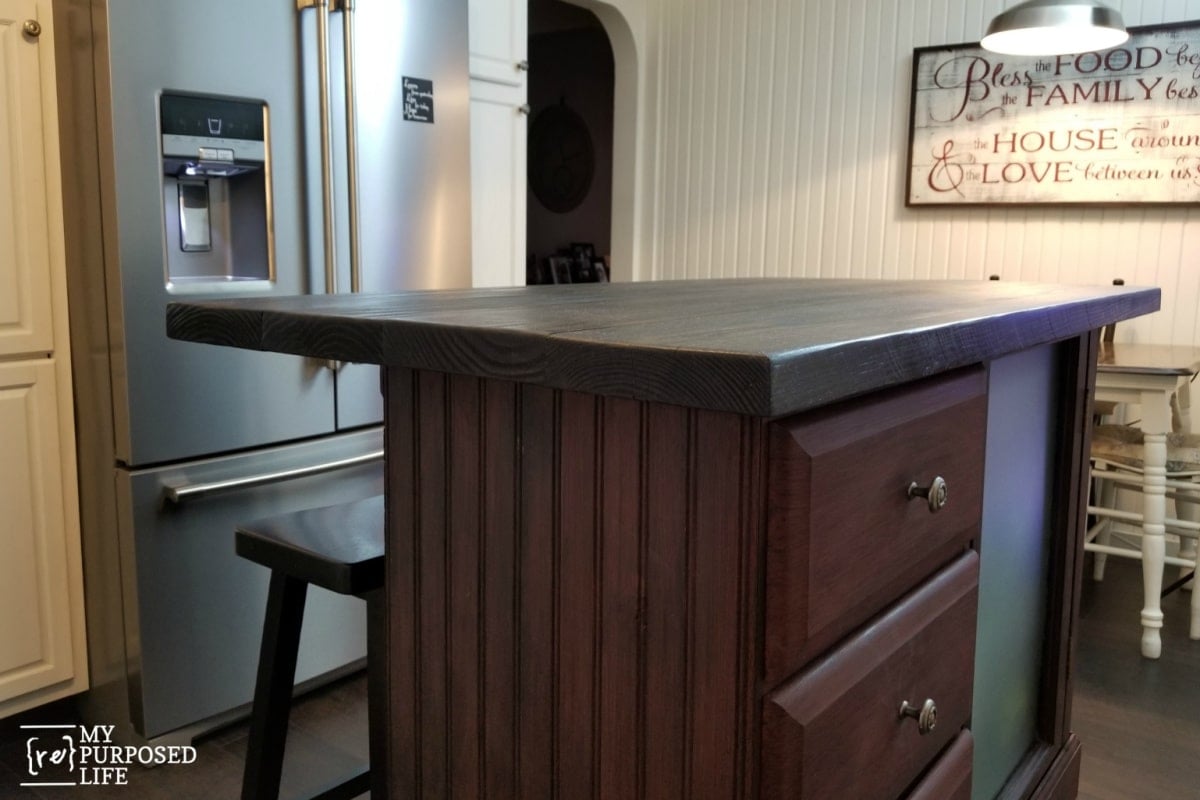
And here’s the beautiful after! I love the new top. The color of the island? Not so much! I really wanted the kitchen island to match the repurposed desk t.v. stand. The kitchen island looks more maroon.
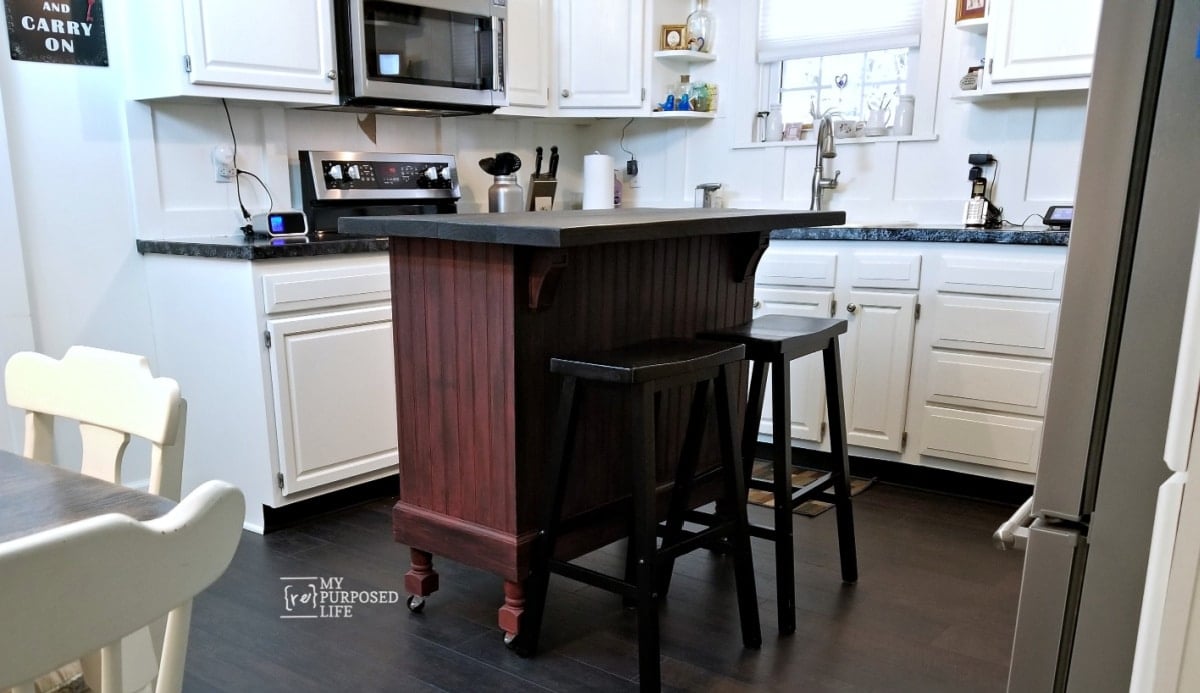
Remember, this kitchen island is more like a craft station for me. It was made extra tall so it’s comfortable to stand at while doing crafts or wrapping presents! I’m really enjoying the new size of the island table top.
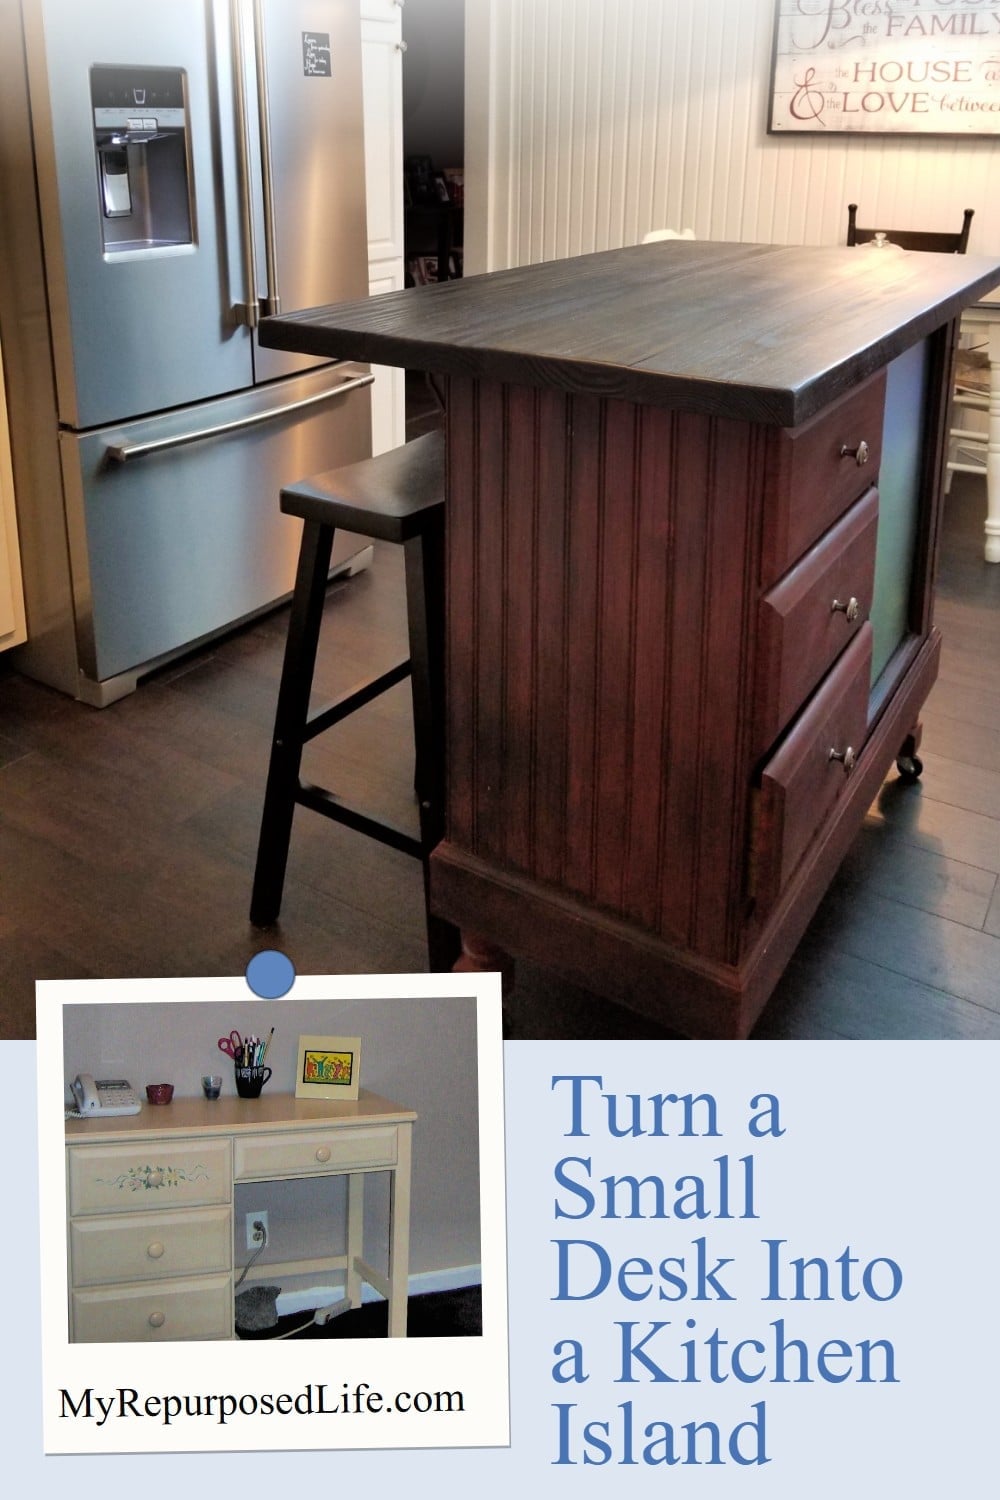
I can’t say there won’t be any more changes to the DIY Kitchen Island, but it looks like it’s going to be around for many more years.
Still to do in the kitchen:
- Build a new table and bench
- Replace countertops (I painted the countertops again)
- Install a new sink (done)
- New backsplash (I did a peel-and-stick backsplash)
- Patch and paint over microwave
If you are looking for other repurposed desk ideas, see these projects:
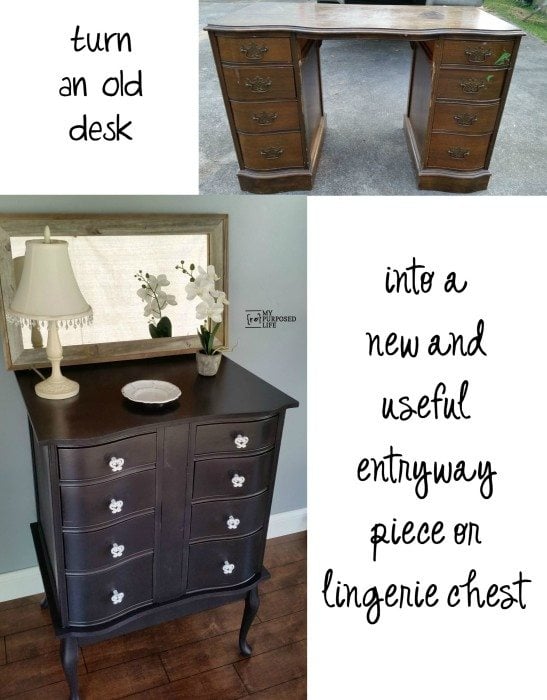
Turn an old desk into a dressing table or small chest.
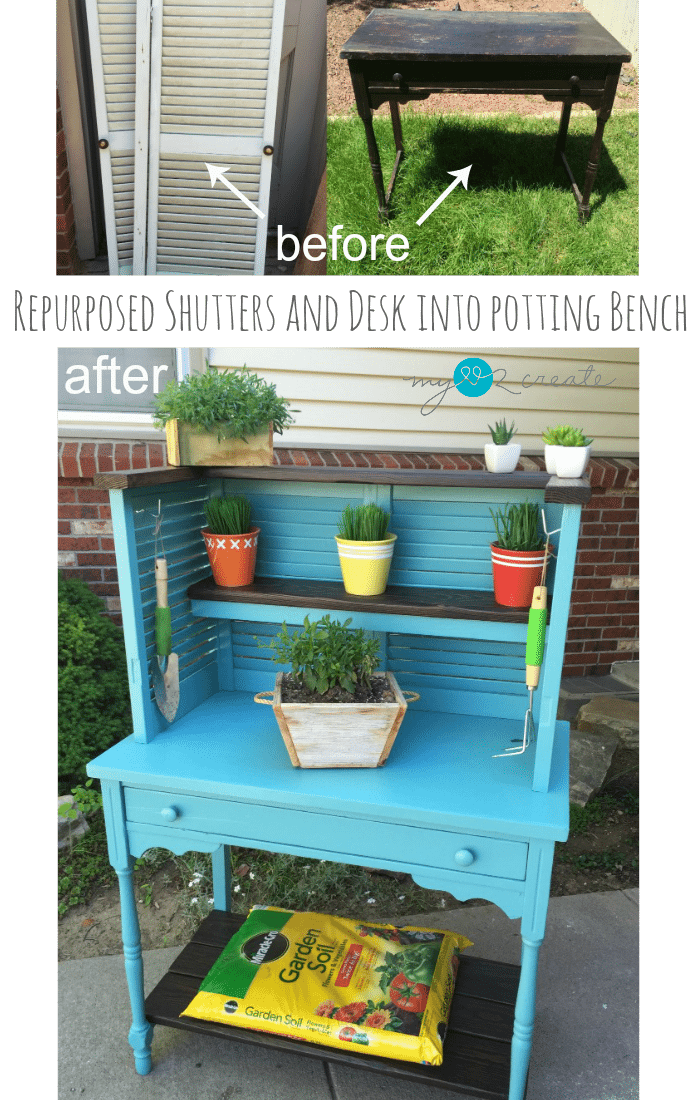
Use an old desk as a potting bench

Turn an old desk into a tall lingerie chest
Related Content: See More Desk Projects Here
thanks!
check out how I started the island here: https://www.myrepurposedlife.com/2010/11/diy-kitchen-island.html
thanks!
check out how I started the island here: https://www.myrepurposedlife.com/2010/11/diy-kitchen-island.html
thanks!
check out how I started the island here: https://www.myrepurposedlife.com/2010/11/diy-kitchen-island.html
thanks!
check out how I started the island here: https://www.myrepurposedlife.com/2010/11/diy-kitchen-island.html
thanks!
check out how I started the island here: https://www.myrepurposedlife.com/2010/11/diy-kitchen-island.html
thanks!
check out how I started the island here: https://www.myrepurposedlife.com/2010/11/diy-kitchen-island.html
thanks!
check out how I started the island here: https://www.myrepurposedlife.com/2010/11/diy-kitchen-island.html
thanks!
check out how I started the island here: https://www.myrepurposedlife.com/2010/11/diy-kitchen-island.html
thanks!
check out how I started the island here: https://www.myrepurposedlife.com/2010/11/diy-kitchen-island.html