Painted Kitchen Countertops | Again
As an Amazon Associate, I earn from qualifying purchases.
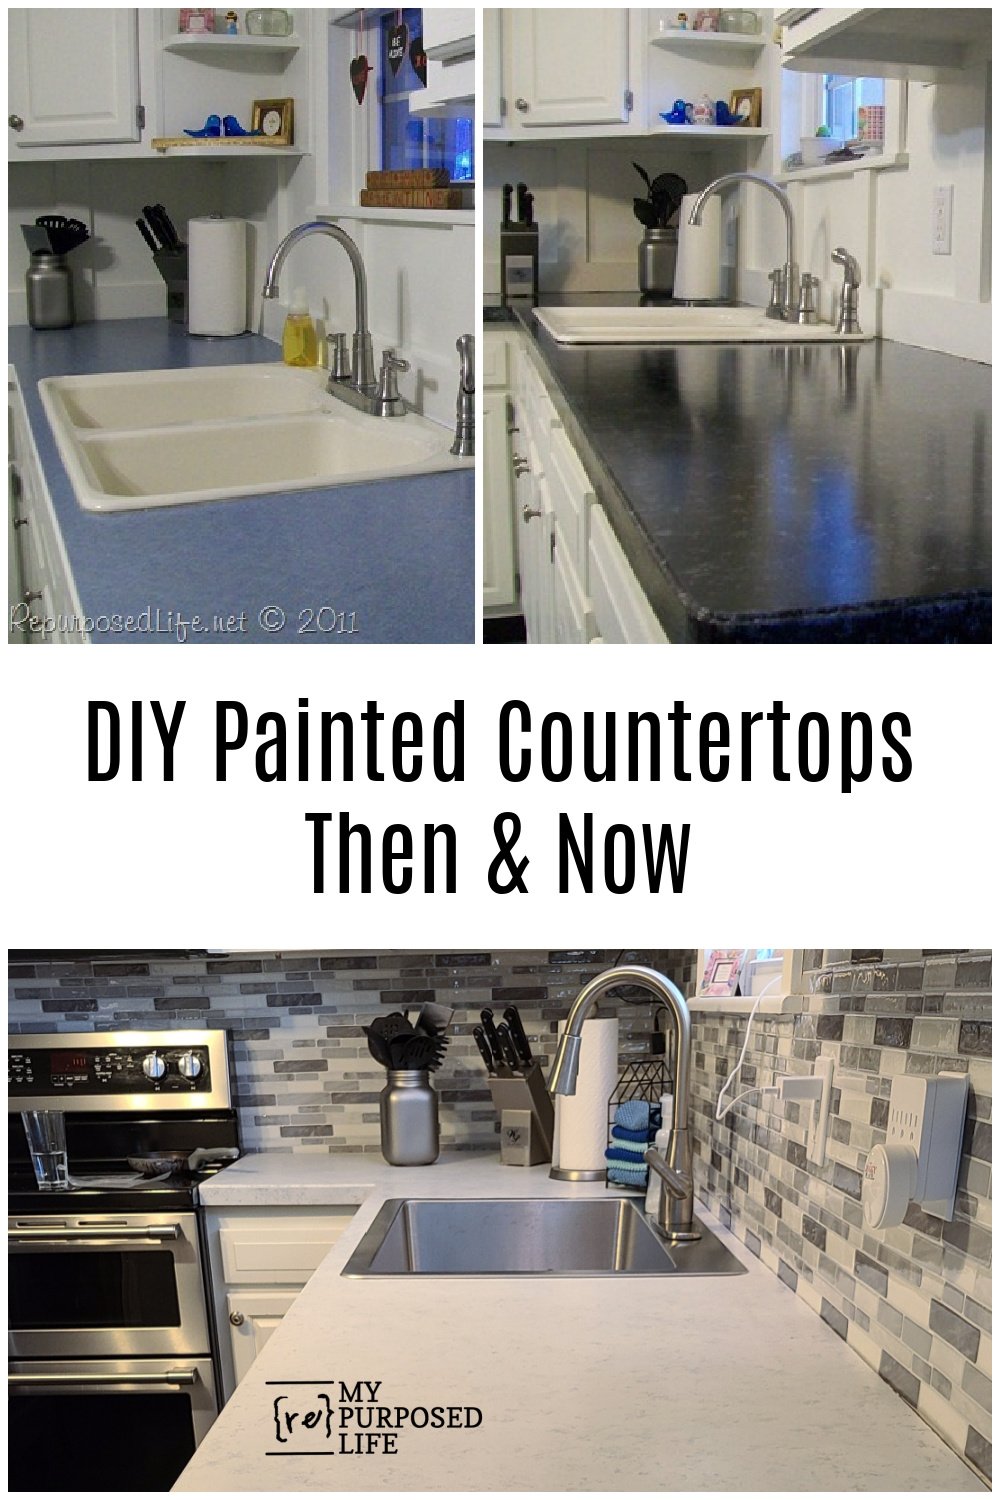
Yes, you heard that right, I painted my kitchen countertops again! I first painted the countertops black in 2011. After many years, they were showing wear and tear, and I was ready for a fresh new look. I dreaded starting it, but oh my gosh, I’m so glad I painted my kitchen countertops!!!
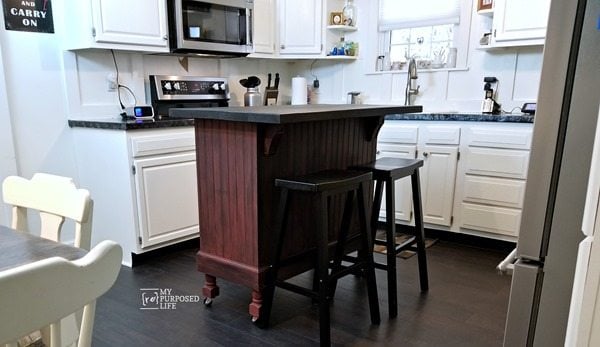
So, this is how my kitchen looked for the last few years. However, a year or so ago, I decided to change out my countertops and backsplash. I worked on some Ikea butcher block counters, but never really liked how they were going. Right as the lockdown started last year, I ripped out my backsplash to FORCE myself to update the kitchen.
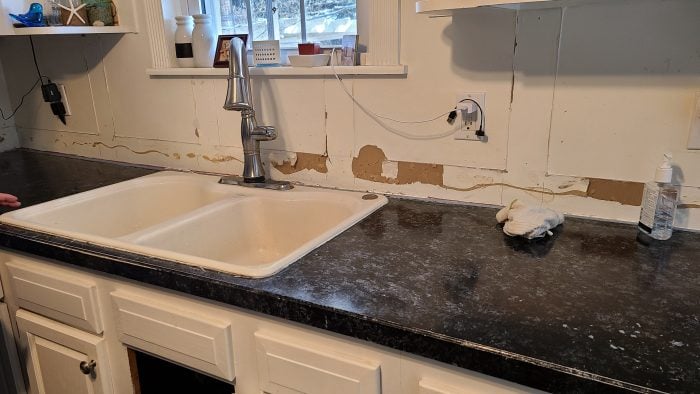
Fast forward a year later, and this is how my kitchen has looked for a year. So, finally I decided that I was so tired of NOT looking at this mess. Do you get that? Are you like me, and ignore the elephant in the room when you don’t want to see it?
While I was working on the countertops in my storage area, I bought a sink. So, I thought for now, I’ll just paint the countertops again. Heck they lasted nearly 10 years the first time, why not?
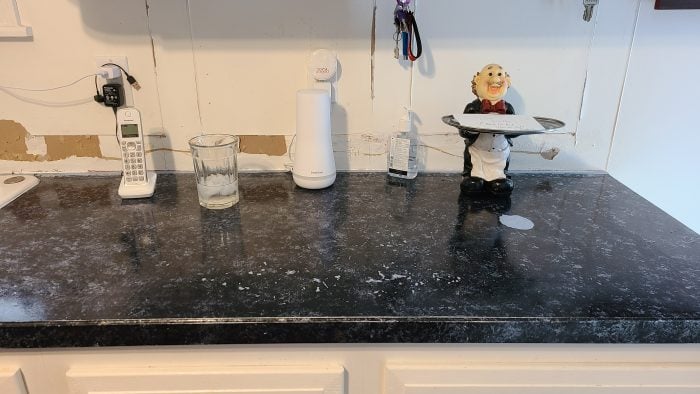
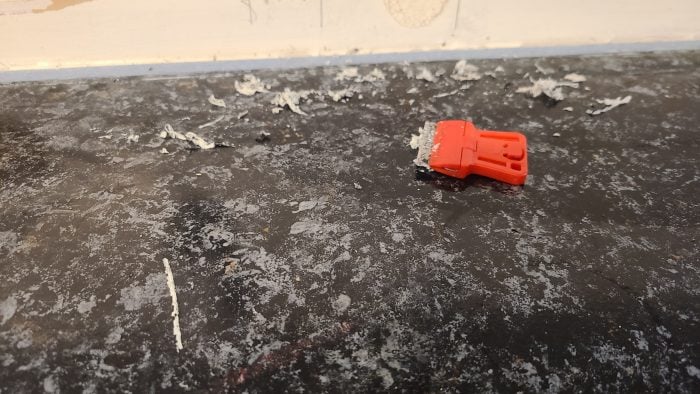
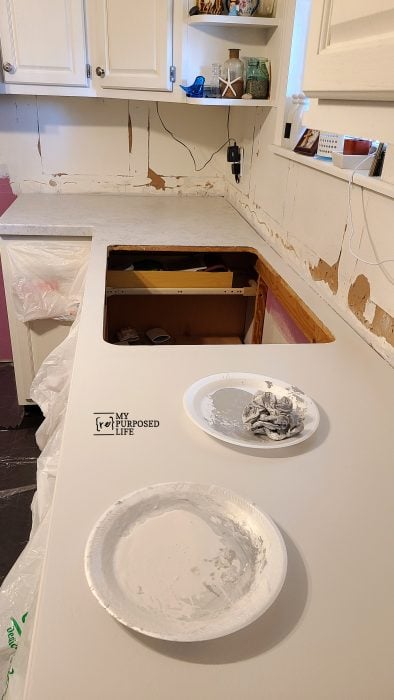
I’m not sure exactly when the counters started chipping so bad, but sometime in the last year. Do you see that blue spot by the little waiter guy? I left a styrofoam container of cleaner there–the cleaner ate through the styrofoam, AND all the way through all the layers of the Giani countertop paint.
Let’s See How to Paint Kitchen Countertops
Remove Old Caulk
There was a lot of caulk left from the old board and batten backsplash. That had to be dealt with first! I used a razor blade scraper to remove everything.
Remove Old Sink
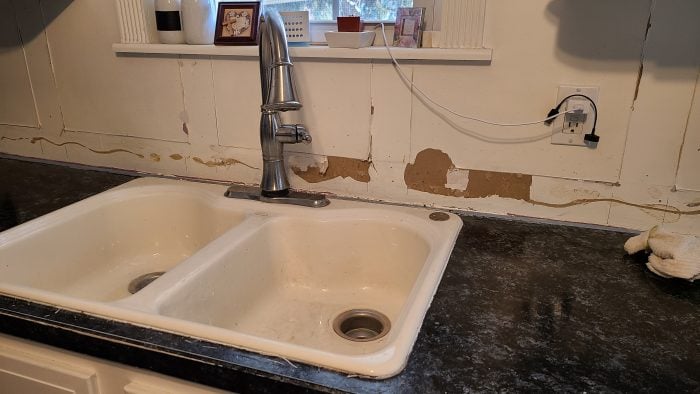
Because I was installing a new sink (after about 30 years) I decided to have the sink removed in order to paint. If you’re not removing your sink, simply tape around it using painter’s tape.

There was a LOT of caulk on the sink. It was really difficult to break loose. My neighbor Rodney and I worked on this for about an hour with a box cutter knife, this scraper, and finally a couple of medium sized putty knives. After we got the sink out, I got busy removing all of the remaining caulk (silicone).
Prep For Painted Kitchen Countertops
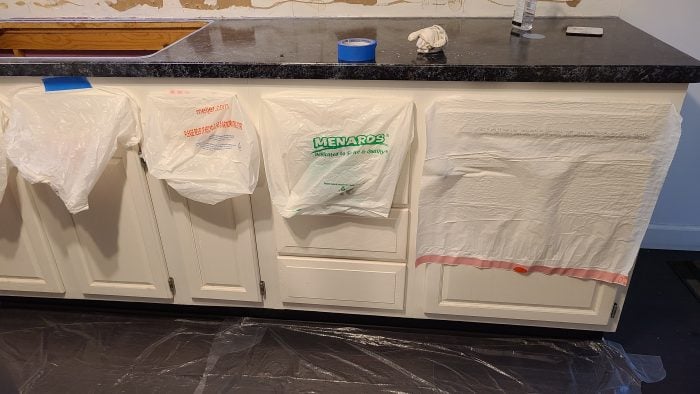
You can see that I took some precautions to prevent any accidental paint incidents from happening. This included using plastic grocery bags, tall kitchen garbage bags, as well as HUGE clear garbage bags cut to size on the floor.
Degloss before Painting Kitchen Countertops
I lightly sanded the countertops, then I used HTP Deglosser, to insure that the countertops were clean and ready to take paint. It was brushed on, allowed to penetrate for a few seconds, then scrubbed with the Scotch-Brite Sponge Scrubber.
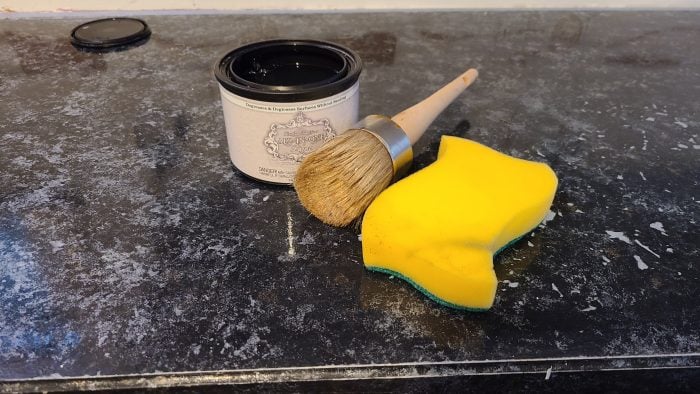
Painted Kitchen Countertops
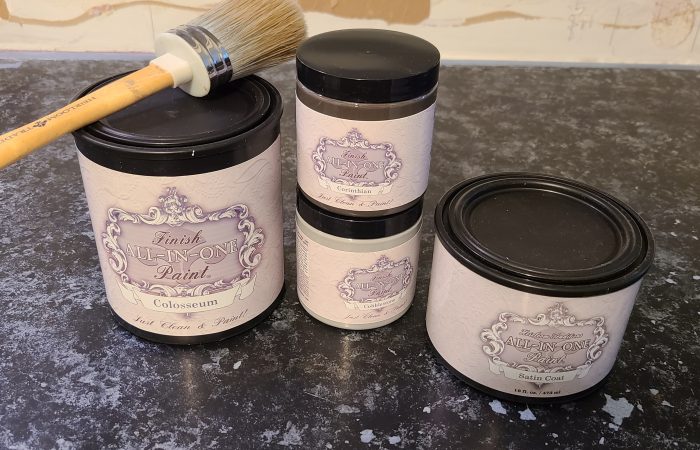
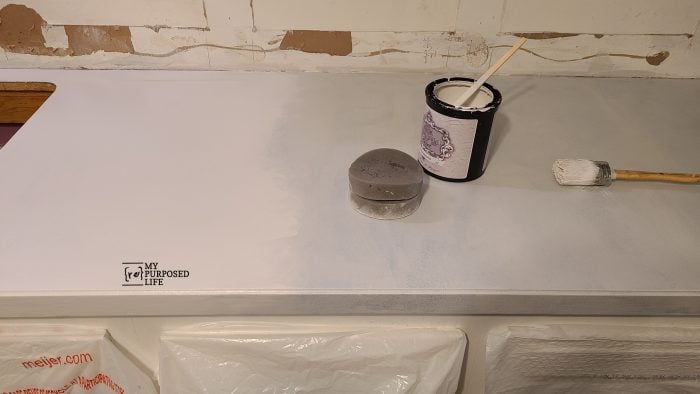
These are the paints and sealer I planned to use. Colosseum is a very light gray, Cobblestone is a medium gray and Corinthian is a deep brownish gray. I purchased my paint from Heirloom Traditions, a Louisville based company. You can also buy All In One Paint by Heirloom Traditions on Amazon.
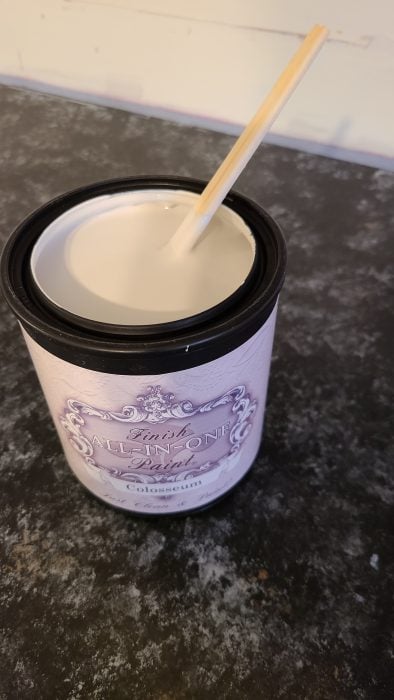
After all the prep work, it was time to paint. I stirred the paint really well with chopsticks. They are perfect for this size container.
I’ve been watching Paula Blankenship (HTP) paint for years and years. So, I figured I would just channel her and give it a go. This is a very durable paint, but not nearly as flat (primer) as the paint I used 10 years ago.
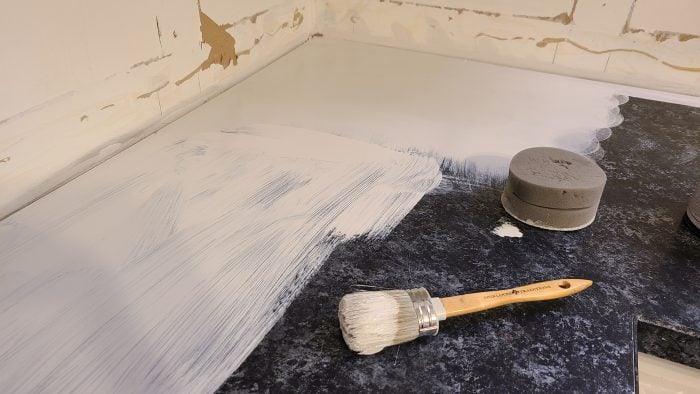
You can see I brushed it on, then used the sponge applicator to stipple it and smooth it out. This after painting the first coat, THEN stippling THAT first coat. You can see how much the sponge improves the texture of the paint. I really advise you to work in small sections as I did here.
Base Coat Completed
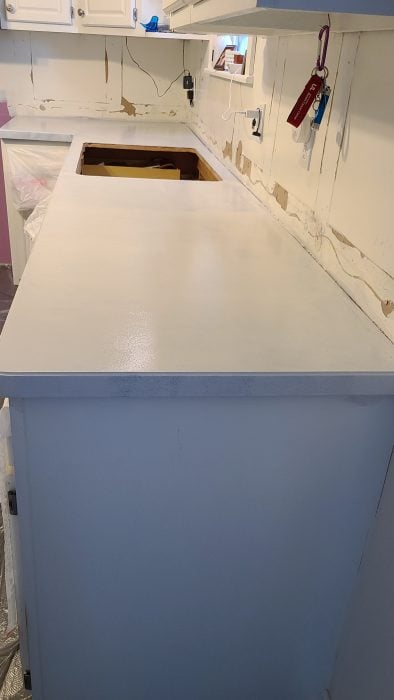
This is after the first (light) coat of paint. I allowed the paint to dry for about 6 hours before applying the second coat the same way with the brush and sponge.
In Between Coats of Paint
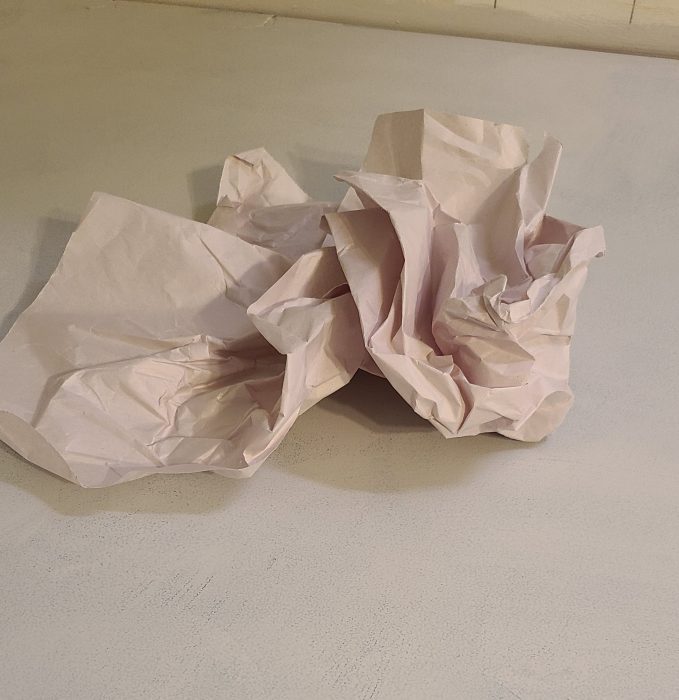
This is not a recommendation of HTP All in One Paint. However, I use this method all the time on my furniture projects, so I did it on the painted kitchen countertops. I usually use brown packing paper, but the last package I got had this white paper, so I grabbed it. It’s used in place of a fine grit sandpaper. As I gently moved it around on the countertops, I could feel small particles that were dragging the paper. Probably some dust or debris in my paint brush or left behind after cleaning the countertops.
In my opinion, the key to any great paint project is several light coats. Paula usually says 2 1/2 coats. And that is about what I did. This is while I was applying the second coat.
A third coat was used only to make sure everything looked even.
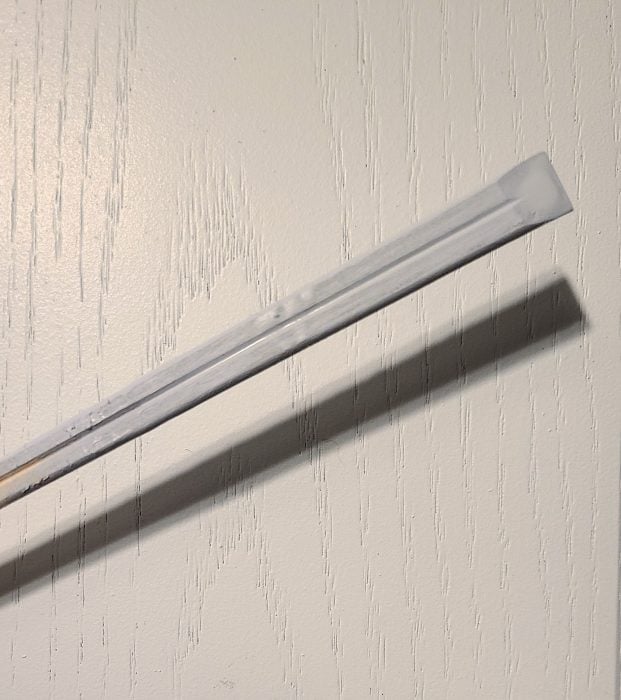
Although the painted kitchen countertops may look like a white, here is the chopstick up against my Sweetened White Cabinets.
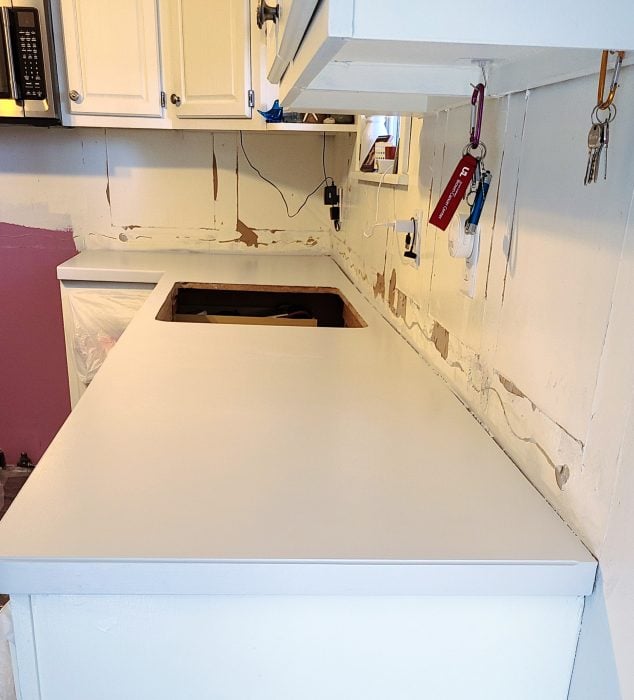
Yay! This is after the final base coat was applied. Even though I LOVED how the painted kitchen countertops looked, in real life some of those original blemishes were still noticeable. I’m not sure what more I could have done to make them completely invisible. But it’s okay, I had always intended to add the two accent colors to give definition.
Add Accent Color to Painted Kitchen Countertops
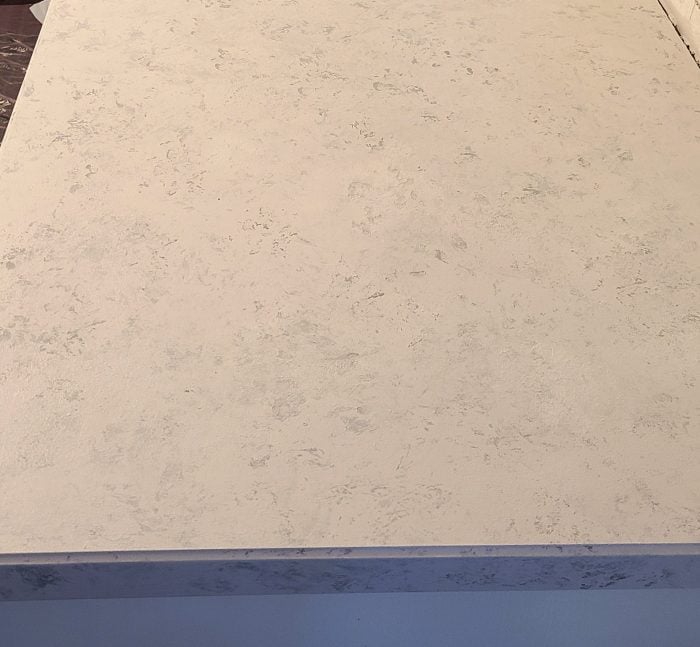
After watching Paula’s video several times, I felt I was ready. With the first makeover of the countertops, I used sponges and such. I opted for the grocery bag technique that Paula used. Although I cut the grocery bag into a small piece. This is the smaller countertop where I started. I was a little nervous and didn’t take any pictures.
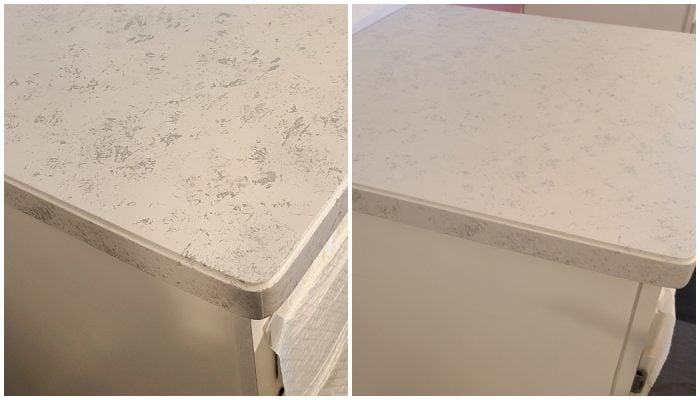
I will tell you that the Cobblestone color was a little too much to suit me, so I used the large sponge that was still coated with the base color to stipple the Colosseum color over the entire area to fade the Cobblestone color a little. You can see the difference in the image above. Because I loved how it was looking, I totally skipped the darker accent color Corinthian.
This is how I worked around the countertops in small areas. I used the same piece of plastic grocery bag for the entire project. I just kept dipping it back in forth from the base coat color to the accent color.
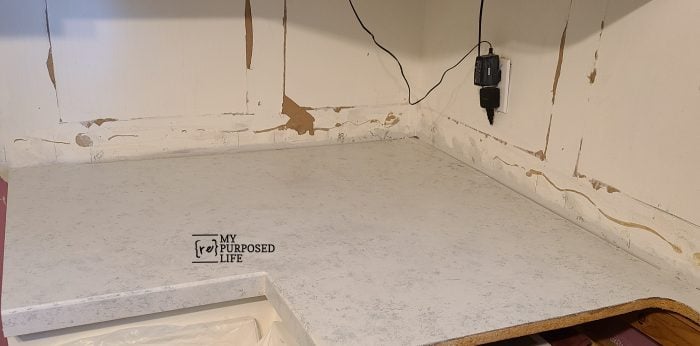
Take a look at that wall! What a mess! I can’t wait to show you what I did for my backsplash. Check back for that project.
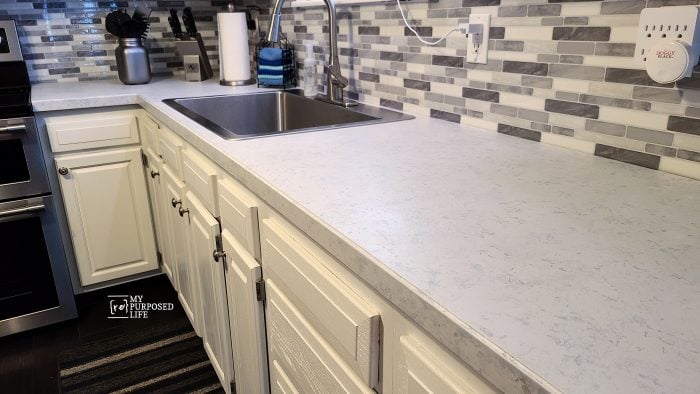
Just the Look I Wanted
This was really an easy project. You just sort of have to go at it, and not be too critical of any one area. If you’re not loving the look of your kitchen, why not do it yourself?
I haven’t sealed the paint yet, I plan to use the satin top coat in a few weeks. All paint takes about 30 days to fully cure, no matter what project you’re doing. Until then, I’m taking it easy on the painted kitchen countertops. I’ve been using my stove for almost all food prep etc. It’s been about 2 weeks, and I can tell the paint is curing really nicely.
Have you ever wanted to do Peel & Stick Backsplash?
NOTE: I still have the same painted accessories that I did back in 2011 !!
gail
Related Content: More Home Improvement Weekend Projects
Love the transformation! Such a great way to refresh kitchen countertops on a budget.
Thank you so much for this! I also painted my countertops with Giani about 13 years ago. They held up well–no regrets! This past year, they are really chipping and bubbling up in the high use areas. I have been wondering if I can paint over them again even though they are sealed with acrylic. You have showed that I can! My question is –should I sand down to the countertop in those areas that are peeling and textured/bubbling before priming again. You said you did light sanding but my areas are more worn than yours were. Any advice would be appreciated!
Gayle,
I would sand so there is no ridge “to the touch”. Does that make sense? Use your fingers, not your eyes. You may consider painting those areas first, feathering the paint away from the peeling areas, then doing your first coat over the entire counter top.
good luck,
gail
Hi! I’d to know: how did you maintain your painted countertops? I read this post-https://www.caesarstone.ca/blog/should-you-be-painting-your-bathroom-countertops/, as I am interested in renovating my children’s bathroom. It mentioned that moisture and heat are the things that mostly harm painted countertops. How did you protect the painted counters from such damaging conditions?
Shaun,
I didn’t seal my countertops. I bought the HTP sealer, but never applied it. Water is definitely a problem if you don’t seal. I don’t think I would paint the counter of a child’s bathroom without sealing. In addition, I would let is cure really well before turning them loose in there. 😉
gail
I want the use the herloom paint with the guanine sealer because it is you the gloss with glitter
Hi. I’m considering doing the HTP for my bath vanity. It looks like yours was done about a year ago. Can you please comment back how the durability is? Any chipping, staining etc? Thank you in advance… I can’t seem to find anyone who posts an updated review. 😊. You did a fantastic job.
Mary,
I never sealed my countertops. I am very cautious with them. Paula would definitely recommend that you seal the paint for a bathroom vanity. (sink) There is one tiny chip that happened after the holidays, so I’m not sure how it happened or who did it. No staining, but I would never let water stand on the countertop as is. I still LOVE the look and I’m so glad I painted them. Is it forever? NO, but I’m okay with that! I am currently painting my daughters wooden bathroom vanity with London. It’s looking soooo pretty. But her sink and countertop are granite or some other kind of stone.
gail
I love this always wonder if painting a counter top would last. I have yet again another fixer upper and my last, it’s my retirement place. Long story the other house was suppose to be my last but being 2 – 11 hrs away from all my kids since there scattered around the midwest. I moved one more time in the same small town my youngest son lives, love small towns. So here I go again with another fixer upper but an easier one with painting rooms and new flooring. I thought the kitchen was ok but now here a year it’s like nope needs some updating. Now that I’ve seen yours I will follow the same route counter tops and back splashes are costly and I DO NOT want to go back to work to pay for them. Retirement is so wonderful after working until I was 72 . I have a studio (my over size living room) and enjoying my art I’ve waited years to spend time on. Ok long in the tooth here always love love your projects and the idea’s to work on my place are so much fun.
Bonnie!
Congrats to you for being able to enjoy your golden years how you want to!!! I’m so happy for you. Small towns appeal to me too, I guess that’s why I love to go camping so much. 🙂
Wishing you many happy years in your “last” home.
gail
Beautiful once again. Love the new sink and backsplash.
Thanks so much Dee.
It will do for now, until I tire of it in another 10 or so years! hahahaha
gail
I just love the countertop. You did a fantastic job.
Brenda,
Your kind comment is very much appreciated. The kitchen still makes me smile. No regrets at all, and I LOVE the new sink!
gail
Fabulousness! I’m dying to try this,question can this be down on grante?
best
Roseann
Roseann,
I spoke to Melissa with HTP All in One Paint. She said it can be done on granite, but it would devalue it for resale of your home. Sorry I didn’t get back to you sooner. I was waiting to hear from her.
Thanks for checking out my project!!!
gail
this looks SO good. you did a great job!
Thank you Nova, I’m wondering why I waited so long! 🙂
gail
I love the updated countertops. 11 years ago we were just having a new kitchen installed in our old home when you did this. I thought at the time I picked the countertops well I can always change them. Now that we downsized, I thought the countertops were the same. I keep swatches in file folders for each room as I redo or change them. I looked it’s the same countertops. White might be a nice change.
Thank you Jennie! I can’t believe you remember when I first painted the countertops! They are actually a very light gray, but they sure do brighten up my dark kitchen.
gail