Pallet Wood Shelf
As an Amazon Associate, I earn from qualifying purchases.
You need to get organized with a pallet wood cubby shelf!

Hello once again, My Repurposed Life fans, it’s Joan from Scavenger Chic. I love pallet wood and since Gail has shown you how to rip apart a pallet I have another great project to show you what you can do with all your new found free wood…a vintage style organizing shelf.
If you use pallet wood a lot, you’ll know that pallet wood basically comes in 2 different widths. For the basic structure of this project, you’ll need the wider wood (about 5 1/2″).
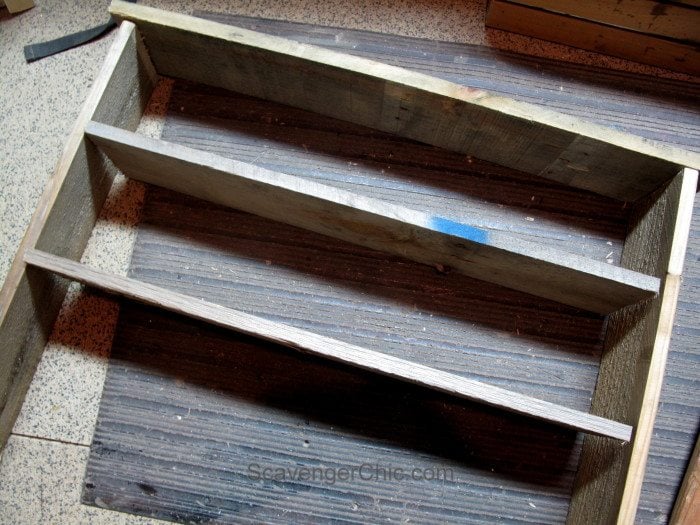
Cut 2 side pieces 21″ each. The top piece is 28 1/2″ and the two shelves (soon to be 3) are each 25″ long.

On the bottom of the side pieces, draw a nice swirl to taper off the end. This one started about 6″ from the bottom. Cut with a jigsaw, bandsaw or scroll saw.
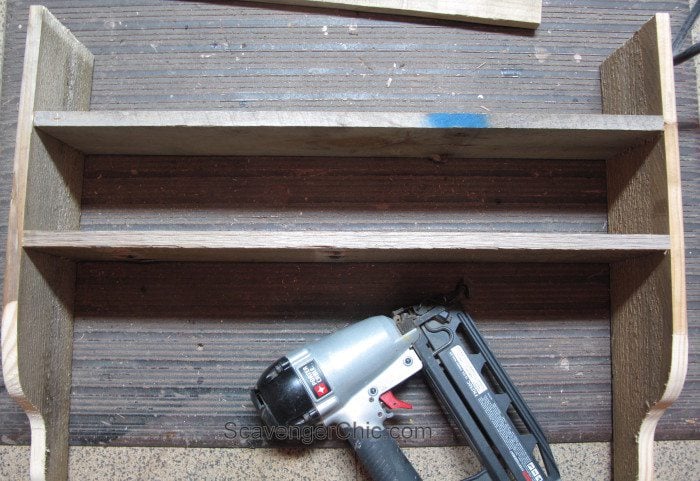
You may want to hit the inside of the shelves and sides with a sander before nailing. The sides are attached to the shelves from the outside with finishing nails.
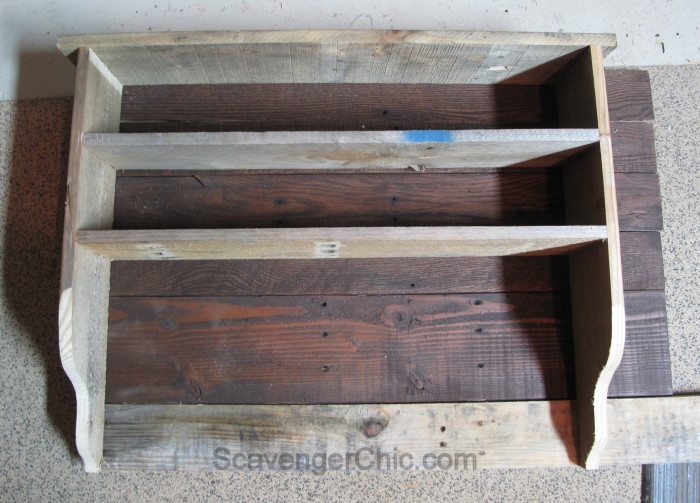
Nail on the top and start laying out your backing boards. Most of my backing boards had a dark walnut stain where I had started to use them for another project and they didn’t look quite right. Plain pallet wood will work just as well.
Backing boards were cut just slightly less than the width of the shelves and nailed from the back to the side pieces.

The drawers take the most time to construct. Each drawer consists of 6 pieces of pallet wood…5 pieces construct a box and and 6th piece is for the drawer front.
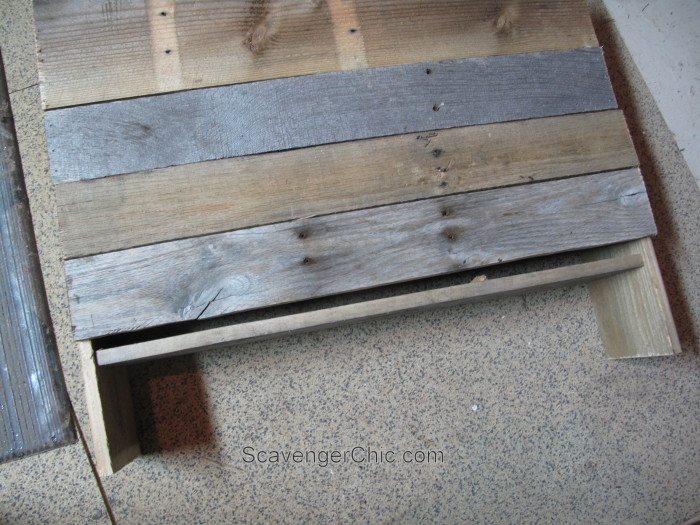
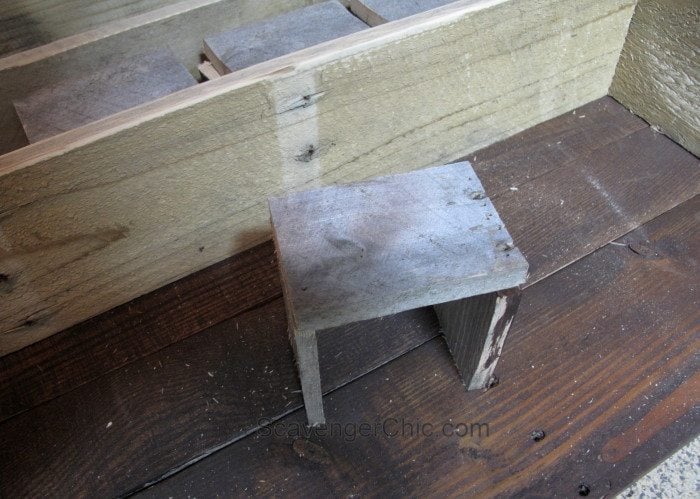
When I looked at this picture, I wondered, what is this a picture of? It’s probably important since I took a picture of it. Then I realized, the line to the right is the total depth of the shelf. I needed my side pieces to be this length minus the width of 2 pallet boards…that’s the line to the left. I would need 10 of these side pieces cut out of narrower width pallet wood (about 3″).
Cut 10 more pieces the width of your drawer. To get the drawer width, take the total width of your shelf space and divide by 5. If it’s 25 inches, divided by 5, you get 5 inch widths. Take another 1/2 inch off that measurement (4 1/2″) to give your drawer a little wiggle room.
These 10 pallet pieces should be the same height as the side pieces you cut in the previous step.
Nail one side to the side pieces you cut in the previous step.
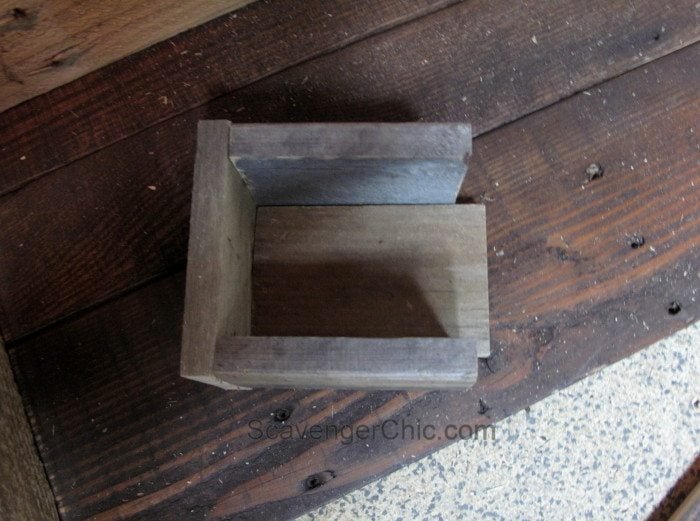
Before I put the back on my drawer, I decided to cut the bottoms. Here, the width of the bottom is cut to fit and fitted inside my partially completed drawer. Once inside, drew a pencil line and cut off the excess. Reinsert and nail into place.
Nail on the back of the drawer to complete the box.

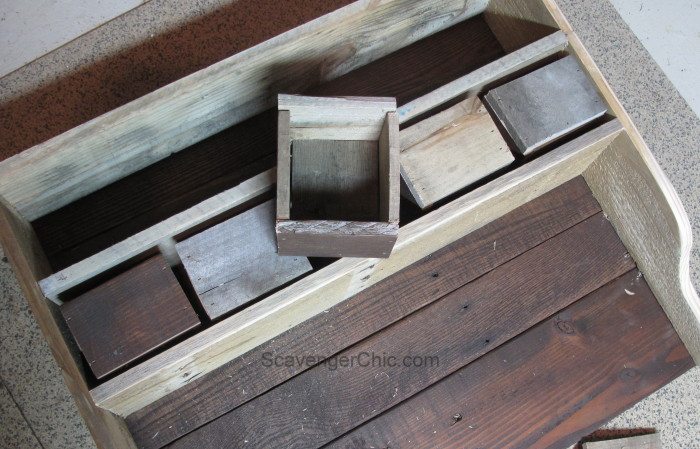
For the fronts of the drawers, cut a wider piece of pallet wood the same width as your shelf. The height of this piece will be about 1/4″ wider than the opening of the shelf.
Cut this piece into fifths and sand the edges.
Use finishing nails to nail onto the boxes you just made. Make sure the box is sitting level on the shelf and that the front piece overlaps the shelf it is sitting on and the one above it by 1/8″ before nailing.
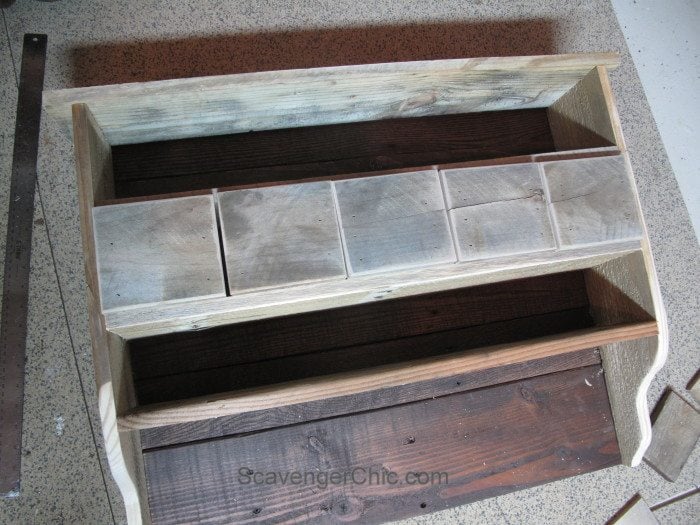
So, I finished building all my drawers and sanded all the edges and it was only then that I decided that I had left so much room at the bottom that I could easily put in another shelf. It too, is nailed to the outside side pieces.
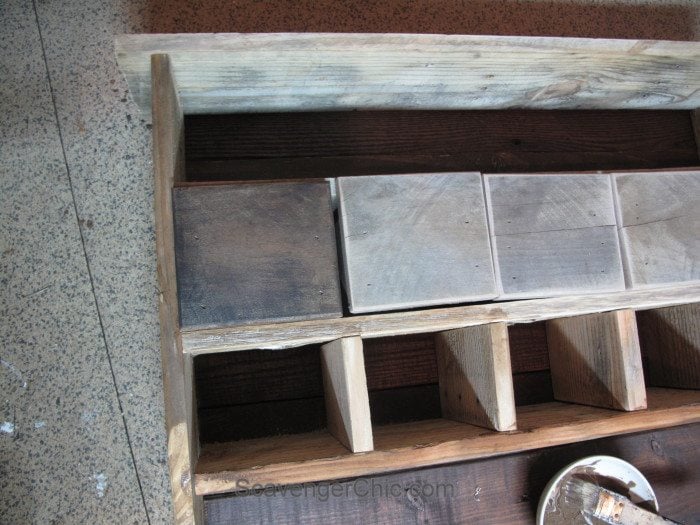
A few more cuts later and the bottom shelf is turned into cubby holes. These dividers were nailed into place by a couple of nails from the bottom and one from the top (couldn’t get that nail gun in any farther).
If my pallet wood was all the same color, preferably the aged gray, I would have left it as it was. Since I had 3 or 4 different shades of pallet, I finished off the wood with a tinted wax. While the wax was still wet I added a bit of black chalk paint and rubbed it off. The effect of this treatment is what you see on the drawer to the left.

The drawers are actually the same color as the rest of the piece but since they are made from smoother wood they reflect the sun differently when taking a picture.
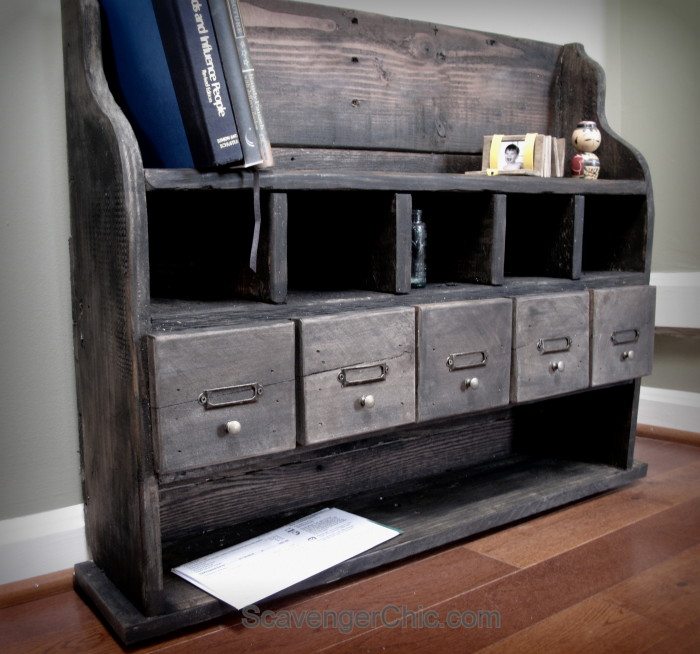
The piece was finished off with hooks from Walmart, name plates and knobs. The small drawer knobs can be found here. Since these are shipped from overseas allow a few weeks for delivery. They also have the card holders but I already had some I had purchased from Amazon.
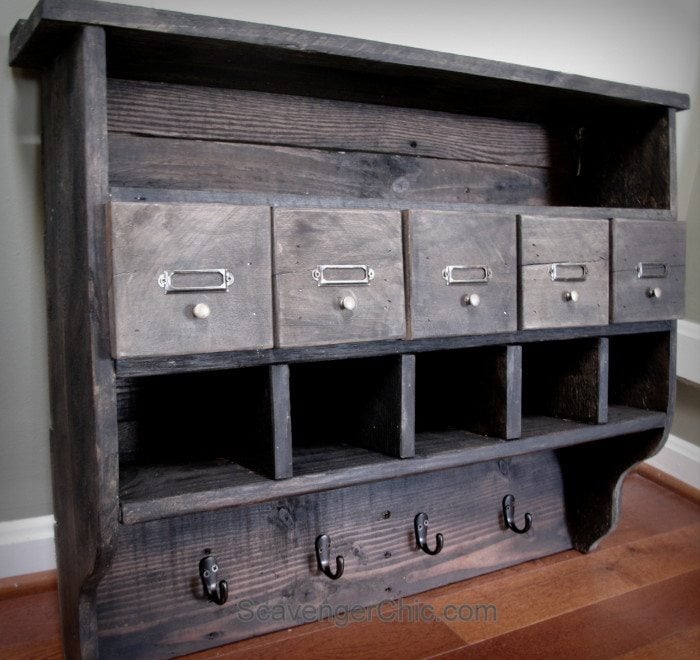
I edited out the hooks to show you a different way to display this piece…upside down.
The top shelf can easily be used as a bookshelf. Wouldn’t that look great sitting on the back of a desk?
I love this shelf and what’s more it is totally customizable for your needs. You can make it longer or shorter, wider or thinner (even upside down) depending on your needs. I also considered putting a small chalkboard where the hooks are or a small mirror. All the shelves can be open, all can be drawers, all can be cubbys, the look is totally up to you and what’s more, it was free up to the point I started adding hardware.

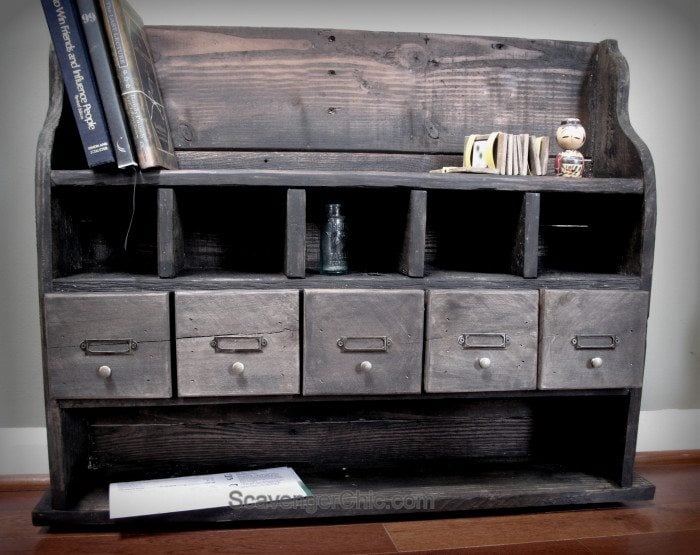
Finally got a picture of the shelves when they weren’t sitting in the sun. Mine are really dark but they could easily be painted any color to match your decor.
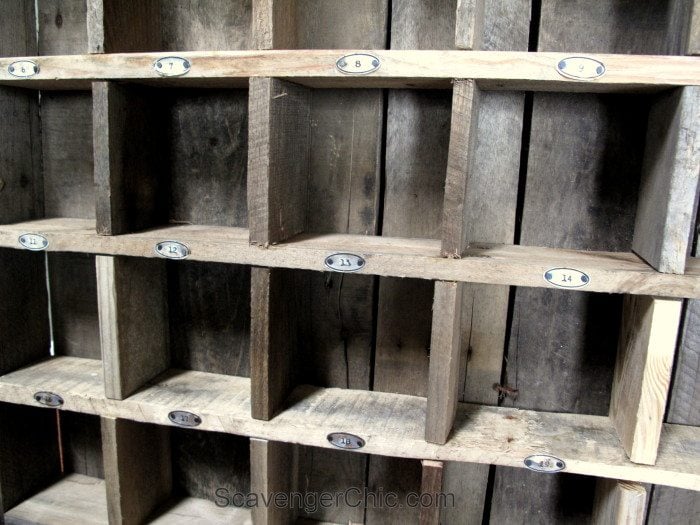
For a little bit different look, make sure you check out my cubby shelves from a couple of weeks ago. Twenty-five cubby holes for all your treasures and it’s made entirely from pallet wood. I’ll see you again next month but you can check me out any time over at Scavenger Chic.
Beautiful! What a great way to use pallets!
OH wow!! This shelf looks amazing! I would have never guessed it was made out of pallet wood. Great job 🙂
Hi! Im Rosina , I write from Argentina.I admire all your projects , you really are beautiful and creative ….
Sorry about my english!I wanted to ask your permission to use a photo of your projects , obviously linking your blog.
My blog is http://www.rosina-reciclarte.blogspot.com.ar
Sincerely with all my admiration.
Rosina
Flattery will get you everywhere! You most certainly may use a photo with links. I appreciate your sharing.
Thank Joan!
Joan,
I love,love,love the way your shelf turned out. Lots of great tips, especially about the wax and chalk paint to get that color.
It does look just as awesome upside down.
Thanks for a great step by step tutorial.
Gail
Thanks Gail, hope you’re enjoying your trip.