Pedestal Photo Display pt 2
As an Amazon Associate, I earn from qualifying purchases.
If you love scrap wood projects, you are going to be happy you found this pedestal photo display project tutorial! Are you like me, that you never throw away your scraps?
Pedestal Photo Display Ideas
Last week I showed you how I made some Photo Display Stands.
Thanks for Sharing & Saving on Pinterest!
Scrap Bead Board
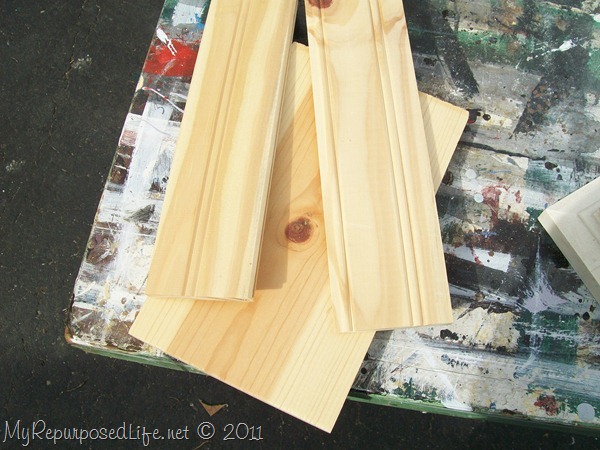
Rip Bead Board Pieces for Pedestal Photo Stand
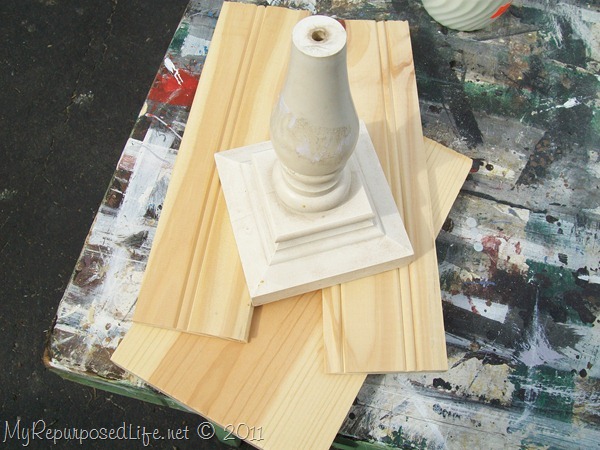
I had some scraps in the garage, but the bead board was too thin to fit the pedestal/spindle. I am not sure what this (pedestal) is actually, not even sure I remember where I got it. It may have been part of the JUNK my daughter Jamie gave me for Christmas. I ripped the bead board pieces on my table saw so that they were the correct width to fit my 1×5 (?)
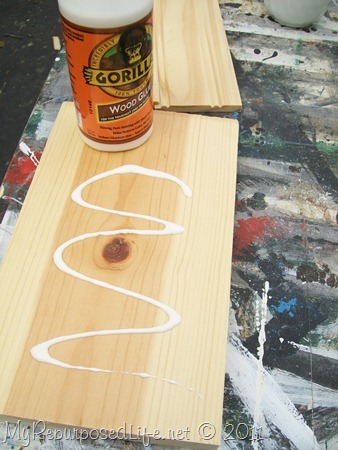
Glue Bead Board to Backer Board
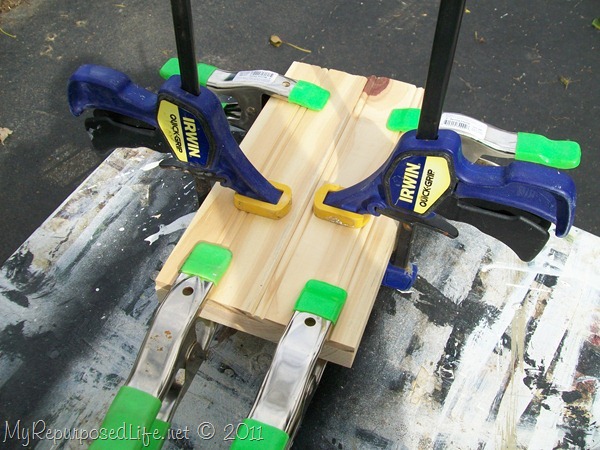
Trim Pedestal Photo Project Boards on Miter Saw

After the glue dried I put the board on the compound miter saw and cut through both layers. (the 1x and the bead board).
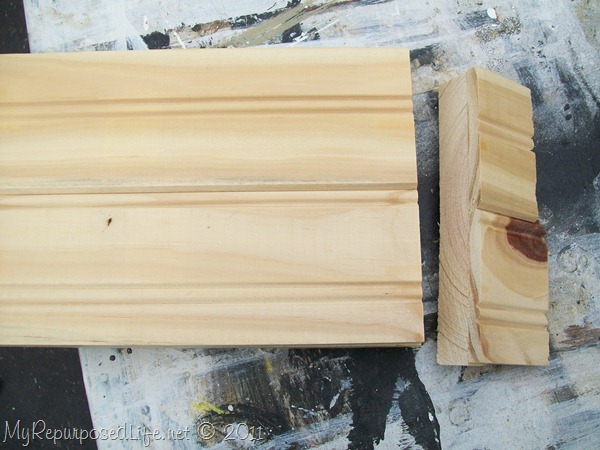
Add Finial on Top
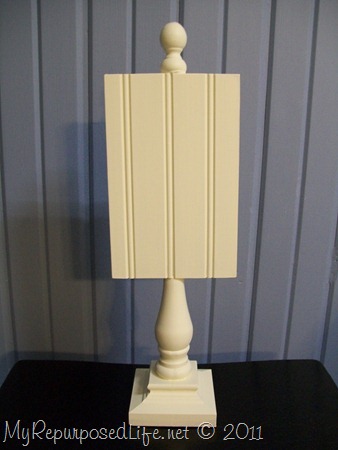
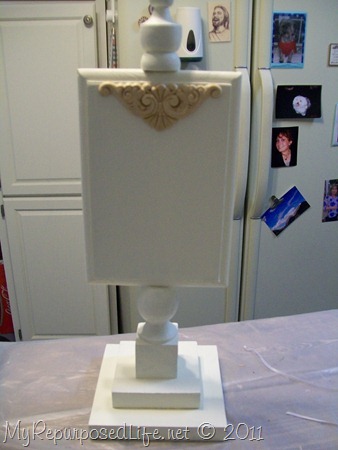
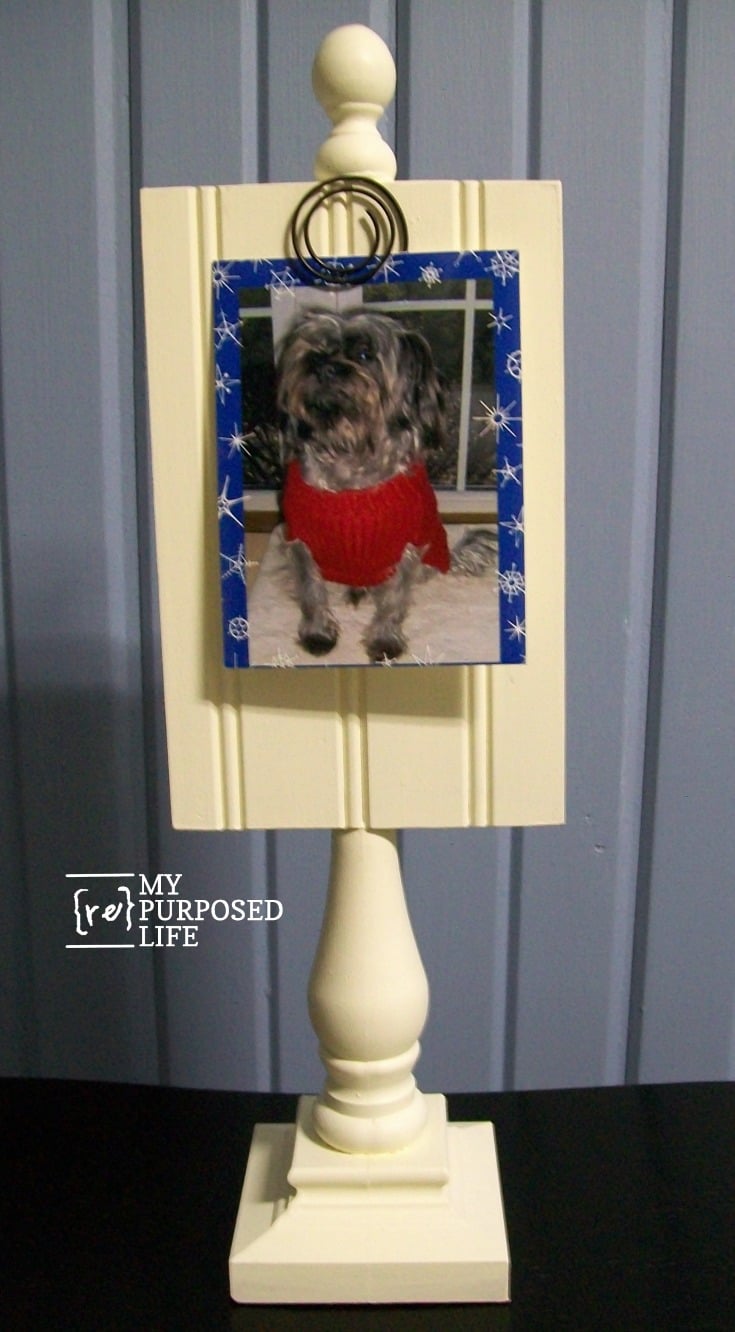
Voila! It’s done! This little pedestal thingy is actually plastic. I used Gorilla Glue (white) Dries Two Times Faster to attach the board to the pedestal and the finial on the top.

Do you remember that I was having a hard time figuring out a clip for these pedestal photo displays? Mostly due to the fact that the appliques were located at the top of the board. While having lunch with a friend last week, I was explaining to her that I was having a problem and I had a huge AHA moment! You know those kind where you just thump your forehead? YOU know you do that to!
Plan B
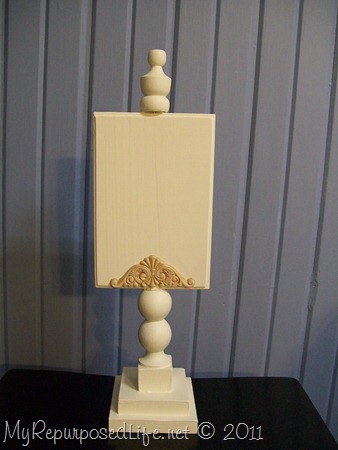
I figured out that all I needed to do was to flip it around. I would like to say it was easy. It was mostly pretty easy. After all, I glued it with Gorilla Glue. I think because the joints were not perfect it made the job of twisting it apart a little easier. I had to make some adjustments on the nails, but that was easily done with a hammer.
Do you like it better this way? Originally I put it at the top because I didn’t want the photo to hang down and cover up the pretty applique. No matter how I tried to add a clip, it wasn’t working. Honestly, I probably would prefer using some of that poster sticky stuff to add a picture rather than put a clip on here I don’t like.
Did you see my Recent Comments & Questions?
Two Dollars said… 9 or chalkboard paint on it!! 🙂
-Stefanie
2ndChanceCreations.etsy.com
I worked on some more of these over the weekend, planning to make them chalkboards. NOT, I decided that I like them as is. They are different than any of these 3. I really like making stuff with spindles! It’s sort of like putting pieces of a puzzle together.
A Quick Update
I have a couple pictures of my Armoire Door Into a Chalkboard:
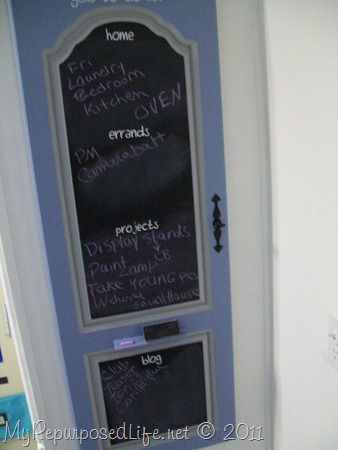
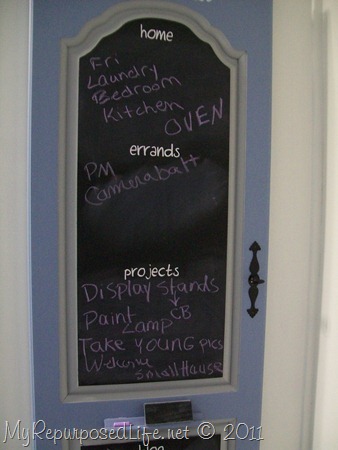
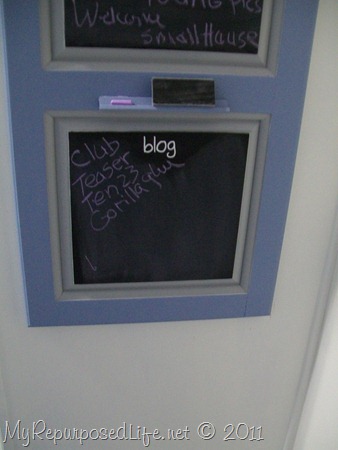
I am using chalk on this chalkboard instead of the chalk ink because I will be doing a lot of erasing — as I take care of my To Do List!
So there you have it, a bunch of updates! I have had a few productive days! I’m anxiously awaiting Spring! What is YOUR favorite thing about Spring? It is my very favorite season! Ever since I can remember I have loved Springtime!
gail
Pin It


My favorite thing about Spring: no more multiple layers of clothing to keep warm in the northeastern most corner of NY State. They restrict your movement so much and when indoors you have to lug them around, like when you go shopping. Blah! We just got buried in about 2 ft of snow yesterday. C’mon Spring!
I love that Gail! I also love to use bits and pieces from things to create… Great job!
great idea!
Love the bead board stands, so cute. I always have a bruise on my forehead from thumping it too… one of those I should have had a V8 moments I call it…haha
I think you need to make a bigger chalkboard by the looks of things…lol. Love that piece.
Hey girl! Love the photo stands…SO cute with beadboard! :)I see you got the same spam post as I did…who does that kind of thing! :-/Hugsmissy
Those are going to be great for the shower, and they’re something that will be fun to keep after wards, too. I love the bead board. I think using some tacky poster putty would work really well, or even glue dots. But have you seen those spiral paper clips? What if you glued those onto a thumbtack, put that into the wood, and used the paper clip to hold the photos?
Loving the doors….great job on them. Caleb would so love for me to do that some where in the house!
I really love the one with the beadboard. it turned out so cute. I wonder if there is a way to make that applique into a clip. It sort of looks like a fancy clip to me. Can you glue it to a old clip board clip. Or what about those clips you get off the bags of coffee? It’s probably glued on their pretty good right now though huh?
Gail, You could make your display stands magnetic and then that way you could adjust your magnets to fit what ever you are displaying. I’m sure you could come up with some kind of really pretty magnets because you are so creative. I just love your blog keep up the good work. Susan from KY
These are so great Gail!! I love both versions! What a fun way to display pictures!!
Love the second version even better!!! love me some beadboard! 🙂
those look great! i love the idea of chalkboard paint on it as it would be great by an entry, or even for a restaurant.
those look great! i love the idea of chalkboard paint on it as it would be great by an entry, or even for a restaurant.
I like!
I love bead board! I have some scraps that are rather short and narrow and wondered if they would be “good” for anything but couldn’t bear to throw them away! Now I have an inspiration! 🙂 I Love those chalkboards! I definitely need something like that. I scribble all day in a spiral notebook and then mislay the notebook! lol
For me: Spring=outside to play in the dirt (garden)!!!!
I so love anything on a pedestal and this is no exception! I am going to have to go through the HandyMan’s scraps in his shop to see what I can find to make me one haha