last picket in place | DIY Picket Fence
As an Amazon Associate, I earn from qualifying purchases.
Happy New Year! It’s hard to believe that it’s actually 2016, and I’m excited to tell you that the DIY picket fence is well on it‘s way. Yep, the last picket went in over the weekend. Now, mind you, we’re still far from finished. In order to get the pickets up we tacked them up with finish nails. We will need to go back and secure every one of the OVER 500 pickets with screws.
It’s been cold, and challenging, but it’s getting there! One side of the yard is 108 feet in length! That was a long haul, and thankfully full of sunshine. One day it was very cloudy and I thought my fingers and toes were going to fall off.
In fact on that day, I forgot to take a single picture because I was so busy trying to stay warm. Several times I went in and used a hair dryer on my fingers and toes. Since then, I have picked up some hand and toe warmers to use in the future.
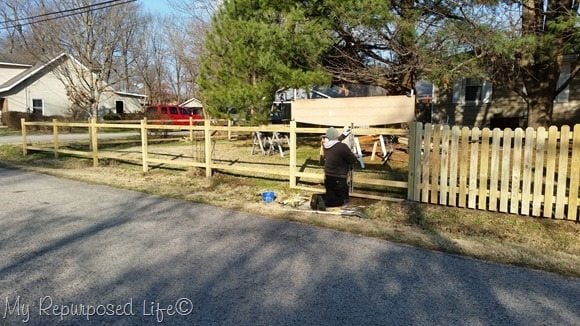 This is the long section of fence (108 ft), on a very cold but sunny day. Rodney is using the level to mark the 2×4 rails to make sure the pickets go up straight.
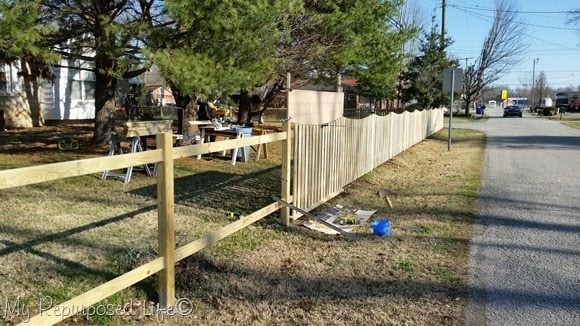 This is a glimpse of the whole setup. You can see a radio (under the tree) for jamming, pickets stacked on saw horses, my sliding compound miter saw set up on Rodney’s sawhorses, with a garbage can for scraps. The picket jig (template) is clamped to keep all of the sections uniform.
But, before we got here, we had to remove the chain link fence!
 Ignore the extra 20 pounds of clothes I’m wearing that make me look like the pillsbury dough boy, and the 4 chins that show up when a photo is taken from down below. I seriously had on 3 shirts, a hoodie and a insulated flannel shirt, along with 2 pairs of pants and 2 pairs of socks. In addition, double gloves and a earmuff headband.
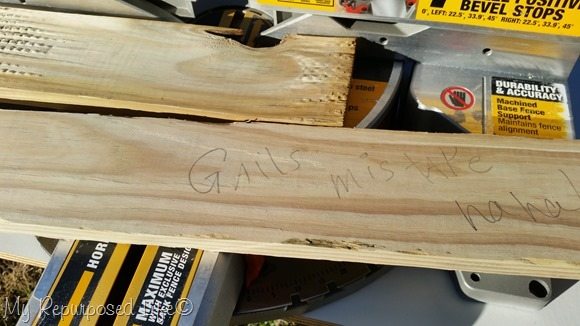 Rodney loves leaving little notes on boards.
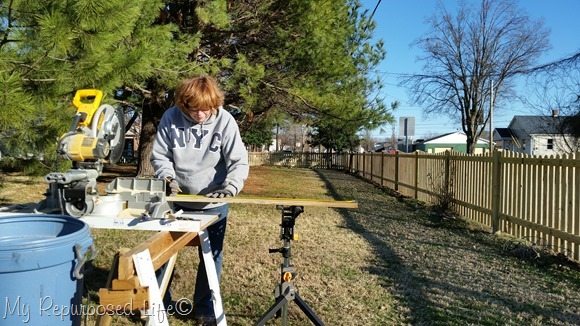 Each day we had to move the work station further around the yard. This is the last day of putting up the pickets, seeing light at the end of the tunnel.
Notice the jaw stand I ordered recently. It’s quite helpful to hold the boards.
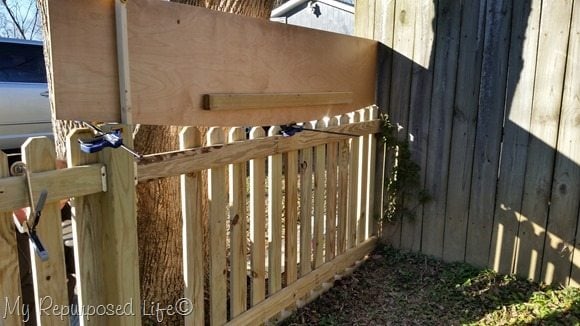 This was the very last section to receive pickets. We had to cut the jig down a little to get it to “center” on the middle picket.
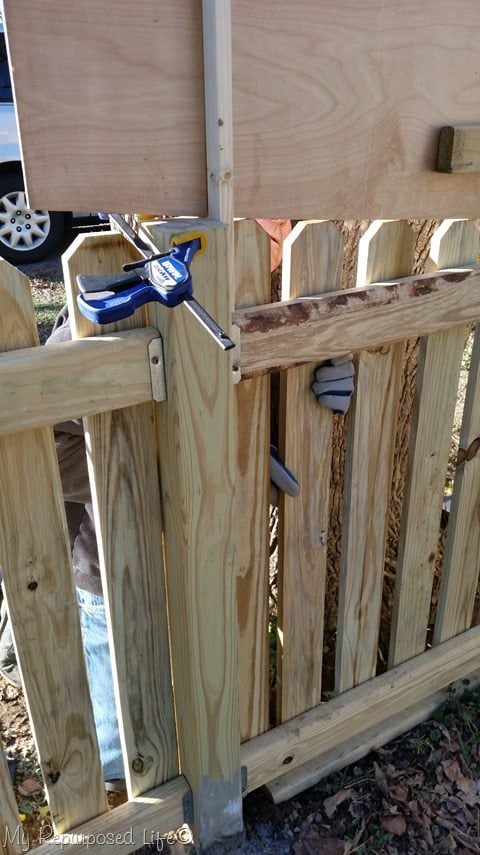 This is the very last picket going in to place! It was still early, but we shut it down for the day. Next up? Securing all the pickets with Simpson Strong-Tie fasteners.
I’m hoping we will have nice weather so we can get to that this week. After that, we’ll start on the gates.
whew! still so much to do . . .
So many neighbors stop to compliment us on the fence every time we’re out there working on it. Everyone loves it, and keeps asking what I’m going to do with it. paint? stain? I had intended on painting it white, even bought the paint last fall when it was deeply discounted on sale. Now, I’m sort of “on the fence” (pun intended) about how I want to finish it off.
I will have to wait until all the treated wood has dried, so there’s really no rush right now.
Related Content: See how the design process evolved.
gail


looks fantastic!
how did you attached the 2×1’s to the posts?
I’m sorry, I’m confused by your question. Are you talking about the top and bottom 2×4’s that the pickets attach to? Simpson strong tie brackets were attached to the 4×4 post, and the 2×4’s were slipped into the bracket, and screwed in place.
It’s definitely my largest DIY here at home and probably my favorite. Doing it yourself just makes it so much better because you can design it exactly as you prefer. The sections of picket fencing were not what I wanted.
If you have more questions, I’m always here . . .
gail
Girlie, you never cease to amaze me!! This looks fantastic! One question….do you hire out? 🙂
hahah are you kidding? This was posted months ago, and I still only have the front section painted! We’ve had so much rain, I can’t catch a break to get the boards to dry out enough to paint. 🙂
But, what I DO have done is truly beautiful and makes me smile every time I look out the door.
gail
that fence is beautiful!!! think i like white for the color!
Great looking fence. It has to be white!! Instead of white paint I would recommend white stain. It will definitely last longer and not need to be redone as often. It will still give you the look of white paint.
I was weighing the advantages of everything, and white stain is on my list.
thanks Gina
Amazing! The fence has to be white. Just has to be. My neighbor has a picket fence that she left to weather naturally and it is not pretty. She stared painting it white but b/c her house is really off white she thought it made her house look dirty. I have no clue as to why she didn’t paint the fence with the same paint. DUH.
Sylvia,
thank you so much for adding your input! I truly appreciate it and it gives me a lot to think about.
gail
Looks wonderful! A one of a kind! Great job.
YOU GO GIRL!!!!!!!!!!!
Love, love, totally love your fence! What a great curb appeal transformation!
Happy day friend!
karianne
Wow, Gail, that is a long fence! So much work, but will be so satisfying when you see it everyday.