Picture Frame Jewelry Holder
As an Amazon Associate, I earn from qualifying purchases.
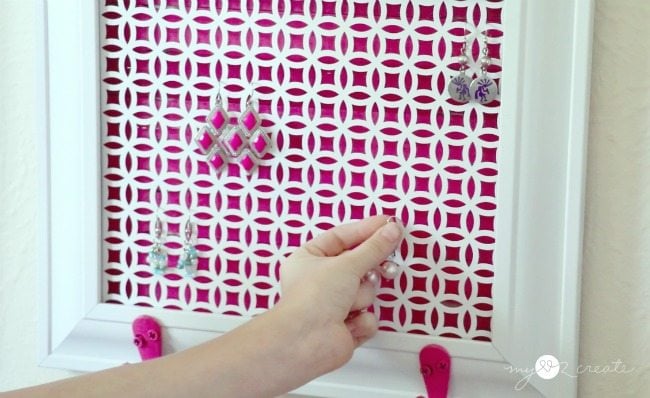
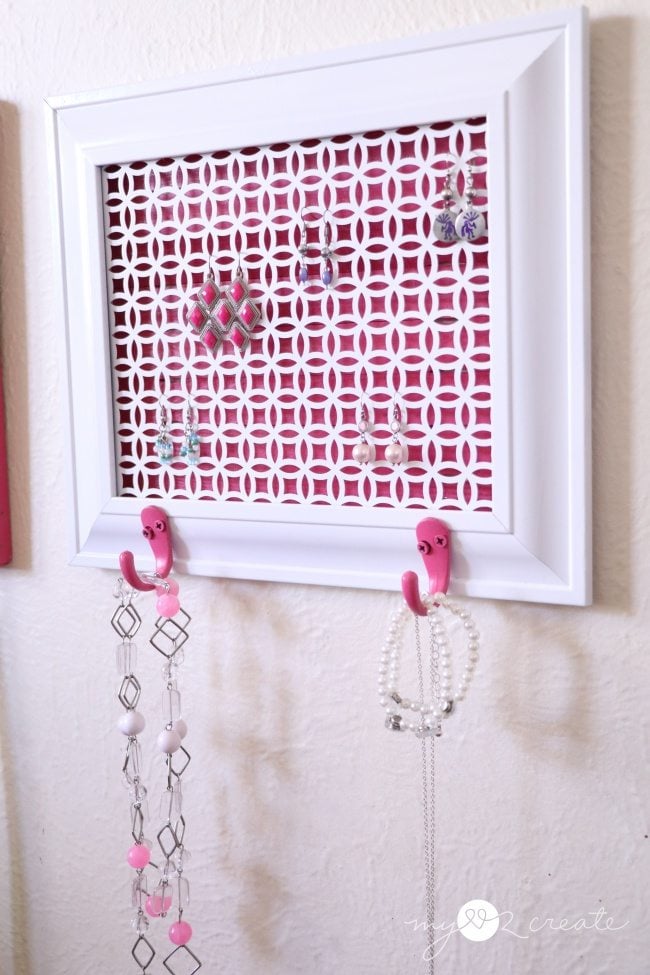
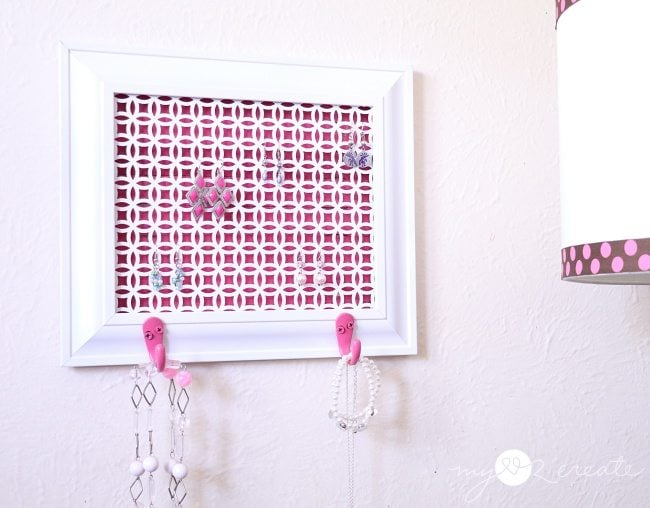
Hello, it’s Mindi here. Visiting again from MyLove2Create, and I am excited to share my daughter’s new Picture Frame Jewelry Holder with you today!

Isn’t it cute?!! And Pink! She had to have pink…
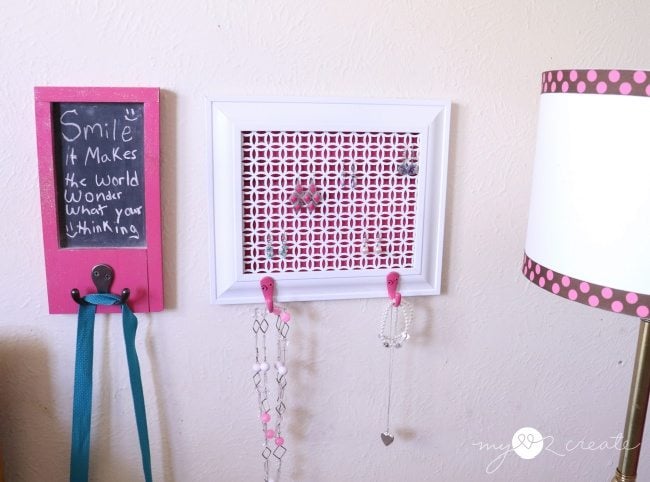
Of course it makes since…that is what she loves and it fit’s perfectly in her room. 🙂
Materials to make a picture frame jewelry holder
- Old Picture Frame
- Decorative Metal Sheet
- enough paint sticks to cover the back of the frame
- D Ring Picture Hangers
- Metal cutting Shears
- Gloves (optional- for cutting metal)
- Hot Glue Gun
- Drill and Impact Driver
- Hooks
- Spray paint or craft paint
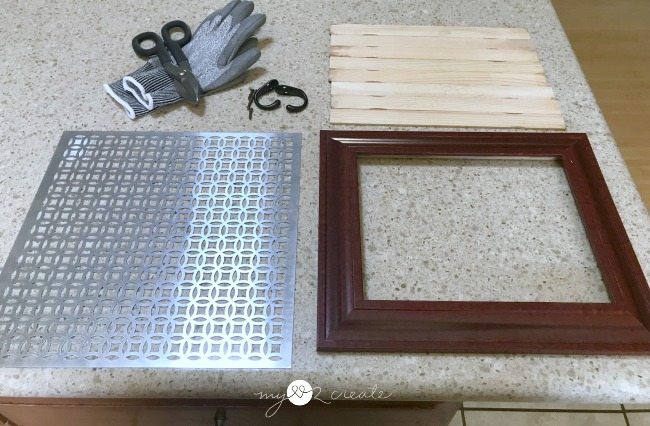
Here are the supplies I gathered for making my jewelry holder from a repurposed picture frame.
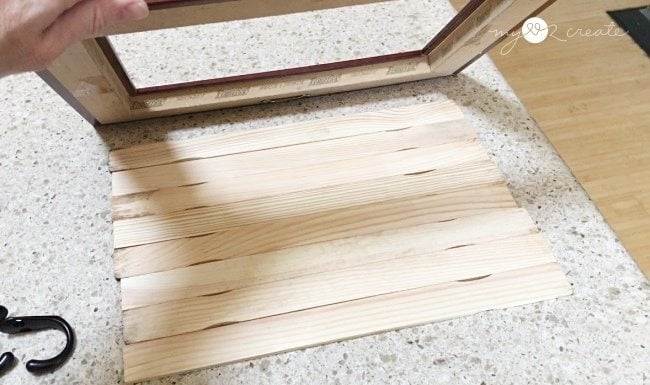
My frame was small enough to fit 8 small paint sticks to cover the back of the frame. If you have a larger frame you can use the 5 gallon paint sticks. Pick what works for your frame. You can purchase packs of paint sticks at the home depot for $1 or sometimes you can get them for free!
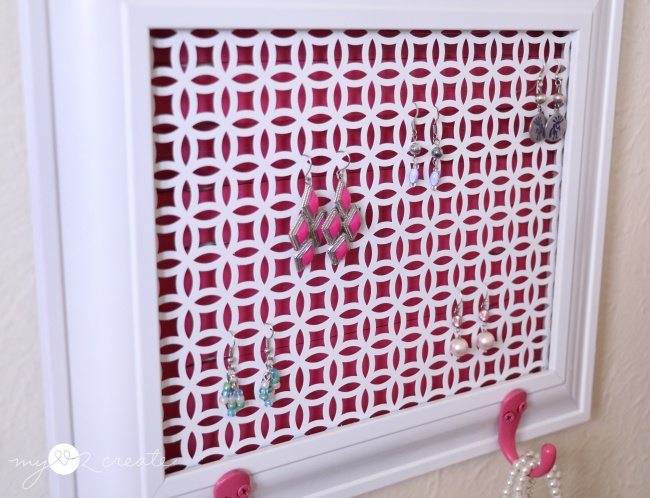
Step 1: Cut decorative sheet metal to fit your picture frame
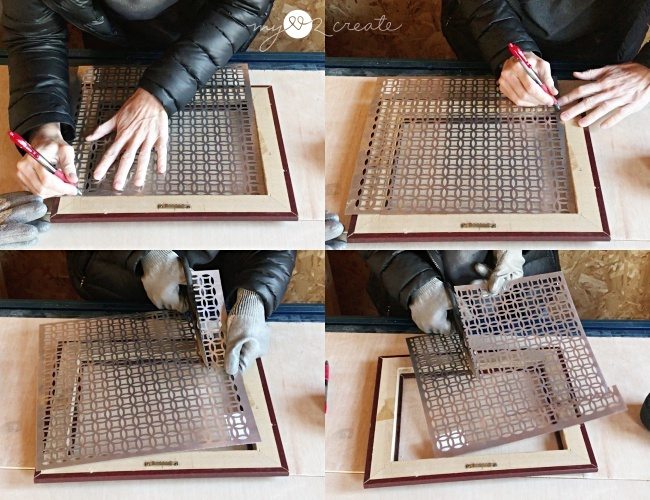
Set your sheet metal into the inset portion of the frame and mark where it needs to be cut. Use your metal cutting shears cut the metal until it fits inside of your frame, I like to wear protective gloves because the cut edges of the metal can be sharp!
Step 2: Hot glue your metal into your picture frame
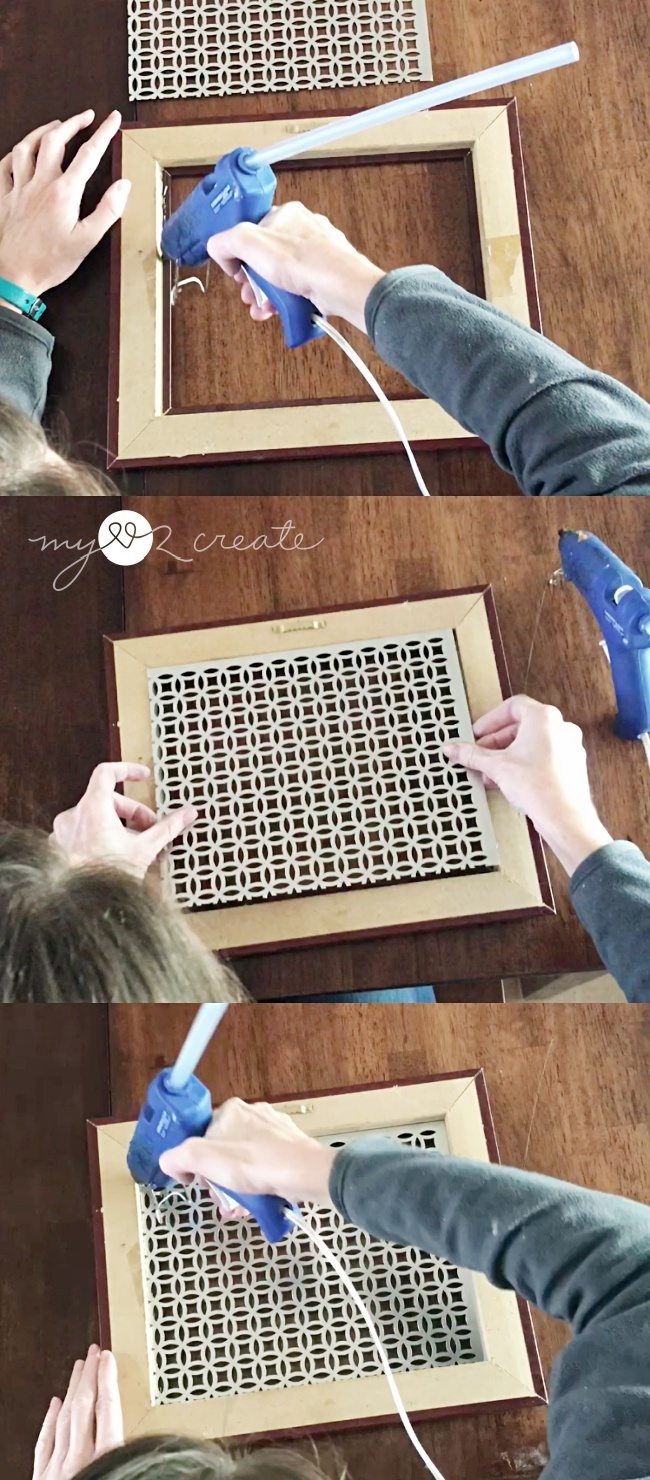
Add hot glue to the inset edges of your picture frame and place the metal inside. I decided to add more hot glue to the edges after the metal was in place to make sure it was nice and secure.
Step 3: Paint/Stain your frame, paint sticks and hooks
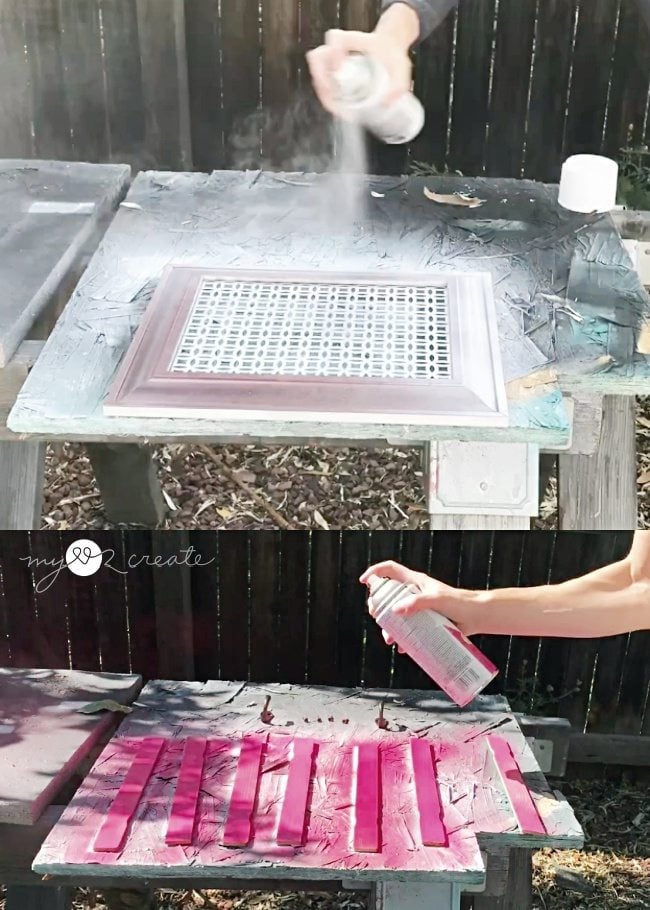
I used spray paint to paint my frame with the metal and also the paint sticks and hooks. I went with white and pink to match my daughters room. This is where you make your jewelry perfect for your style and decor.
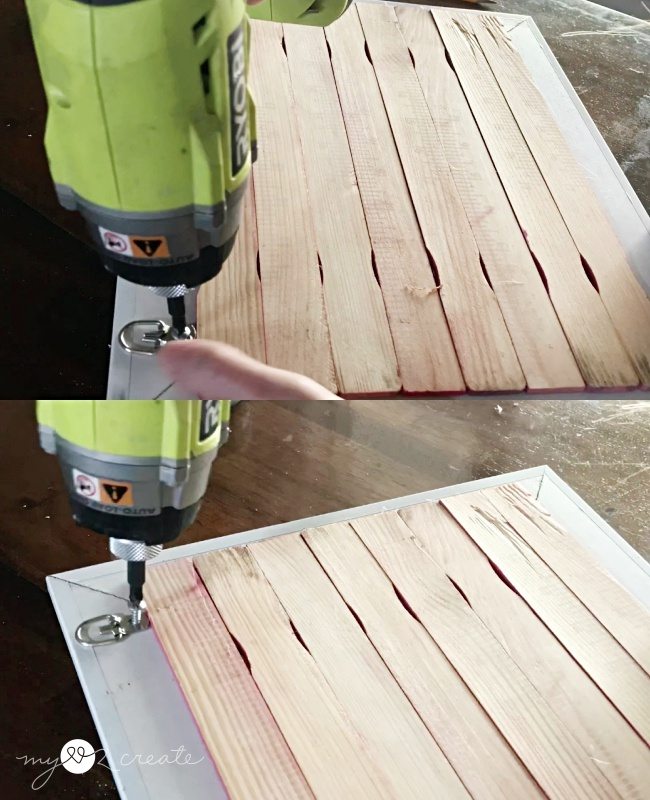
Step 4: Hot glue the paint sticks to cover the back of the frame
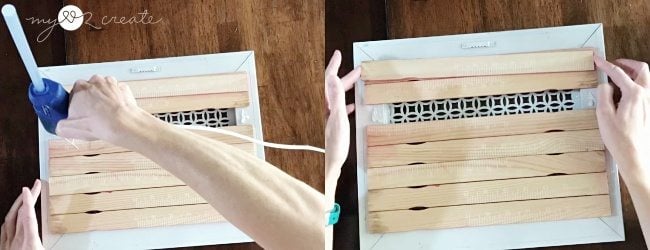
I set my paint sticks where I wanted them to be then I removed one at a time to add hot glue, then secured each one back in place holding until the hot glue dried. I repeated this process until they were all added.
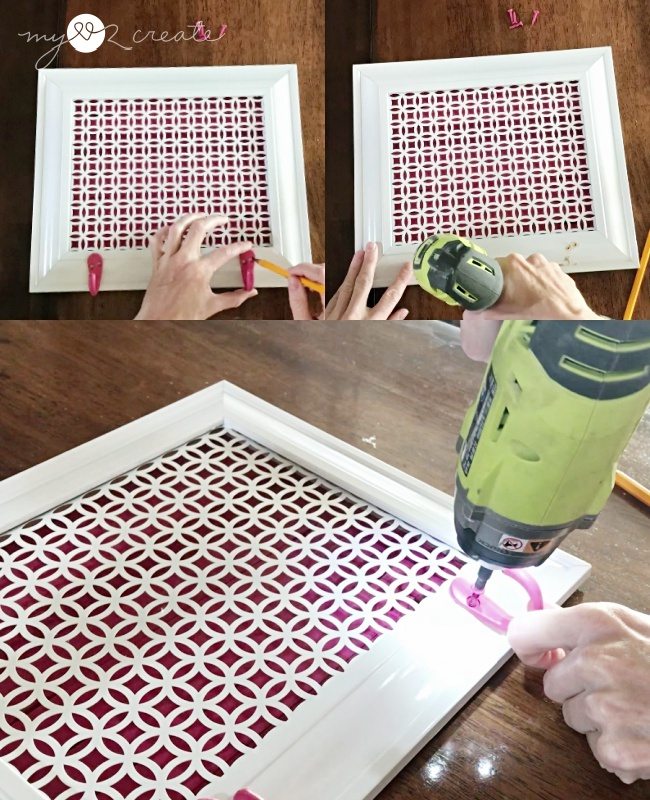
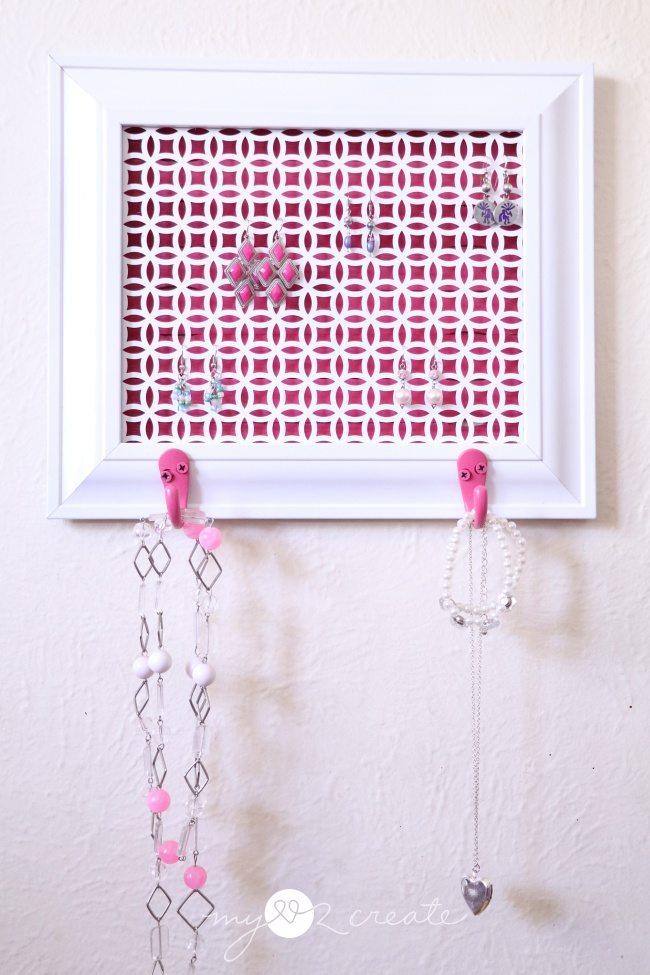
Step 5: Attach your hooks and d-rings
Step 6: Hang your picture frame jewelry holder and enjoy!

see more of Mindi’s posts on MRL here
Related Content: Picture Frame Ideas For Home Decor and More
How far apart should you put the D rings on the back of the frame?
I typically put the d-rings on each side of the frame, leaving about 1/4 to 1/2 in from the edge of the frame.
I hope that helps.
gail
Mindi,
It’s a PINK project! 🙂 I love your picture frame jewelry holder, and the color is perfect! I recognize that other small project as well. I actually made mine into a chalkboard pet organizer for Lulu Mae!
Thanks for sharing a great project tutorial.
gail
That’s a great idea. I think I’ll do a small one for my brooch and pin collection.
Thank you Kate!! You totally should, that would be perfect!