Quilted Casserole Carrier for Potlucks and Gatherings
As an Amazon Associate, I earn from qualifying purchases.
I love projects that feel both useful and nostalgic, and this one checks both boxes. Using a salvaged quilt, I stitched up a simple casserole carrier, perfect for potlucks, family dinners, and church suppers. It keeps dishes warm, adds a touch of handmade charm, and gives new life to something that might otherwise have been overlooked at the thrift store.
Reclaimed (Salvaged) Quilts
I used a salvaged quilt to sew a simple casserole carrier, perfect for potlucks and family gatherings. It is a practical way to repurpose a thrifted textile while keeping useful items out of the landfill.
By the way, it’s the second Wednesday of the month, which means it’s Thrift Store Decor Tour Day! Please visit my friends using the links at the bottom of this article.
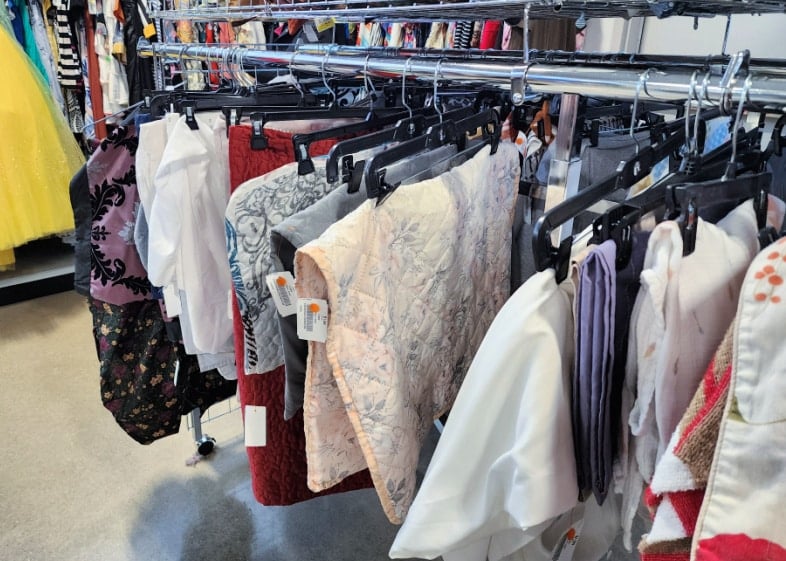
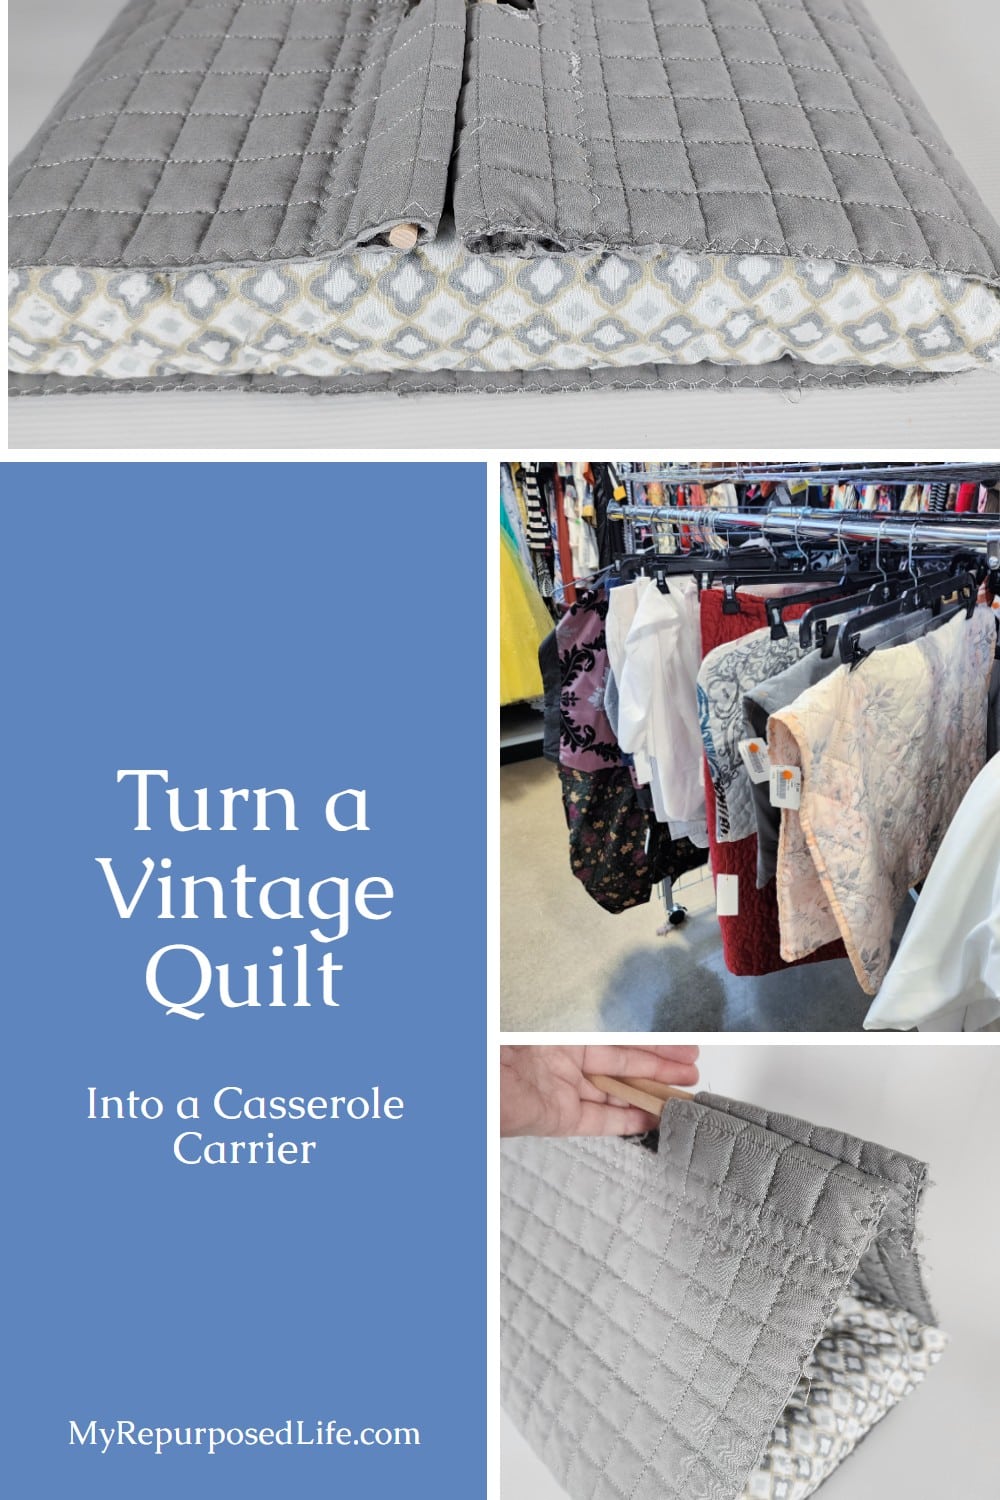
First, a brief background. I made my first salvaged quilted casserole carrier nearly twenty years ago. You will see photos of it later. While attending a potluck recently, a friend saw it and expressed interest in having one. I visited a few thrift stores in search of quilts. The only quilted material I could find was a few pillow shams. Then I remembered I had a sofa cover and an unused quilt tucked away in the basement.
Materials and Supplies to Make a Quilted Casserole Carrier
- Reclaimed or salvaged quilt(s)
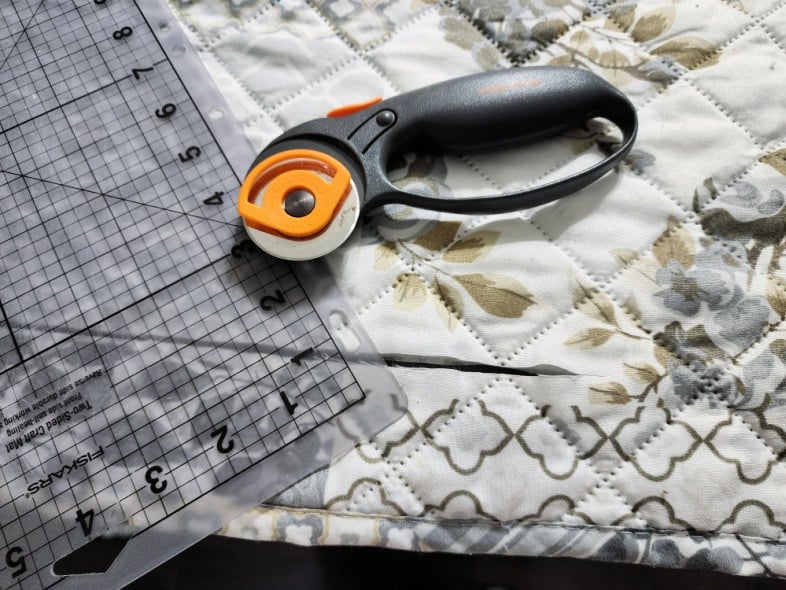
- Rotary cutter
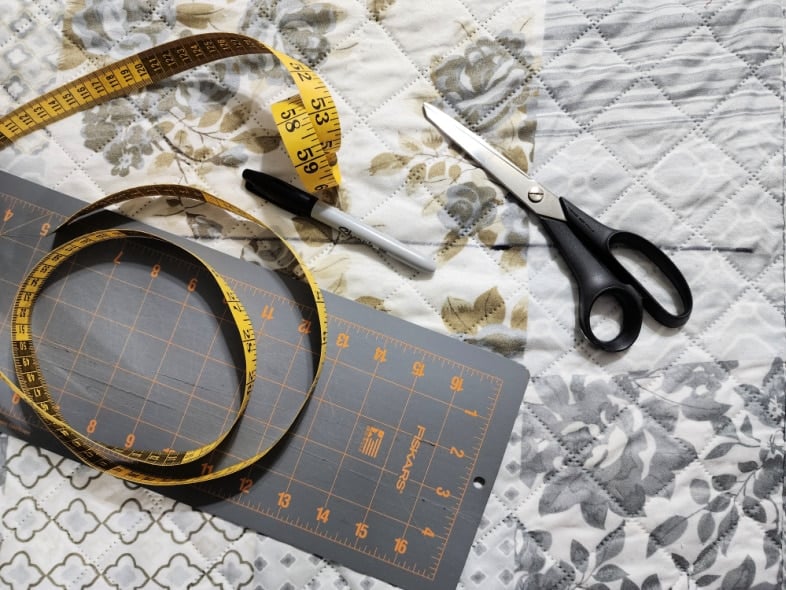
- Sewing mat and ruler
- Scissors
- Tape measure
- Sewing machine
- Thread
- Pins or clips
- Fabric chalk or markers
- Dowels
Cut List for Making a Casserole Carrier
- (1) 13 1/2 x 36 (This piece will make the handles)
- (1) 13 1/2 x 31 (This piece will make the “tie” section)
- (2) sections of trimmed hem approximately 10 inches (for ties)
Sewing Instructions
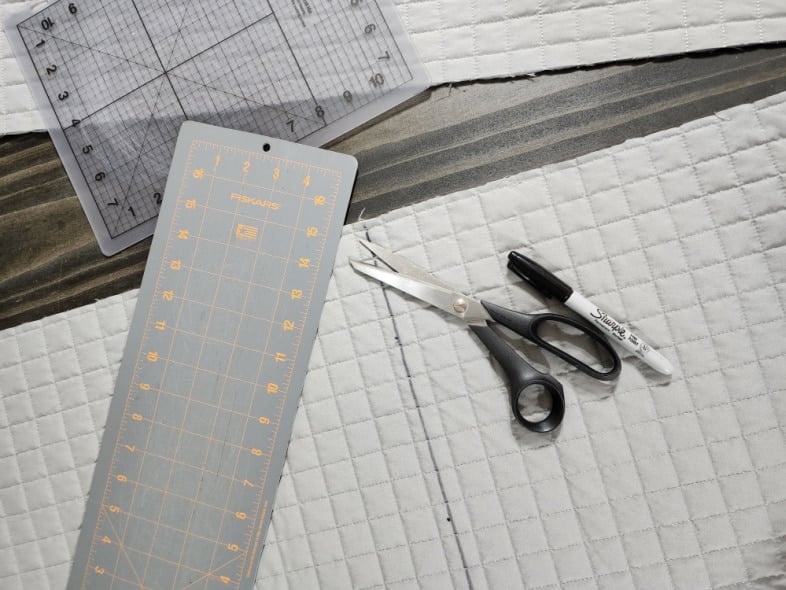
After cutting out the two large pieces of quilt, machine-stitch an overcast or zigzag stitch to prevent fraying.
I often say I would rather be sawing than sewing. Although I’ve sewn for many years, I’m not a fan. I look for easy hacks to keep projects simple. You may notice that some of the photos show different stitches. I bought a new machine a couple of years ago, but I haven’t used it very much. I was having a tough time, and it turned out to be a minor tweak to the bobbin installation.
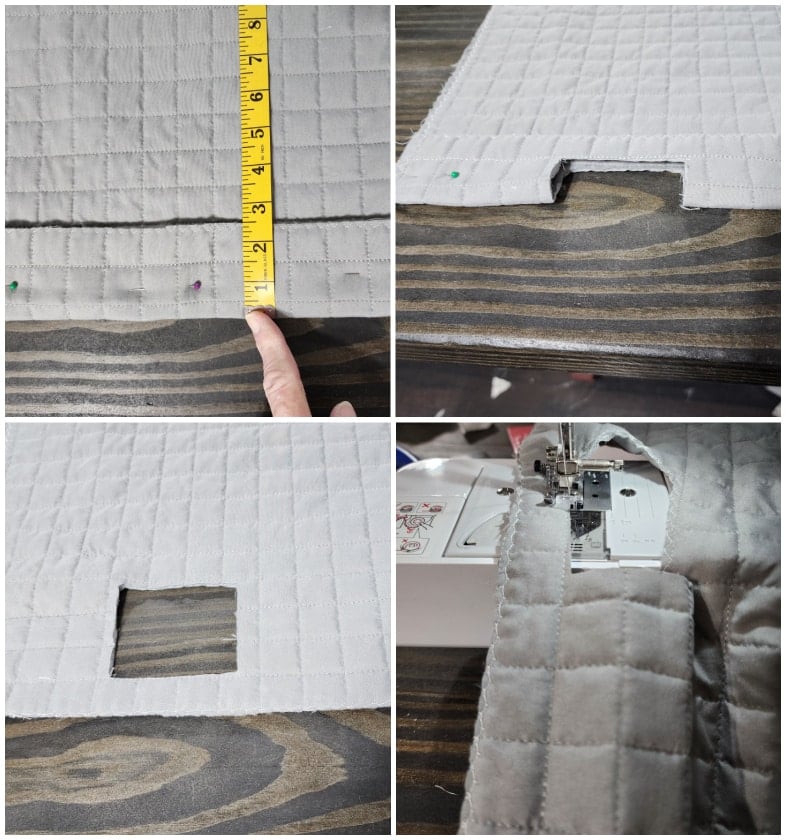
- Fold ends of long piece (36″) over 2 1/2″, and pin or clip
- Find the center, cut out the hole for your hand, 1 1/4 x 4″ wide.
- Unfold the section
- Do an overcast or zig-zag stitch
Finish the Longer Piece
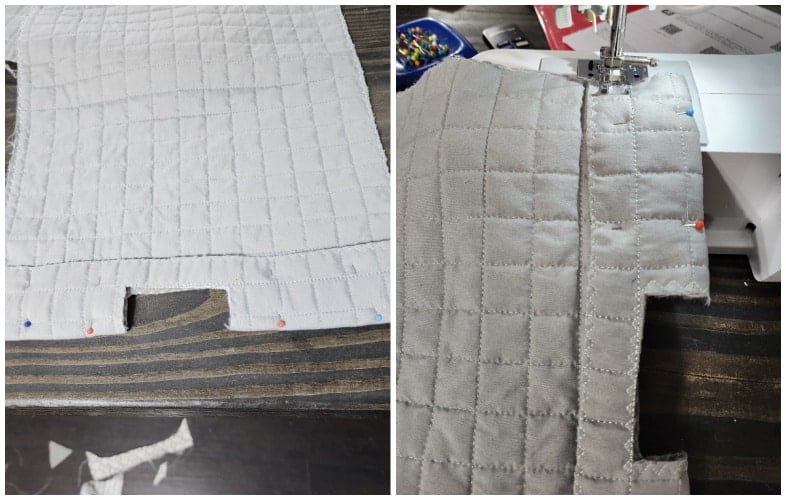
Fold the previous section, pin it, then sew it in place. I kept the same look, using a zig-zag stitch for this.
Attach the Two Pieces
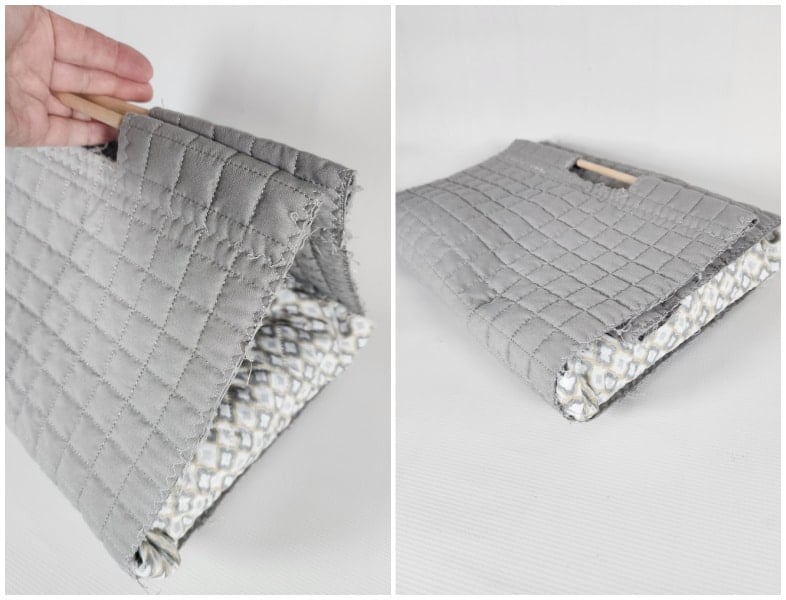
Center the two coordinating pieces and use the same zigzag stitch to sew around the “square.” The patterned quilted material is a former sofa cover. The coordinating gray was a queen-sized quilt.
Related Content: Make a Pillow Out of a Placemat
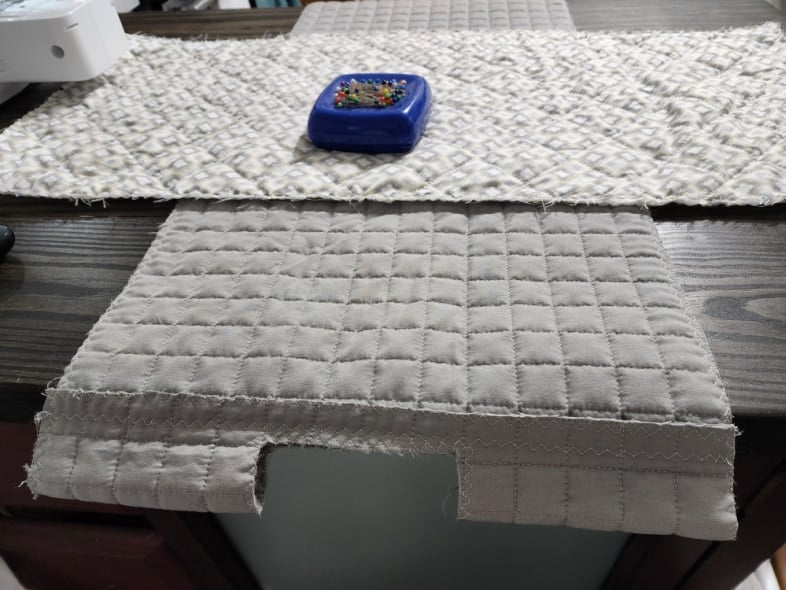
Add Hemmed Ties
I was anxious to test it out to make sure it worked as well as my original quilted casserole carrier. In this photo, you can see that I cut away the hem from some of the gray quilt to use as ties.
Quilted Casserole Carrier
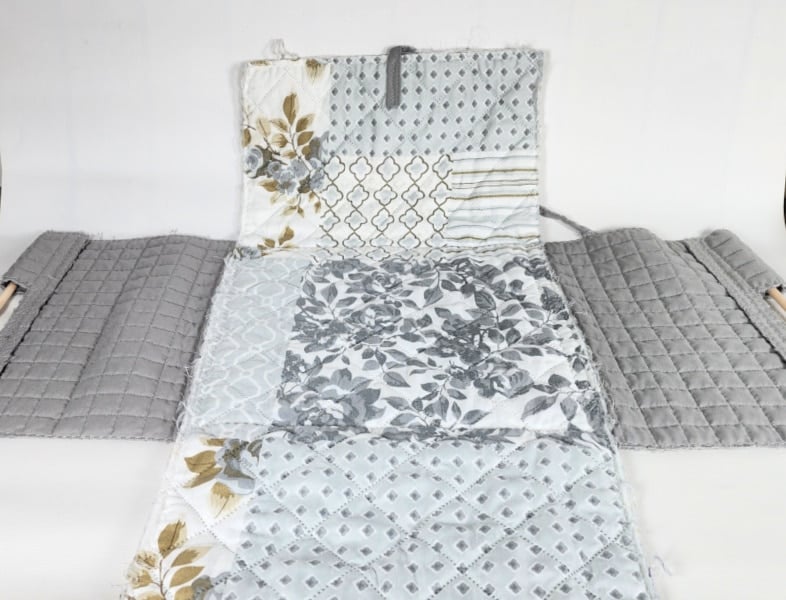
You may notice a switcheroo in the pattern. The sofa cover has a different pattern on either side. I made four quilted casserole carriers altogether: two with these pieces and two in all-gray. I washed all four, so there are a few stray threads here and there that I forgot to snip before taking these photos.
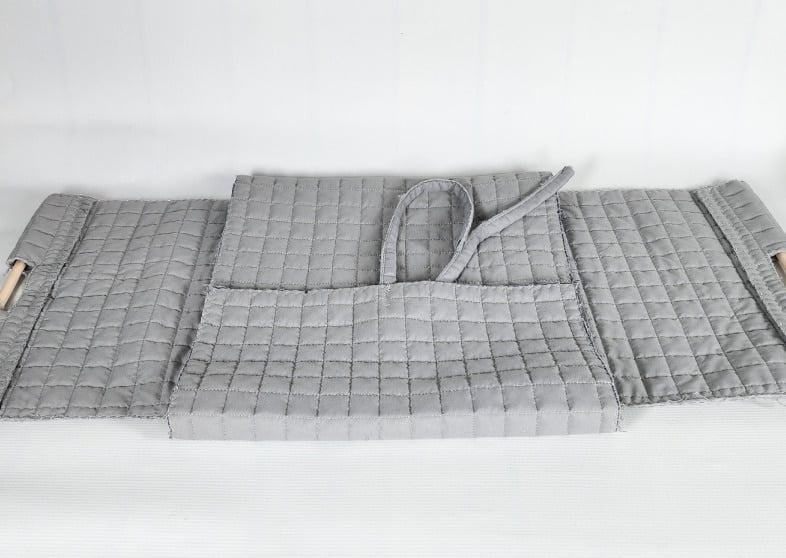
The stitching issue on my sewing machine was resolved when I made the two gray carriers.
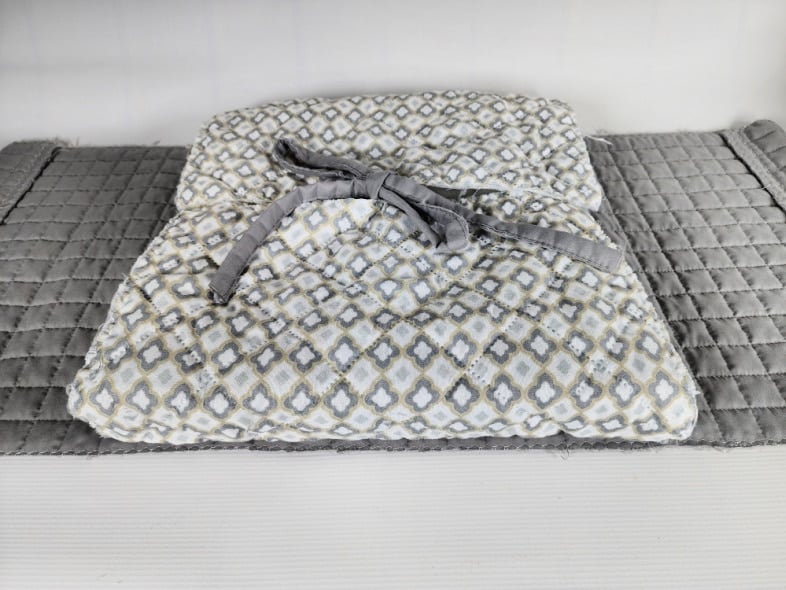
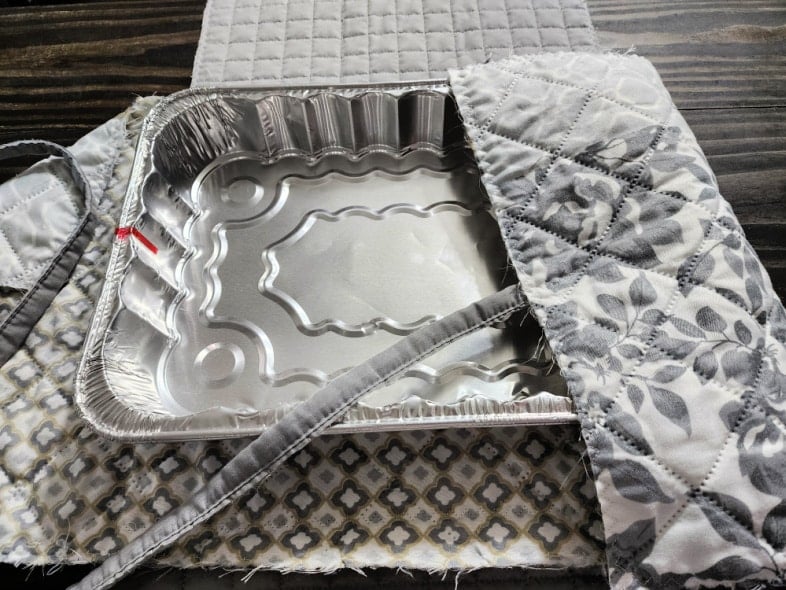
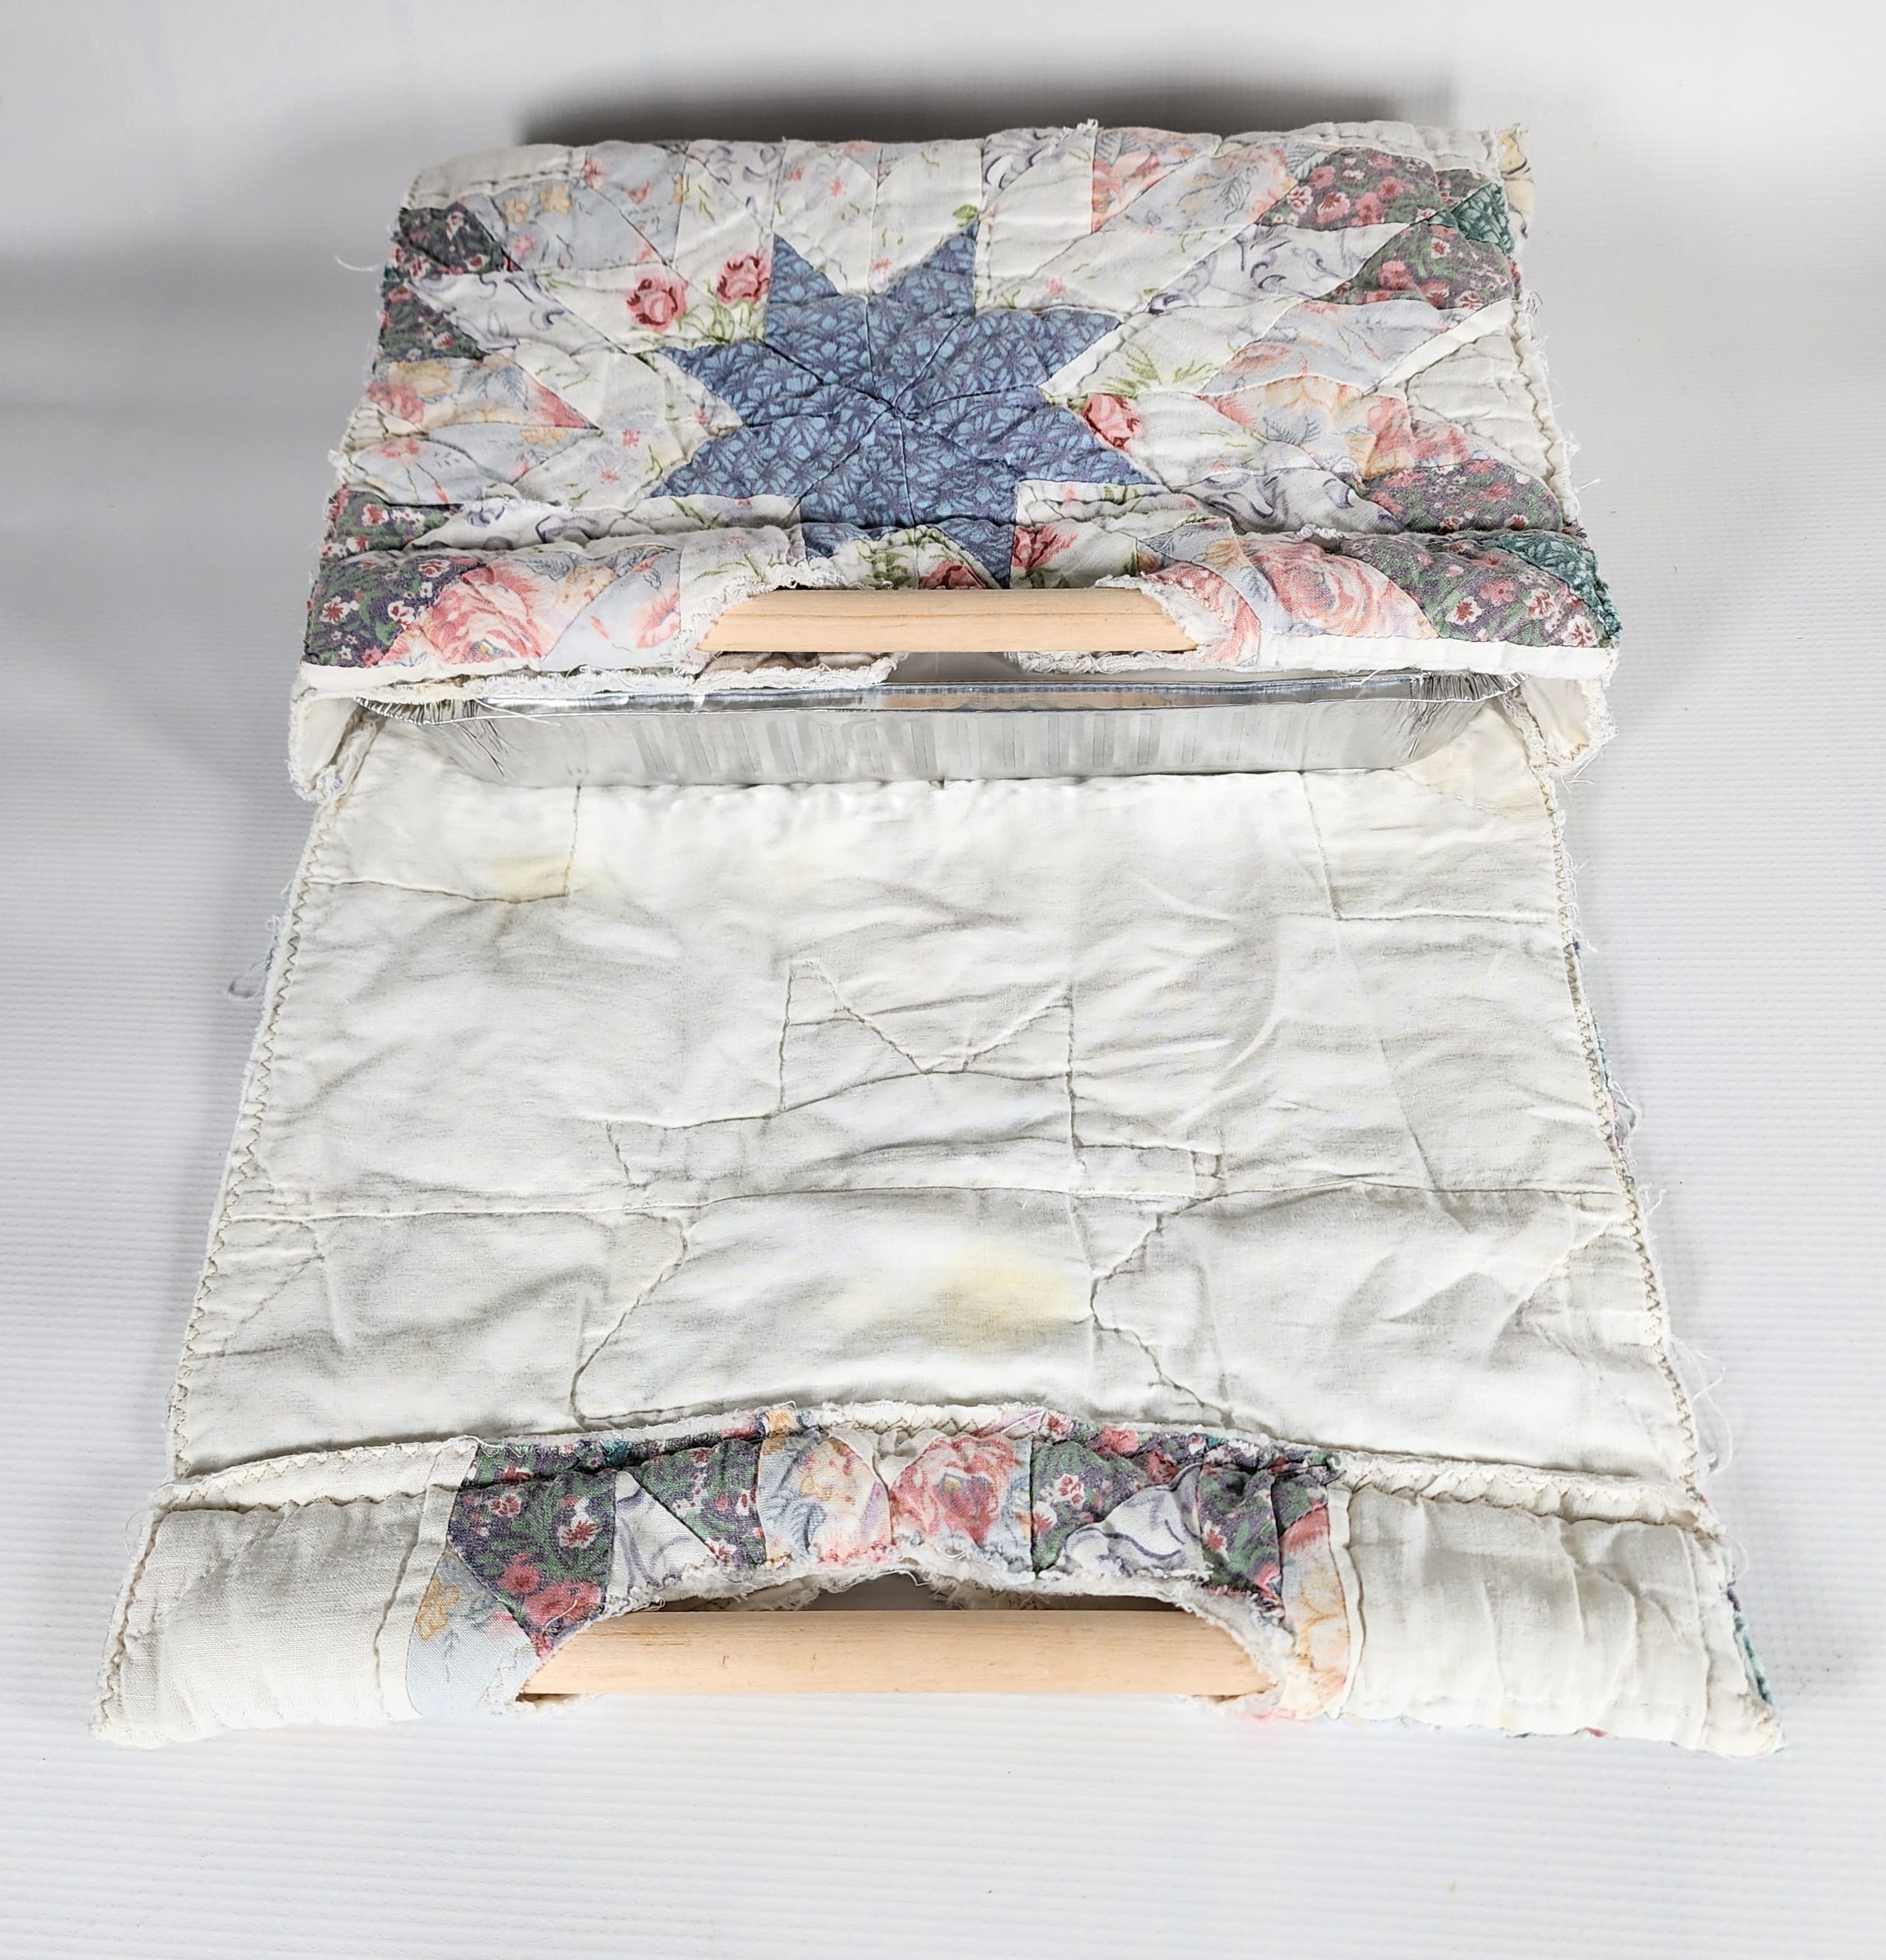
The ends tie nicely around the disposable pan. However, if you have a 13x9x2 glass casserole dish with handles, it’s a little tight in the fit.
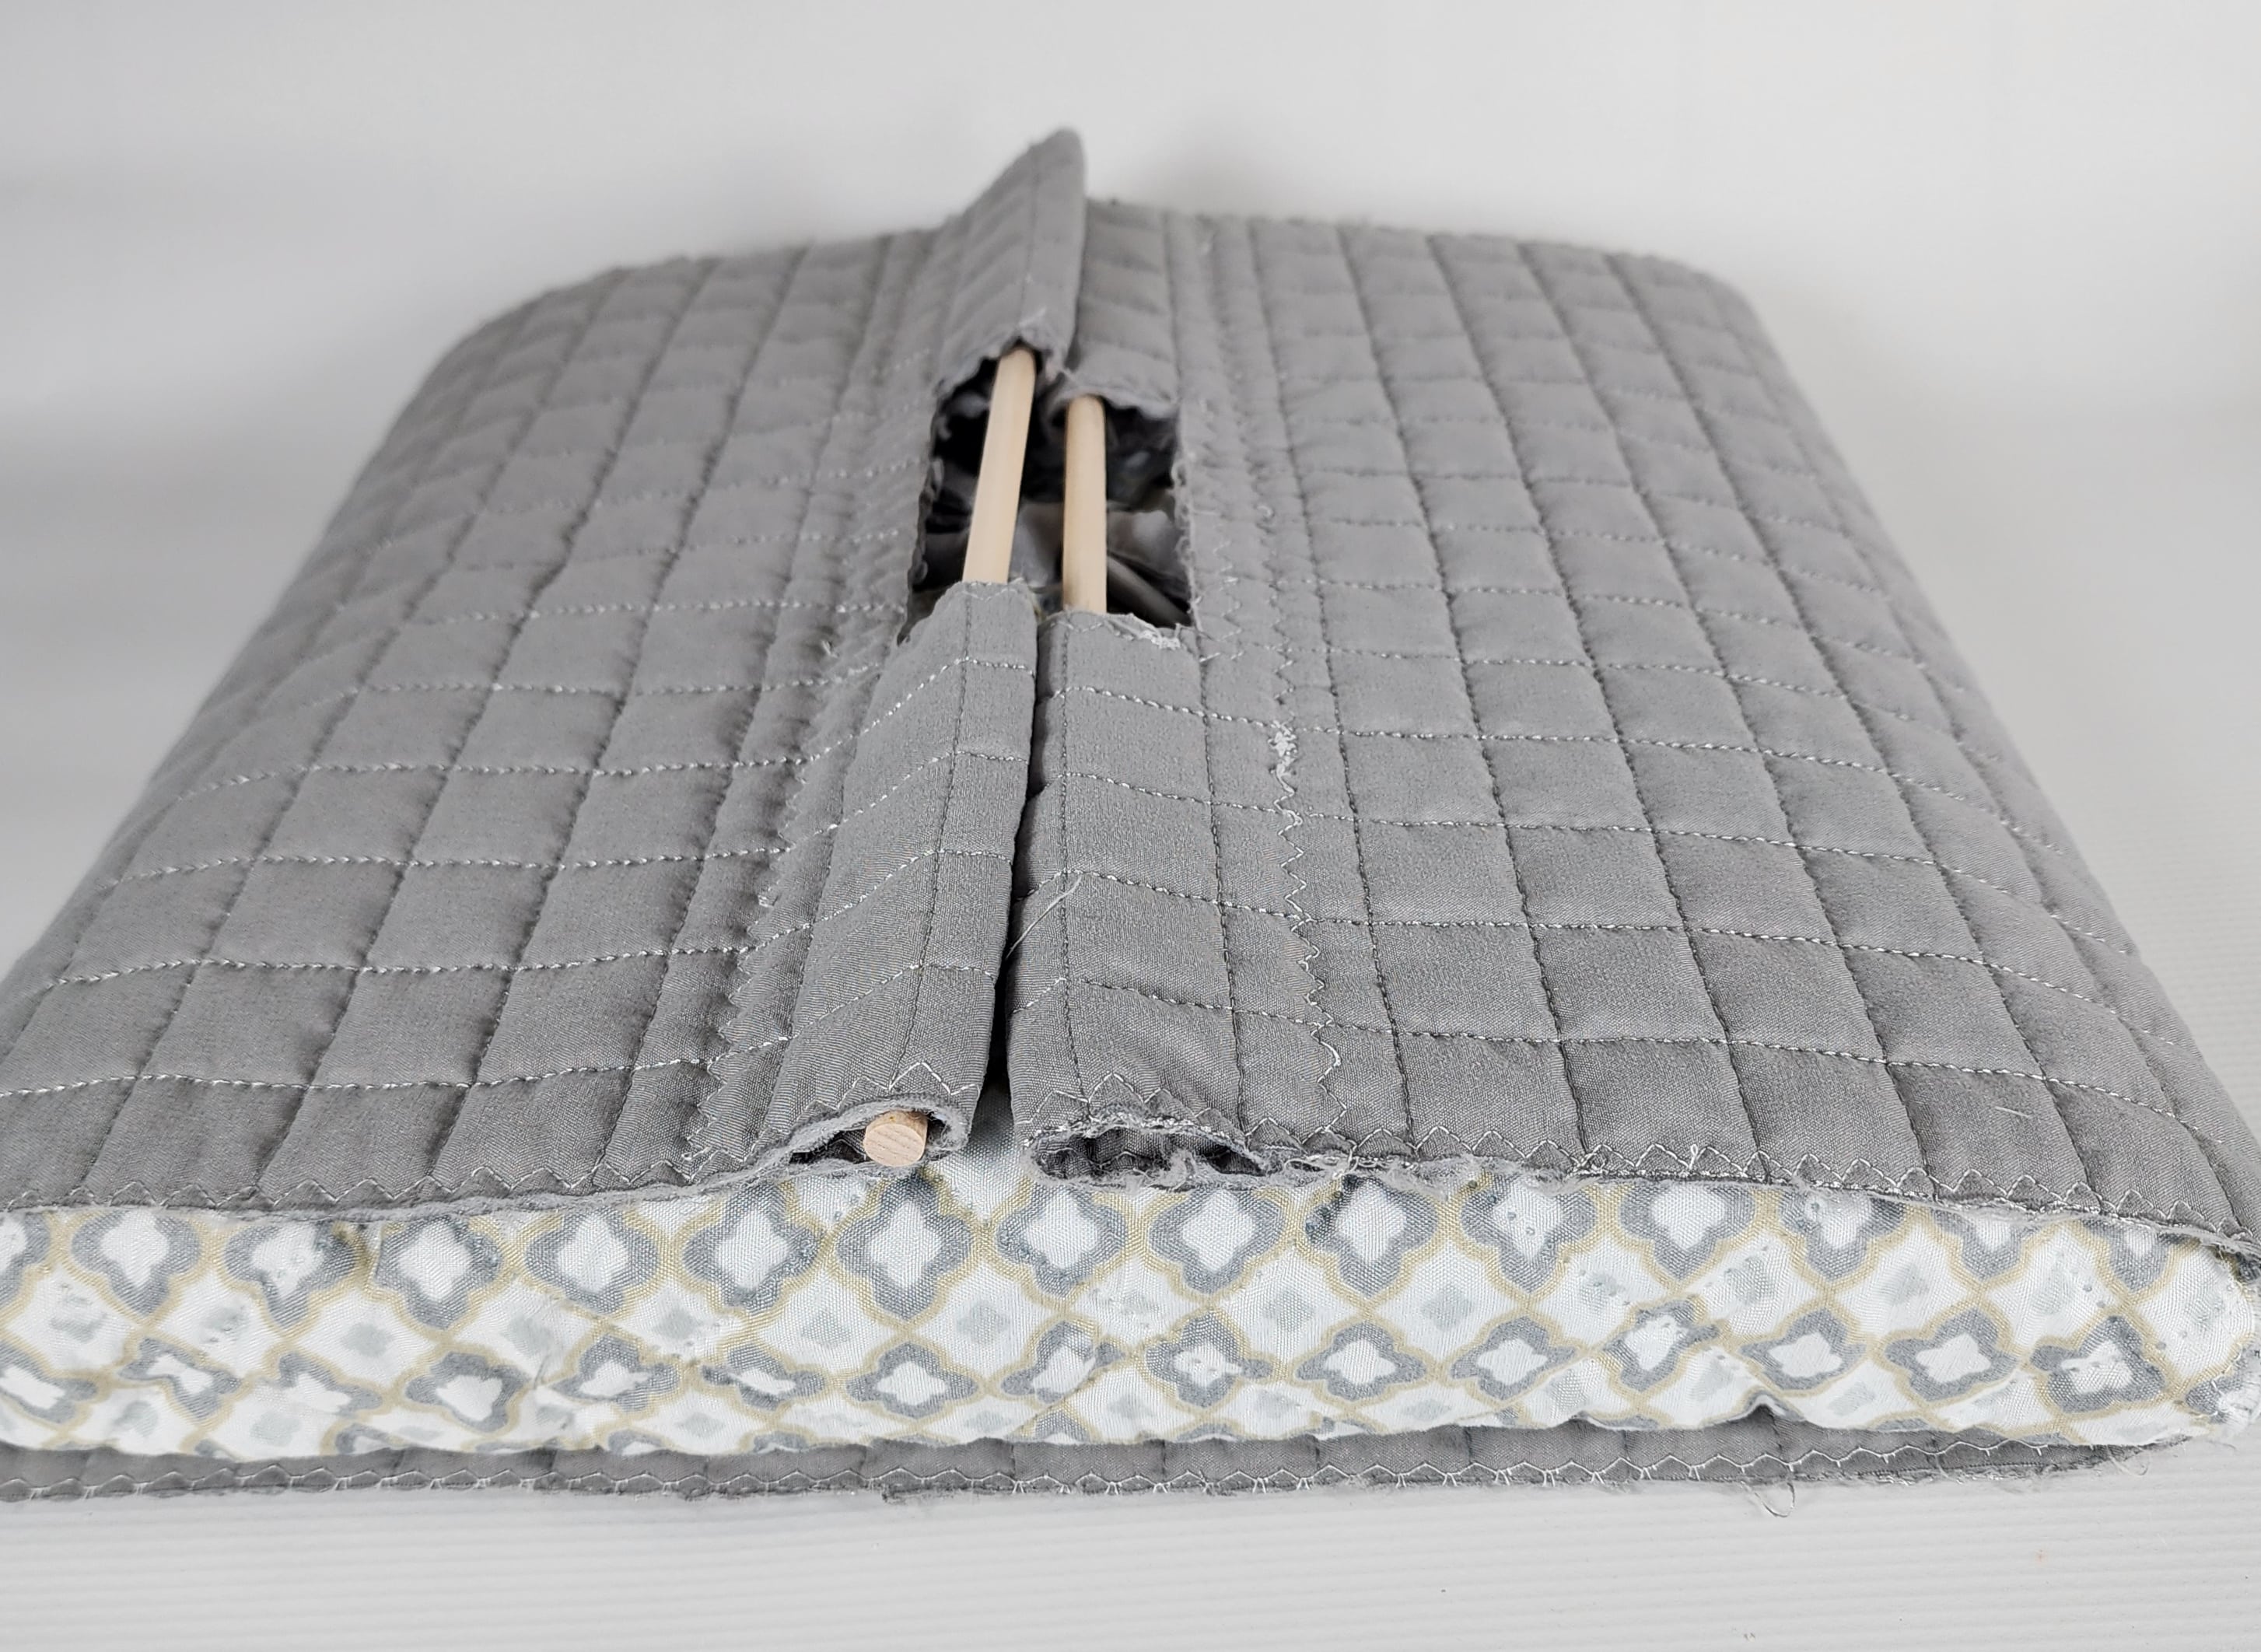
The dowels are craft dowels from my stash. They’re fine for the disposable tin pan, but for a glass casserole, I think they need to be larger in diameter.
How to Use a Quilted Casserole Carrier
The handles work great for carrying the casserole, and the flaps fold over during transport, helping keep the temperature steady.
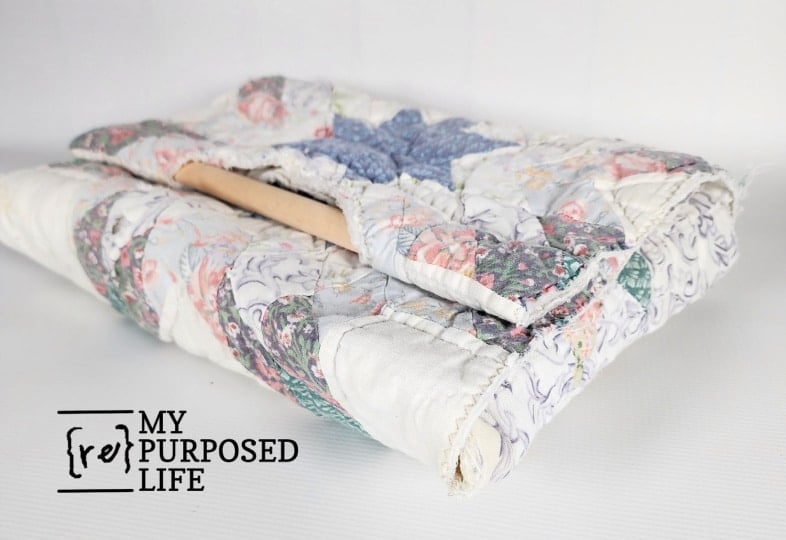
Vintage Quilt Casserole Carrier
Why Thrifted Quilts Work So Well
Old quilts are ideal for projects like this casserole carrier because they already have built-in padding and durability. The layers help insulate hot dishes, while the worn fabric adds softness and character you just cannot fake with new materials. Even quilts with stains, tears, or missing sections can be cut down and repurposed into something useful, making them a great thrift-store find for practical, everyday projects.
As promised, here’s my vintage quilted casserole carrier, stains and all.

This is what started my latest project. I took green beans and potatoes to that potluck, and used my casserole carrier to tote the crockpot. My friend saw it and wanted one for her slow cooker. As it turns out, the one I made her is too small for her larger crockpot.
So, if you want yours to double as a crockpot carrier, you may want to tweak your measurements. In addition, you will need larger dowels, like the ones pictured here.

This vintage quilt belonged to an old friend of mine. It had been in her family for years, and they were going to throw it out. I liked the color and the pattern. Even though I made the new quilted casserole carriers, I’m sure this one will still be my go-to.
If you’ve made your own, please tell me your best tips in a comment below.
DIY Quilted Casserole Carrier
If you love seeing ordinary thrift store finds turned into something useful, you are going to enjoy the rest of today’s Thrift Store Decor Tour. Be sure to click through the links below to see how the rest of the team gave new life to their own secondhand finds.
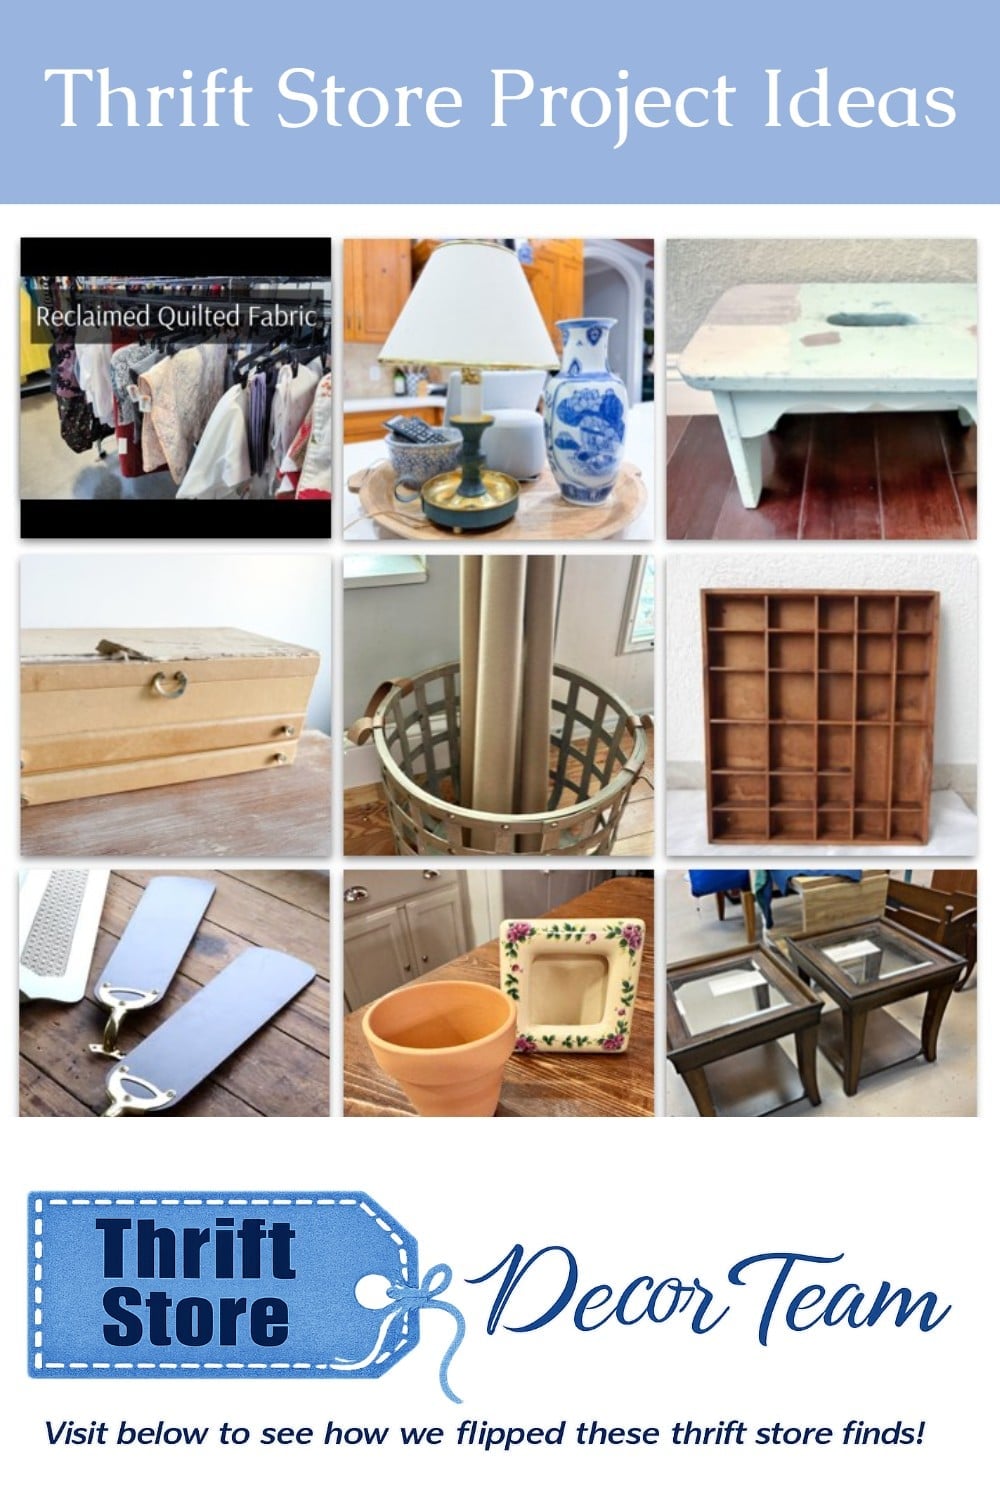
My Repurposed LifeQuilted Casserole Carrier Ideas Using Salvaged Fabrics
Our Southern HomeThrift Store Lamp Refresh with DIY Pleated Shade
My Uncommon Slice of Suburbia Stool Dupe that Looks Authentically Aged
Shop At Blu Mom’s Vintage Jewelry Box Makeover
Our Crafty Mom Heart Shape Paper Craft From Wrapping Paper Roll
Songbird Rubber Stamp Storage Idea
Funky Junk Interiors Upcycled Ceiling Fan Blade Wall Mounted Coat Hooks
Exquisitely Unremarkable Adorable DIY Pin Cushions
Redhead Can Decorate My 91 Year Old Dad’s Thrift Store Living Room
I am blown away by this! This is so clever! It’s such a great way to repurpose them!
Thank you so much Christy. Someone on FB said “uh, that’s a hard no for me”. Using reclaimed quilts. So I inquired would she use her own family heirlooms, and she still was a no. I love my original oh so old family quilt (from a friend). You just can’t replicate a beautiful old quilt made by someone’s grandma.
gail
Gail, this is a great way to use old quilts and I love it as a crock pot carrier! There are so many great patterns so you could make them for different seasons too!
Thanks Michelle! Happy to spark your thoughts! Have fun making some!
gail
Gail, this officially makes you the Jack (or Jill) of all trades. Are you taking orders??? Pinned!
hahaha Thanks Suzanne!
Did you see the part about I’d rather be sAwing? Not sEwing. 🙂 This was my one project for this year.
Thanks for pinning!
gail
Oh my goodness, this is so cute, Gail! And clever! My daughter would love this idea so maybe I will make her one!!
Gail- I love your quilted casserole carrier; you can tell the first one was well-loved! I love the print of the new one with the wooden handles. This reminds me of my grandma, she had also made a few of these, great tutorial! xo Kristin
Gail, this is such a great DIY. I have a bunch of old quilts, sentimental pieces, that I can’t bring myself to get rid of, but haven’t known how to use them. Thanks for sharing!!
What a nifty idea for those old quilts. And your tutorial was perfect! Thank you very much.
Thanks so much Marianne! I won’t be sewing again anytime soon. 🙂