Reclaimed Wood Photo Display
As an Amazon Associate, I earn from qualifying purchases.
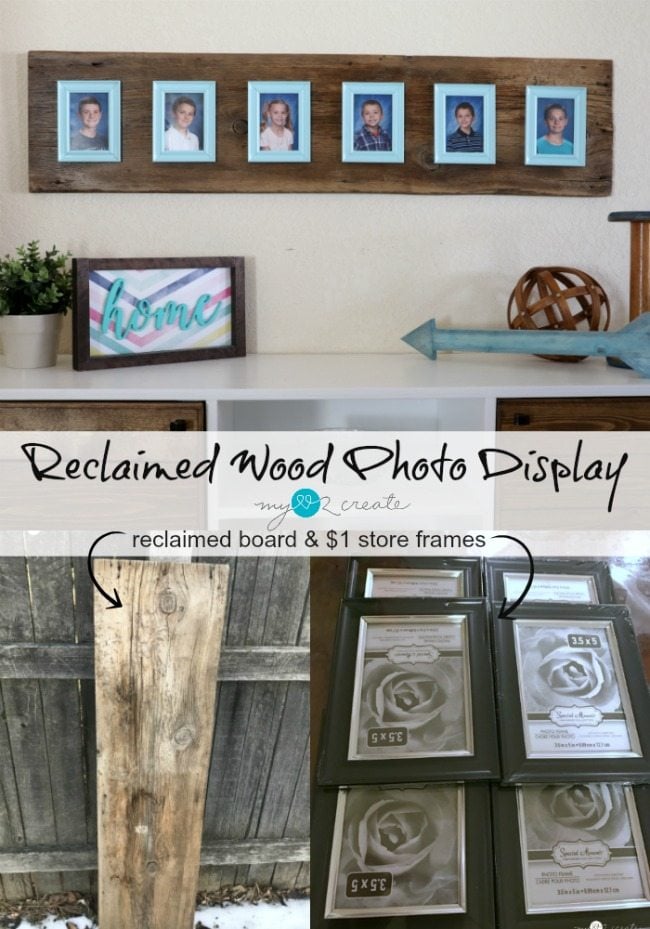
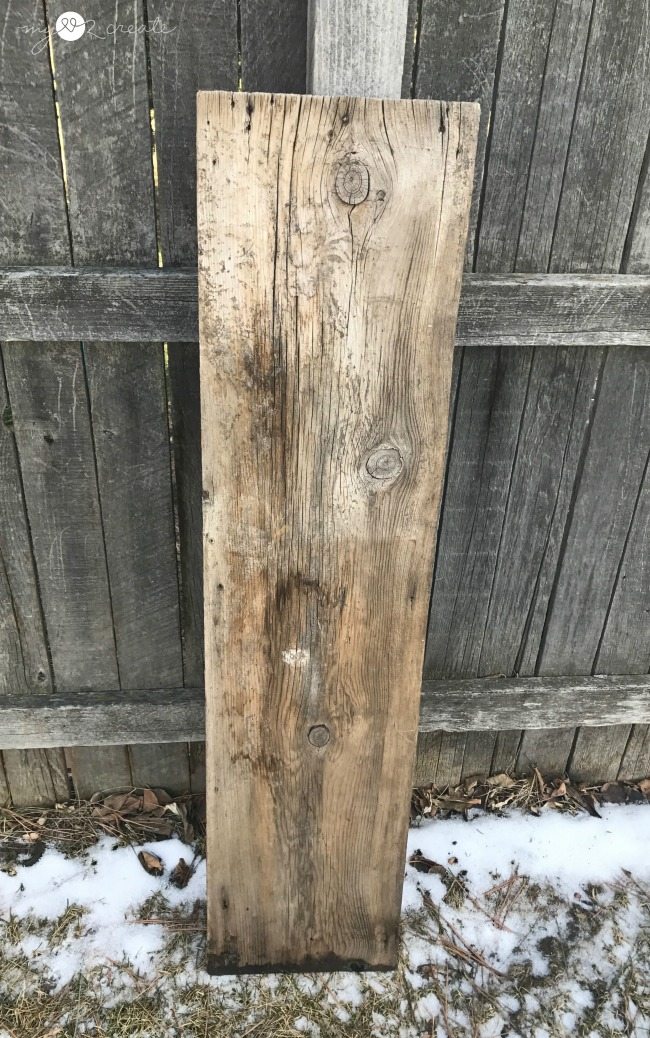
At 11 1/2” wide and 48” long I knew it would be perfect size for six small frames. The photos I used were 3 1/2″ x 5″.
I purchased these frames from the dollar store. With tax I spent $6.50 which was my total cost for this project, since I had everything else on hand! Yay, I love inexpensive projects!
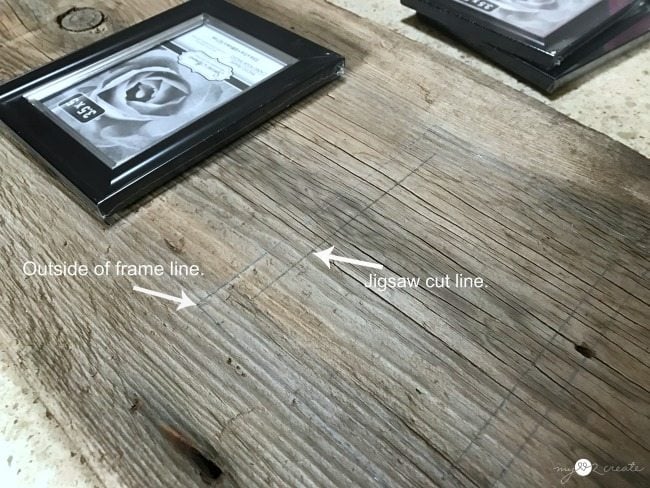
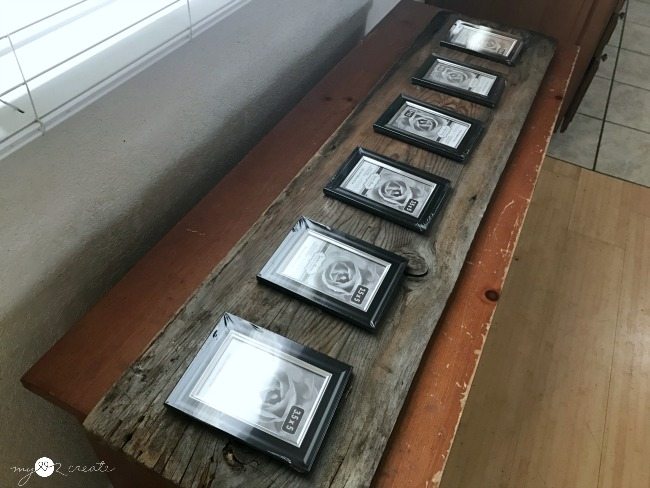
I had to pull out my math skills. I figured how to space the 6 frames onto the board leaving the same amount between each frame and the sides. Once I knew where the outside of the frames needed to go I traced them onto the board. After measuring the width of the frame sides and the back opening I figured out that I needed to cut a hole 1/2” smaller on all sides than the outside of the frame.
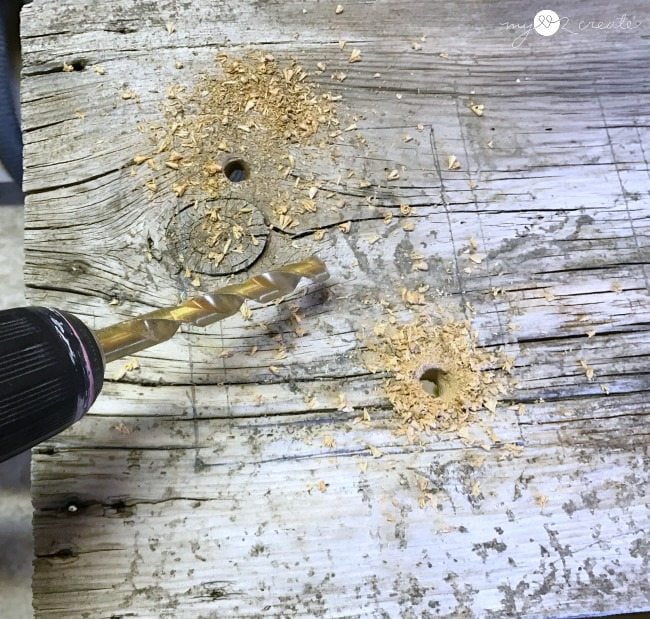
I drilled two holes into the inside of the jigsaw cut lines for all six frame sections. The holes need to be big enough for your jigsaw blade to fit through.

Then I proceeded to cut out the inside of each frame using my Ryobi Jig Saw. I wasn’t too worried about how perfect the openings are, they will not be seen. You just need to make sure the back of the frame is exposed so that you can access the photos.
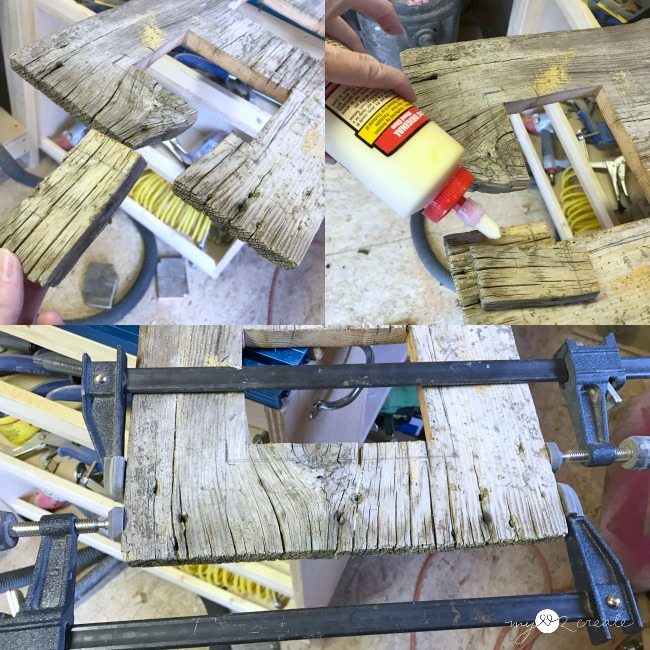
Since this was a SUPER old board I had a piece fall off when I was cutting out the last frame. It was no biggie, I just used wood glue and clamped it back together.
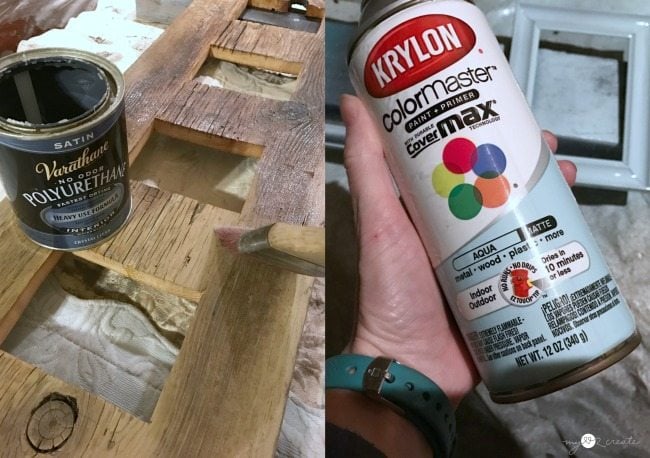
After giving my board a good sanding I finished it off with a couple of coats of poly. I also spray painted the frames a fun color from my Repurposed Crib Paint Shelf. I did remove the glass and backing first. 😉

You can use a variety of glues to attach your frames, I was planning on using E6000, but I couldn’t find mine, so I opted for good old hot glue. I ran a bead around the edge of the frame opening and then put my frame in place. I tried to measure quickly before the hot glue set to make sure it was in the correct place. They aren’t all exactly perfect, and that is ok. 😉
Hot glue dries so fast, I would recommend E6000 Craft Adhesive or Gorilla Epoxy, so you have time to move them to make sure they are spaced evenly.
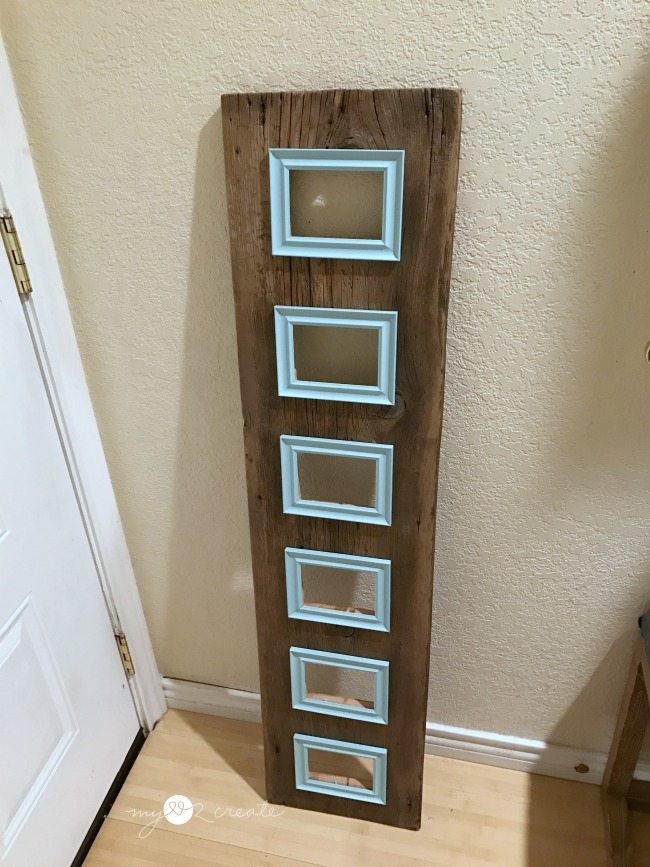
Here is a shot without the pictures, and I love it already! I kind of wish my photos were horizontal, I like the look of the Reclaimed wood photo display standing vertically. Oh well!

To add the photos I flipped the board over and inserted the glass, photos, and back piece. I used a table knife to put the tabs back down. You can see I ripped off the little stand that was on the backing of the frame, it only would get in the way, plus it was easy to bend back and pull off.
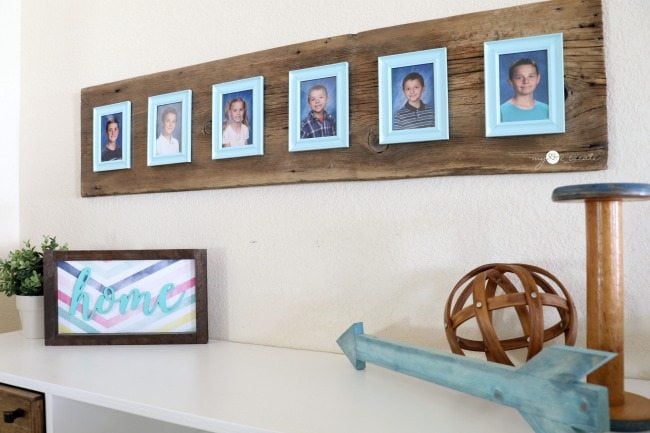
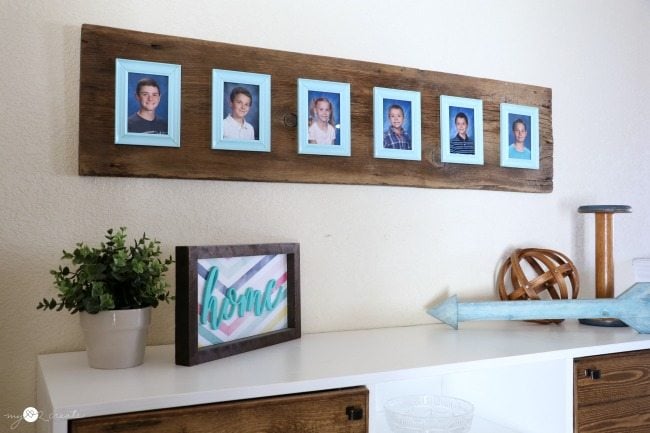
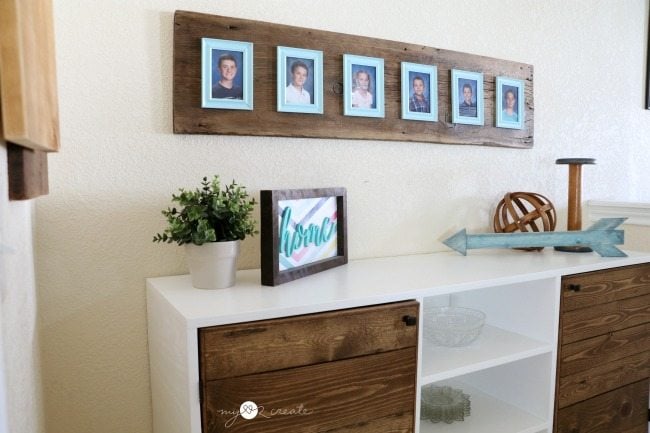
It is such a fun way to display photos, and so easy to switch them out when you need too.
Plus you can’t beat the price! Of course you could easily make it with a new board too. Or even attach multiple boards together and do a collage with different frame sizes…the options are limitless!
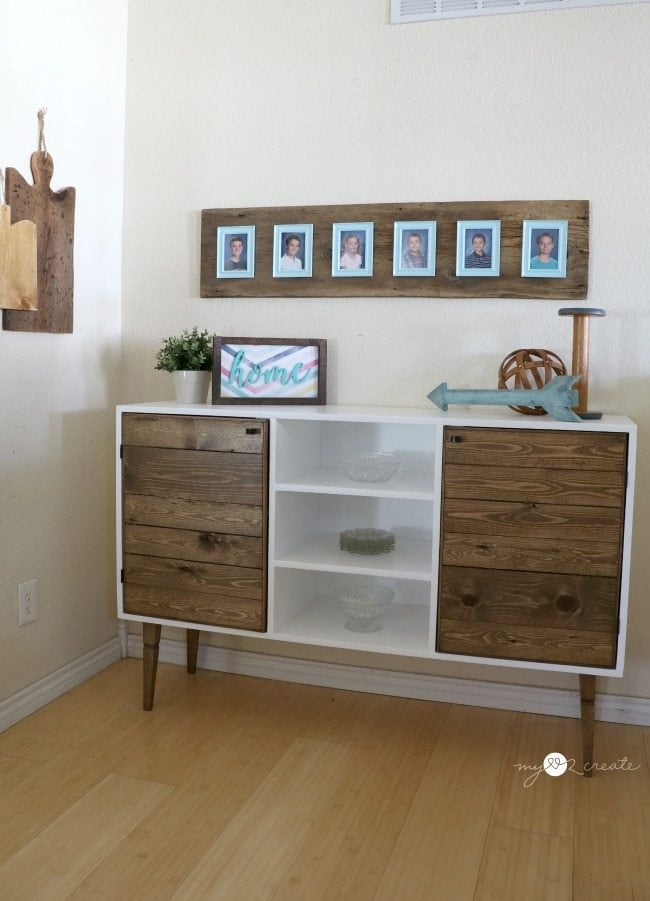
I love the rustic wood look with the colorful frames, and it goes so well with my Modern Rustic Buffet!
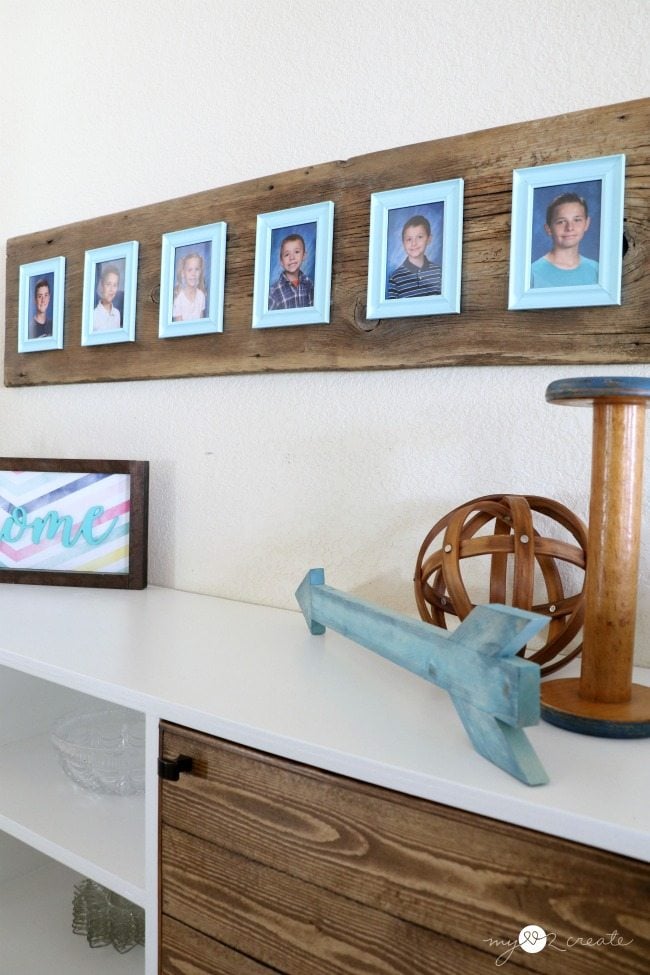
Now I have no excuses not to display my cute kids school photos!
Do you think you would do a project like this?! Trust me it is pretty easy, and jigsaws are great tools to start with!
Thanks for reading! For more great jigsaw projects check out my blog!
Mindi
see more of Mindi’s posts on MRL here
Related Content: Picture Frame Ideas For Home Decor and More
That looks gorgeous Mindi. I love the way you used a jigsaw to “counter sink” the frames. It creates such a lovely effect and it’s perfect for the kids photos.
Thank you so much Michelle! I love the jigsaw trick too, and it is pretty easy to do!
Great job Mindi! I really like that.
Thank you so much Pam! 🙂
This is such a wonderful way to display family photos, Mindi – I love the painted frames against the rustic wood. And I had no idea you had 6 kids – they are adorable!
Angie you are so awesome, yep 6 kids, I kind of think they are adorable too! 🙂 Thanks for your sweet comment! I am always a sucker for rustic wood and pretty colors together!
Mindi,
I love this reclaimed wood photo display project. That old wood is beautiful, and you can’t beat the price on the dollar store frames. 🙂
Excellent job!
gail
Thank you so much Gail! I love a project where the price is right!
You are awesome!!! I wish we were neighbors…
Ha ha! Thanks, that would be fun!!
Great idea -love the wood background and when I first looked at the beginning image I would have never guessed you cut into the board for each frame. This is really awesome!
You are right it is hard to tell, but it makes changing out the photos so easy! Thank you so much Carole! 🙂