Reclaimed Wood Skyline Artwork | Louisville Kentucky
As an Amazon Associate, I earn from qualifying purchases.
Looking for a unique way to decorate with reclaimed wood? This DIY skyline artwork project transforms scrap wood into a one-of-a-kind piece of framed wall art. Perfect for rustic or modern farmhouse decor, this wooden skyline is an easy, budget-friendly project that adds character and charm to any room. If you love reclaimed wood art, this creative idea is a must-try!
I’m joining in the Wood Art Challenge with my building blogger friends. The only rules for this challenge are that it must be primarily made of wood and be square. The skyline art project was a little challenging because most skyline artwork you see is rectangular.

If you’re visiting from the Wood Art Challenge, Welcome to My Repurposed Life. I’m Gail Wilson, a lover of everything repurposed, reclaimed, and recycled! This is where Rescue, Reimagine, and Repeat happen on a weekly basis.
I hope you love this Reclaimed Wood Skyline Artwork project!
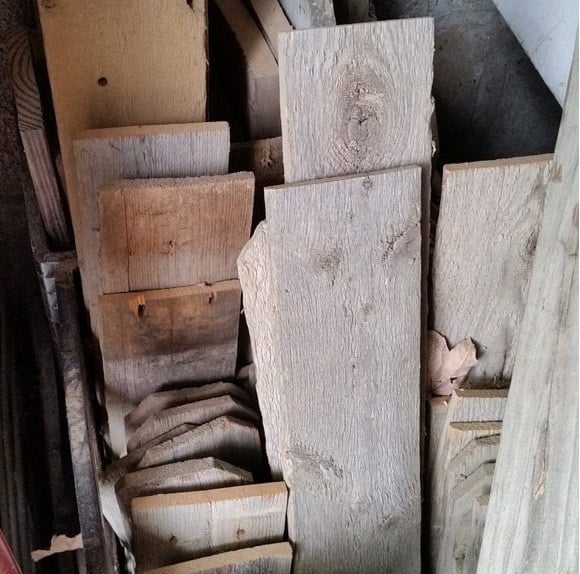
Rarely do I ever throw away any scraps. You can see the two different-sized fence boards I used for this project. The narrower and thinner boards were used for the buildings. The wider, more traditional dog-eared fence boards were used to frame this project.
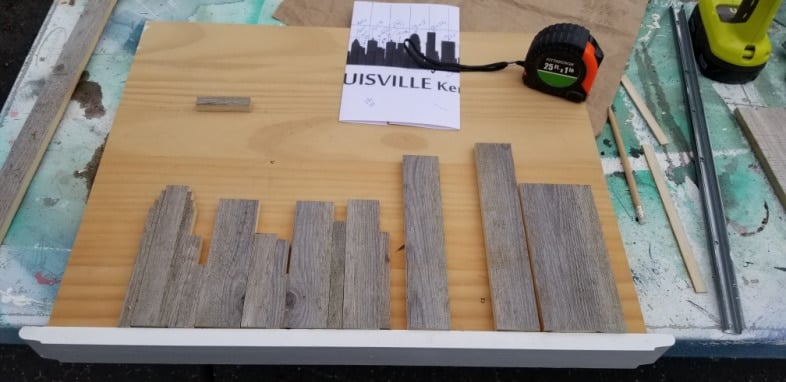
I printed out a picture of the Louisville skyline, then drew 1-inch grids to keep the buildings pretty close to “scale”.
Materials used for reclaimed wood skyline art project
- 1 thin weathered fence board
- 1 standard weathered fence board.
- Tape measure
- Miter Saw
- Table Saw
- Wood Glue
- Paint
- Staple Gun
Rip Fence Board on Table Saw | Cut to Length on Miter Saw
- Rip Reclaimed Fence on Table Saw in varying widths
- Cut to length on the miter saw
- Add angles using a miter saw
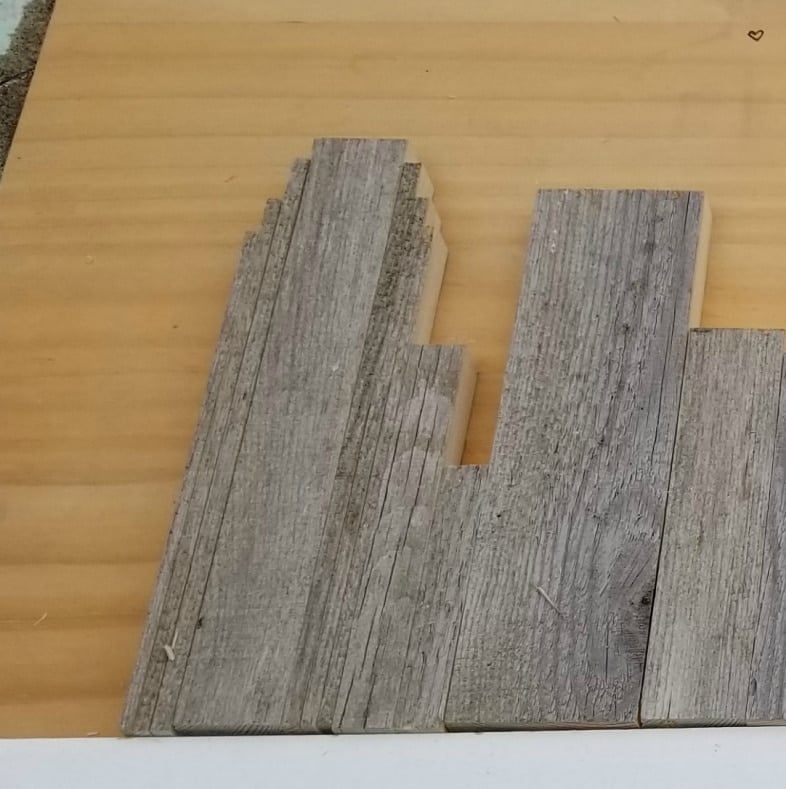
The weathered portion of each board was cut off to make a fresh cut on both sides of every building.
Use a small piece of plywood for the backer board on your reclaimed wood skyline artwork project. I pick up these thin plywood “drop-offs” from a local Peddler’s Mall. This board was 2’x4’. Because this wood challenge had to be a square art project, I cut it on the table saw to be a 21” square.
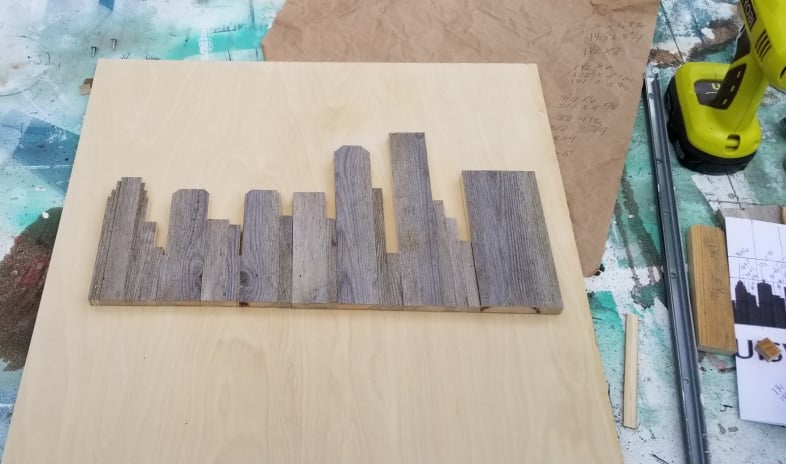
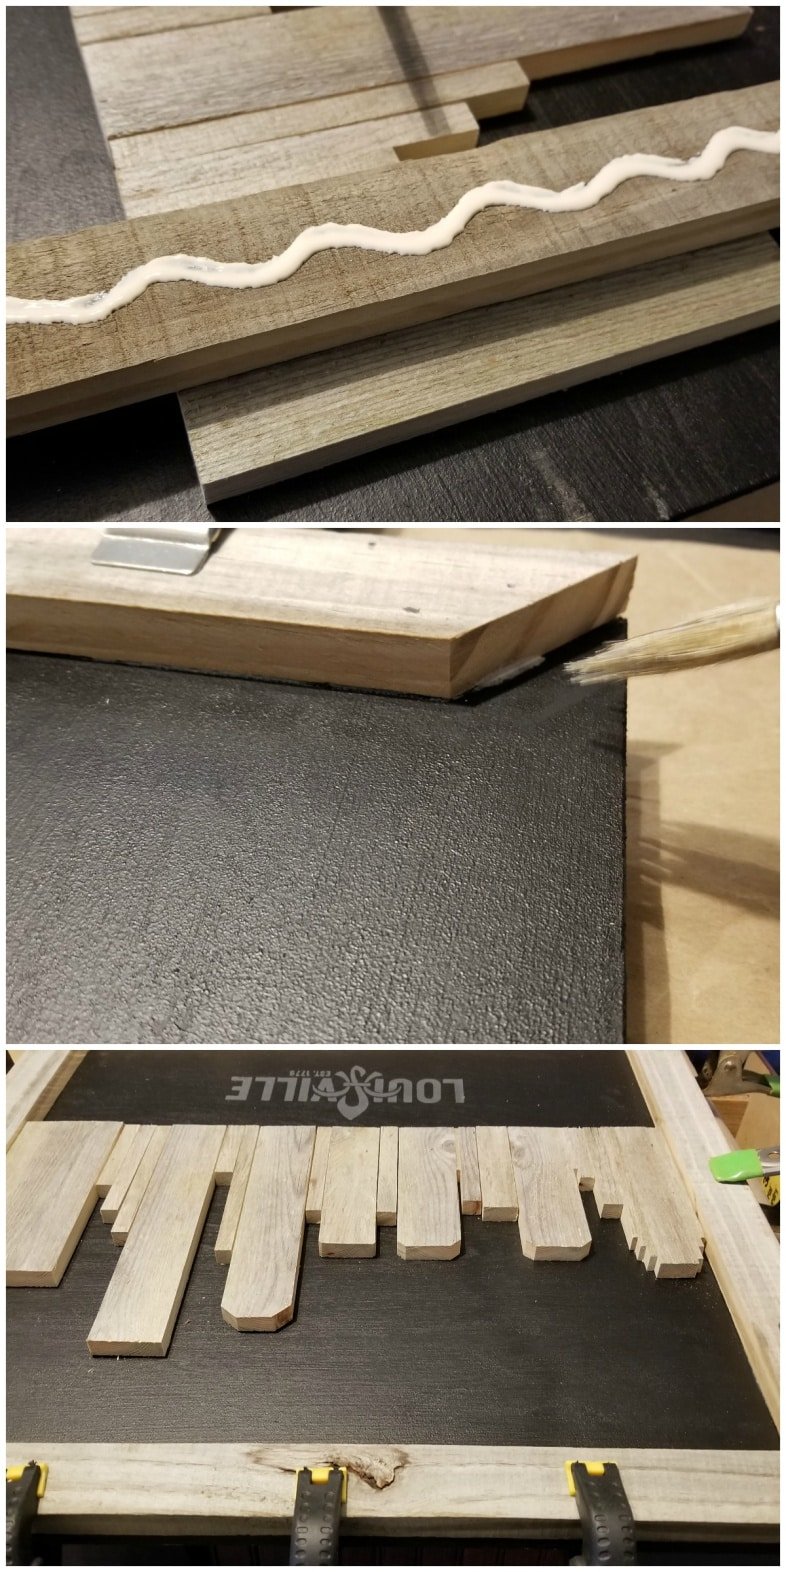
This is the final “draft”. I did end up ripping the building on the far right. It seemed like it wasn’t quite to scale.
Related: see more small scrap reclaimed wood projects
Paint Skyline Backer Board Black

A small foam roller makes painting a project like this quick and easy.I painted the front and all four sides of the backer board. I used Heirloom Traditions All In One Paint (Iron Gate)
Make Rustic Frame For Artwork
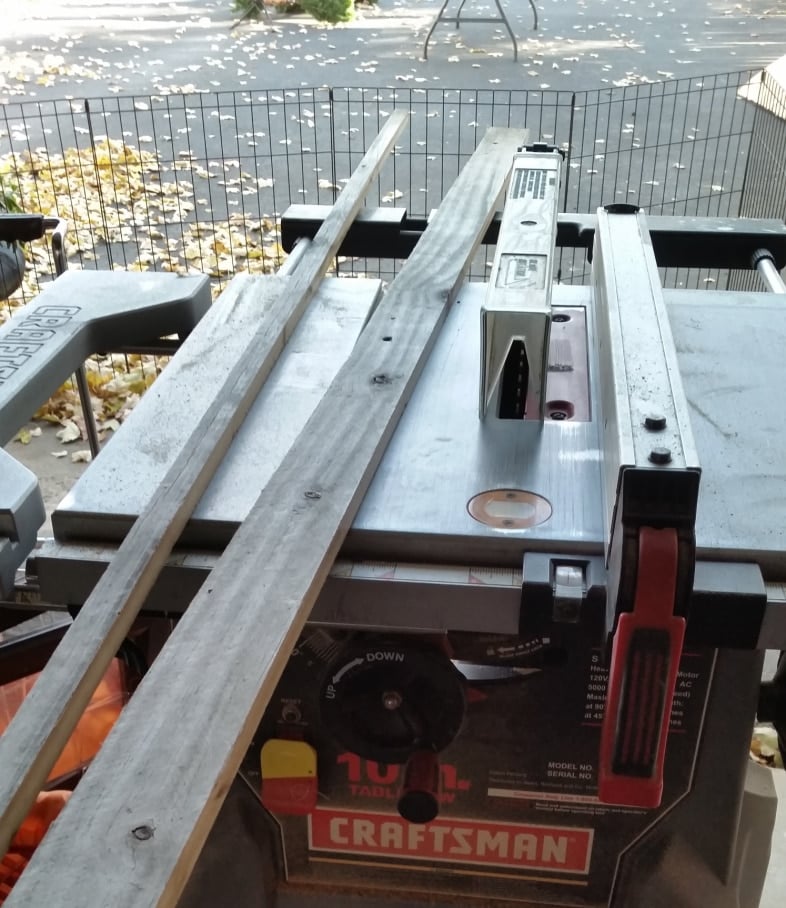
My table saw is on the small size, but it never lets me down.
This is where standard-size fence boards were used. I ran the board through the table saw twice to get two lengths measuring 1.5”. When making a rustic frame, I like to keep all the weathered edges on the outer portion of the frame and all the fresh cuts toward the inside. To achieve this, I removed 1.5 inches from the right side and 1.5 inches from the left side.
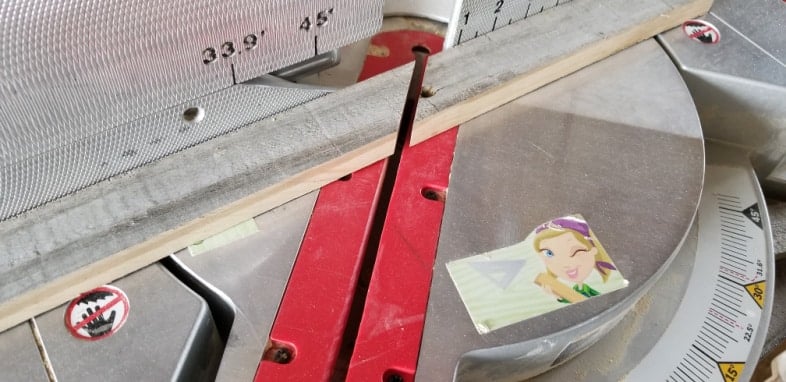
The boards were cut at a 45° angle, with the long sides all being 21”. I tried to cut around the screw holes to make the frame more aesthetically pleasing.
See More Easy Rustic Frame Ideas Here
Glue Boards Onto Backer Board to Make Reclaimed Wood Skyline
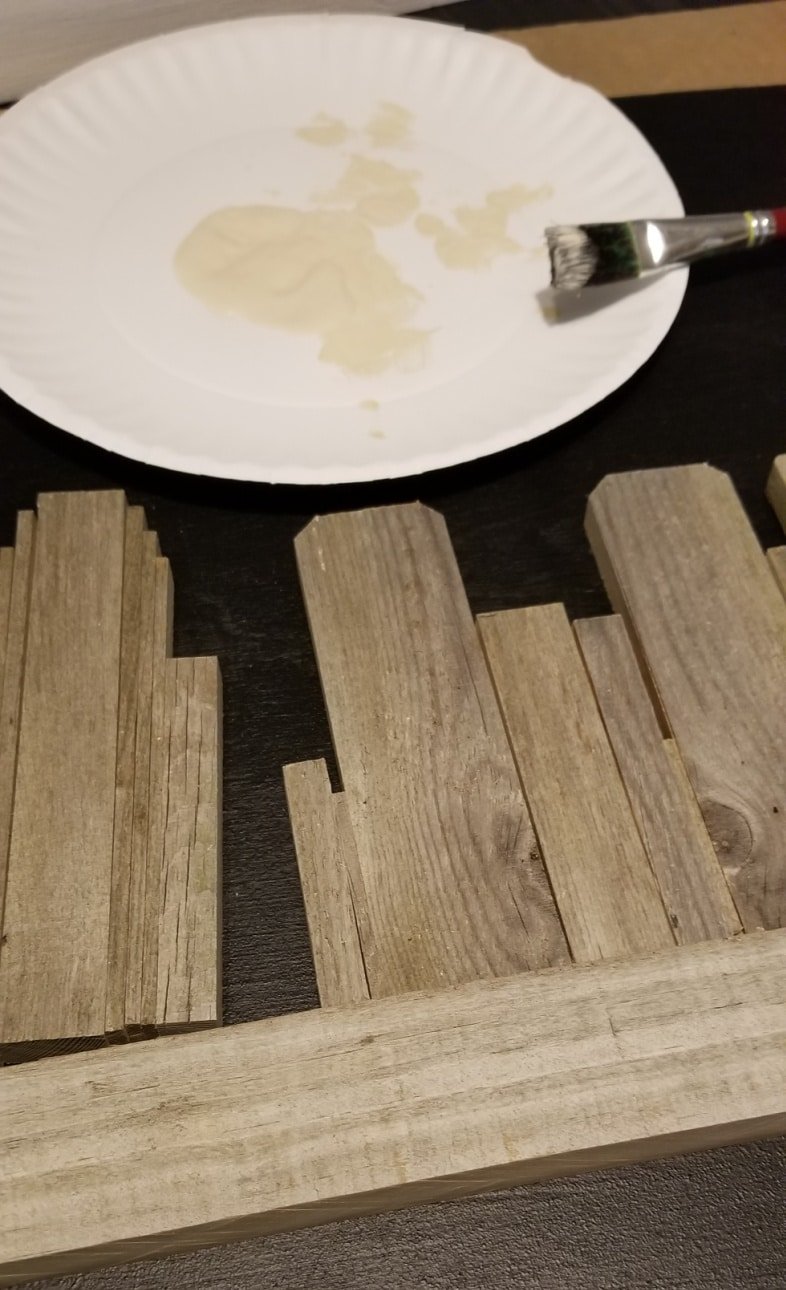
I removed one board (building) at a time and applied wood glue with a small paint brush, then replaced each building. One of the boards for the frame was used to align all the buildings.
How to Apply Vinyl With Painter’s Tape
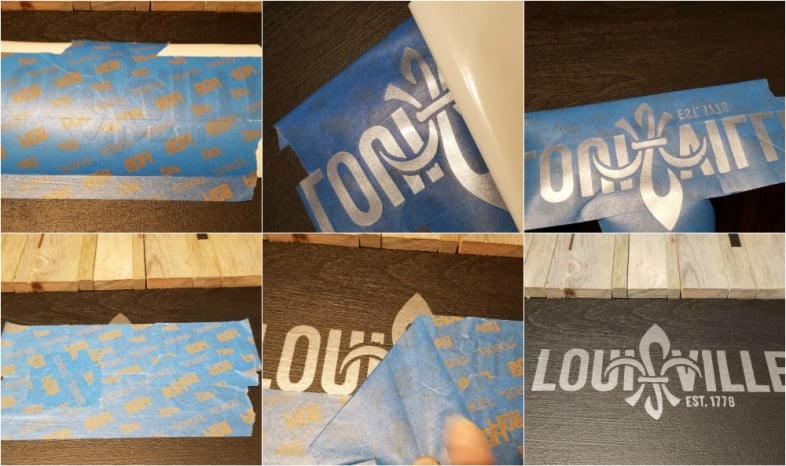
The Louisville logo was cut out of vinyl on my Silhouette Portrait. I like to use painter’s tape on quick and easy transfer projects.
- Cover a small vinyl project with painter’s tape. Allow overhang to attach the vinyl to the project board.
- Flip the vinyl upside down, leaving the tape attached to the project board.
- Peel the backing paper away.
- Vinyl is revealed.
- Flip the vinyl back up onto the project board.
- Peel painter’s tape away.
- Voila! Enjoy your new vinyl transfer.
How to Attach a Weathered Frame for Rustic Skyline Artwork
- Apply wood Glue
- Use a clean, damp paintbrush to remove wood glue from tight spaces
- Clamp frame—allow the glue to set
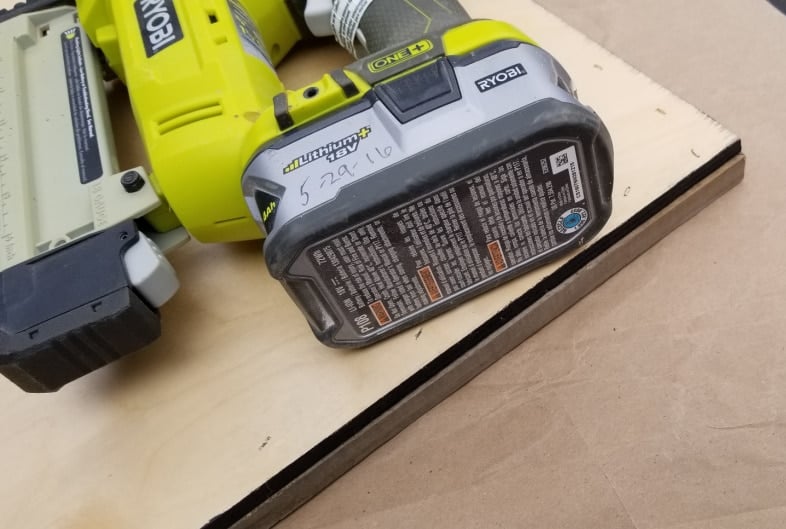
A staple gun adds extra strength to hold the frame in place on the reclaimed wood skyline artwork. No fasteners were used for the reclaimed wood skyline buildings, only wood glue.

Related Content: Valentine Heart
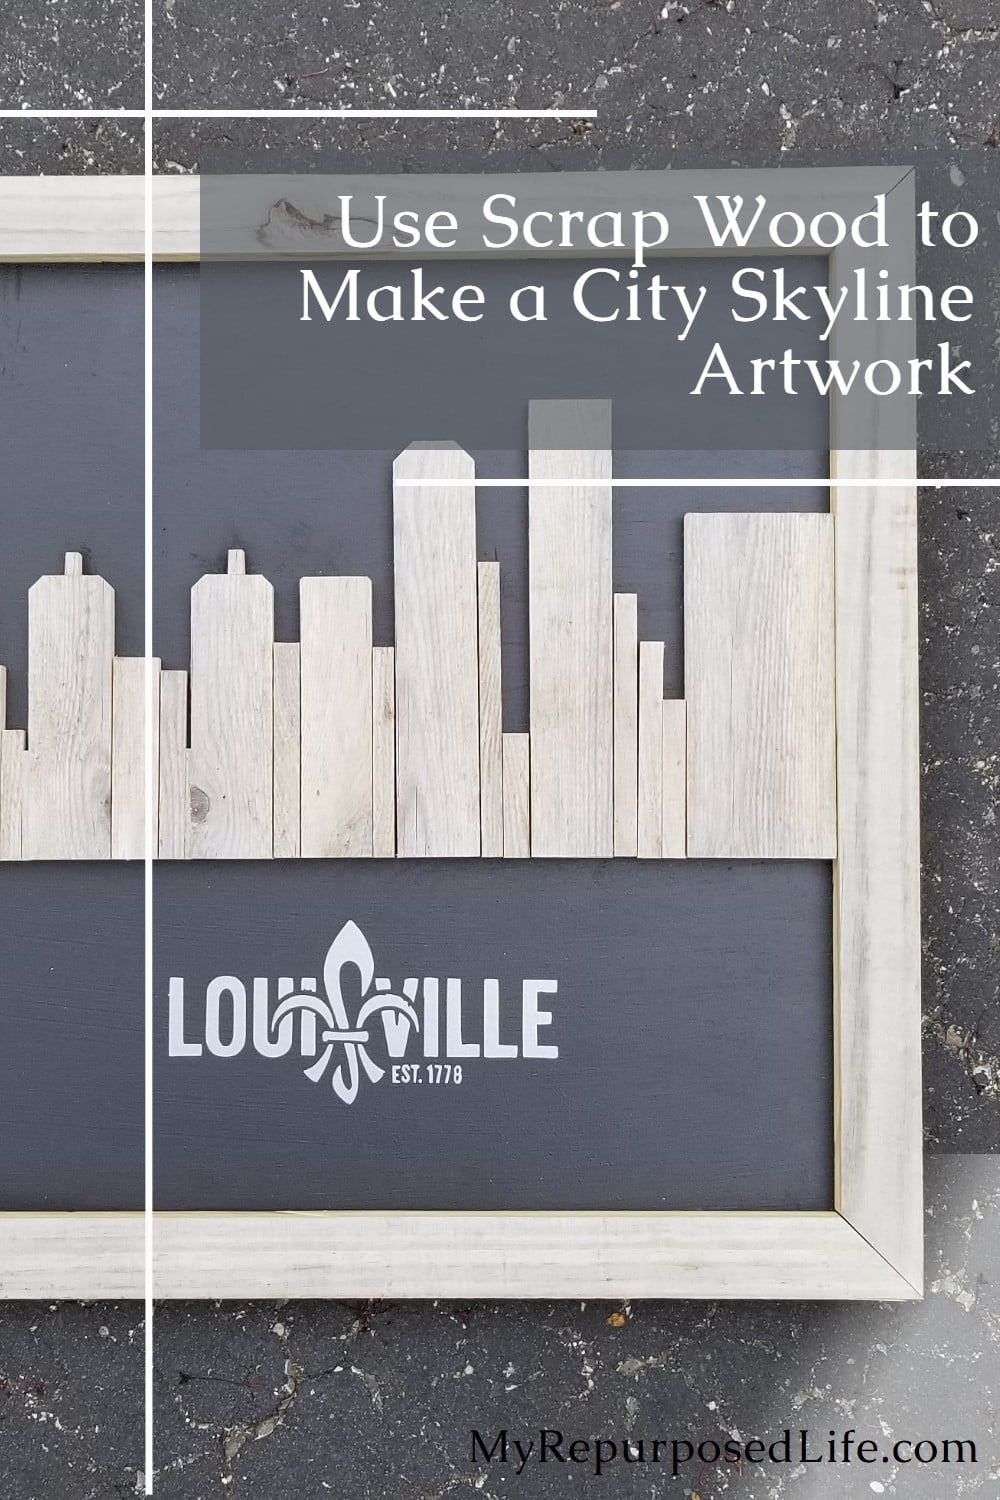
You can see that some of the buildings have slight gaps in between them, others are up against each other. I really love how this project turned out and I it’s so much fun joining blogger group challenges that allow me to work on something out of the norm.

Check out great Repurposed Projects here!
I’m so excited to check out what my friends have made for their square wood art challenge project! I hope you find something to inspire you to pick up some tools!
Wood Art Challenge Projects

1) Reality Daydream / 2) 100 Things 2 Do / 3) House Becoming Home / 4) Anika’s DIY Life / 5) My Repurposed Life / 6) 3×3 Custom / 7) One Project Closer / 8) Merrypad / 9) Chatfield Court / 10) Create & Babble / 11) Hazel & Gold / 12) Jen Woodhouse / 13) Sawdust 2 Stitches / 14) Wood Work Life / 15) Remodelaholic / 16) Evan & Katelyn / 17) Jaime Costiglio / 18) Pneumatic Addict / 19) Bower Power / 20) Lazy Guy DIY / 21) My Love 2 Create / 22) Addicted 2 DIY / 23) Her ToolBelt / 24) Shades of Blue / 25) Ugly Duckling House / 27) DIY Huntress / 28) Mr Fix It DIY
Wow! Where to start? Those square Wood Art Challenge projects are amazing!!!
gail
sharing at Inspiration Monday
Wow Gail, this is so cool! Love that you used reclaimed wood. Such a fun way to show love for your hometown. Pinning!
Wow that is awesome, I am always amazed at your creativity. I bet you lay awake at night thinking, I can make this and this and this….. Instead of counting sheep you count boards lol.
Hugs, Bonnie
hahaha inspiration comes to me everywhere I go. I’m always looking at things to see how they are made and wondering “what could I use to make that”. 🙂
Thanks for being such a good friend to MRL Bonnie!
gail
I love it! This would make a wonderful gift, too. I want to make one of the Pittsburgh skyline – my hometown. Pinning!
I love this skyline! This is such a great idea. I’m adding it to my DIY gift list!
Love the skyline! So creative!
so cool. i really like it!
I love the skyline! Amazing job!
It looks so beautiful, Gail!
This is so incredibly awesome! I might be a bit biased, as I’m in Louisville as well. 🙂
Love it Gail!! You’re so creative, now I want to make one for Mobile – looking across the bay! Pinned it so I can remember how to do it 🙂
I love this, what a fun way to display your city that you’re from or where you’ve moved to. Would it be too gaudy if you put some tiny battery lights peaking from the sky? I’m thinking this might be tacky but cool.