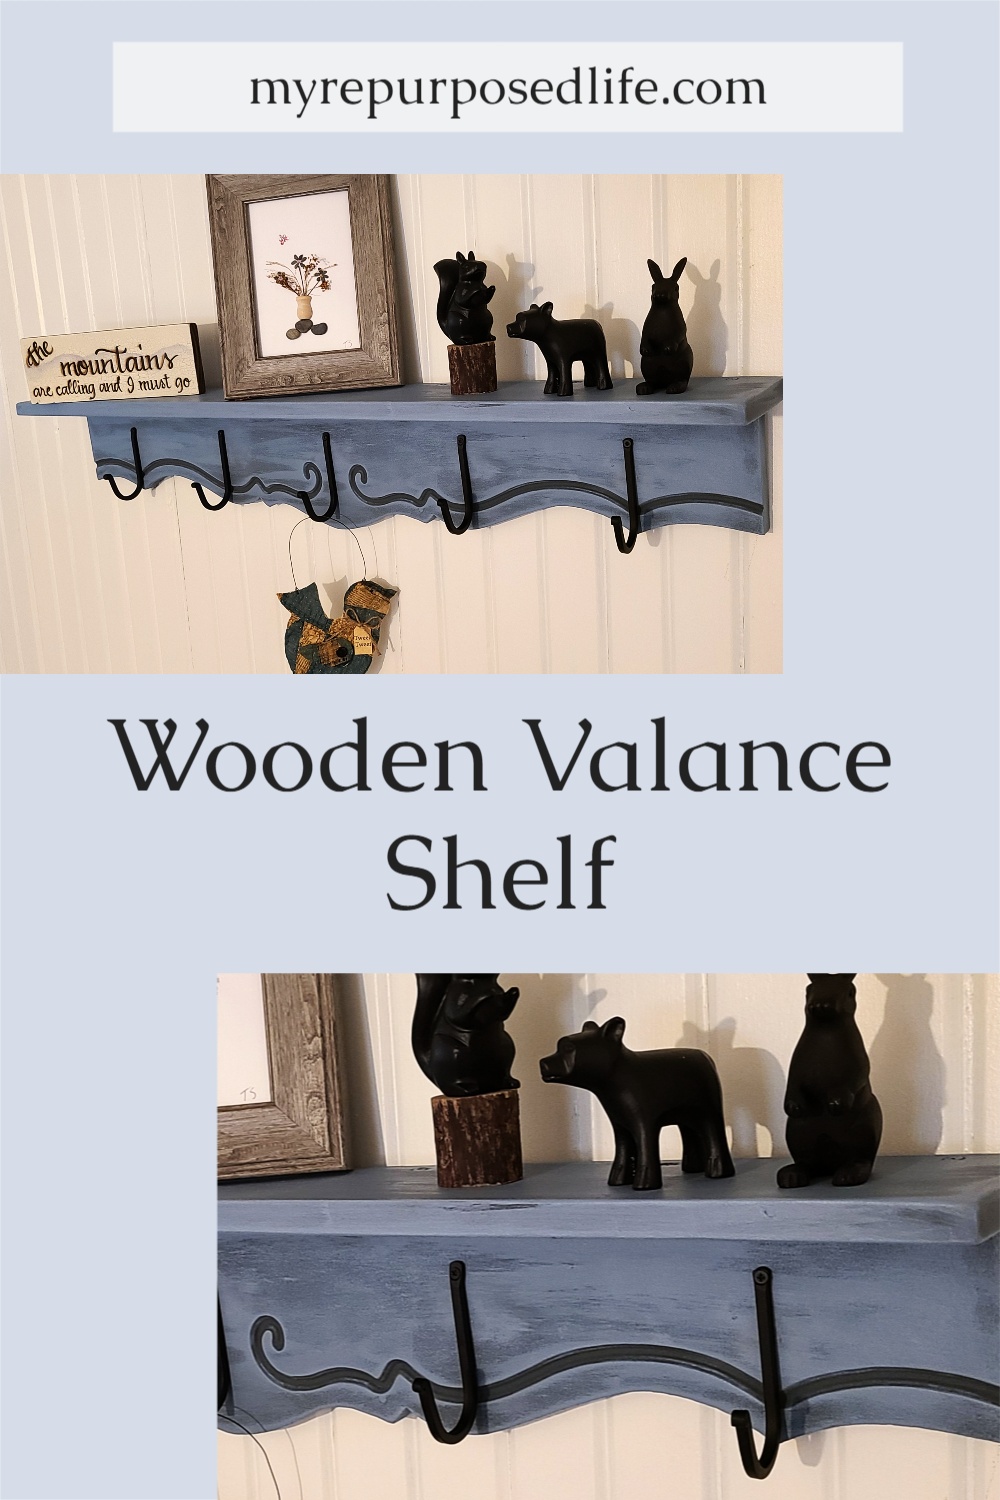
Reclaimed Wood Valance Shelf
As an Amazon Associate, I earn from qualifying purchases.
Do you know what a reclaimed wood valance is? I’m talking about that valance over a sink that connects two sets of kitchen cabinets together.
By the way, it’s time for our monthly Thrift Store Team features. Be sure to see all the wonderful goodies from my friends.
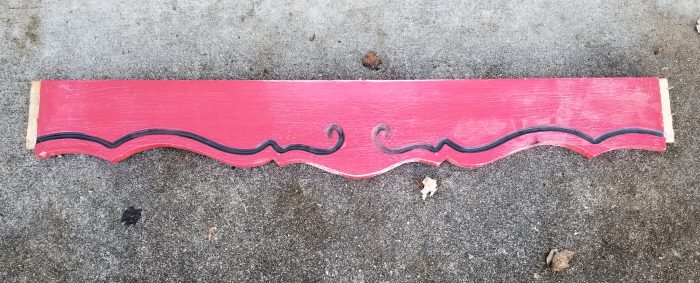
Seriously though, I really am not positive that this is a wood valance from a kitchen. But it looks like it could have been in an early 70’s kitchen, right?
You may recognize this–I’ve already used it for a project.
Christmas Stocking Shelf

This stocking shelf was in fact a Thrift Store Team project. I think it looks adorable here, but alas, when I took it to my booth, it did not sell. So, after Christmas I decided it was going to get a do-over!
Visit the My Repurposed Life Amazon Store to shop my favorite items.
Remove Hooks & Paint
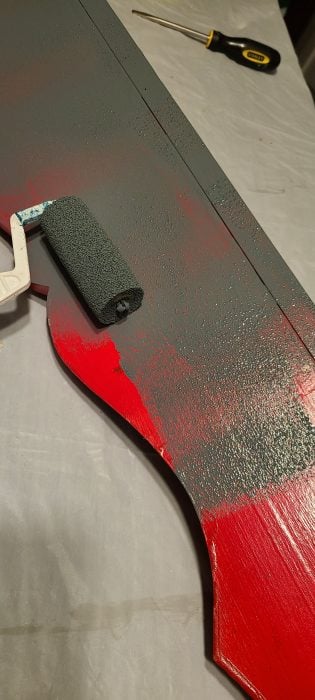
There were a lot of things that went wrong with this do-over. First, I overestimated the capability of the paint to adhere to the very slick red spray paint.
What should I have done? I should have at the very least used a deglosser. Even a little sanding would have made things go smoother.
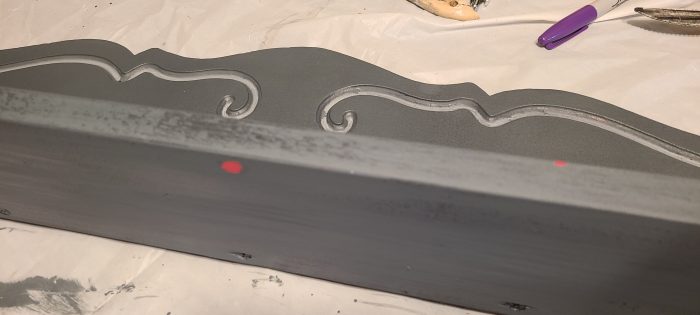
Do you see the red spots? That is from me holding onto the shelf before the new gray paint was dry. This wood valance project stayed on my Kitchen Island Craft Station for days and days as I struggled with an action plan. I actually applied more coats of this paint, hoping to make it work.
Do you ever work on a project, and expect that nothing is going to work? That’s where I was, so I didn’t even take a lot of pictures. BUT! Because this paint was very flat, I attempted to use my favorite Smokey Glaze to salvage the gray. I needed to seal it somehow, and give it a little sheen.
That did NOT work. For some reason the glaze stayed tacky for days before it finally dried a little.
Plan B
If you look closely, you can see the botched gazing look on the back of the wood valance shelf.
Not shown: I used more of the very flat gray paint to cover the blotchy glaze. However, I didn’t do the back of the wood valance shelf that will be against the wall.
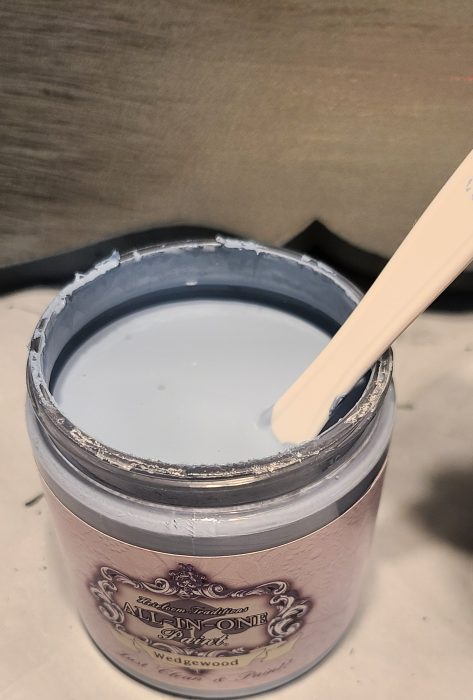
Finally, I feel like I’m on the right track. This All In One Paint never lets me down. I chose the color Wedgewood. The plan is to do a “dry brush” look over the gray.
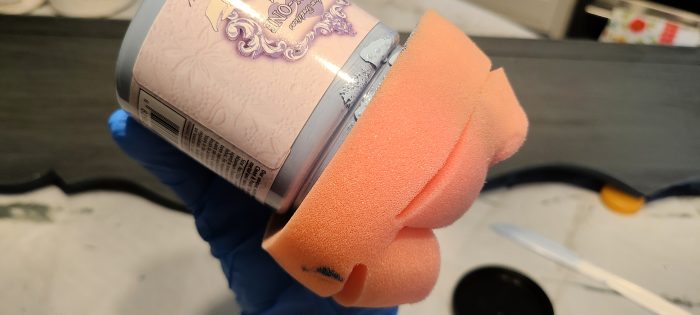
So, I’m actually using a true applicator “sponge” and not a brush. Because I’m using a sample container, I simply turn the jar over to wet the sponge lightly.

With a smidgeon of paint, I began to do a light coat of of the blue over the gray. Notice how flat that gray paint is?
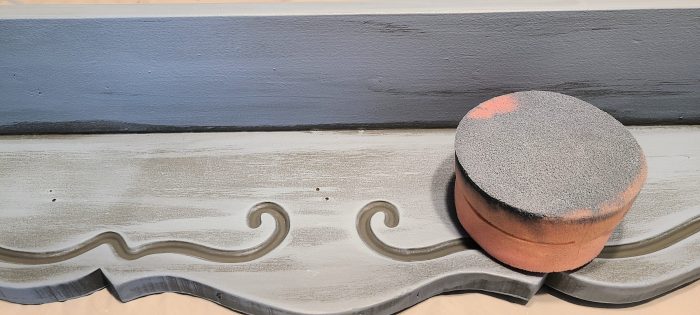
Some of the Wedgewood was too heavy, so I ended up wiping it back with the sponge. I intentionally left the routed area gray, much like I did when it was red. However, this way worked a lot better than the way I painted in the white on the original wood valance shelf.
Prepare to Add New Hooks
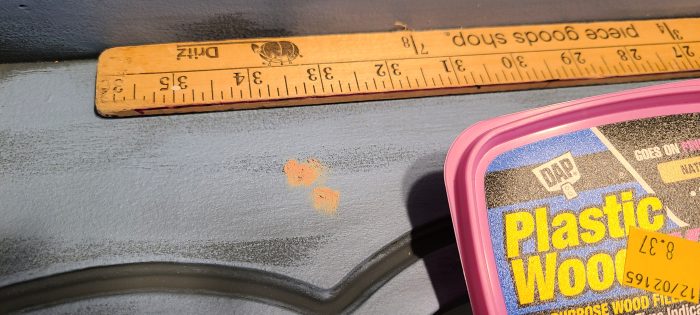
Because I was using different hooks on the new wood valance shelf, I patched the holes with Plastic Wood.
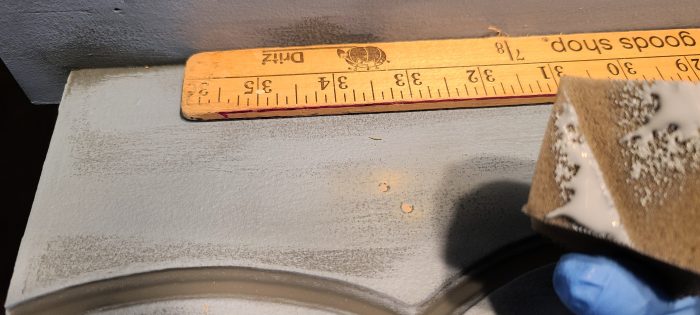
A piece of sponge cut up makes touchups real easy.
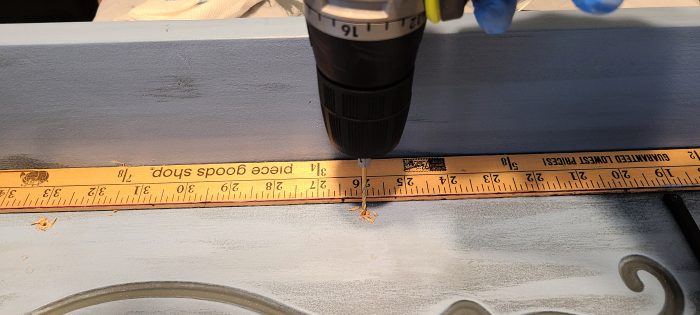
I’ve added enough coat hooks that I’ve learned to always drill pilot holes. The hooks were placed the same distance as before, but were moved up higher on the wood valance.
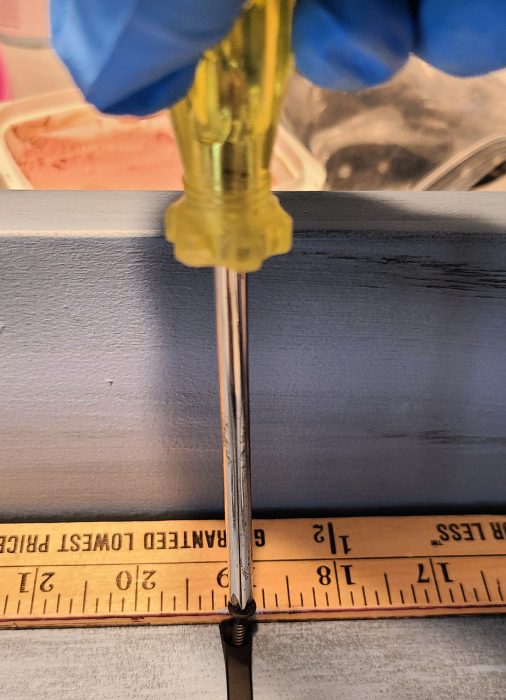
If you only take one thing away, let it be this. As I said, drill pilot holes, but most importantly, secure screws by hand, not with a screw gun or drill. Why? because the screws break easily. I bought the hooks on Amazon, and LOVE that they only have one hole. So much easier to work with.
I still had my gloves on, and noticed that I was able to get a better grip on the screwdriver with the latex glove.
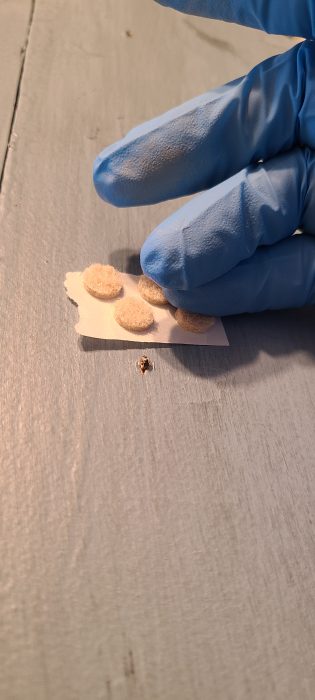
Because the screws were a smidge too long, they protruded through the back of the shelf. I used small felt stick on circles to protect fingers and the wall.
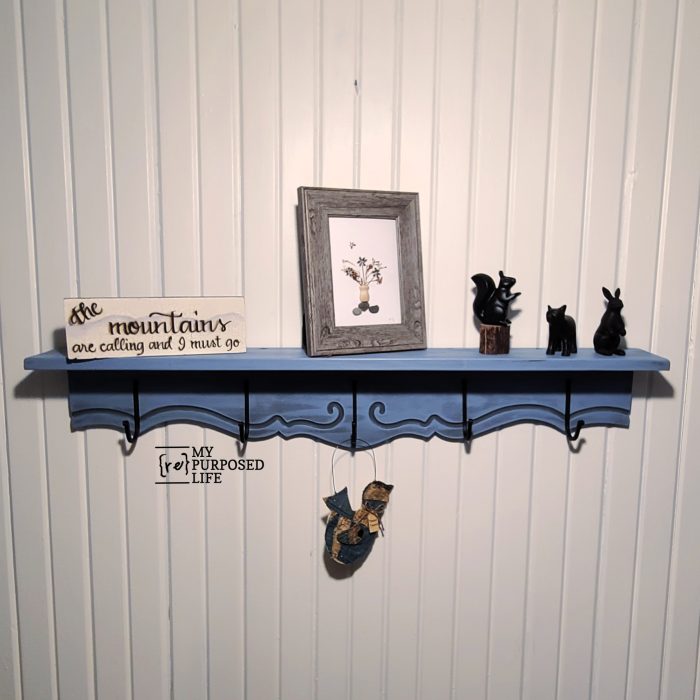
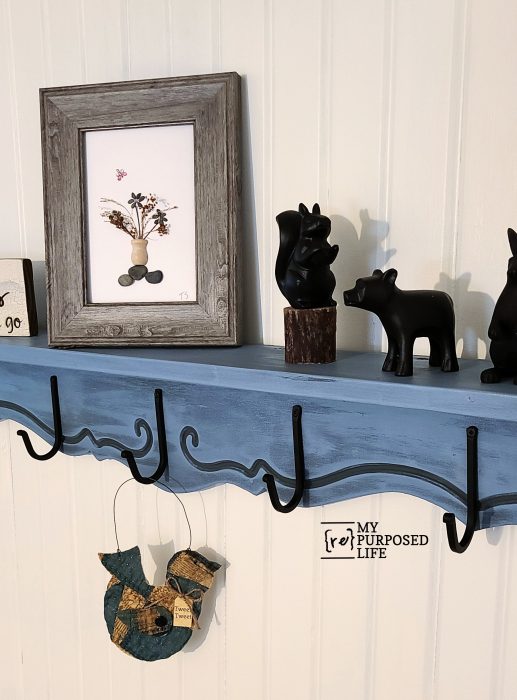
Reclaimed Wood Valance Hook Shelf
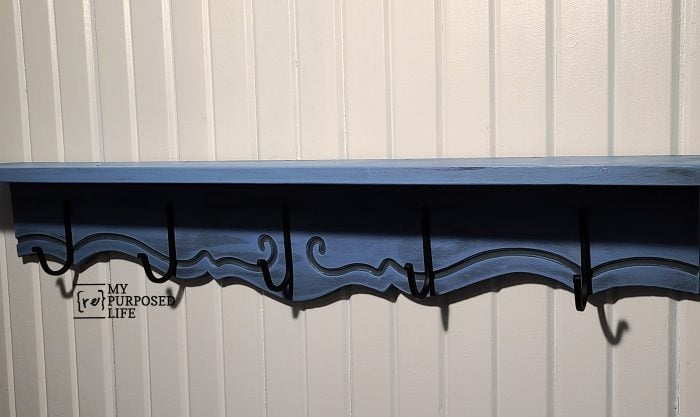
I hung the wood valance shelf in my kitchen. The new color is perfect. Don’t you LOVE these new hooks?
Of course, it will be going back to the booth, hoping it sells this time. It’s the nature of the beast, I’ve brought another large project home that I will be changing the color on.
Meanwhile, be sure to check out the other great projects from the team!
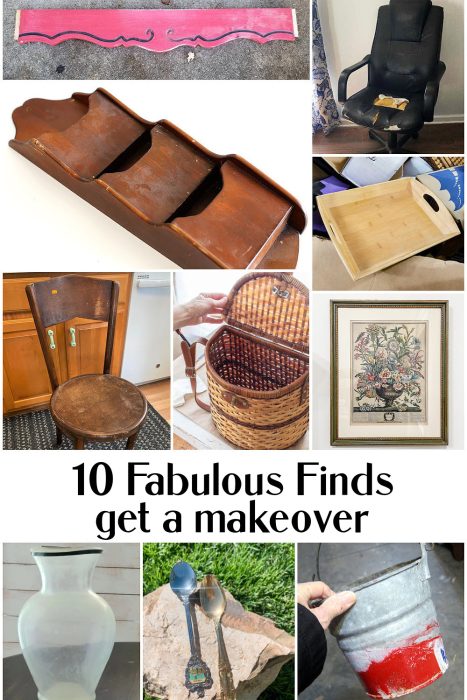
Which is your favorite?
gail
Love how you updated it Gail! Great addition of the hooks.
We’re twinsies on the whole “changing courses during the project”. Sometimes you just have to pivot! And I love the blue color even better than I loved the Christmas shelf color (which I REALLY loved)!
Projects like this are the best! The colors you chose are gorgeous and that sponge technique – I’m going to give that a try! Pinning!
Cindy,
Thanks for your kind comment! I love paint techniques of all kinds!
gail
Gotta love a re-repurpose! And YES, I totally know what you mean about a project where nothing seems to work, LOL. Glad you stuck with it and saw it through to the end!
I love seeing us create new looks for past thrift store projects. It really shows our love and creativity for these items. The new-look is perfect!
Another stunner Gail! This color!!! I need to go through the garage and do this with scrap wood and architectural remnants.
I’m sure your version of the valance shelf is more popular than the Christmas one! It’s gorgeous!
It appeals to a wider audience.