Repurposed Bench Planter
As an Amazon Associate, I earn from qualifying purchases.
Hey! Mindi here, to share another fun project, a Repurposed Bench Planter.
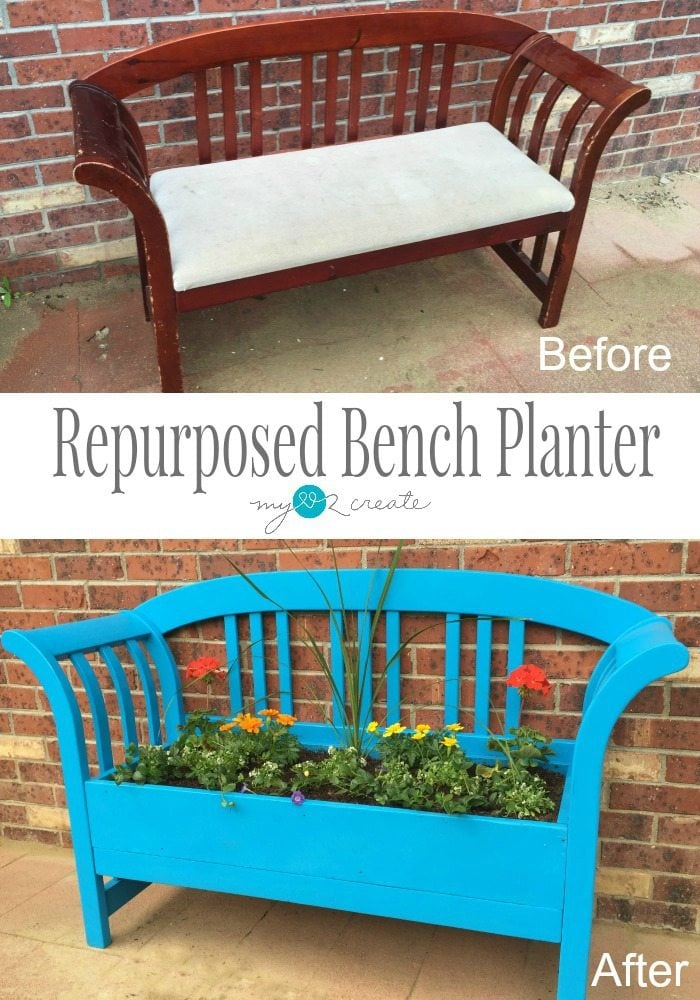

I know, I know, another planter…I can’t help it! After finishing my DIY Corner Planter for my front porch my back yard was needing something fun! This bench was destined to become a planter.
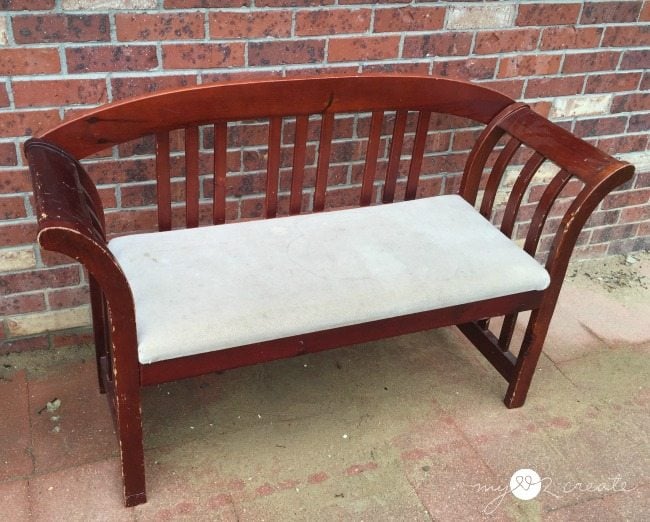
I got it off of craig’s list for $10.00 almost 5 years ago. In that time it has been used a ton and I was ready to toss it since I have no room or need for it anymore. I was having a hard time getting rid of it, you know, I like to repurpose things…so it has been hanging out on the back porch doing nothing.
I saw it the other day and decided it was time. It really just needed some tightening of screws to make it sturdy again, but I had an idea of what it could become.
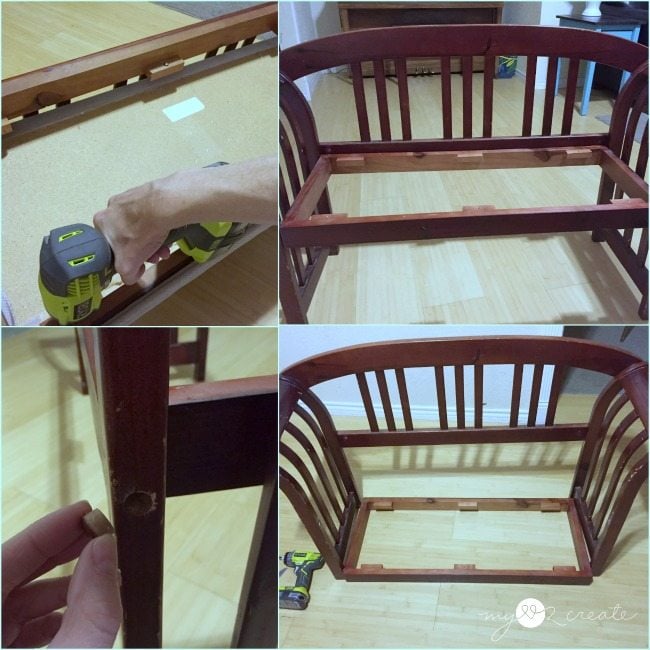
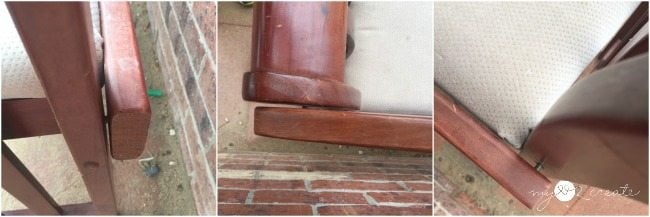
I brought it inside and started taking off the seat by flipping it over and unscrewing it. Once that was done I took out the screw plugs, and unscrewed the seat support.
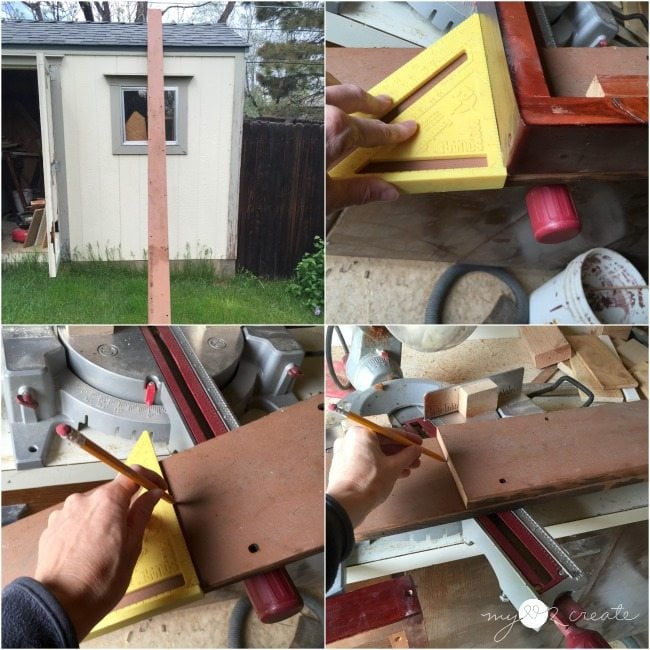
In order to repurpose the bench into a planter I needed a box, for the plants. I have a stash of old deck wood my father in law got me for free when he helped his friend redo his deck. I grabbed a long 12 foot board. Using the seat support for measuring (since the box needed to be the same size) I placed it on the deck wood, and placed my square (the yellow triangle thing) for marking where to cut. After cutting the front board, I used it to mark and cut the back board for the box.
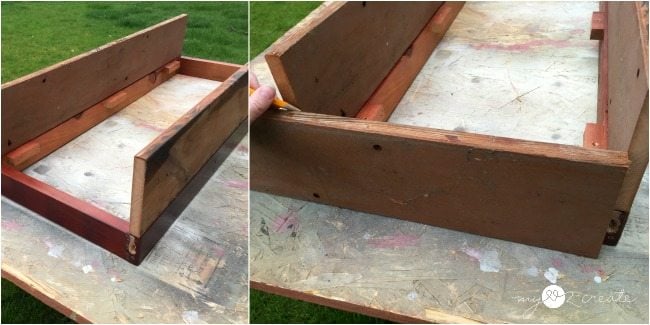
By placing my front and back board on the seat support I could then measure and mark for my side boards.
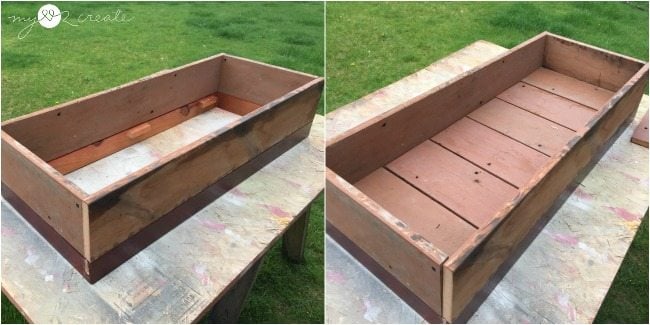
With my side boards cut I did another dry fit to make sure my box would fit exactly on the seat support, and it did! Then I cut slats from the deck wood for the planter bottom. I left a little space between each one for drainage.
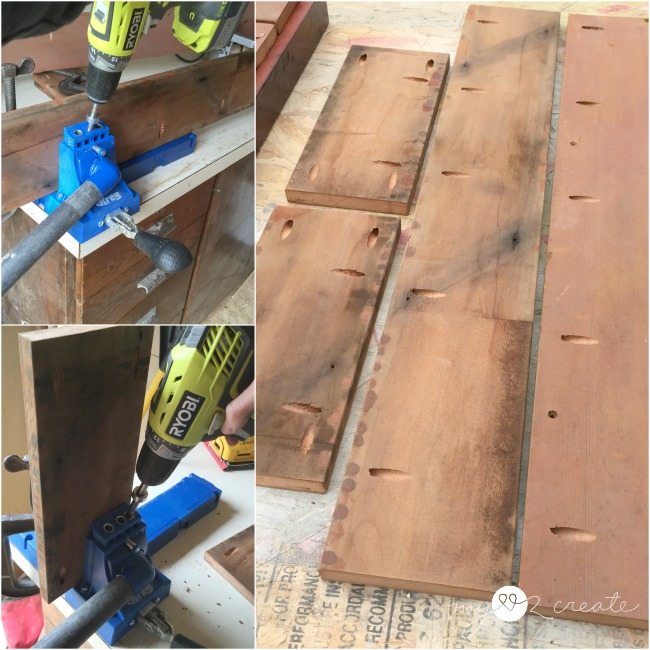
I used my K5 for drilling pocket holes on the two small side boards, they will be used to build the box. All the other pocket holes along the bottom of the boards are for attaching the box to the seat support.
Need more details on using a Kreg Jig? See my article How to use a Kreg Jig Pocket Hole System
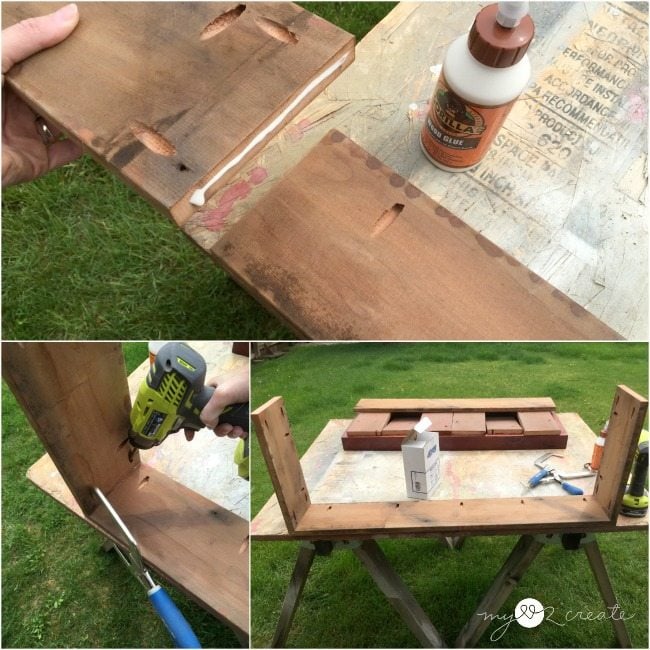
To build the box I used gorilla wood glue on the side pieces and clamped them with my right angle clamp, while I added the screws. I also made sure my pocket holes (for attaching to the seat support) were all on the bottom, you don’t want them on the wrong side. 🙂
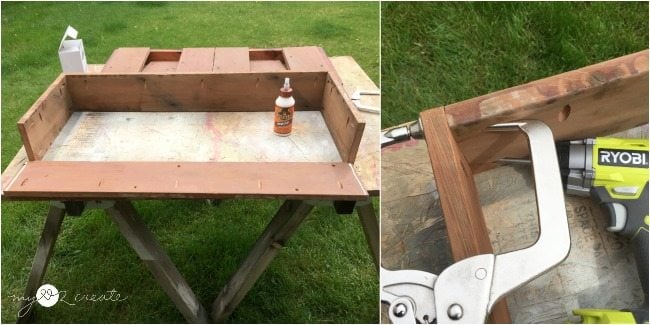
Then I just had to add the back piece. Again those right angle clamps are my BFF when it comes to pocket hole drilling! Love them! Building a box does not require pocket holes, I use them because they make an easy strong joint. You could pre drill and screw into the boards from the outside to build a box too!
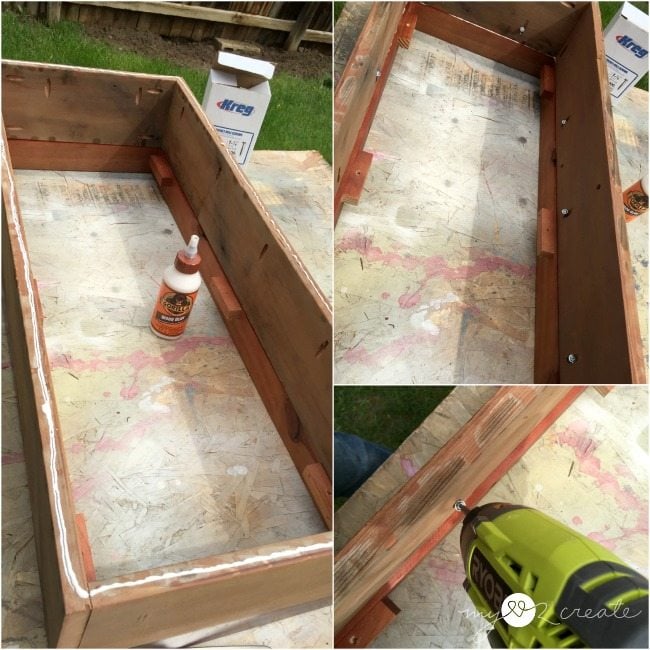
Once the box was built I just needed to screw it to the seat support. I added glue then flipped it over and screwed it on. Super easy! In the photo with my drill you can see that there is a ledge along the inside where the seat support sticks out, since it is wider than my deck wood box. It was just enough on all sides for my slats to sit on. Sa-weet!

I brought the box inside and set it in the middle of the bottom board of the bench. I measured to make sure it was even on both sides…
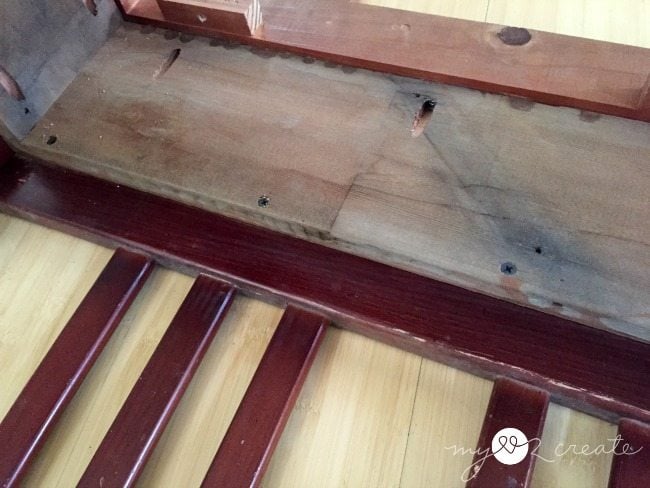
Then I screwed it directly into the back of the bench board.
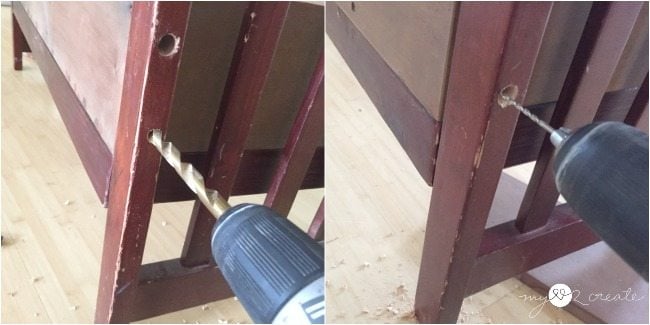
To attach the rest of the box to the bench I screwed into the box through the four legs. Since the legs were thicker I used a big drill bit (one bigger than the screw head) and drilled HALFWAY through the leg. Then I used a drill bit just smaller than my screw to predrill the rest of the way.
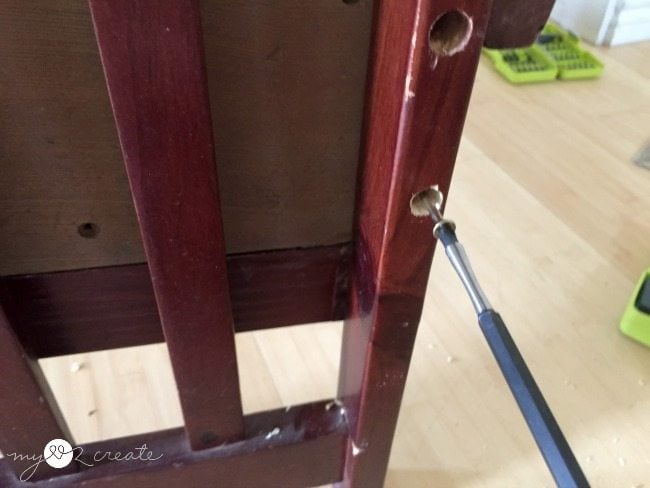
By only drilling halfway the screw head will stop in the middle of the leg board. With this method I I was able to drill further into the box, making it more sturdy (I hope that makes since) I drilled two screws into the box through each leg. It is nice and strong!
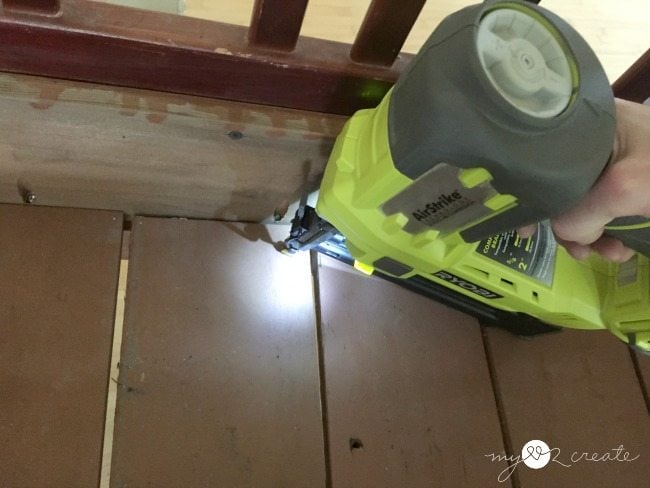
I used my air strike nailer to attach my slats into the seat support, going in at a slight angle. All done building!
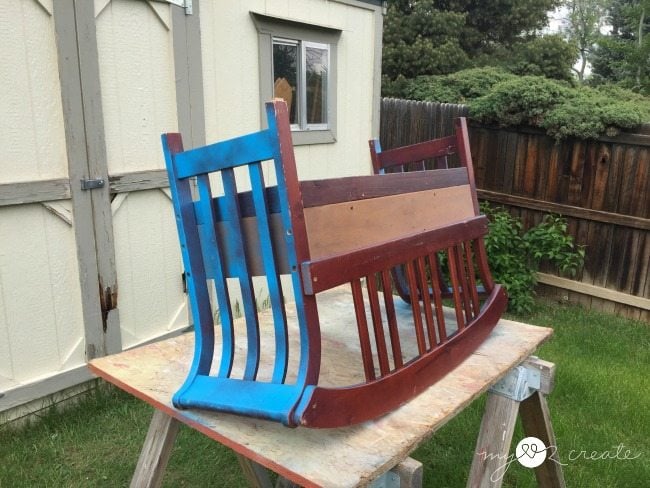
You may remember my Old Chairs into New Bench…I had a half can of spray paint left over from that project, and so I decided to used it to paint my new repurposed bench planter. I knew a half can wouldn’t be enough so I ran to Home Depot and got another can, and that was all I needed!
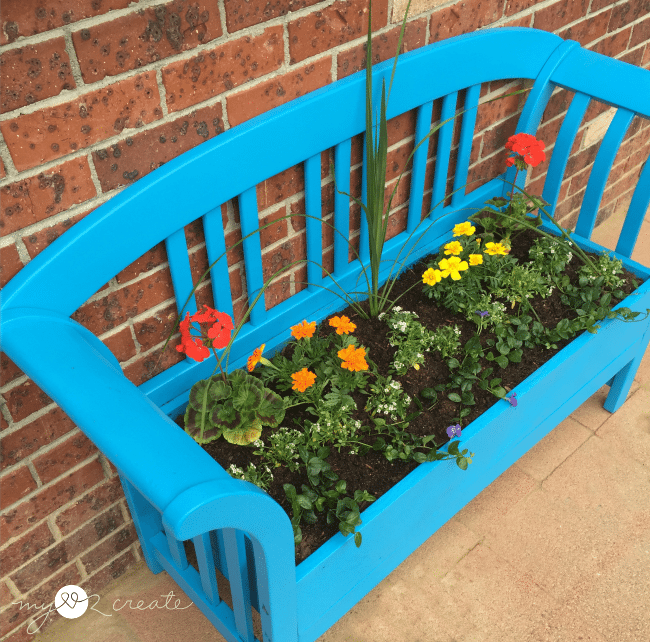
For some reason I completely spaced taking photos of filling the planter with dirt and adding the plants. Sorry. I just dumped half a bag of dirt into the planter, and added the plants! See that wasn’t so hard! 🙂
Obviously I don’t have a green thumb, actually it is blue at the moment (hee hee, spray paint)…but I still enjoy planting things.
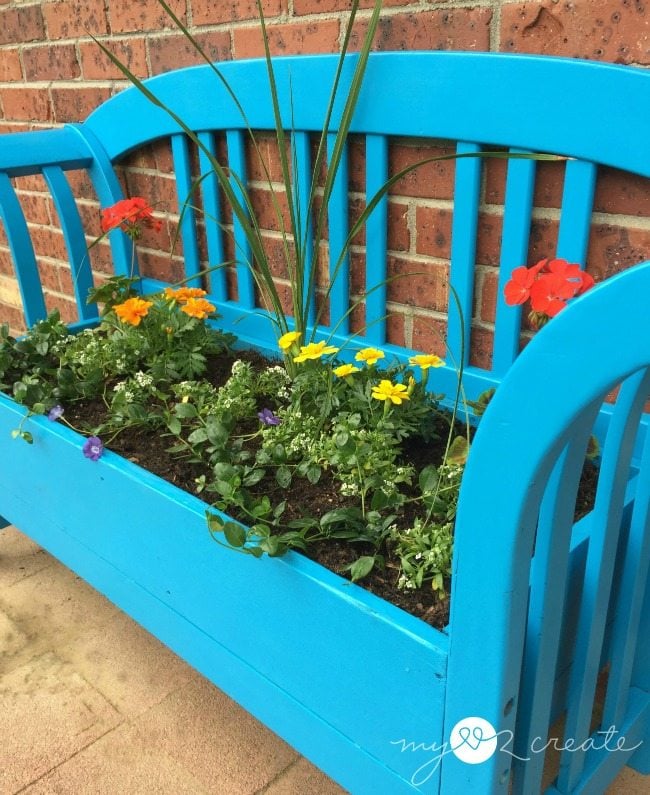
The front plants will eventually grow over the edge, which I am excited about. It is a ground cover that has purple flowers (you can see a couple) I may transplant them into my yard come fall, we’ll see, but I thought they would look pretty in the front of the bench planter all summer!
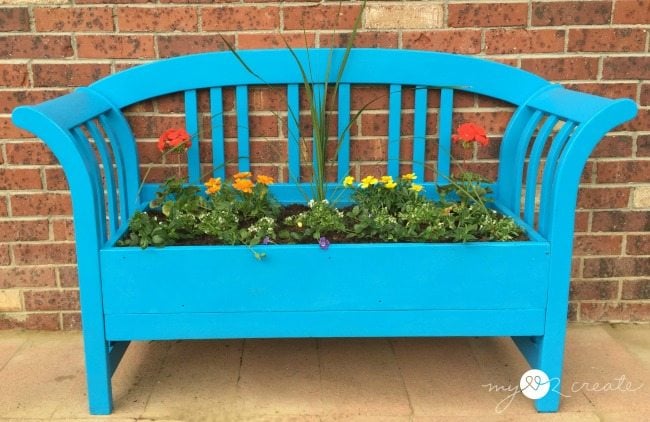
Now my back yard has some color! I may keep it here against the house, or move it into the yard up against the fence, I haven’t decided yet. I am just happy it can brighten things up, plus now this bench has a purpose, and it is always good to have a purpose! Right?!
Would you convert an old bench into a planter? I have seen it done with old chairs…which would you prefer?
Thanks for reading!
Hugs,
Mindi
see more of Mindi’s posts on MRL below:
[categorythumbnaillist 274]
I love it!!! I experimented with an old chest of drawers. I’m not very creative at all, so I’m loving your ideas. The second I clicked onto your site I immediately felt “at home”. I can’t recall ever feeling this way on any of the hundred thousands sites I’ve visited. Anyway, blahblahblah. I have always thought I didn’t have a creative side but you have given me much inspiration. I sick of waiting on my old man to do anything so I have the attitude that if you can do it, I’m gonna try. Keep in touch.
You go girl! You CAN do this stuff. I am self taught, and now I love teaching others how to do what I do.
Keep me posted on how things are going.
gail
ps the more I repurpose, the easier the ideas come to me. 🙂
Do you have anyone who makes these benches to sell? I would like to have on.
Carol lawton
What can I say? GENIUS!!
Mindi that is just awesome, what a great idea and your tutorial explains everything so well… please be sure to post a photo when the flowers are in full glory!
Oh so beautiful–it’s just about time here (finally) to bring on the flowers!
I’m looking at your project with MUCH longing! sigh–
Catherine
Great idea and great job! You are so talented! My fav color on it and the fact I love plants just tops it off for me. Glad I found your blog! Have a great weekend!
Kim
Mindi,
I love your newest planter! I love displaying and growing plants in fun containers, and this one is definetly fun, pretty AND practical!
You did a fabulous job with choosing the plants. I’m so bad at that. It’s really going to be beautiful when it fills out.
thanks for another great project!
gail