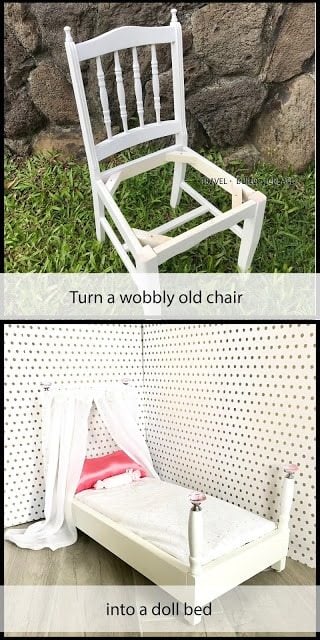
Repurposed Chair Doll Bed
As an Amazon Associate, I earn from qualifying purchases.
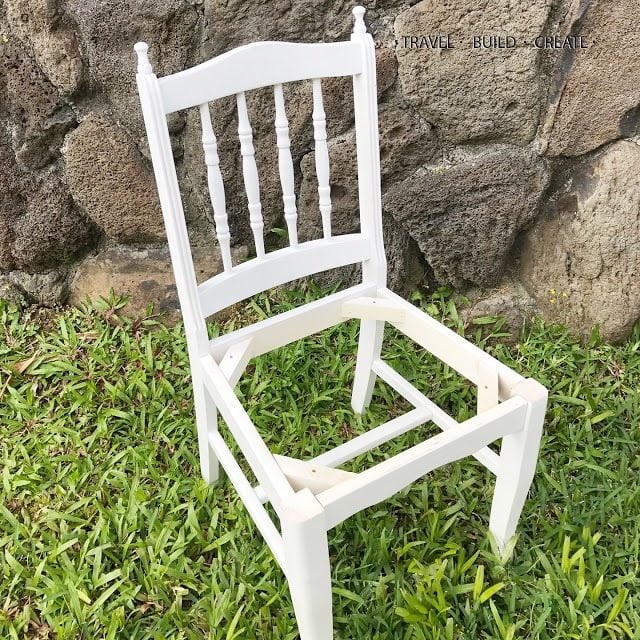
You’ll need a chair with at least 4 good spindles to use as the posts. The rest of the pieces I just used hodge podge as I felt they could be used.
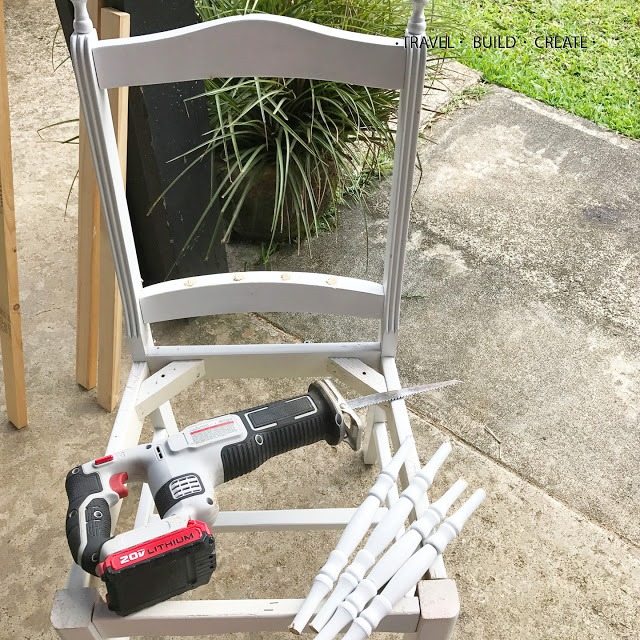
I started by taking my reciprocating saw (often called Sawzall after a popular brand) to cut it down to small parts. This could also be done with an oscillating saw (Dremel) if the Sawzall seems a little intimidating.
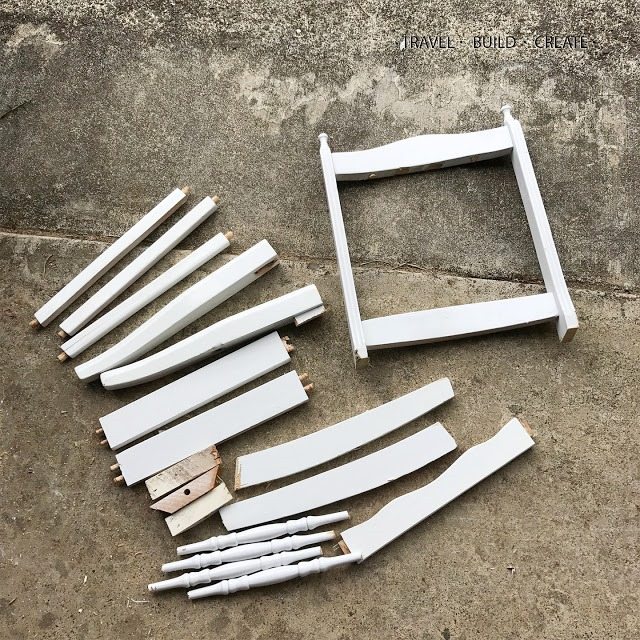 Here are all my salvaged pieces. Once I had the spindles out and the back cut off, I was able to use my hammer to separate a lot of the pieces and save more of it.
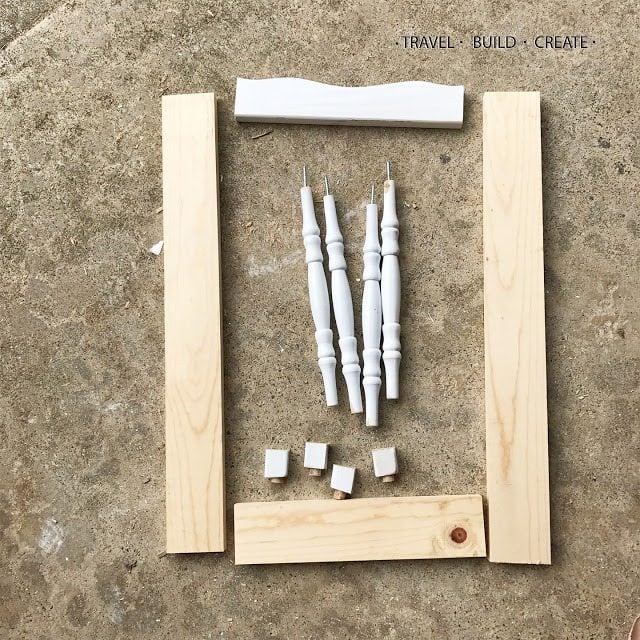
I was hoping I could do the whole project just using the chair, but unfortunately there weren’t any pieces long enough to be the side rails. I ended up using a 1×3 for the side rails and foot of the bed.
I cut the sides to 19″ long and the footboard and headboard to 15″.
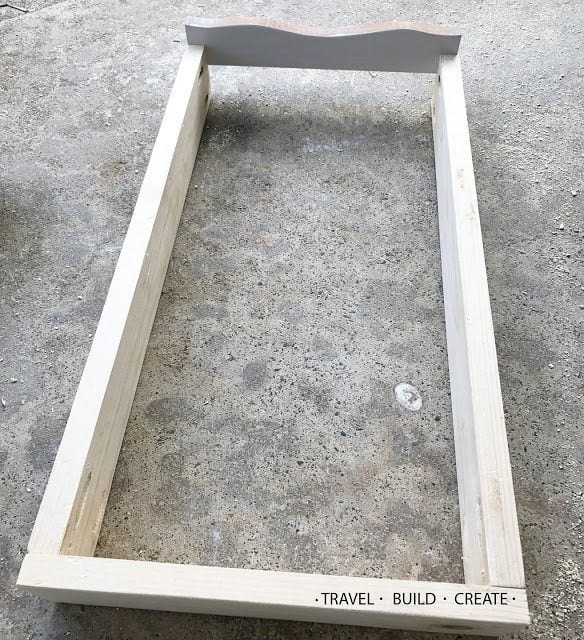
I thought the curved edge that went along the front of the chair would make a cute headboard, but I wish it would have been a bit taller. To compensate a little, I decided to move the headboard up a bit. I knew it would be hidden by the mattress, so I wasn’t too concerned with the aesthetics.
For the feet, I decided to use the cross beams that still had the wooden pegs in them. I cut off 4 of the ends to the same length, and they were just right!
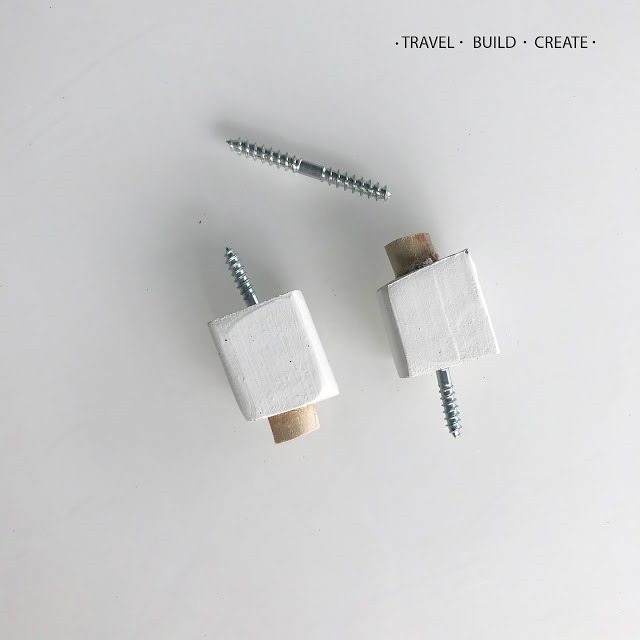
To attach the feet and the bed posts, I used these two-ended screws called dowel screws. They cost about $.25 each, and I used 1″ for the feet and 1.5″ for the bed posts.
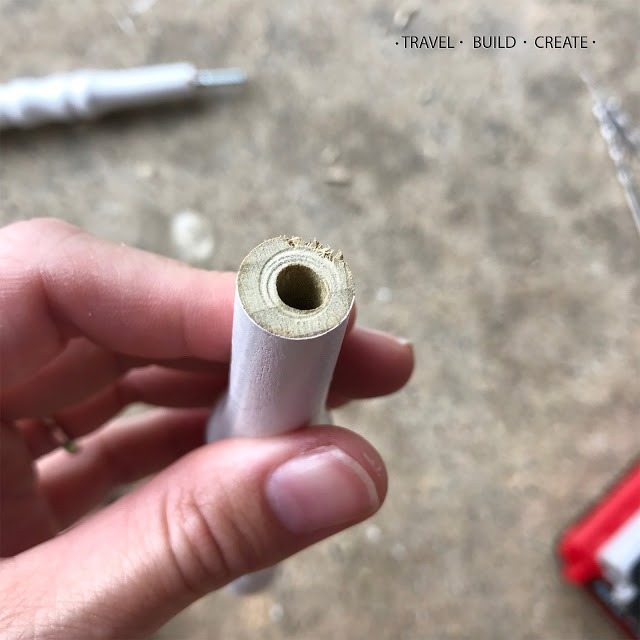
I had to pre-drill the hole just slightly smaller than the screw width since it was a little difficult too screw them in by hand.
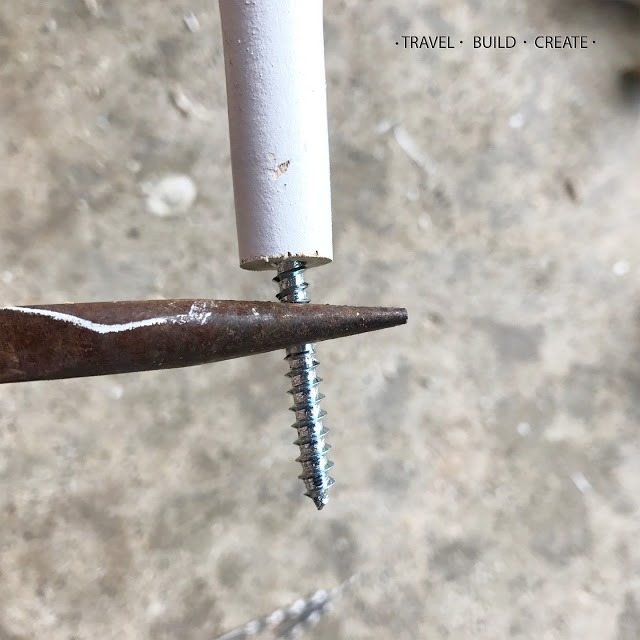
The center of the dowel screw isn’t threaded, so you can grab it with pliers to twist it into the post.
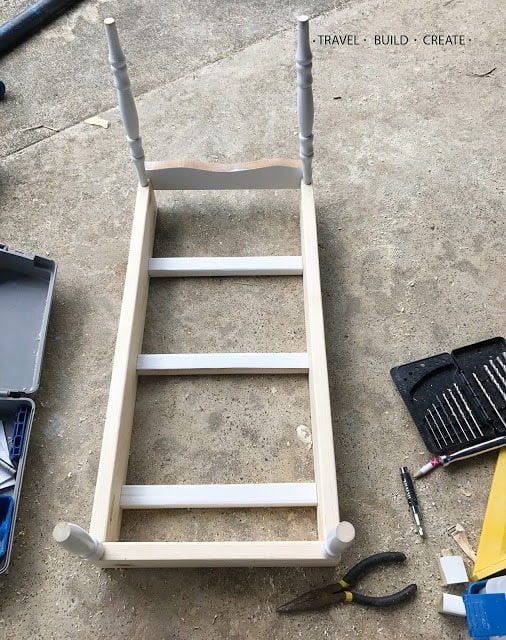
For the mattress support, I used the cross posts I had cut the little “feet” off of. I attached them with wood glue and brad nails.
I also decided to cut the posts at the foot of the bed down slightly.
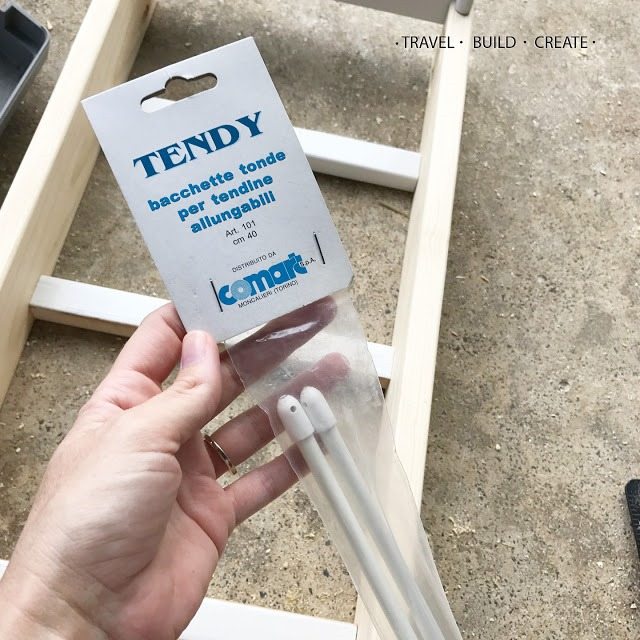
I wanted to add some curtains, and I had these tiny curtain rods that I purchased when we lived in Italy. I’m sure they can be found in craft stores or home improvement stores here. I did have to trim mine down with tin snips because they were too long.
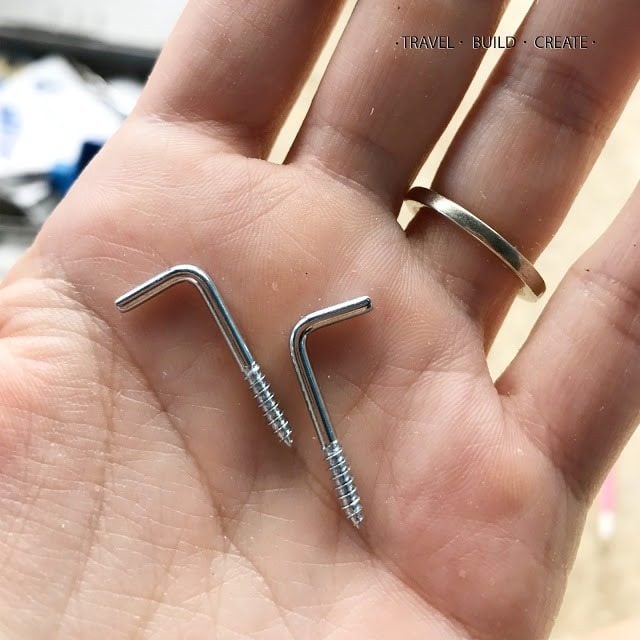
They came with these little hooks to attach them.
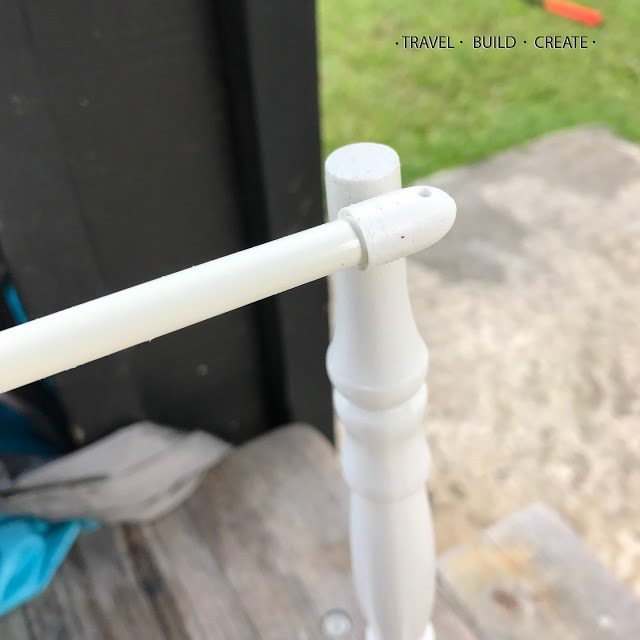
Easy peasy.
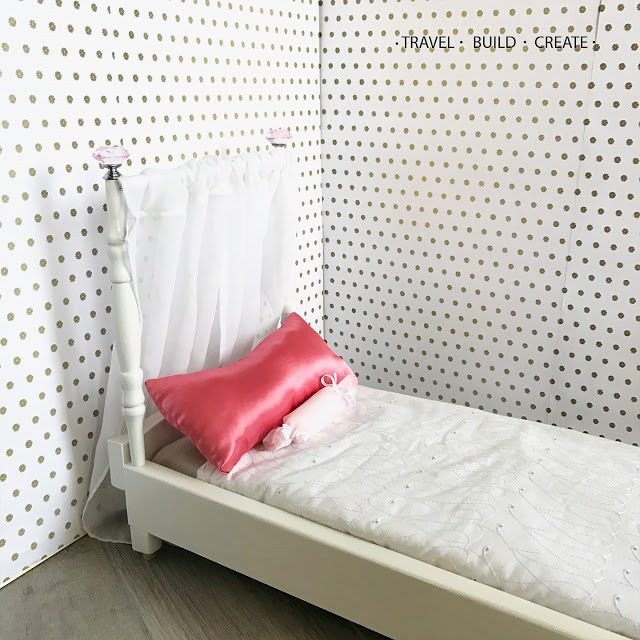
And to finish it off, I attached some sparkly drawer pulls to the tops of the posts to give it some bling. I didn’t snap a pic of them, but I used a screw similar to a dowel screw, but it has a bolt end on one side and screw on the other. It was tricky to find one that threaded into my posts, but I think they add a lot to the look of the bed.
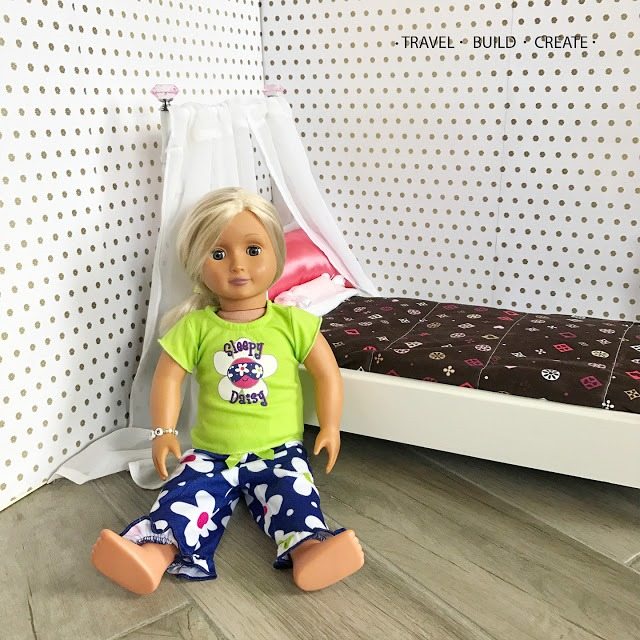
Ruby seems super excited about her new bed, too! 😉
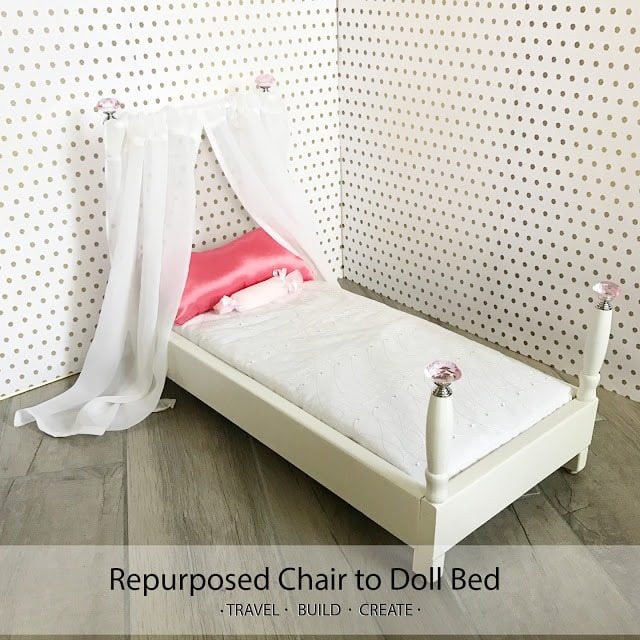
I had everything on hand but the dowel screws, so this project only cost me $3 out of pocket. Not bad for a pretty and custom doll bed! My hoarding skills cam in handy! Ha!
I hope you enjoyed this project. A big thanks to Gail for being so wonderful and letting me join you today.
I’d love if you came to visit me over at Travel Build Create.
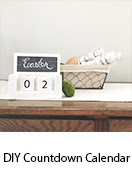
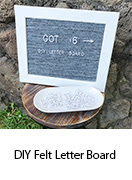
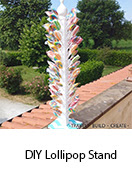
Here are a few of my first posts to give you an idea of my work:

Aloha,
Charlee
See one of my first, and an all-time favorite chair projects here

