Upcycled Crib into Toy Box Bench
As an Amazon Associate, I earn from qualifying purchases.
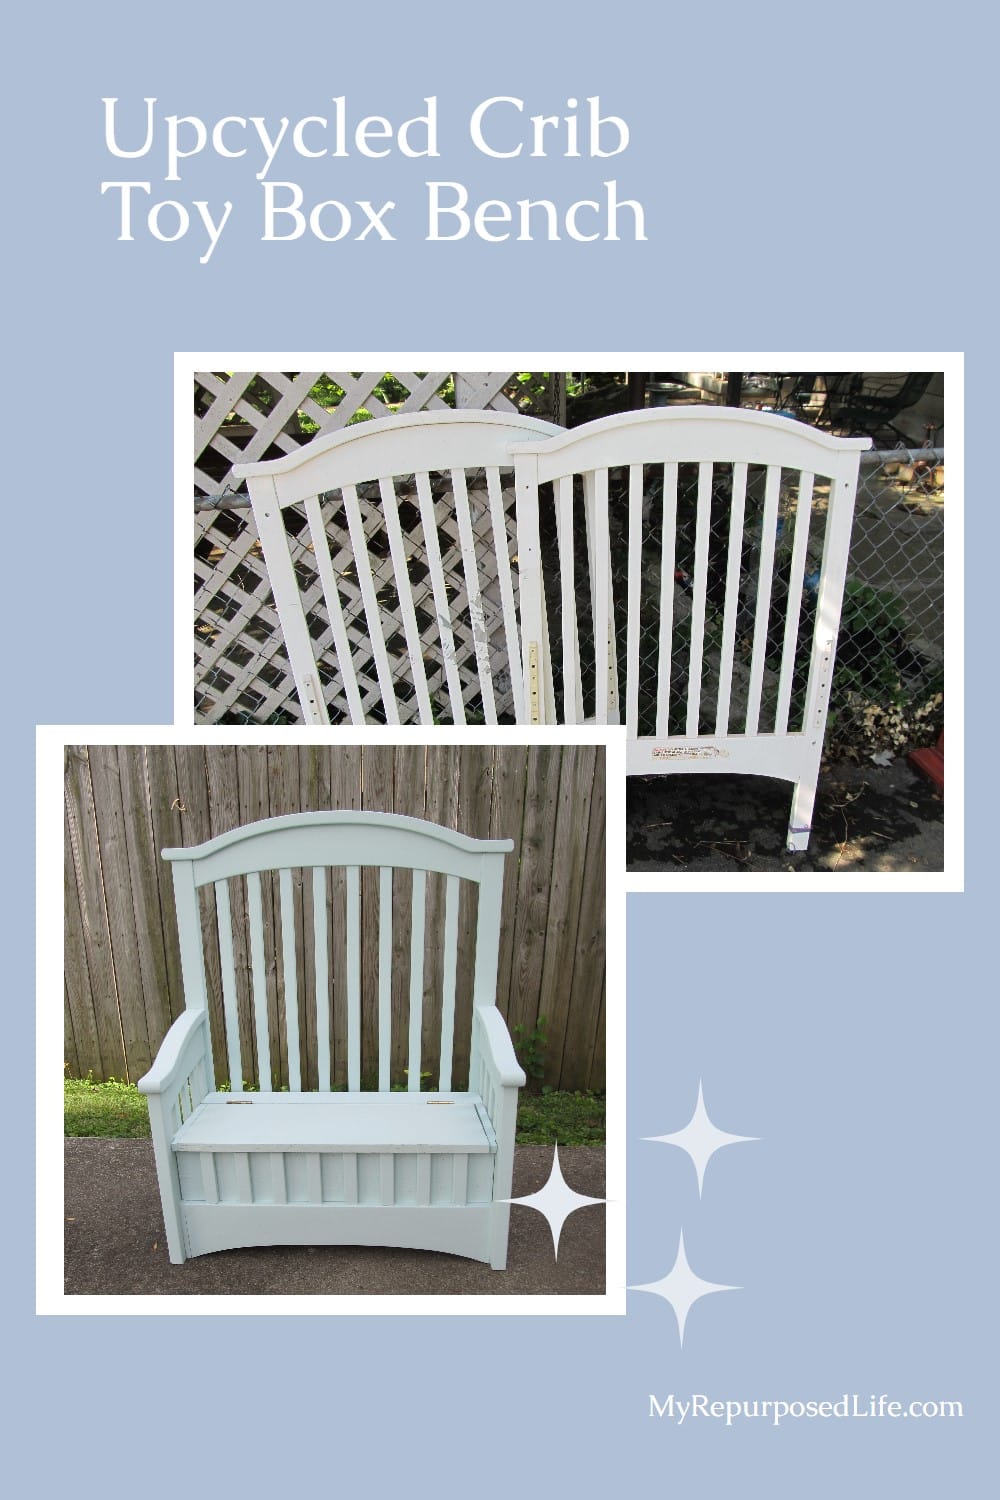
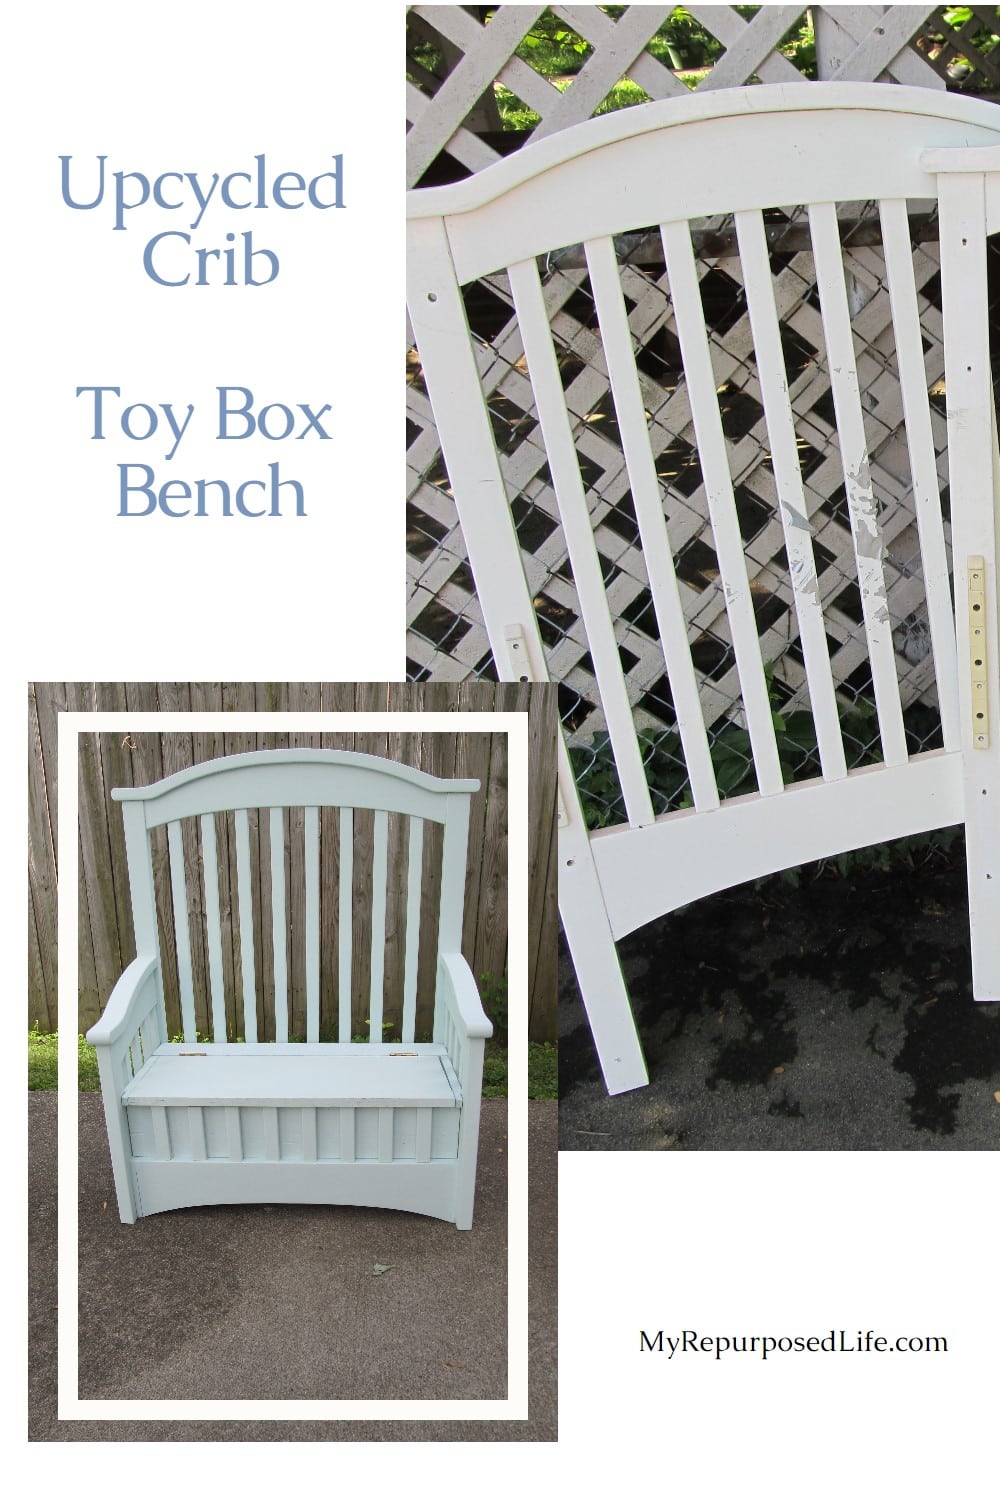
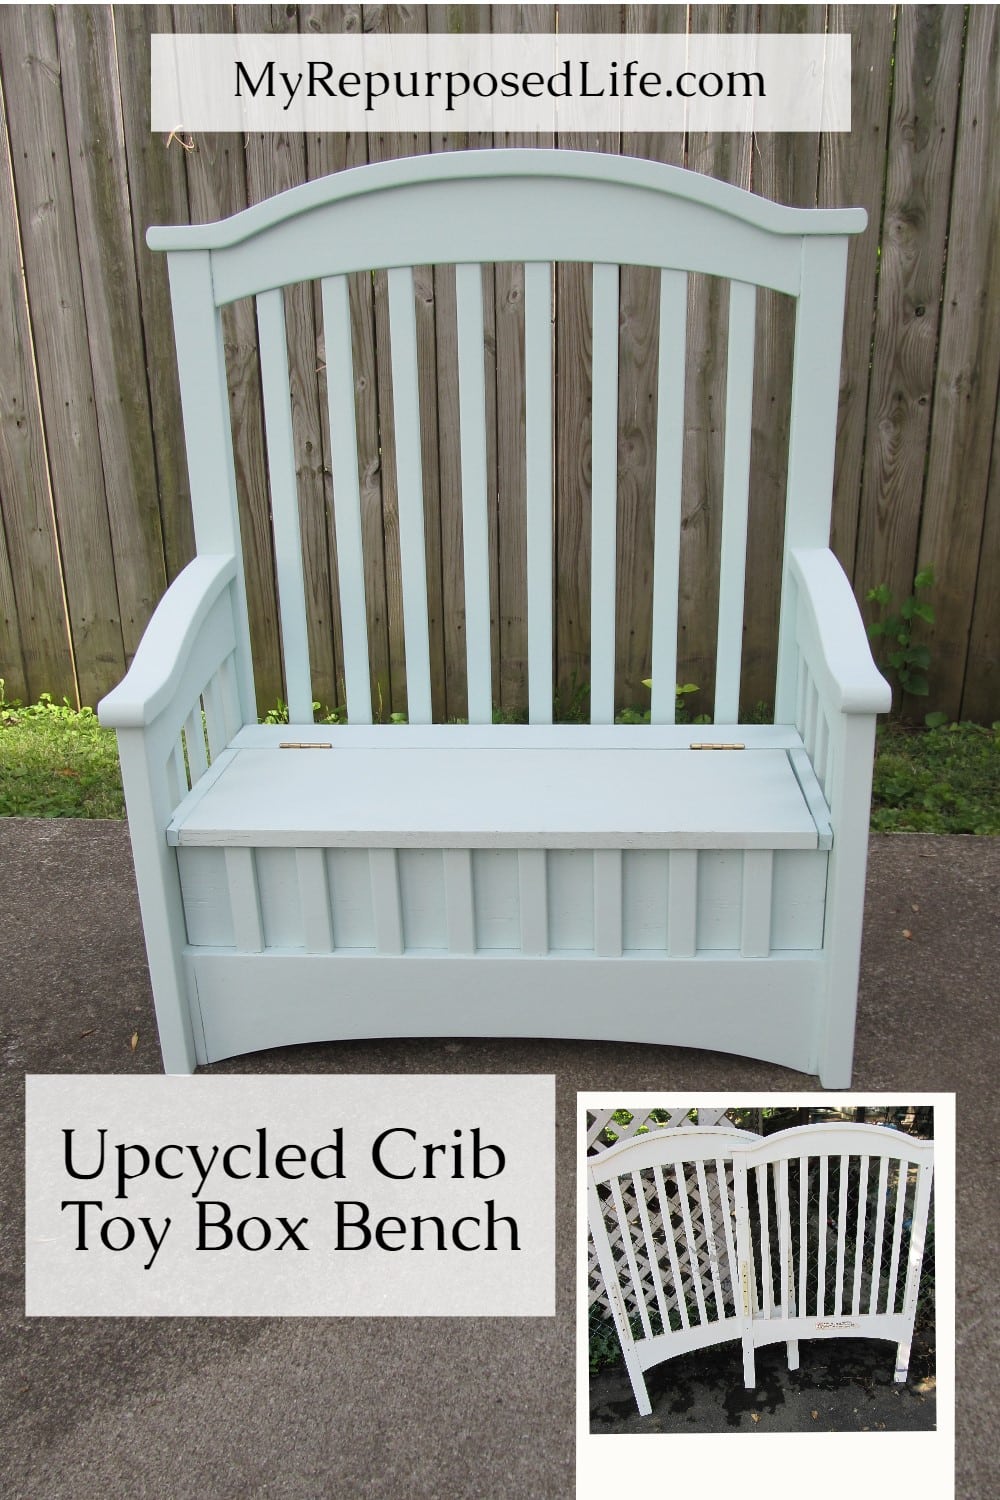
I’m so excited to show you this creation! I worked my magic on transforming an upcycled crib into a unique toy box bench. The crib was not the most sturdy piece, and I wondered what I was going to do with it. I’ve made benches from cribs before, but they were sturdier.
I am so loving the way this turned out. Get ready, this is going to be a picture-heavy long tutorial.
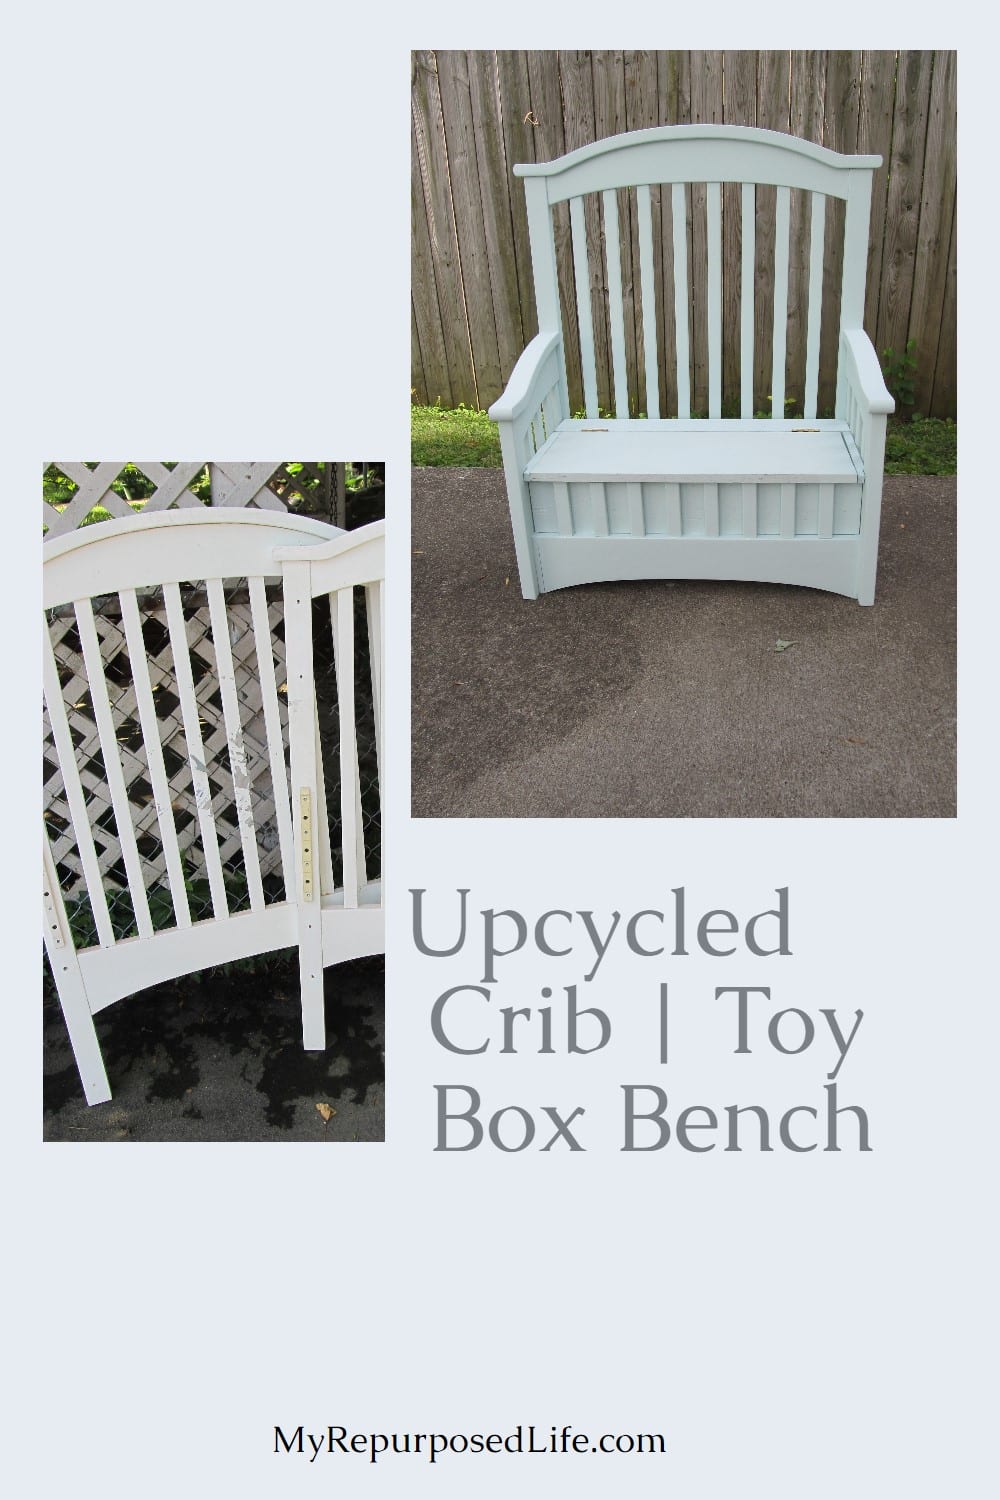
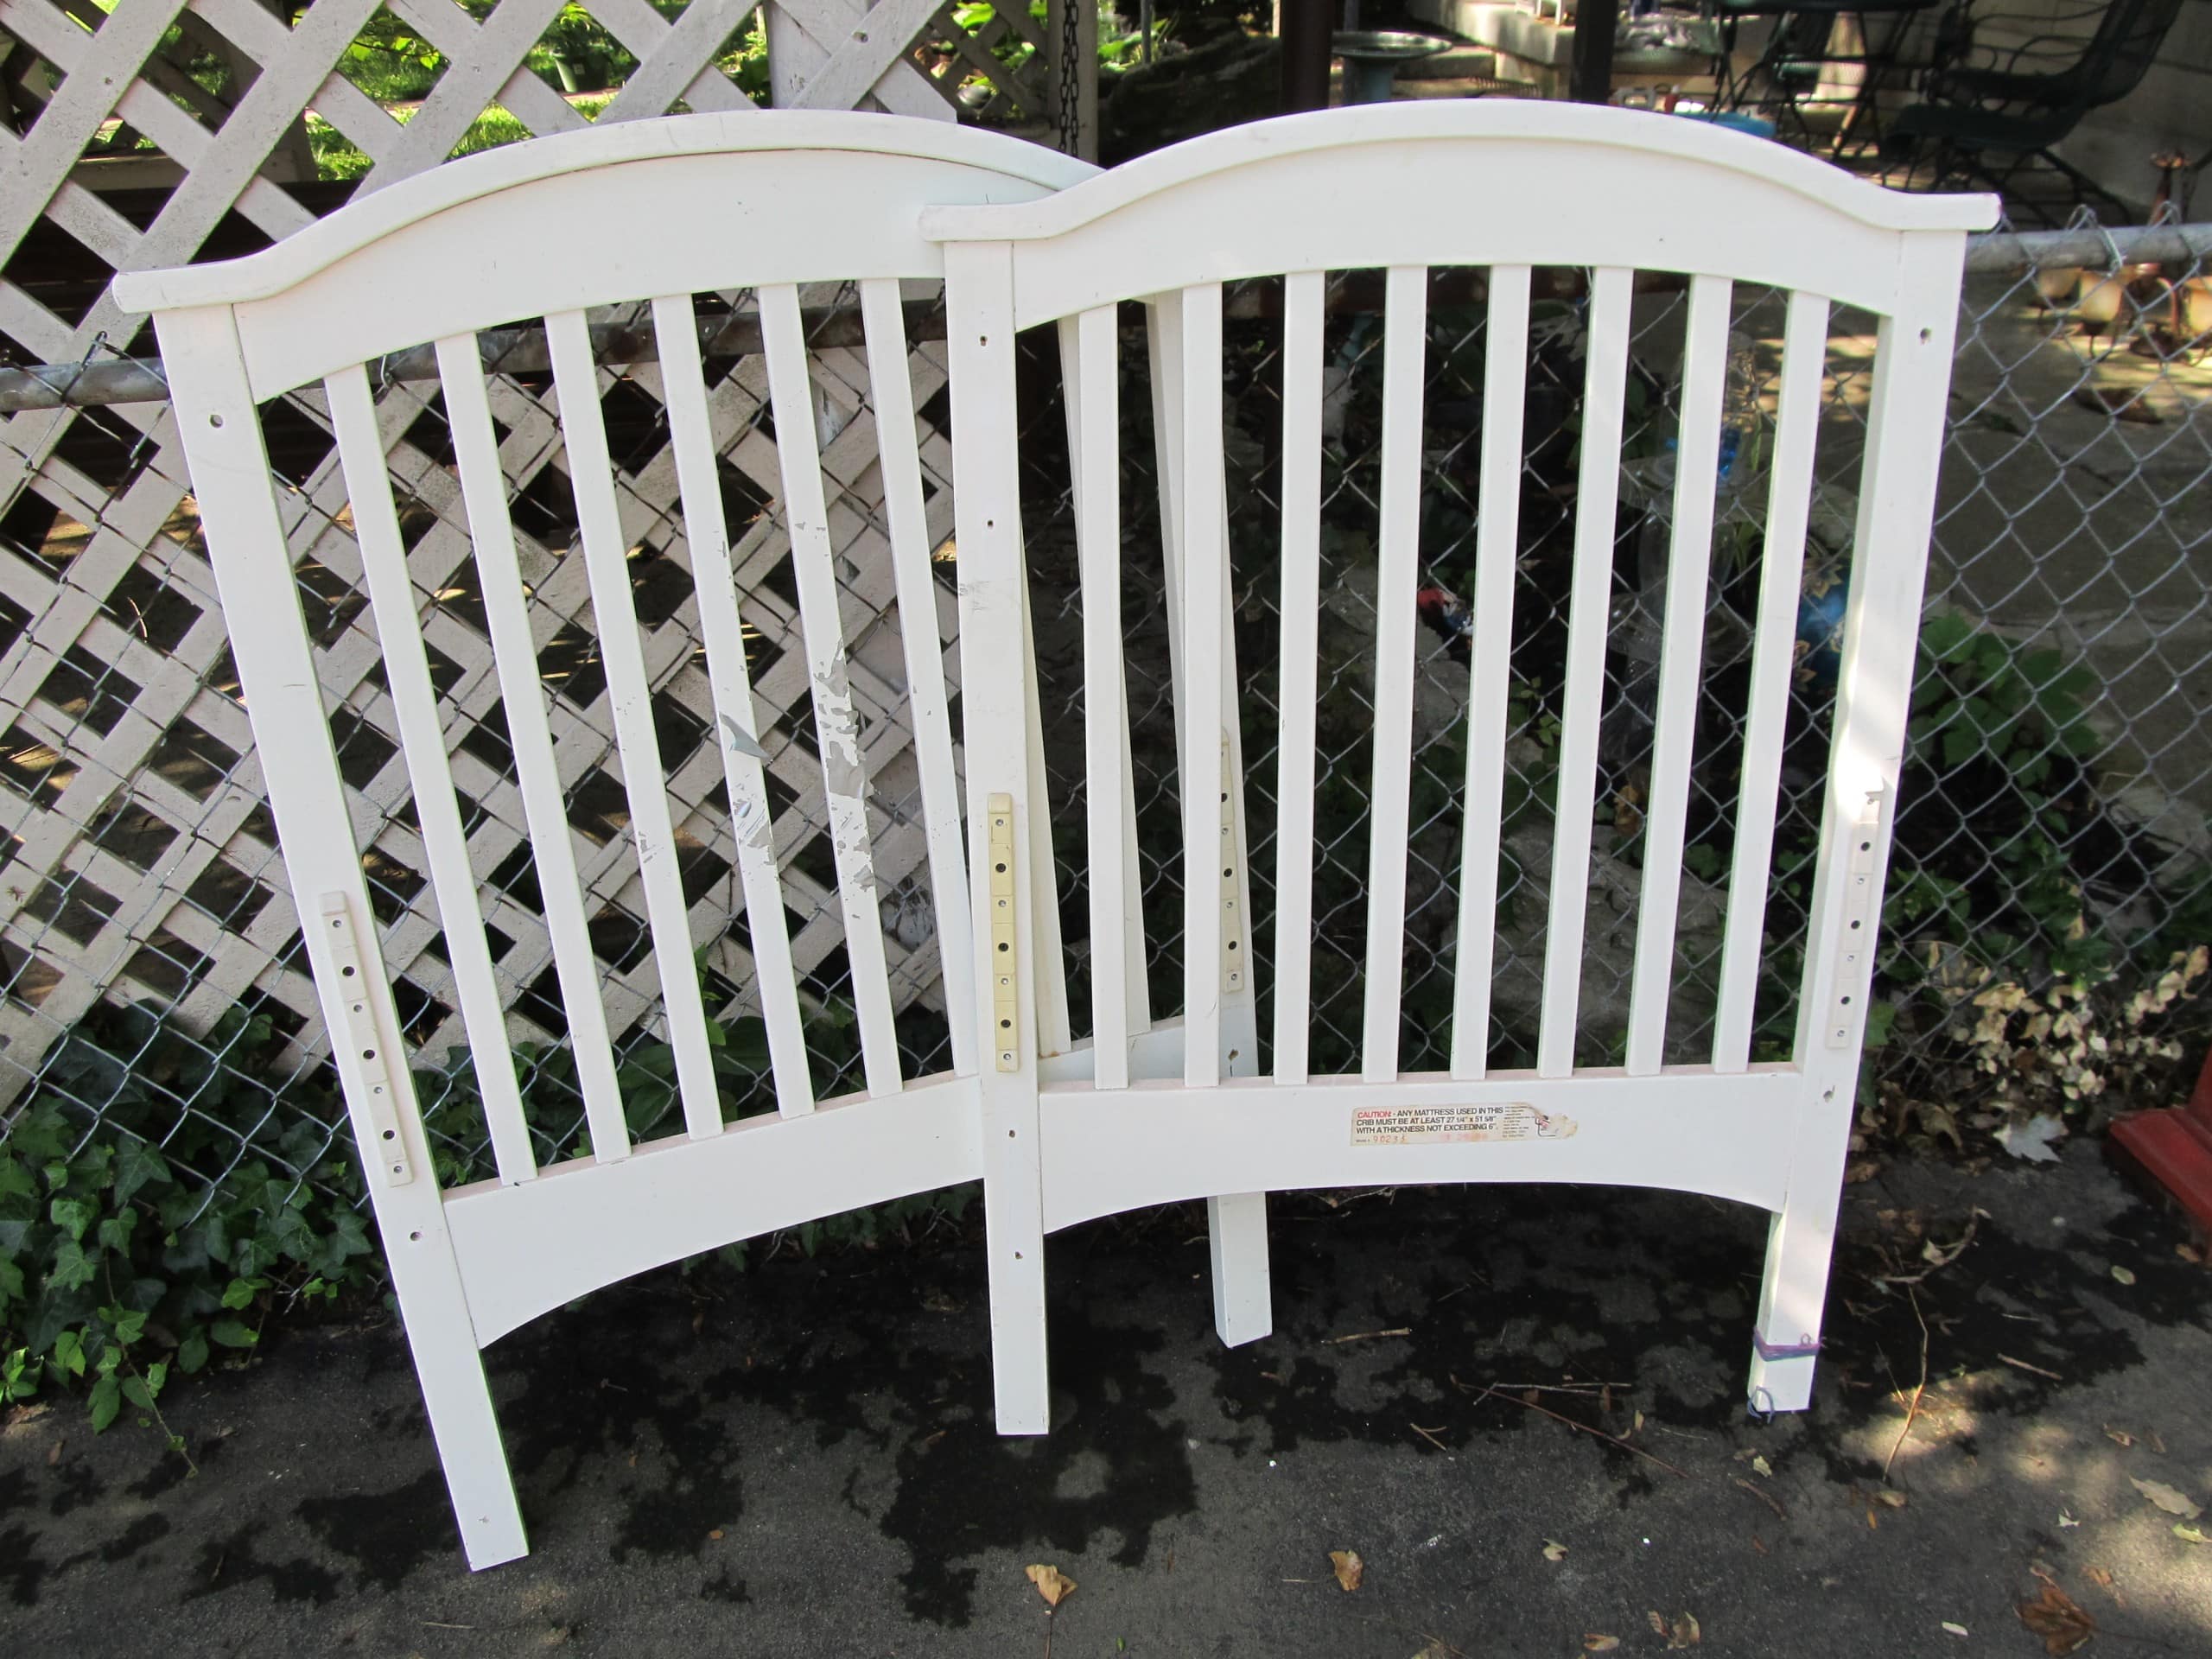
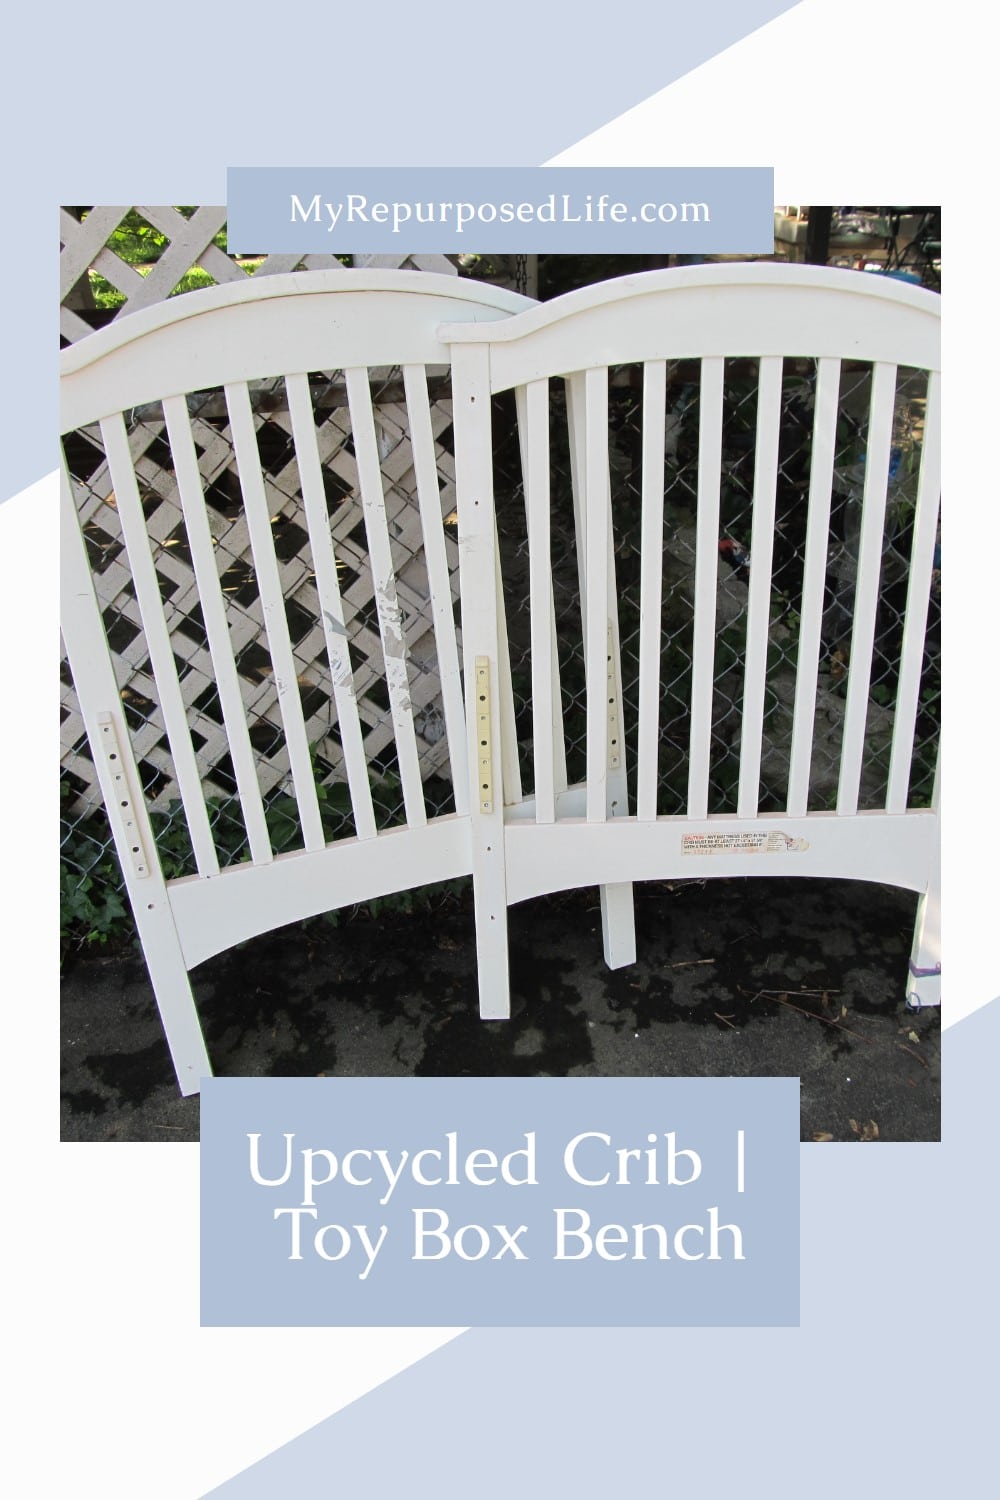
My cousin Sandy gave me these crib parts. She had intended to repurpose them but got too busy being a Nana.
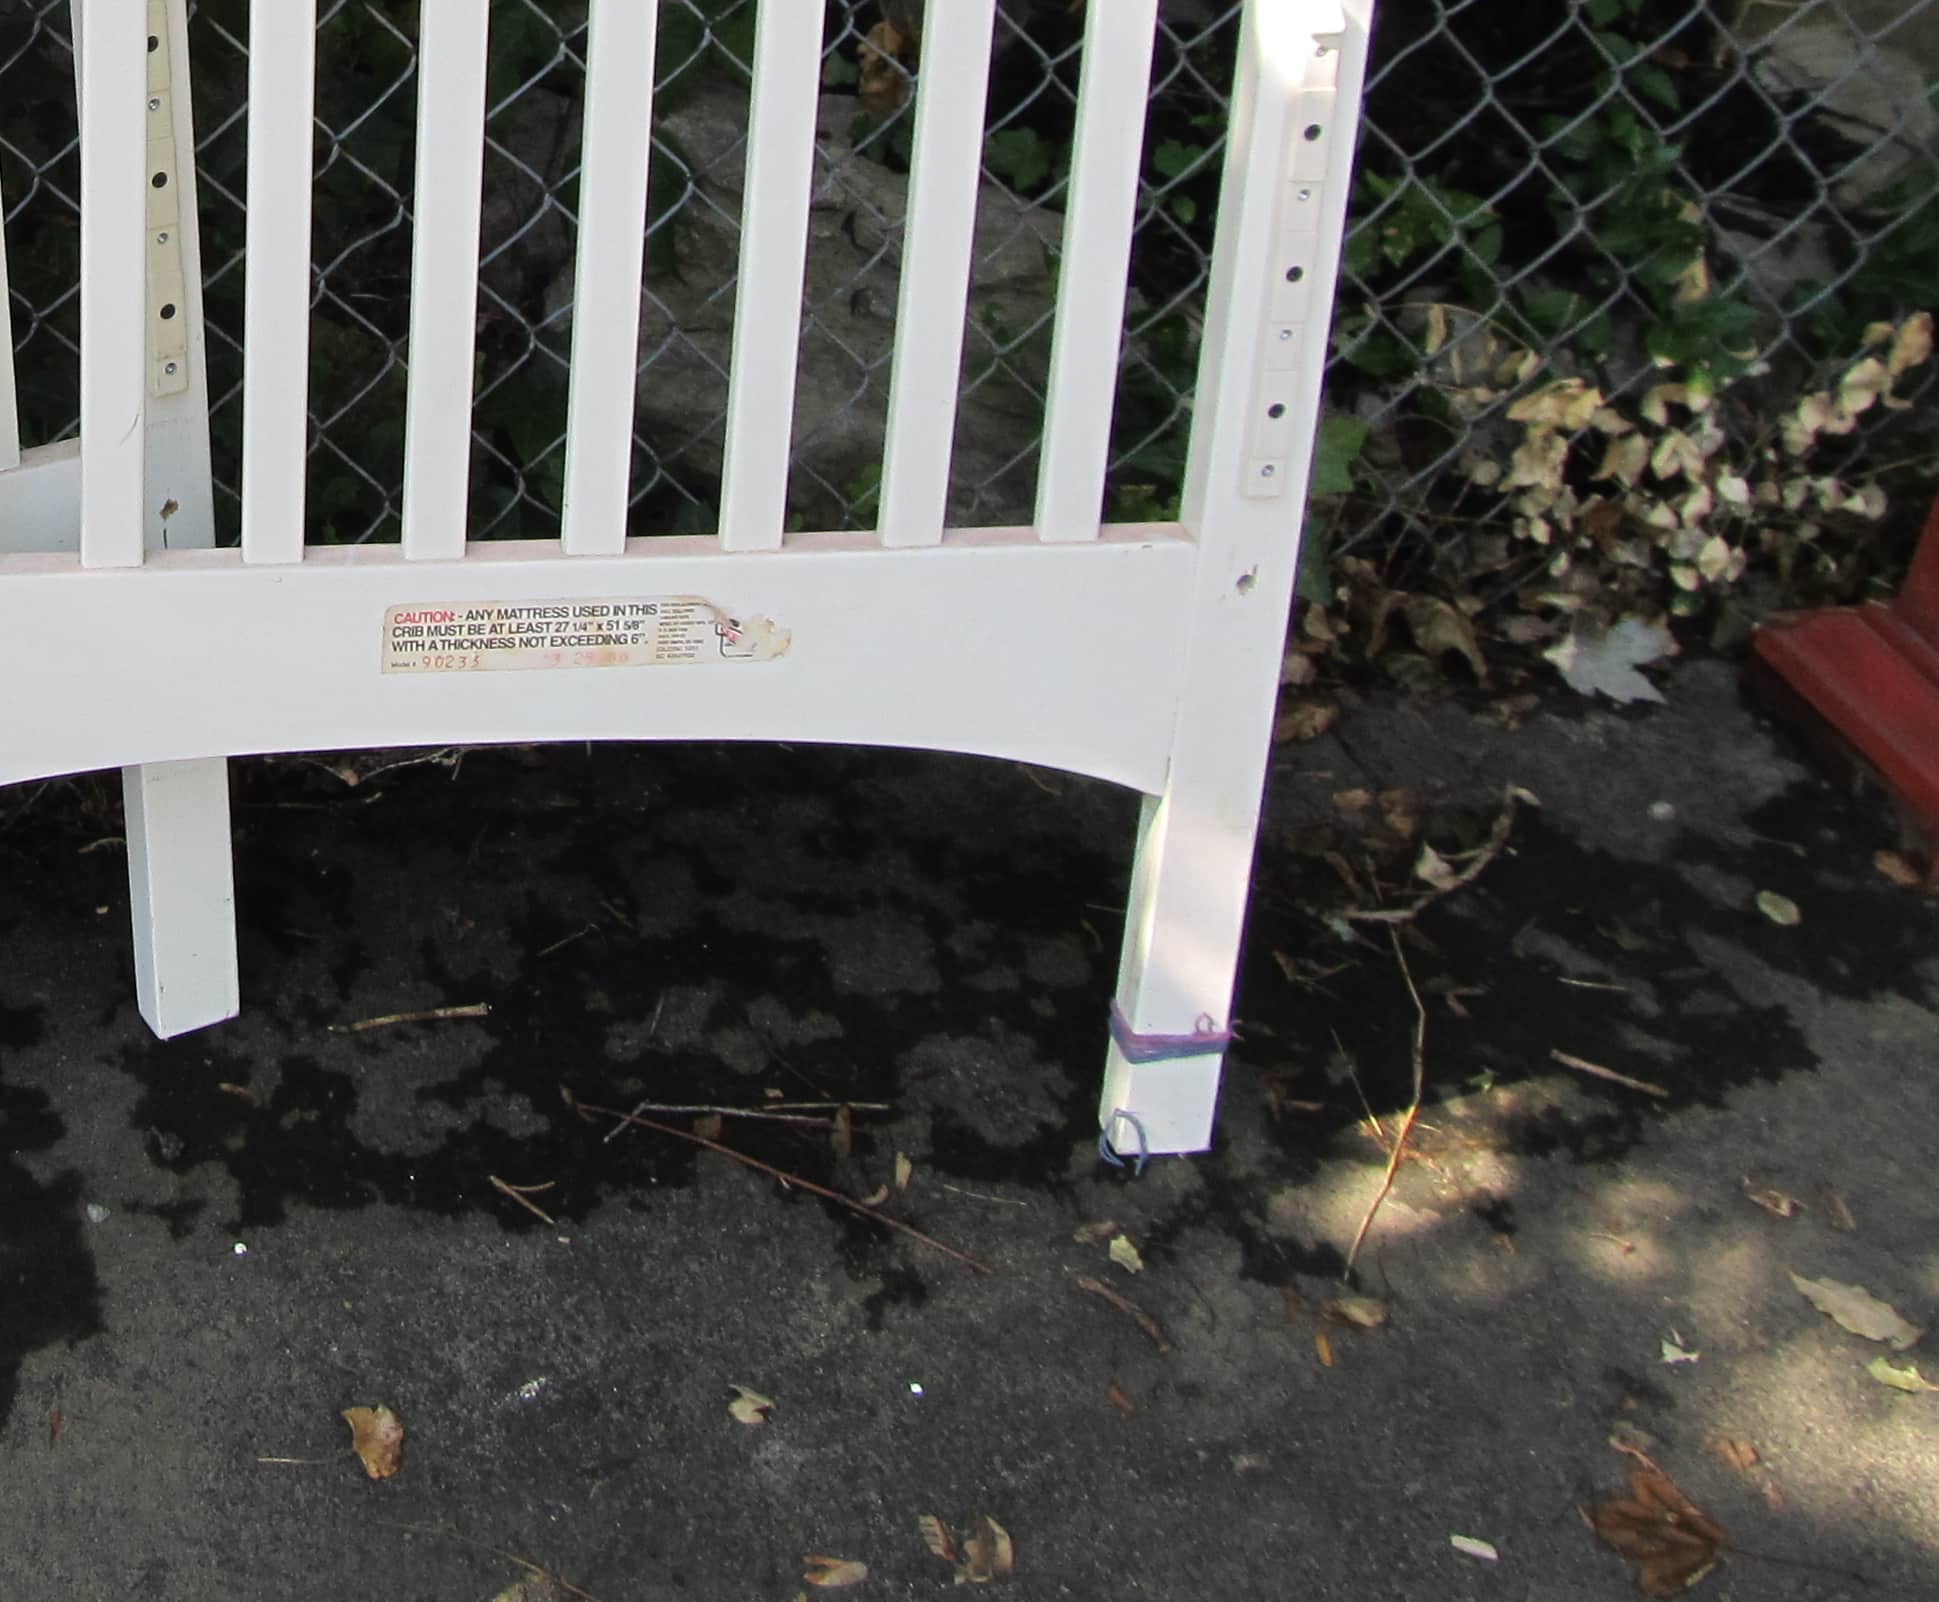
This one leg was in pretty bad shape. I didn’t know what I was going to do with them until I saw this pin.
Make Repairs and Adjustments to Your Crib
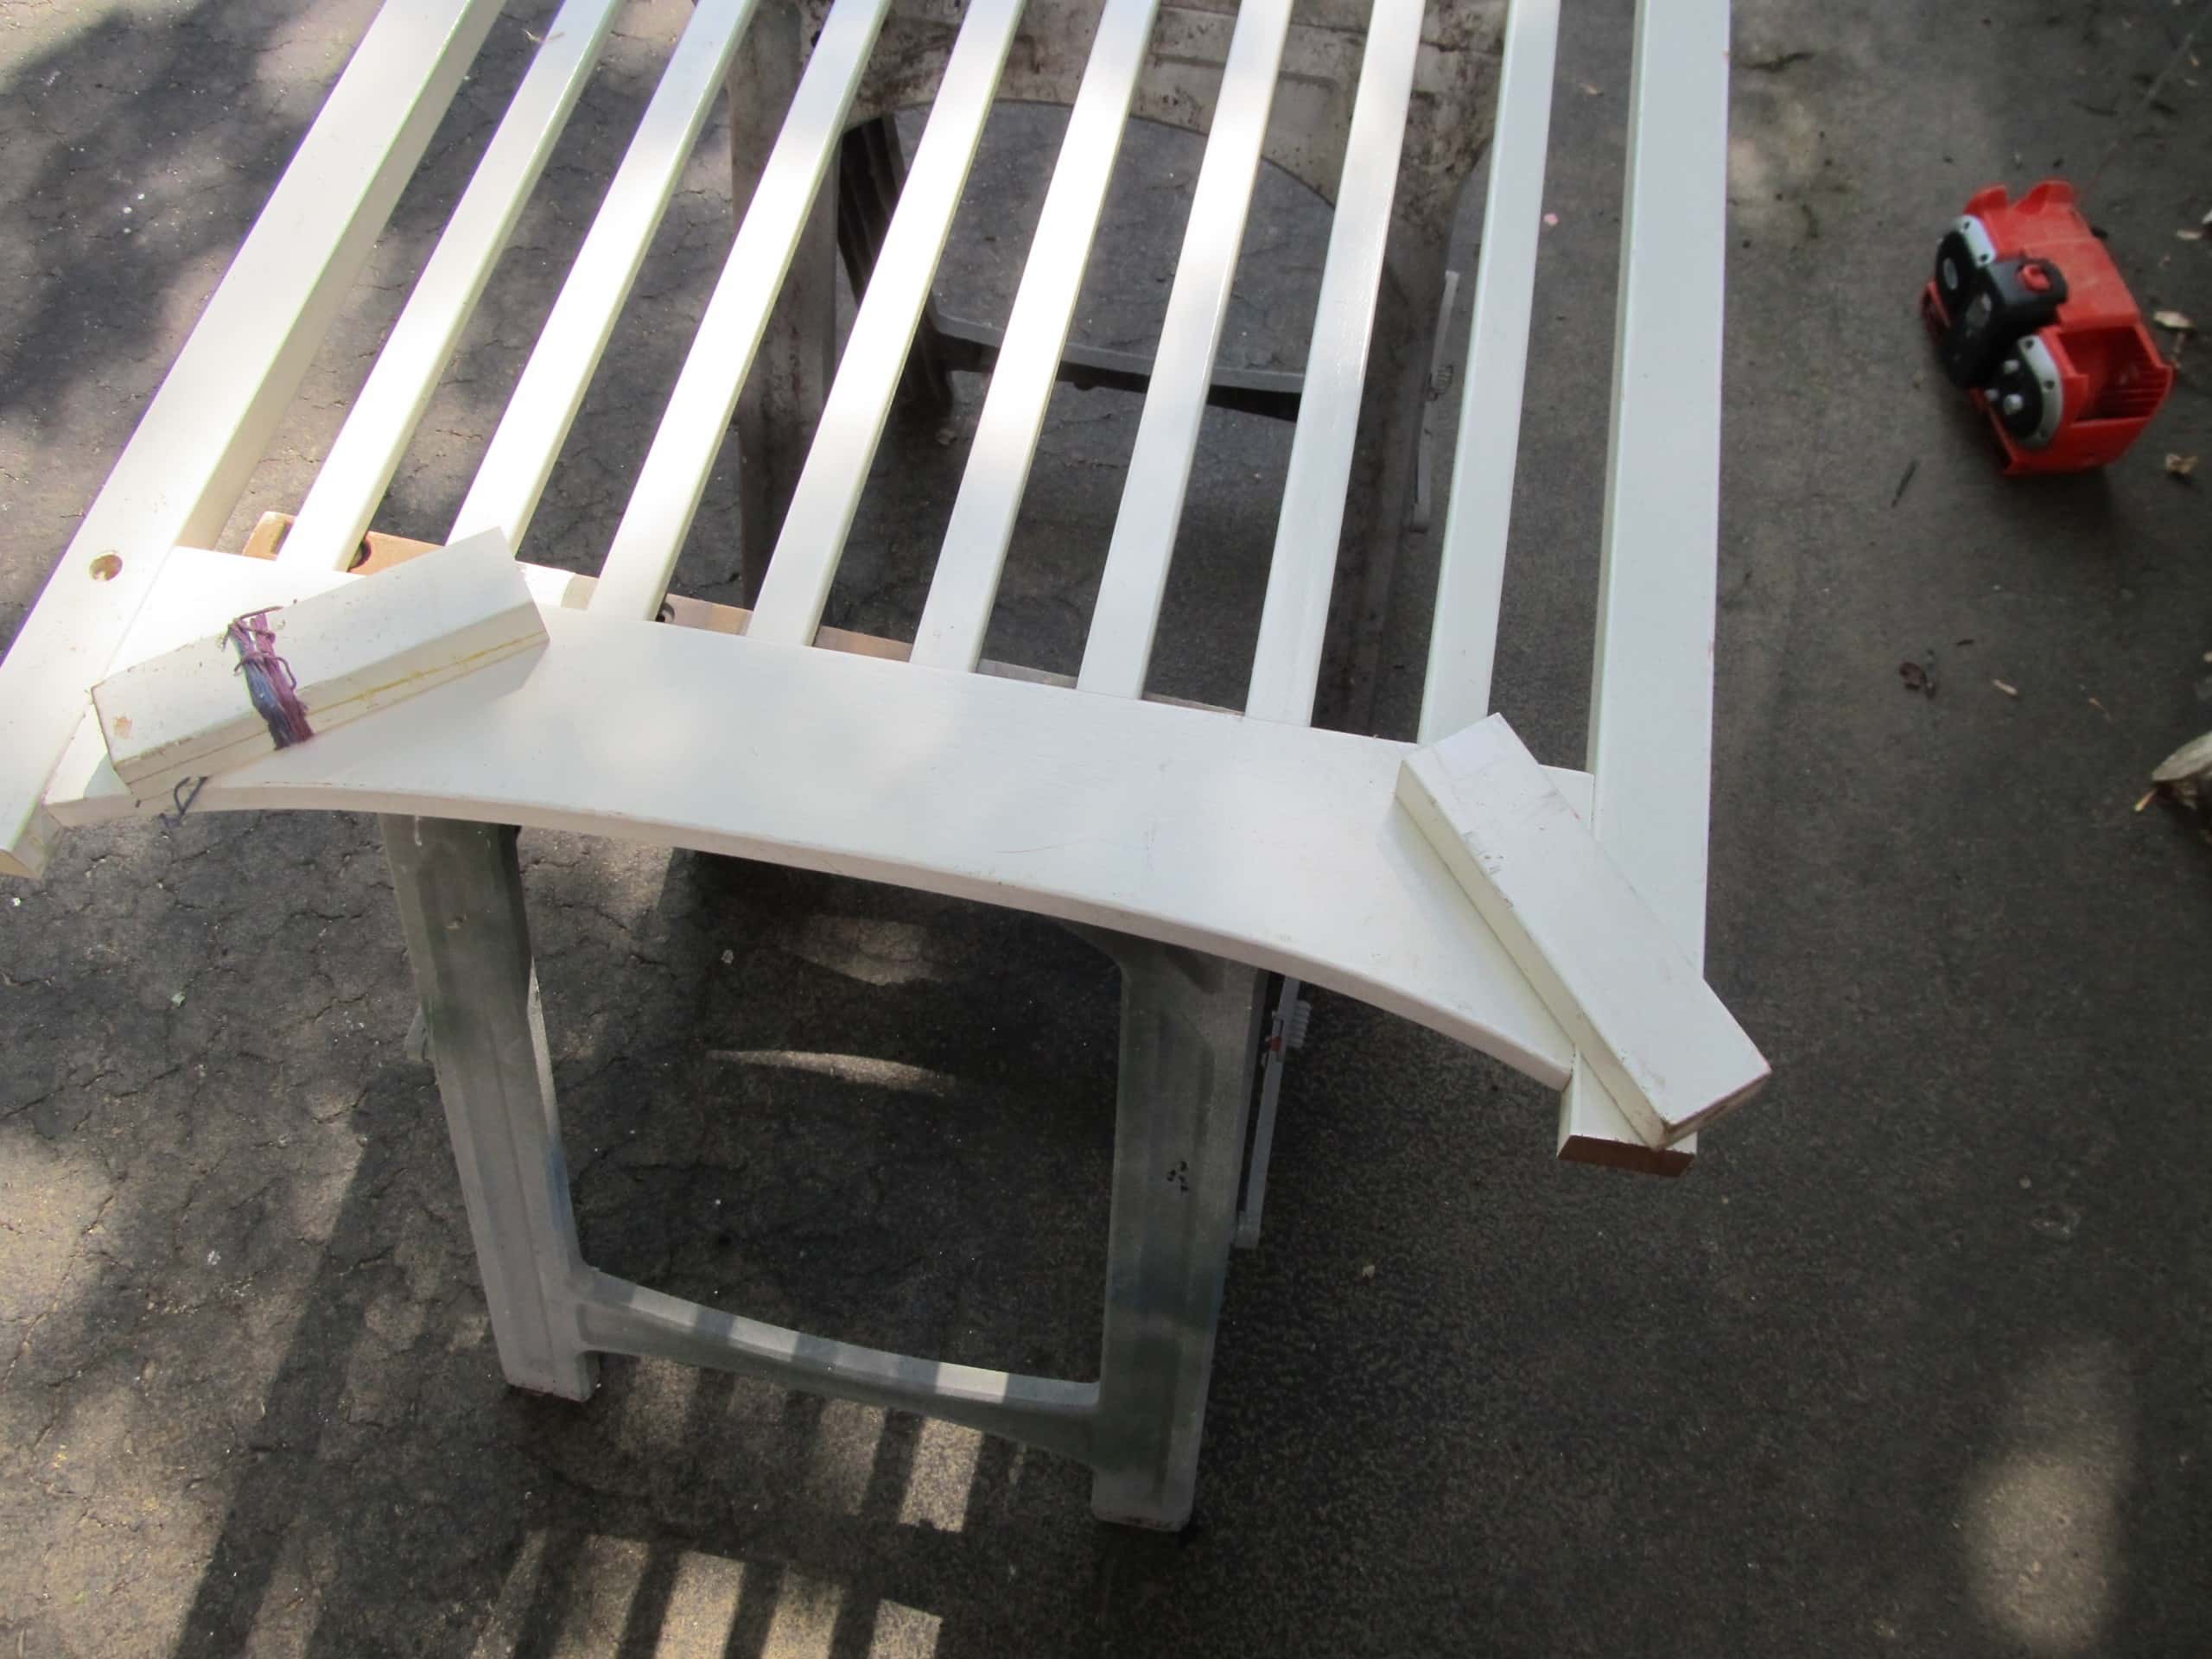
Because the crib ends were so tall, I cut off a bit of two feet, which included the part that had been repaired.
Prepare Slatted Crib to be Cut Apart
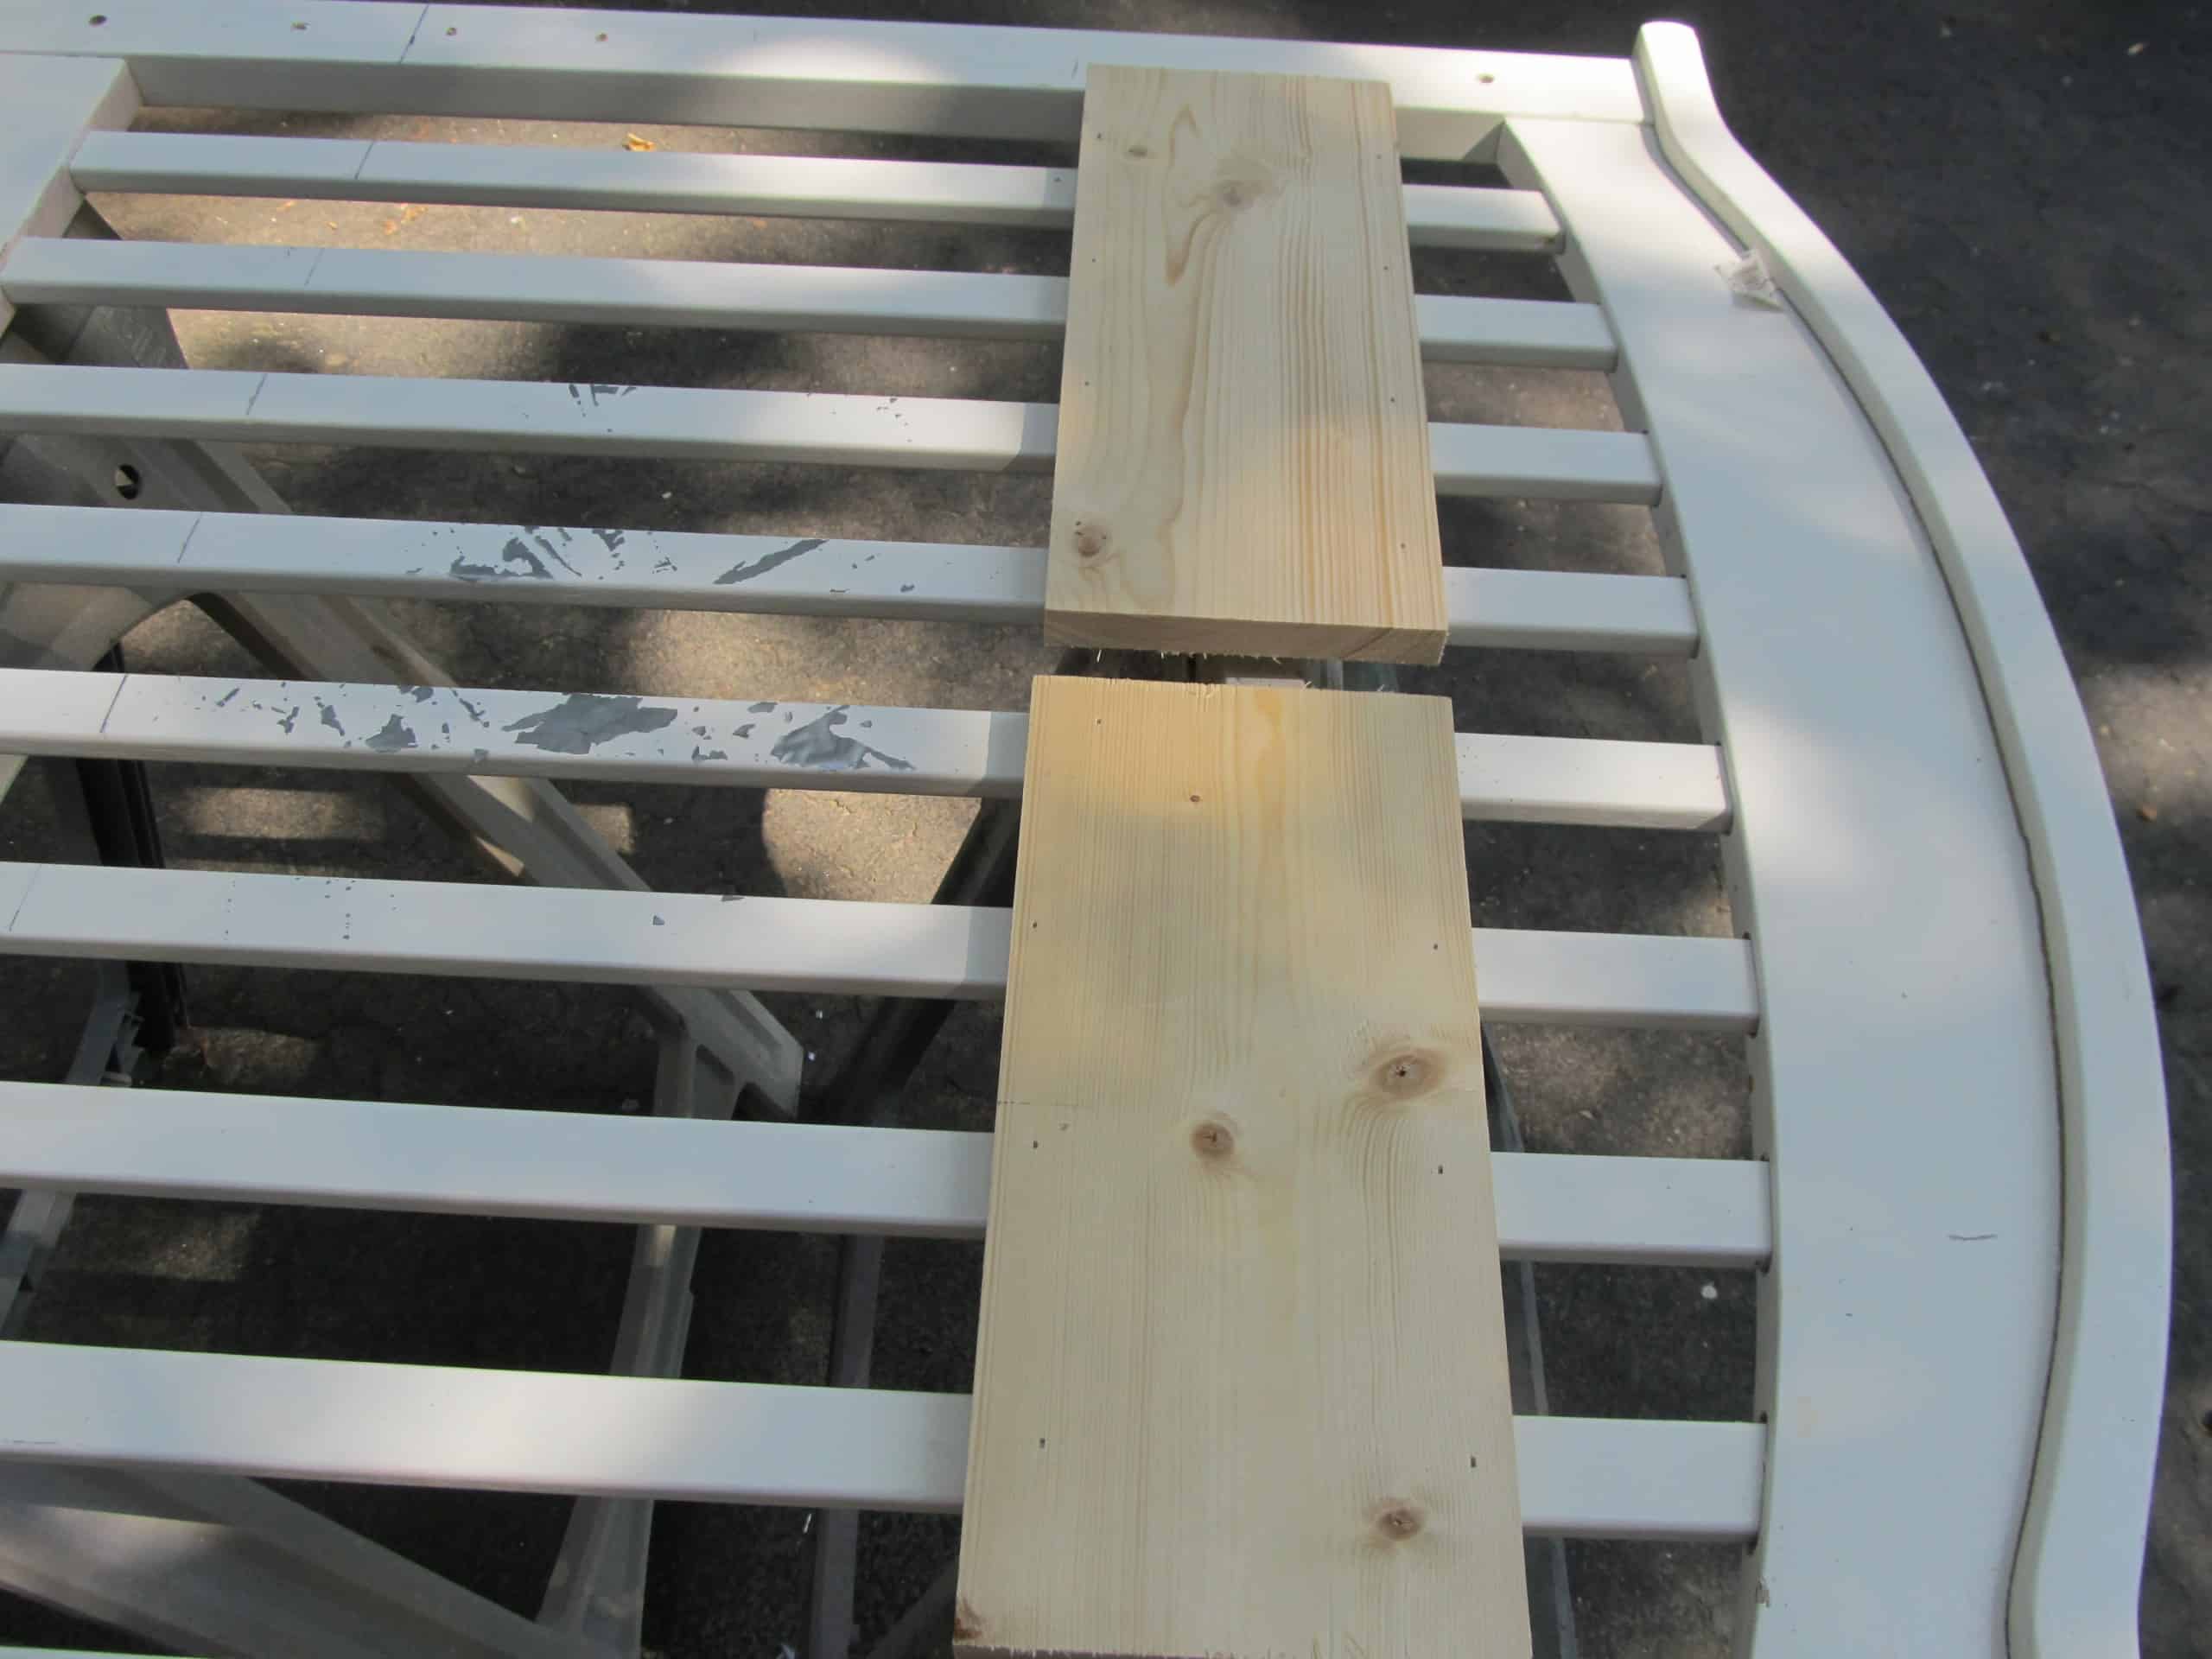
When I started cutting this baby up, I knew it would get pretty wobbly due to the slats being cut off. I used some scrap lumber to “brace” it to remedy this. I shot some nails into these boards to support the side pieces as I designed this piece. You can see on the left that I’ve drawn lines where I want to cut it off.
Use a Jigsaw to Cut The Upcycled Crib
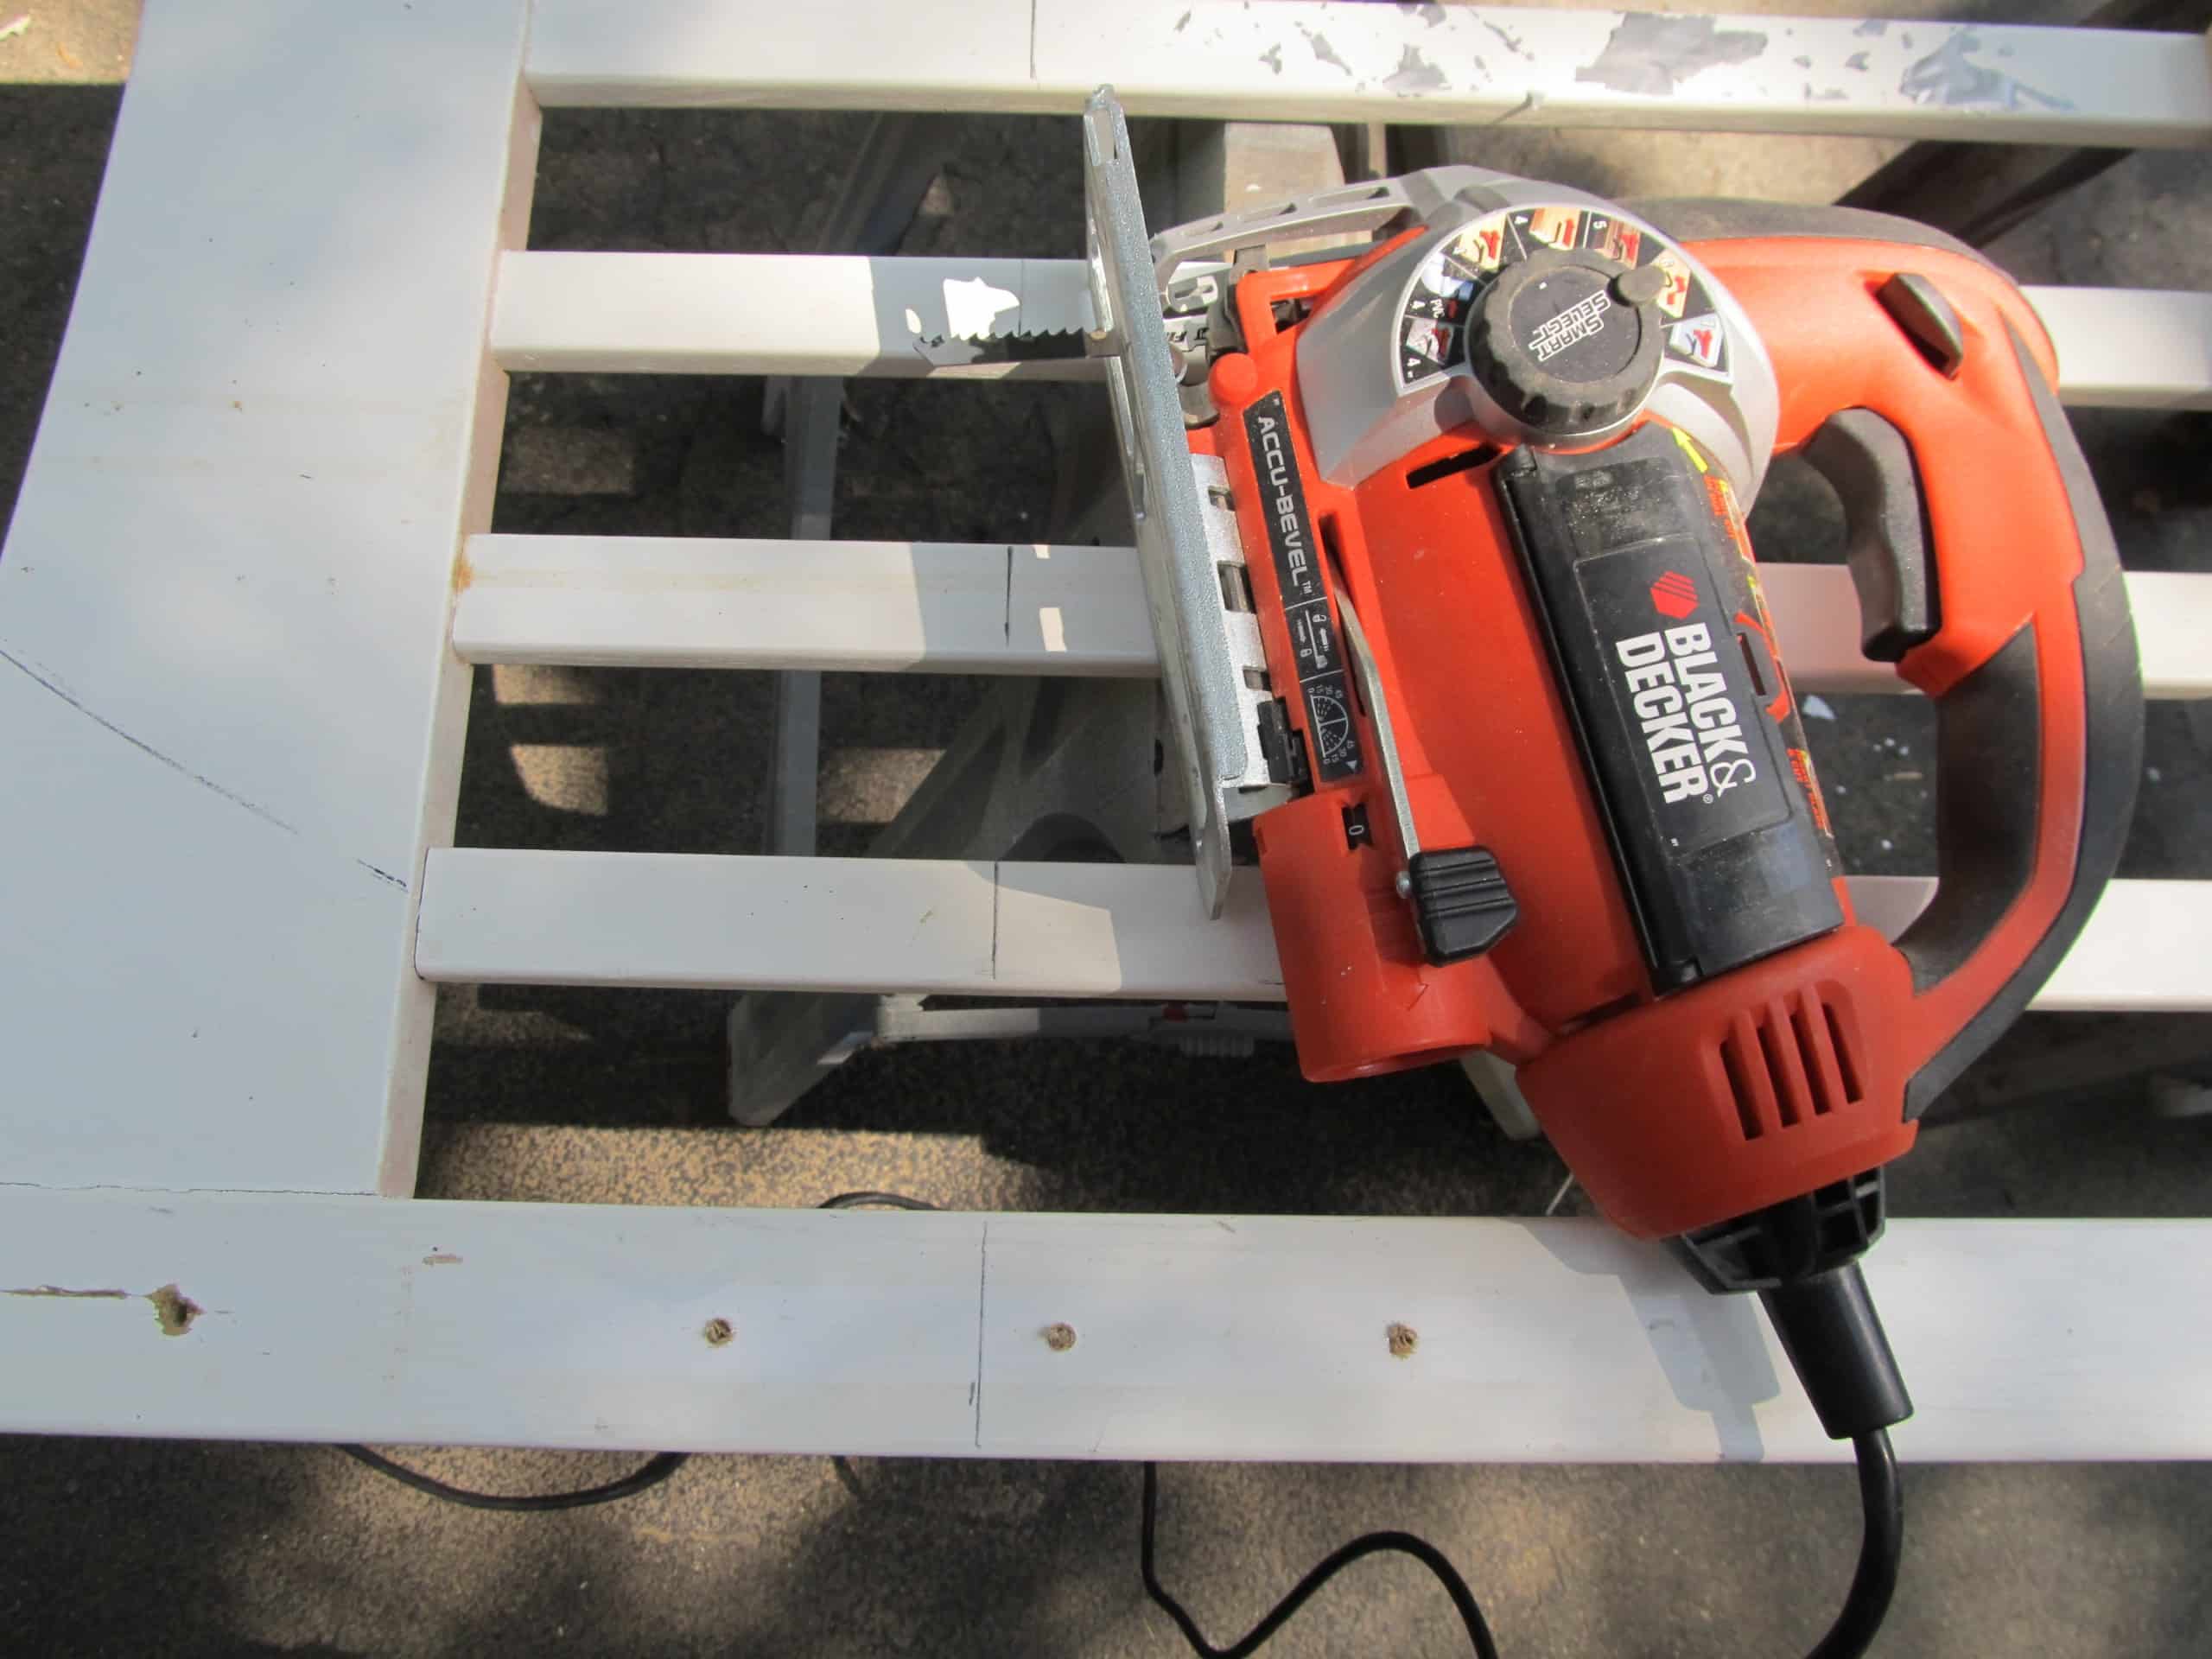
I used my jigsaw to cut through the slats. You could also use a handsaw.
A Miter Saw Makes a Straight-Cut
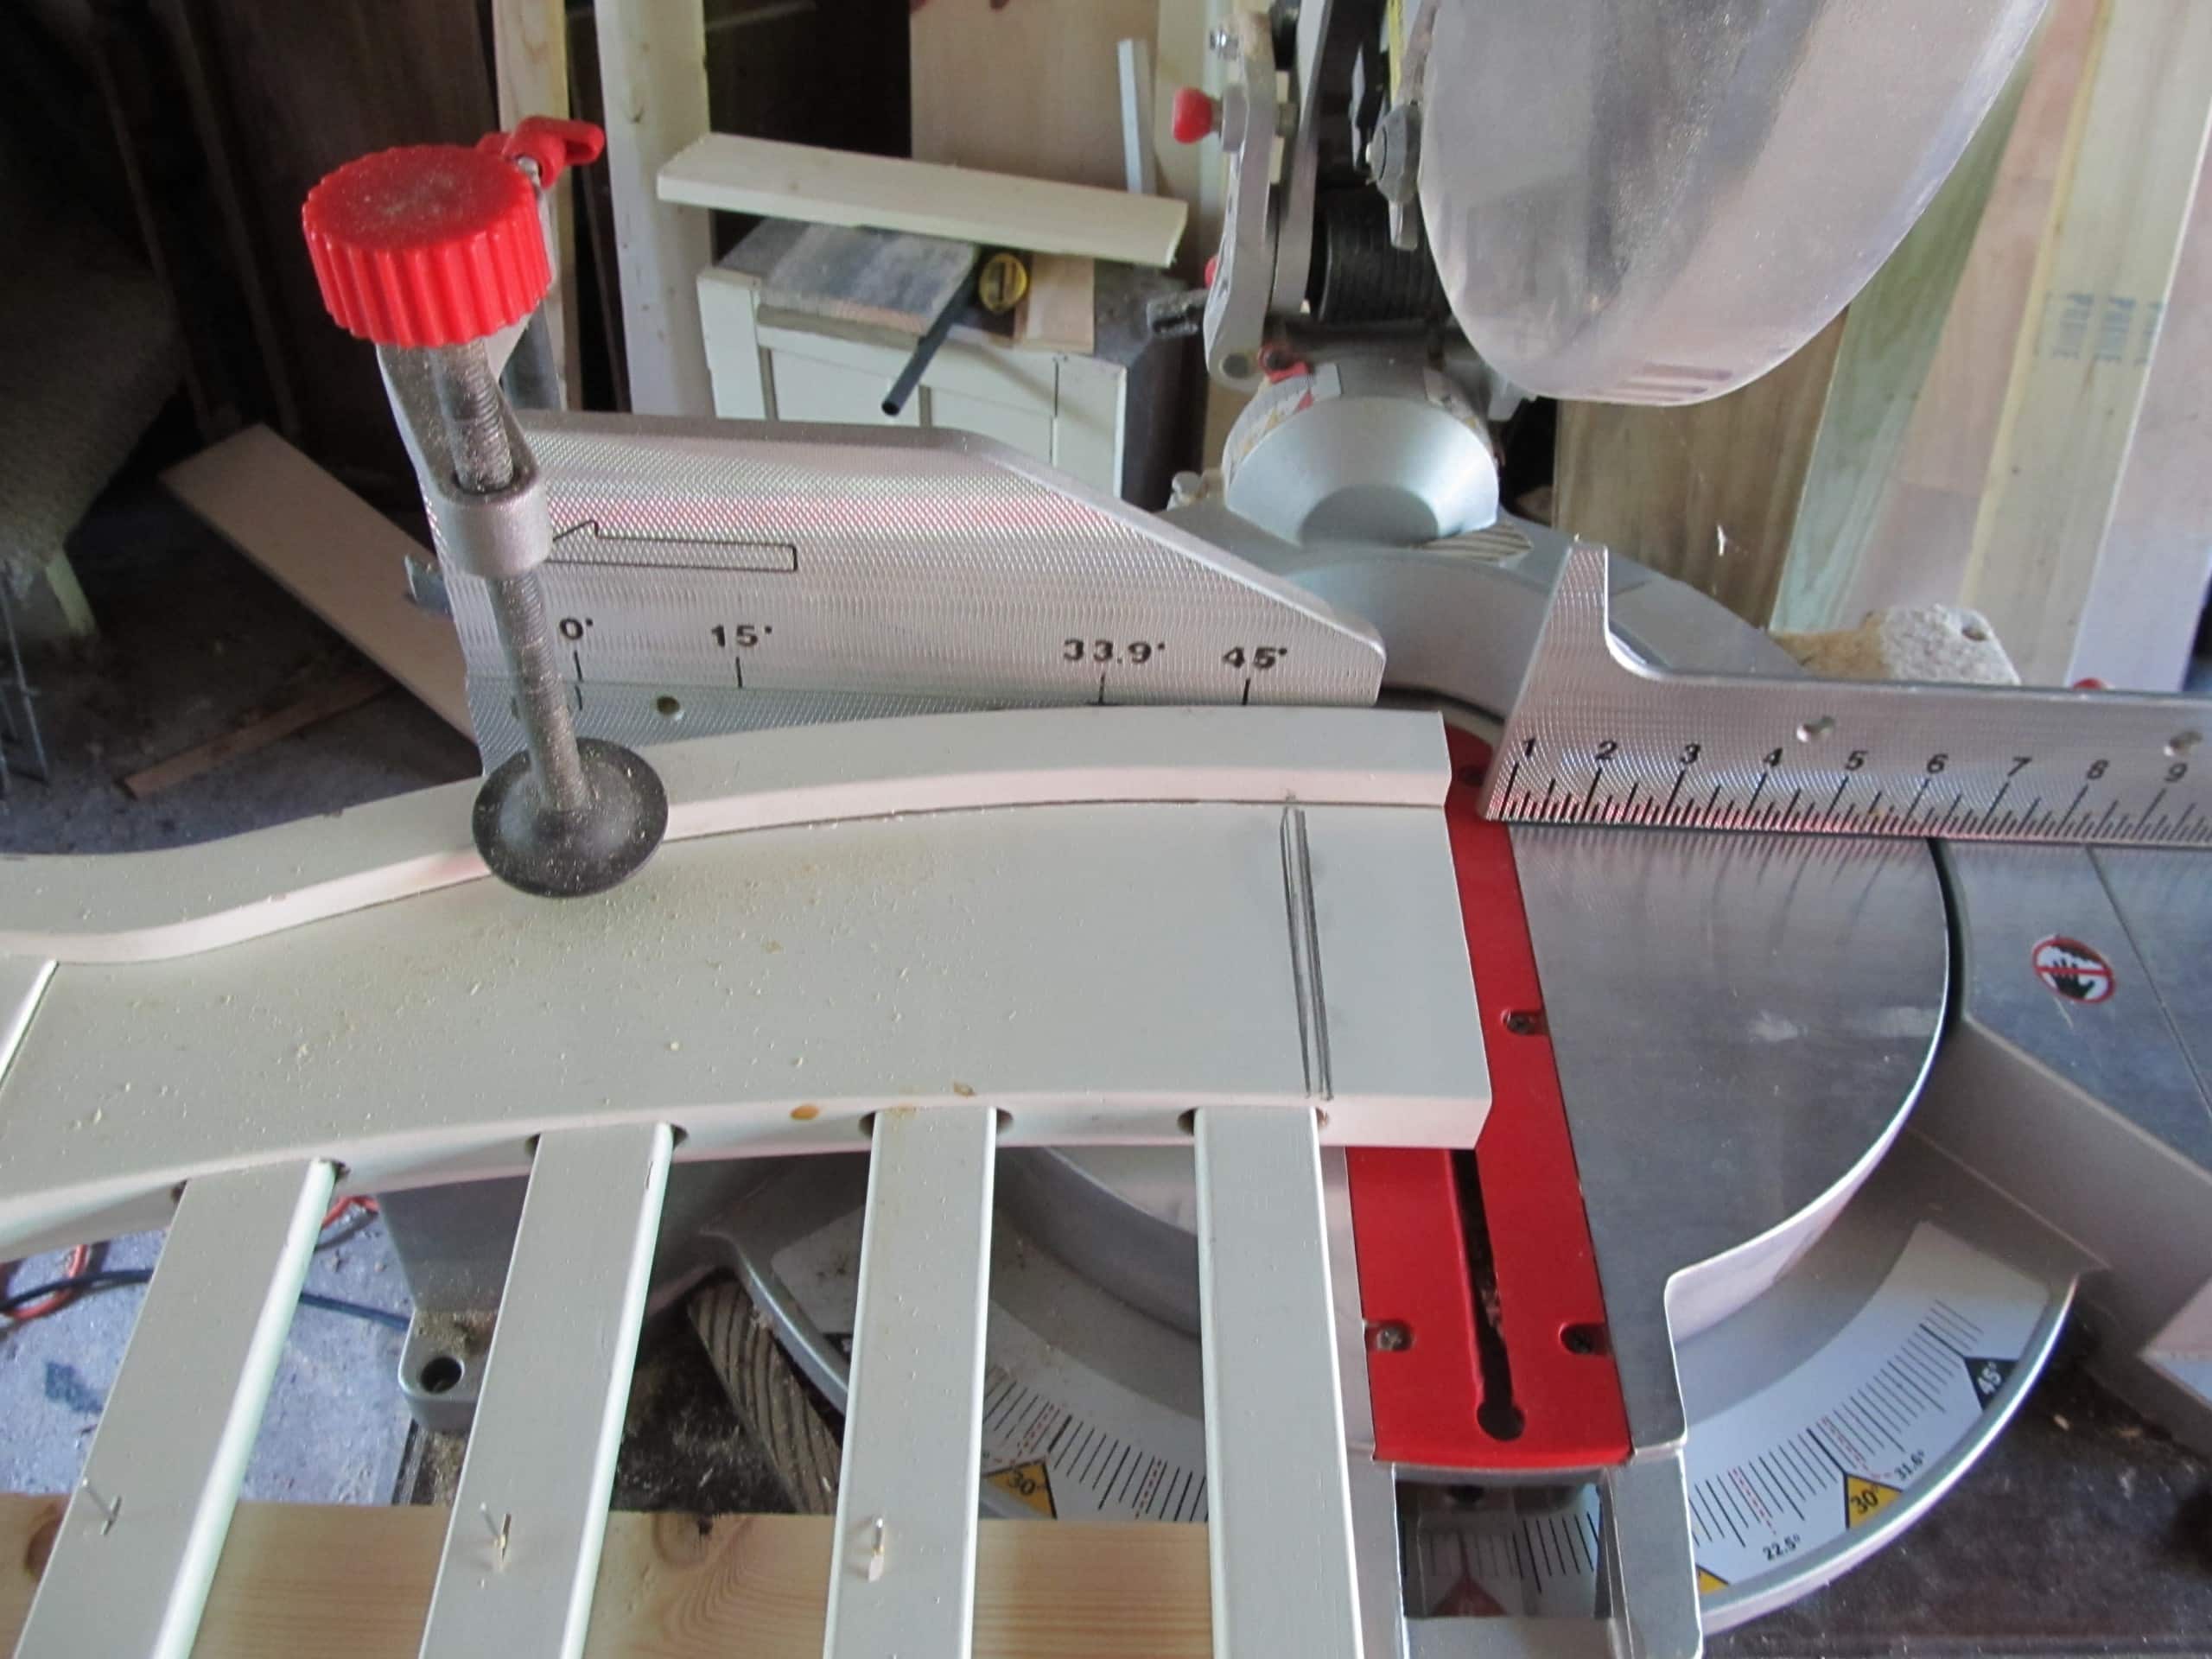
I used the jigsaw to cut the piece in half, then moved it to the miter saw to get a closer, straighter cut.
Make Sure The Measurements Fit Your Child
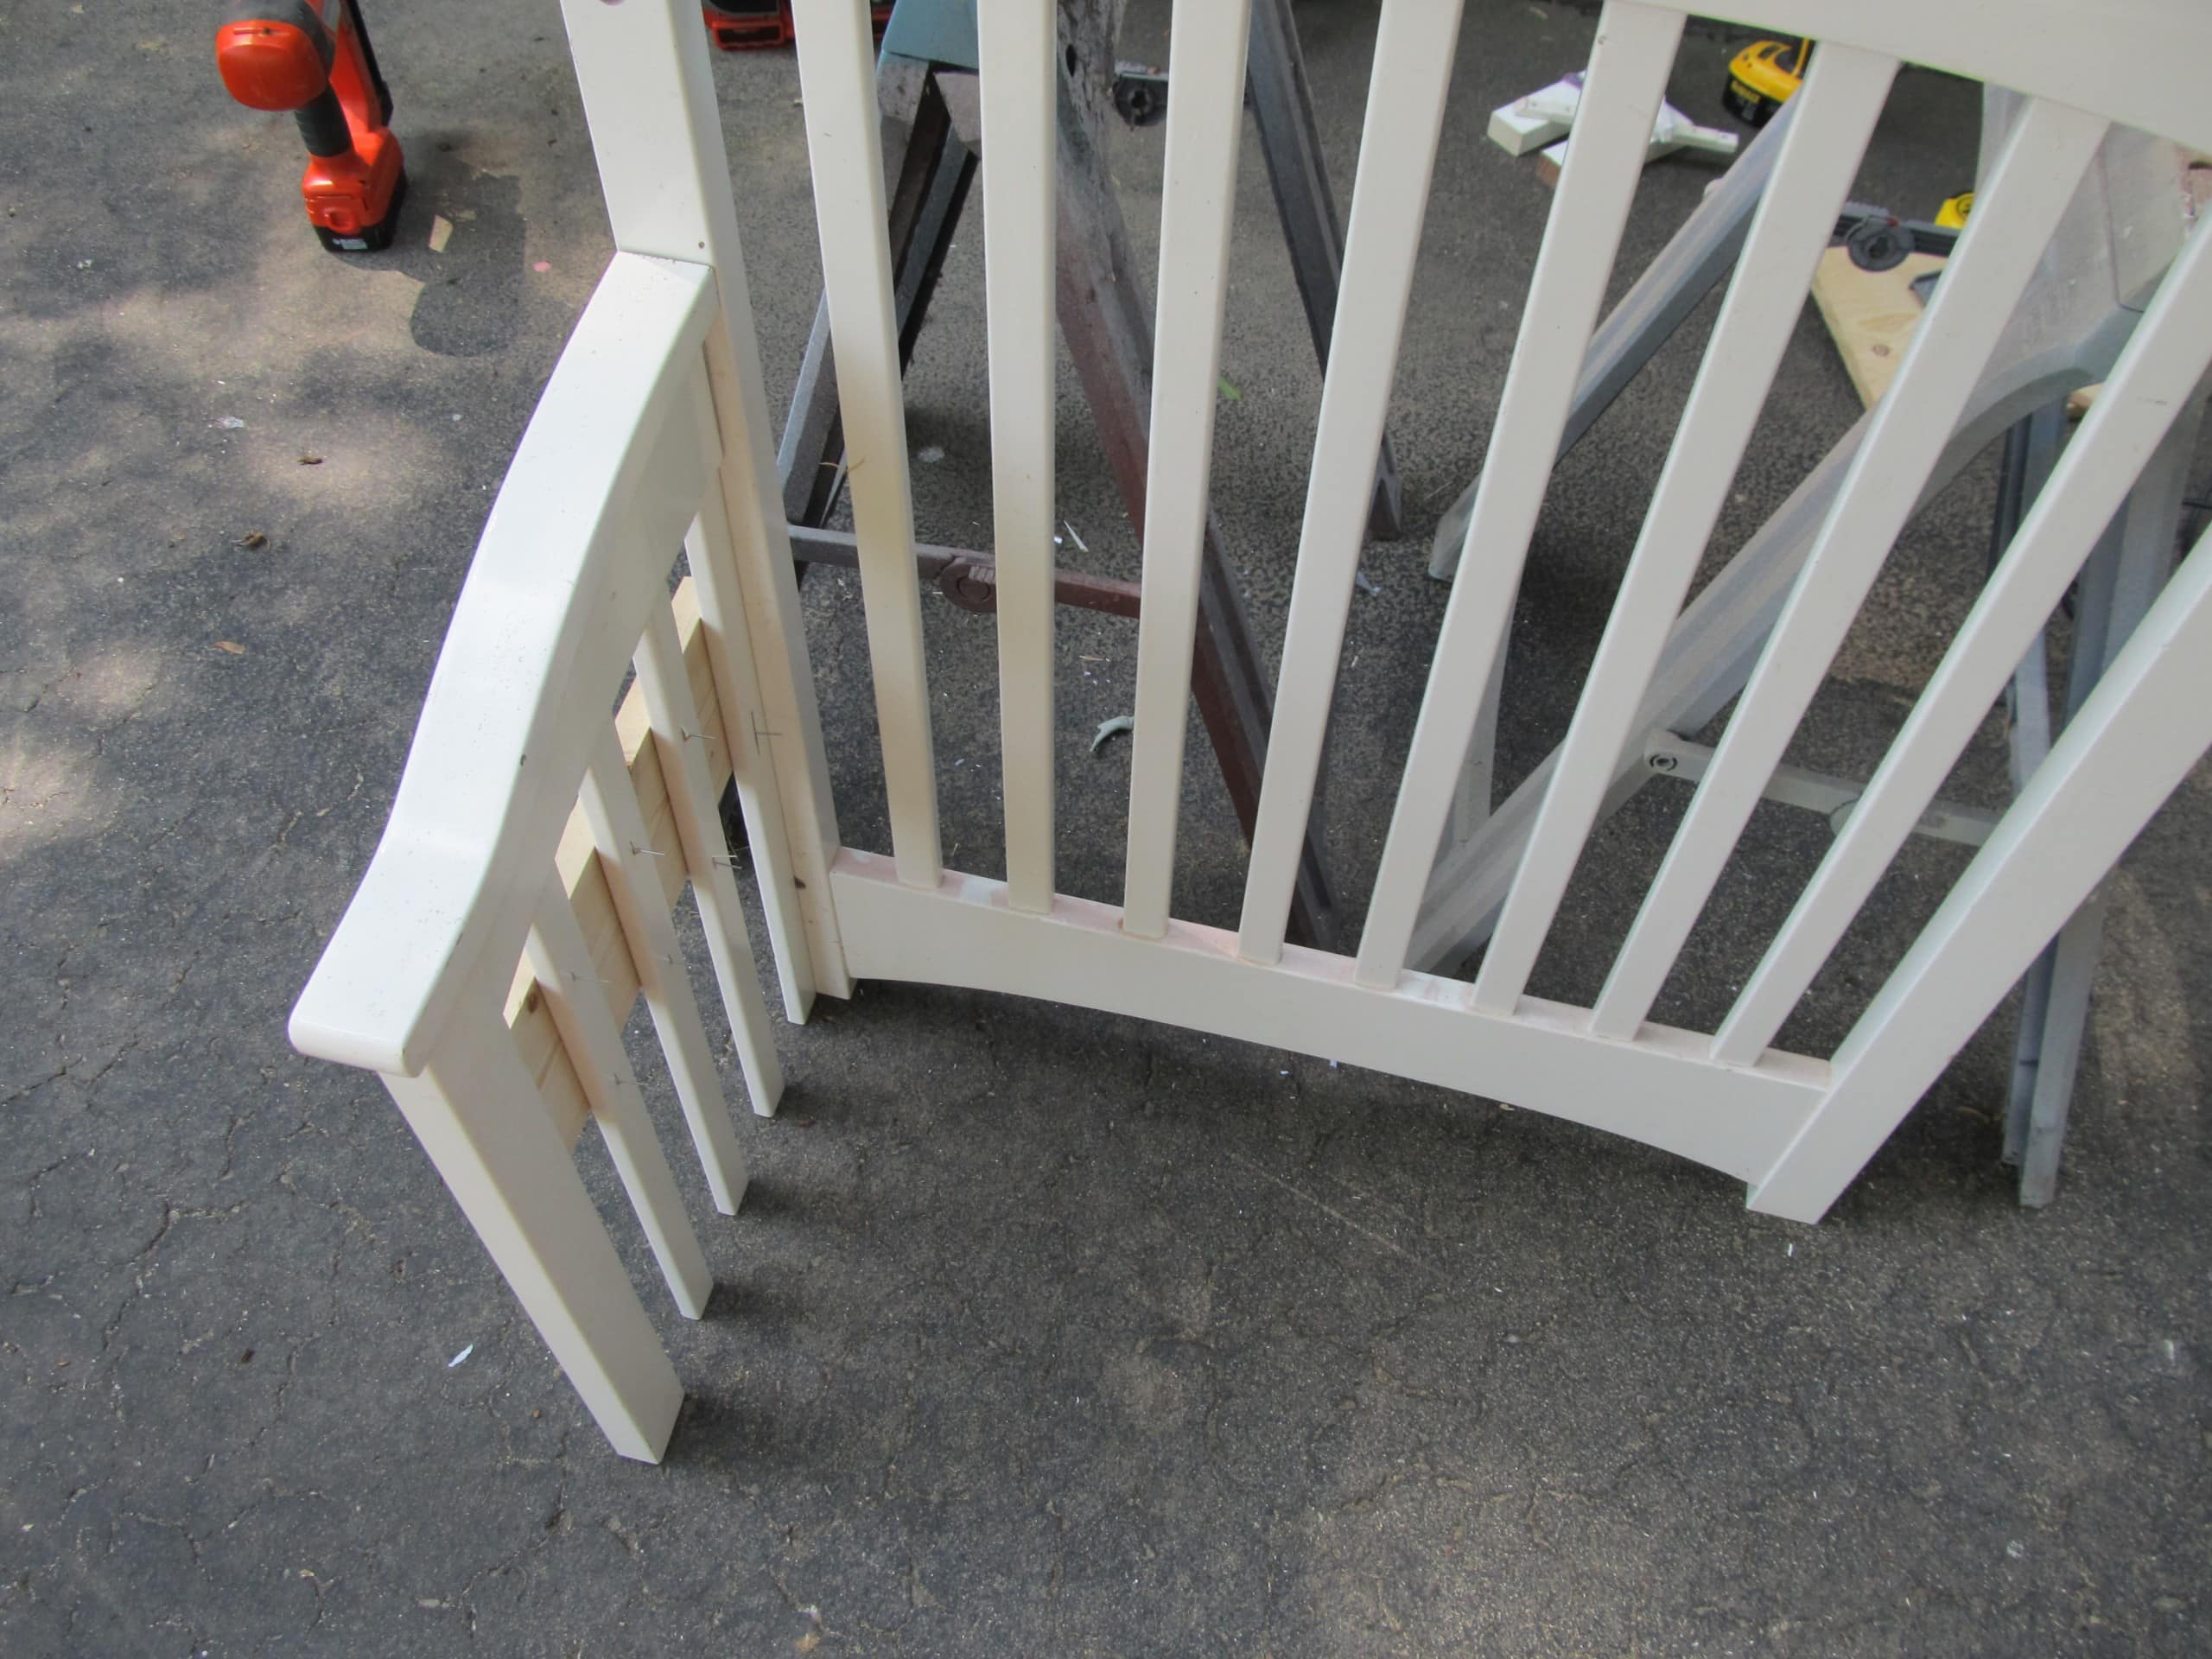
I was doing a dry fit test run when I decided I needed a child to measure. My neighbors across the street had their kids and grandkids visiting, so I walked over with my tape measure in hand. Thank you, Layla Grace, for letting me take some measurements. The arms were a little tall, so back to the jigsaw I went.
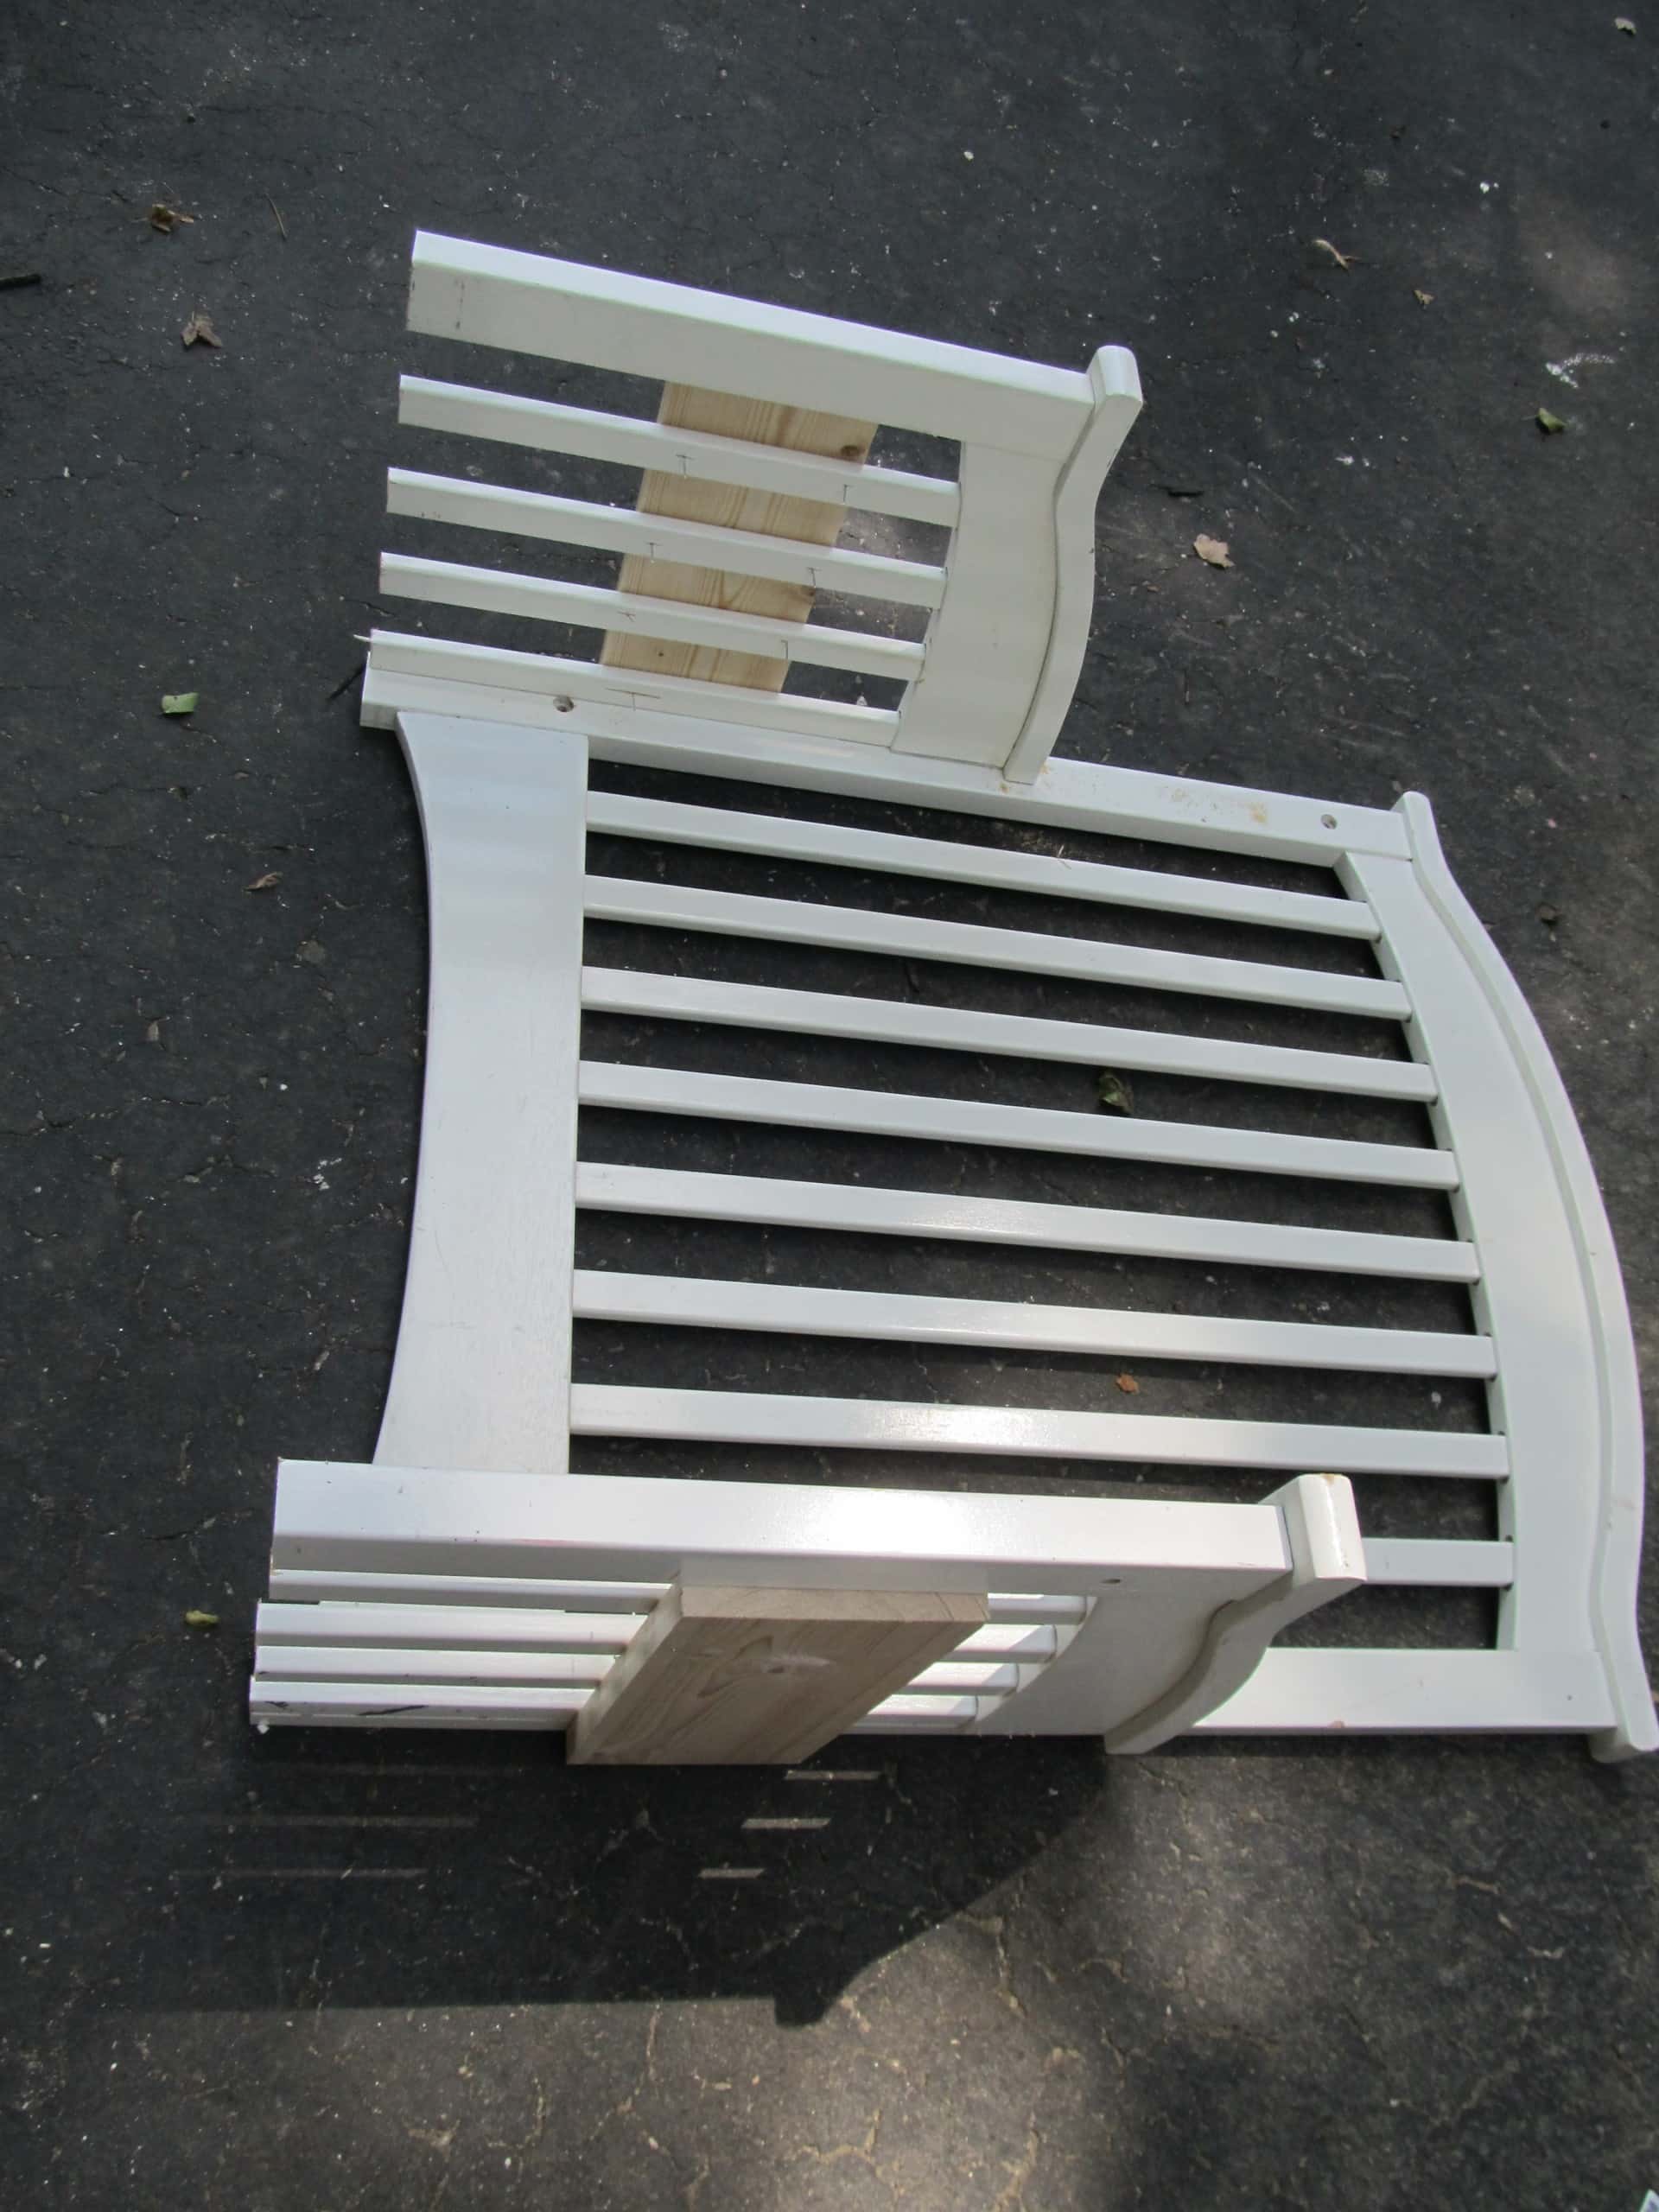
I laid the upcycled crib project down for more design decisions.
Create a Box For The Upcycled Crib Toy Box

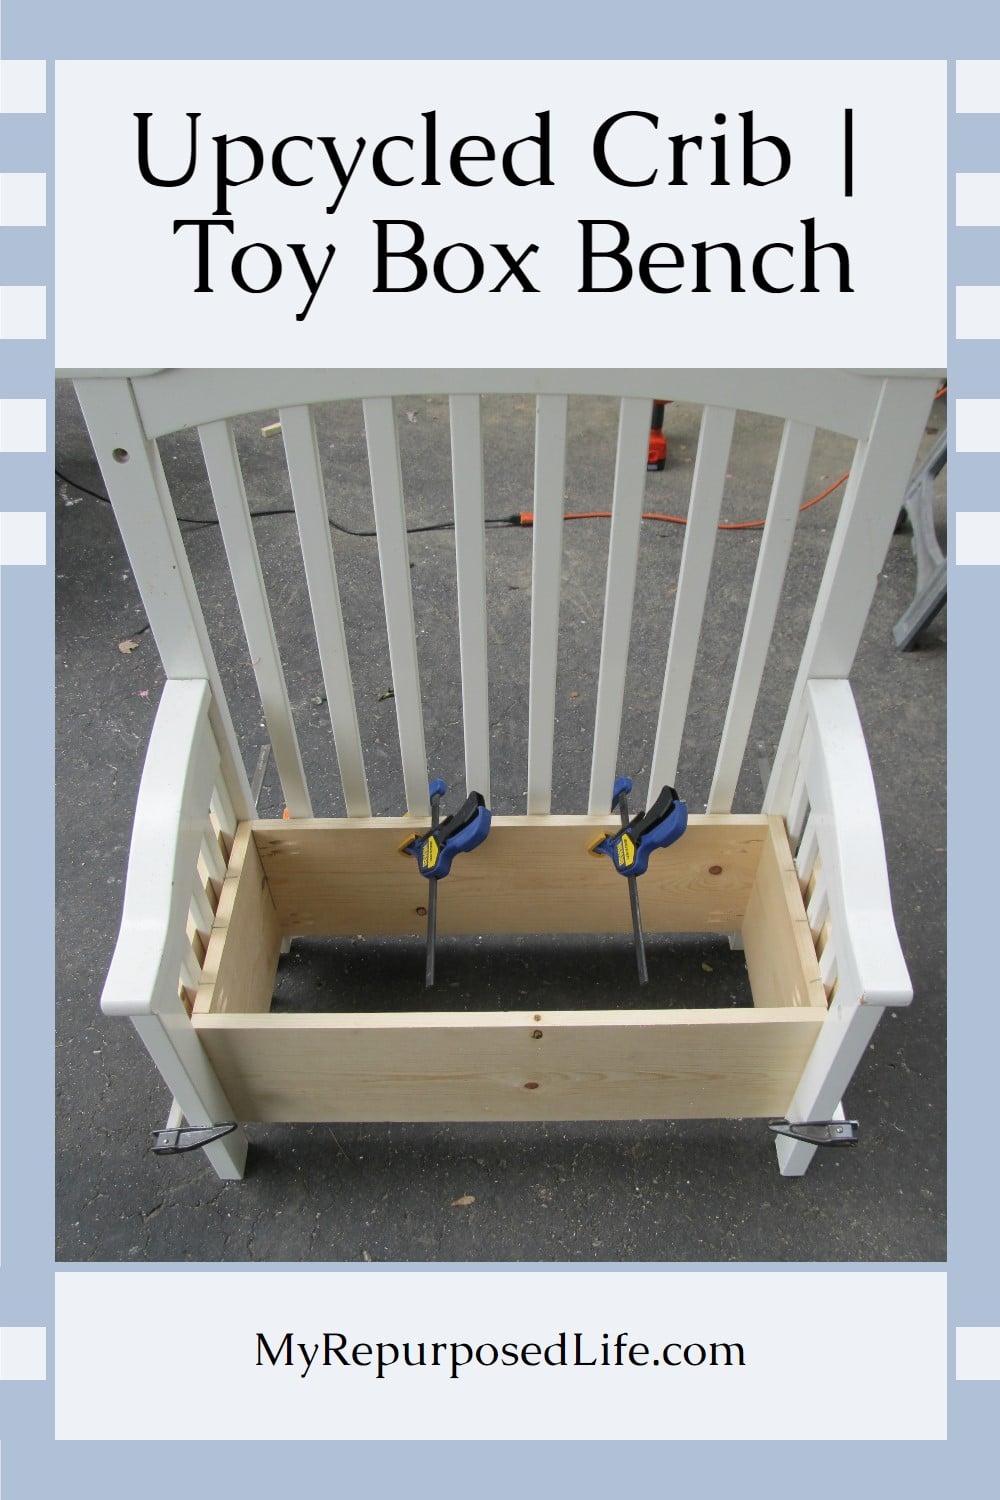
Now, on to putting together my box. The key to making this bench sturdy was including storage. I used some boards leftover from my DIY Barn Doors. I made the box with my Kreg Jig Jr.
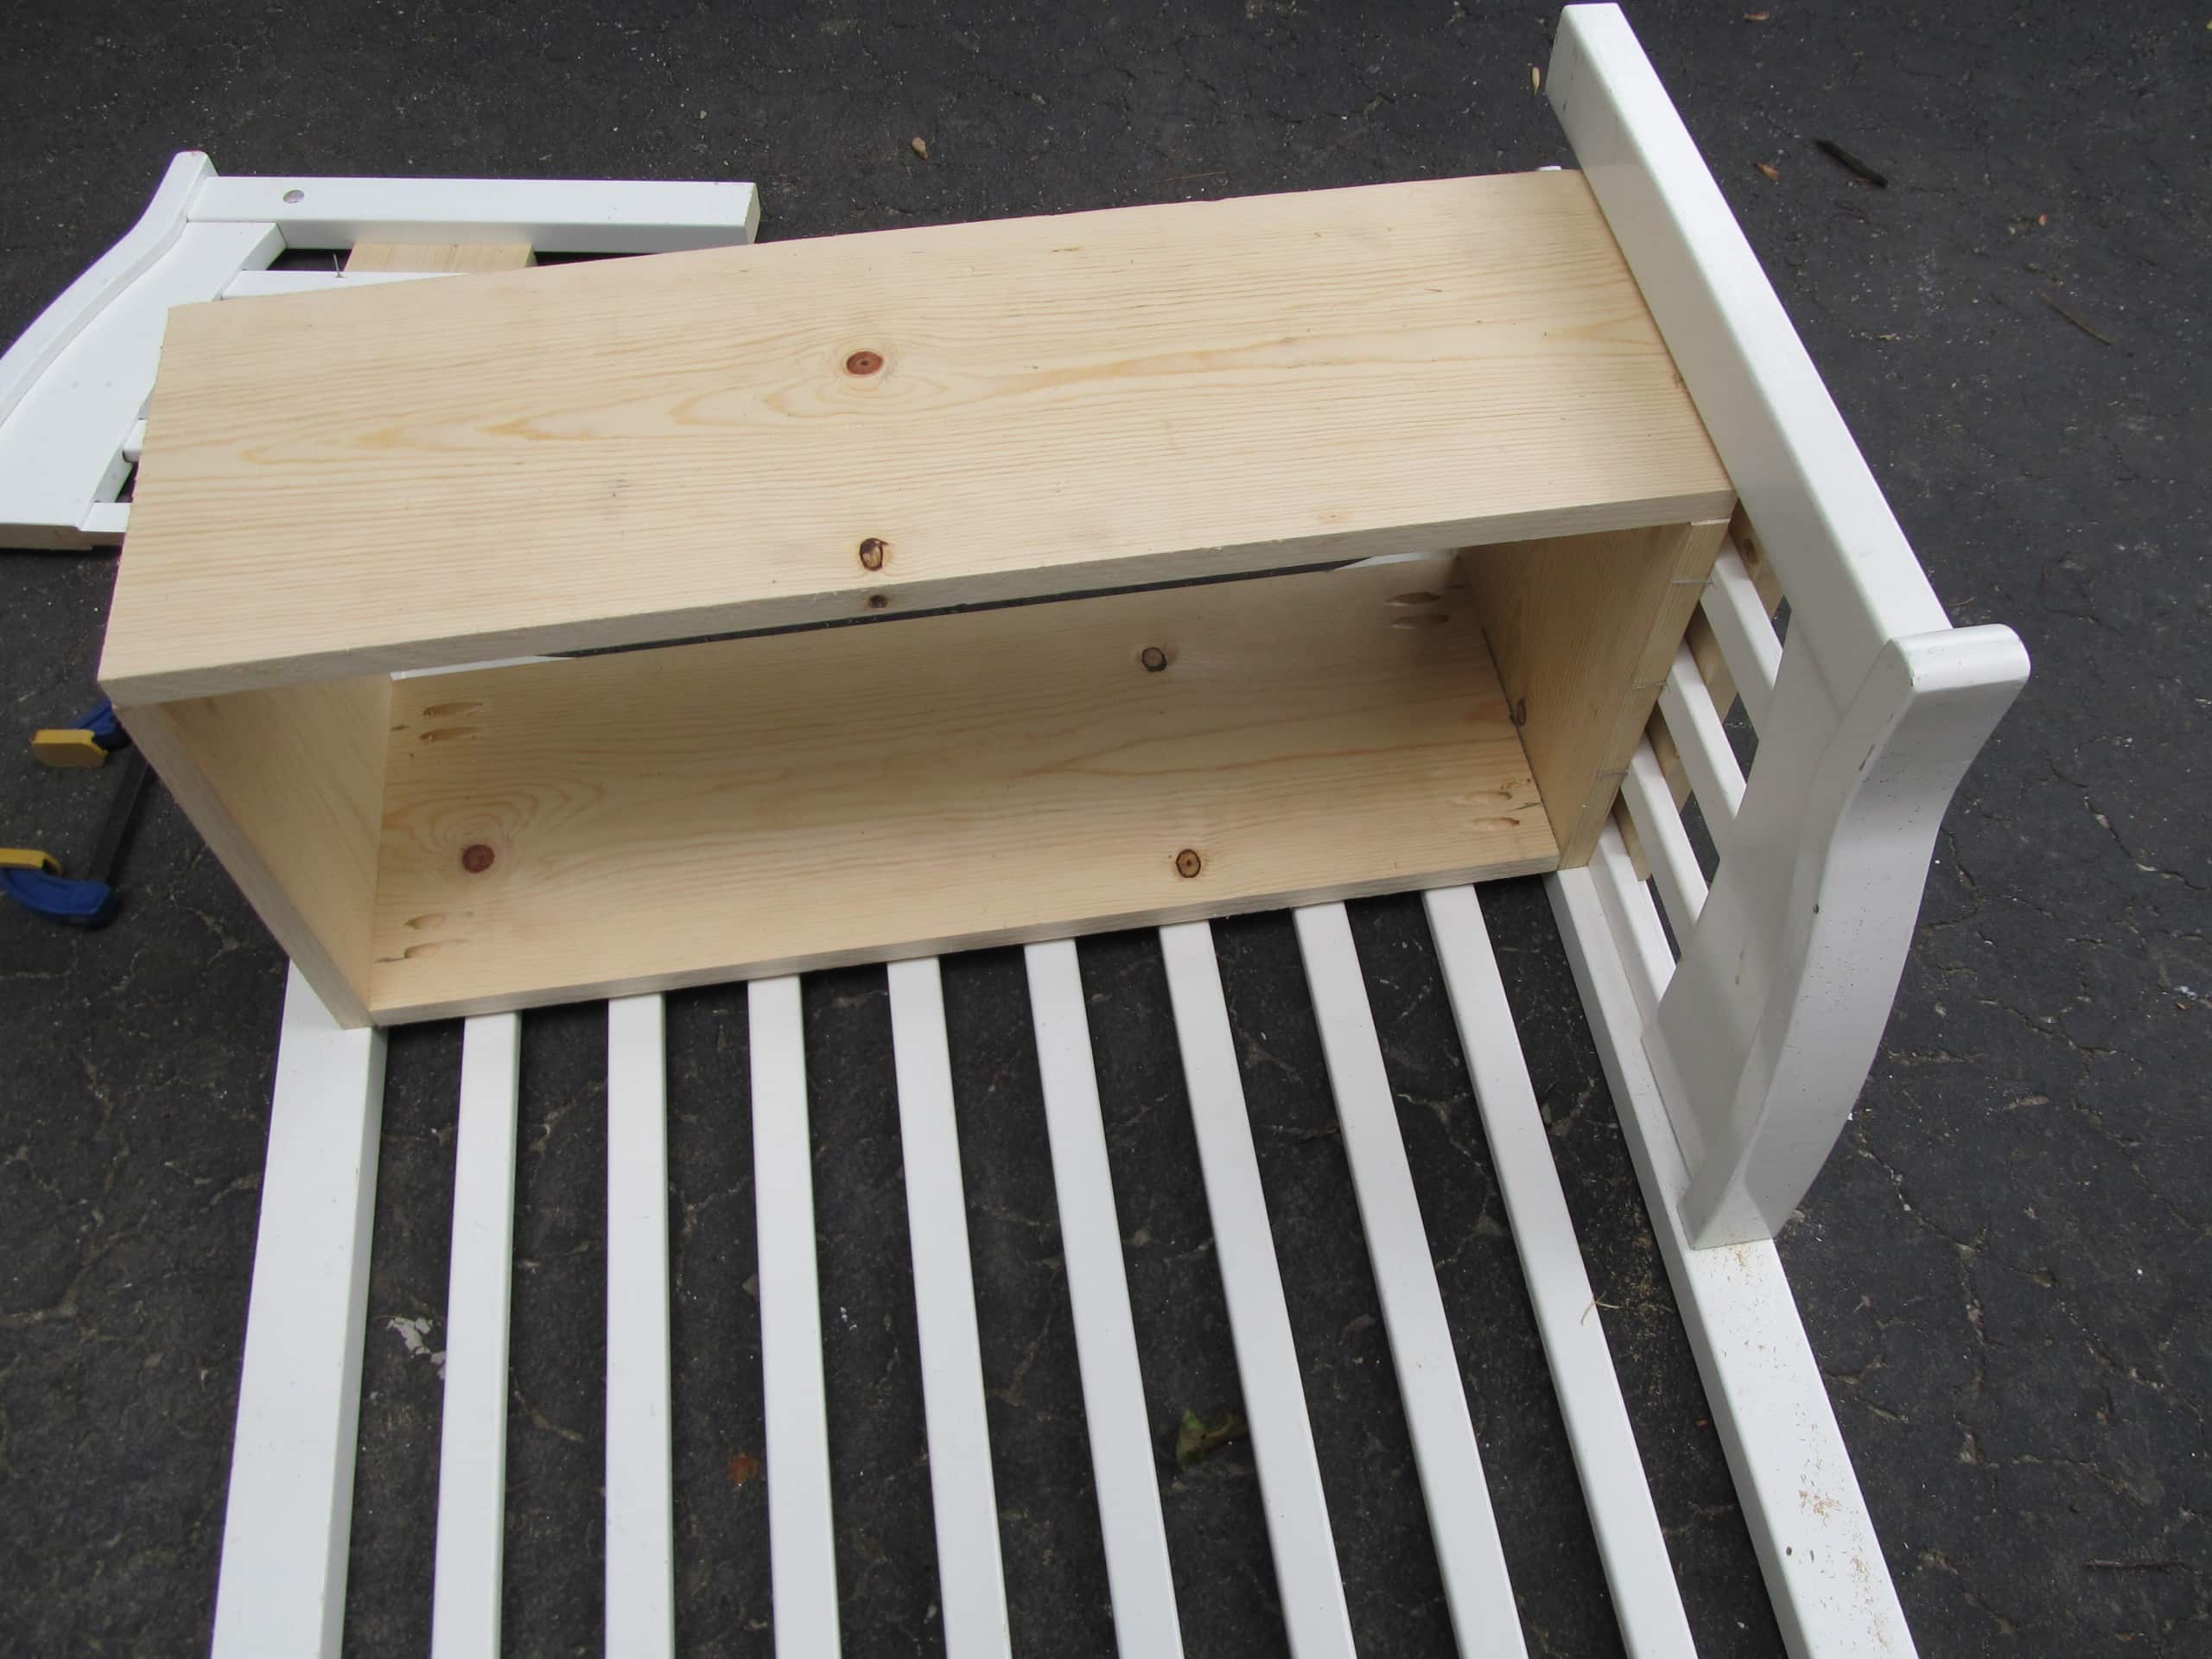
Yep, it’s coming together!
Secure The Wooden Box to The Back and Sides
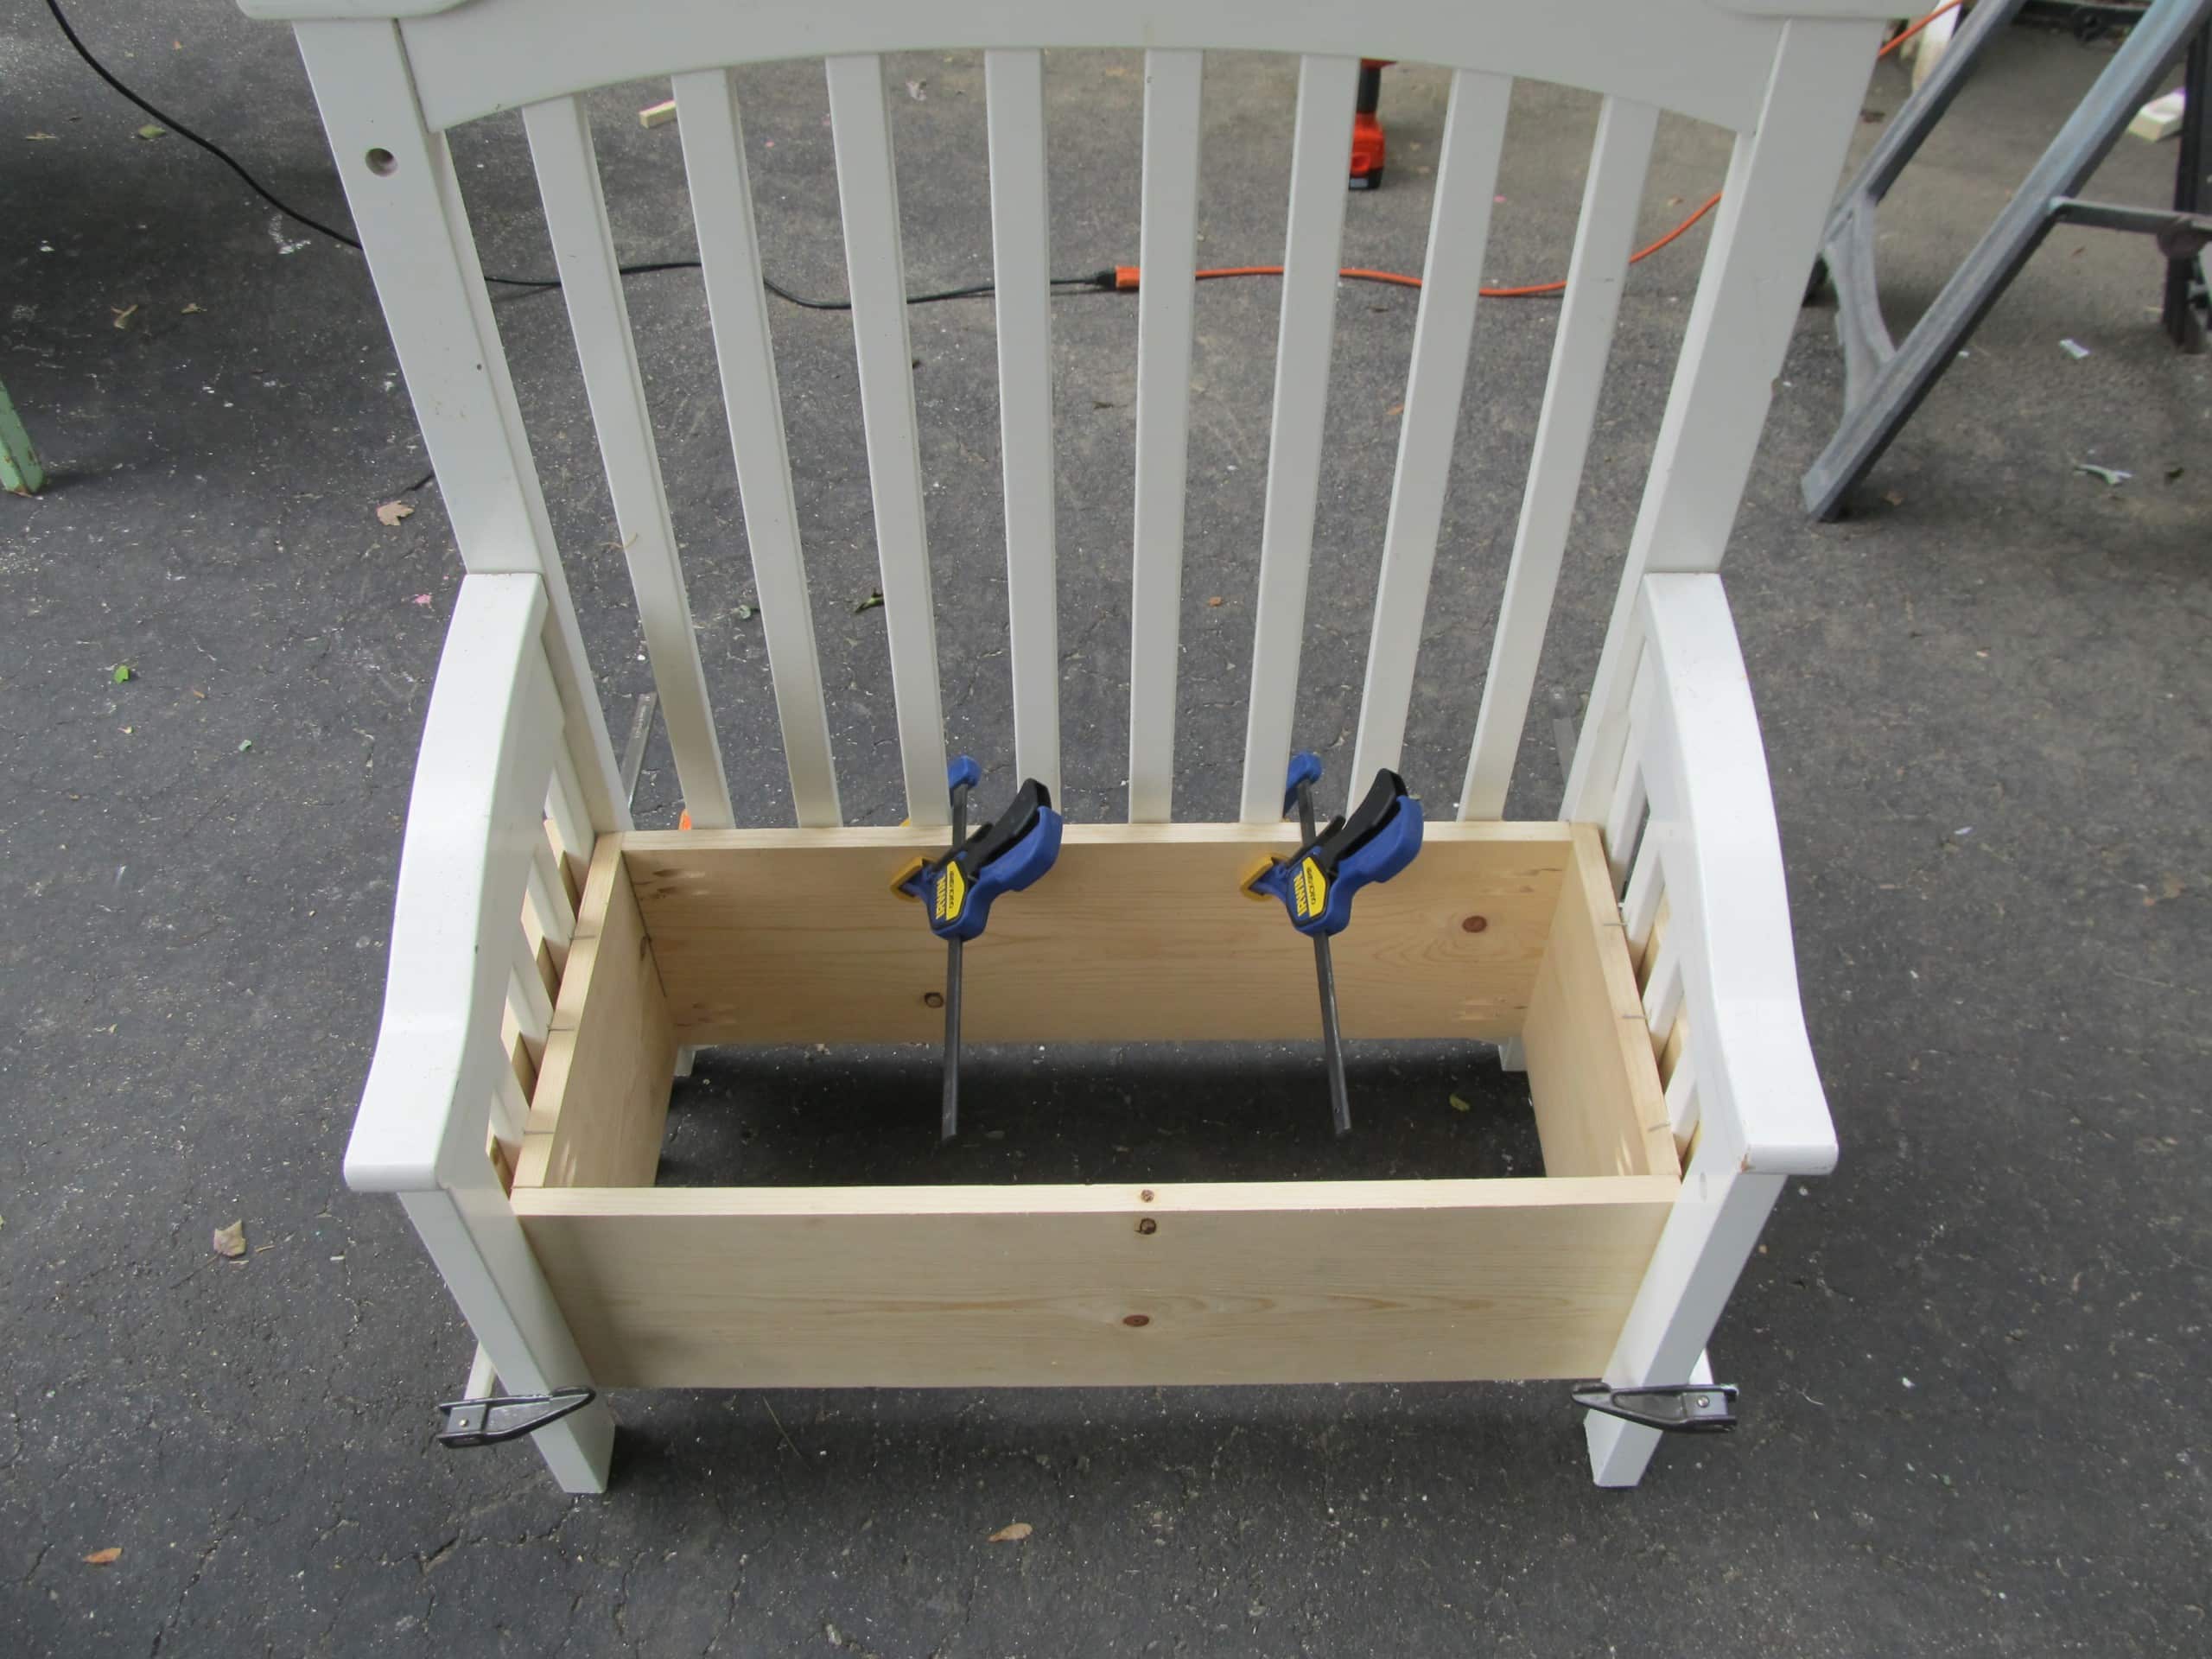
More dry fitting. Gotta love clamps!
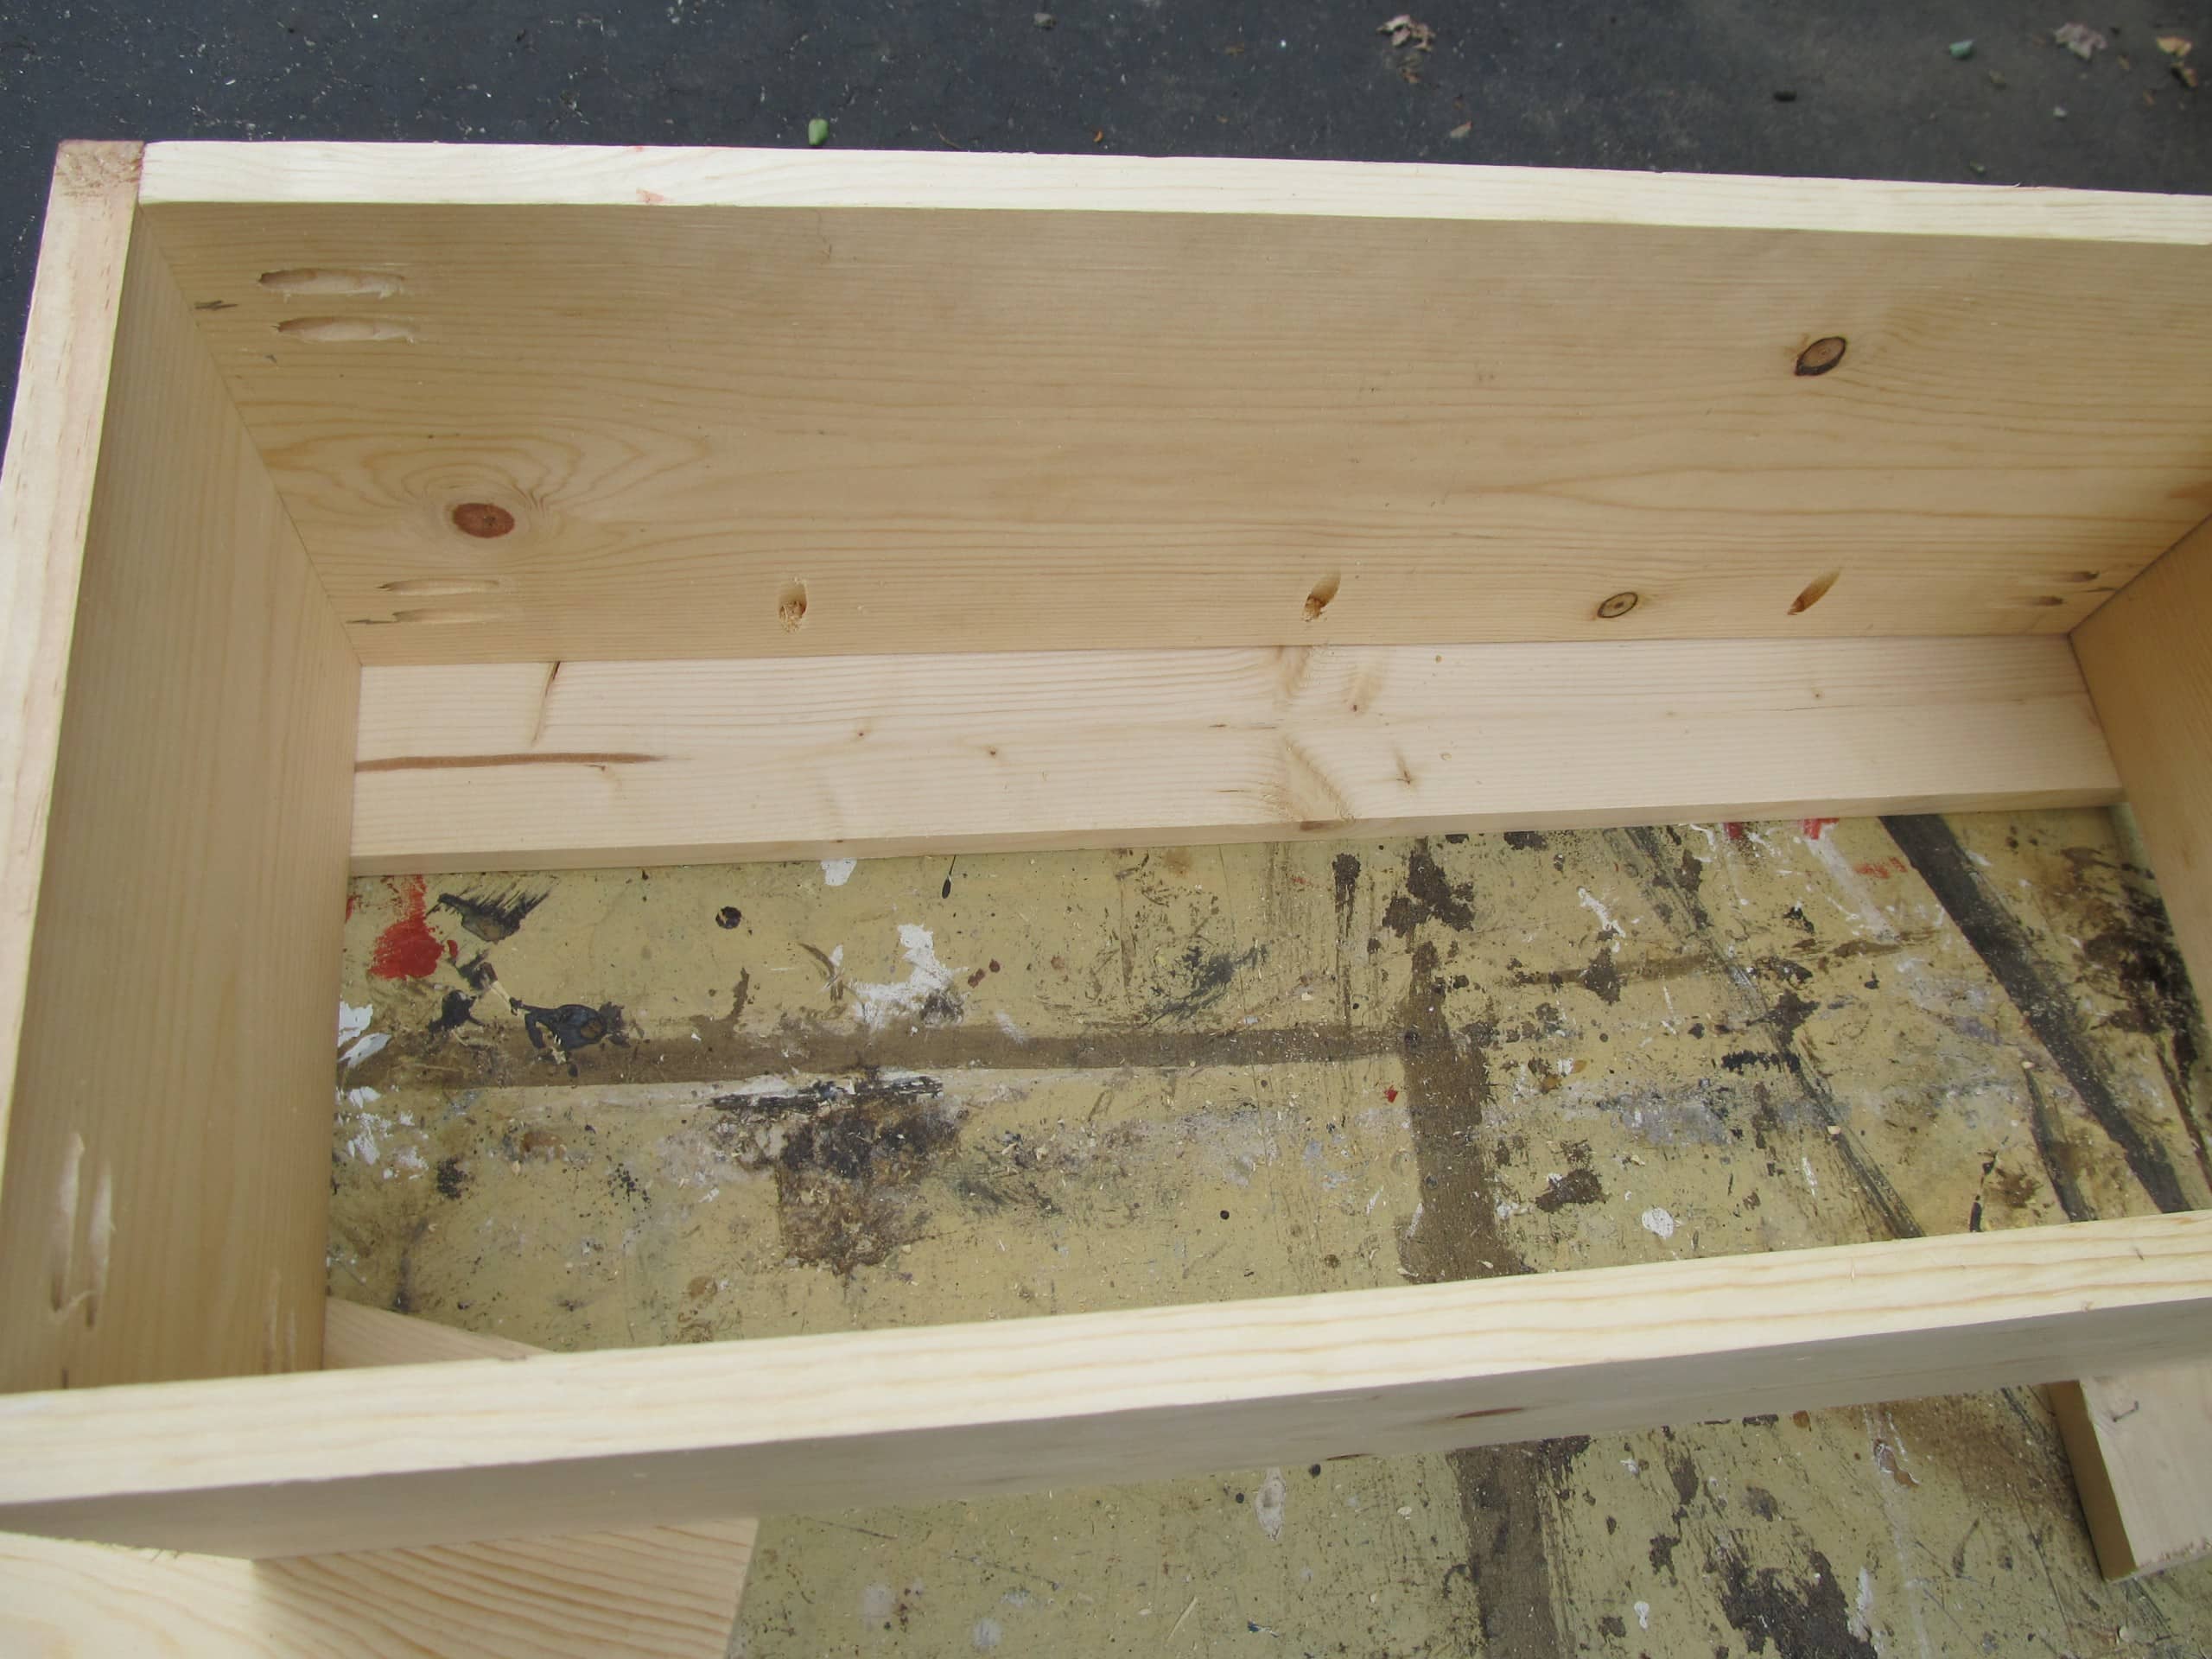
I added a board across the back for the lid to be attached.
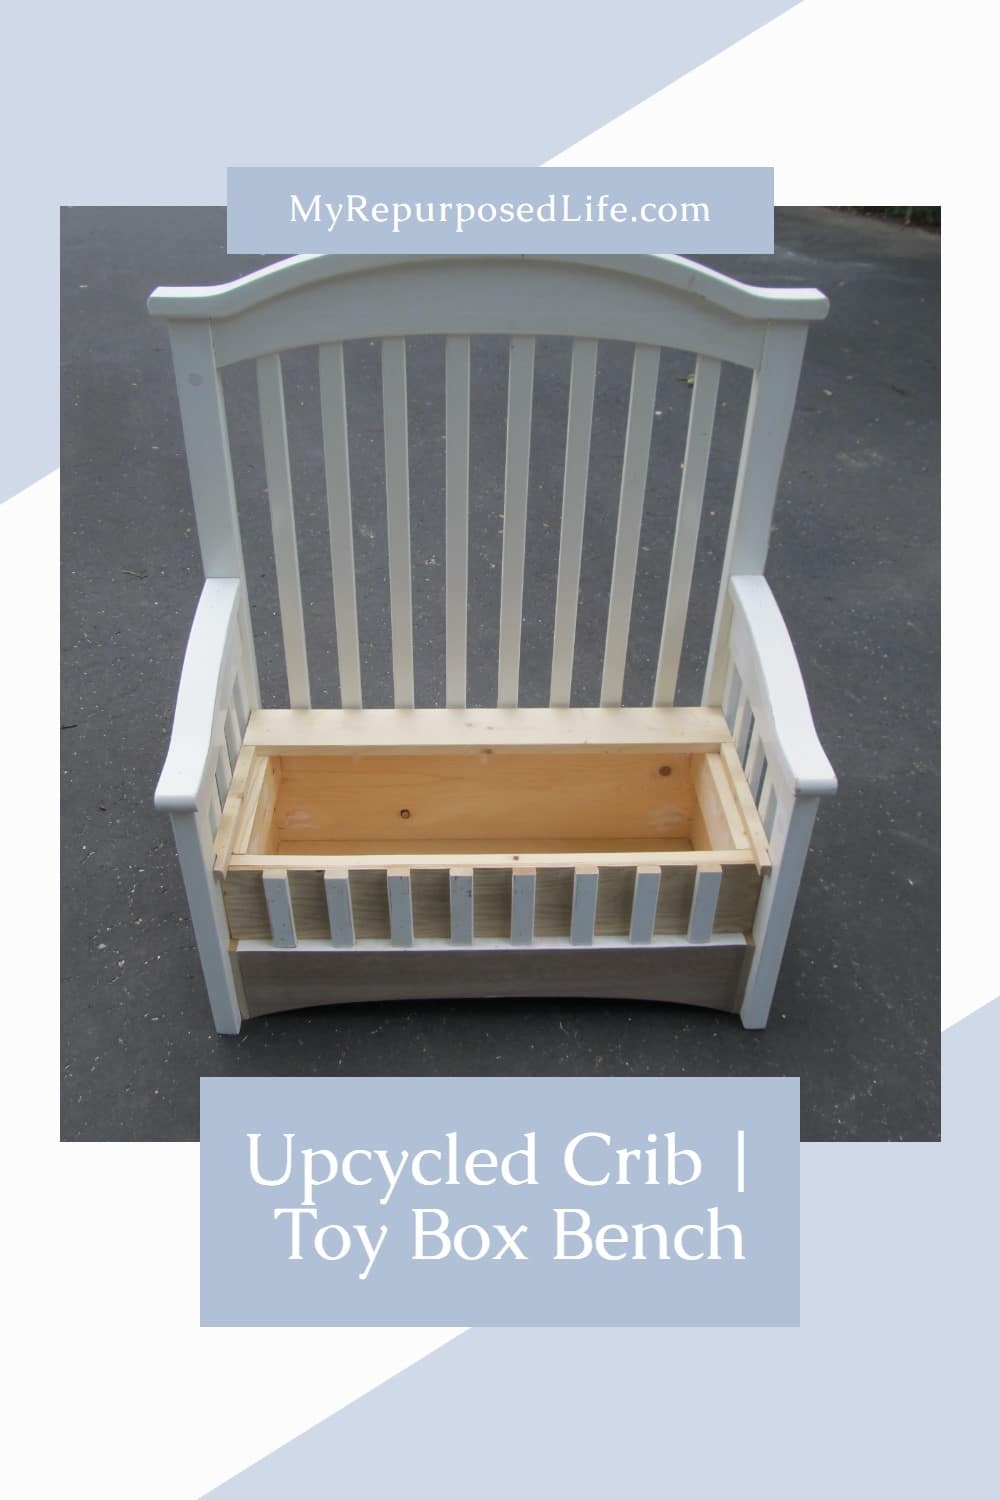
Design a Lid For Crib Toy Box
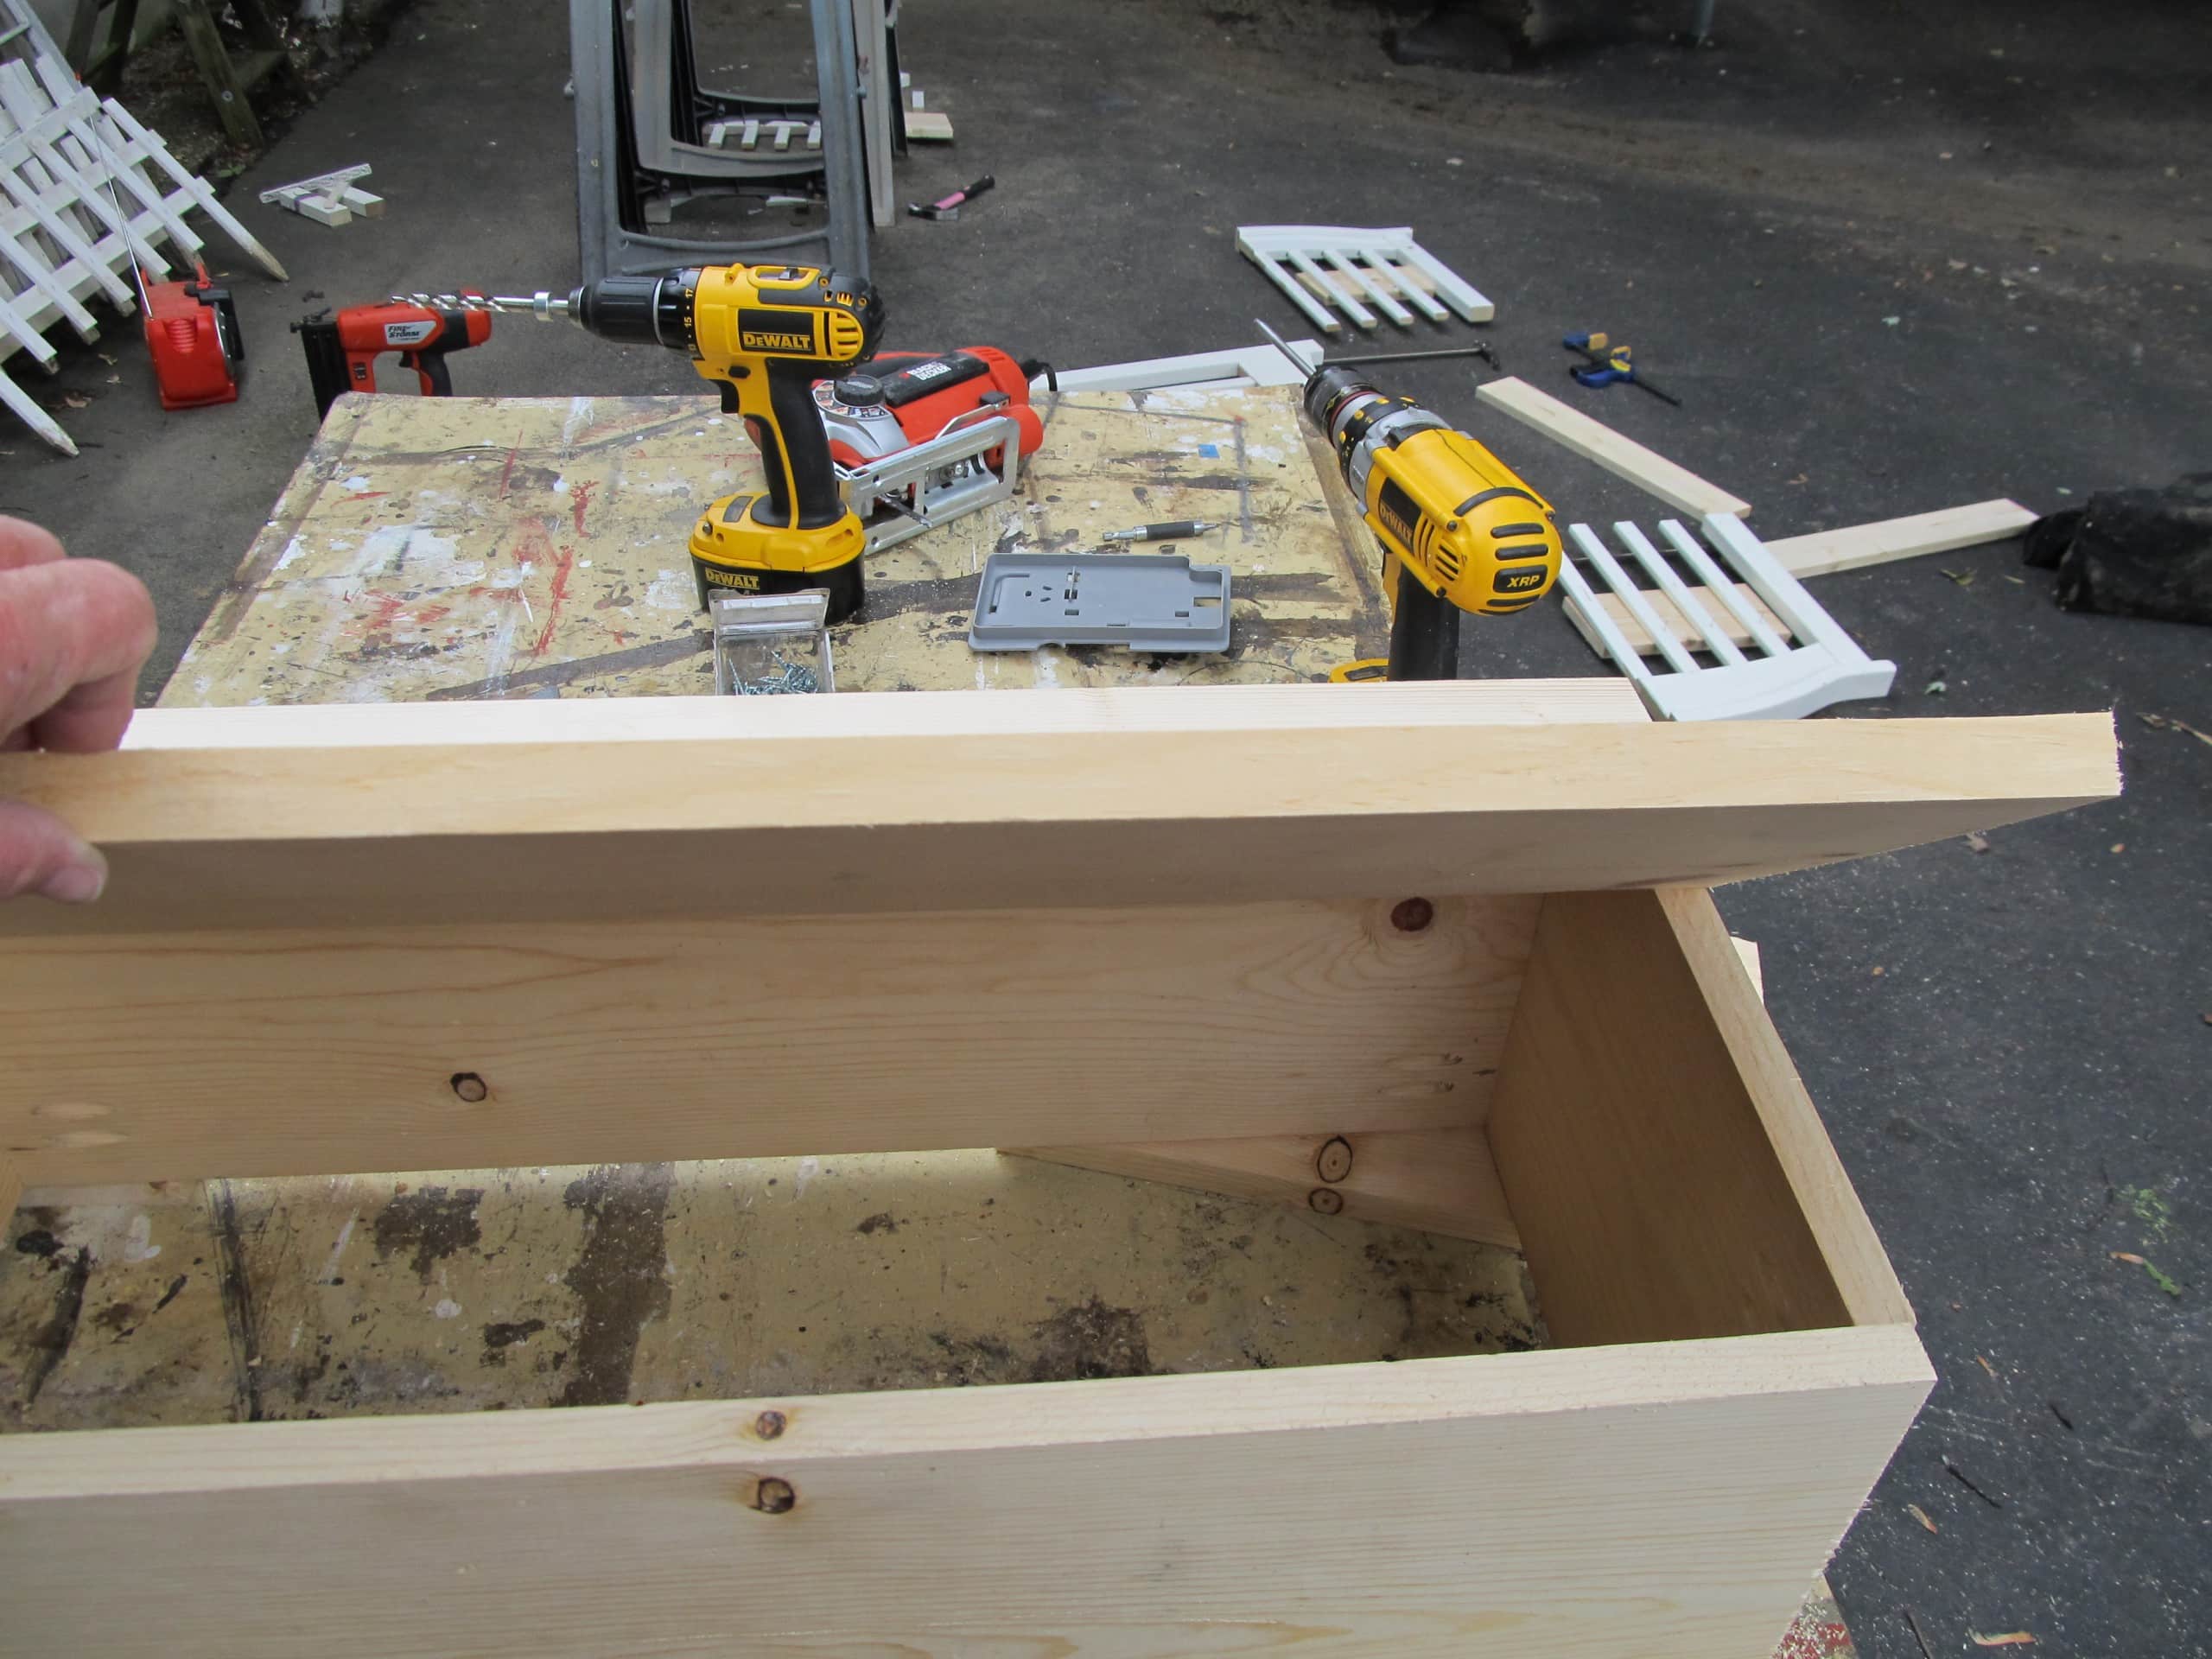
Testing the “lid”.
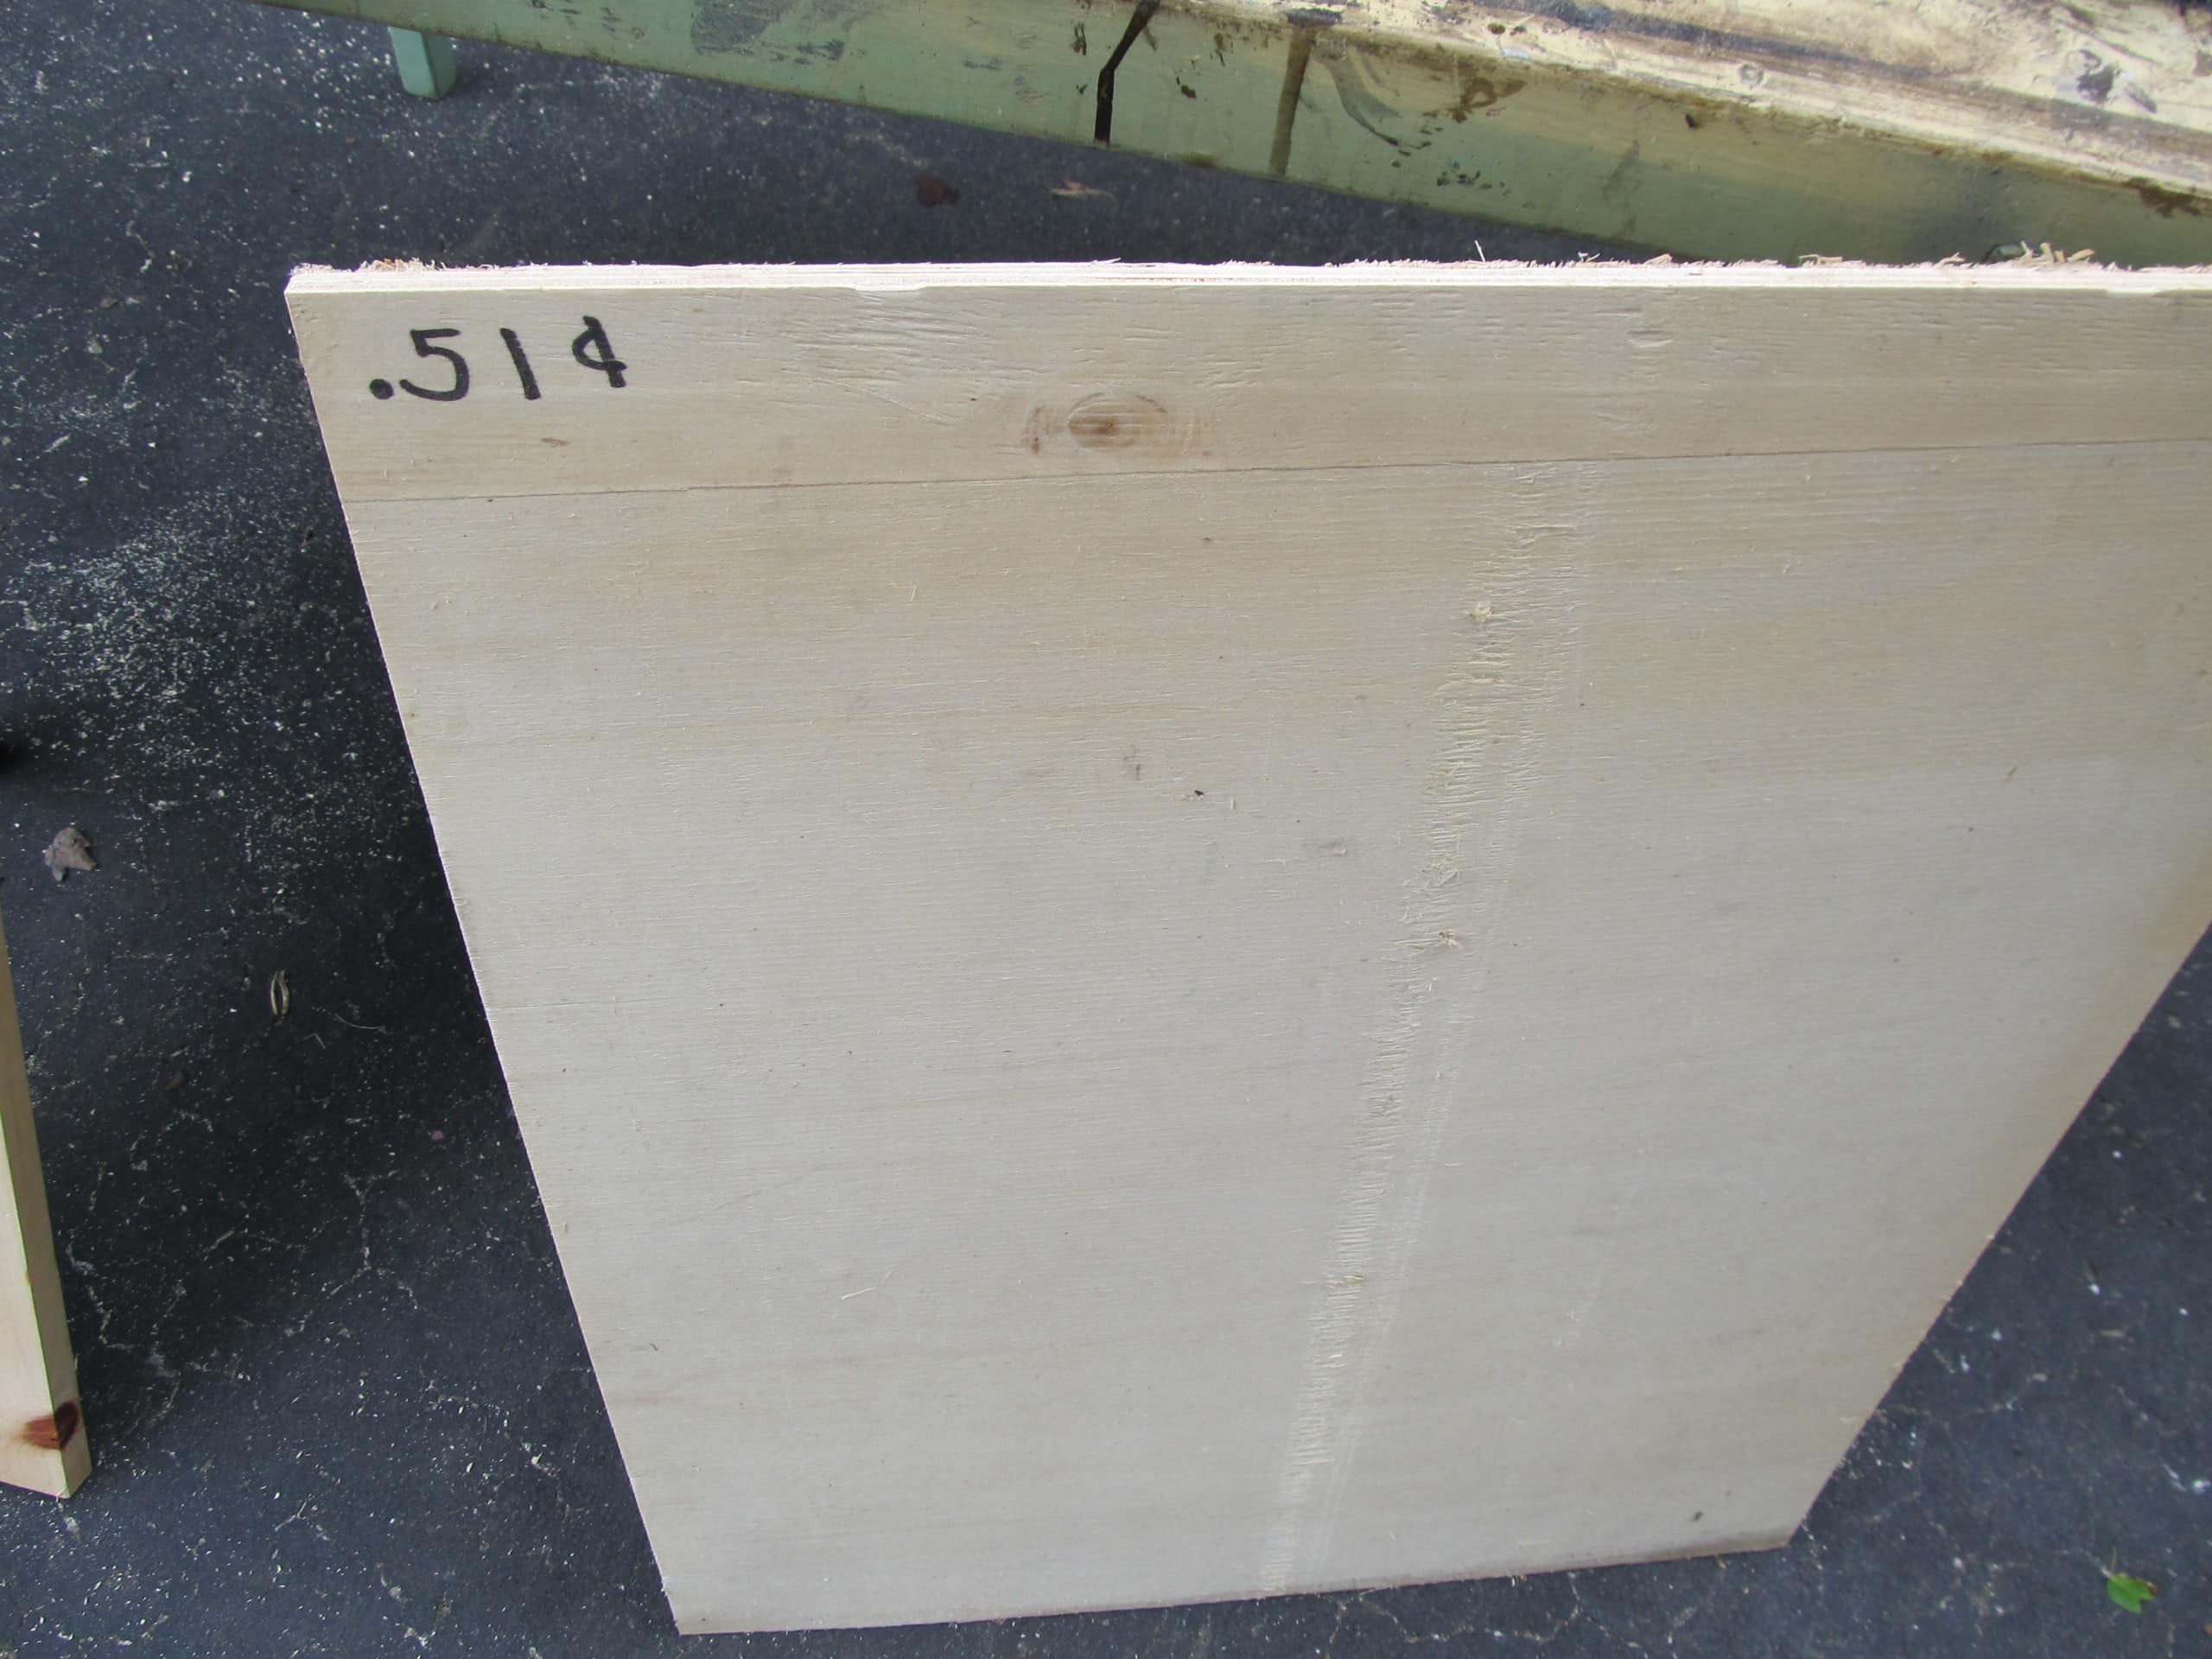
I have had this board forever!! I bought it on a trip to The Home Depot in Nashville while visiting Jamie.
Attach The Bottom of The Toy Box
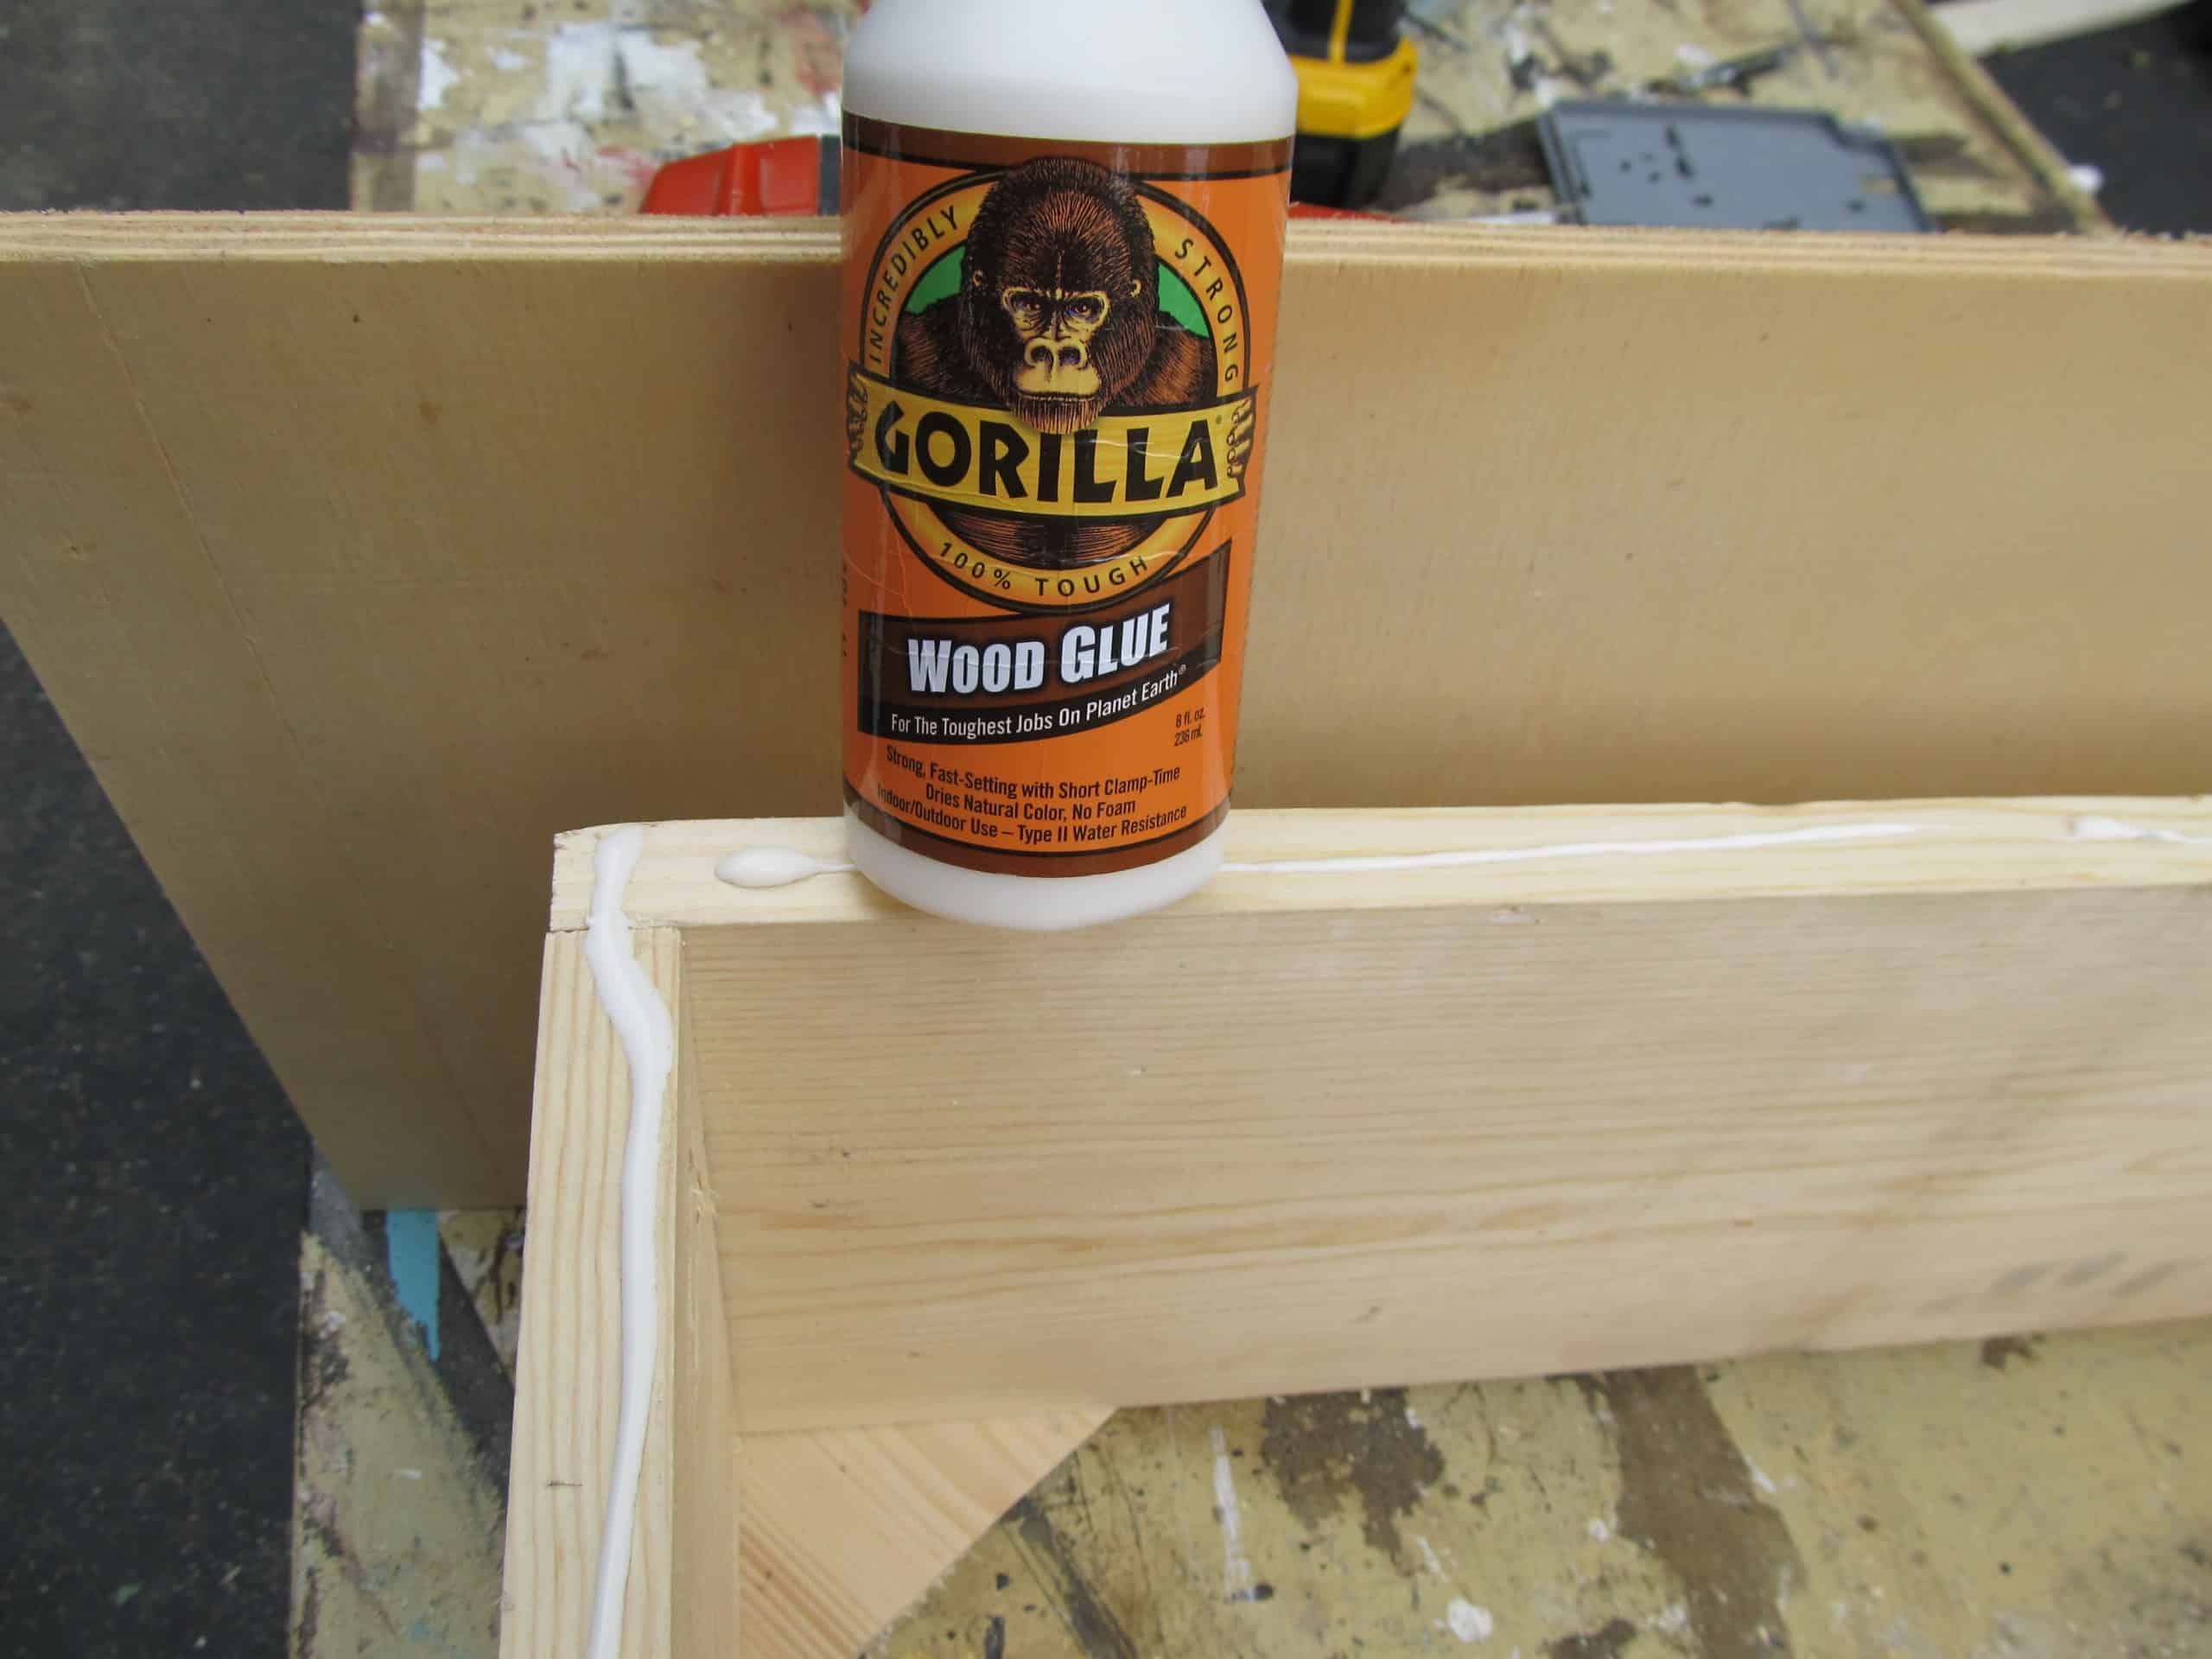
I used Gorilla Wood Glue and a nail gun to secure the bottom of the upcycled crib toy box.
Secure the Box to The Back of The Upcycled Crib
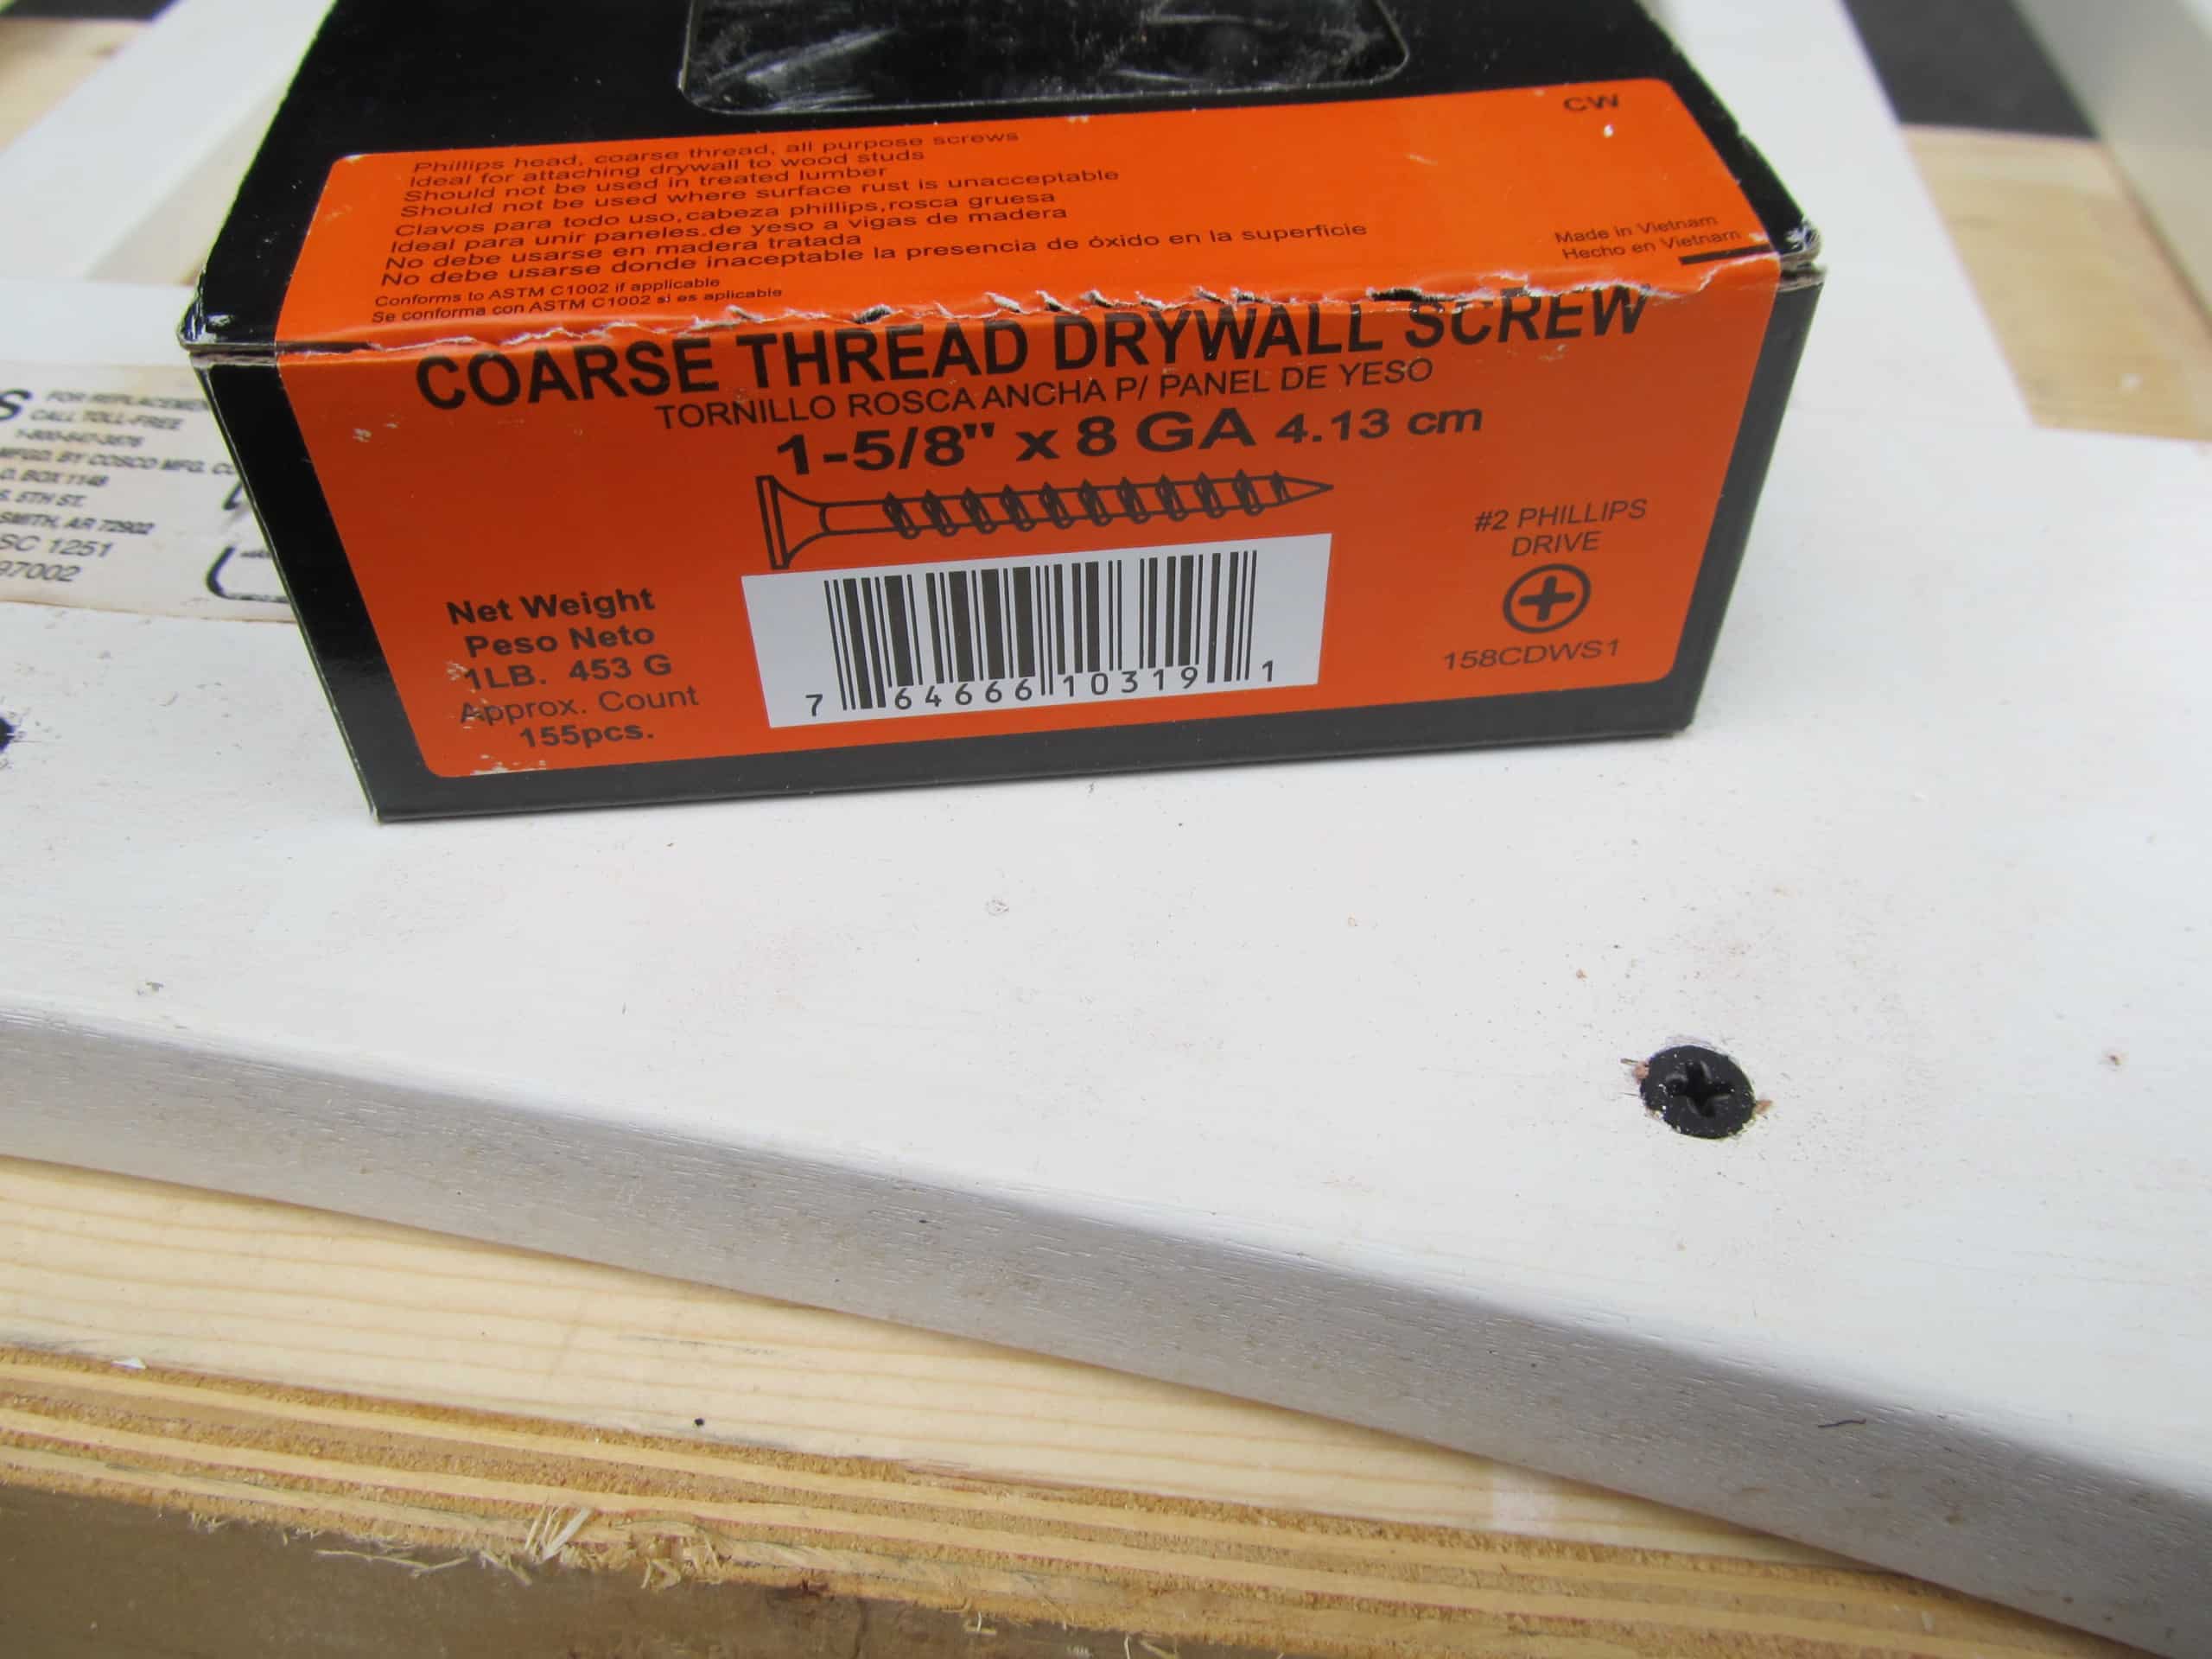
I used these 1 5/8 inch screws to attach the back of the crib to the box.
Add The Sides

I used a Kreg Jig to make pocket holes on each of the armrests where they meet the back.

It’s so satisfying when a design comes together, especially when you fly by the seat of your pants.
Go With The Flow When it Comes to Design Changes
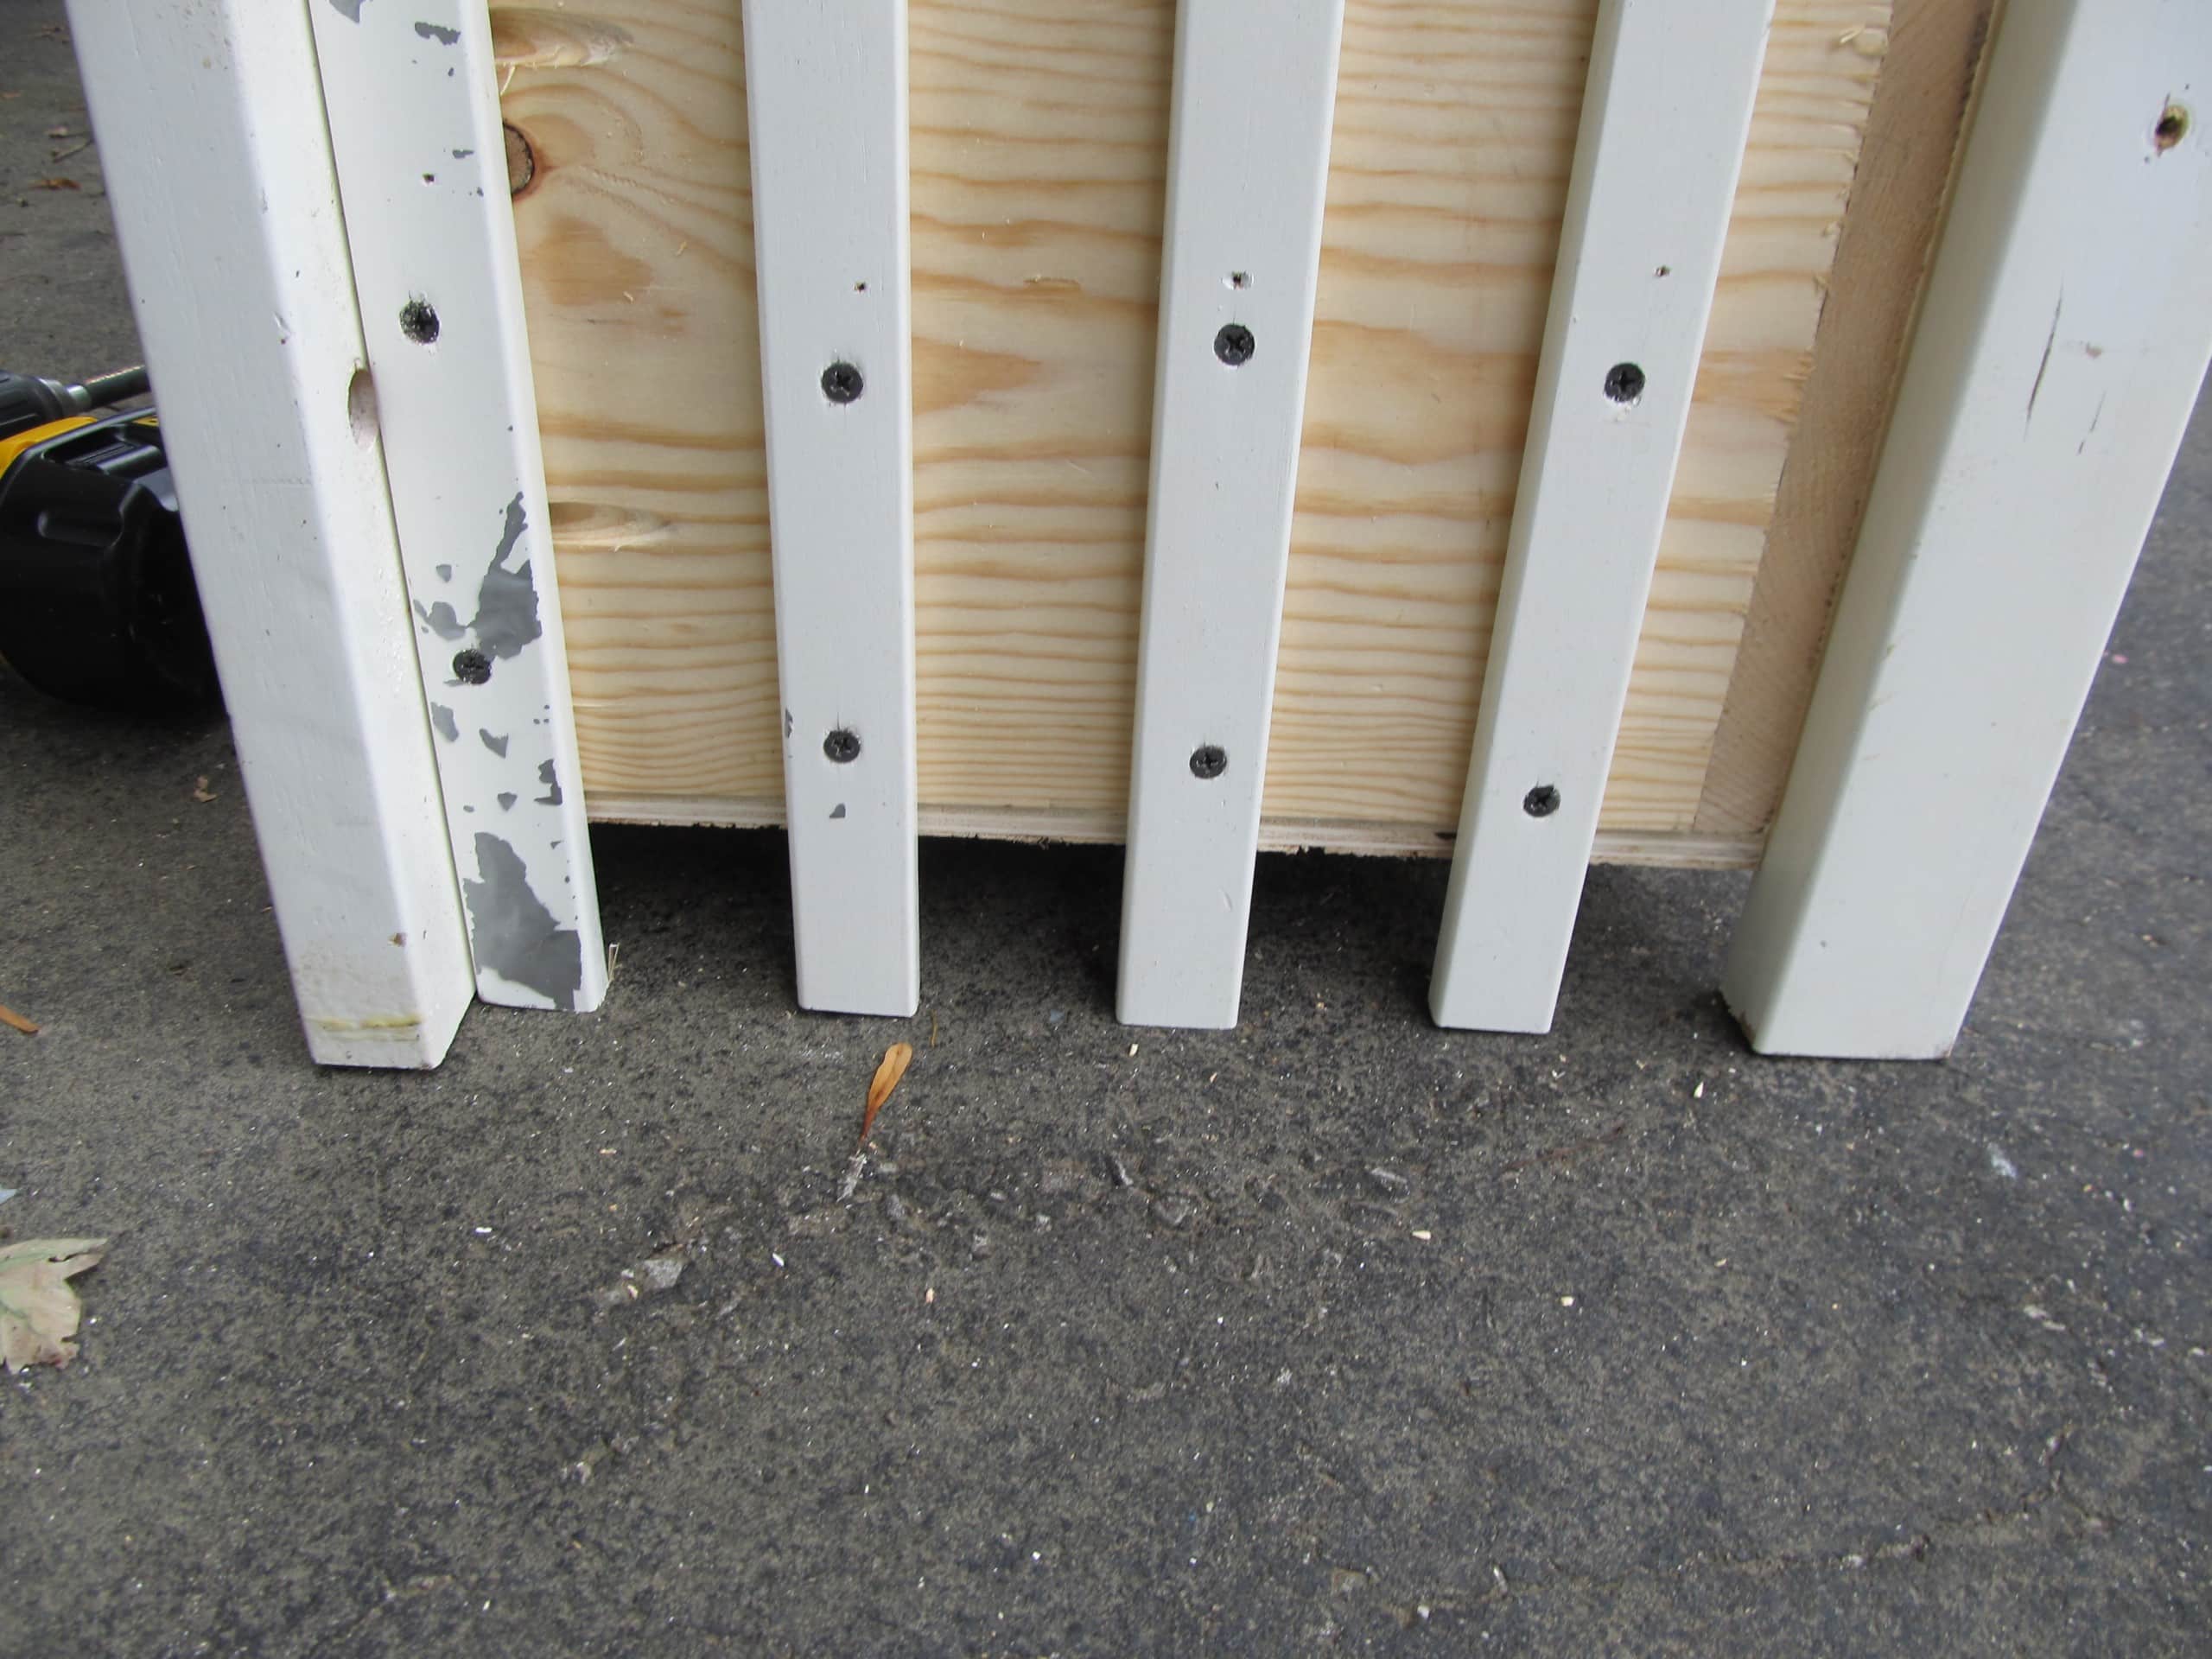
I used the jigsaw to cut off the three slats hanging in the middle of nowhere.
Are ya still with me? Need a break? go ahead, we’ll wait for you to get back. ![]()
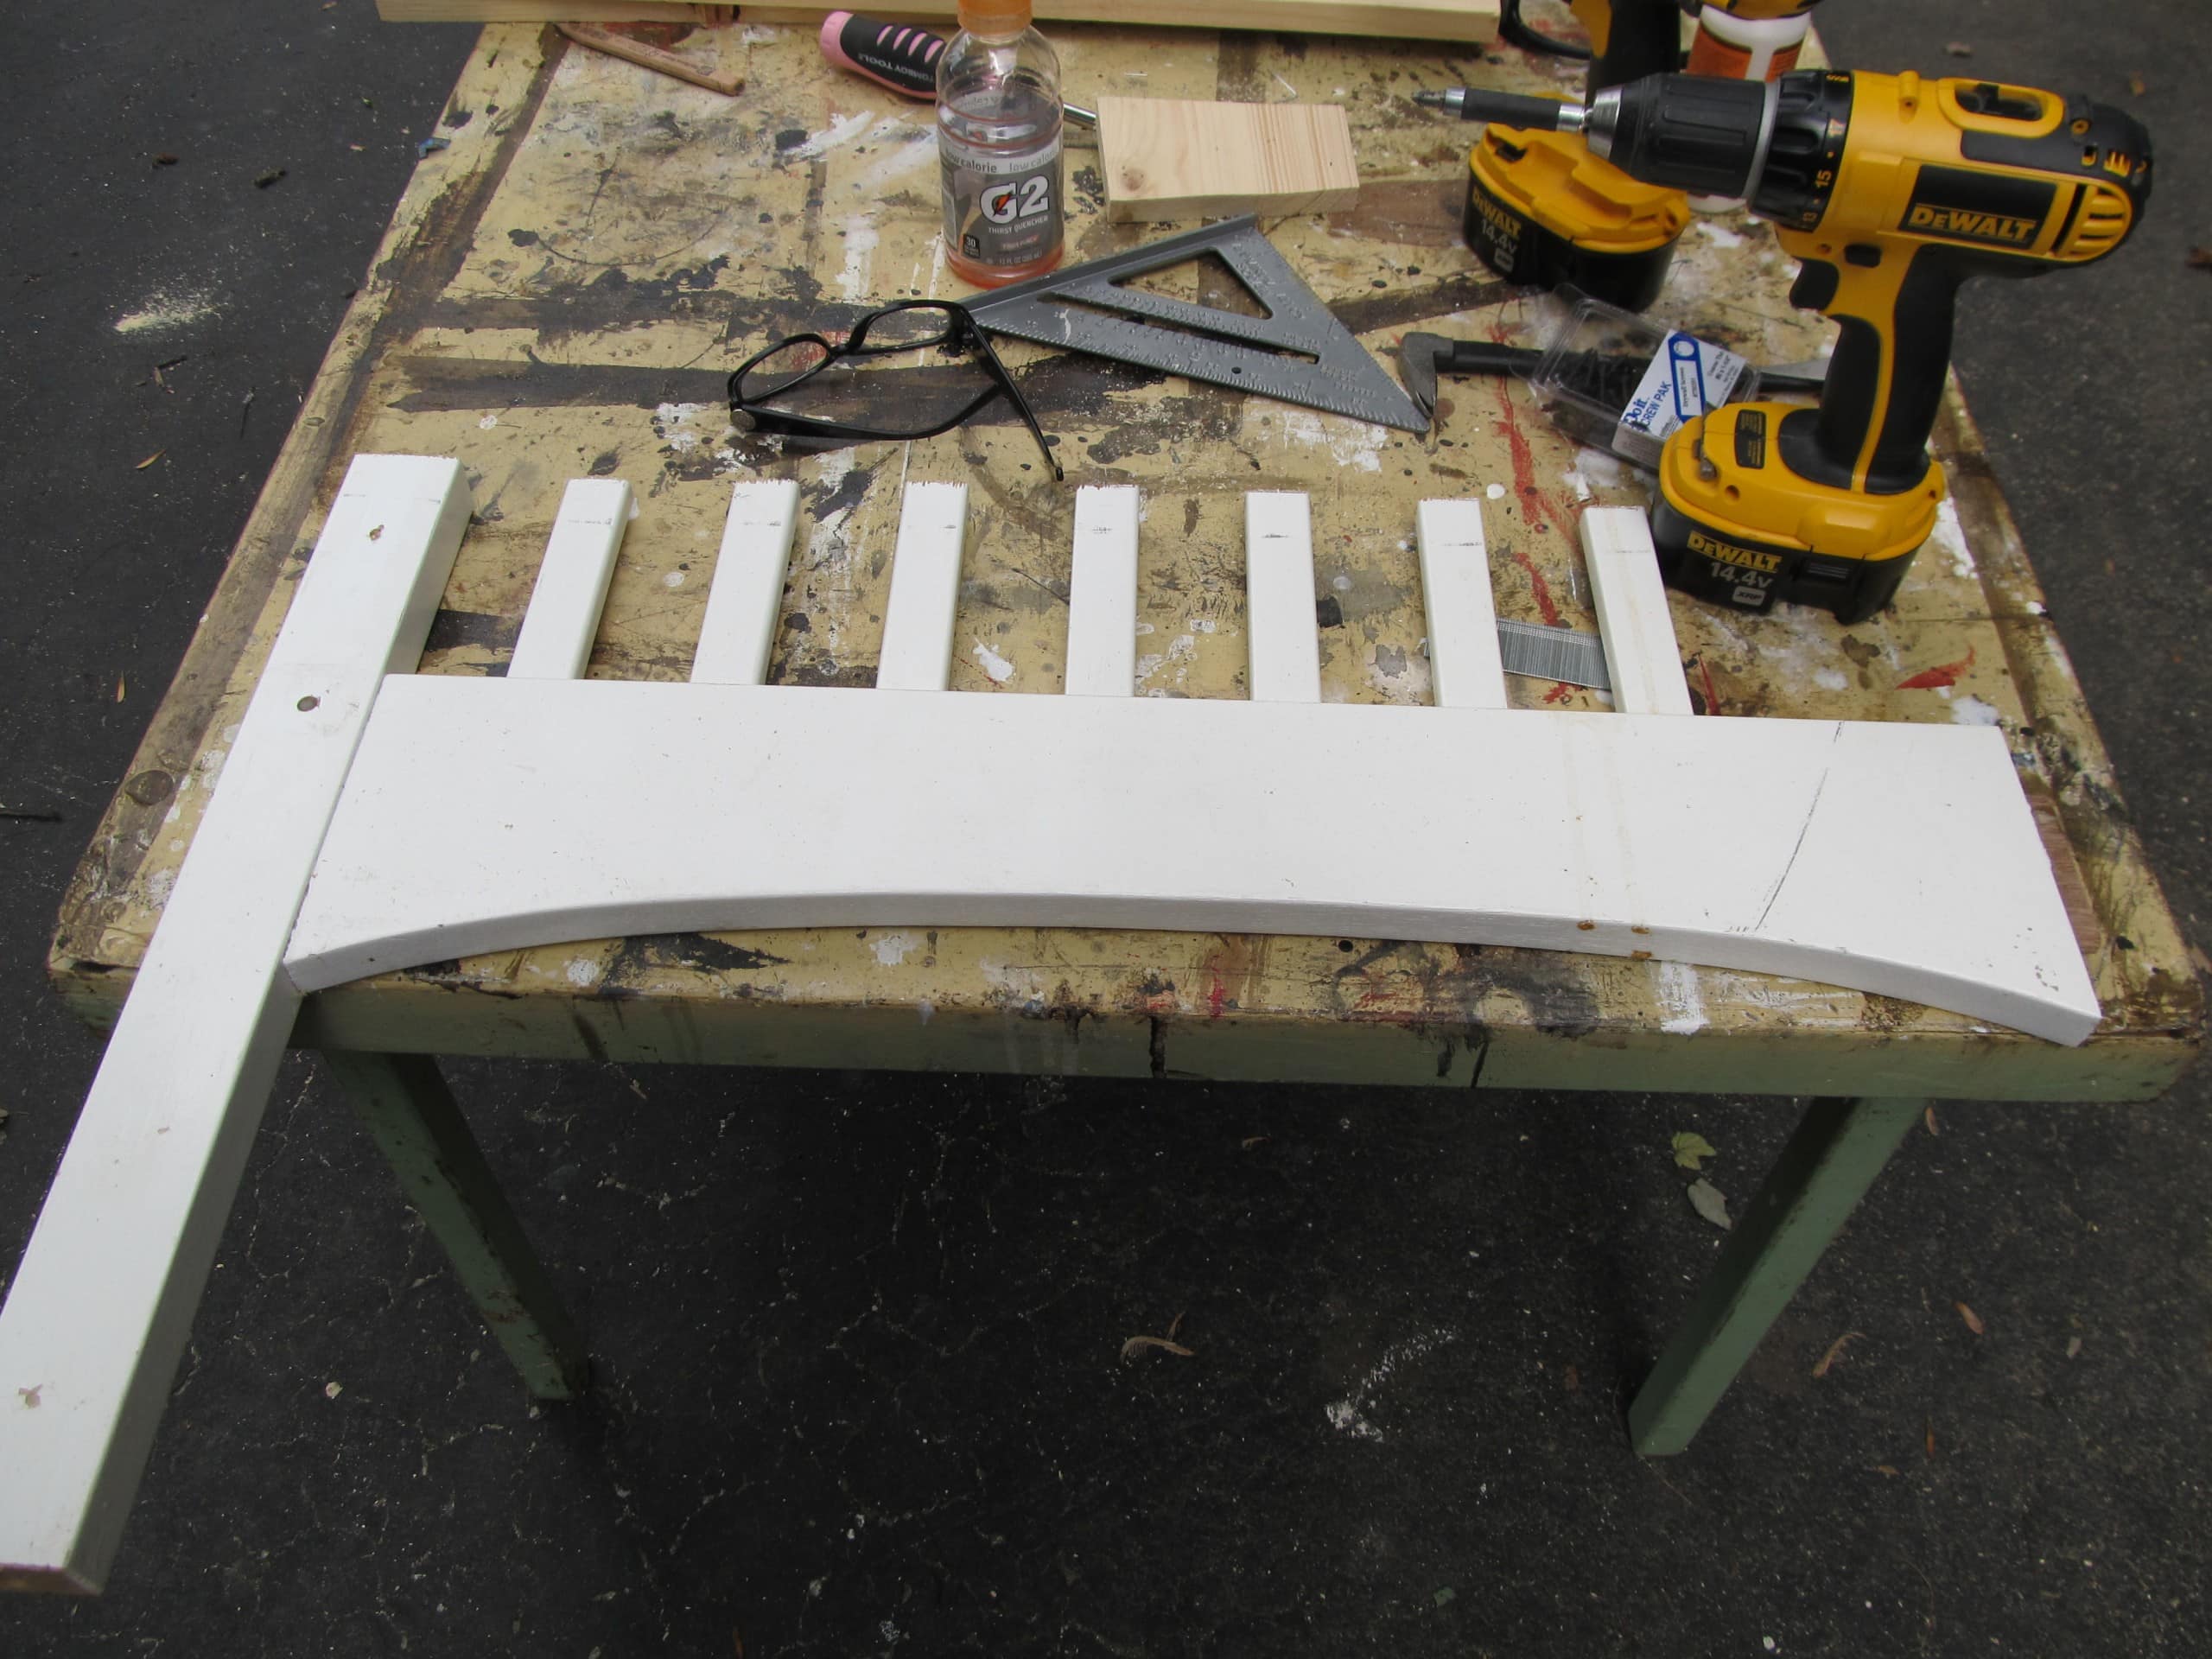
Here is the piece I cut off to make the armrests. This is where dumb luck happens when you don’t draw out any plans.
A Scrap Piece Was Perfect to Embellish The Front
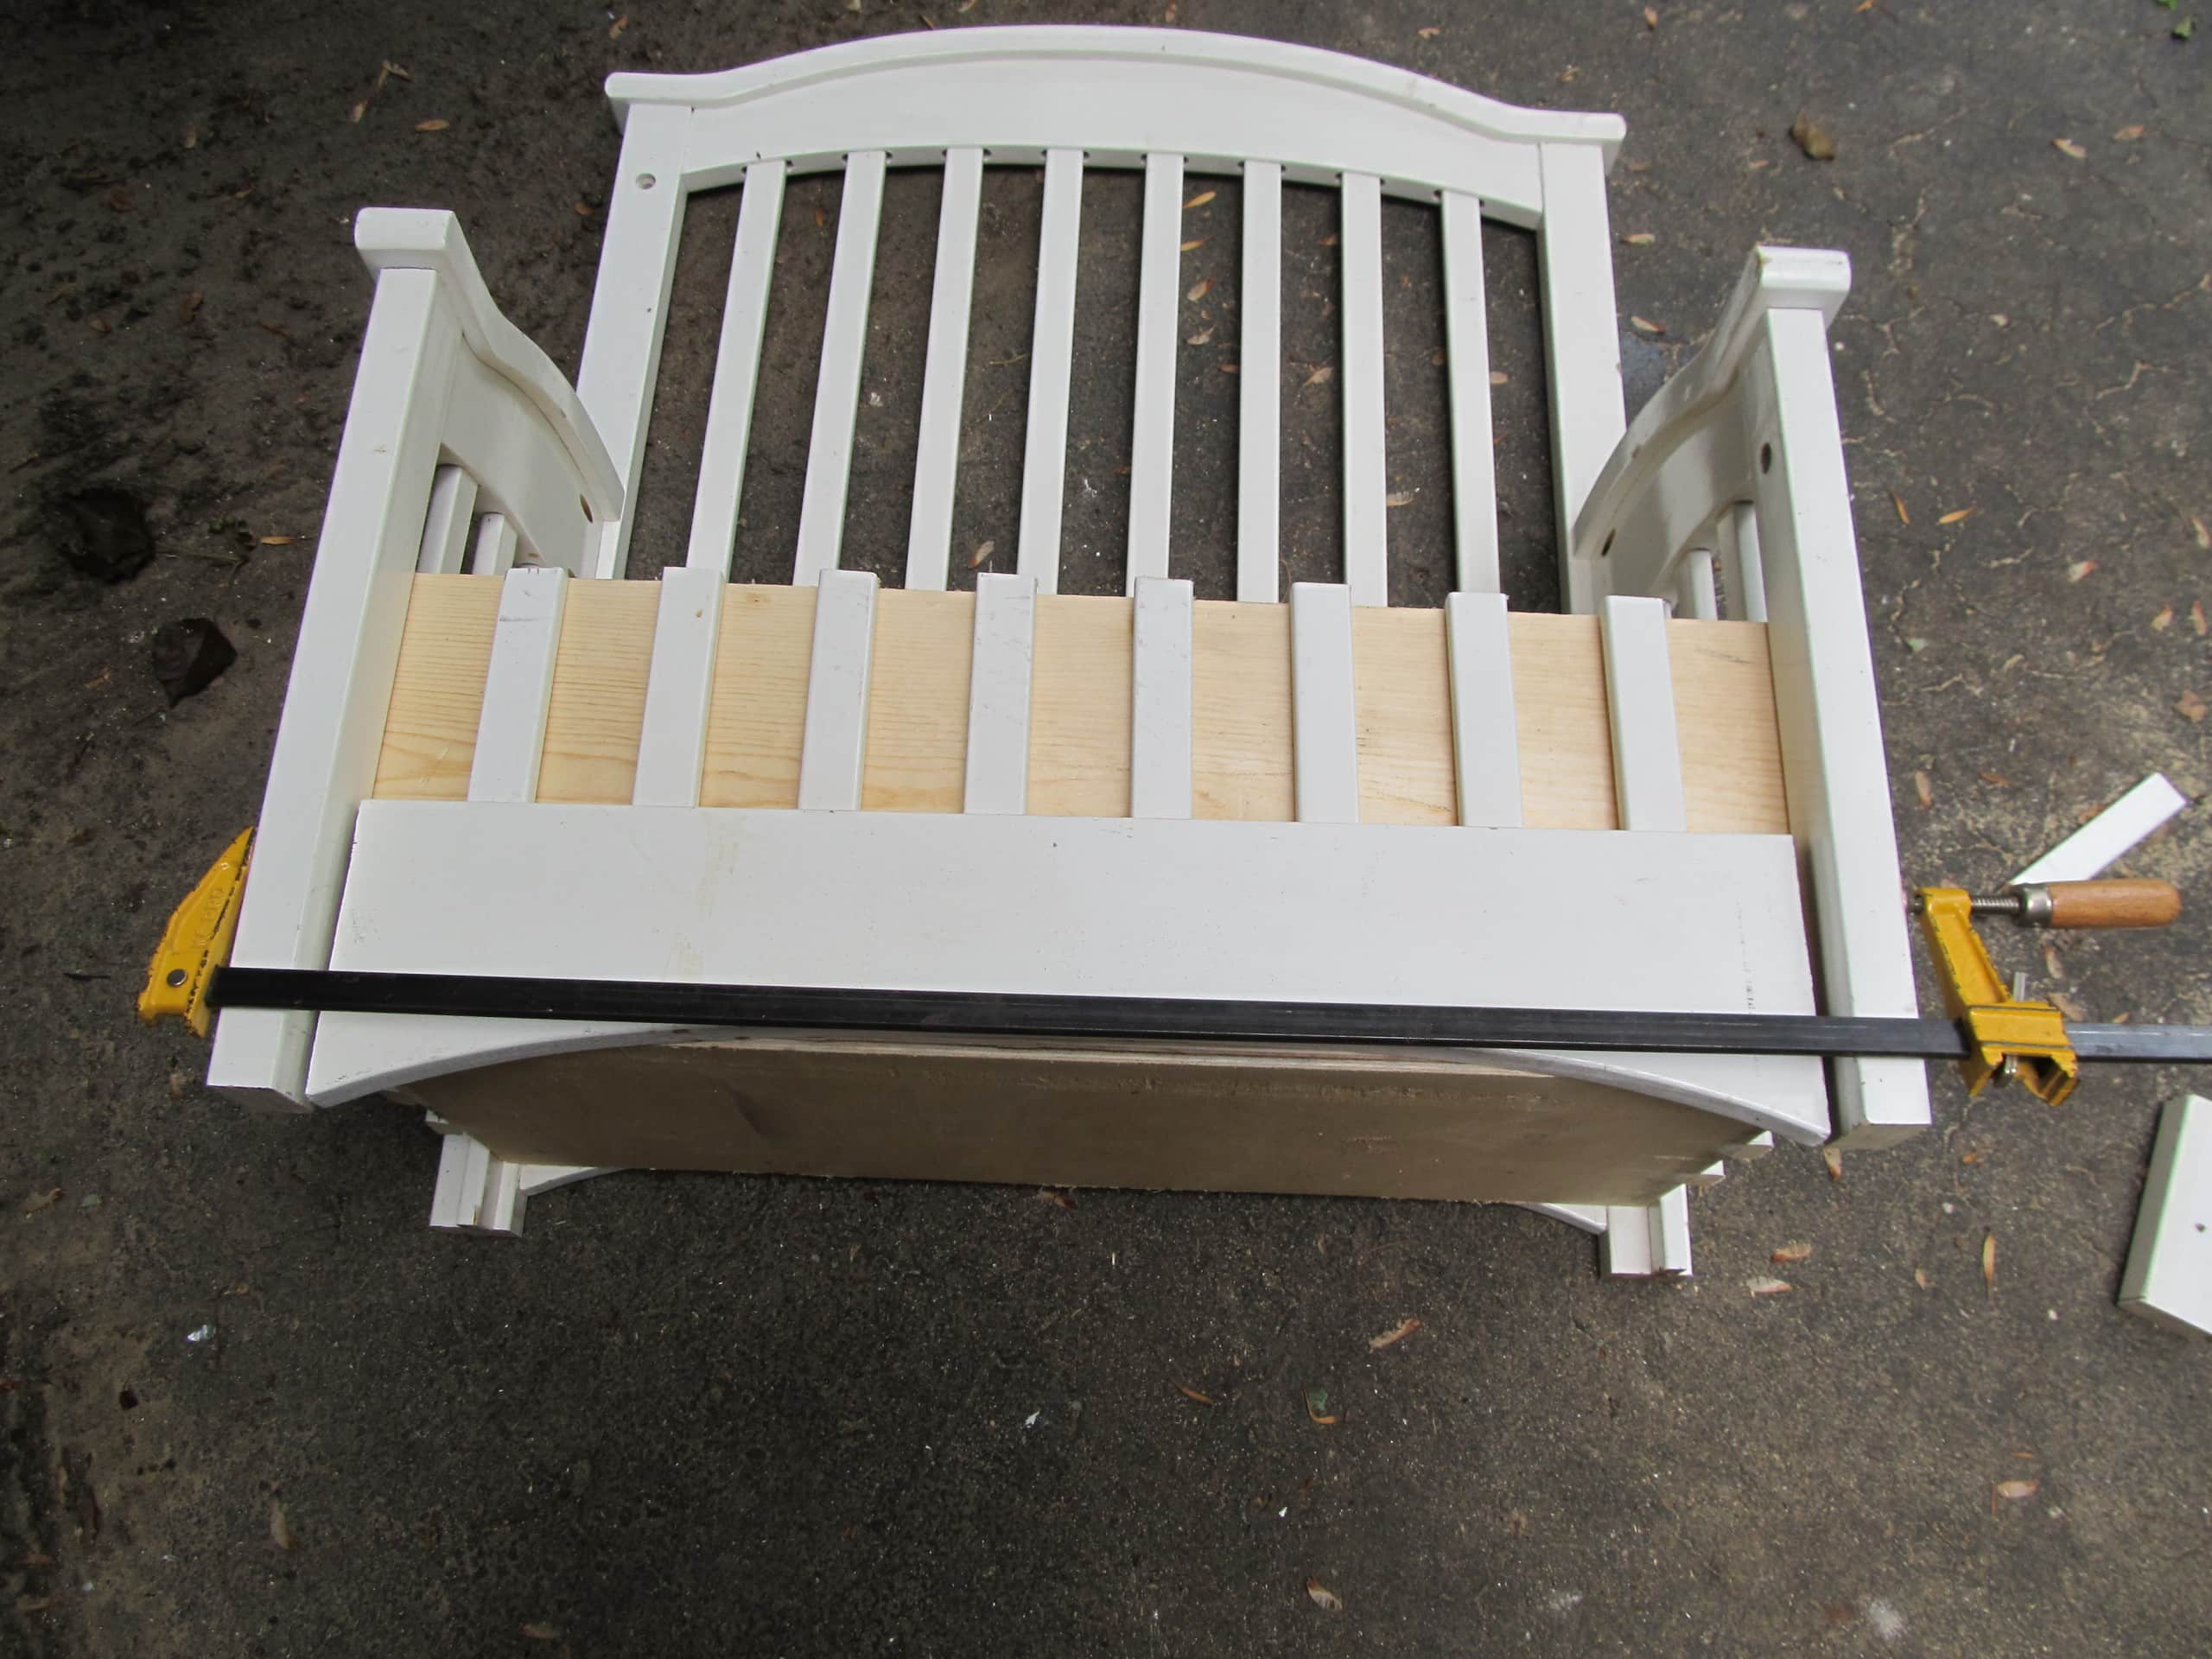
voila! Look how nice that looks on the front, tying it all together! Do you think it’s looking less like an upcycled crib?
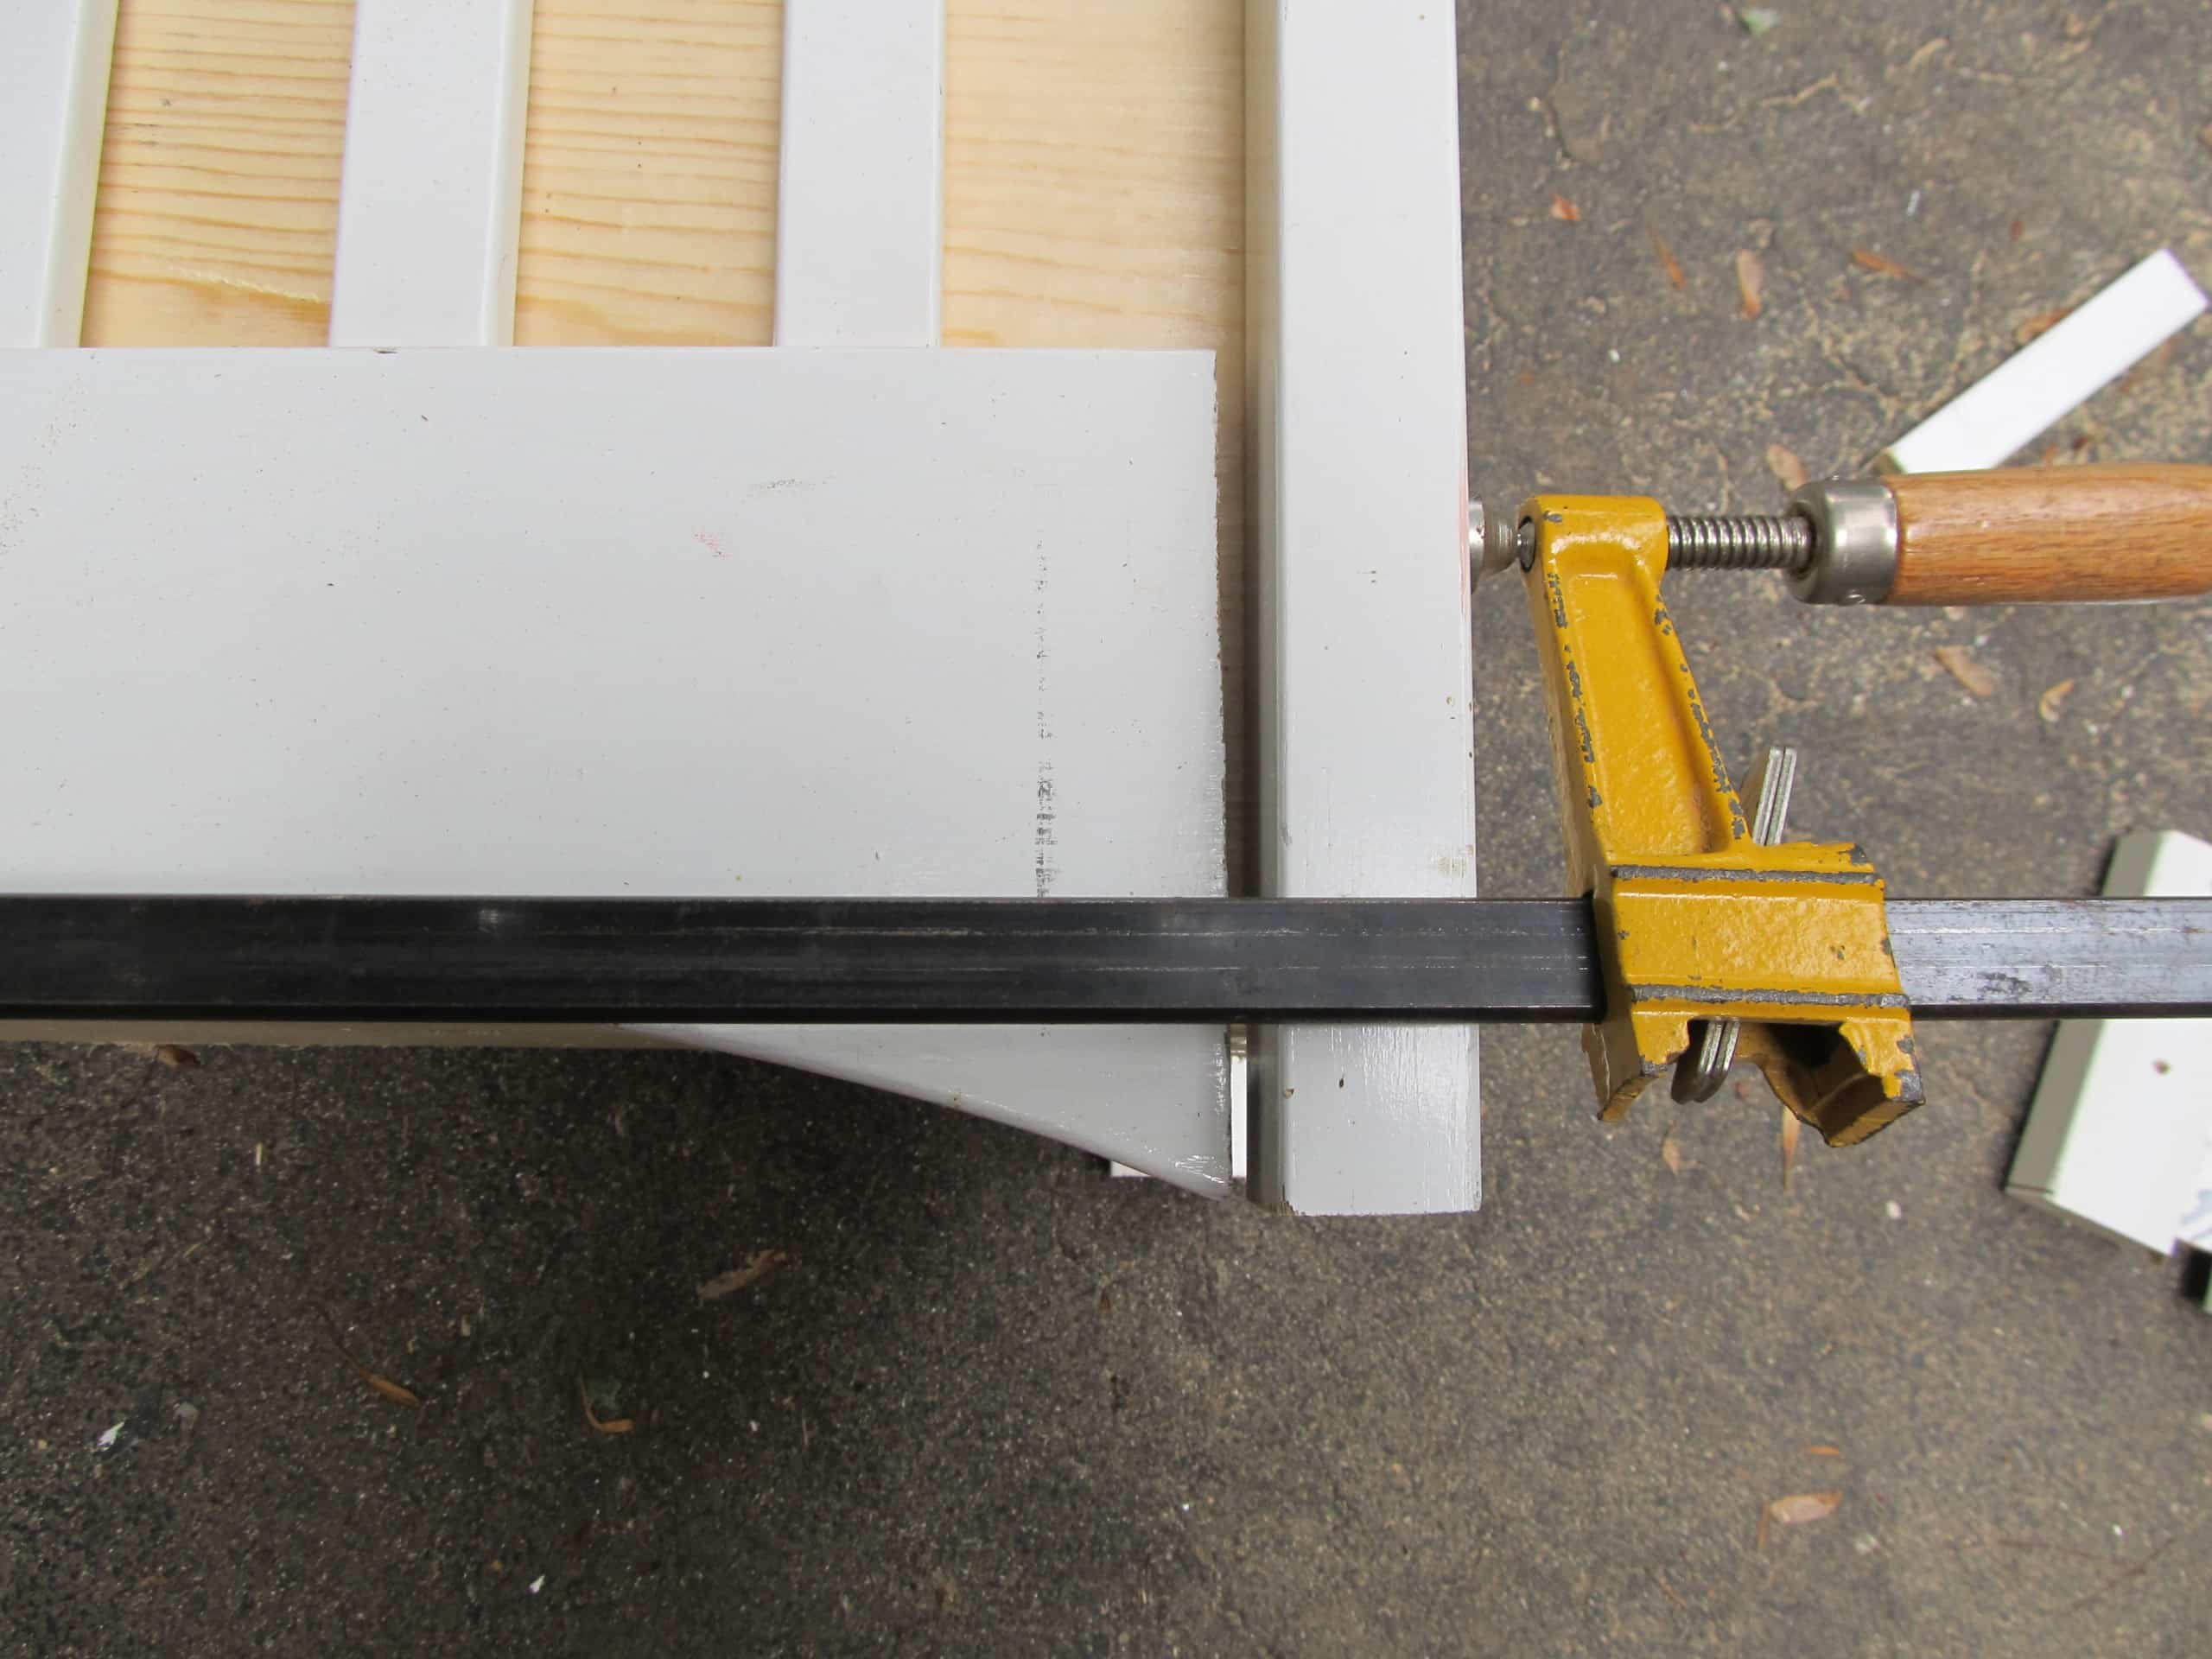
I’m just a wee short on each side. I filled it in with some small pieces of MDF. You can see it in a couple of pictures below.
A Filler Piece Was Needed
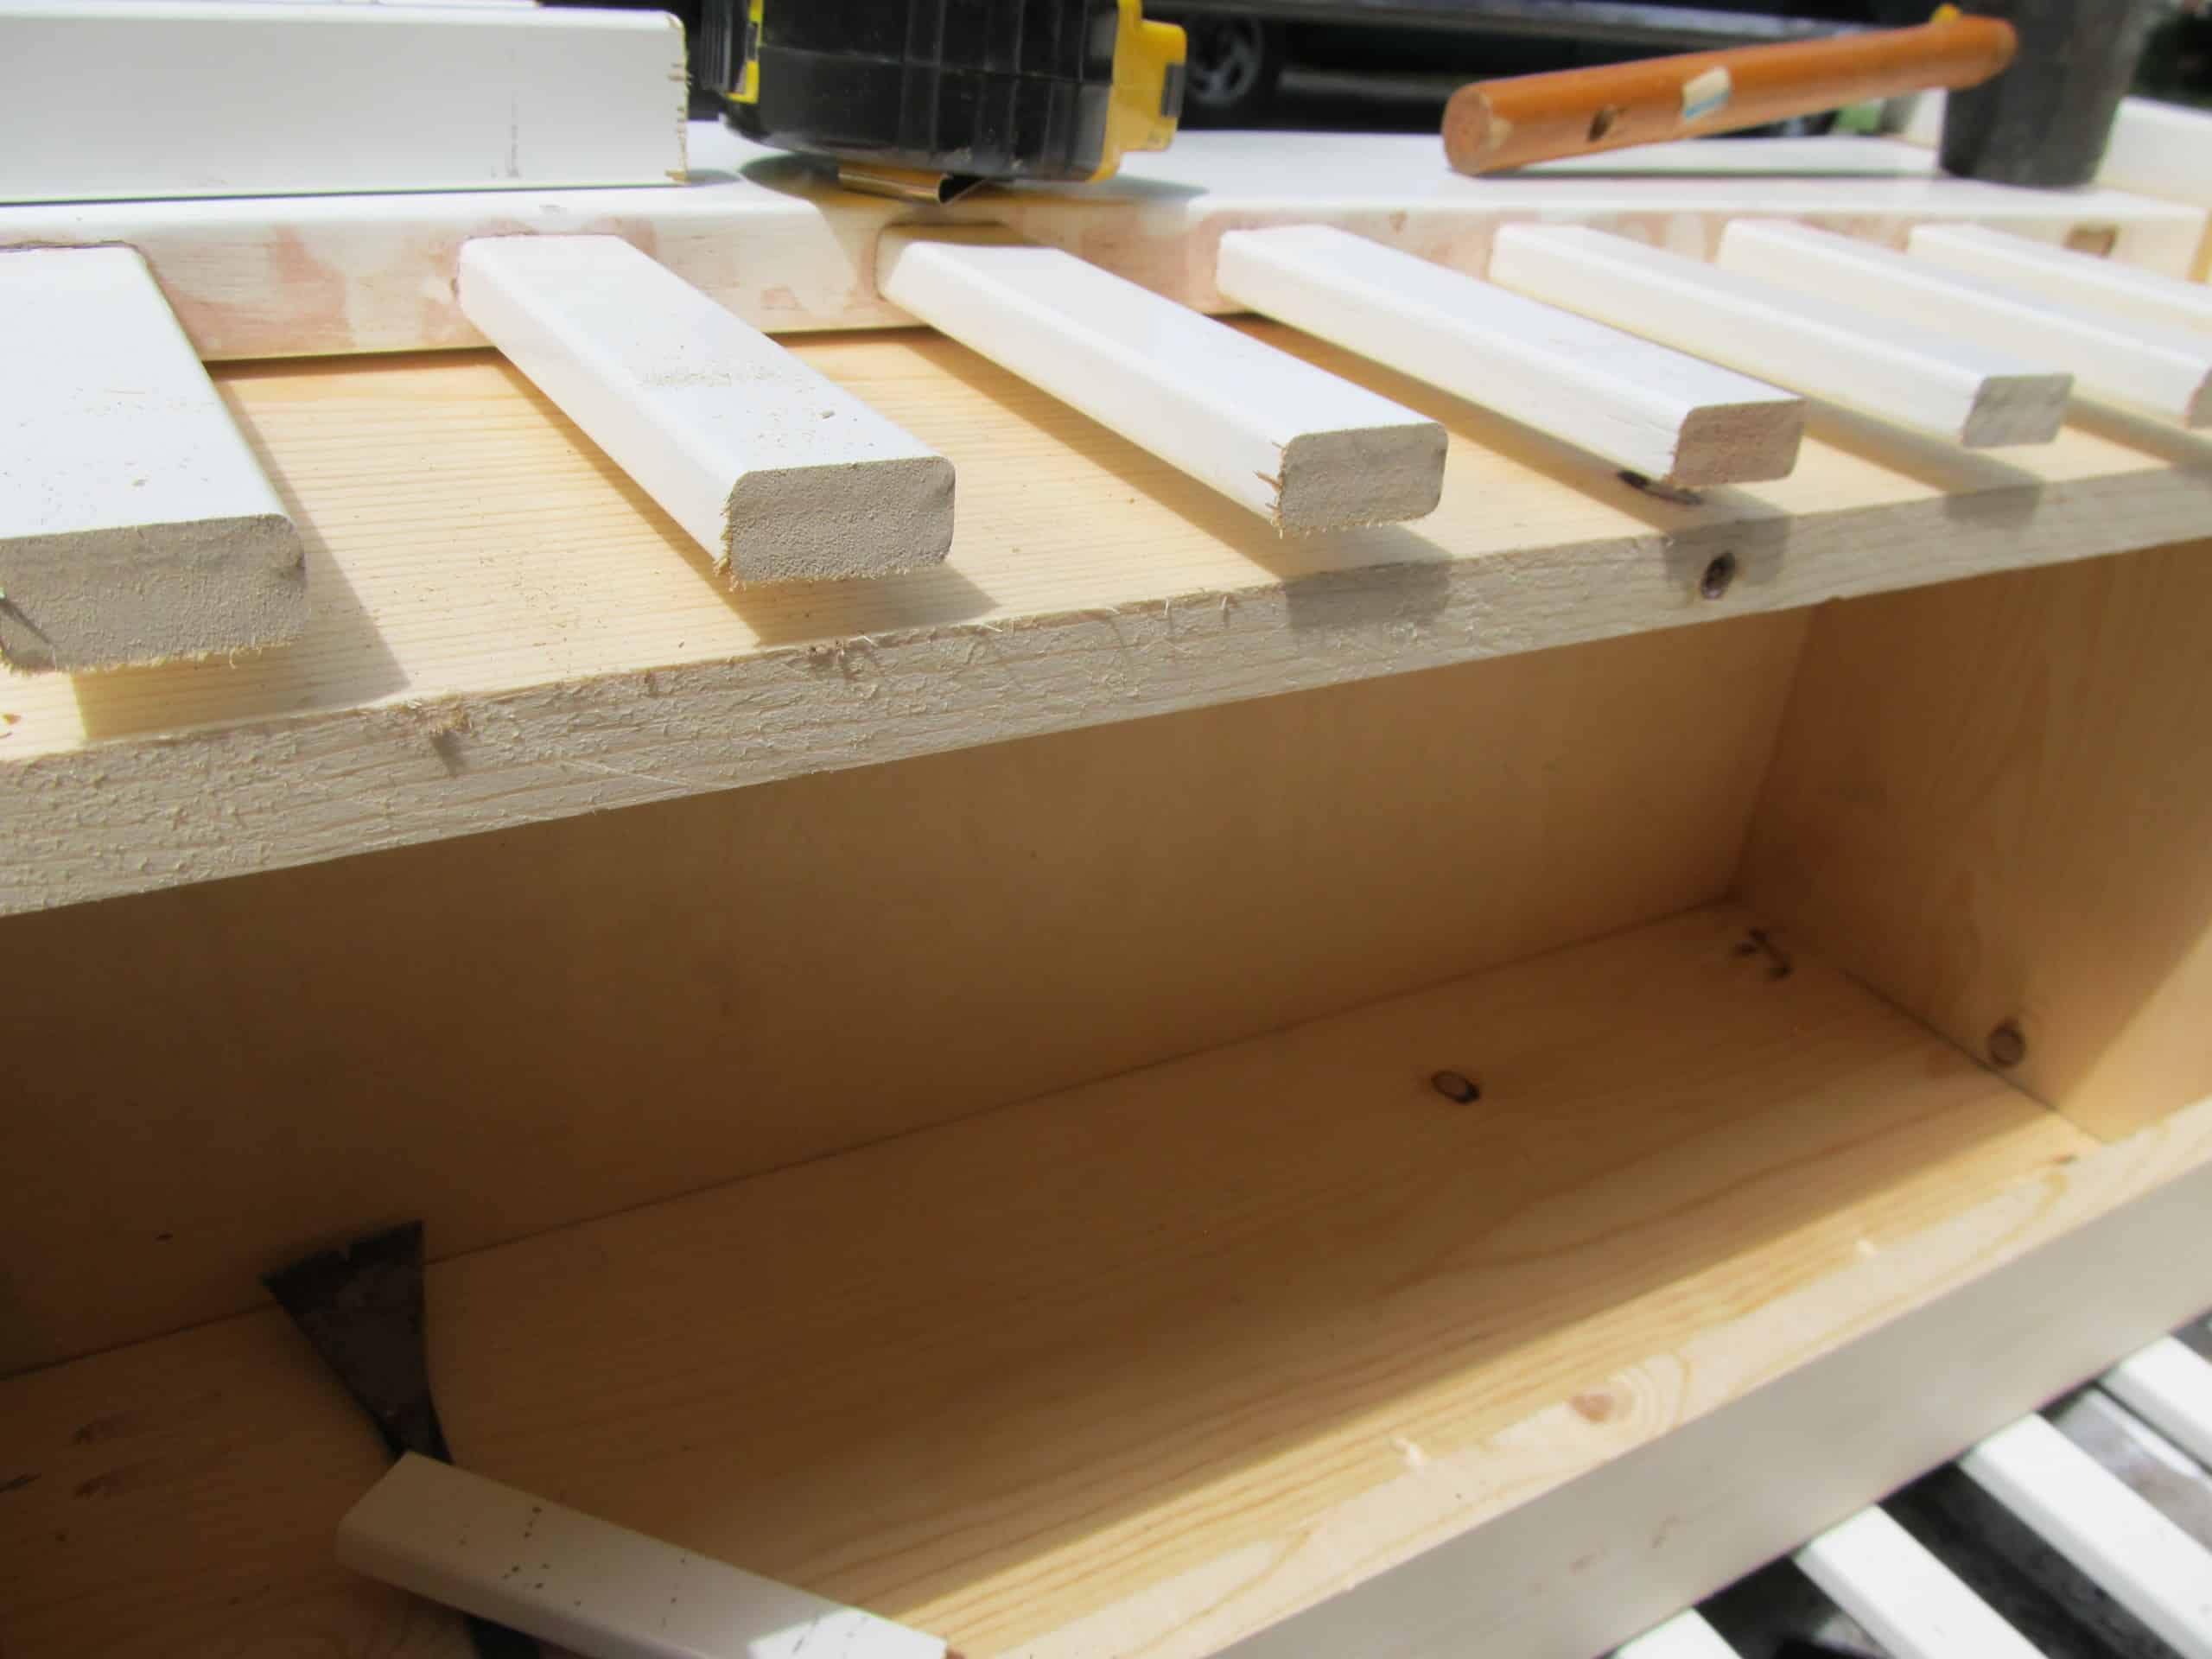
Because the slats are in the middle of the board, they don’t rest on the box.
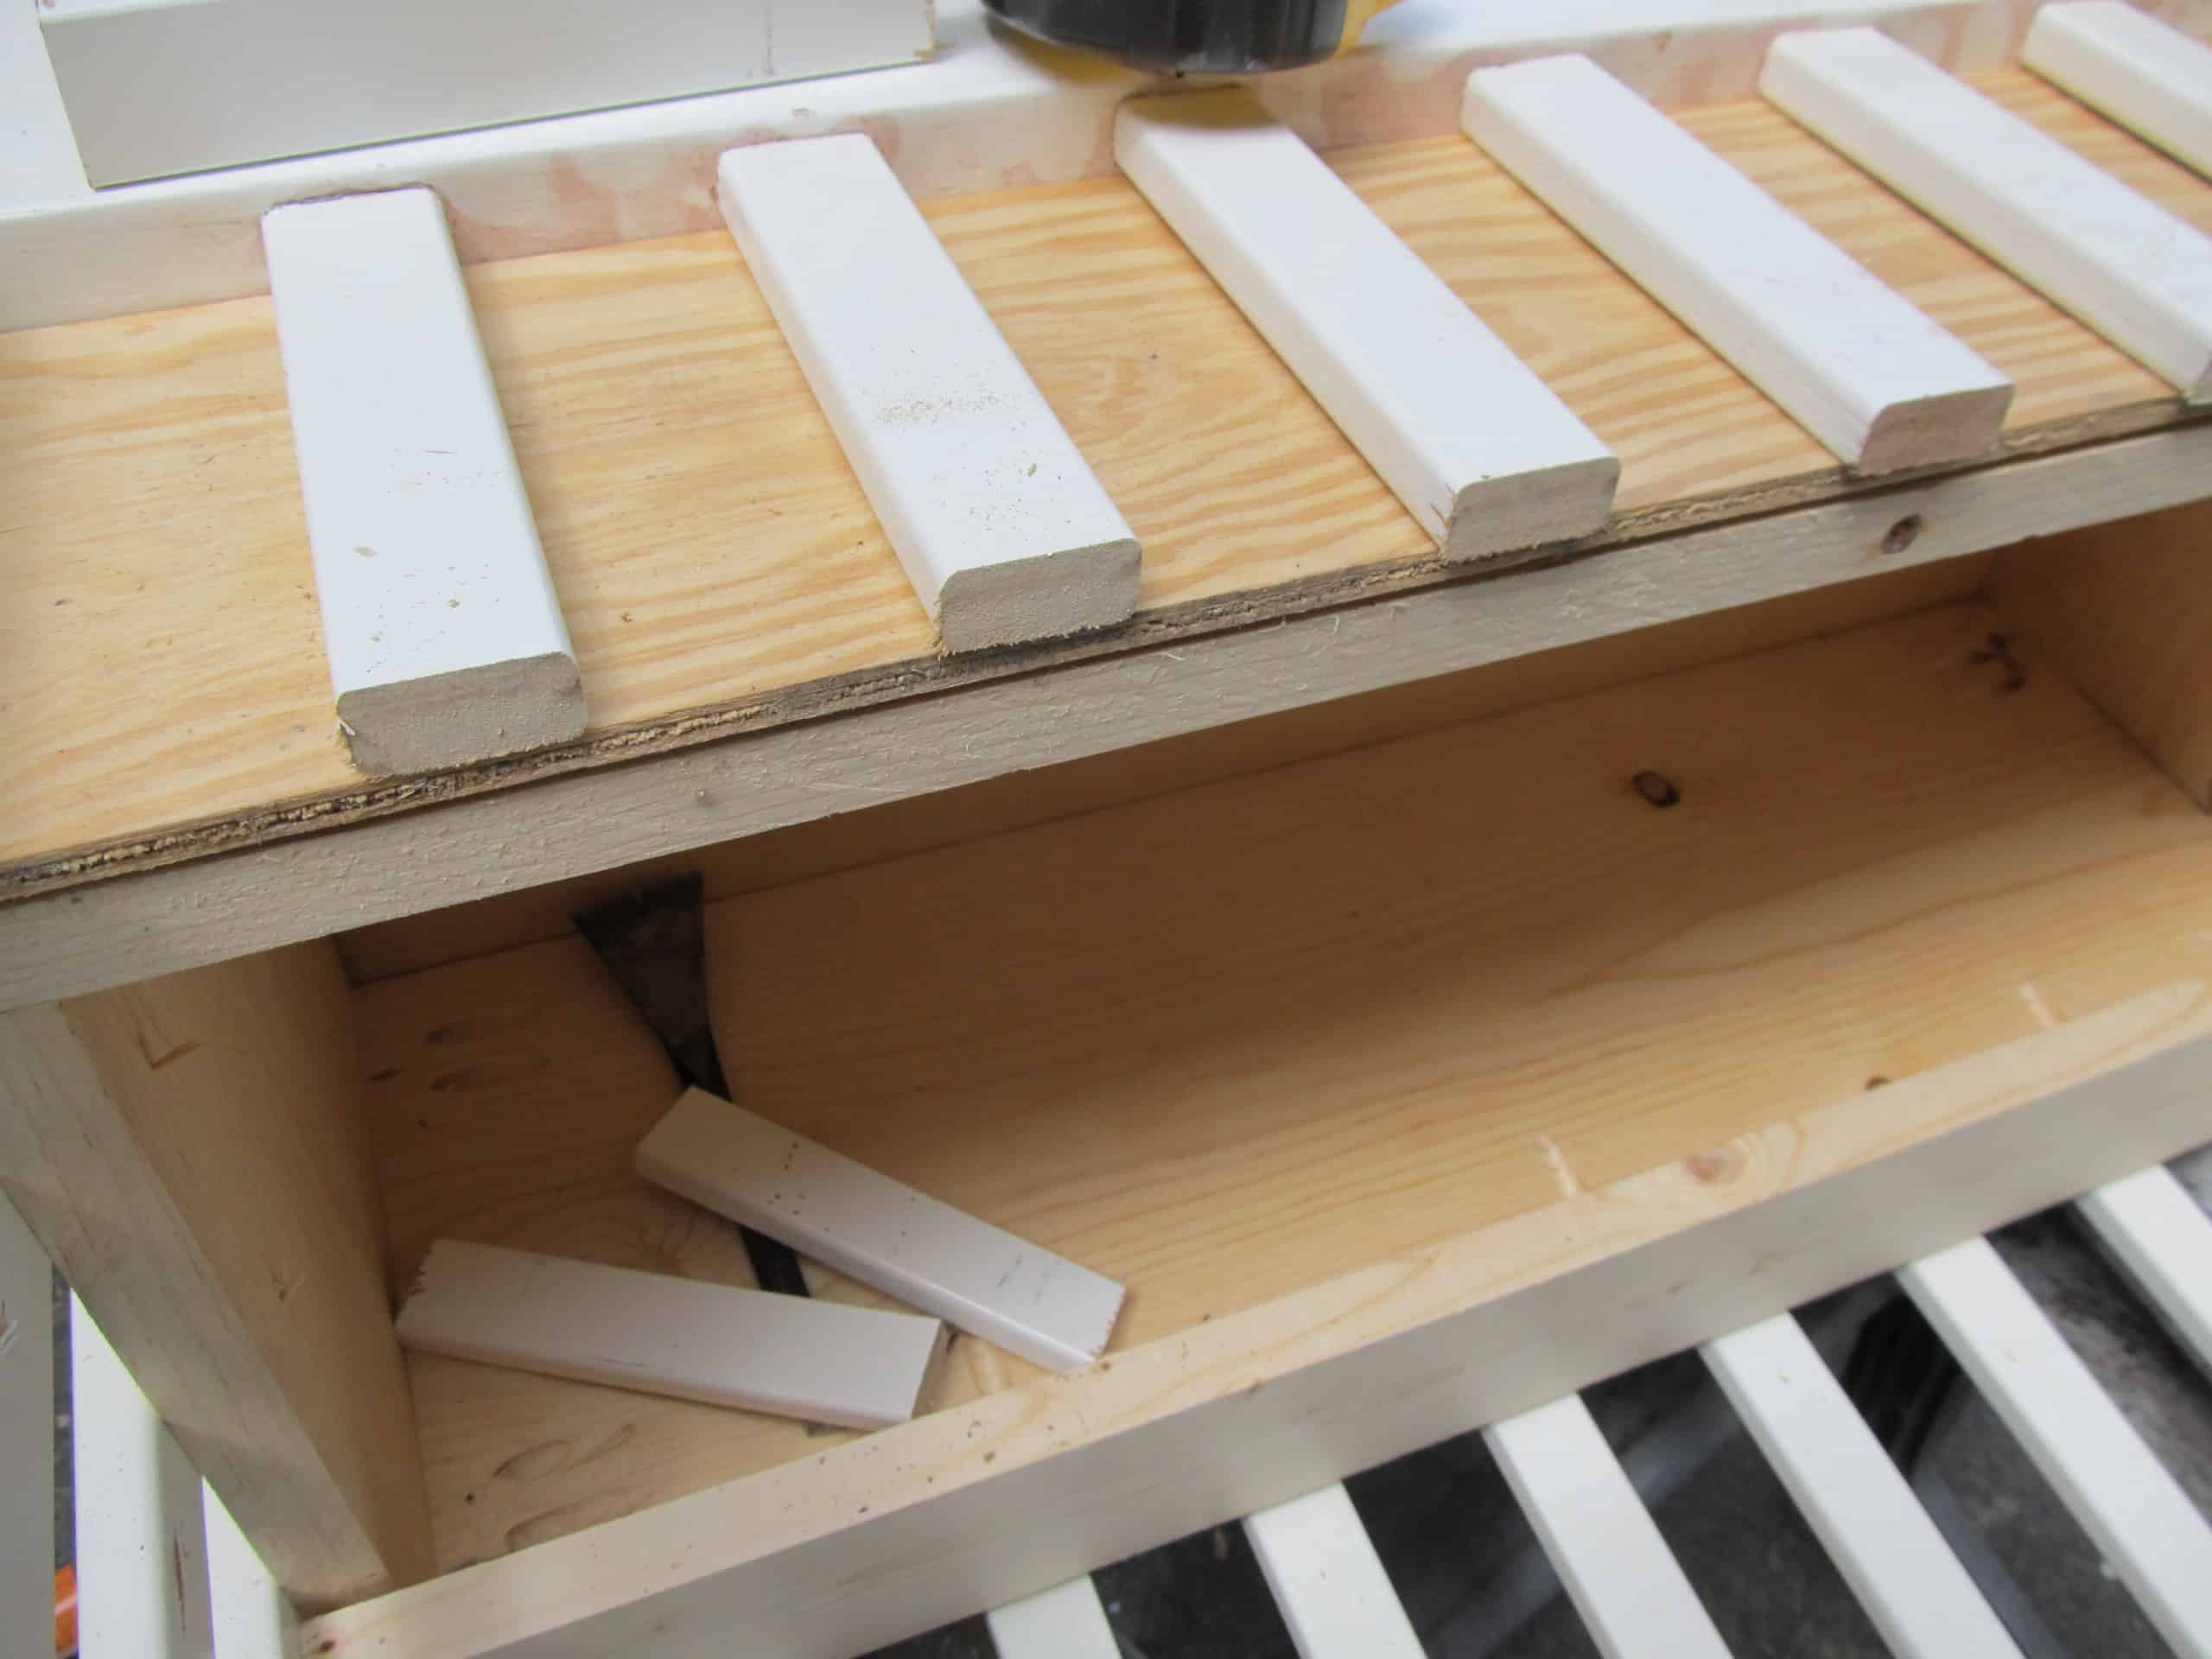
Another scrap piece to the rescue.
Use Scrap Pieces to Fill Gaps
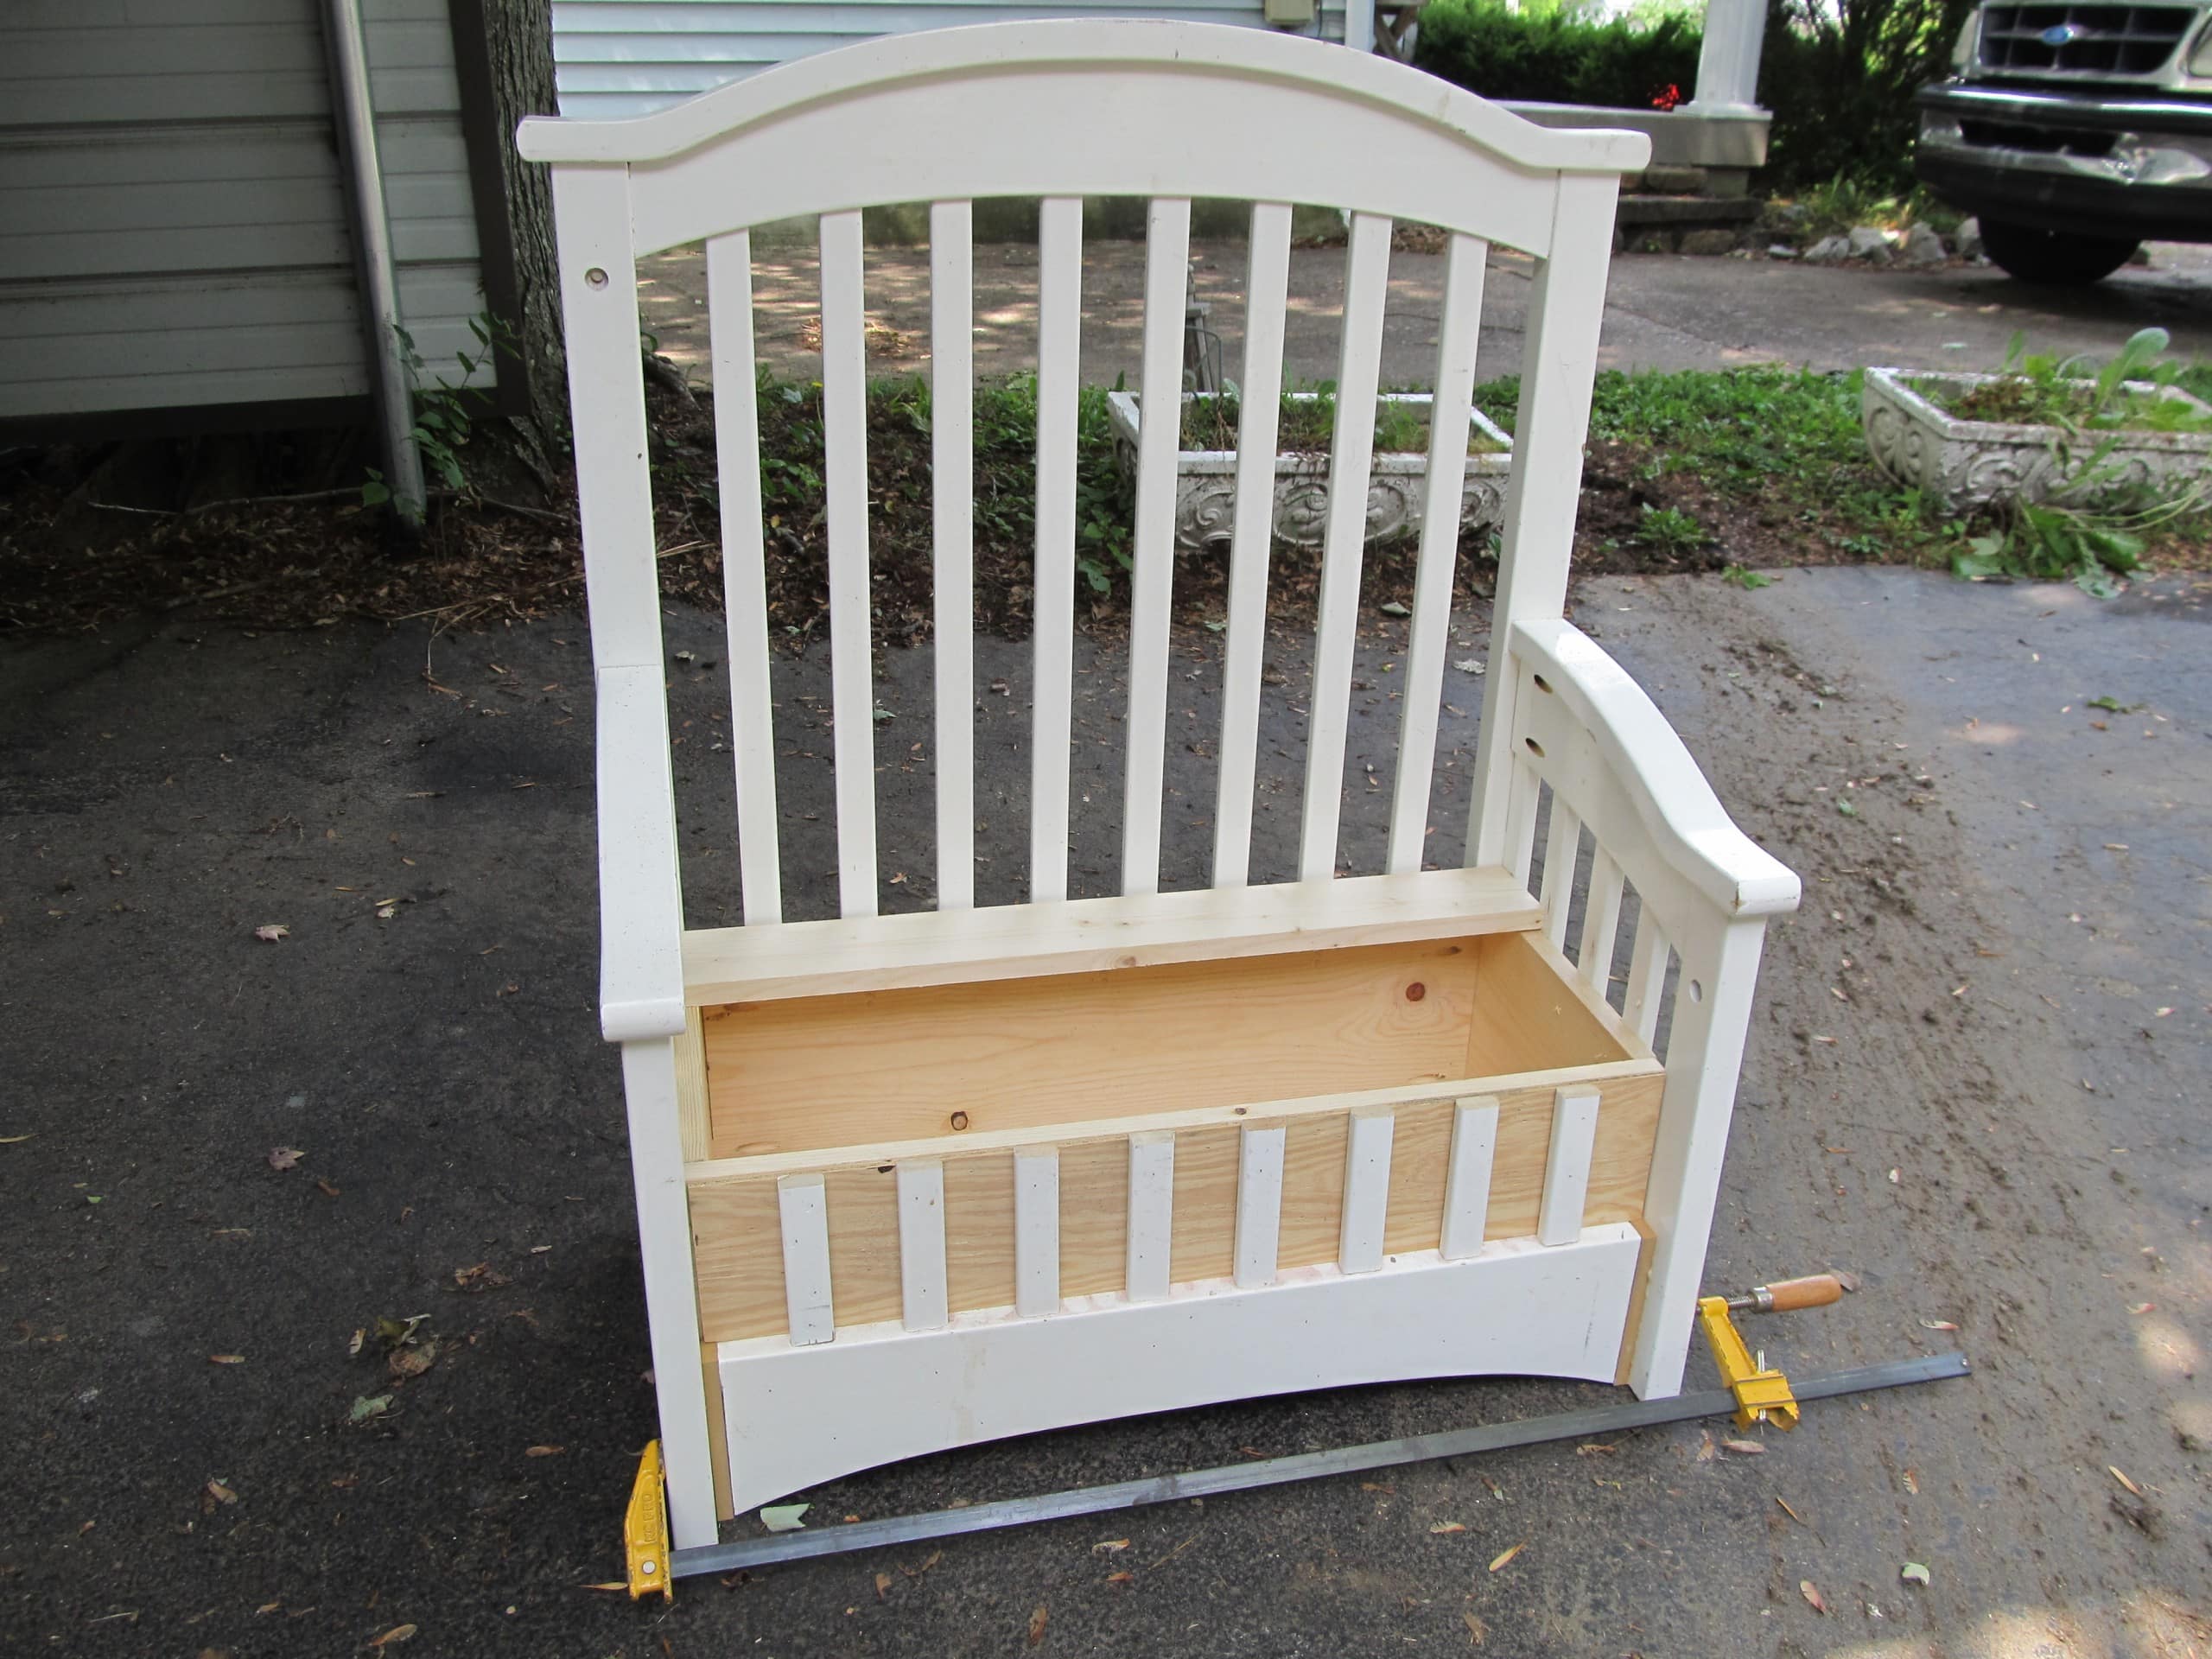
Here, you can see the MDF pieces on each bottom front side.
More Design Adjustments
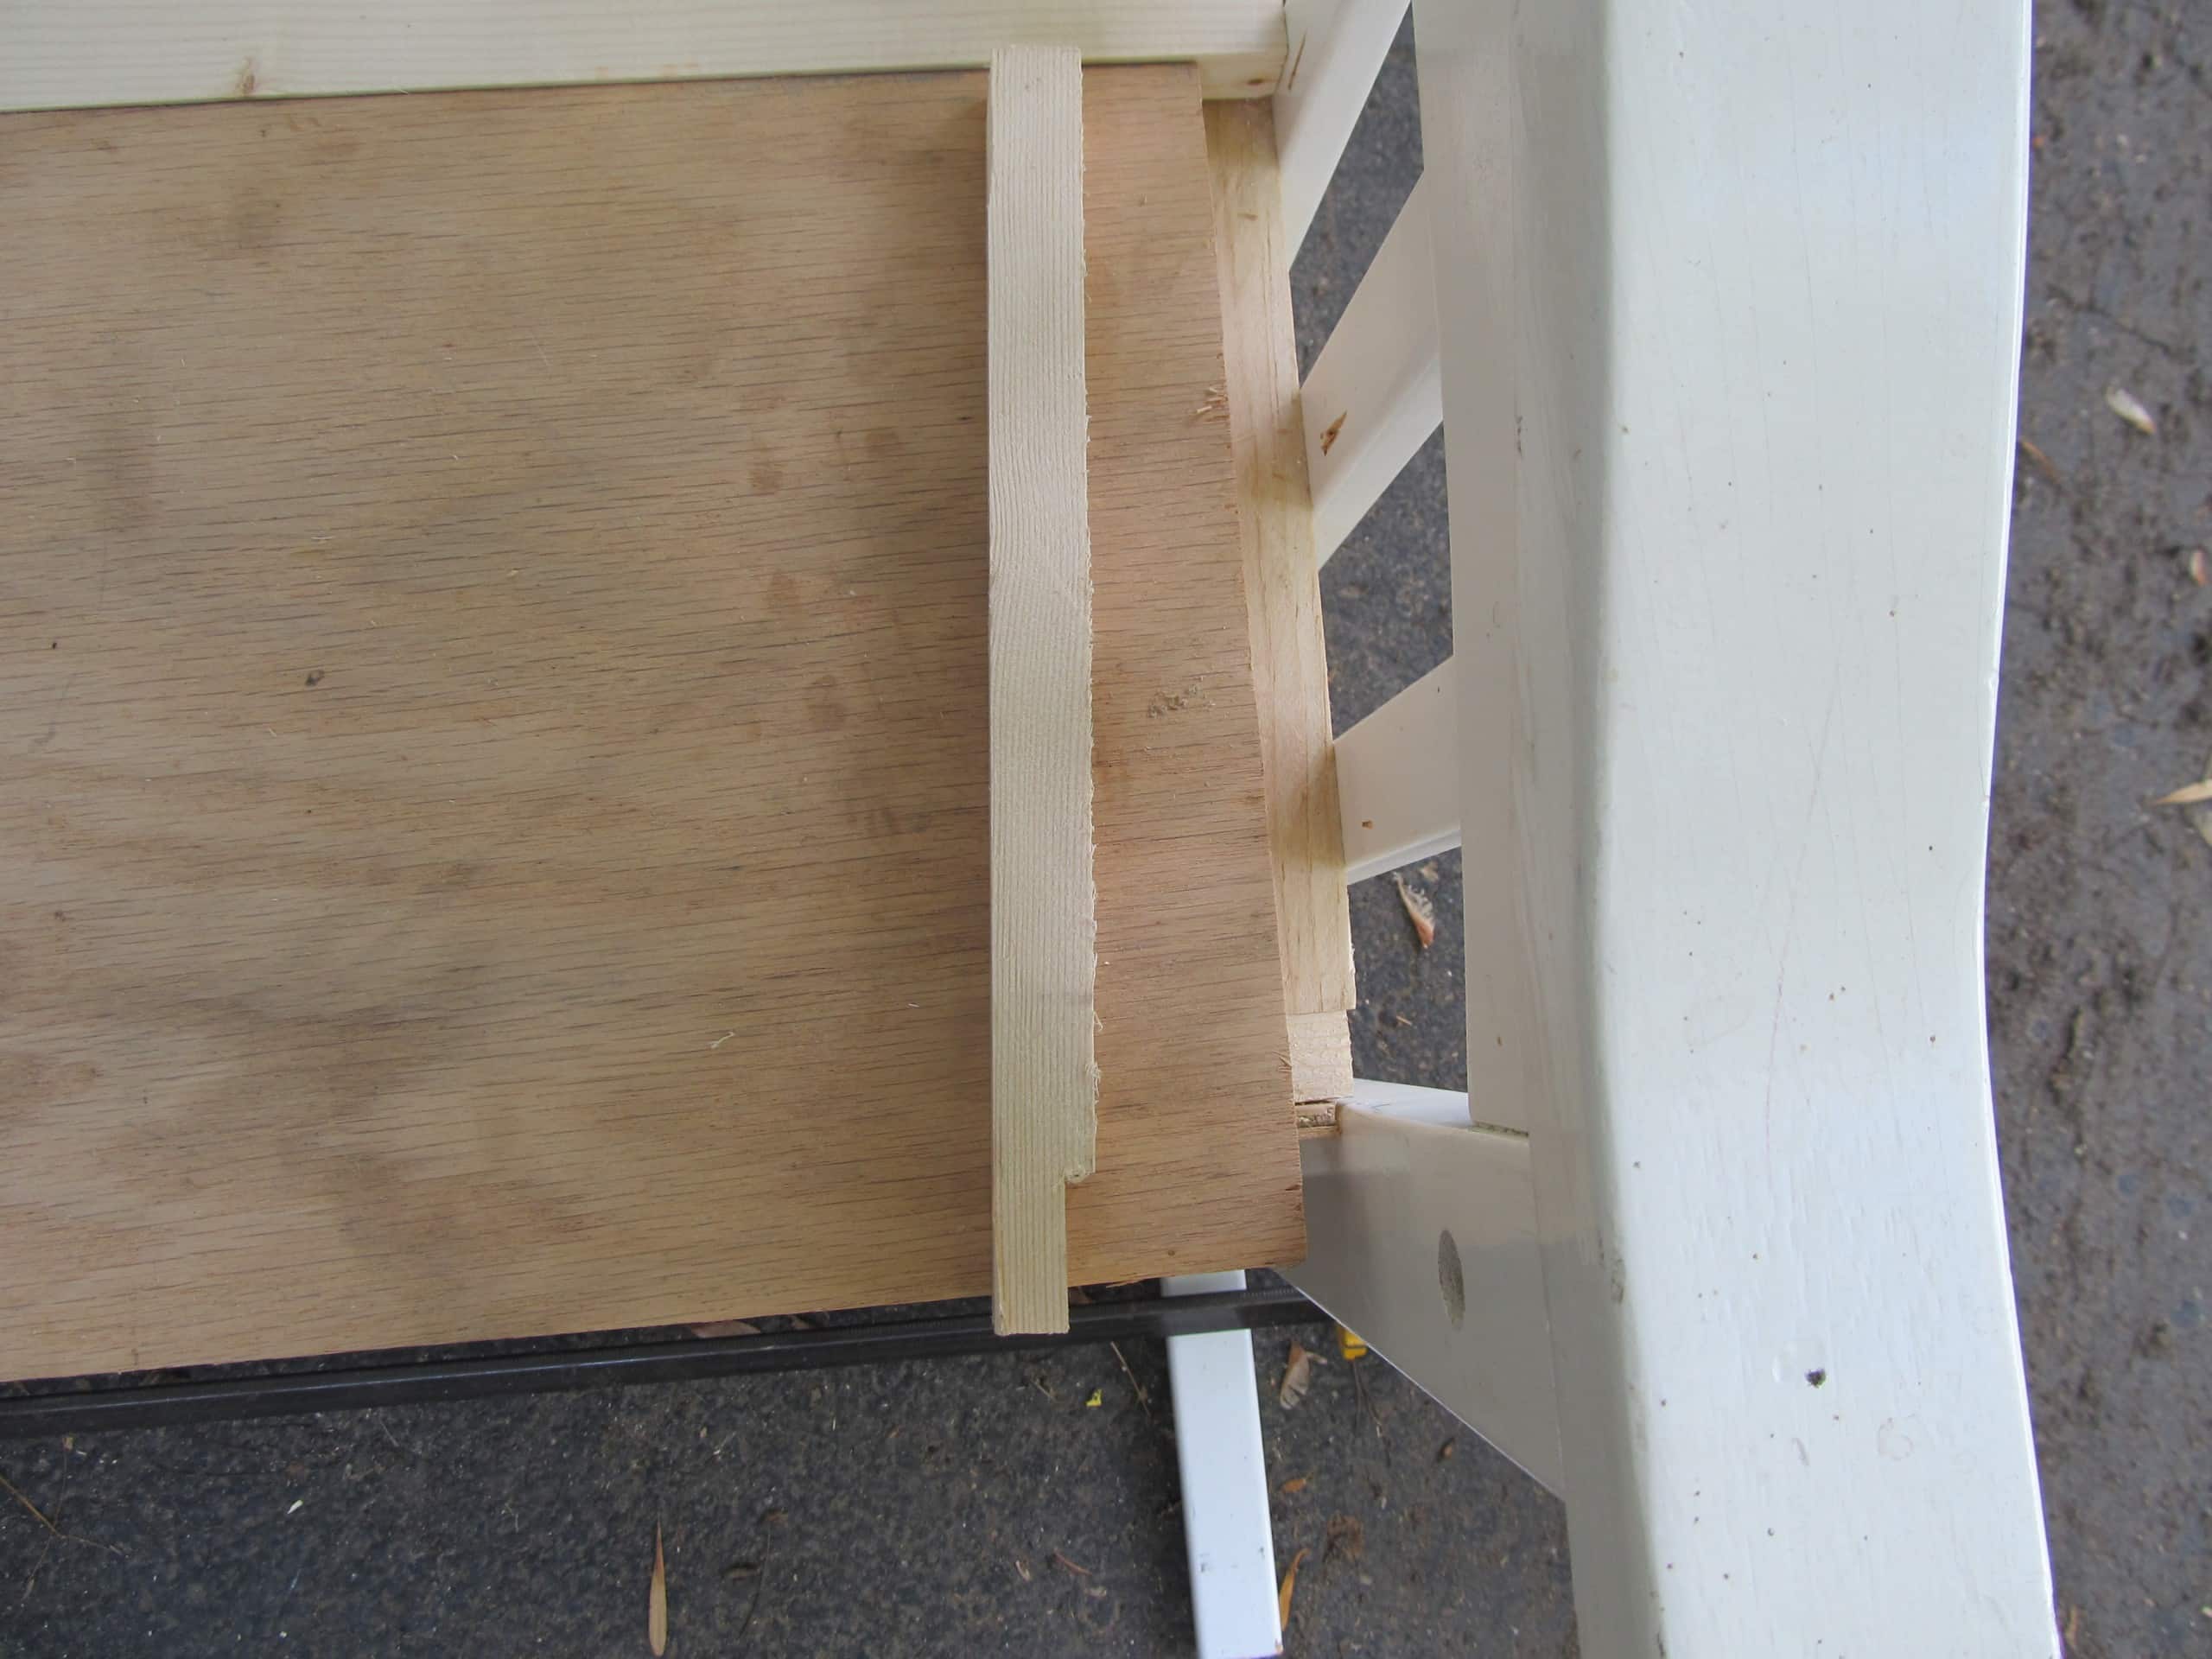
This is where I had to take a break and rethink some things. Because of the overhang on the top of the armrests, the lid would not open. I had to shorten the seat/lid in the width. But I didn’t like the big gap, so more scraps were used to make “fill-in” pieces on each side. I notched them to fit really snugly.
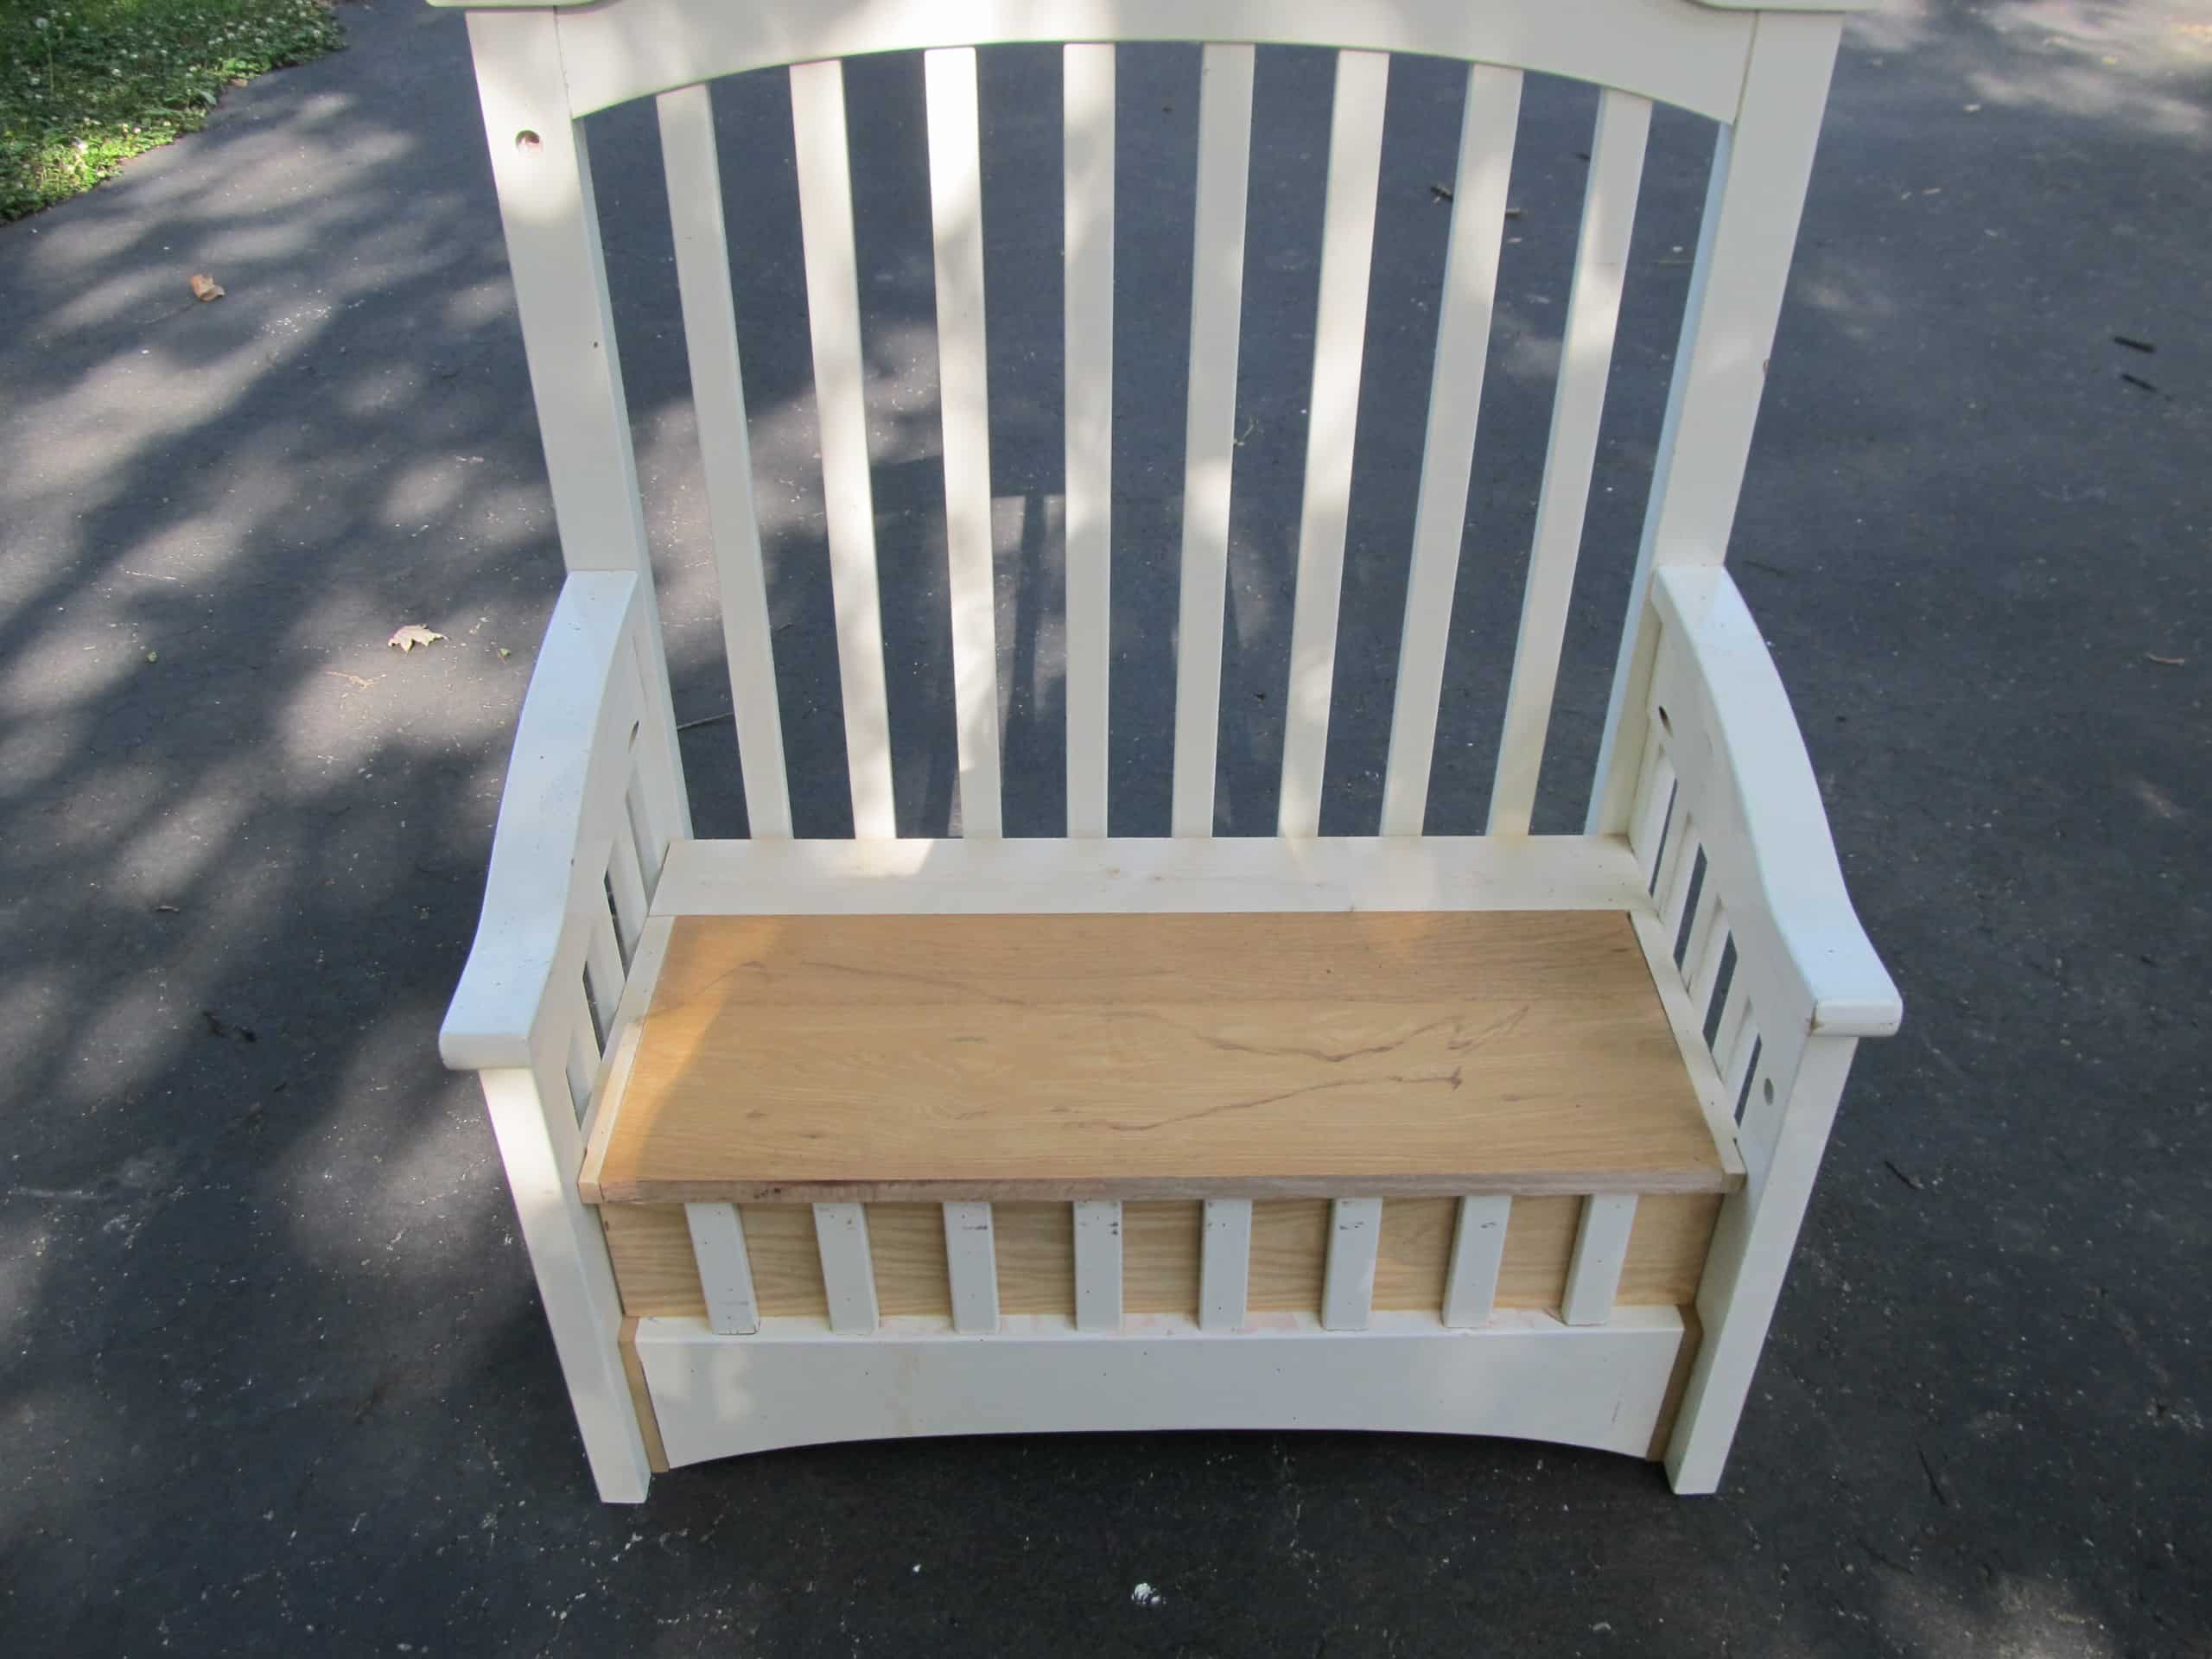
The upcycled crib toybox is looking much better!
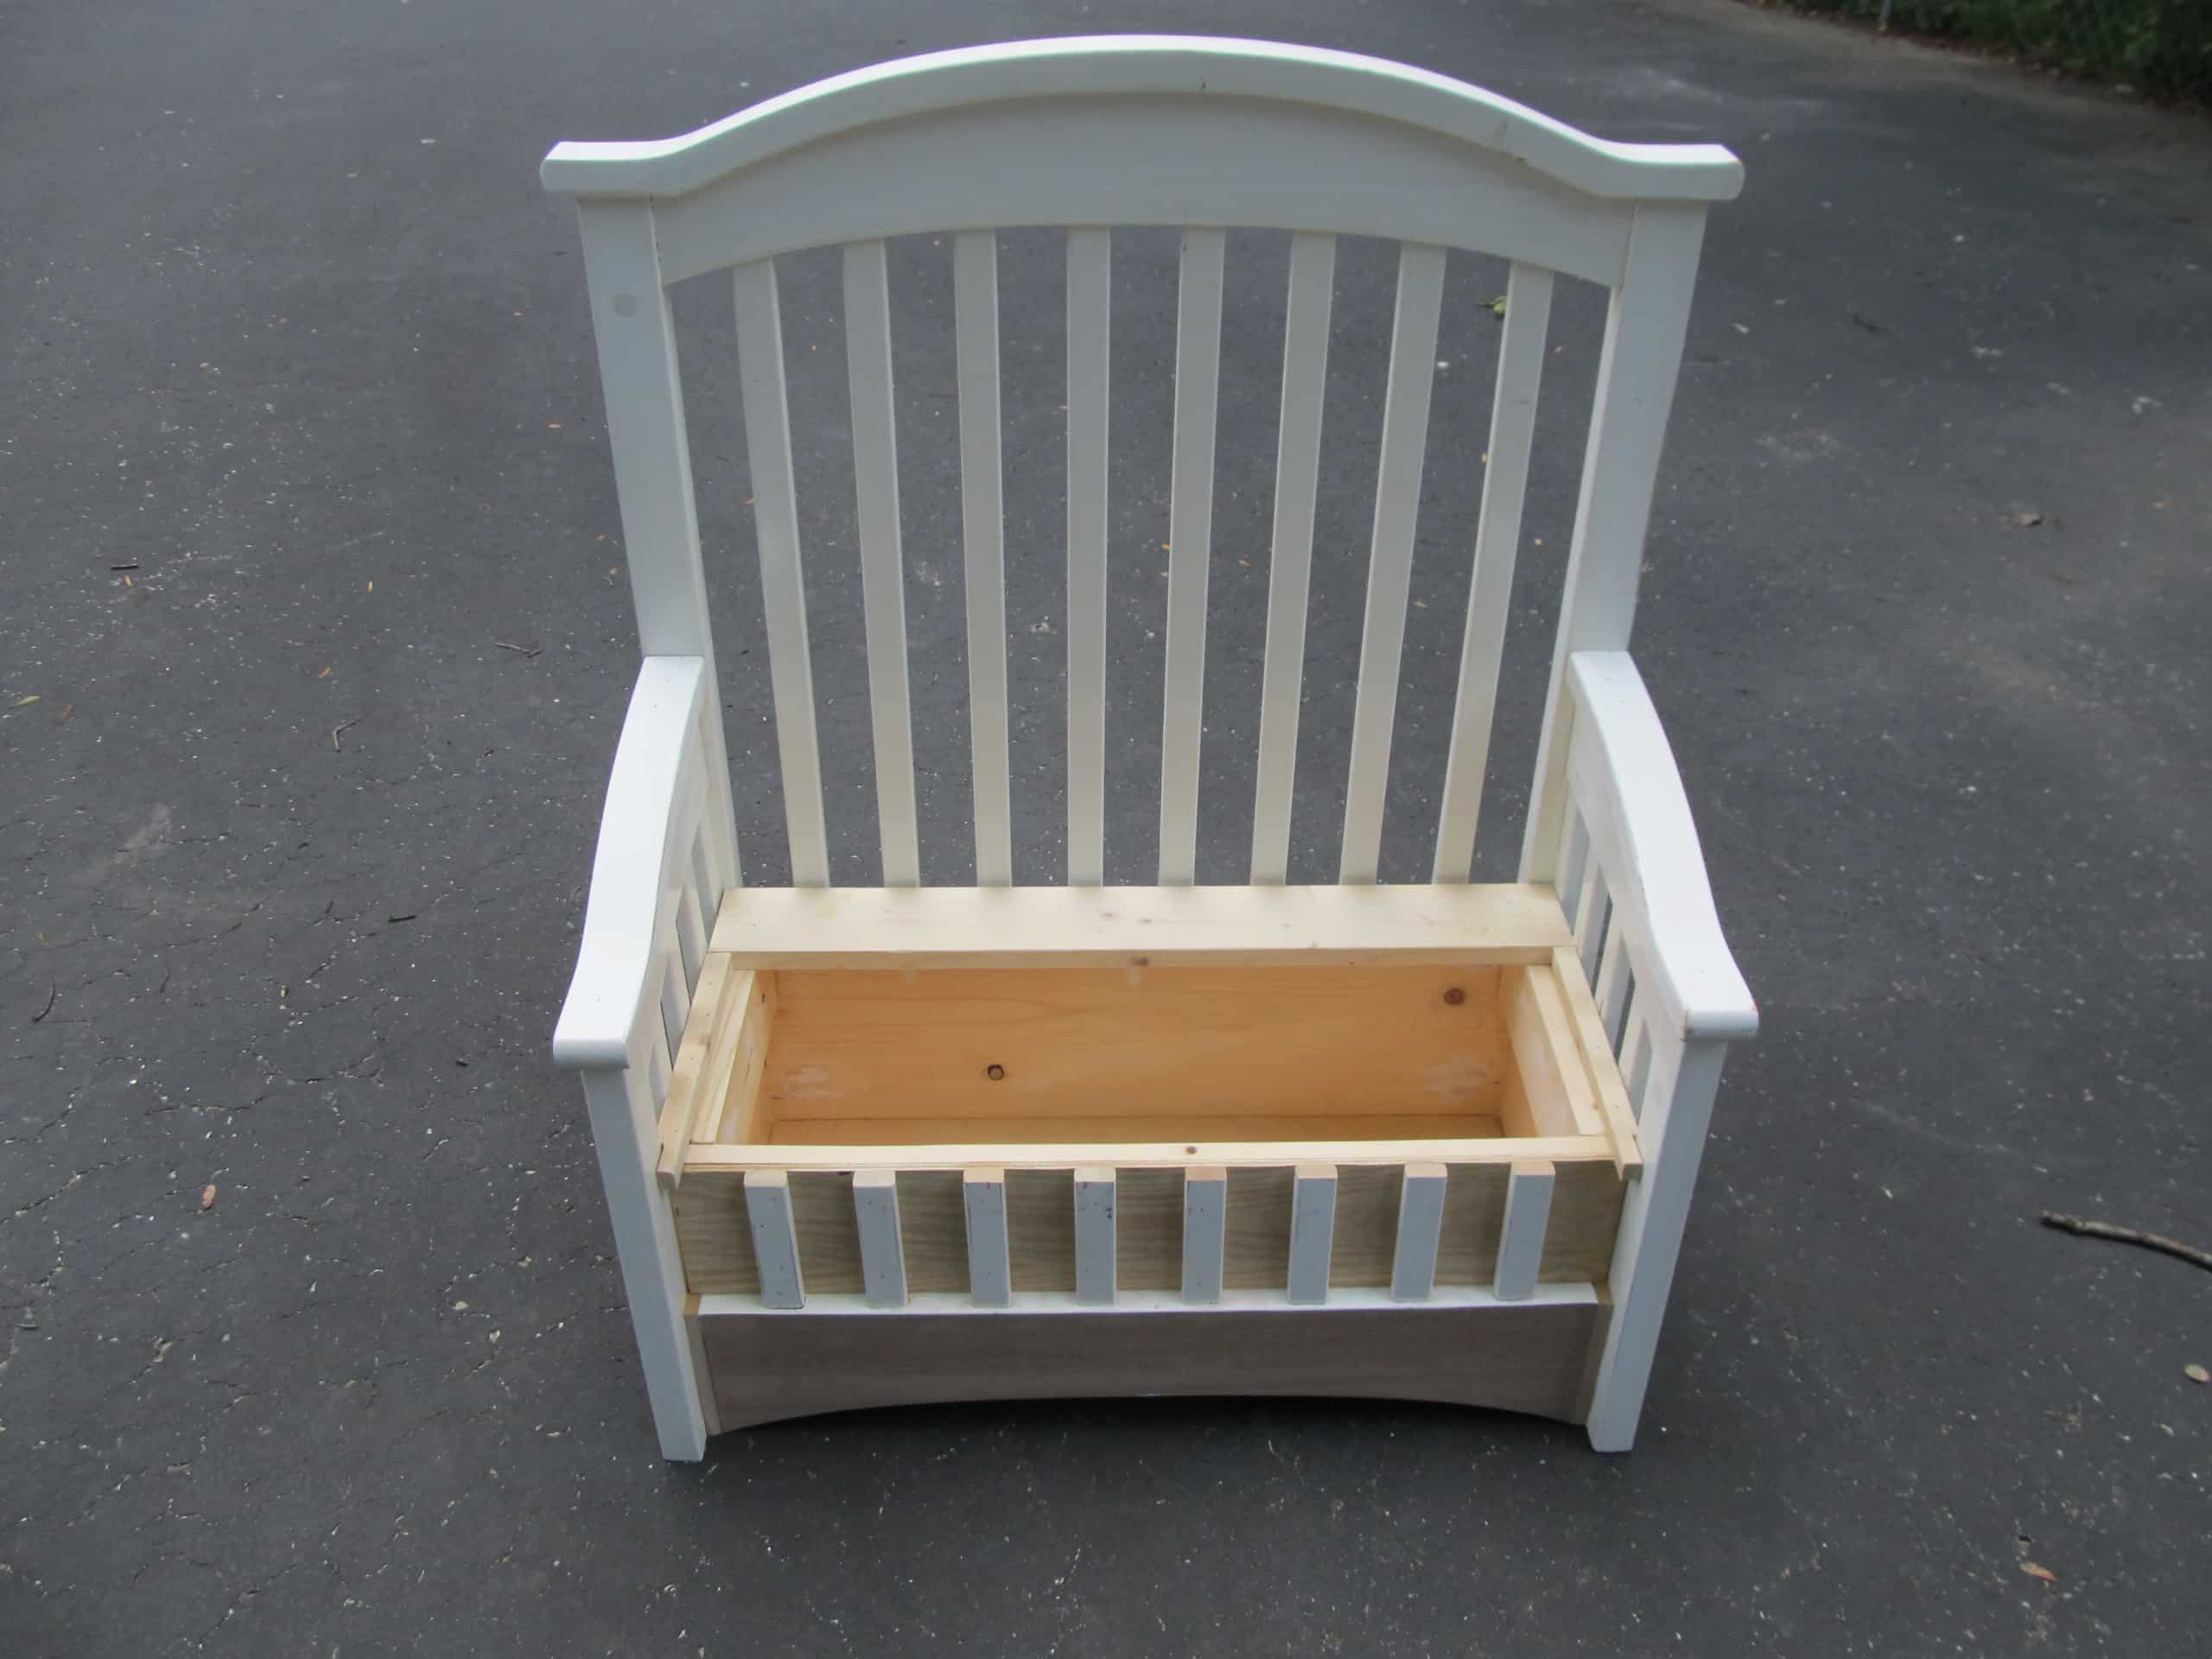
Are you loving it?
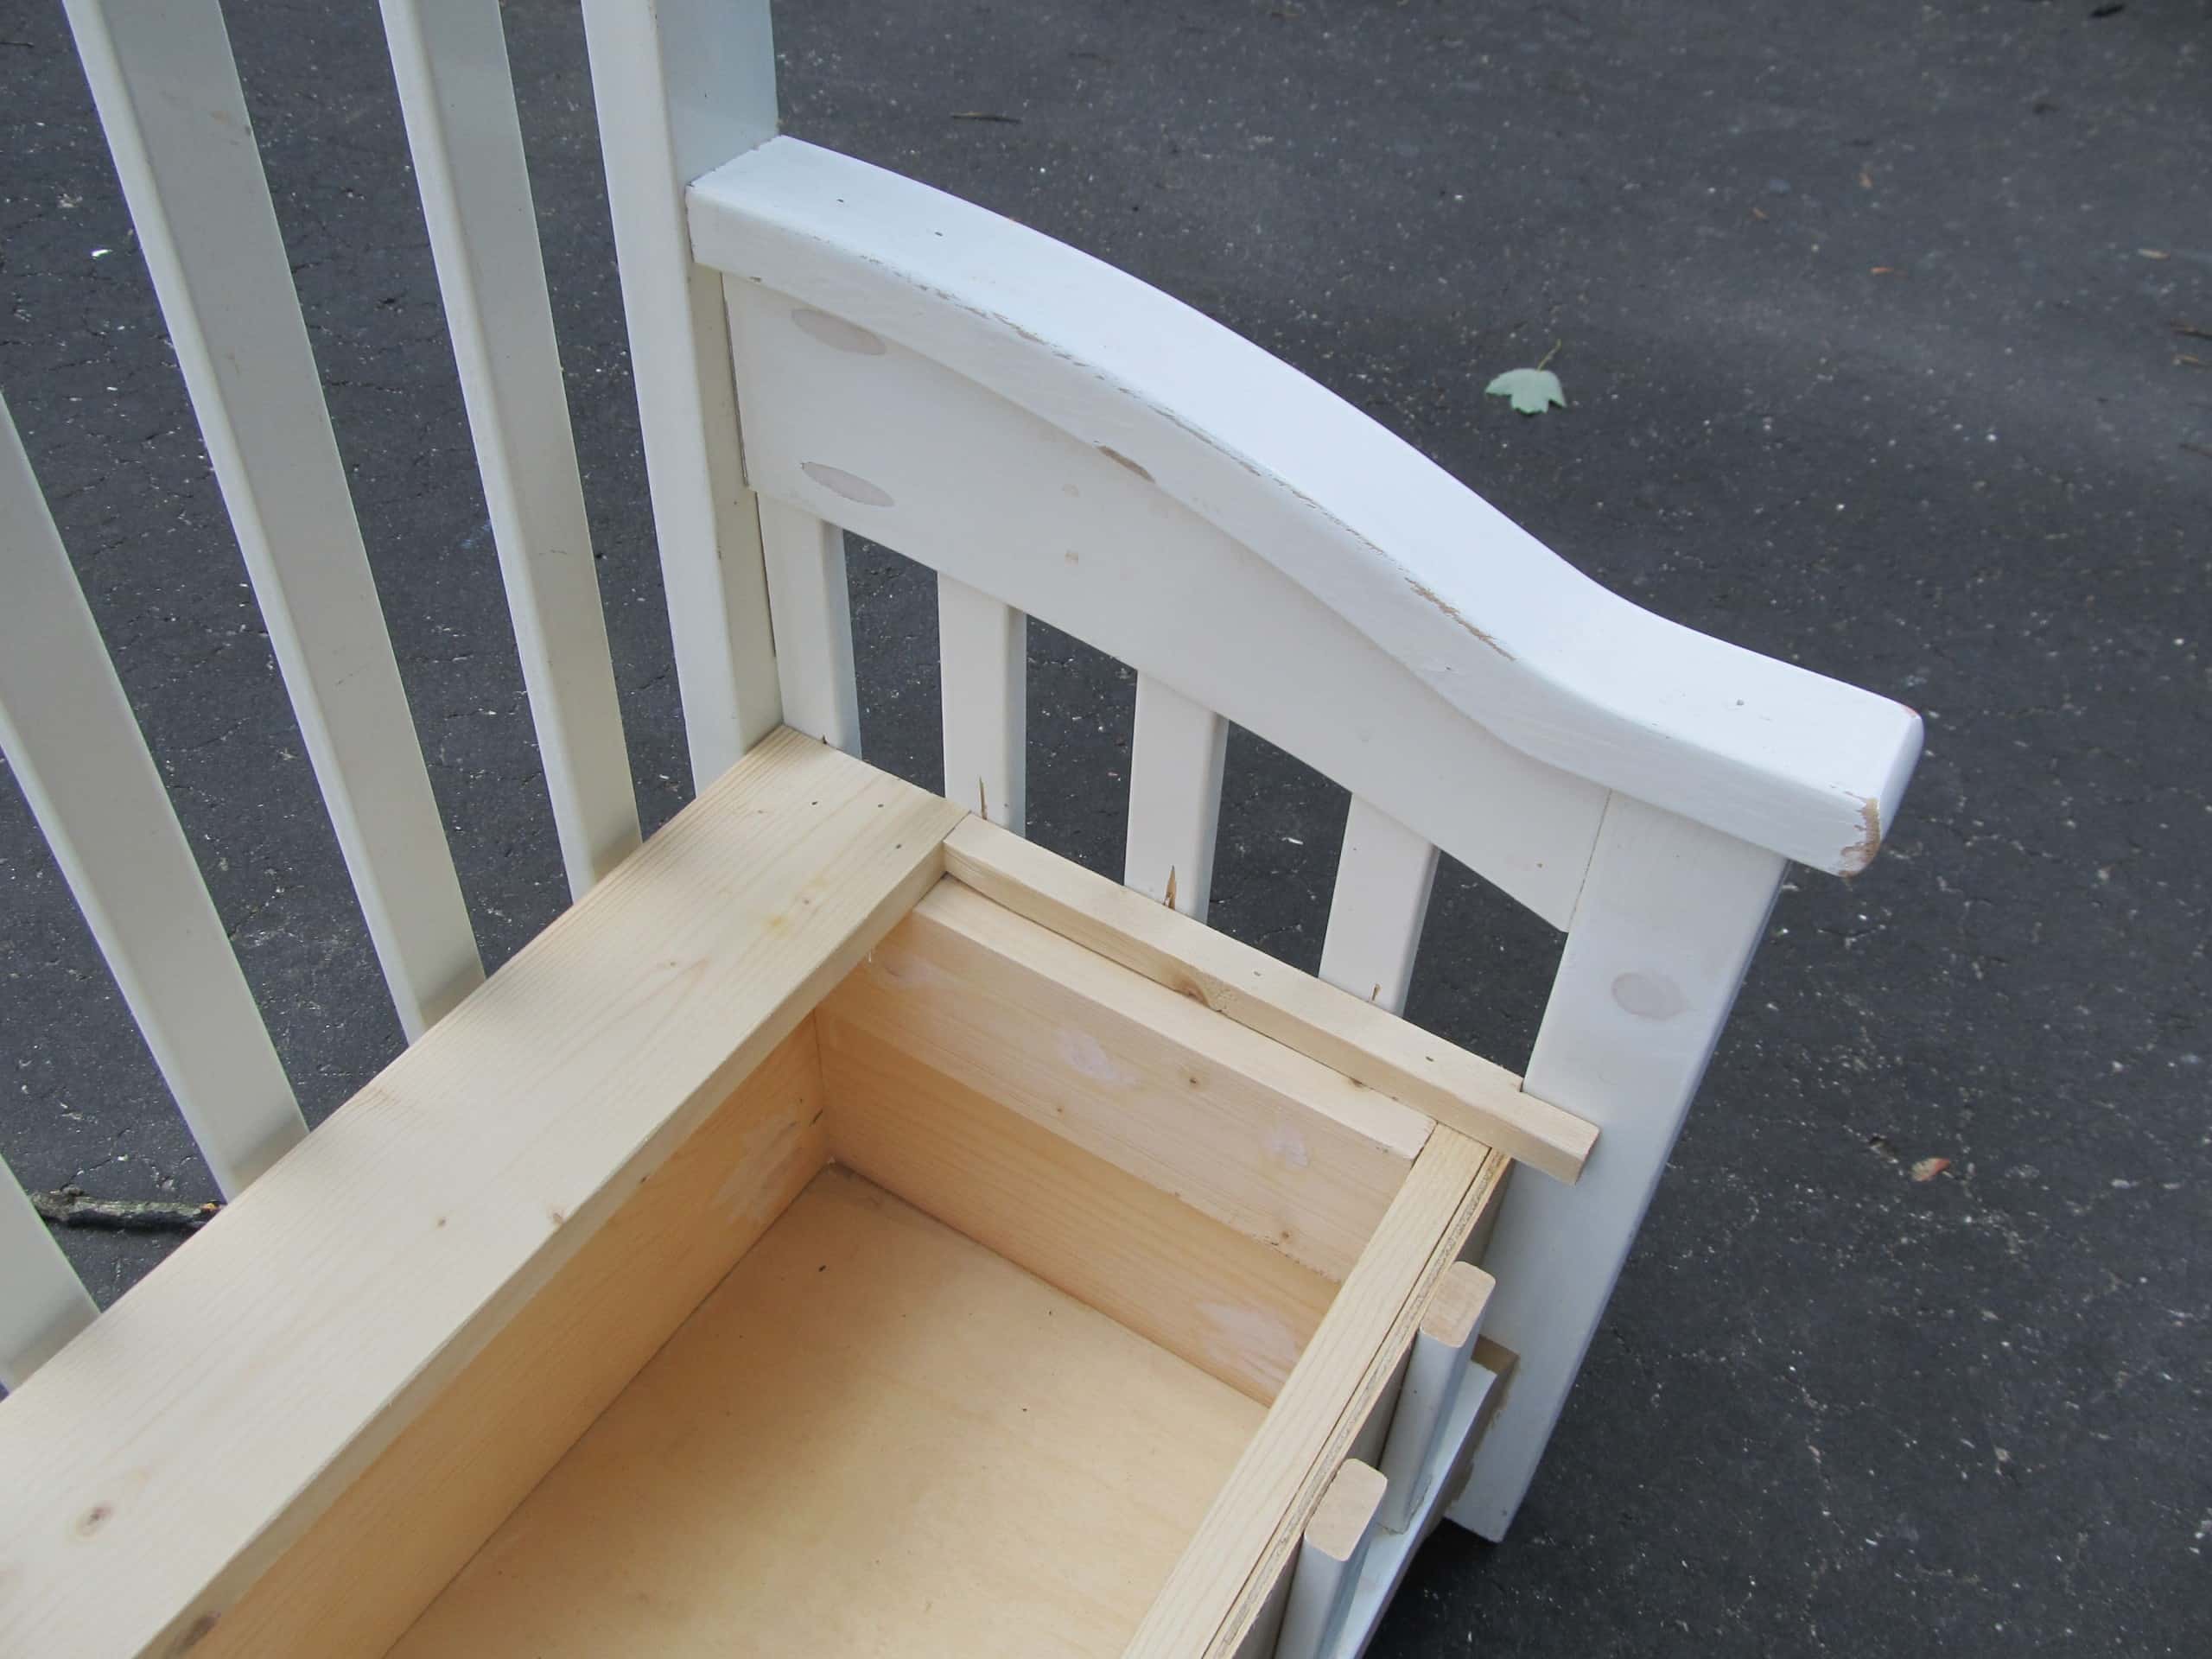
In order for the lid to be secure and have something to “rest” on, I had to add a couple of 1x4s…one on each side. If you look closely, you can see the MDF sticks out some. I sanded it with my orbital sander, and it now blends right in with the front piece.
Time to Use The Paint Sprayer
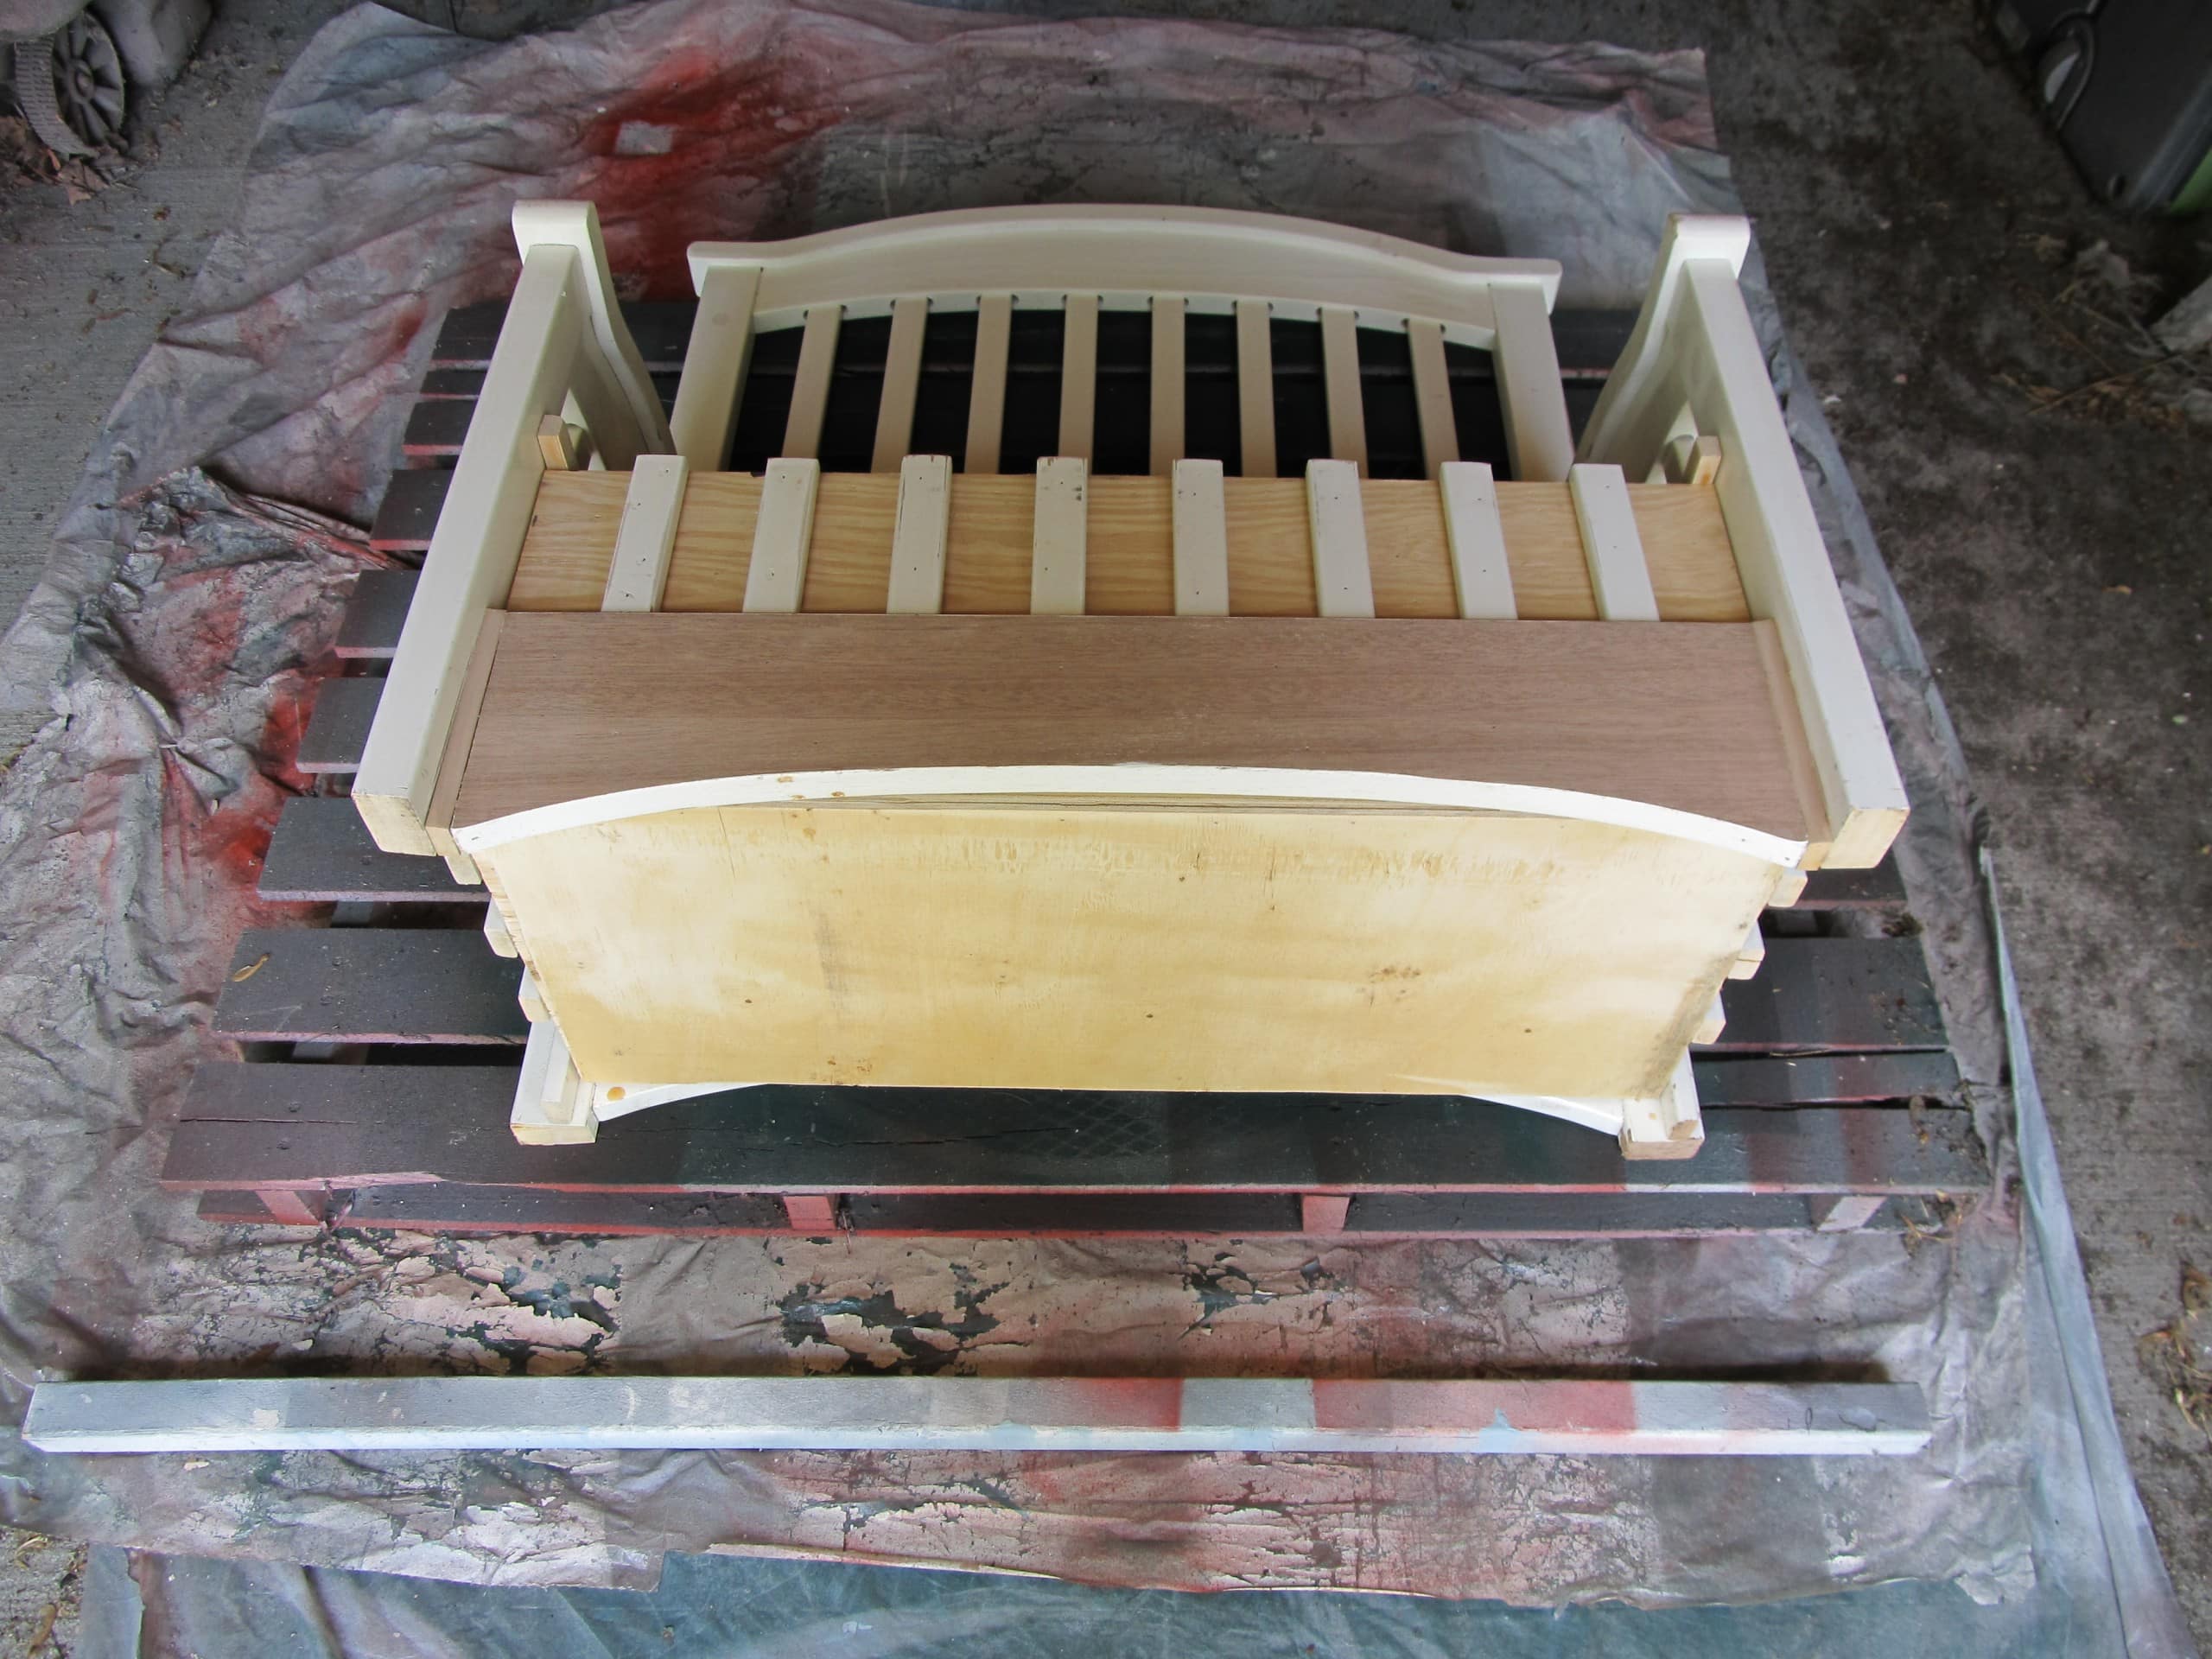
Off we go to the paint booth. I always start by painting the underside of my pieces. Of course, I used my HomeRight Finish Max Fine Finish Sprayer on this piece.
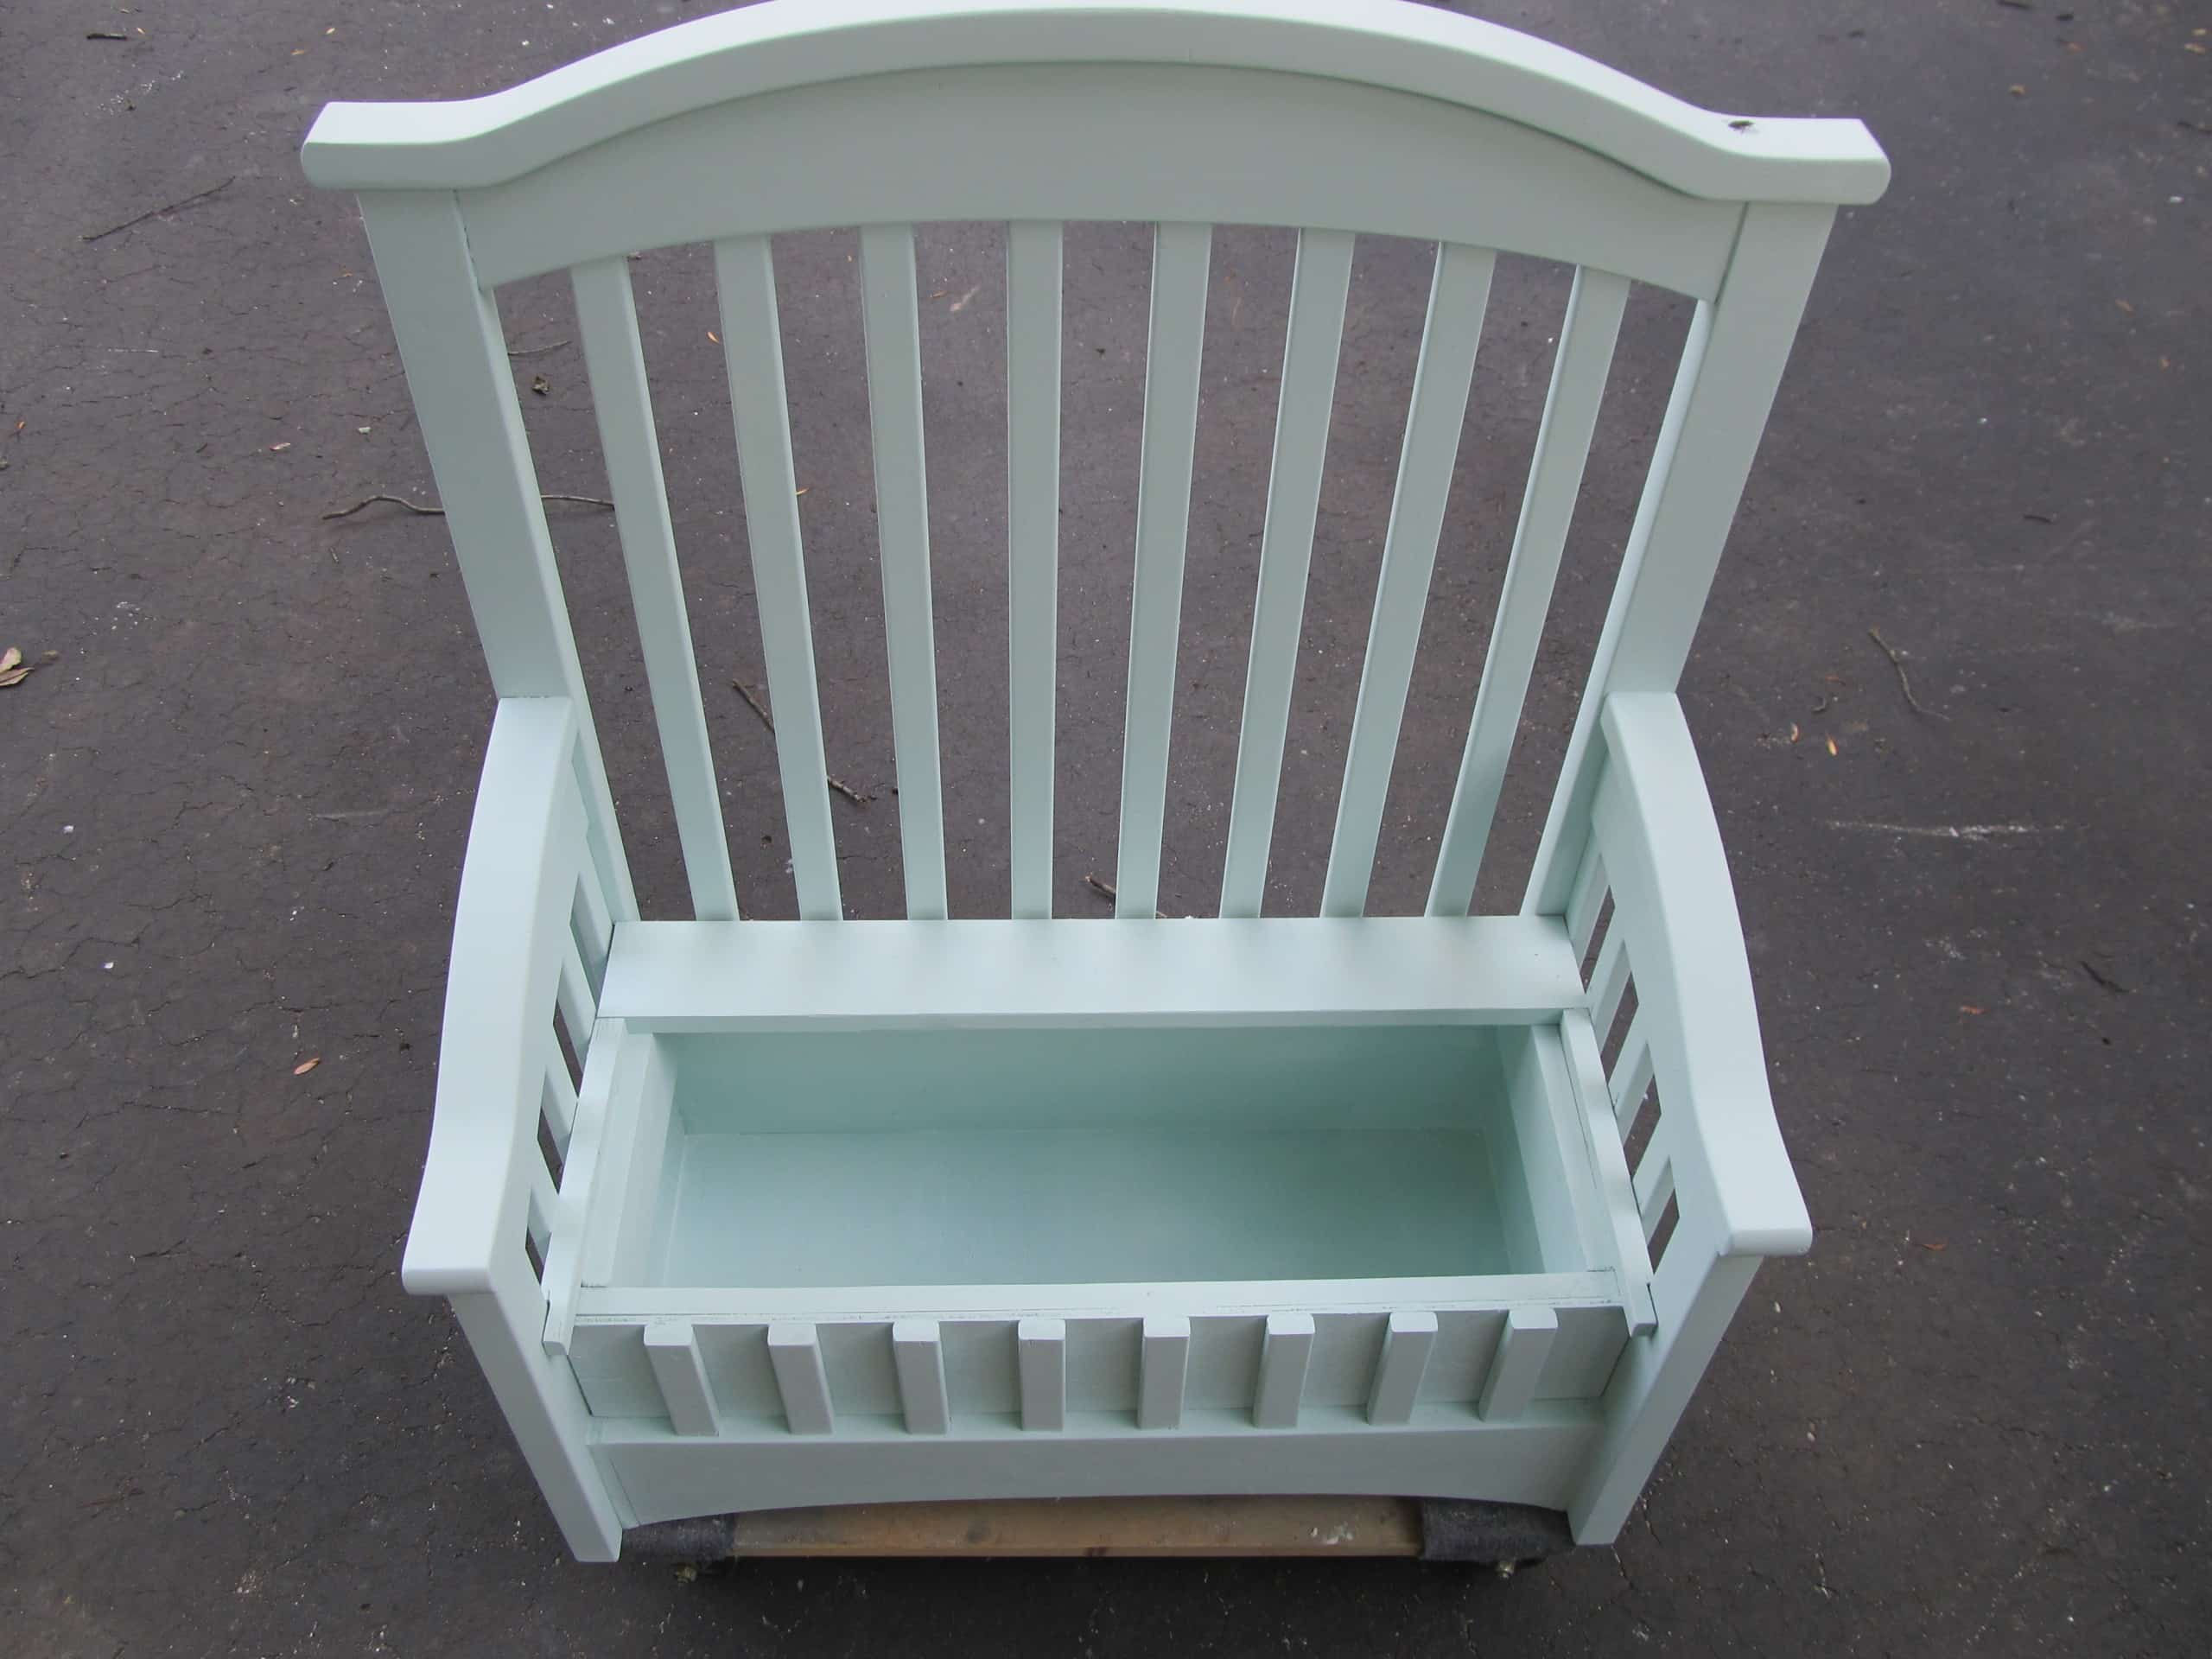
I chose a color from my massive inventory of oops paint.
Upcycled Crib With Storage | Perfect Toybox
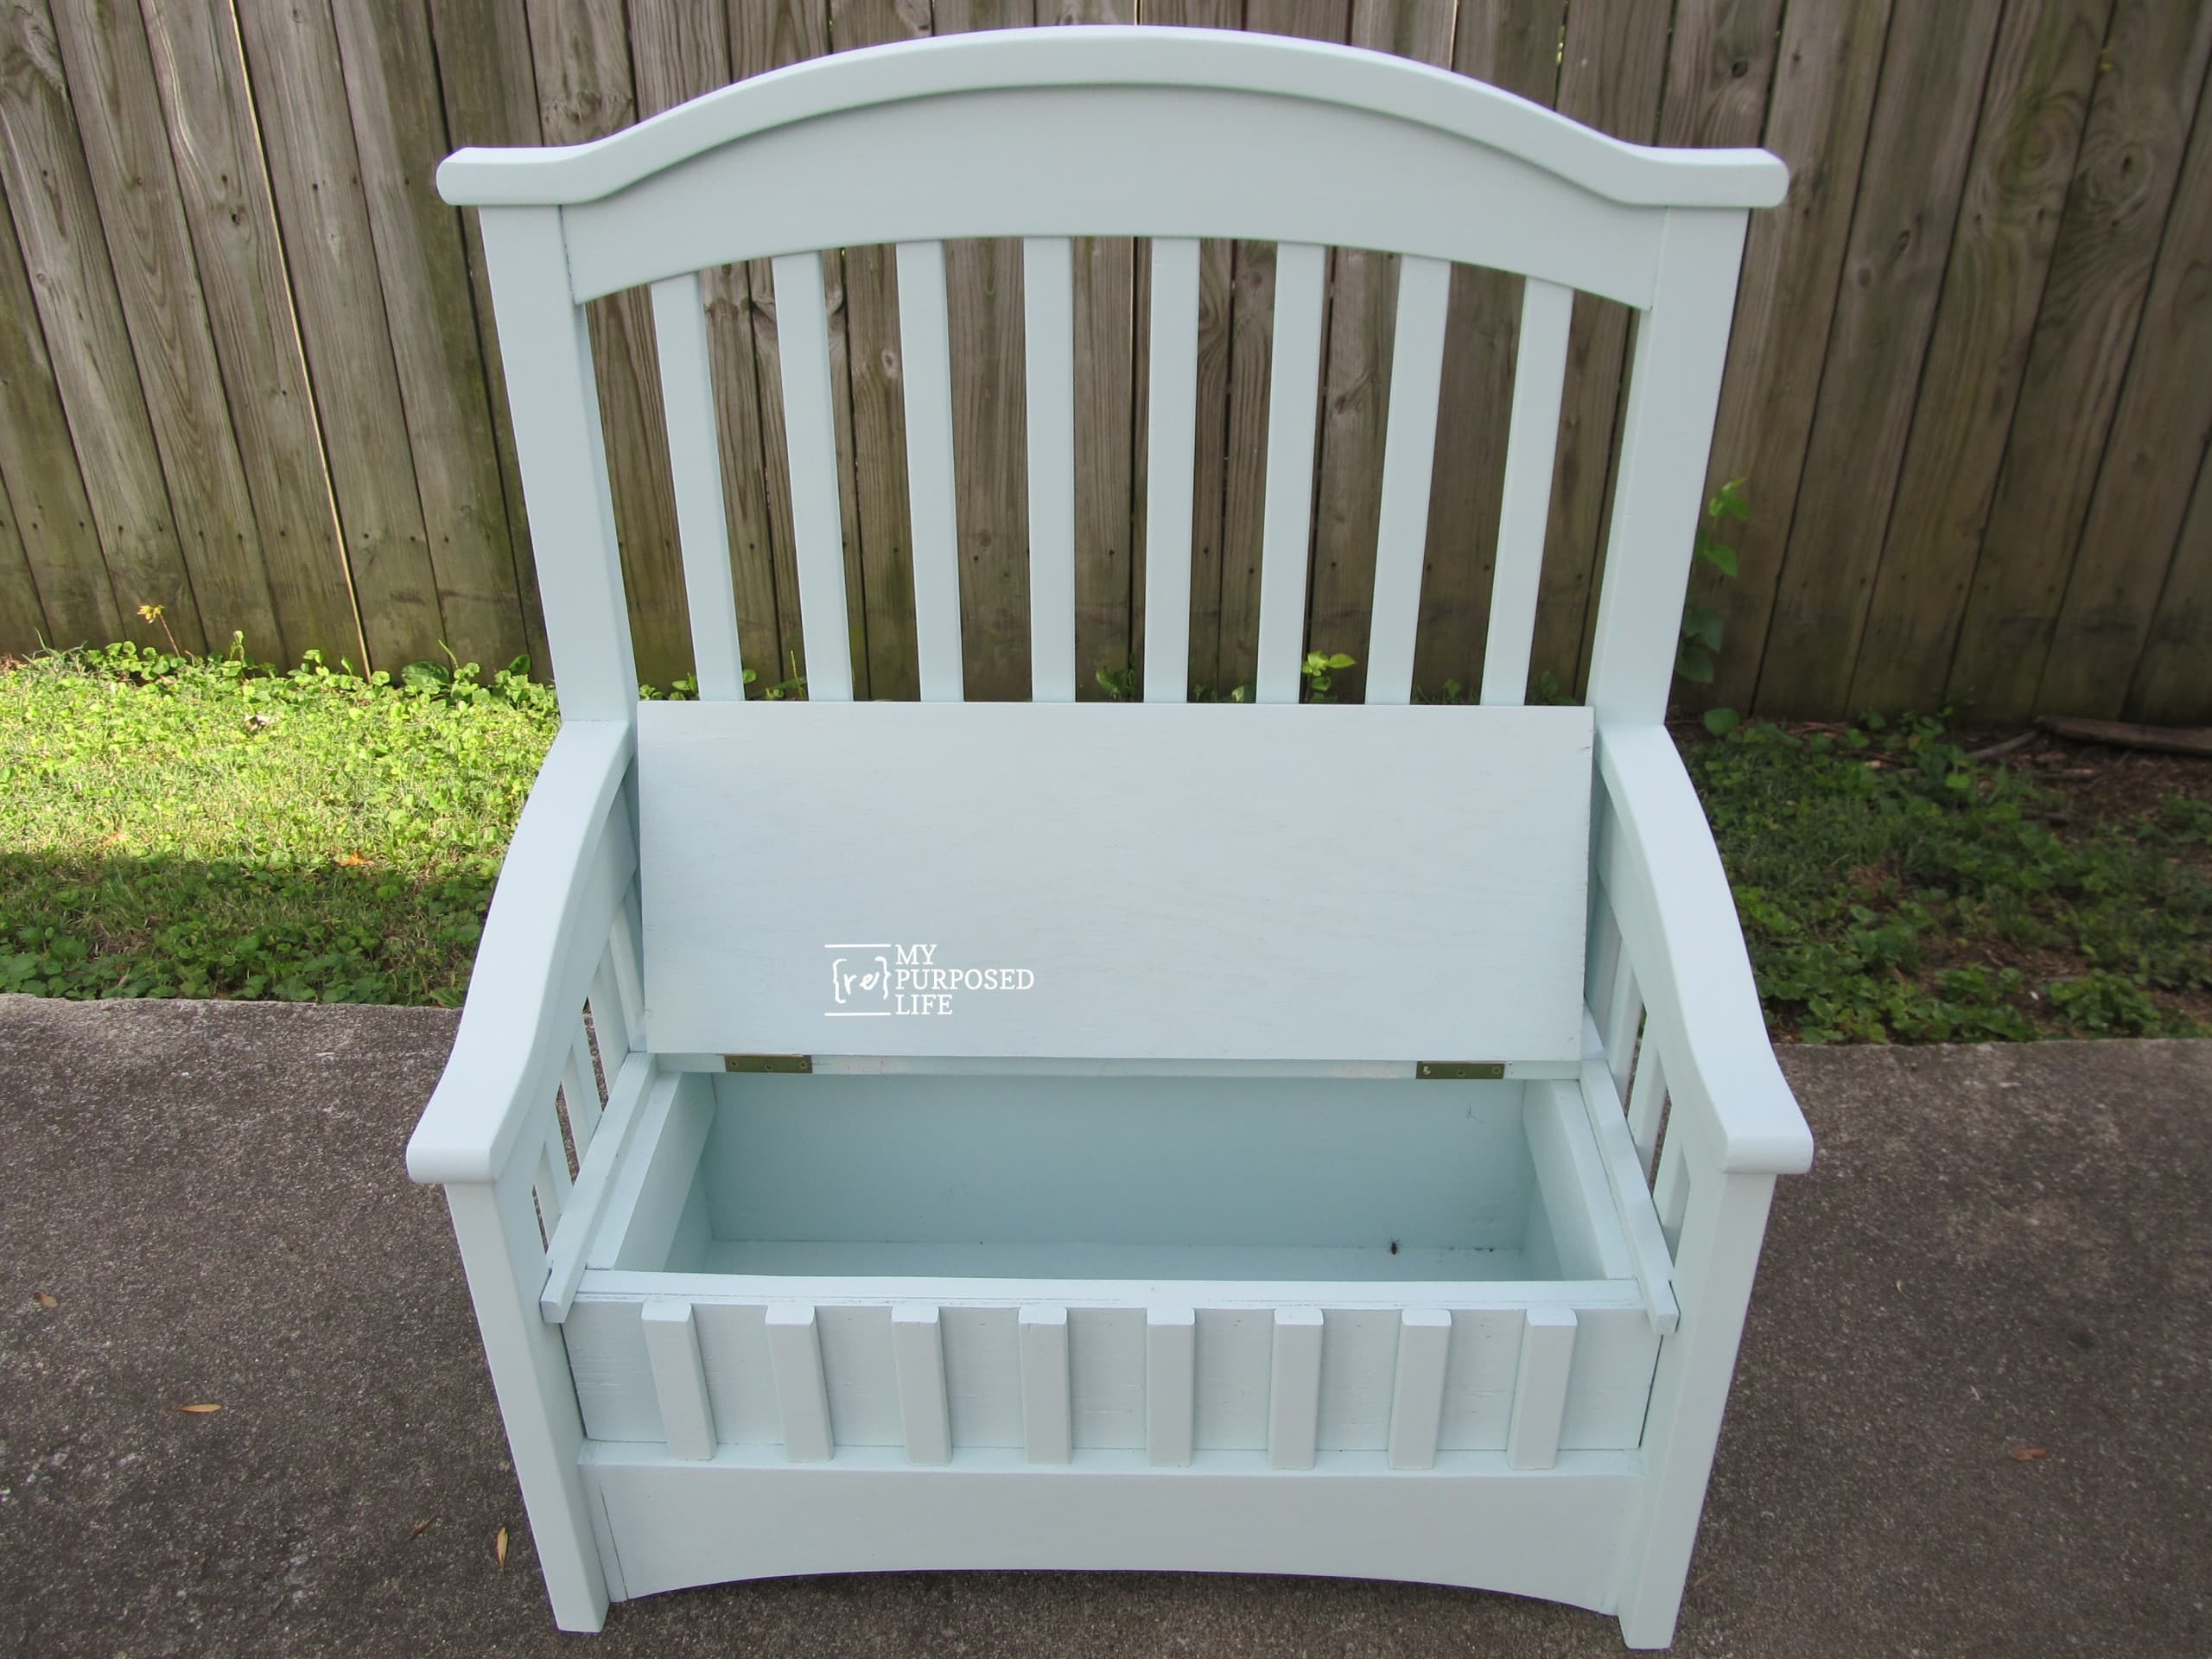
Of course, I had to put the hinges on and off several times to get them perfect. I always struggle with hinges!
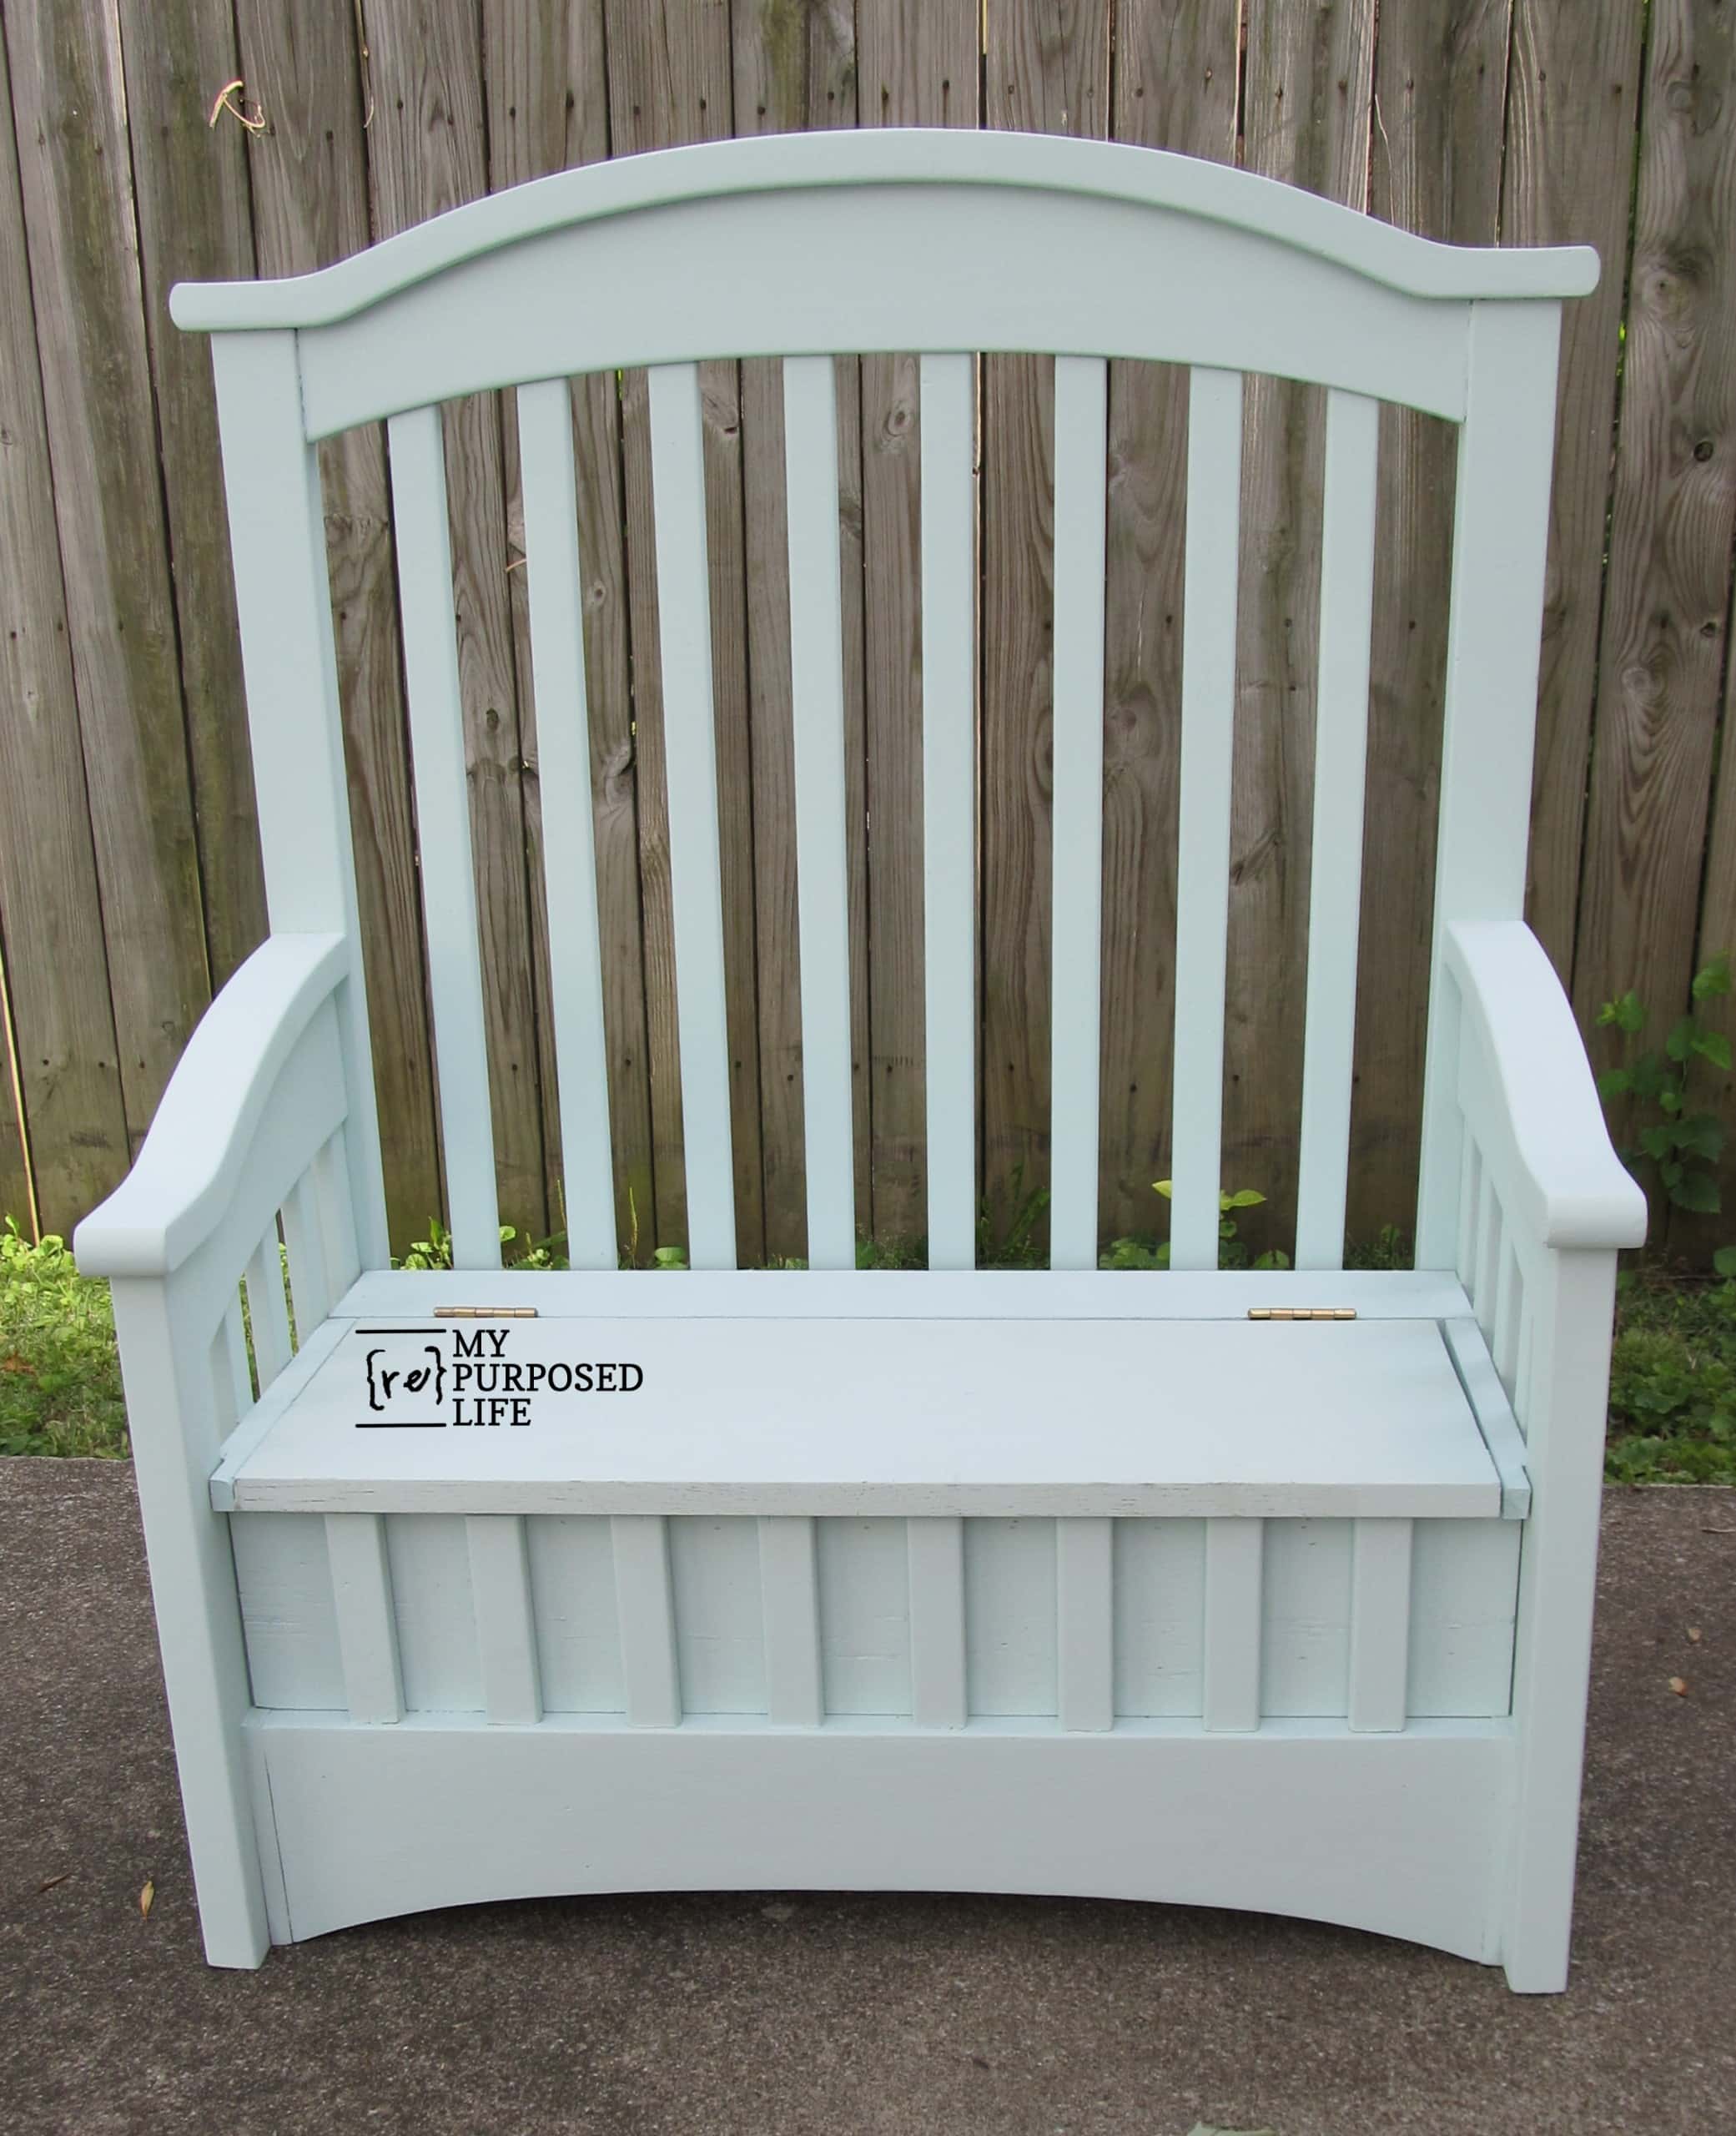
This is my first bench with storage. It is really sturdy; it holds me just fine.
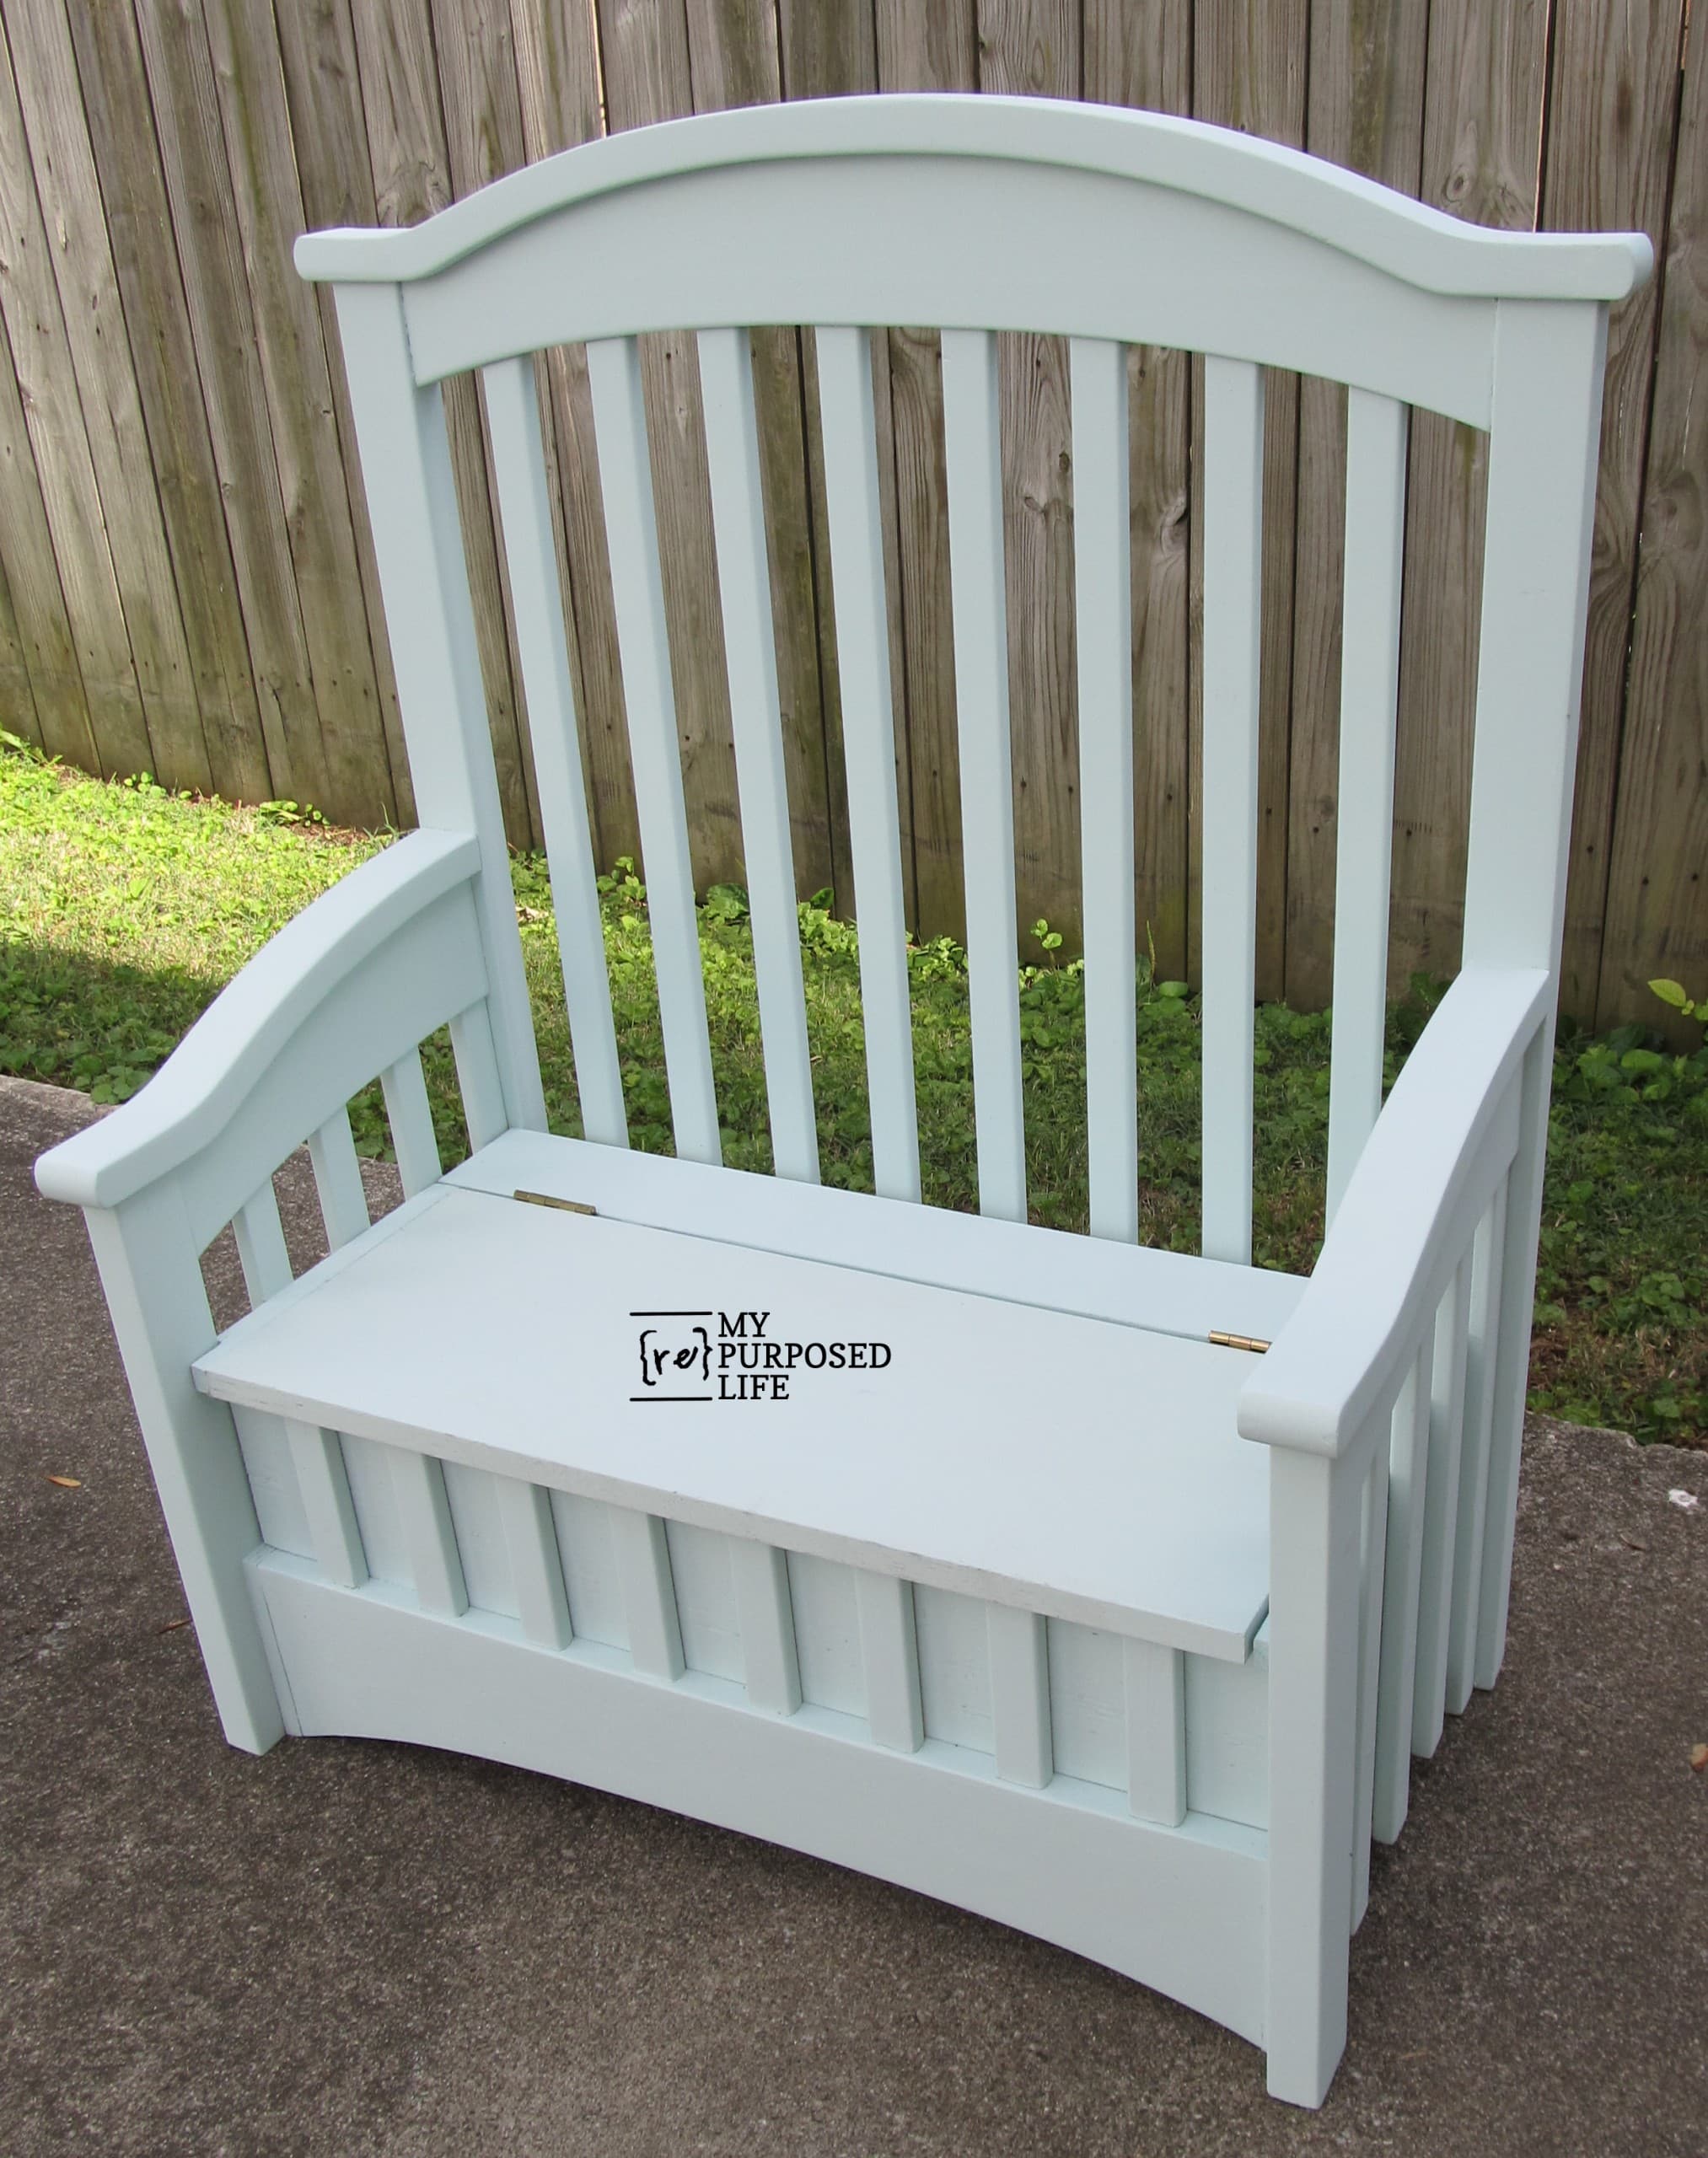
You could personalize this project for your child’s preferences.
This really was a fun project to build! Are you inspired? Do you have an old crib lying around? What are you waiting for? Get busy!
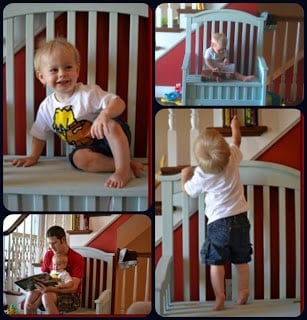
I gave it to this little guy for his birthday. Do you think he loves it?
Check out more crib projects here.

Gail!
You have the coolest Toys! that is why you can come up with this cool toybox!
I say it is cool…like oh.wow. there is Gail again doing something great. (in a droning voice)
but what I mean is COOL!!!! AWESOME!!! … YOU SHOCK ME EV.ER.Y. SINGLE. TIME!
do wonders never cease? Pat
This is so fun, cute and functional! Girl, I think you can build just about anything! You are amazing!
I love, love,love this one….that is not only cute but its usable. Nice job.
Pinned this one Gail – so awesome and I have two cribs in our garage right now 🙂
Wow you really have inspired me with this one. I LOVE IT! I feel like all I’ve been doing is painting lately I need to build something!! Thanks for the inspiration!
Abso-freakin-lutely fabulous, Gail!
Not unlike the ol coffee pot lamp (was that you?) This will go viral, I’m sure. not to mention all the magazine and diy programs are gonna be knocking down your door! You really did hit it outta the ballpark with this one! Kudos! Now, I have 2 cribs in my shed just waiting for this to happen to them…(really, this is just what I want to do with them!)
I have an old crib! I just don’t have your talent. That looks so amazing!!
I just pinned this…..you are so great…seriously. 🙂 I follow you but don’t think I have ever commented but I just had too…..this is really amazing! I think me and my hubby are going to attempt it. You gave such a great tutorial that without….we would never attempt it. If we do build it and want to sell it, what would you sell it for???? Thanks for all the inspiration!!
Great work. I loved the tutorial. I think it turned out so great.
Honestly, this is just one of the smartest things I’ve ever seen!
As you already know… ABSOLUTELY GORGEOUS! You hit the nail on the head for this project.
I pinned it… this one will go global!
What font did you use on the first / last picture?
Oh My Goodness Gail! How AWESOME is that bench? I SO LOVE IT!!!!!
You did a wonderful job. And yes you are an inspiration! I always have these big dreams then chicken out when it comes to building a project. One of these days I’m going to just dive in and build something, Lol! My sister called me last weekend and asked if I wanted 2 cribs. Her Daughter’s Mother-in-law owns a Day Care and she was going to throw them out. I said heck yeah! I have no way of hauling them so I am PATIENTLY waiting for my sister to deliver them. Enjoy your day my friend! Keep on Building!!
sandraallen260@centurytel.net