Repurposed Crib Rail Menu Board
As an Amazon Associate, I earn from qualifying purchases.
This repurposed crib rail menu board project is a sponsored post through my friends at Homeright. Some may say I’m a hoarder of cribs and beds, but I like to think of myself as more of a collector. I have a lot more sets of crib rails than I do of the crib end pieces. I’ve made lots of projects out of cribs and parts of cribs.
*this post contains affiliate links, read more here*
So, because I have a lot of rails, I decided that my next easy project should use up one of those. I’ll tell you how I built this project, please visit Homeright DIY to see how easy it was to use my Super Finish Max to paint it.
How to make a menu board from a crib rail
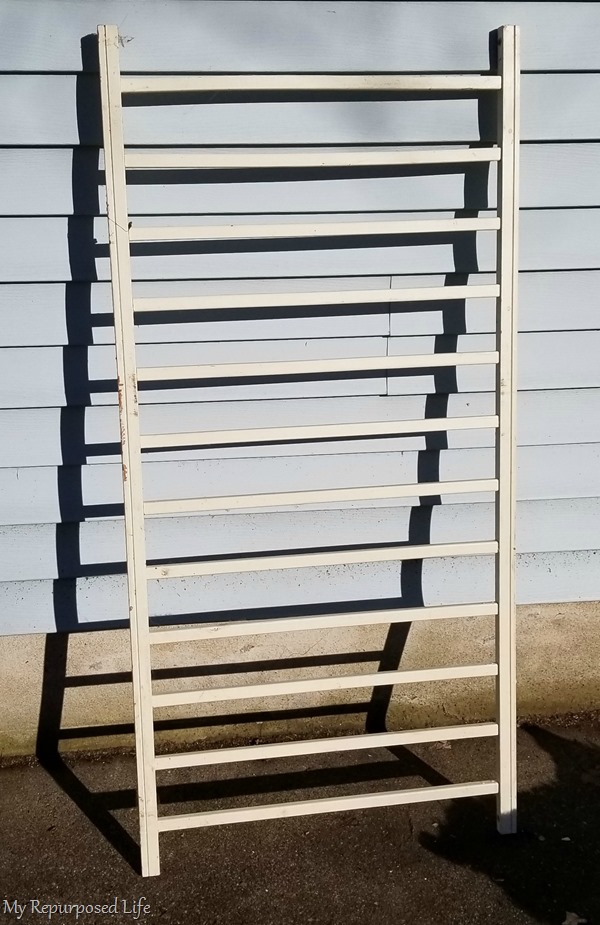
This crib rail was in the very back of my storage garage in the “crib department”. I liked the clean lines of the rails. It seemed like it was better than one of the crib rails with spindles.
Cut Crib Rail with Saw
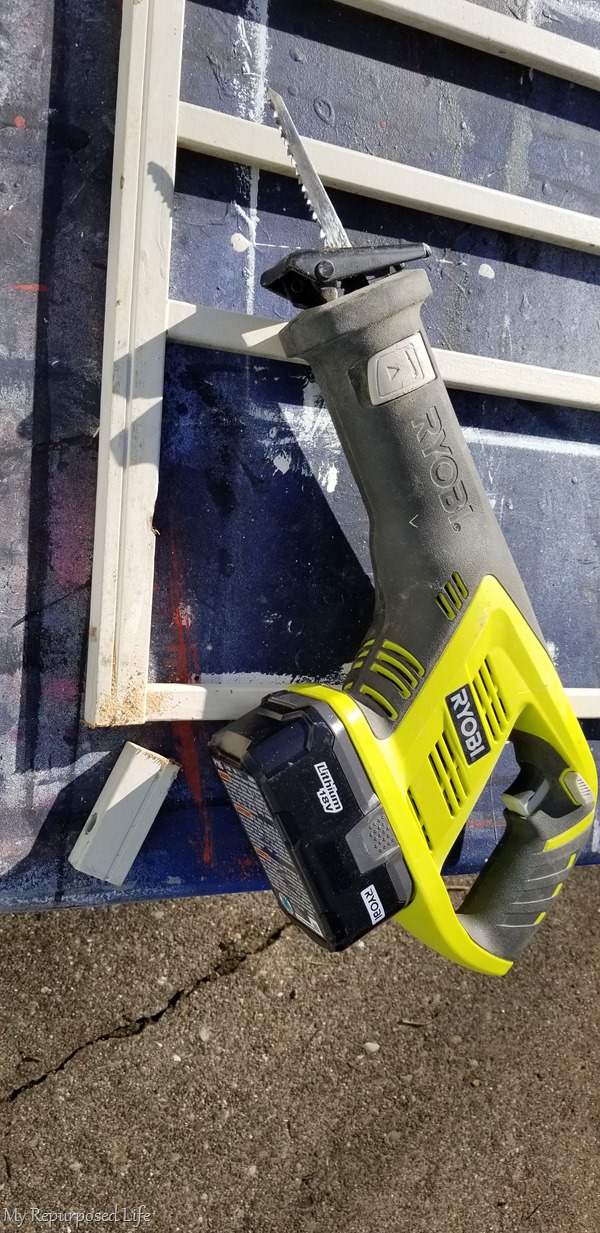
I used my battery operating reciprocating saw to cut the slats and the endcaps of the crib rail. To make the menu chalkboard I wanted there to be 7 slatted areas. I was really happy when that worked out perfectly—leaving a large chalkboard at the top and the bottom!
You could use a jigsaw, circular saw, or even a handsaw.
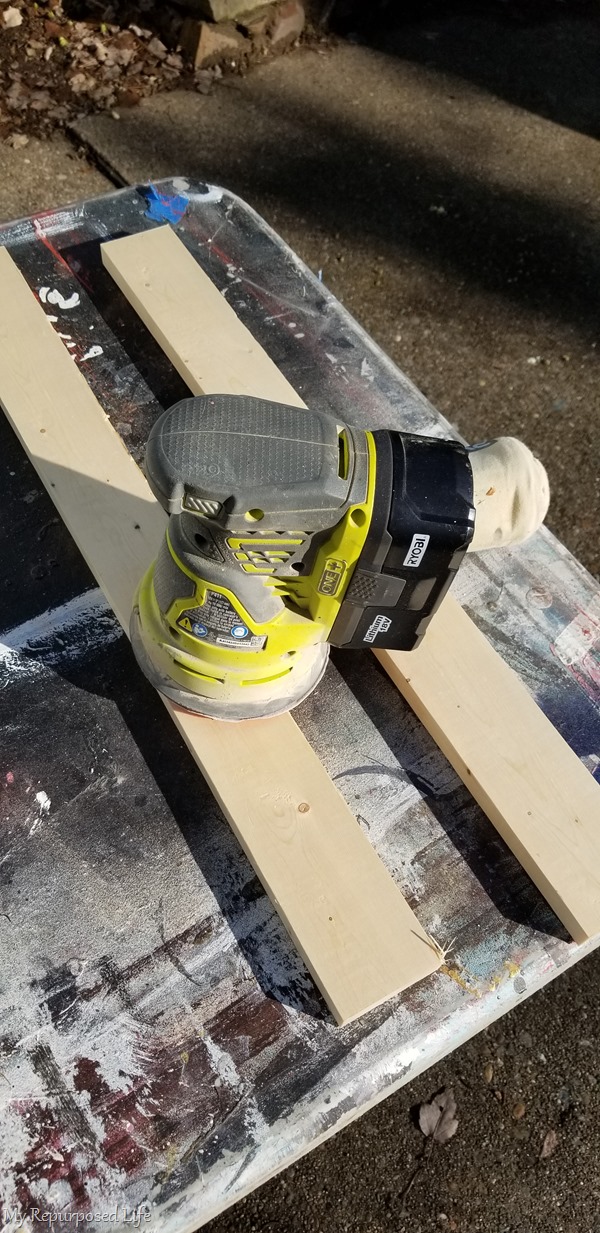
Some 1×4’s were cut to size, leaving about 3/4” overhang on each side of the crib rail. I ran my orbital sander over the boards to smooth them.
Mark shelf board for placement
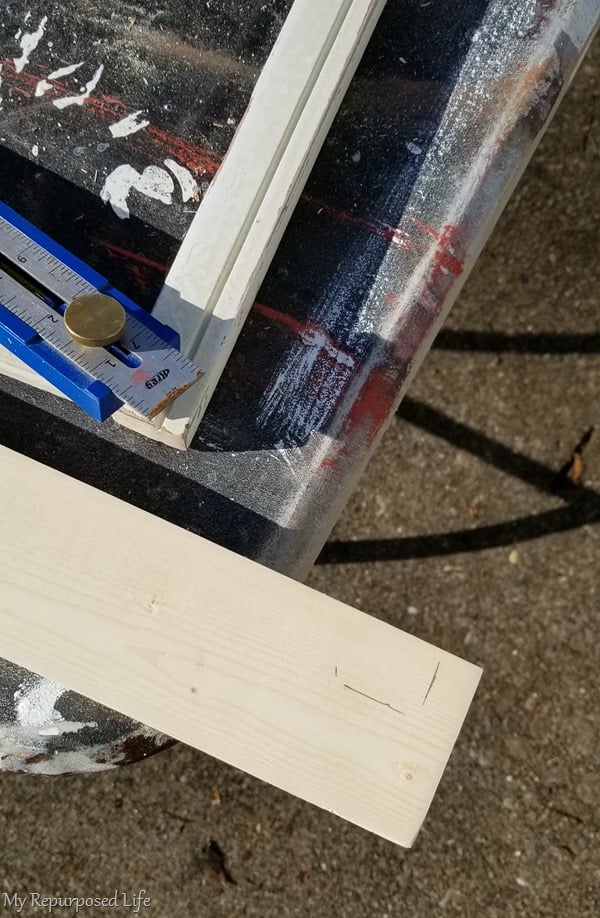 Using the Kreg Multi Mark Tool insures even placement of your board. I marked the board so I could drill a pilot hole inside the area I marked.
Attach top shelf and bottom rail
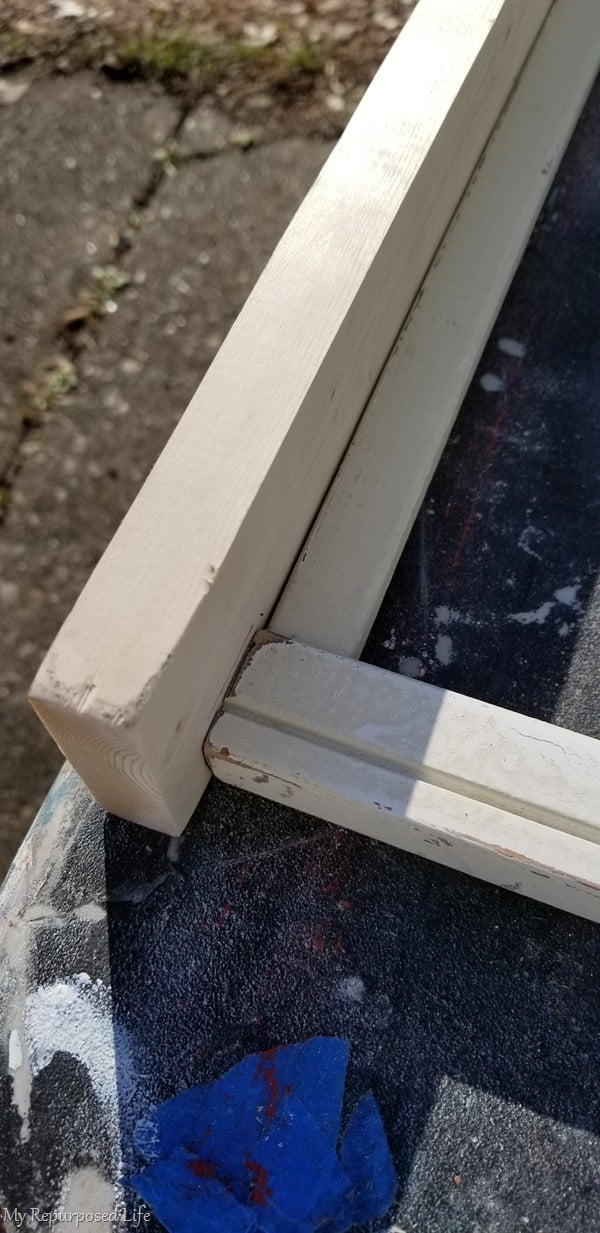 Pre-marking the placement and drilling the pilot hole assures me that the wood screws would not split the side of the crib rail. I used 2” screws on each side, and shorter 1 1/4” screws into the top and bottom slat. (not shown)
Repurposed Crib Rail
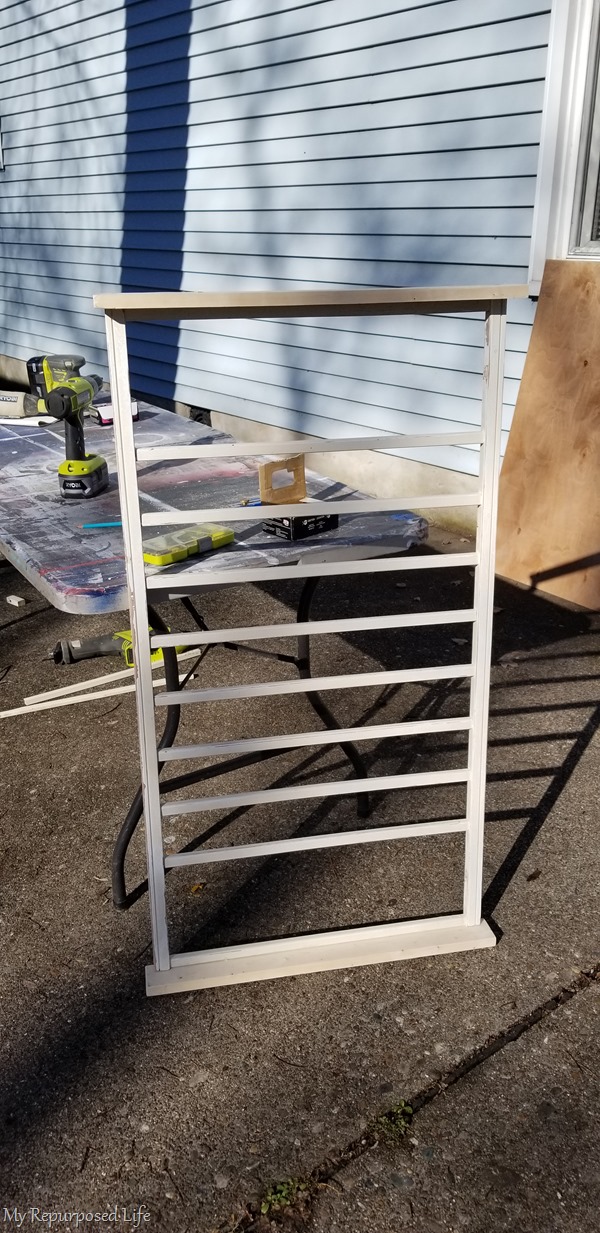
In this image you can see where I removed two slats—one at the top and one at the bottom. That will be two larger chalkboard sections. Having the top shelf and the bottom rail out of the 1×4’s frames out the project nicely.
Note the thin plywood in the background. I had nearly the perfect piece, only have to take a little off one end. In the end, I actually ended up cutting to fit the crib rails. Had I taken in account the extra length with the shelf boards, I probably wouldn’t have had to trim it at all.
Please be sure to visit Homeright DIY for the complete painting details, including how to paint the plywood with chalkboard paint.

Attach and paint backer board (chalkboard)
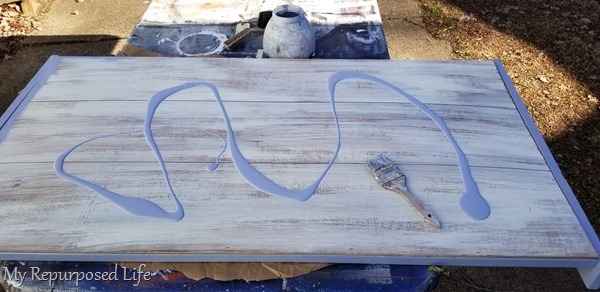
The thin plywood was a scrap from the faux whitewashed floor (Photo Backdrop). I hadn’t been using it, so I pieced it out. The leftover paint from the Finish Max cup was used applying it with a chip brush. I attached the backer board with my Ryobi Staple Gun.
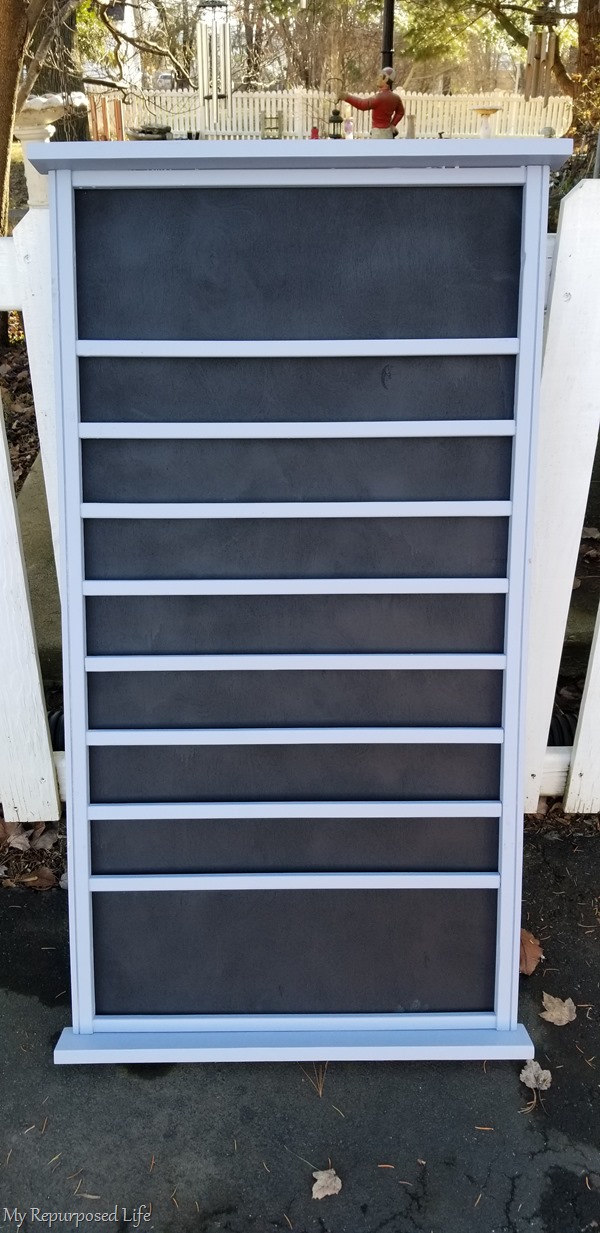
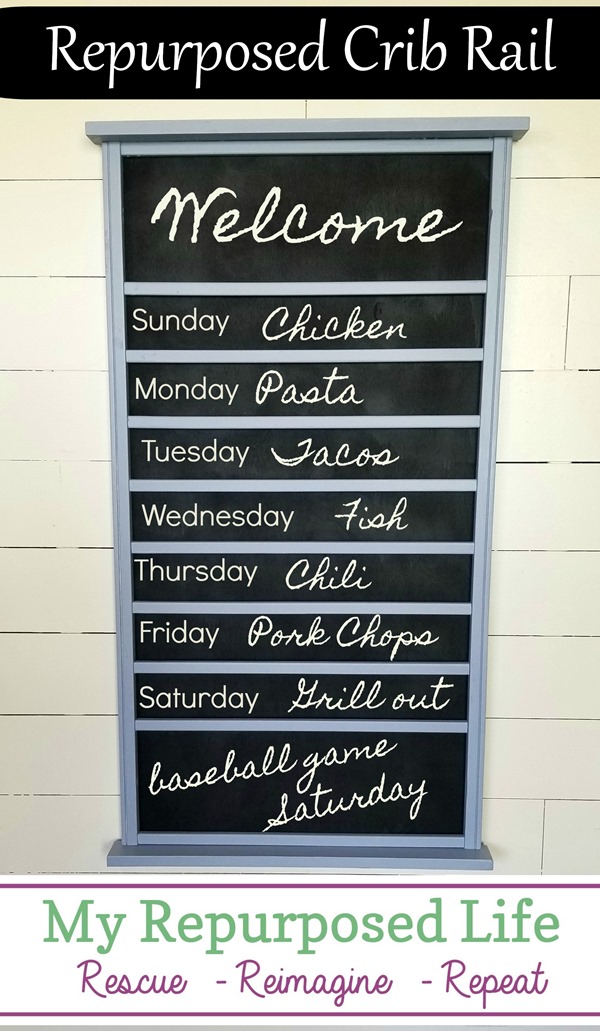
I really love how the repurposed crib rail menu board looks with the top shelf and bottom shelf board. Did I mention I worked on this in early January? I was chasing the sun, as it was really cold in the shade.
Repurposed Crib Rail Menu Chalkboard
My friend Kim has put together a really good roundup of Repurposed Crib Projects, you should check them out! Don’t forget to see how I painted the crib rails and chalkboard over on the Homeright DIY Blog.
gail


great project! welcome back!