Repurposed Cupboard Door Shelf
As an Amazon Associate, I earn from qualifying purchases.

Yay! Fun stuff, especially because I had everything on hand to build this. I must say I am very pleased with the end result.
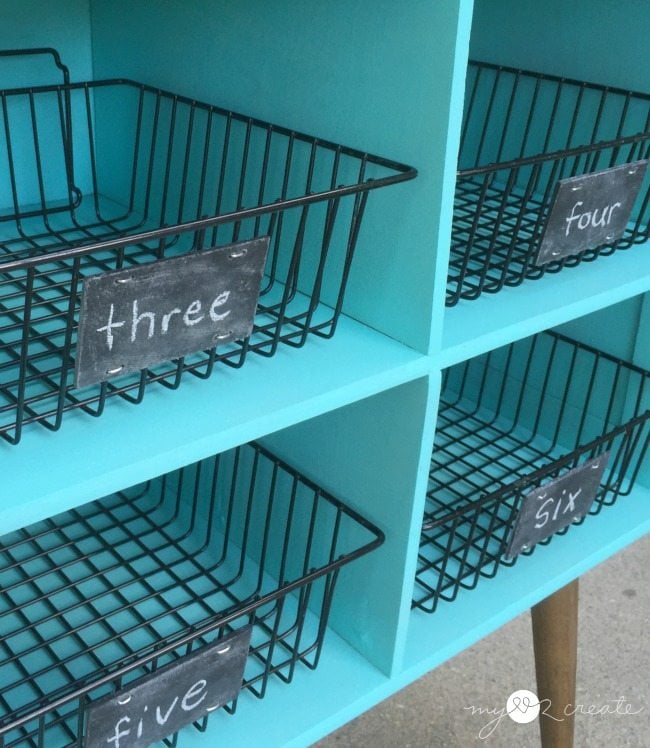
Besides…chalkboard labels people! Is it ridiculous to love something so much?
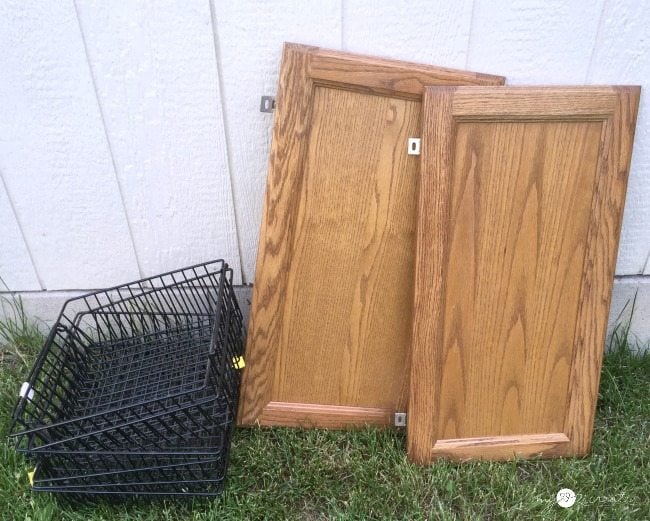
It started with these free repurposed cupboard doors and six wire baskets I got at the Restore for $1 each. I didn’t really need these baskets when I picked them up. But I couldn’t resist with that price, can you blame me? Now I am happy I did, I finally found the perfect use for them.
Design Stage
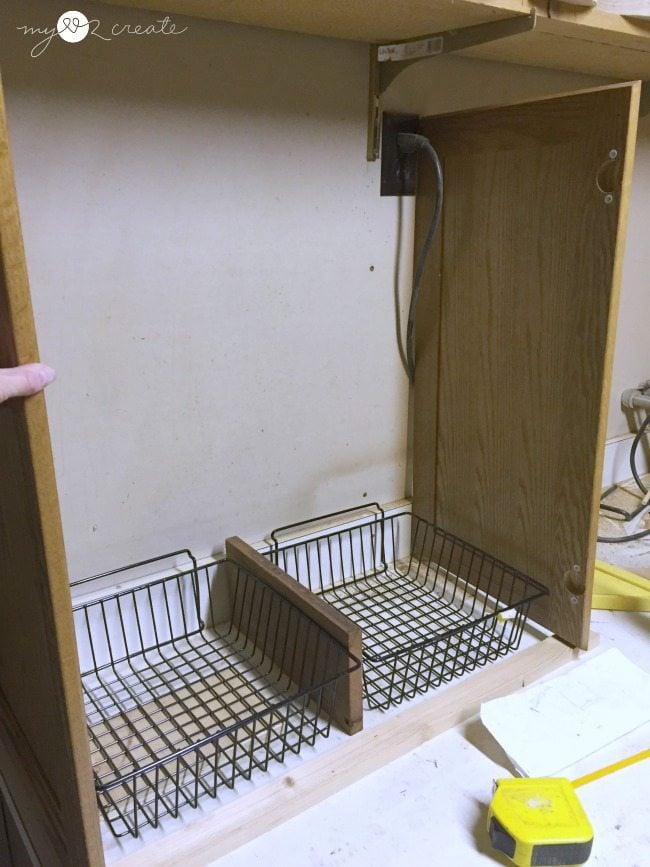
I started by using the wire baskets and some scrap pieces of wood to determine how wide to make my shelves. Then once I figured the right length I did some serious digging/lifting/shifting of my hoard wood and found some 1/2 plywood to use for my shelves. Phew!
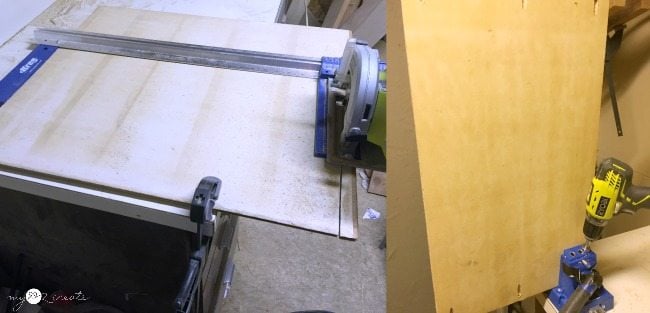
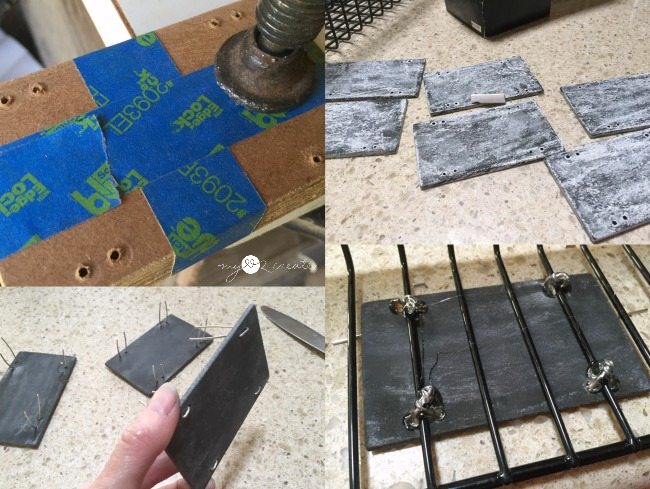
I used my Kreg Rip Cut to cut it to size. Then drilled 1/2 pocket holes with my Kreg Jig K5.
Pocket hole construction
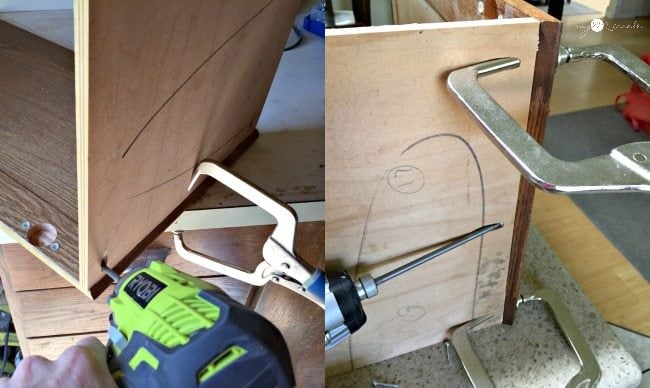
I love using my Kreg Right Angle Clamps! They helped hold things together so I could attach the very bottom shelf to the cupboard door with my 1” pocket hole screws and glue. In the second photo you can see I moved to my kitchen to attach the other cupboard door. My shed is so small and I don’t really have a good work table…so my kitchen counter gets the big building jobs. I REALLY need to build a workbench!
Need more details on using a Kreg Jig? See my article How to use a Kreg Jig Pocket Hole System
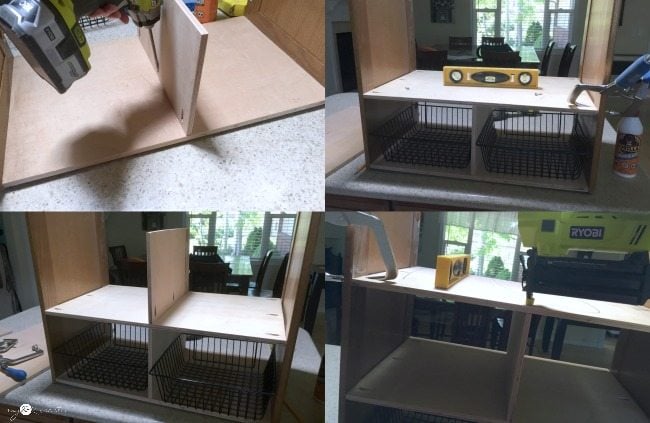
Next up I attached my divider piece with glue and pocket hole screws (top left). I made sure my baskets fit, then added the second shelf (top right). I only drilled pocket holes into the bottom of my divider pieces. Then I nailed through the shelf into the divider to secure the top (bottom right).
Continue building with plywood
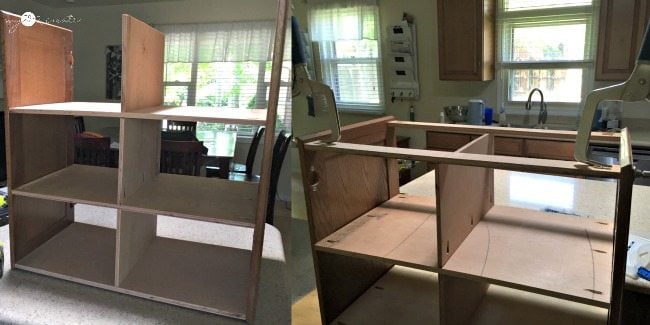
Here is a shot of me adding the top support pieces. I cut my dividers boards a little too short, which left a half inch gap from the top divider to the top of the cupboard doors. To fix it, I just glued and nailed on another 1/2 strip of plywood over the top support pieces (not pictured).
Add brackets for legs
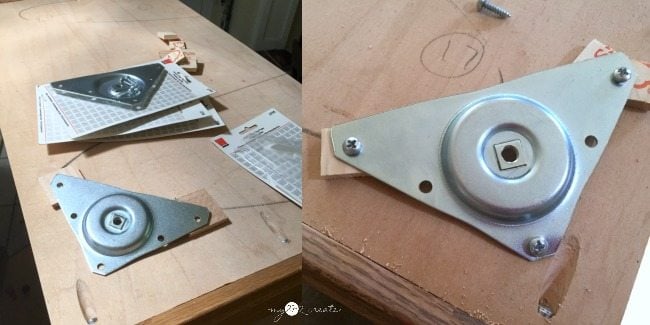
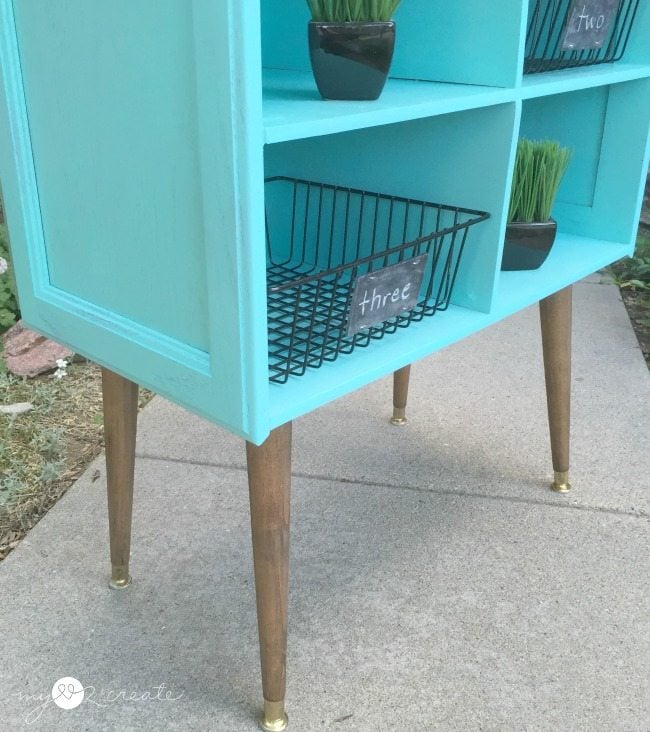
I had some awesome retro legs and mounting plates just waiting for a project so I grabbed them and attached them to the bottom of my shelf. I wanted a slight tilt to my legs and since these plates were not the “tilting” kind I rigged them with some paint stick scraps, lifting up the inside edges. Just like I did on my corner cabinet planter.
Configure boards for top
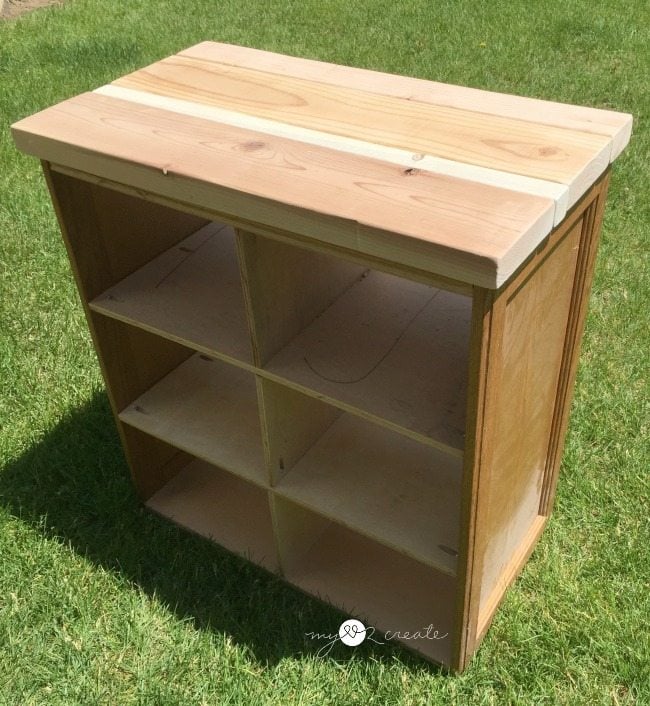
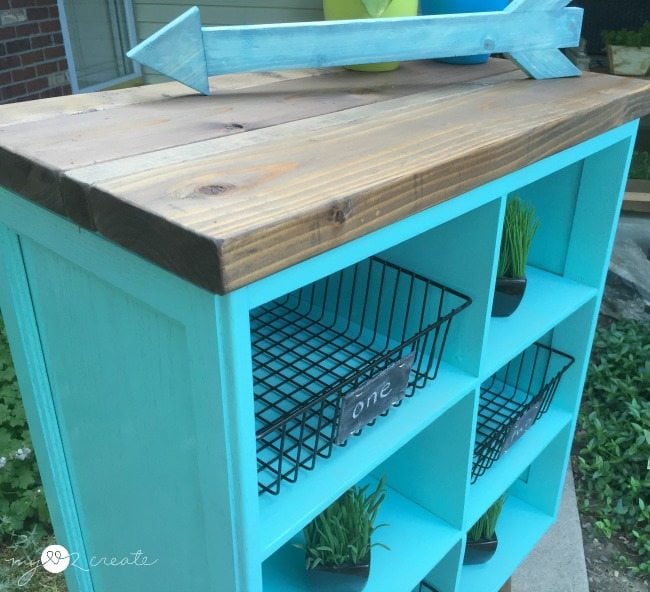
I took my cupboard door shelf outside so I could figure out what to use for a top. I finally found some boards that worked, I ended up with two 2×6’s, one 2×4 (that I ripped down to 3”), and one 2×2. All totally random boards, with different colors, but I was good with it, it will give the top some character. 😉
Prep for staining
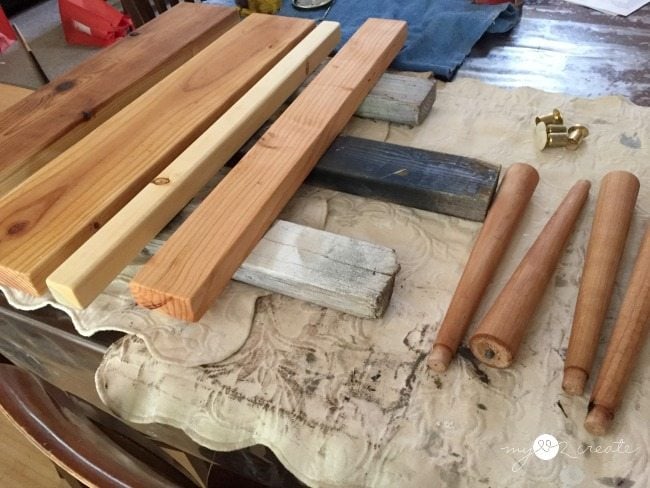
Here is a shot of the legs and my top boards, I pre-conditioned them to prep them for staining. Then I stained them with the same mix that I used on my Shoe Cubby Dresser. Oh, and you can see I popped off the feet on the legs so I didn’t have to tape them while I stained.
Prepare shelf for painting
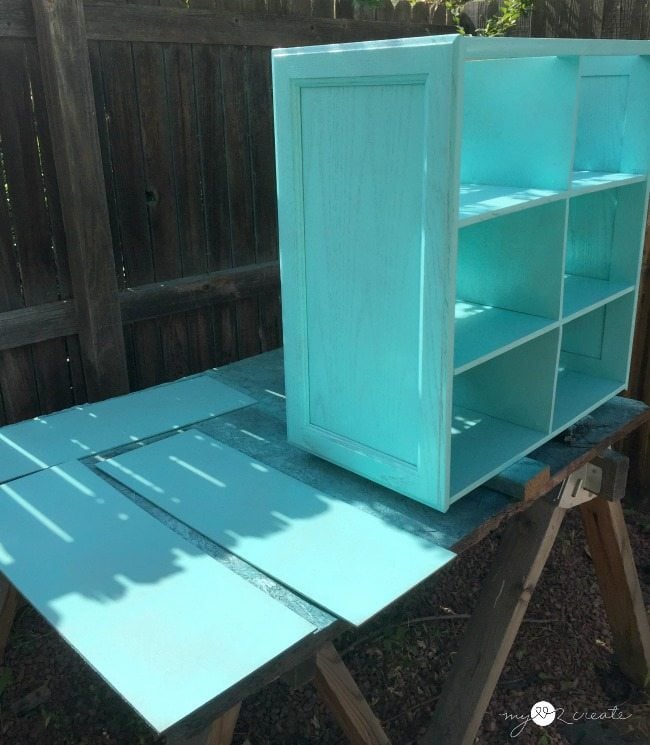
After filling all the holes with spackle and sanding them smooth, after it dried of course, I was ready for paint! I cut some pieces of chipboard for the back, and opted to paint them first before attaching them.
When I made the kids storage bench for my sister in the fall I bought too much spray paint. In fact, I had two full cans left over, and I kept forgetting to return them. The paint is Rustoleum Light Turquoise. Since I still had them, I decided to put them to good use on this project and finished off both cans. Perfect!
Add backer board
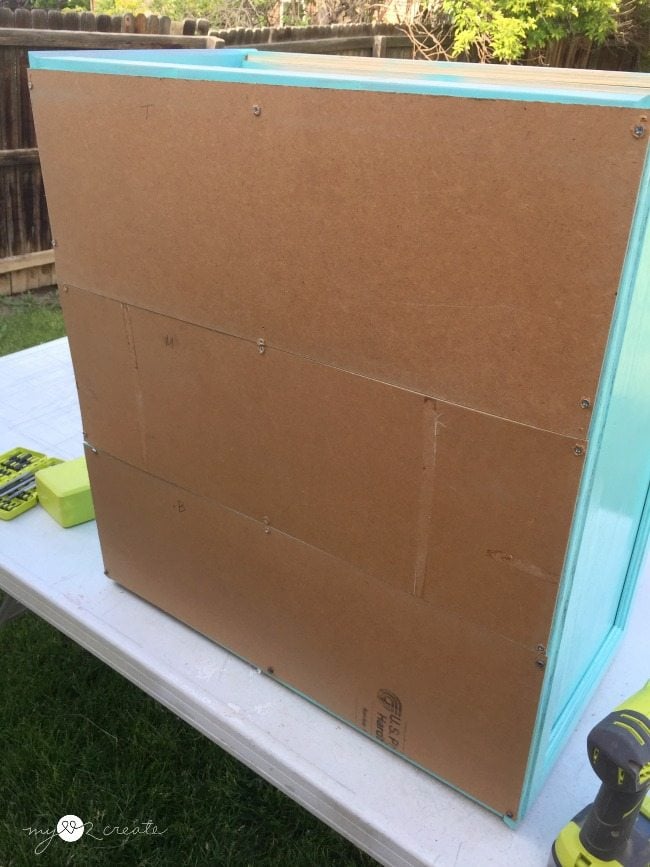
After the paint dried, I added my chipboard pieces to the back, pre drilling and screwing them on. I also attached the top boards with glue and 2” nails (not pictured, nailing into the repurposed cupboard doors and support pieces). To finish, I screwed the legs into the mounting plates. Done! Oh, and I did apply 3 coats of poly to the legs and wood top, sanding with 400 grit between coats 1 and 2.
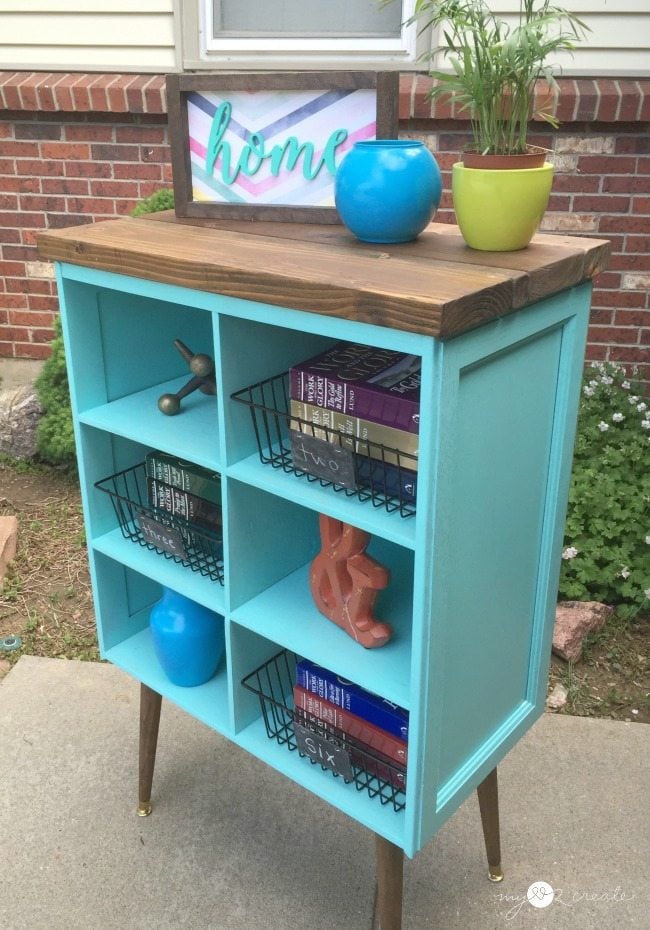
Make chalkboard tags
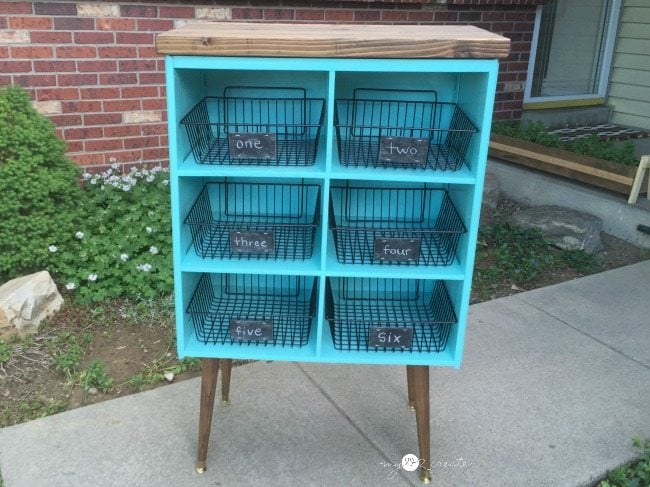
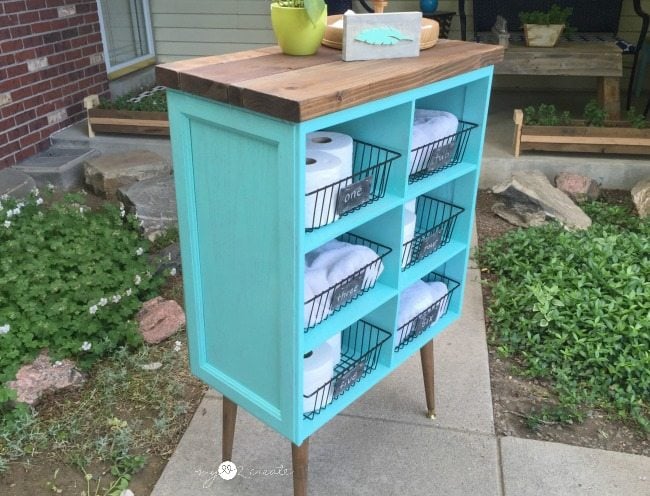
Completed Project Repurposed Cupboard Door Shelf


Hi, Mindi! This is ADORABLE. I have a small request: I run a small nonprofit classroom where we teach repair, refinishing, and repurposing. We are getting ready to have teach a class on upcycled cabinets. May I use your photo as an example? I would of course credit you You can read about our classroom here: https://www.habitatanchorage.org/makeitclassroom
Thank you so much for considering it!
Sarah Burtner
Community Engagement Coordinator
Habitat for Humanity Anchorage
I love this!! It looks wonderfu! I wish I had an eye and crafty hand 😉
What is the turquoise blue color you used
I have updated the post to include the color. It is from Rustoleum, Gloss Protective Enamel, light turquoise.
Rustoleum Light TurquoiseVery nice job I like it