Toddler or Doll Bench
As an Amazon Associate, I earn from qualifying purchases.


 Over the summer I picked up two headboards for $5.00.
 Cutting headboards on the table saw when I’m alone makes me nervous. I have been using my circular saw for these types of projects. I use a scrap board as a guide so I can get a straight cut.
 My readers are very familiar with this Kreg Jig® K4
 . It allows you to drill “pocket holes”. Pocket holes make a really tight joint that rarely needs wood glue. Here I am drilling the holes into the two pieces (left and right) that I cut off the headboard. These pieces will be the armrests for my bench.
 I use a speed square to make sure I have the correct angle.

 This is where things got a little silly. I make a LOT of headboard benches, generally they are much larger. This is the first one I’ve made ON a table. When I went to stand it up, I was surprised that it didn’t have any back legs! It really was the silliest thing. I literally laughed out loud!
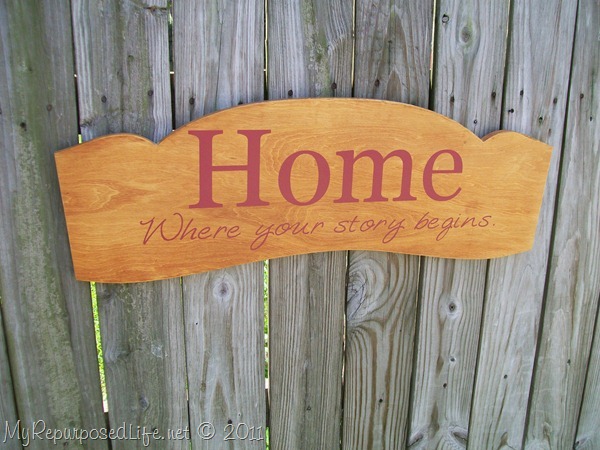
 Do you remember the headboard I showed you above that I turned into the sign? These are the legs I cut off of that headboard. They are a perfect match!
 I used my compound miter saw to cut the back legs to the proper height. Now all I need is a seat!
 I used the Kreg Jig to make some pocket holes in each end of my board. See more Kreg Jig Projects.
 That allowed me to screw the seat right into the sides of the bench. (the pocket holes are on the bottom of the seat) I filled the holes with wood filler and sanded them smooth.

 You can see that I sanded off most of the original paint.
 If you look closely you will see pocket holes on the back and the side right above the seat. Those pocket holes hold the screws that I used to attach the back legs.
 I had some extra spray paint, so I took the easy way out. This bench took almost 2 cans of paint.
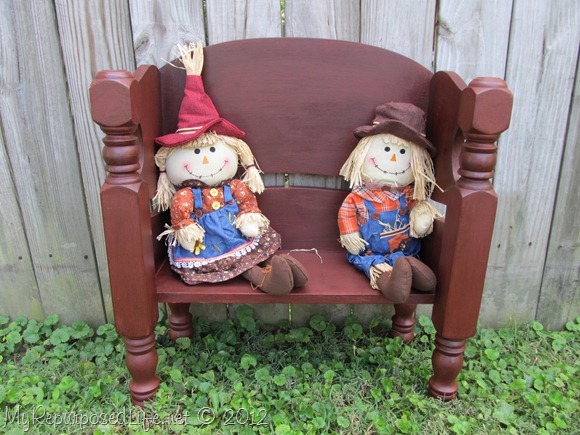
 I think this bench would be perfect for a toddler, and as she grows she could use it for her dolls.
 I, of course don’t have any dolls to stage it, so I used this rabbit my sister made for my daughter Jamie 25 years ago!
 The back of this bench sits a little high. Were I to do it all over again, I believe I would only use the top section of the headboard, then I could use the bottom piece to make another sign from a headboard, like I did with the bottom of the other headboard.
I updated the bench, see the details in my post Take 2 Tuesday Pink Toddler Bench
Pin It
Really special.
Wow, how creative! I remember my dad making little kid-sized furniture for me when I was little. This bench is so pretty! Some little girl is so lucky!