Repurposed Nightstand into Child’s Desk
As an Amazon Associate, I earn from qualifying purchases.
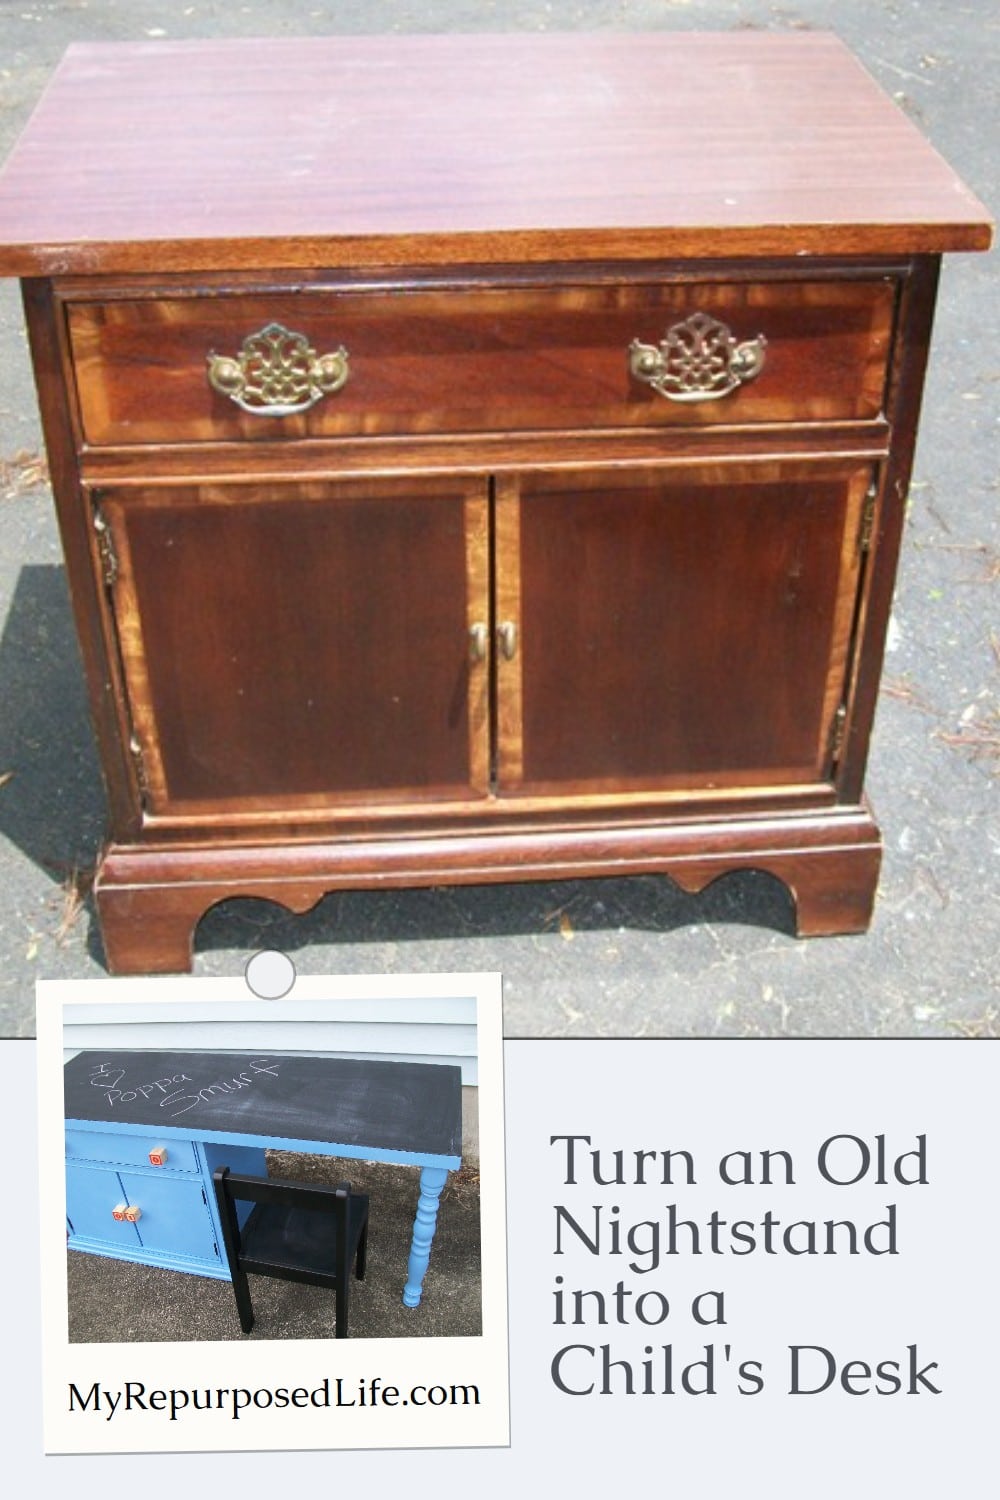
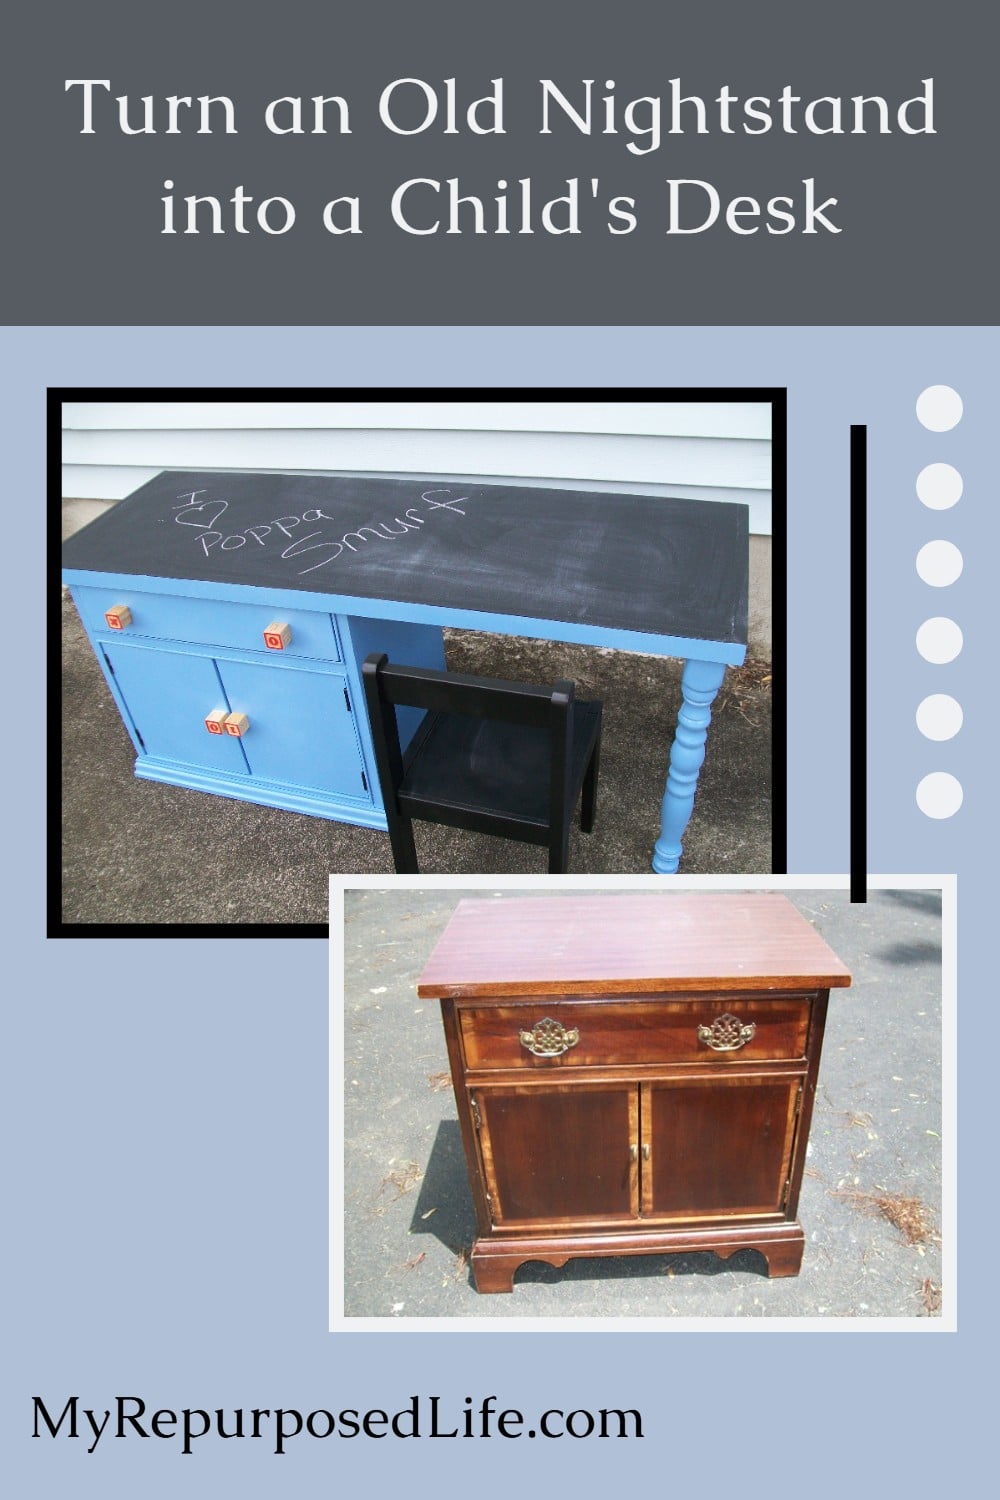
Sometimes the best furniture makeovers start with a “what if?” This outdated nightstand was nothing special until I saw its potential as a sweet little desk for a child. With a few simple modifications and a dash of creativity, it went from forgotten to functional! If you’ve got an old piece hanging around, this easy transformation might just spark your next project.
This is a very heavy picture post! You might want to grab a cup of coffee or your other favorite beverage.
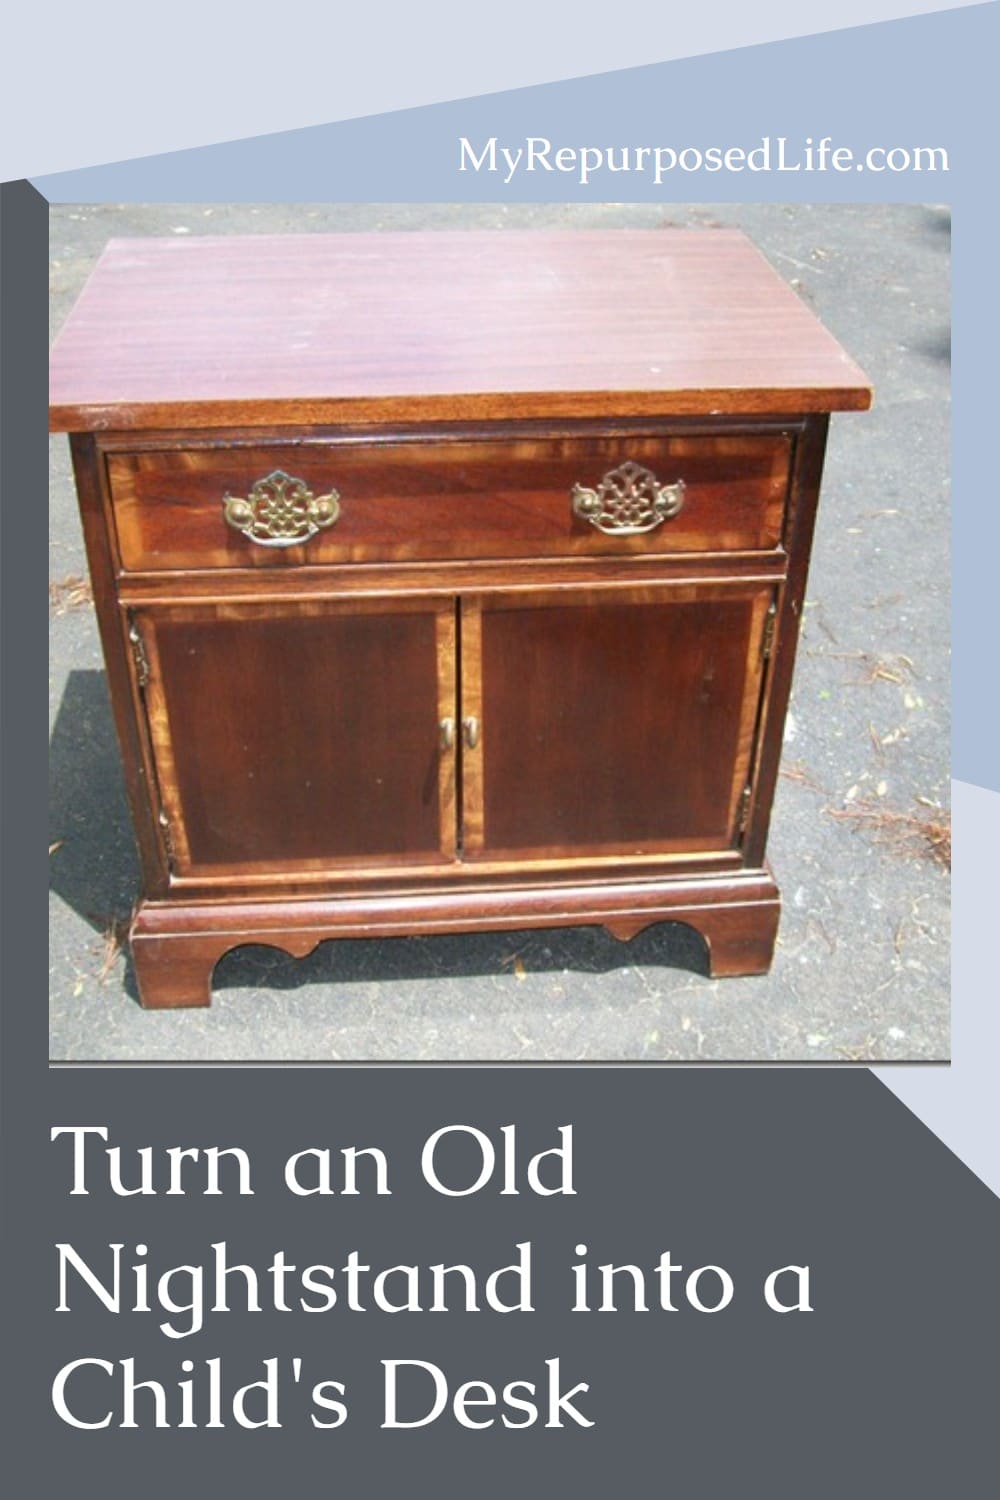
Cheap Yard Sale Nightstand
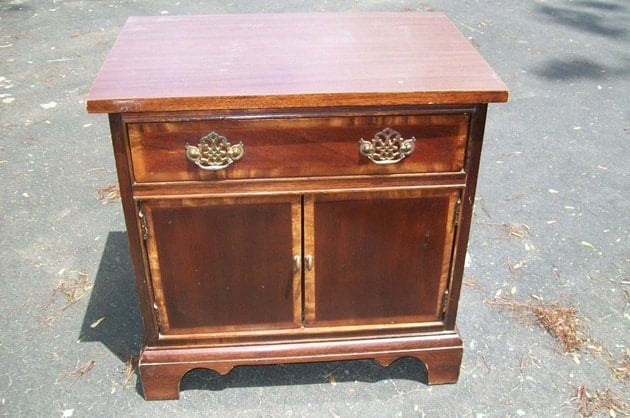
I got this nightstand/side table last year at a yard sale. After a year in my garage, it suffered some water damage. (We had a very wet spring and early summer)
Inspect Furniture to Assess Damage
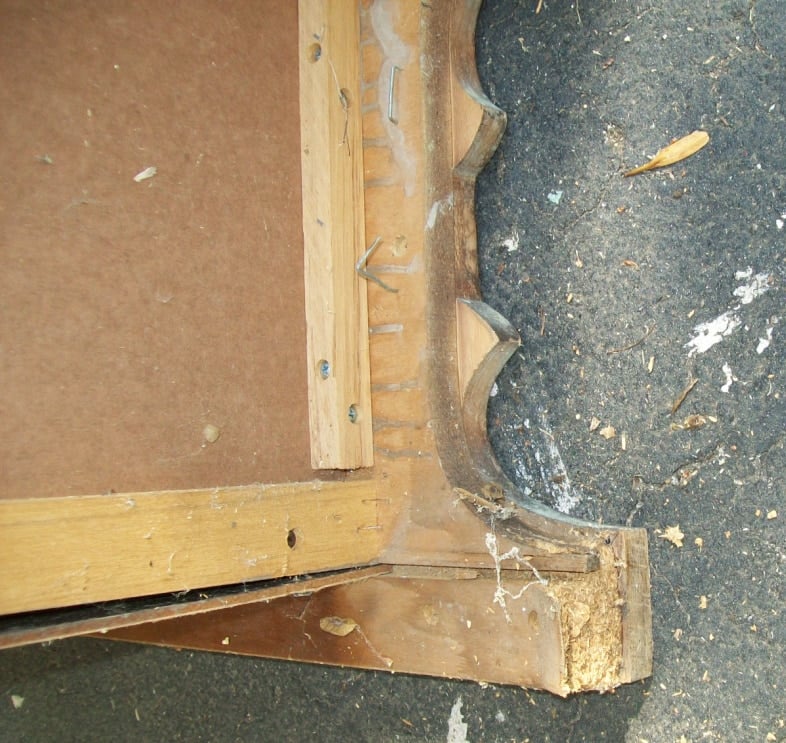
However, I wasn’t going to throw out a table with good bones.
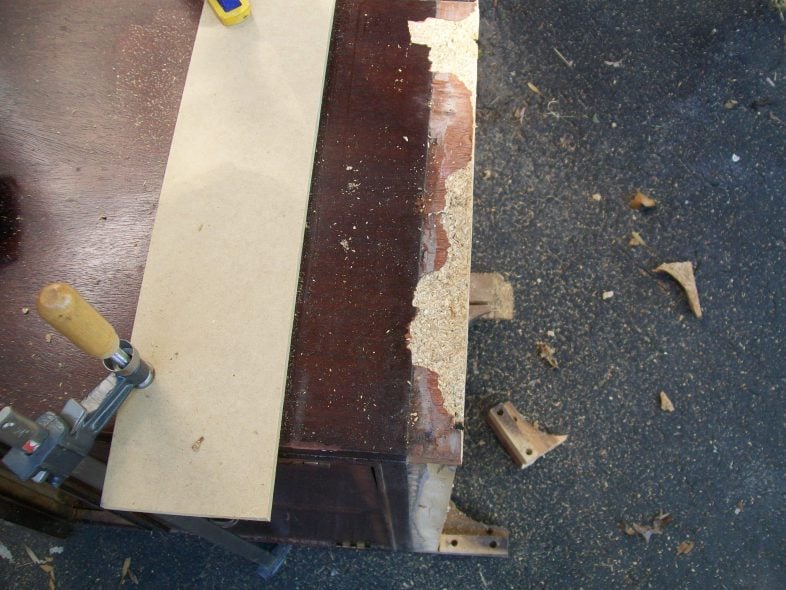
I pried off the bottom trim and used my circular saw to trim off the rotten wood. Clamping a new piece of lumber acts as a guide to ensure a straight line.
Designing a Repurposed Nightstand Desk
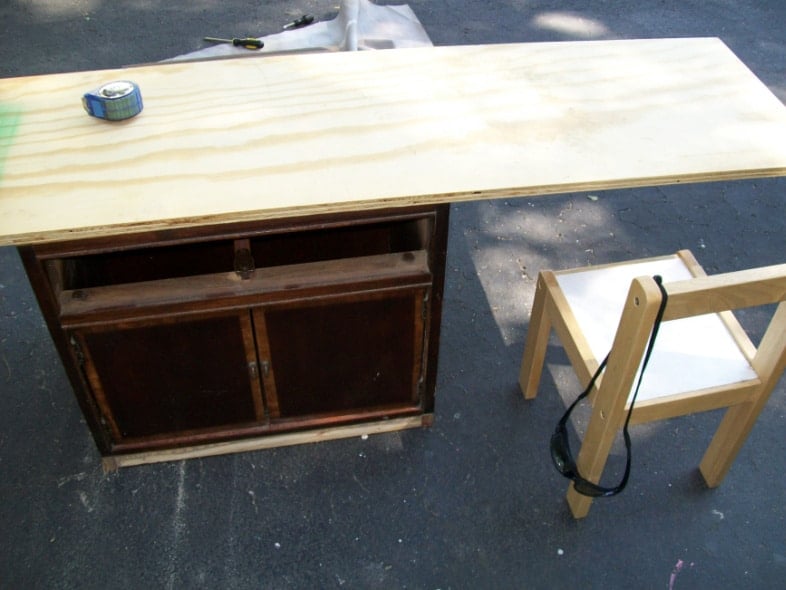
I located a piece of plywood in my stash, and it was nearly the PERFECT size to turn this nightstand into a kid’s desk. Adding a chair to see if it all comes together to suit me.
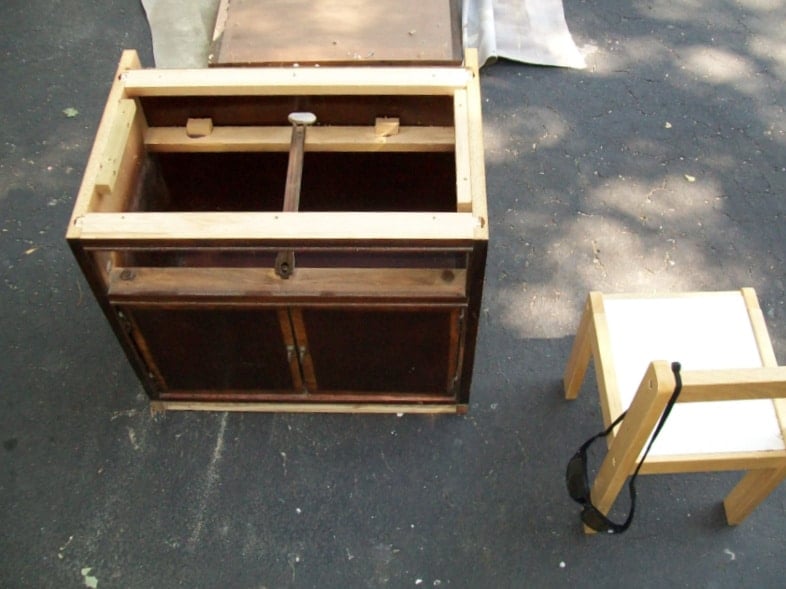
I removed the top from the table by locating the screws that were securing it to the base.
I Have Two Options for the Legs
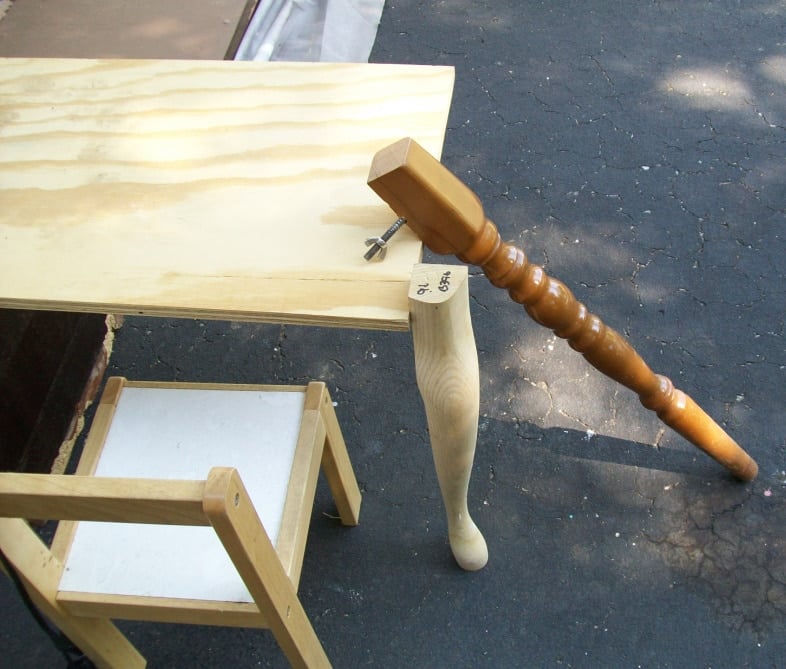
To complete the kids’ repurposed nightstand desk, I needed two legs. I have a couple of options, including a Queen Anne-style leg and a turned kitchen table leg.
Using Plywood is a Frugal Option
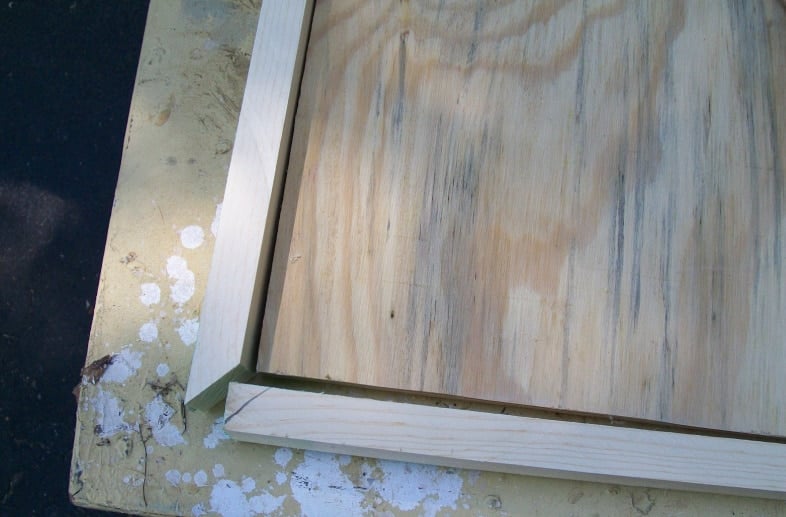
I wanted to frame out the top of the plywood so that you wouldn’t see the raw edges with small pieces of trim. In this photo, I had already cut one on the miter saw.
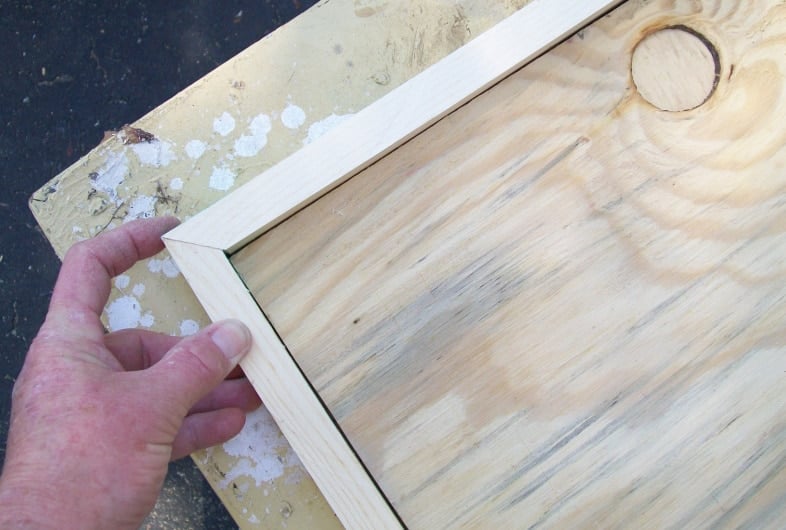
I mitered the corners. This trim will give the repurposed nightstand a more finished look, eliminating the raw edge on the plywood.
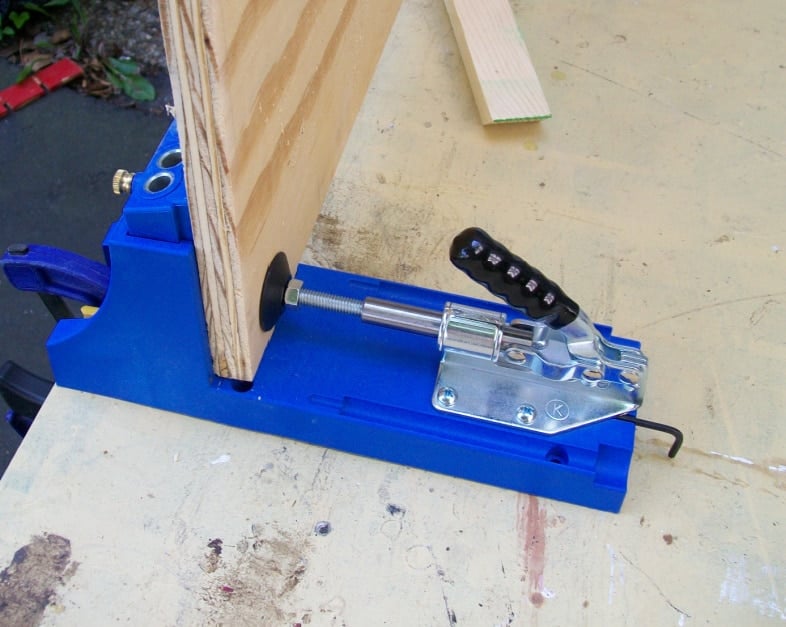
I used my Kreg Jig® K4 to make pocket holes in the plywood, allowing short pocket hole screws to attach the trim to the plywood.
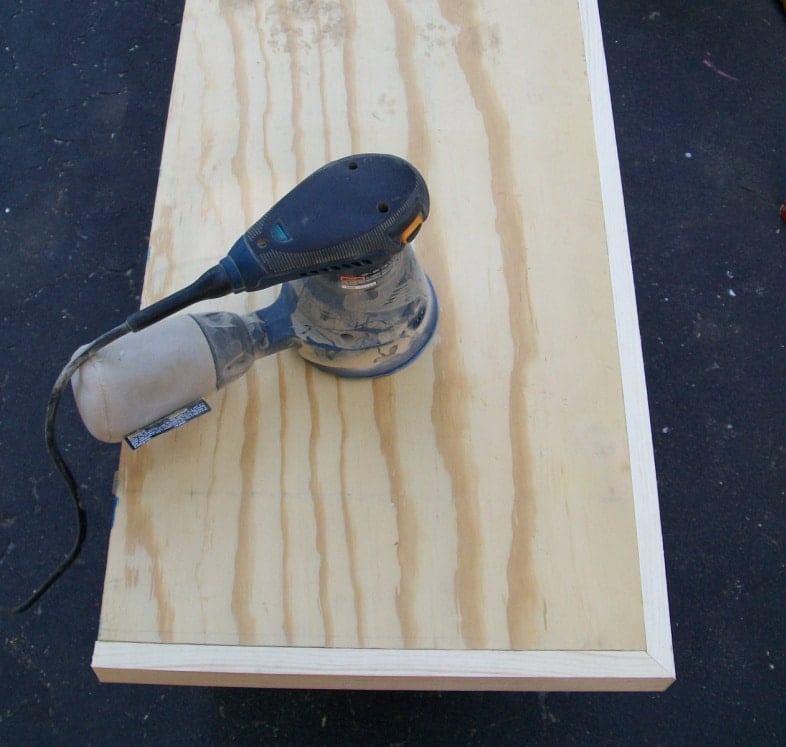
I screwed the facing onto the plywood, then sanded it all down with an orbital sander. Sanding the edges of the trim on both sides and the front will make the joint look flawless.
Repurposed Nightstand Desk in Progress
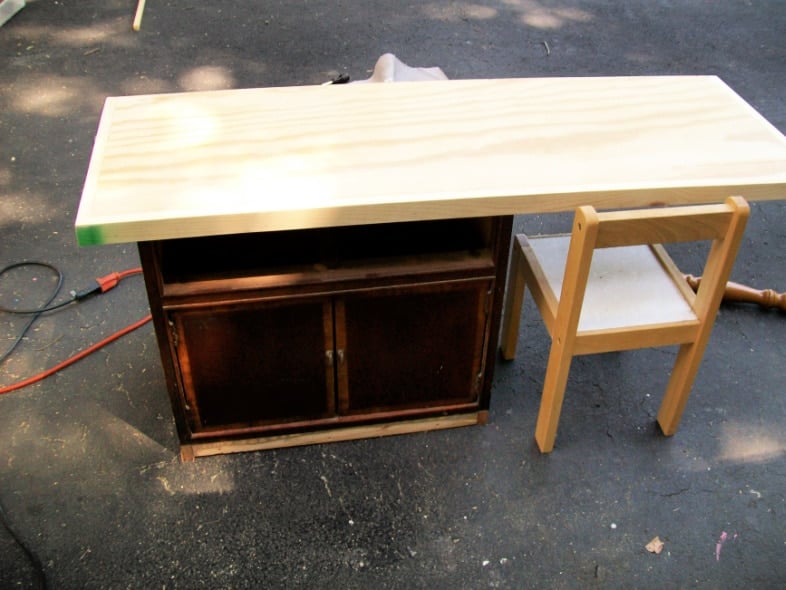
The new kid’s desk, made from a nightstand, is quickly coming together.
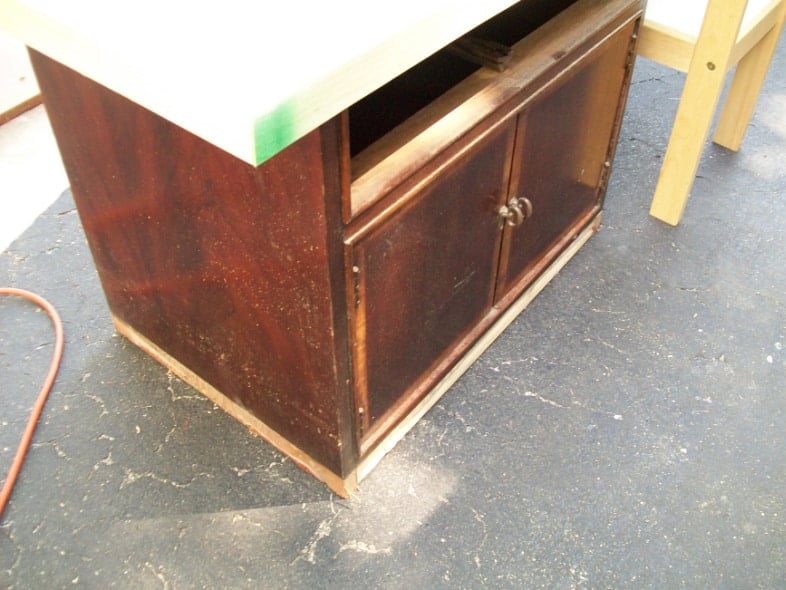
The left side and front of the nightstand are in rough shape.
It’s Time to Address the Trim Situation
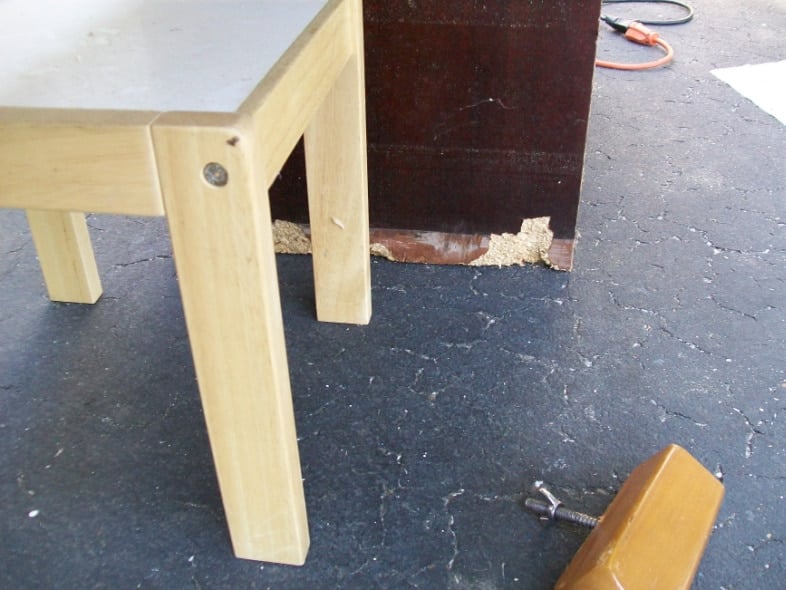
But the right side requires a significant repair.
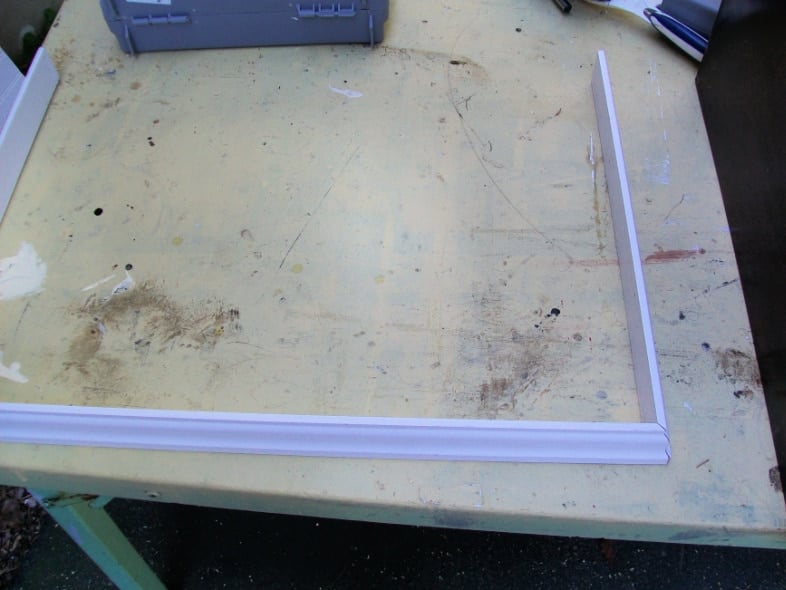
First, I grab some molding out of the garage and get busy measuring and sawing.
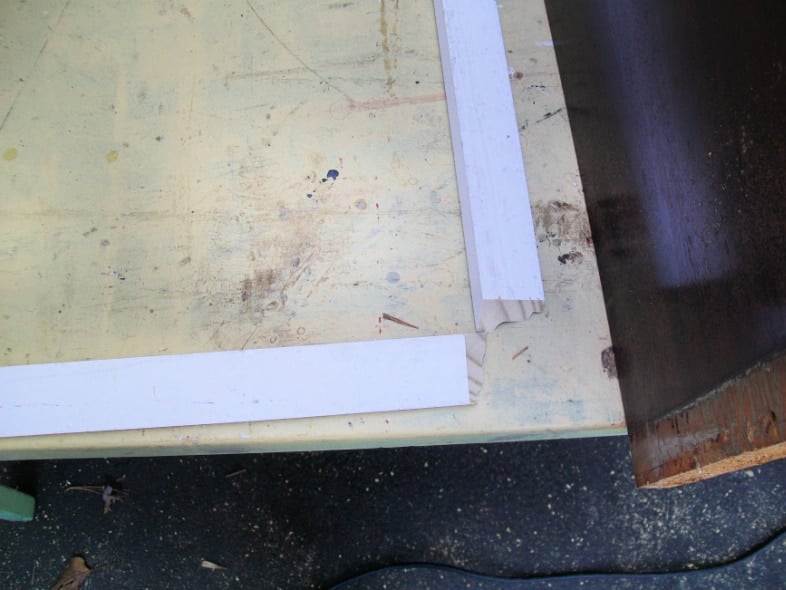
I want to explain how to trim out the bottom of a piece of furniture. I hope you can follow along with the pictures below.
Tips for Adding New Trim to Old Furniture
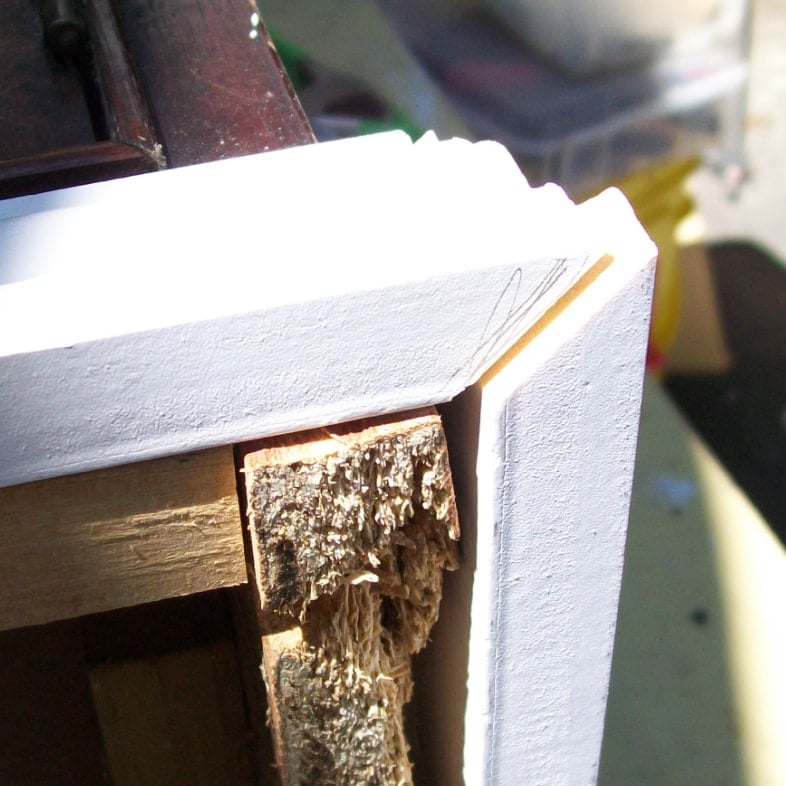
Do you see that line? It’s not a measuring line, it’s a directional line. When I lay my board on the piece of furniture, I draw a line indicating the direction I need to cut the wood.
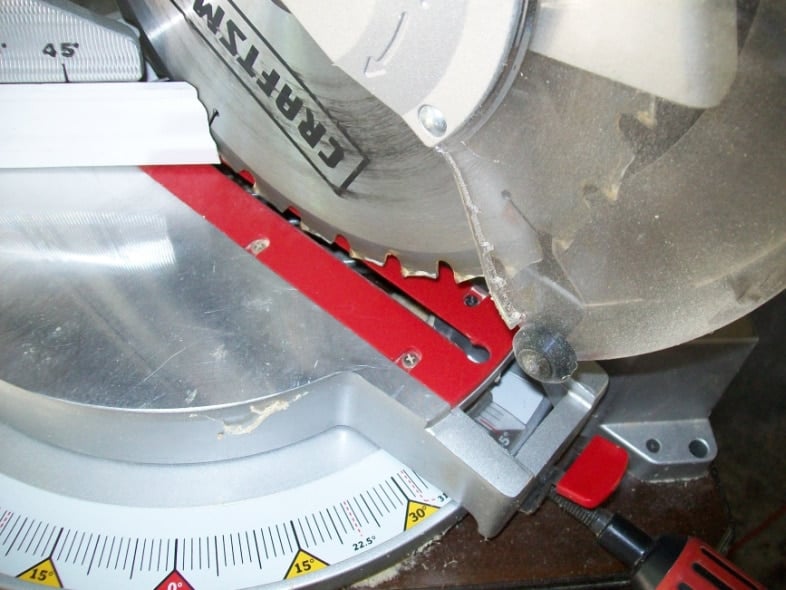
To the compound miter saw. I cut it at a 45-degree angle, with the flat part of the board directly up against the fence.
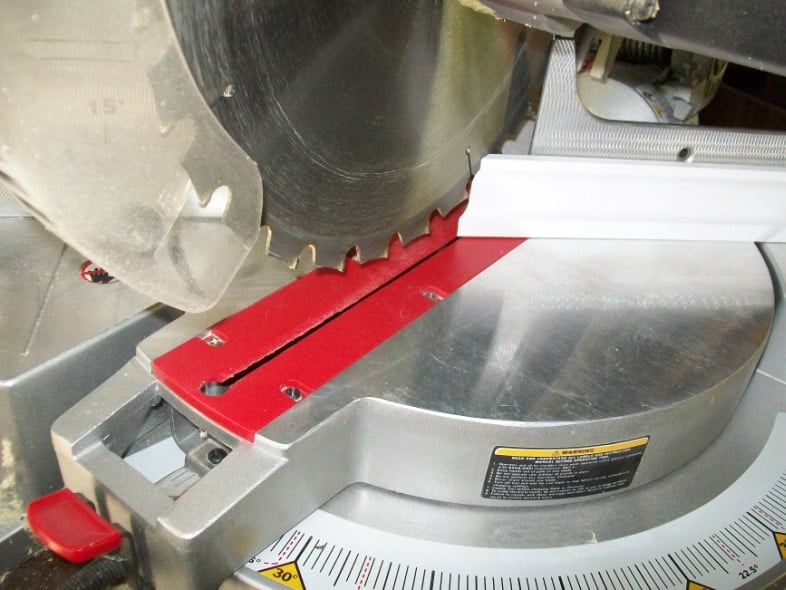
For the opposite end, I slide the saw to the other side. Again, holding it up against the fence of the saw.
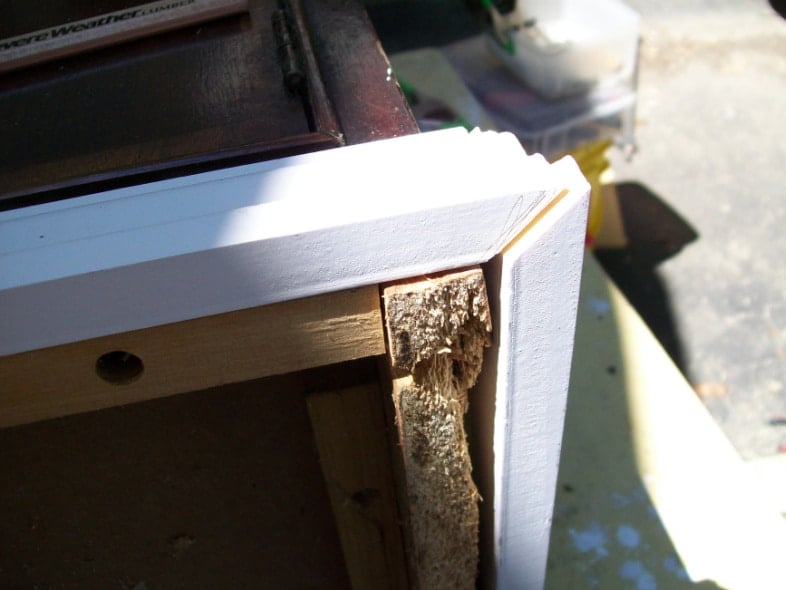
When I do this trim, I do the angles/corners first. The left and right pieces I cut a little long, because I can always straight cut them to the correct length. I nailed it in place with my nail gun.
Add Legs to the Desk

I measured, marked, and cut the legs to the correct height.
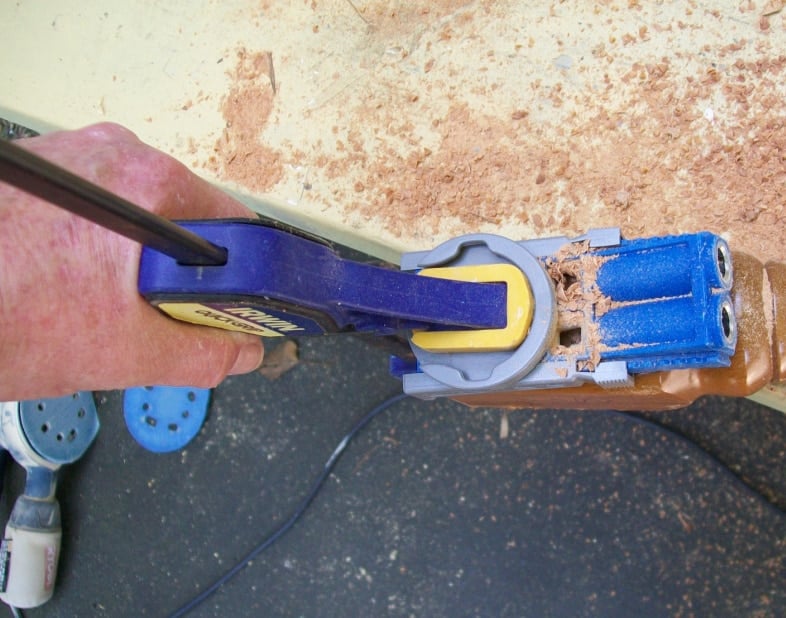
Now, I’m on to the legs. I used my Kreg Jig to make pocket holes on the legs. The pocket hole screws will secure at an upward angle into the bottom of the desktop.
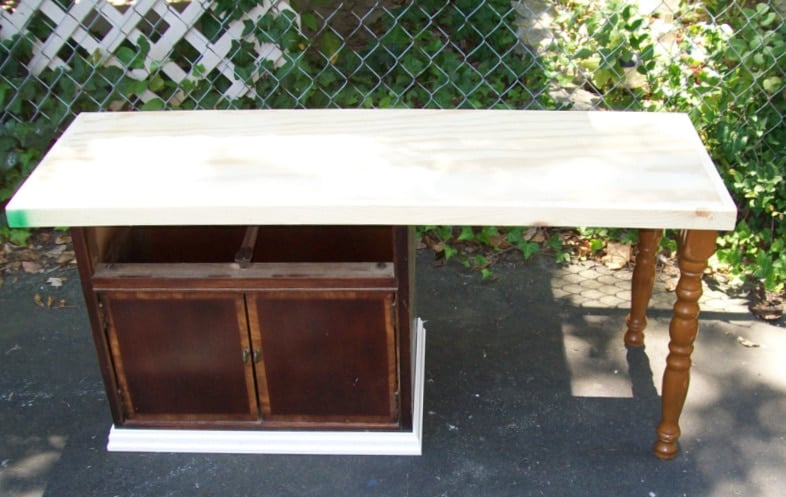
This is a dry fit to make sure the legs are at the proper height.
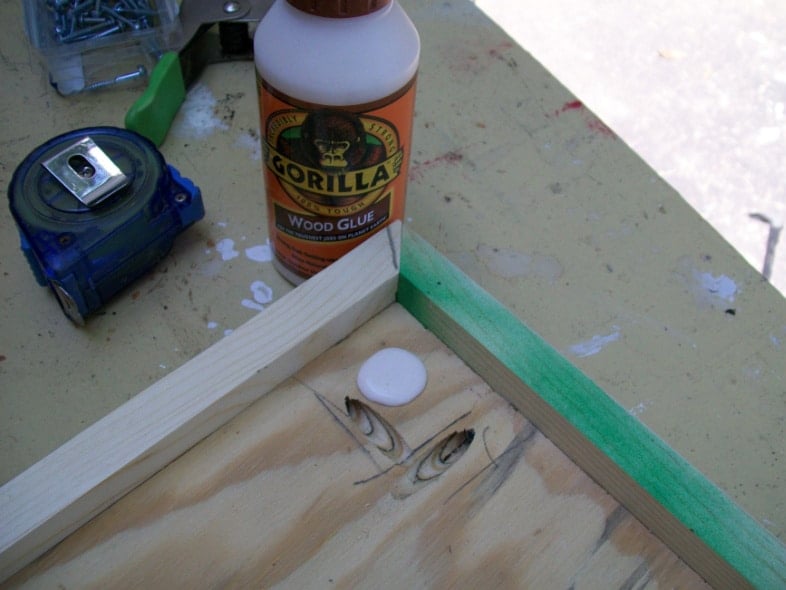
In this picture, you can see the pocket holes I drilled to attach the facing. I placed the leg on the piece and drew lines to determine the direction of the pocket holes on the legs.
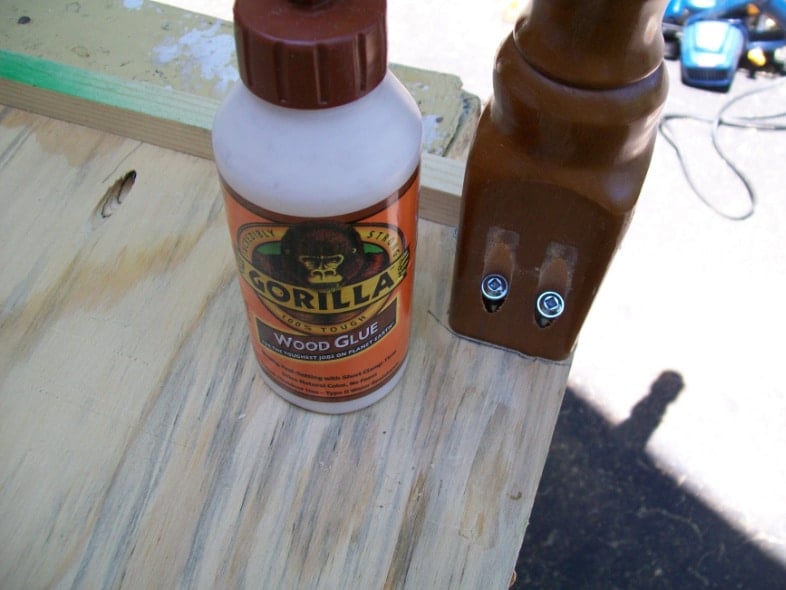
Why did I use Gorilla Glue with pocket hole screws? I typically don’t use glue with the pocket hole screws, but I wanted to ensure I had a great hold when I secured it with my pocket hole screws.
Prepare the Kids’ Desk for Painting
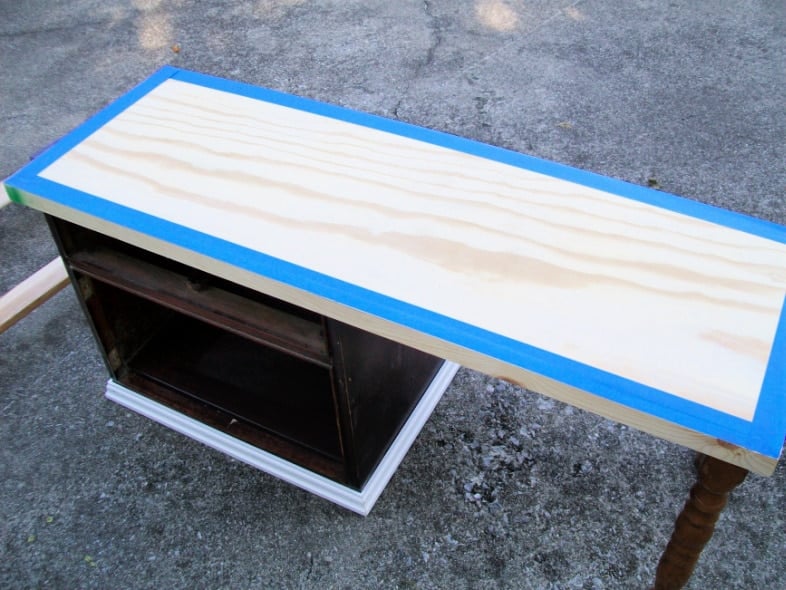
After I got both legs on, I started taping off the desktop for painting. I taped all around the top . . .
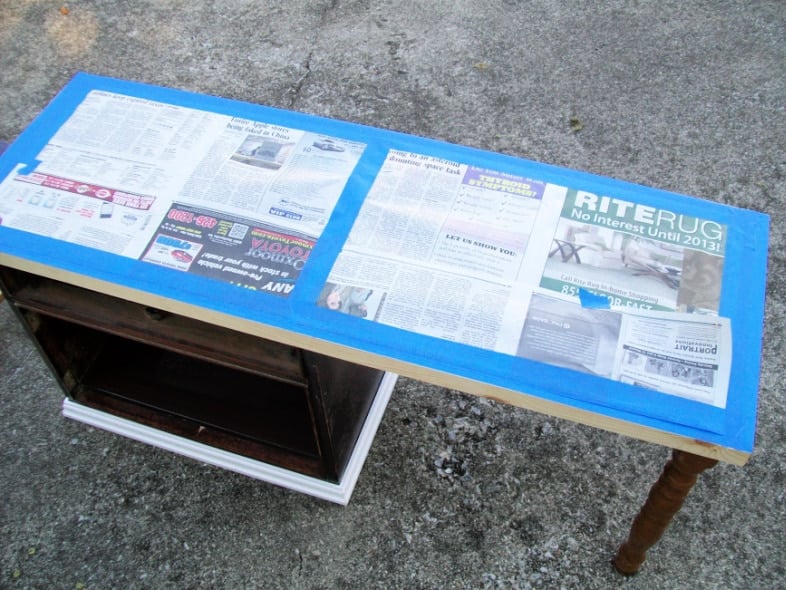
… then I put a newspaper on top and taped it again.
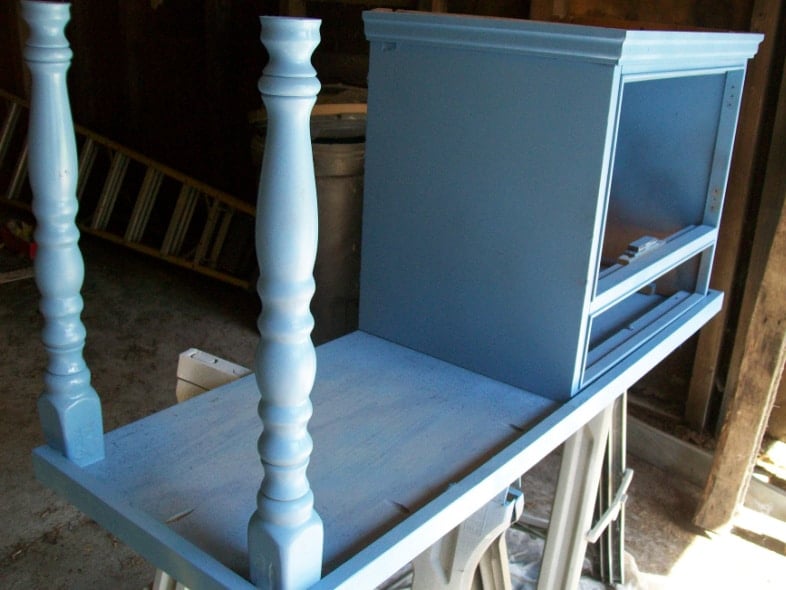
Then I broke out the spray paint! Last year, my sister gave me tons of spray paint, and I’m about 1/3 of the way through the stash.
Add the Finishing Touches to the Nightstand Desk
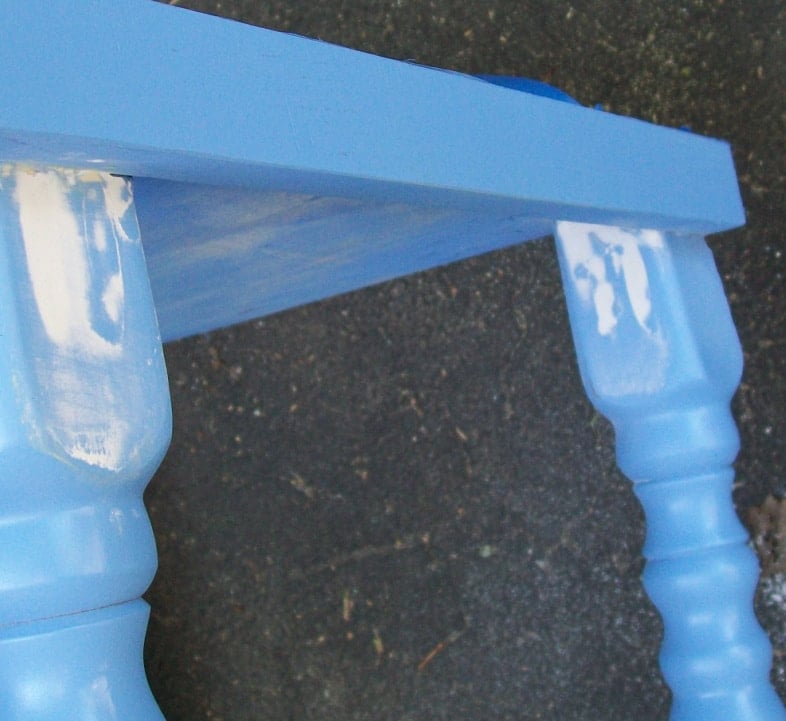
I filled the holes with drywall mud. What does this color (blue) make you think of?
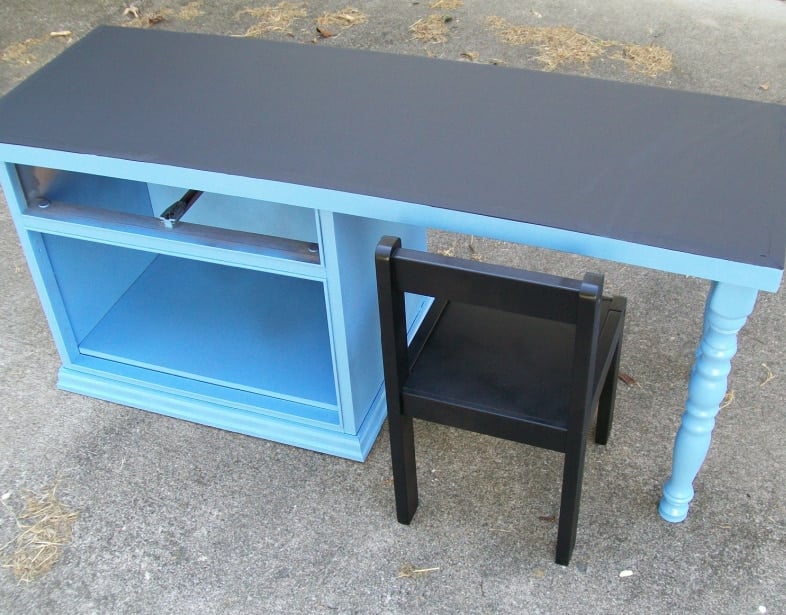
After I finished spray painting the desk, I applied several coats of chalkboard paint to the top.
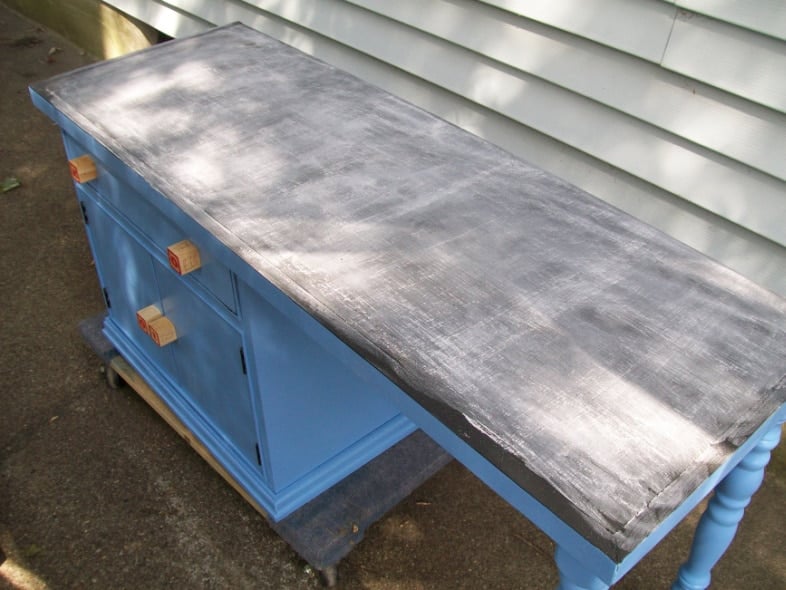
I conditioned the top with chalk.
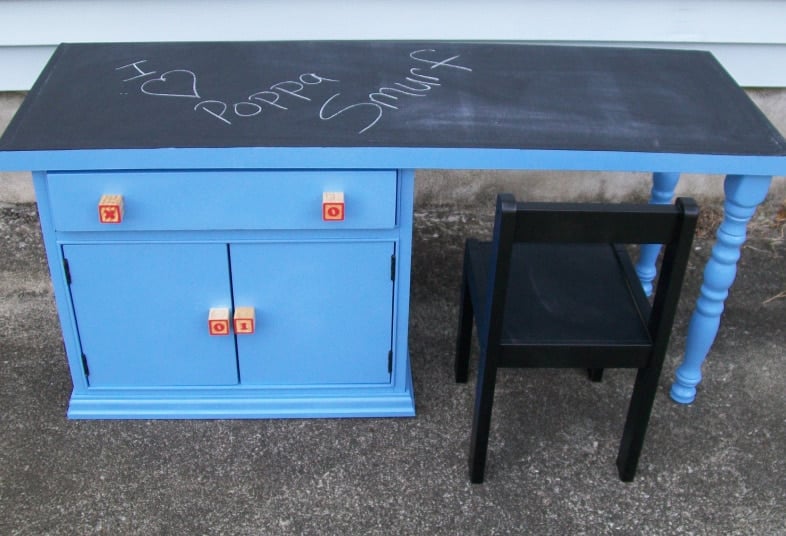
Once I started spray painting it, I thought to myself, this looks like a Smurf! I was trying to make the desk non-gender-specific.
I’d love for you to share this idea on Pinterest with your friends.
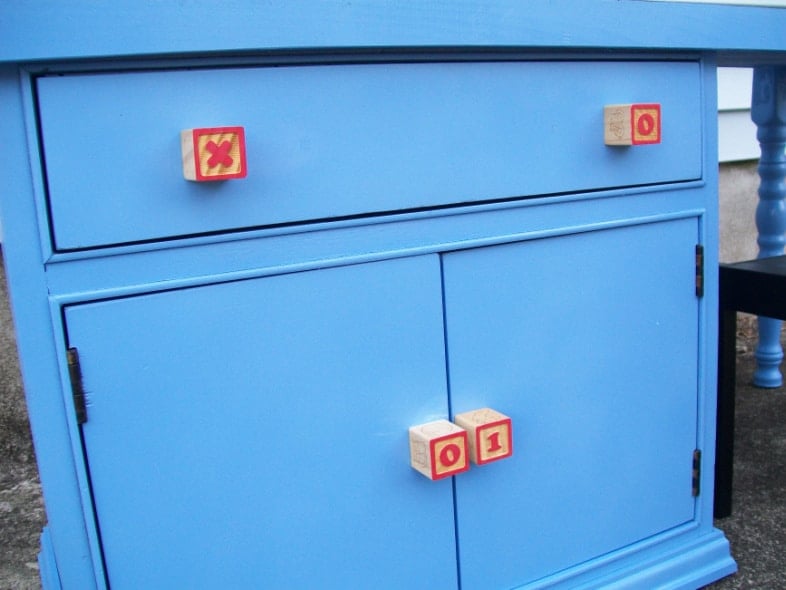
What do you think of the knobs? The original hardware is not suitable for children. ![]()
What have you repurposed lately?
gail
Related Content: See More Desk Projects Here

What a great idea, love how you think! The chalk board paint is the perfect touch. I see you have two Kreg jigs, lucky lady 😉 Oh and the knobs, darling!
Hey sweet girl! 🙂 Glad you liked my mirror molding post, I love how much it changed the room. 🙂 Funny that you knew who was behind the camera before I told….was it the angle of him looking up to me in the video that gave it away?! lol He’s such a good little boy! I felt weird going the vlog, but I figured nobody really cares what I look like as long as I’m teaching them something. 🙂 hee hee hee OH and yes I do know about the caulking guns with the pokey things on them…I’m just too cheap to go buy a new one as long as this one is still working. 🙂 lolLove ya girl!Missy
You are so creative! I would have never thought to make a desk out of a night stand. Love the chalkboard top!
SO gorgeous!! Would LOVE it if you would link this up at my turquoise lovin’ party going on right now!! 😉 http://www.sweetlittlegals.com
Looks fantastic!! You really did a great job repurposing that night stand!
Very creative Gail! You may just have given me an idea. . . Thanks for sharing!
jen
This is super cute! I like the knobs! I finished a large vintage library table with chalk board paint on top then mod podged newspaper on the legs. Looks cute I think!
I love this! What a great and creative way to use old pieces of furniture
Coley @
http://www.whatyoumakeit-coley.blogspot.com
You are so good! Awesome transformation, Gail! Love it! 😉
You’d be proud – I used my air compressor/staple gun finally! haha! Thinking the Kreg Jig is next on my list.
Thanks SO much for the vote! Your help is appreciated!
Roeshel
this is amazing! So creative, great job!
xo dana
thewonderforest.com
Yeah, you’re a GENIUS! Seriously. You come up with things that are brilliant! Thank you for the tips on the miter saw…I need to get out there and try it again! I also love the knobs! 🙂
That childs desk is fantastic. I really love the furniture tranformations you do. I so want to try some myself.