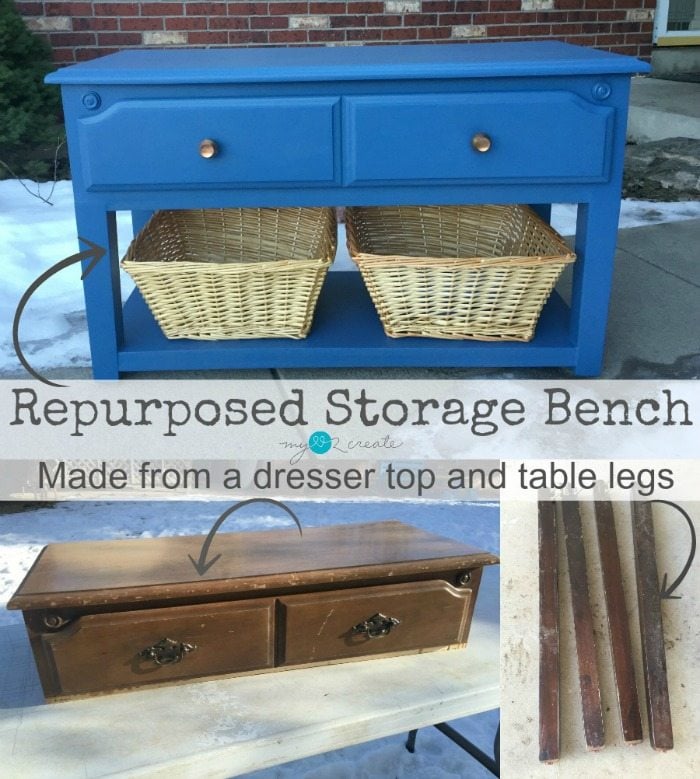
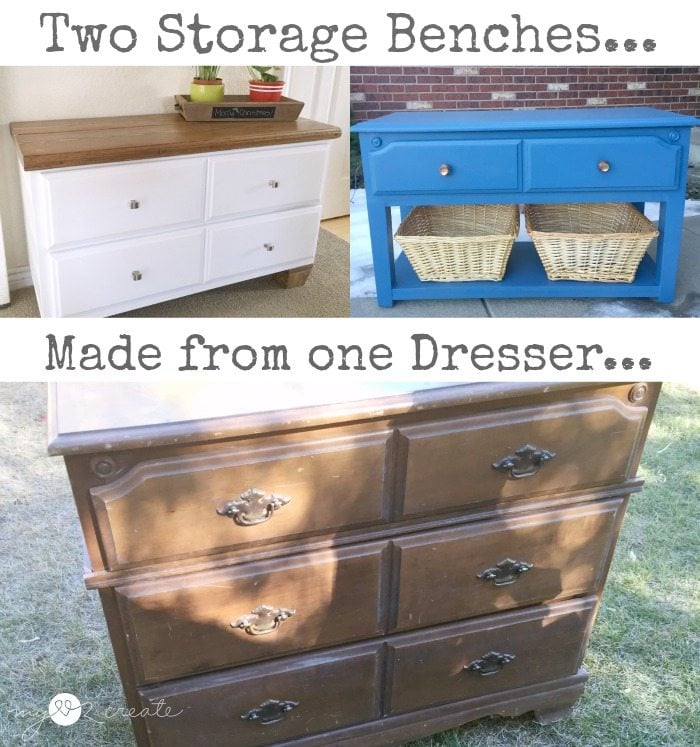
Repurposed Storage Bench
As an Amazon Associate, I earn from qualifying purchases.
Hello and Happy New Year MRL Readers! It’s Mindi, and I am happy to be back this month! Today I am sharing a Repurposed Storage Bench, but this one is special because…

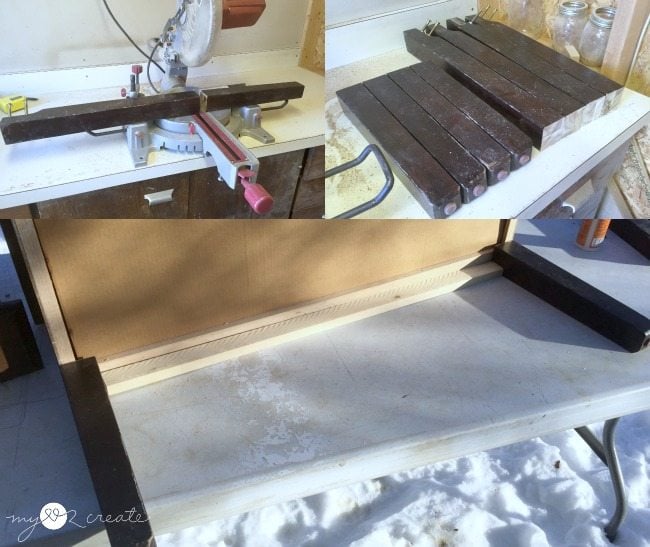
How to repurpose the top of a dresser
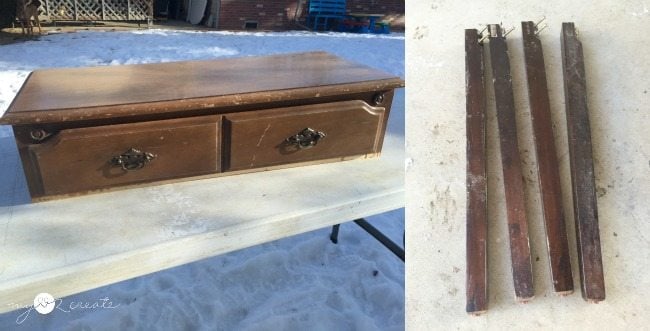
Cut legs to size
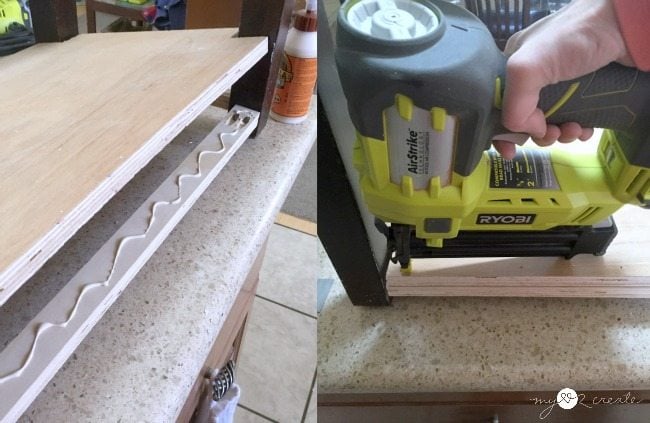
Pocket hole construction is easy
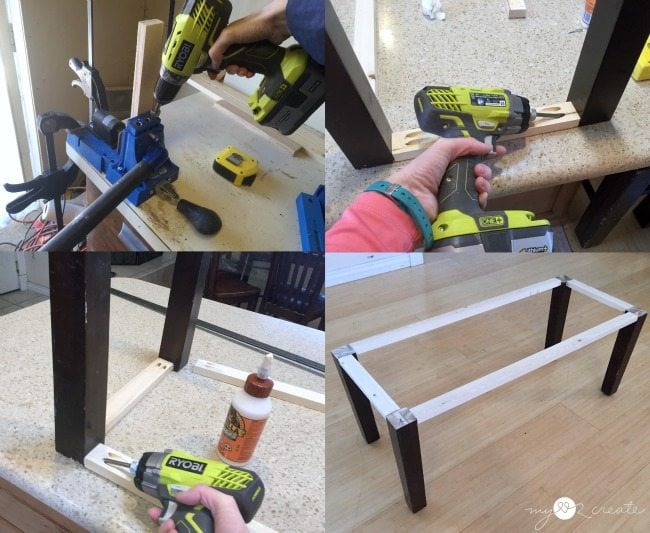
With all four apron pieces cut I drilled pocket holes into each end of the 1×2’s with my Kreg Jig, and proceeded to build. I attached them to my legs with wood glue and pocket hole screws. This gave me my repurposed storage bench base.
Need more details on using a Kreg Jig? See my article How to use a Kreg Jig Pocket Hole System
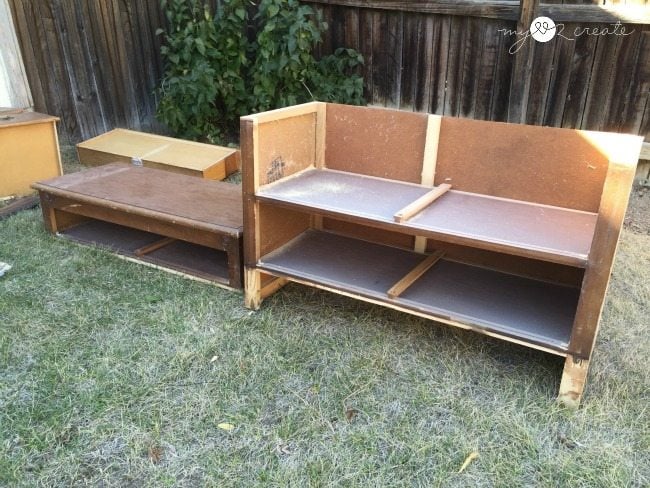
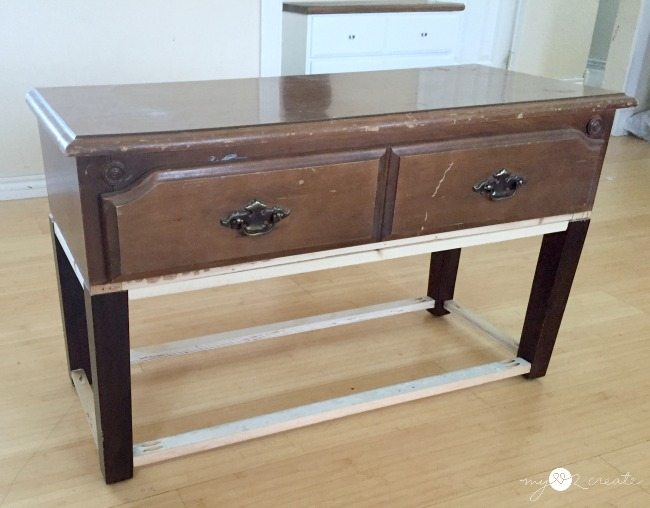
Dresser section repurposed with legs
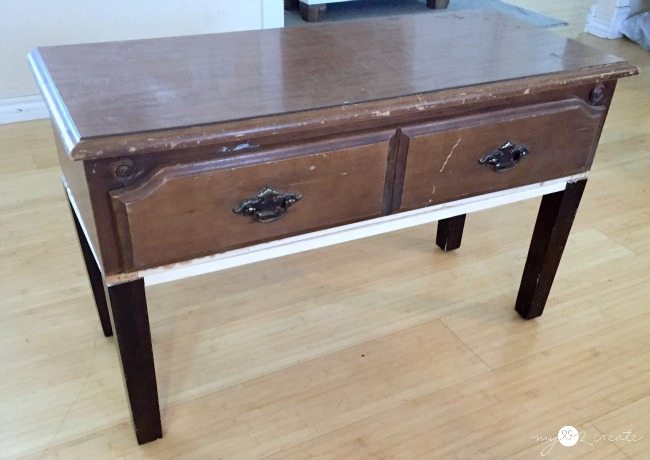
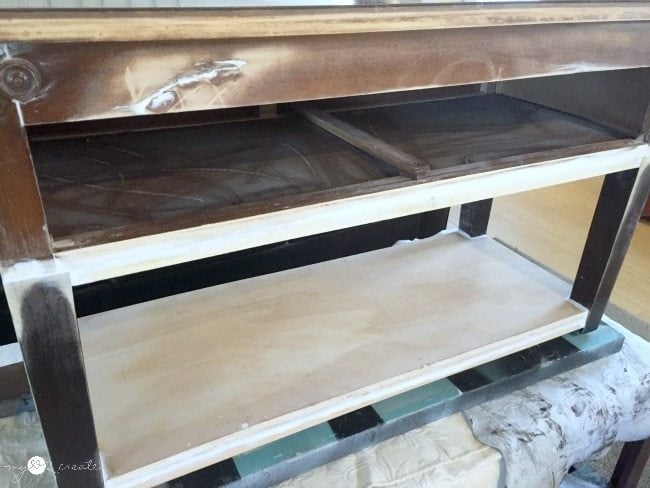
I set my dresser on top for a dry fit, and thought it looked too top heavy. Then I decided that the best way to fix that problem was to balance it out with a lower shelf.
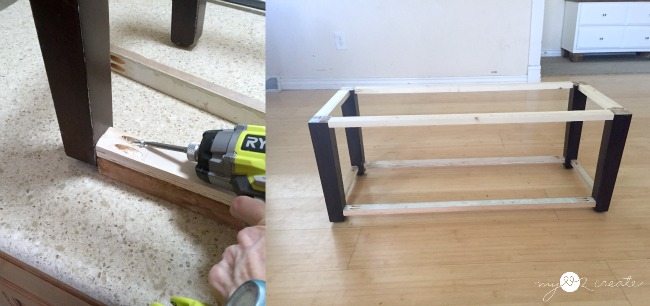
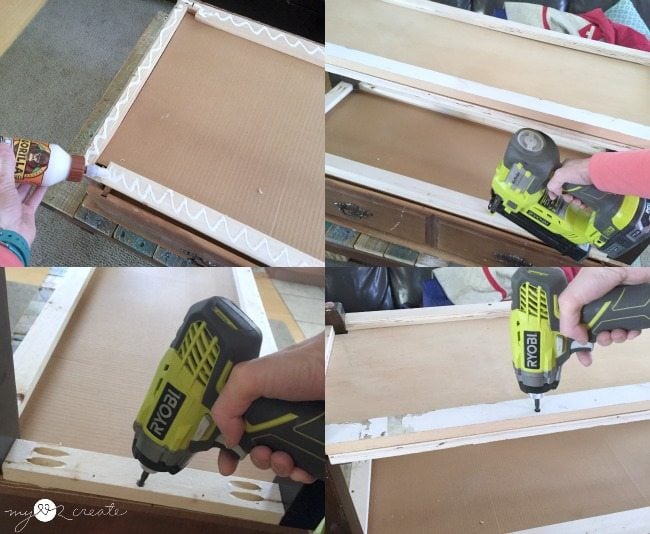
I measured, cut, and drilled pocket holes just like I did for the top, except these ones were to support the shelf. On the left you can see I used a scrap of wood as a spacer so all my shelf aprons would be the same height.
Add lower braces
It is starting to look better! I still needed to “chunk” up the bottom a little bit, so I opted for a plywood shelf instead of doing slats, my thought being that it would look “heavier”. Hopefully that makes since… 🙂
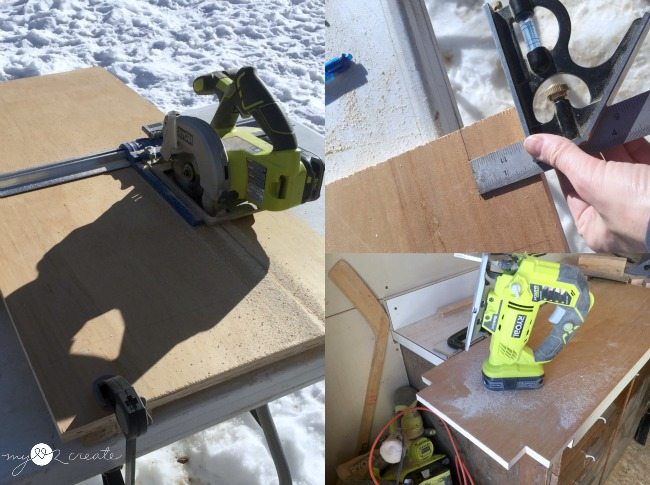
I used my last big scrap of plywood for the bottom shelf. So sad!! I ripped it with my Kreg Rip Cut and Ryobi Circular saw to the correct size. Which was the length and width of base.
Lower shelf
I then added the shelf to the repurposed storage bench with glue and finish nails.
Once I had the shelf attached to the legs, making the base complete, I flipped over the dresser top and glued and nailed the base onto it.
Patch and paint
To hide all my seams I used spackle, and then a thin layer of caulk. Sometimes the spackle cracks so I added the caulk to prevent that, or you could just use caulk. After sanding it all down my repurposed storage bench was ready for paint!
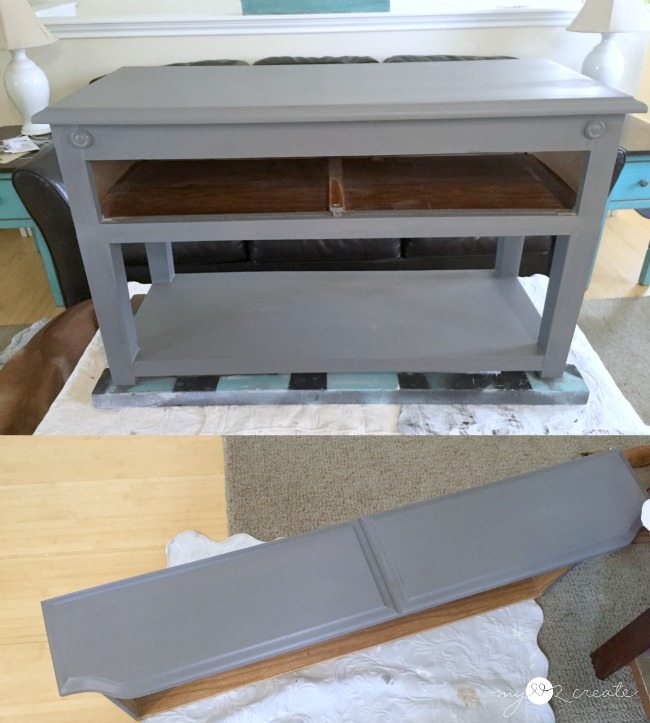
I used Gail’s DIY Chalk Paint recipe again, since I had such great results with it on my last bench. This time I chose a dark grey and used this as my primer, then I painted it with Behr Shipyard in satin, a pretty blue. Sorry Gail…yet another BLUE project. I can’t. help. myself.
Related Content: Navy Blue Furniture Projects
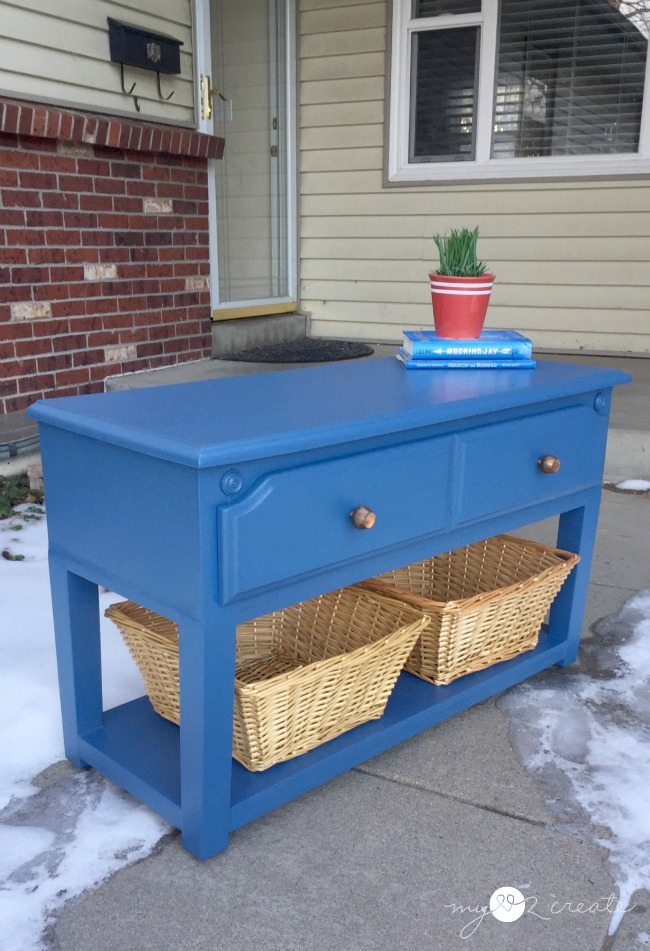
Repurposed storage bench made from part of a dresser
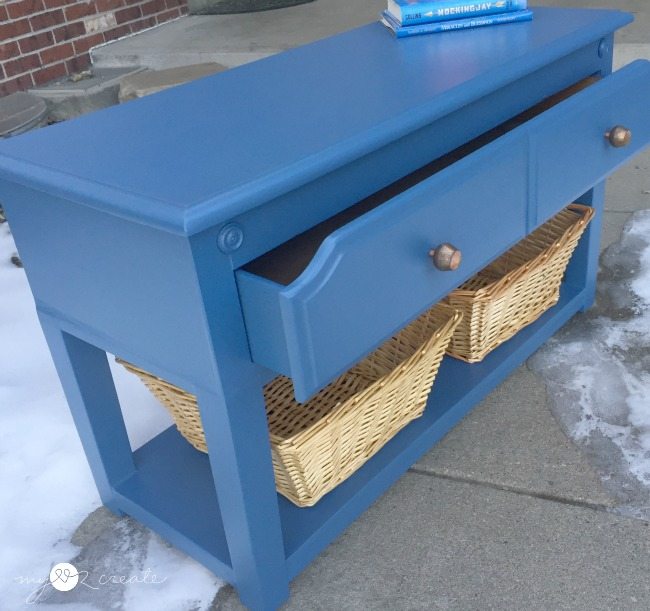
I really love how the bottom shelf turned out! And these baskets I had fit perfectly, which was awesome.
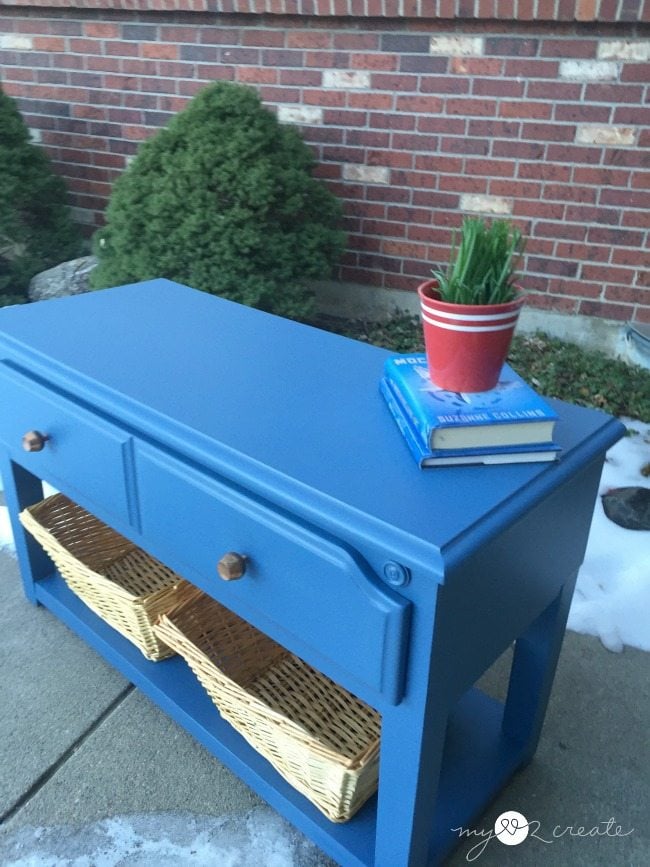
Not bad for a hodge podge project? You would never know it was pieced together by looking at it, which is what I wanted.
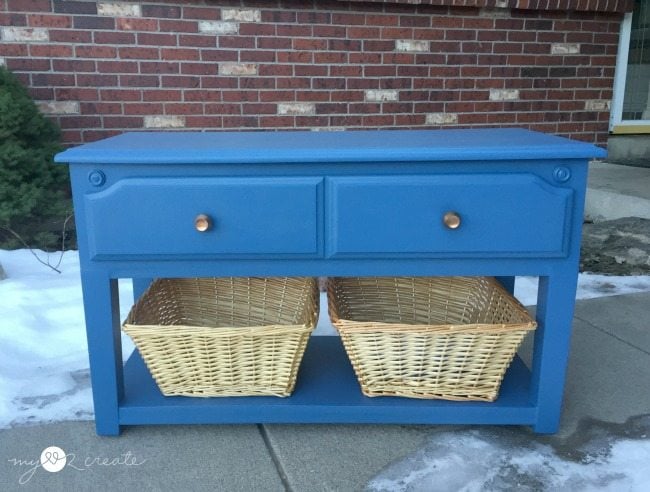
I think it is SO cute and I am thrilled that I was able to get two awesome projects out of my cut up dresser!

see more of Mindi’s projects here
Looking for repurposed dresser project ideas?
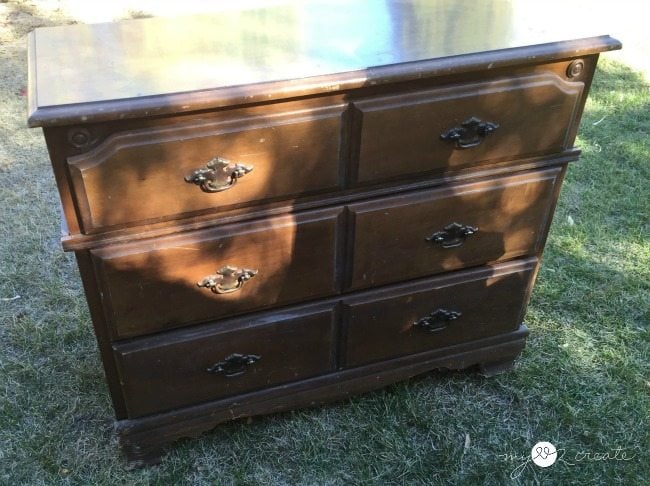
You did not mention how you were originally cut your dresser in half. Did you use a jigsaw, circular saw, or what?
Hi Cheryl! I cut it in half with a circular saw. If you click the link to the other bench I made from the bottom half of the dresser, that post shows the process of how I cut the dresser in half. I hope that helps! 🙂
OMG!!! It is so lovely! Ole man! I had better get busy doing something productive. Love looking at your projects. Great Do’s like this one is motivating!!!!!!!!!!!! YOU ROCK Mindi!! LOL
Mindi,
I seriously love this project. There is nothing more satisfying than cutting up furniture and remaking it!!!! The color is so fabulous. Little known fact. I was doing something VERY similar this past week too. Great minds…. or like you said Peas and Carrots!
thanks for a great tutorial.
gail
Wow! Very impressive! The two benches look so wonderful! And much better then just repainting the dresser and changing the hardware!
Love the blue! Always enjoy reading your blog and seeing your new projects! Thank you!