Repurposed Table Shelf | Queen anne Legs
As an Amazon Associate, I earn from qualifying purchases.
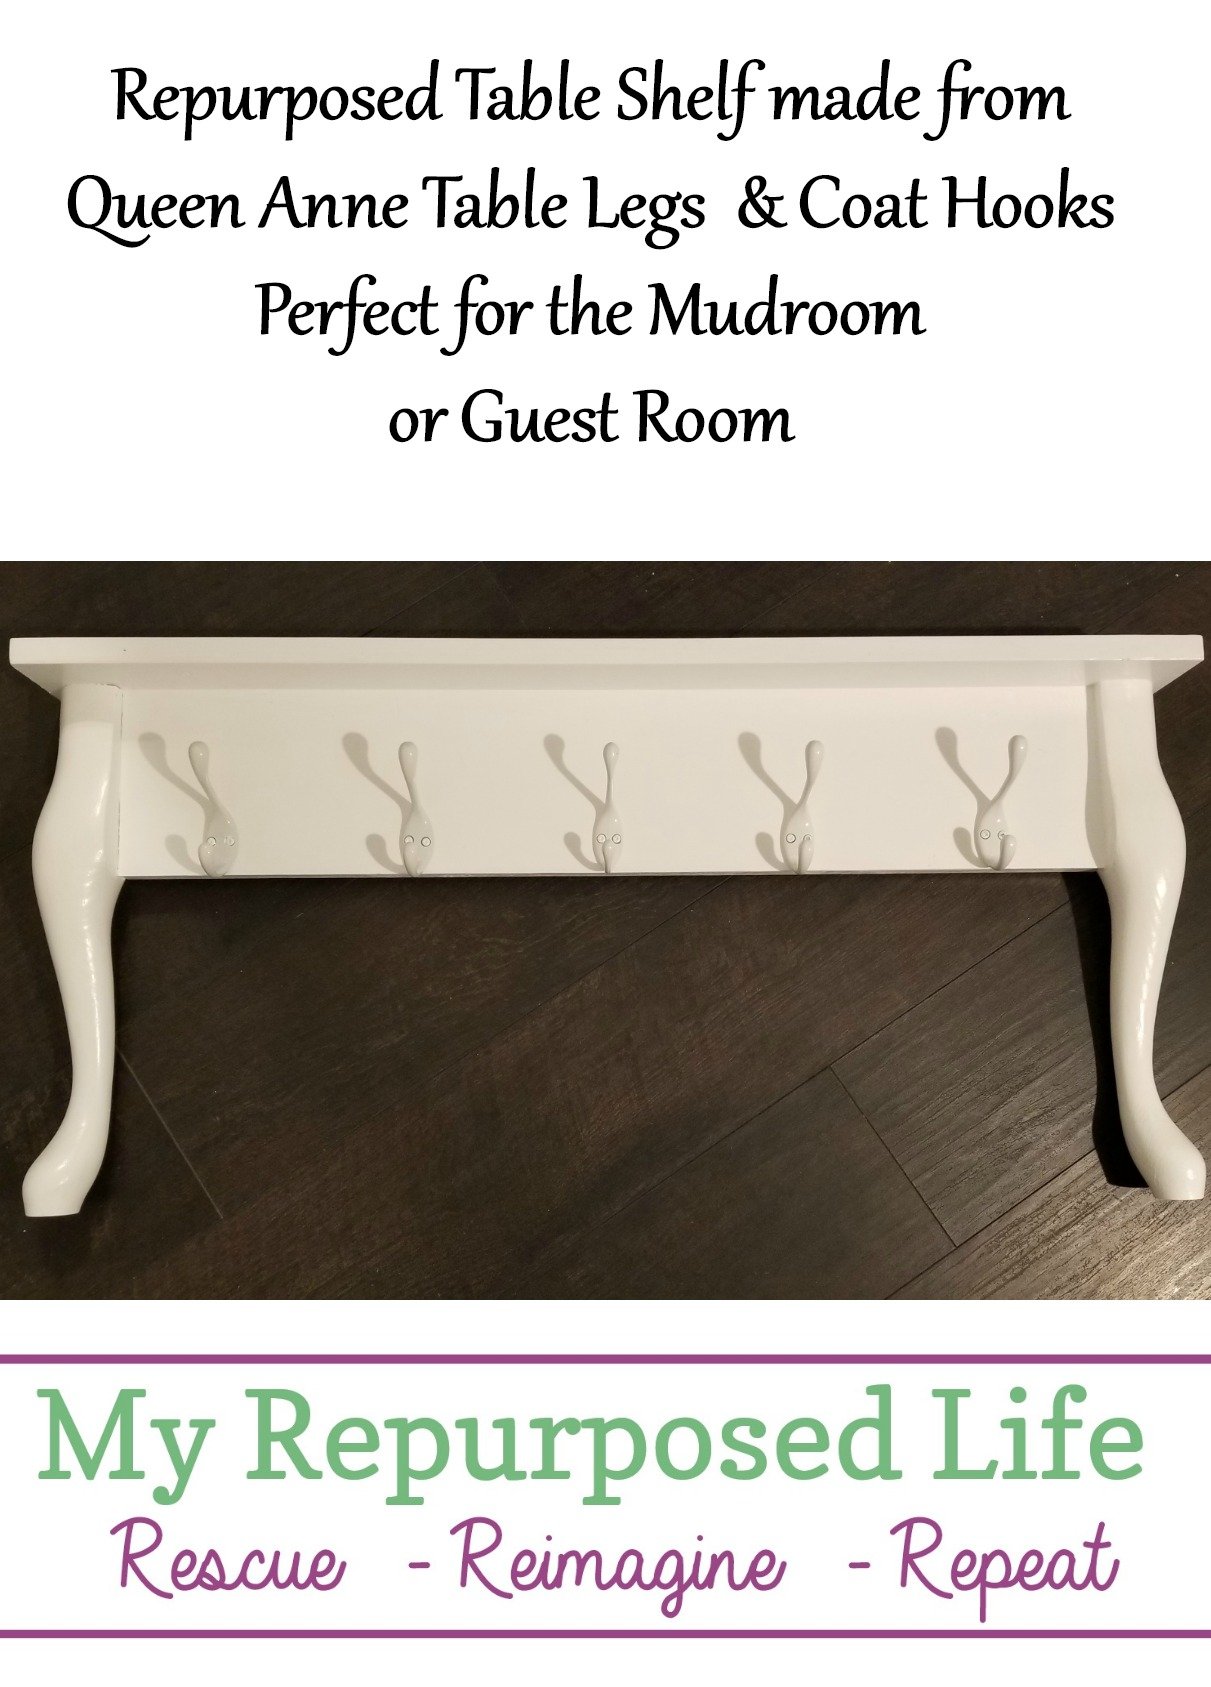
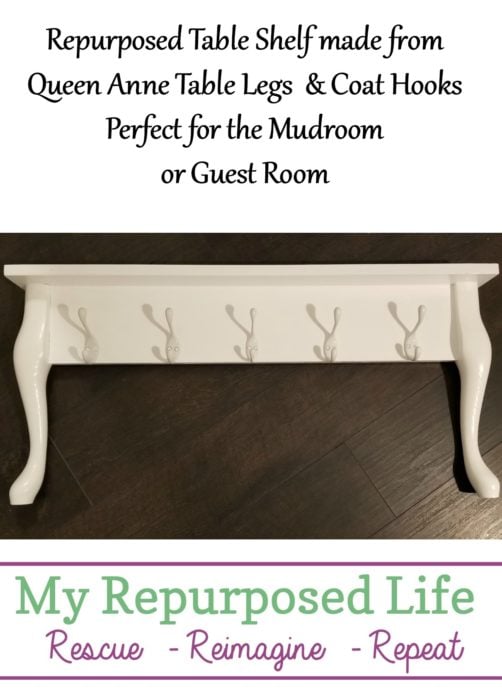
Today’s project is a repurposed table shelf. What? You don’t know what that is? It’s where I use two queen anne table legs and scrap wood to make a wall shelf. It really is a quick and easy project.

If you’ve been a friend since the beginning, you now all about Joey’s booth. I picked up some random queen anne table legs when his booth closed years ago. These were marked .96 cents, but I think I got a deal because he was going out of business.
*This post contains affiliate links, read more here*

The legs were matched with a piece of wood that was exactly as wide as the straight portion of the table legs.
Kreg Jig Pocket hole joints

My favorite Kreg jig was used to make pocket holes on either end of the 1×6 board.
Attach Queen Anne table legs to board

Pocket hole screws were used to attach the queen anne table legs to the board. It’s important to center the board on the table legs to mimic how a real table is assembled
Drill pocket holes to attach shelf board

After attaching the cross board to the table legs, I drilled pocket holes on the back (top) of the cross board. This will allow me to attach the shelf board.
How do I center the shelf?

The very handy Kreg multi mark tool assures me that I have the same amount of overhang on each side of the top shelf board.

The straight board on the queen anne repurposed table shelf is a dead giveaway that it’s not a real or fake queen anne table. The skirt of a real table would have more details and ornamentation. However, having all the room on the cross board will allow room for coat hooks.
Paint Repurposed Table Shelf

In this photo you can see how the top shelf is attached to the faux queen anne table. I chose semi-gloss paint. To give a nice finish I chose to use a good Purdy Paint brush. It was a rainy sort of day, so I was unable to use my favorite Finish Max. Actually, I had to paint in the carport because rain showers continued off and on all day.
 I prefer to do several light coats of paint instead of a couple of heavy coats. Because of the rain, I had to bring it in the house to finish painting it.
Measuring coat rack hooks on shelf

After all the painting, it was time to add some coat hooks. I chose these simple white coat hooks I bought at the store. They’re similar to these coat hooks available on Amazon. I like to make the left and right hook about 3” from the side, then I split the difference with the rest of the hooks.
Because the pine board of the repurposed table shelf isn’t hard wood, the screws are fairly easy to insert. I marked the left hole on each hook, drilled a small pilot hole, and secured that screw. After I got the left screw in, I secured the right screw. I find it difficult to get coat hooks straight, no matter how hard I try.
Why you shouldn’t use your drill to install coat hooks

It’s best to use a hand screwdriver instead of a drill. Although these screws were pretty tough, many times the head can break off. I borrowed these screws from my d rings. The screws that came with these coat hooks were too long for the thickness of the 1×6 board.

A cotton swab dipped in paint is a great way to make the screw heads match the coat hooks. The cotton swab works a lot better than a small paint brush.

The legs are hard wood, so it was necessary to pre-drill holes for the d rings.

These heavy duty d rings are great for heavier pieces you want to hang on the wall.

This faux repurposed table shelf made with queen anne legs was a fairly simple project. I really love how it turned out. Time got away from me and I didn’t have a chance to stage it on the wall yet. I hope to do that later today.

Do you have a place where this repurposed queen anne legs wall shelf would be perfect?
gail
Related Content:
Another project knocked out of the park for a grand slam!!!!
🙂 I appreciate it Doris! This was such a fun and easy project. It’s so good to be back to work.
gail